Alchemilla Mod Walkthrough


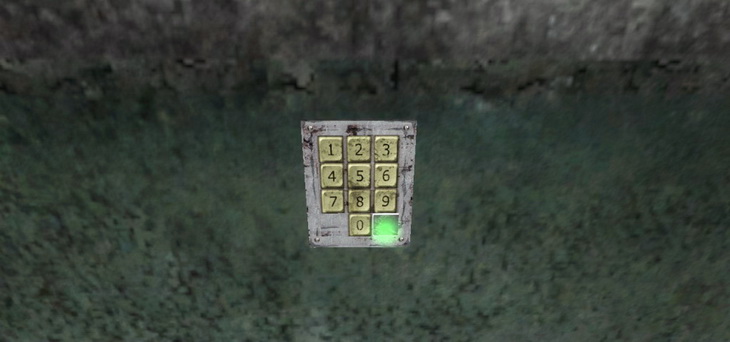
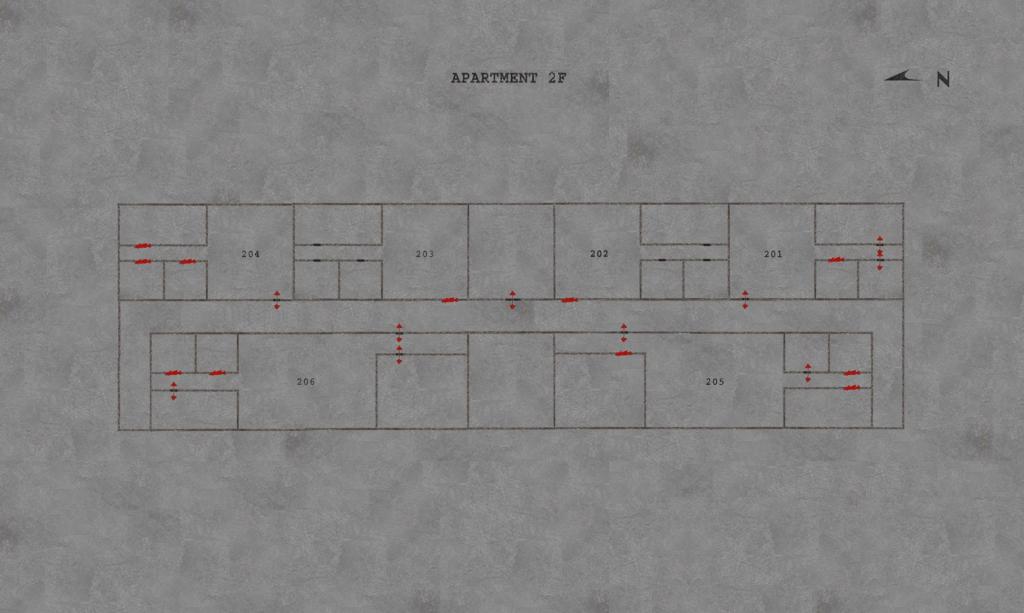
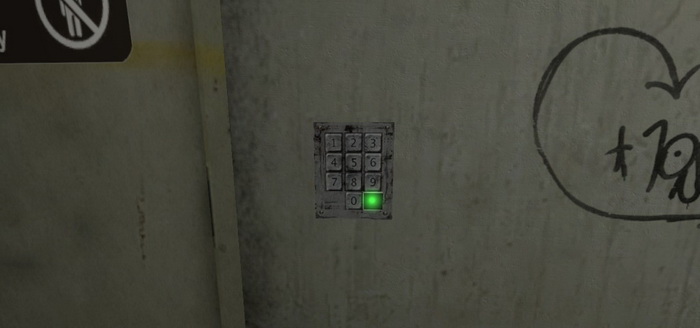
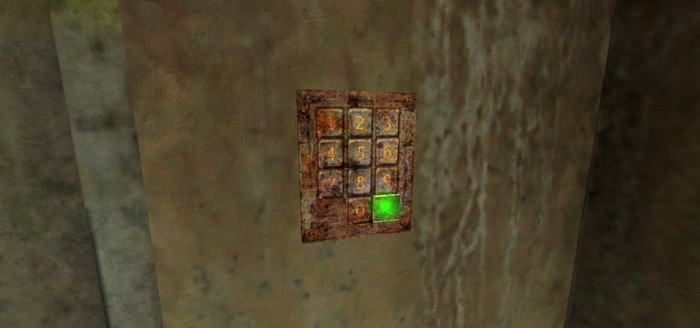
Operation Room Keypad PuzzleThe keypad combination is made up of the product (multiplication function) of the 1st and 3rd numbers of specific rooms. The rooms you need to know are the following: |
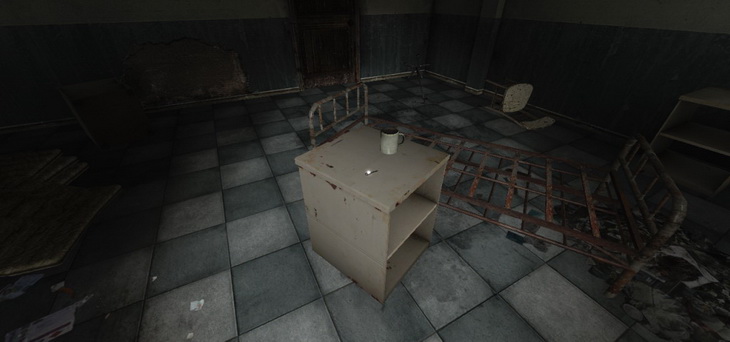
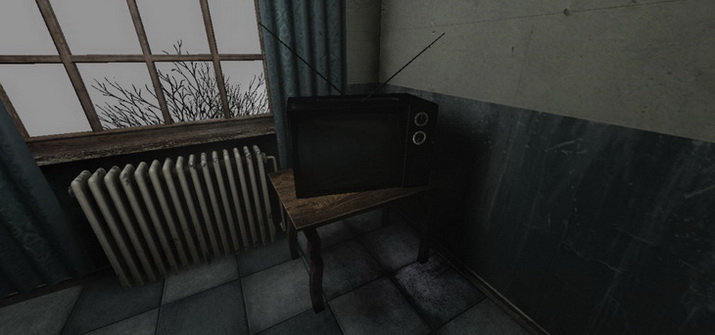 1st Room: The note says the 1st room has a TV in it. Room 202 has a TV. 1st Room: The note says the 1st room has a TV in it. Room 202 has a TV. |
 2nd Room: The note says the 2nd room has a patient with a heart condition. Room 201 has a heart in it. 2nd Room: The note says the 2nd room has a patient with a heart condition. Room 201 has a heart in it. |
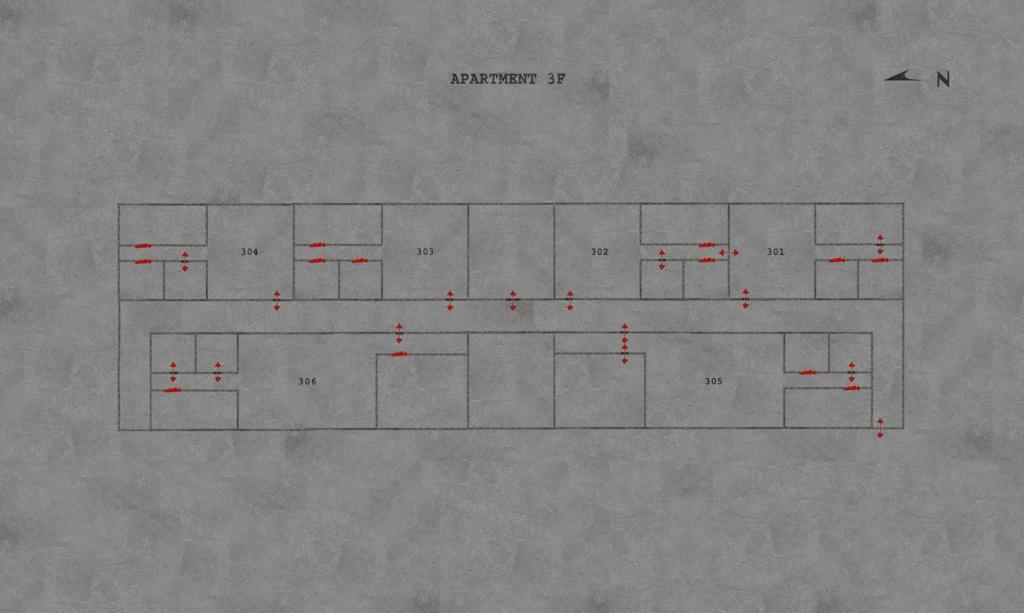
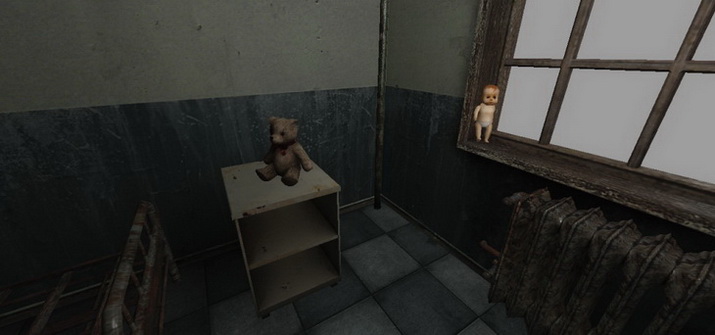 3rd Room: The note says the patient in the 3rd room is a little girl. Room 301 has stuffed animals in it, and you can also hear a girl laughing. 3rd Room: The note says the patient in the 3rd room is a little girl. Room 301 has stuffed animals in it, and you can also hear a girl laughing. |
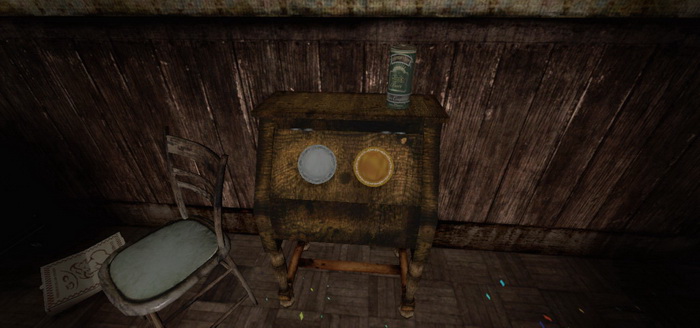
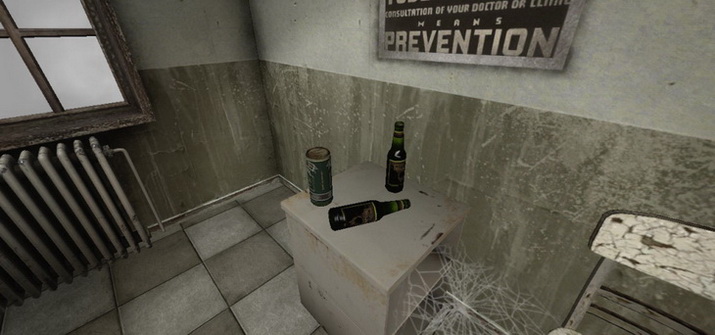 4th Room: The note says the 4th room's patient is a drunk. Room 303 has alcohol containers in it. 4th Room: The note says the 4th room's patient is a drunk. Room 303 has alcohol containers in it. |
The note says you must multiply the 1st and 3rd numbers of each room number:
The Operation Room keypad combination is 4239. |
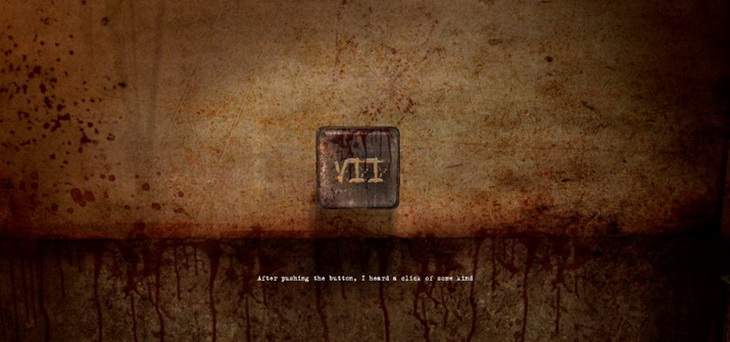
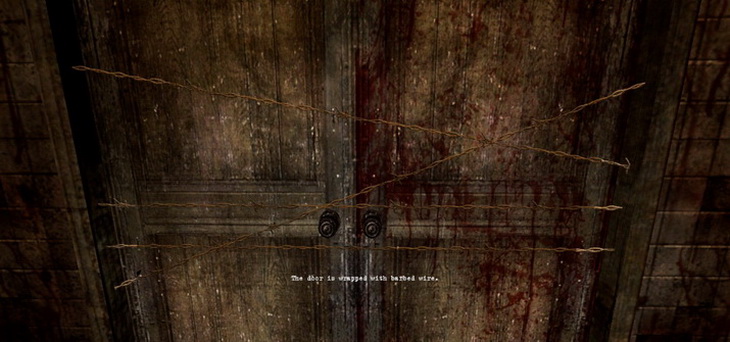
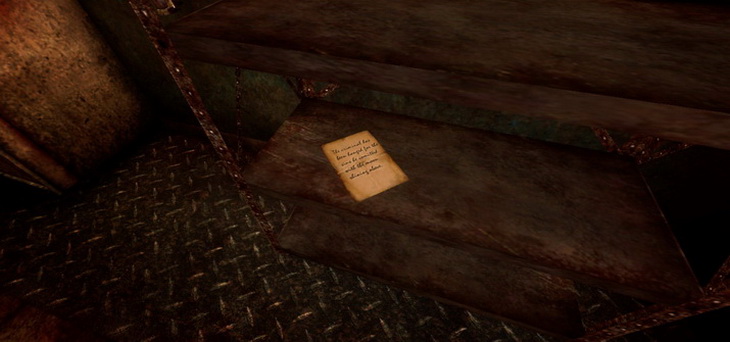
9) Input the code into the keypad for the Operation Room and enter. Pass through a second set of doors to find a message scrawled on the wall. This message begins the game's second major puzzle. |
Riddle of Rooms Puzzle |
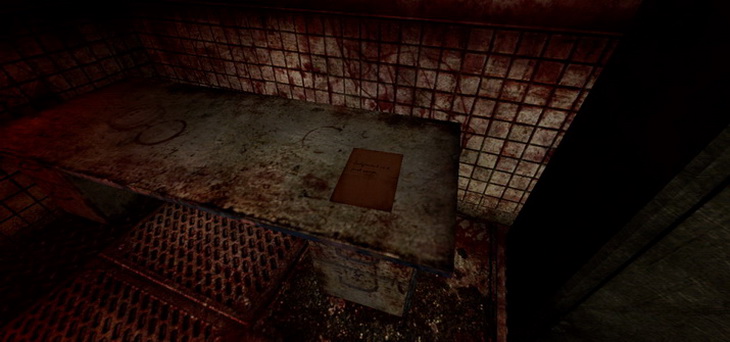
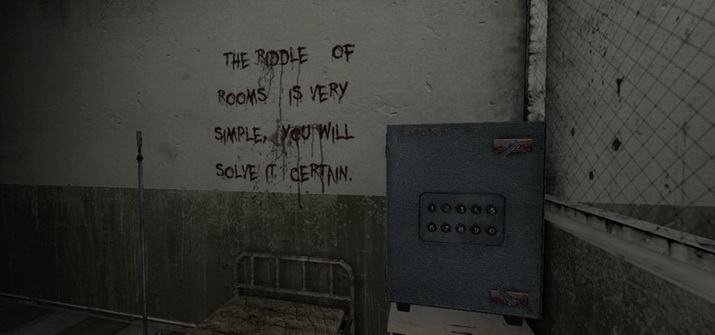 In Room 205 you will find a safe and a message. In Room 205 you will find a safe and a message. |
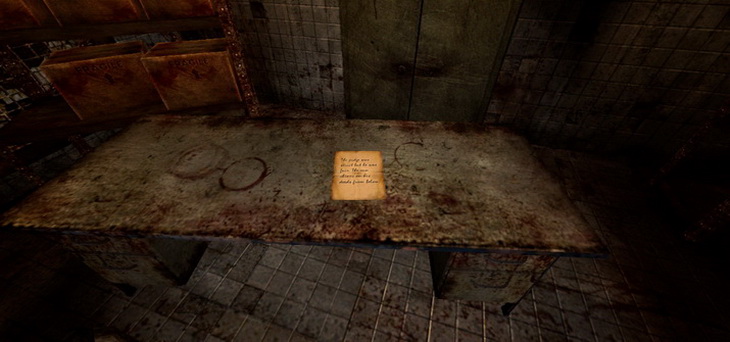
 In Room 206 you will find a second message. In Room 206 you will find a second message. |
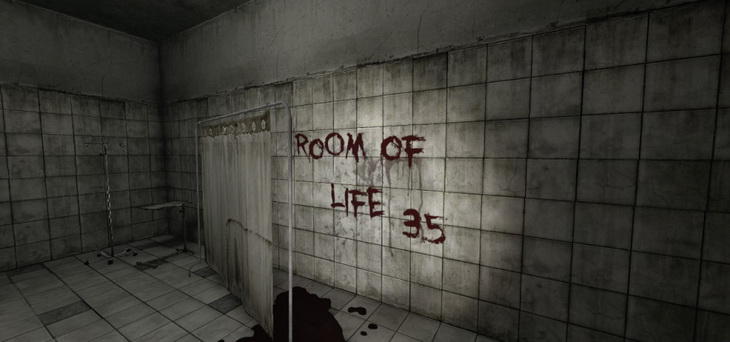
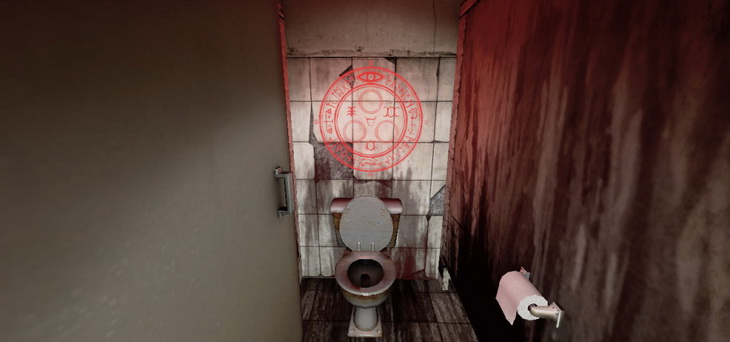
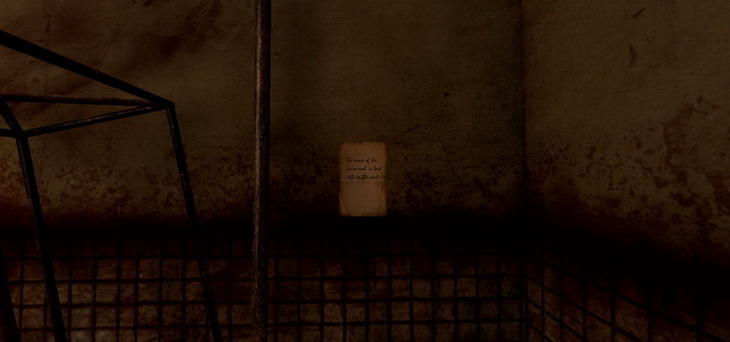
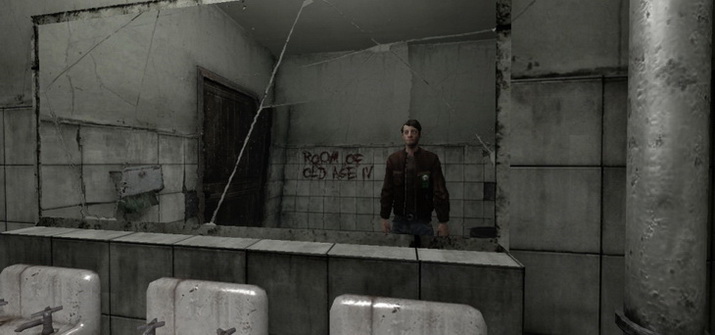 In one of the 2nd floor bathrooms you will find a third message. In one of the 2nd floor bathrooms you will find a third message. |
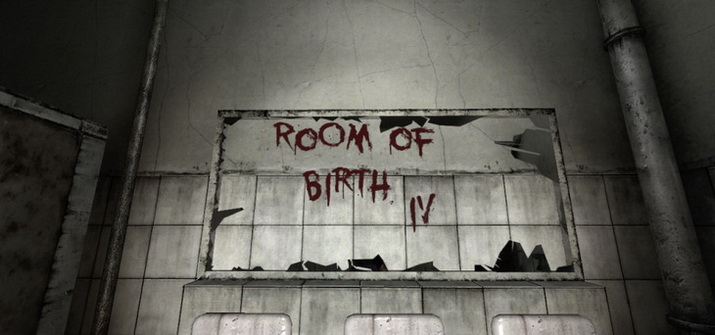 In one of the 3rd floor bathrooms you will find a fourth message. In one of the 3rd floor bathrooms you will find a fourth message. |
The solution is pretty simple. Just rearrange the numbers in the order of the stages of life. Birth, Life, Old Age and Death. 4-35-4-1. |
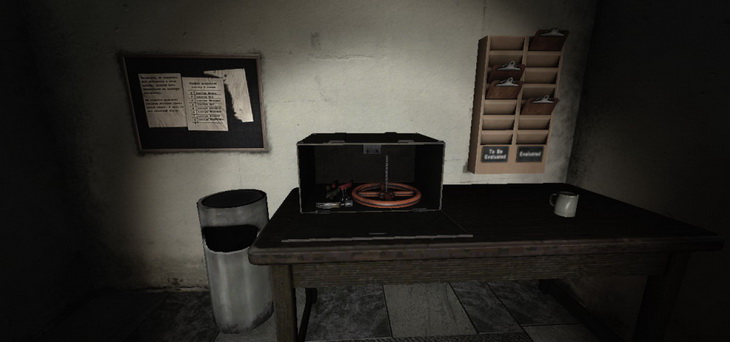
10) Input the code 4-35-4-1 into the safe and pick up the key inside. This is the key to the Doctor's Lounge on the 1st floor.
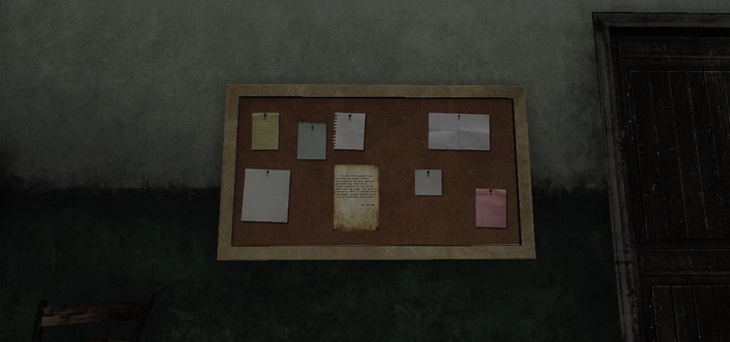
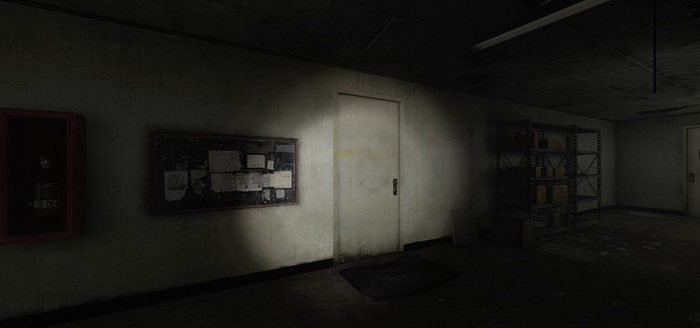
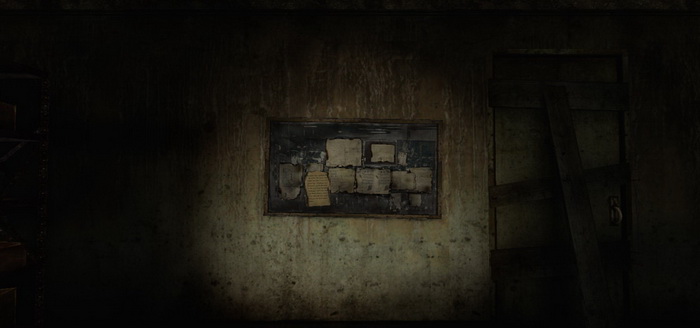
11) Use the key to the Doctor's Lounge. Inside, examine the note on the bulletin board. It will give you the combination to the morgue in the basement: 4573.
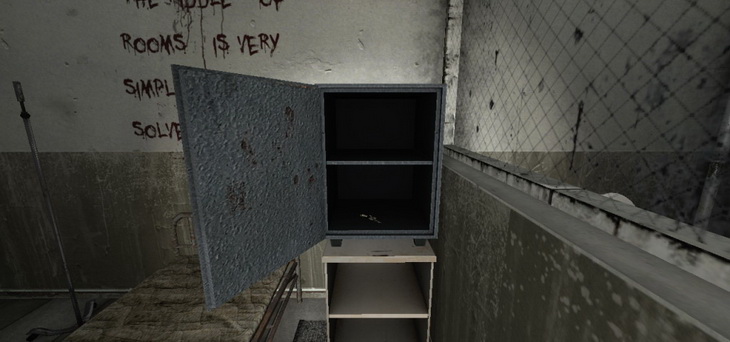
12) Go to the basement and input the code for the morgue.
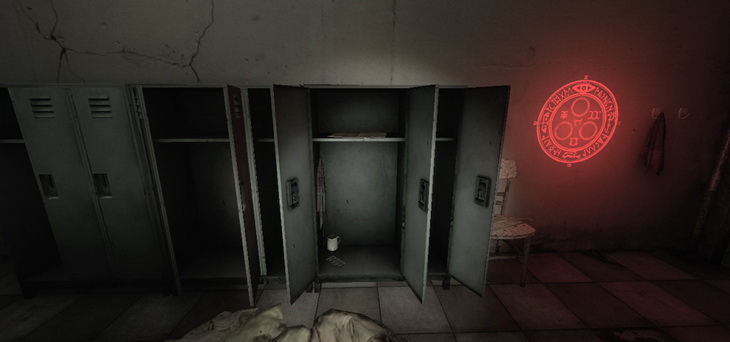
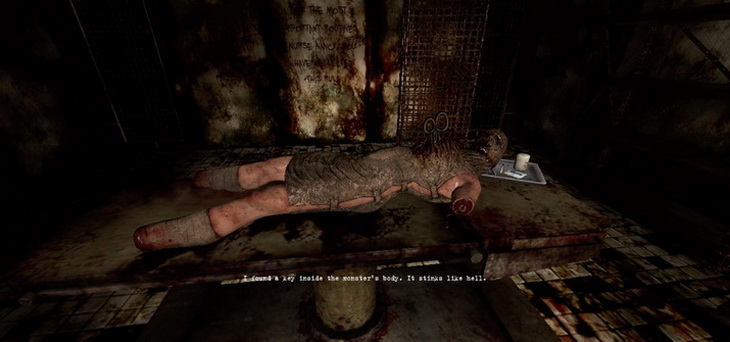
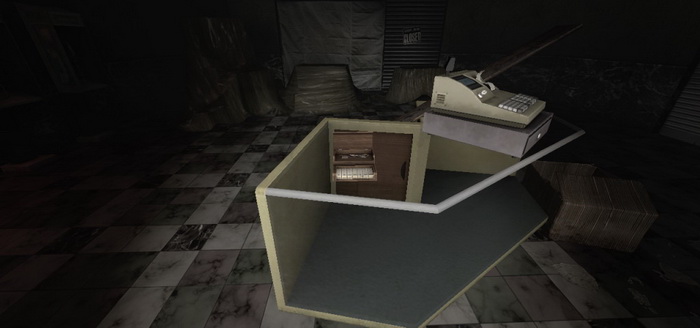
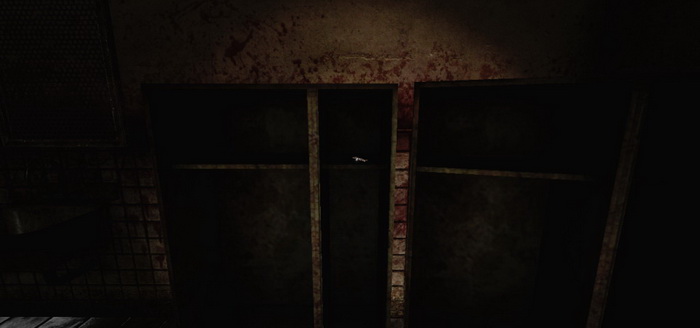
13) Inside, you will find a blood trail leading to one of the lockers. Open the locker to find a key on the tray. This is the key to room 302.
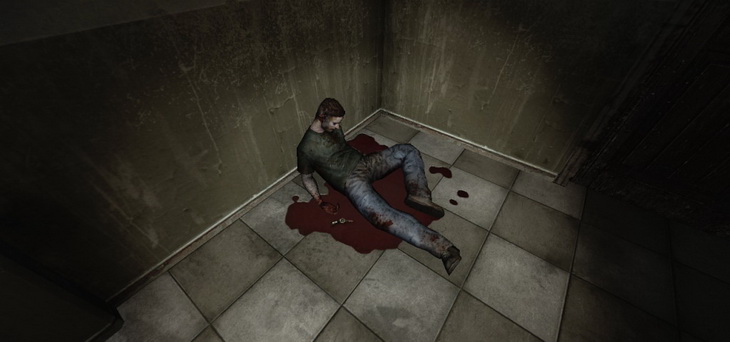
14) Use the key to Room 302. Inside you will find a body of...someone...and a key next to his body. Pick up the key.
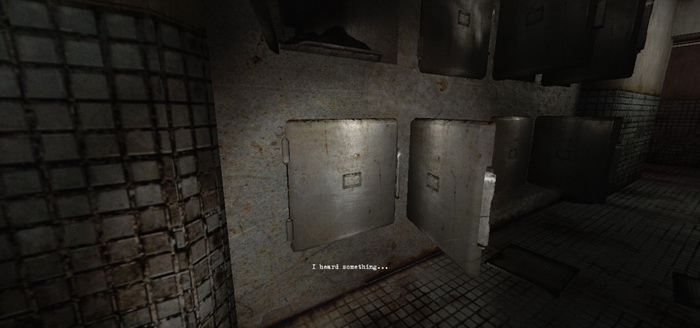
15) Use the key to the third floor stairwell and head to the first floor. Enter the men's bathroom. Open the middle stall to find a save point. Try to save, and you will trigger a cutscene. |


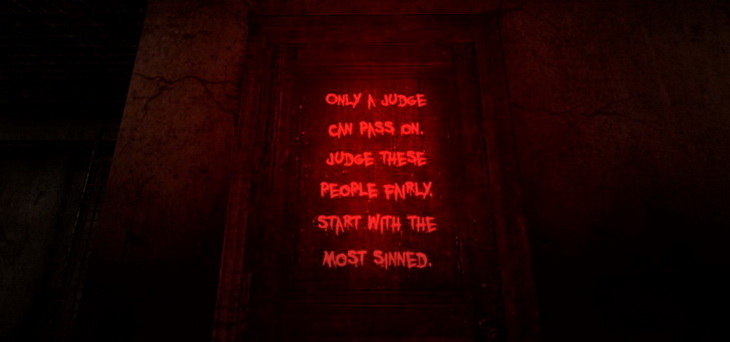
Judgment Puzzle |
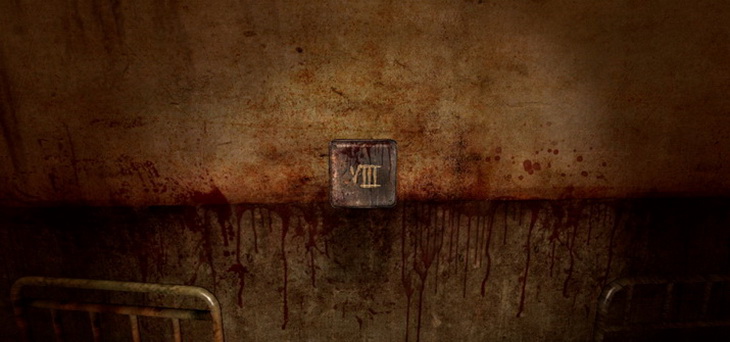
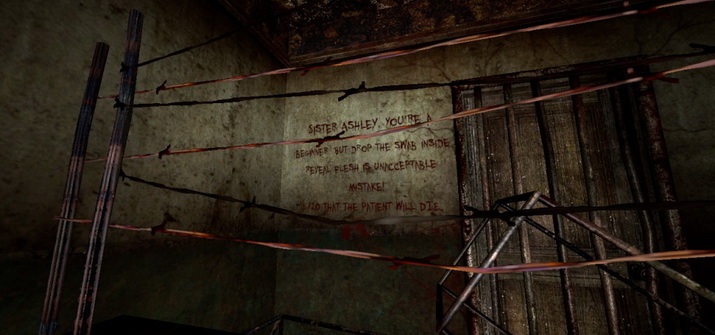
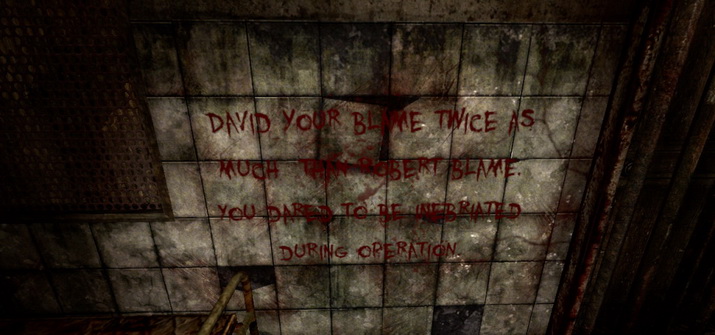
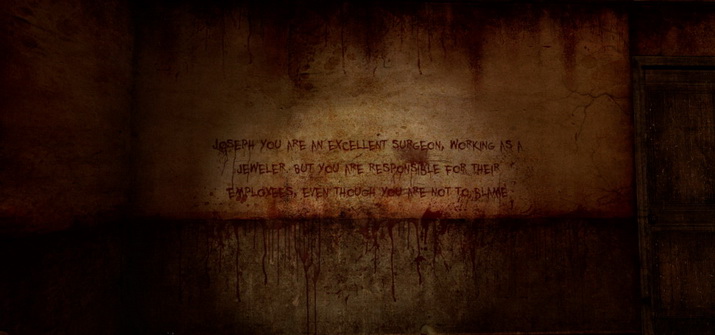
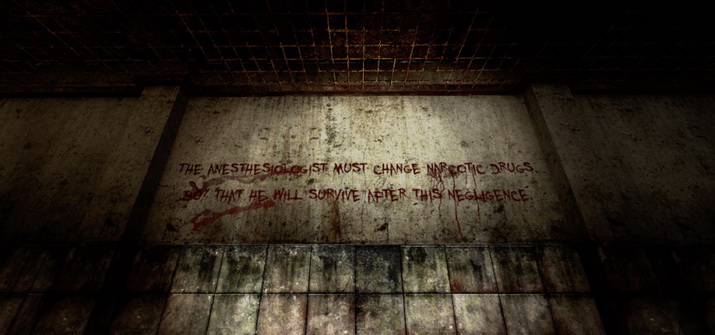
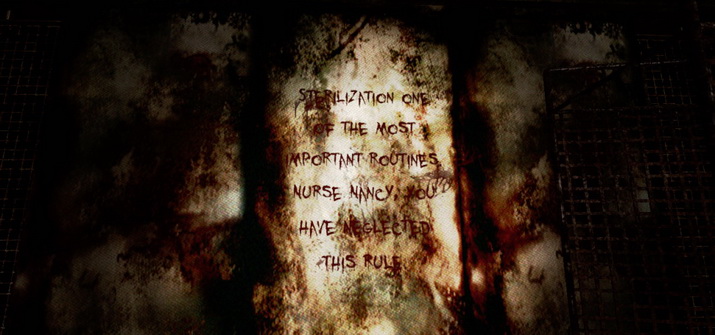
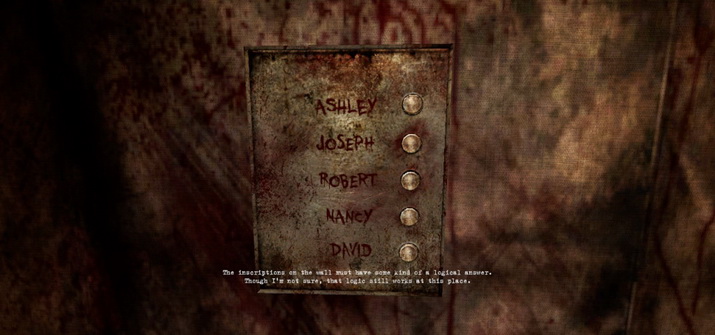 This puzzle involves "judging" a group of medical staff based on their culpability in a negligent incident that occurred at the hospital. There are several messages found around the hospital that provides clues to the order: This puzzle involves "judging" a group of medical staff based on their culpability in a negligent incident that occurred at the hospital. There are several messages found around the hospital that provides clues to the order: |
 The Lobby The Lobby |
 Exam Room Exam Room |
 Room 204 Room 204 |
 2nd Floor Bathroom 2nd Floor Bathroom |
 Operation Room (past the valve puzzle) Operation Room (past the valve puzzle) |
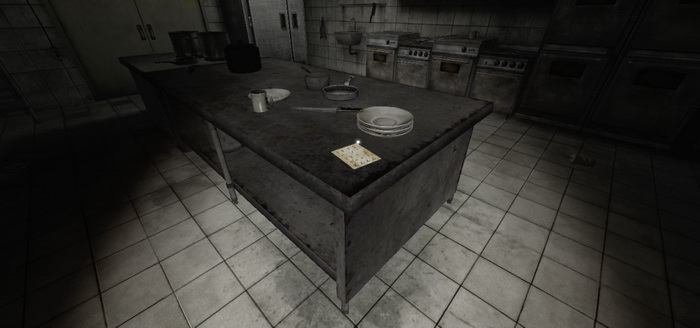
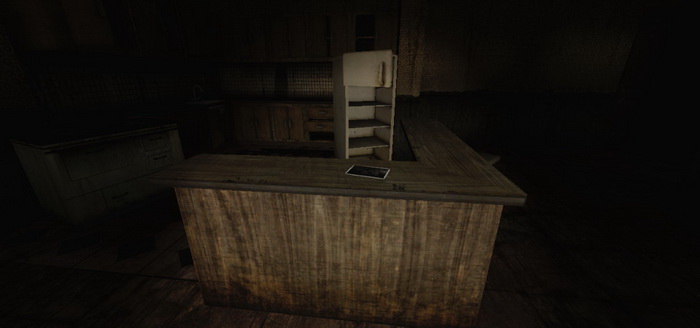
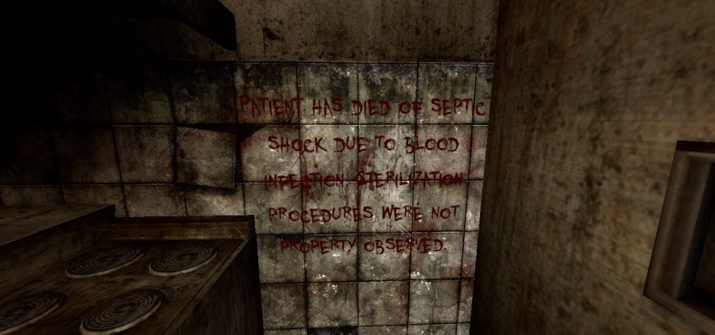 Kitchen Kitchen |
The correct order of the names is:
|
9) Once the puzzle is solved enter the basement. Head to the morgue and pick up the shovel. Use the shovel to wedge open the elevator doors.
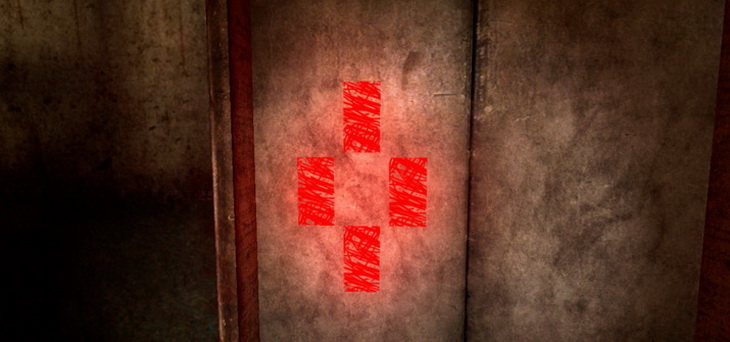
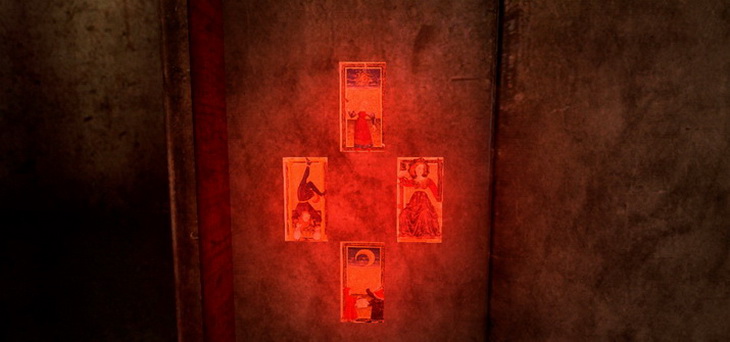
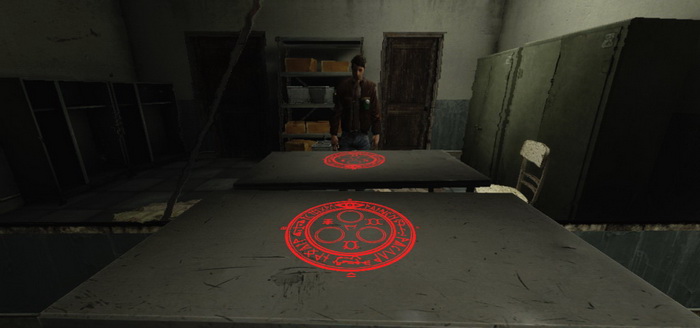
10) The elevator automatically takes you up the 3rd floor. Exit the elevator and turn around. You will see red marks on the door. Your new goal is to find tarot cards for this door.
11) Go to Room 301 and pick up the Sun tarot card.
12) Go to Room 302 and pick up the Justice tarot card.
13) Go to Room 303 and pick up the Moon tarot card.
14) Go to the storage room and examine the wires (you must do this before the next step).
15) Go to Room 305 and pick up the wire cutters (these cannot be picked up before examining the wires).
16) Cut the wires in the storage room, and enter. Pick up the strange key and exit back out.
17) Use the key on Room 307 and descend the ladder, then exit the room to the 2nd floor.
18) Enter the Intensive Care room and pick up the Hanged Man tarot card. 19) Now that you have all four tarot cards, you must examine four notes to trigger the ability to use the cards:
20) After examining the notes, return to the elevator. Insert the cards (the game automatically places them in the correct spots). Ride the elevator to the top.
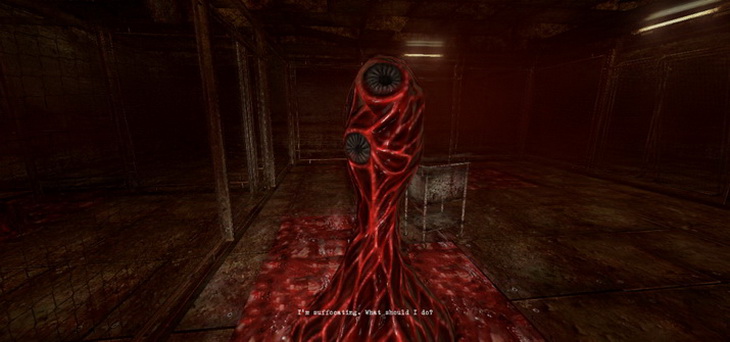
21) Exit the elevator, go across the short room, and enter the "boss" area. In this room, you are attacked by fumes from a bunch of monsters. Do not worry, though, your goal here is to wait until you pass out.
22) You will wake up in Room 302. Exit the room and make your way down to the first floor.
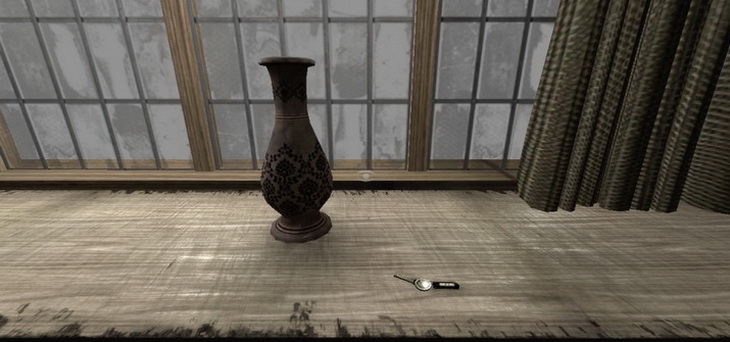
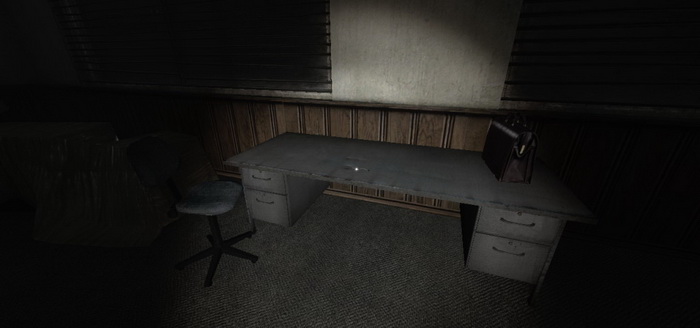
23) Enter the lounge and pick up the key from the table near the window.
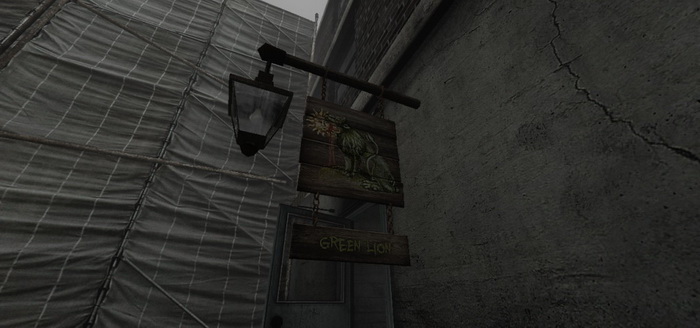
24) Use the key to enter the lobby. Examine the note on the reception desk. This will give you the new destination of Green Lion Antiques. You cannot leave without examining this note.
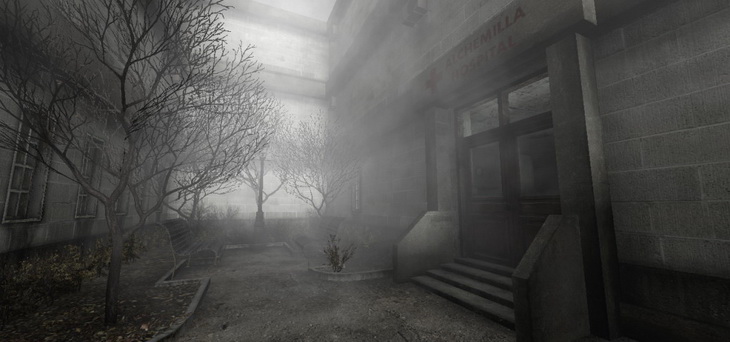
25) Exit the hospital doors, then the courtyard. |


04. Journey to Wilson Apartments |
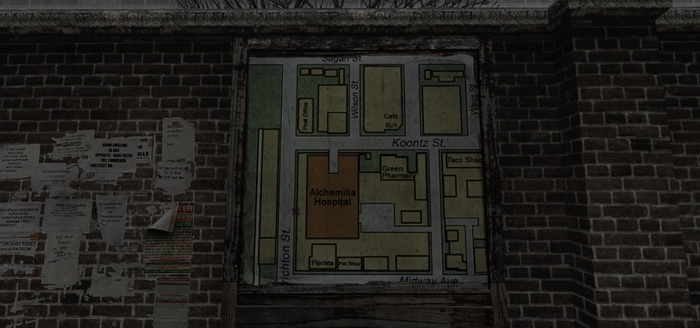
You are now in the town. If you go to the West side of the hospital, on Crichton Street, you will find the game's second and last map. There's no useful information on it, with the only marking being the "X" that denotes "you are here". You cannot take the map with you.
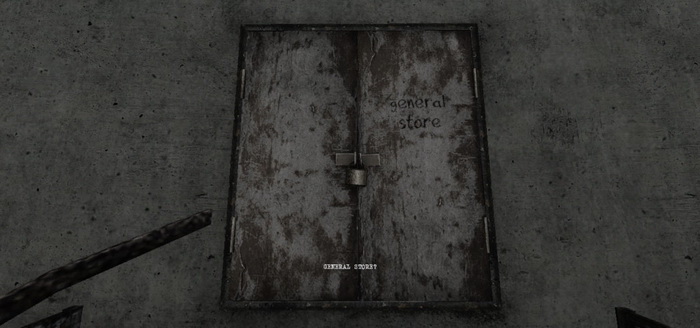
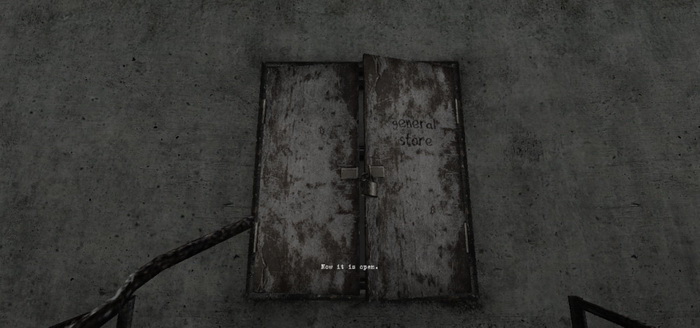
1.) Go across the street from the hospital and up the fire escape. At the top, you will find a locked door labeled "general store". You must find the key for this door.
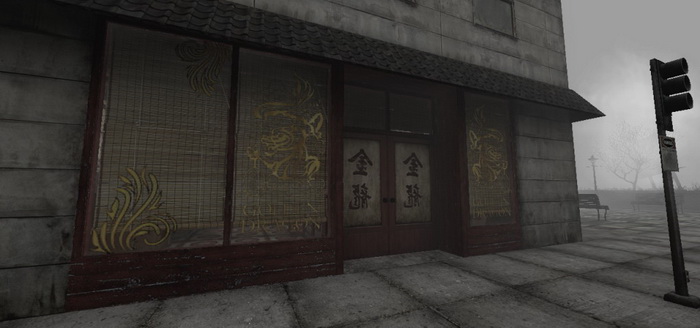
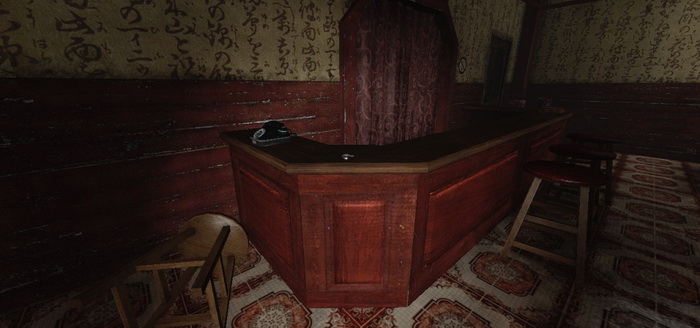
2.) Find the restaurant at the corner of Koontz and Crichton and enter.
3.) On the counter you will find some money. Take a coin. There's some soothing music in here, so relax a bit before heading back out.
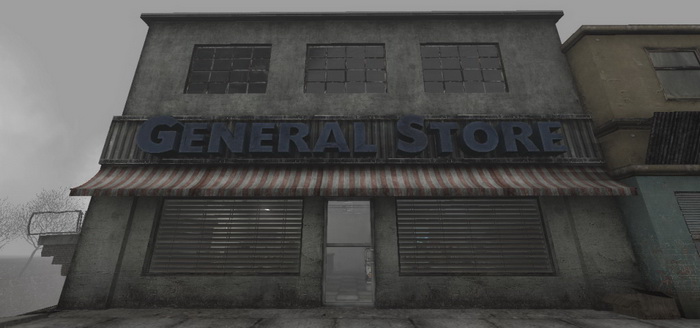
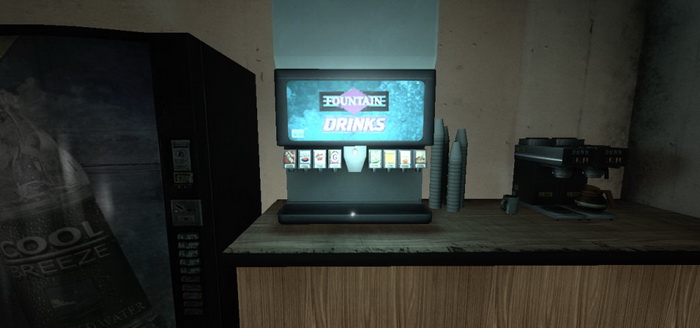
4.) Run all the way south to the General Store and enter.
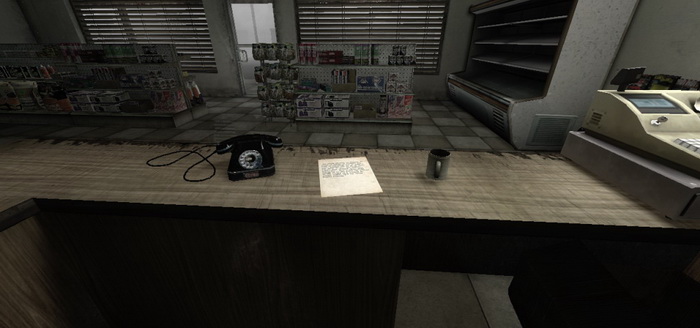
5.) Examine the note on the counter. It will tell you the order to push the buttons on the drink machine. The order is 1356.
6.) Use the coin from the restaurant on the machine, then press the 1st, 3rd, 5th and 6th drink options (from left to right). A key will fall out. Take it.
7.) Go back to the fire escape and use the key on the "general store" door. Enter. |
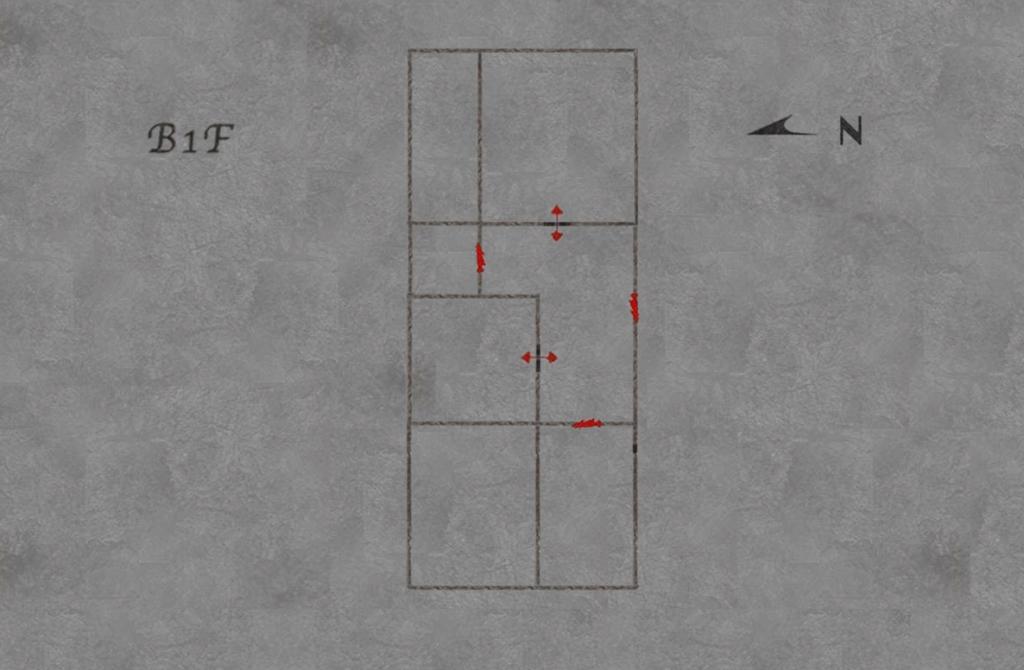
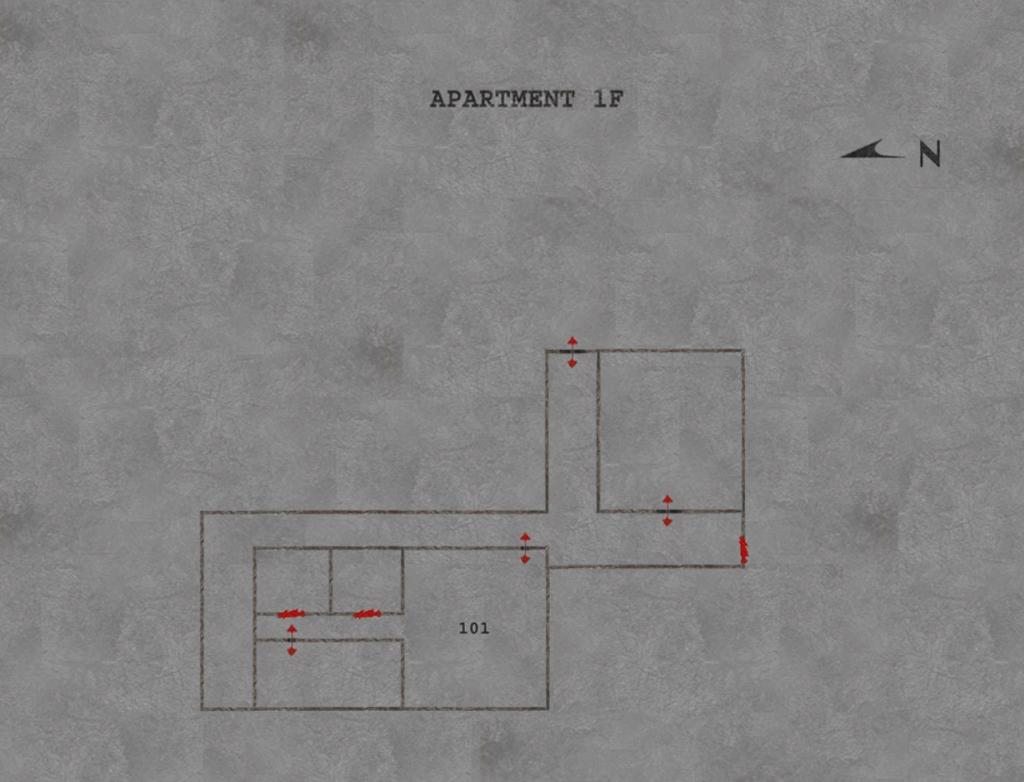
05. Wilson Apartments |
| Maps |
|
Bonus Secret
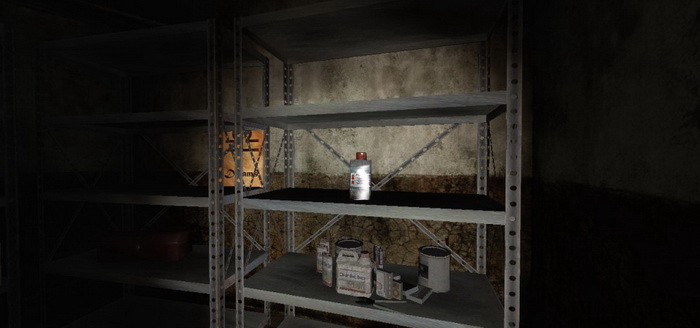
1) Go to Room 304. Inside, go to the storeroom and pick up the acid on the shelf.
2) Head back to the hall and go to the double doors and use the acid on the lock. Enter the stairwell.
3) Go down to the first floor and enter the lone room on the floor. Inside, pick up the landlord's key from the key rack.
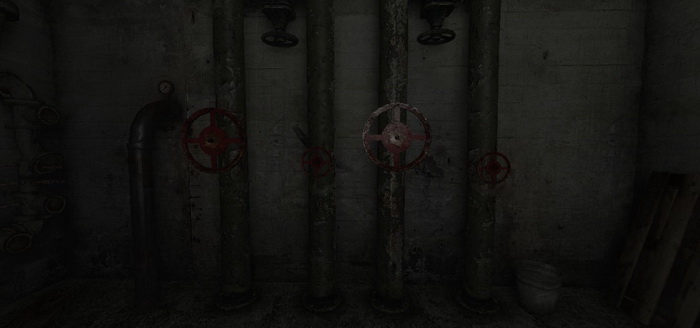
4) Return to the stairwell and use the landlord's key on the basement doors. Enter the double doors on the right. Inside, you will find four valves against the back wall. I do not think the game provides any clues as to the order to turn these valves. However, the solution is to make sure the two small valves rotate to the left and the two large valves rotate to the right. This will turn on the water, which you will need later.
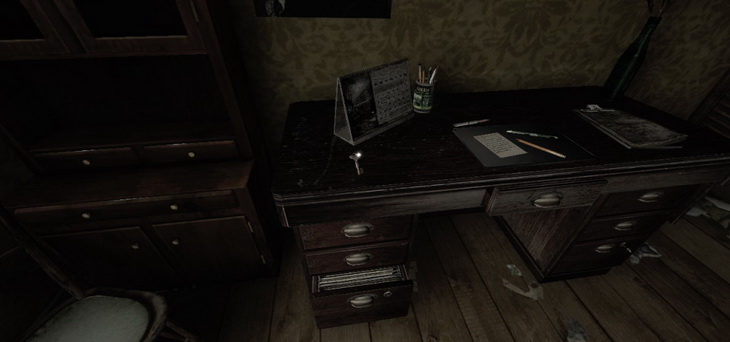
5) Return to the landlord's room on the first floor and go to the back bedroom. You will find a locked desk that requires you to press four symbols in a specific order. |
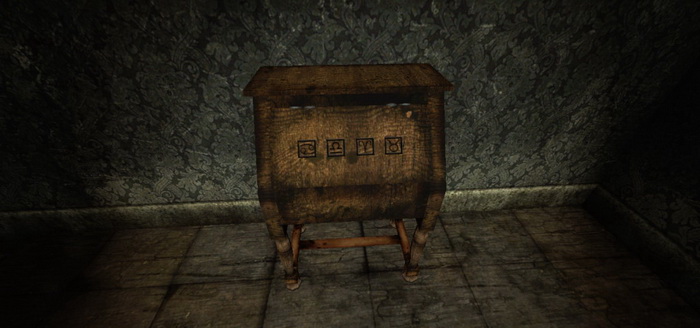
Dark Dreams PuzzleThe locked desk requires you to press a sequence of four symbols. The symbols are found around the apartment complex: |
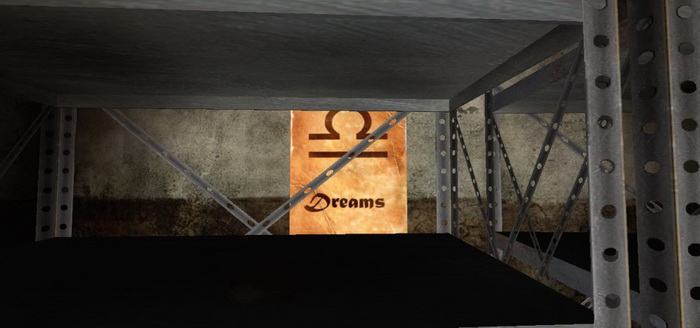 Symbol 1: Dreams (Room 304) Symbol 1: Dreams (Room 304) |
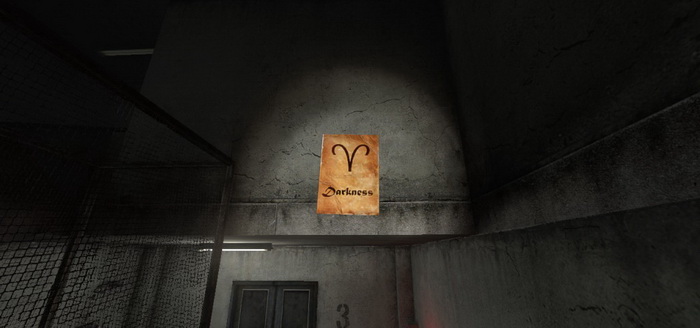 Symbol 2: Darkness (Stairwell) Symbol 2: Darkness (Stairwell) |
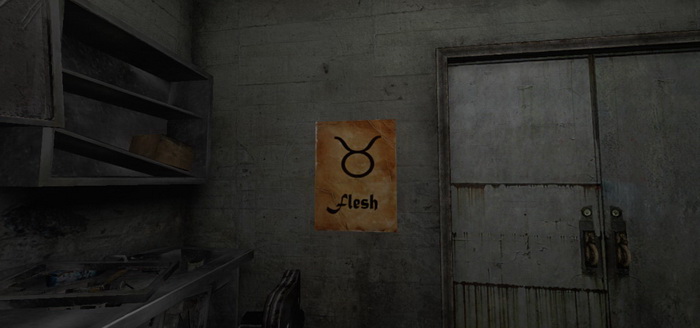 Symbol 3: Flesh (Basement) Symbol 3: Flesh (Basement) |
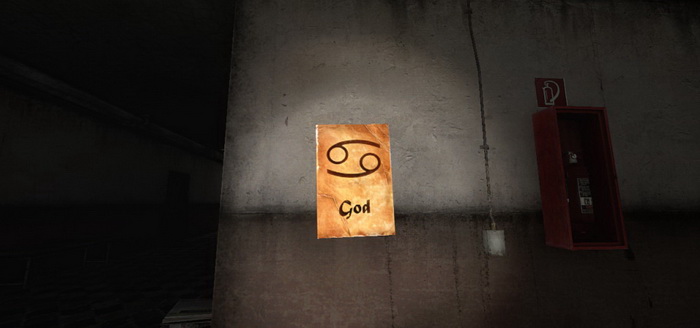 Symbol 4: God (2nd Floor Hall) Symbol 4: God (2nd Floor Hall) |
Reading the note on the table near the desk is supposed to provide clues to the order, but I did not find it that helpful. The correct order is Darkness, God, Flesh, Dreams. |
6) Pick up the keychain from the unlocked desk. The keychain will open rooms 201, 204, 205, 206, 303 and 306.
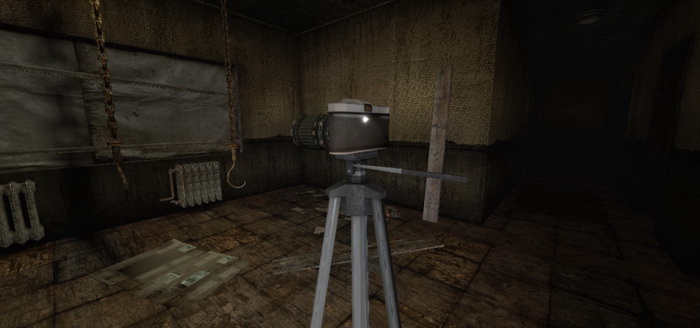
7) Go to Room 206 and pick up the film from the camera.
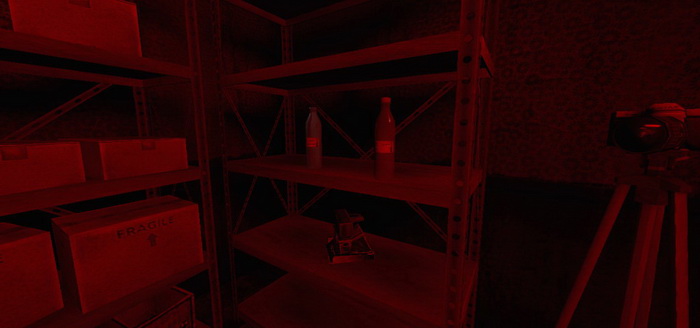
8) Head up to room 306. Inside you will need to develop the film from room 206. Go to the storeroom and read the note on the shelf. This will let you pick up the three chemicals in the room (two on one shelf, the third next to the note) as well as the empty bottle at the end of the short hall.
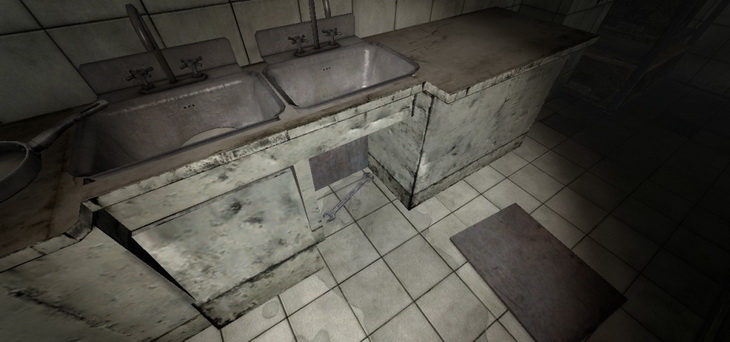
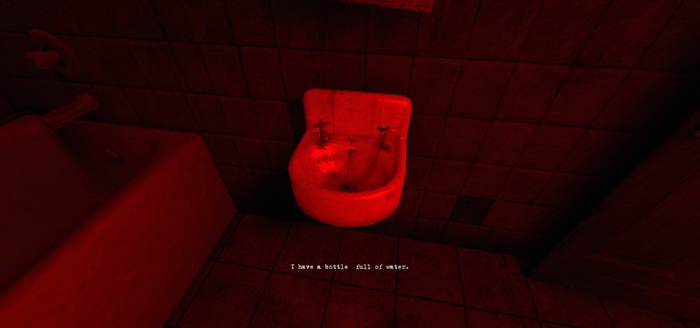
9) In the bathroom, fill up the empty bottle. The valve puzzle you solved earlier was to turn on the water for this sink.
10) At the film development table, click on the following order
Pick up the developed image. It will show you the solution for the puzzle in Room 206.
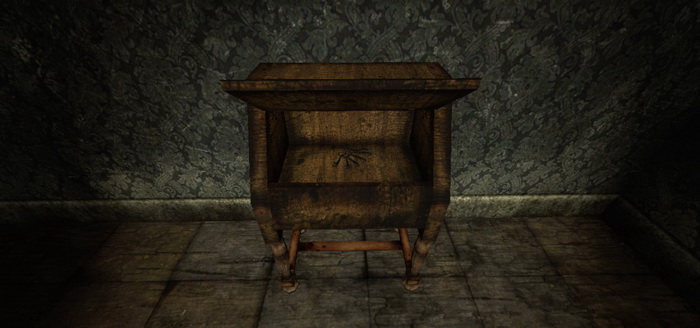
11) In Room 206, pick up the stuffed toy from the room closest to the front door and place it on the right hook.
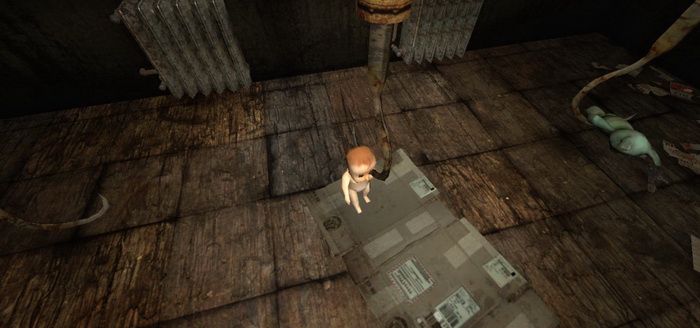
12) Pick up the baby doll from the back bedroom and place it on the middle hook.
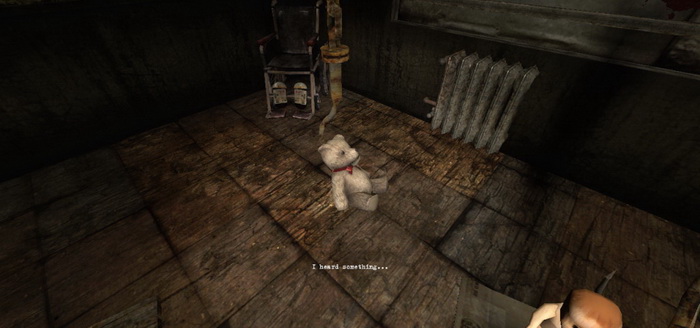
13) Pick up the teddy bear from the back bedroom and place it on the left hook.
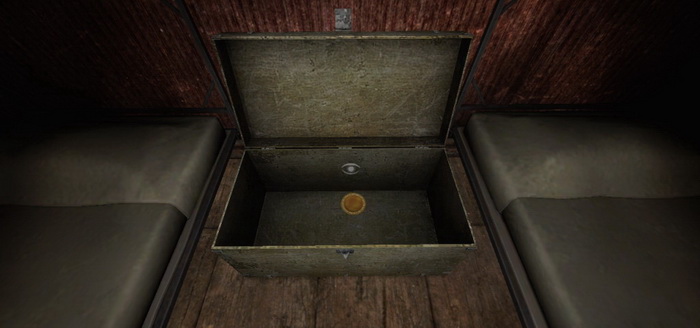
14) The toybox in the back bedroom is now open. Pick up the golden plate inside it.
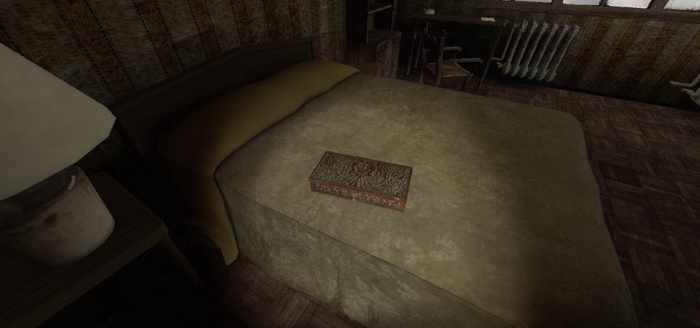
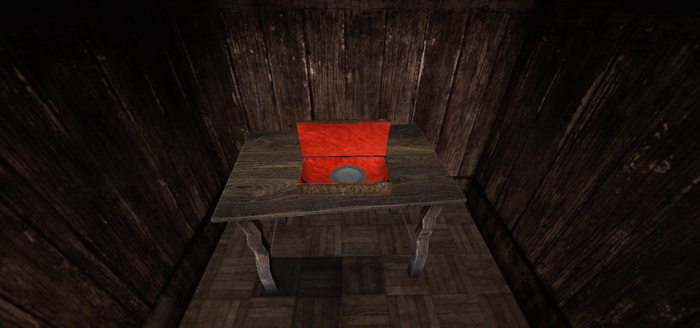
15) Go to Room 201 and pick up the locked box from the back bedroom.
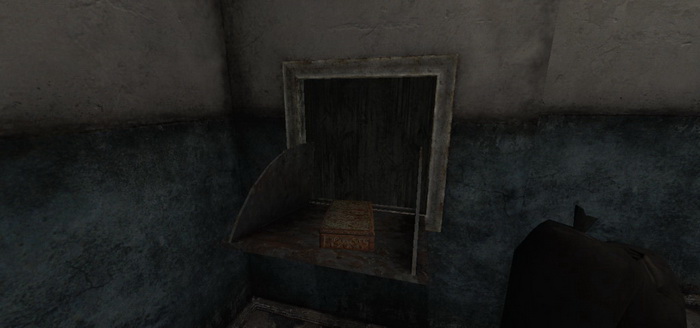
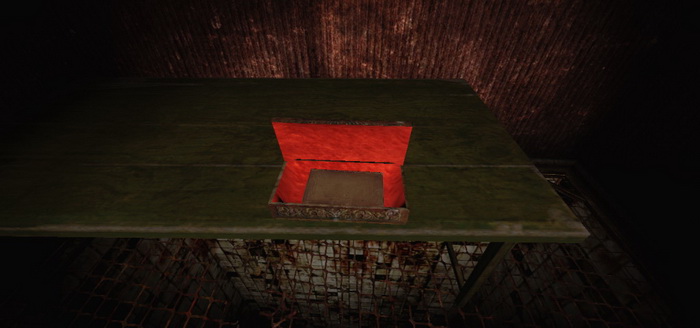
16) Head up to the 3rd floor and place the locked box in the garbage chute and shut it. It will fall to the 2nd floor.
17) Return to the 2nd floor and pick up the key from the now opened box near the garbage chute.
18) Go to Room 201 and read the note on the table. It gives you a phone number 555-4584.
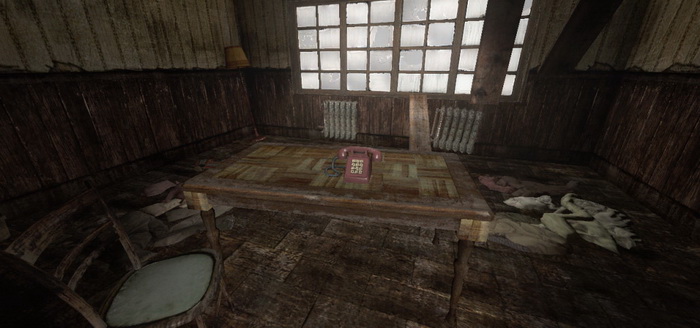
19) Go to Room 204 and dial the number 555-4584 on the phone. No one picks up. Hmm. But a phone is ringing. Follow the sound.
20) Go to Room 305 and answer the ringing phone. This phone call gave you access to this room.
21) Staying in Room 305, go to the end of the hallway and use the key you got from the dropped box on the new box. This will give you the silver plate.
22) Head to Room 303 and place both the golden and silver plates into the desk. The desk will give you a key. Take it.
23) The key goes to Room 302 (which you may have noticed the number plate has fallen to the floor). Go inside. Head to the storeroom and examine the note on the wall. This will remove the barricade to give you access to the boards at the end of the hall.
24) Break down the boards. This gives you access to Room 301.
25) Head to the back bedroom and pick up the landlord's lost key. Leave the room and go to the 1st floor.
26) Leave the apartments through the double doors on the 1st floor. |
06. Journey to the Green Lion |
1) Find the store near the apartment entrance and enter.
2) Behind the counter is a key. Take it. You can also save your game here.
3) Exit the building and turn right on Sagan Street, then left at the intersection. You'll find a locked gate. Use the key from the shop.
4) Continue north until you reach the antique shop. A door can be found in the large street barricade, but for now it is locked. Enter the Green Lion. |
07. The Green Lion Labyrinth |
1) Go to the back of the shop and enter the hole.
2) Run to the other side and exit the hole. On the other side, go through the gate.
The Labyrinth Area 1: Run to the end of the corridor and exit through the double doors.
Area 2: Run to the end and through the double doors.
Area 3: Exit the room through the door at the far corner.
Area 4: Exit at the end of the corridor.
Area 5: Go to the end of the hall and exit through the right side door.
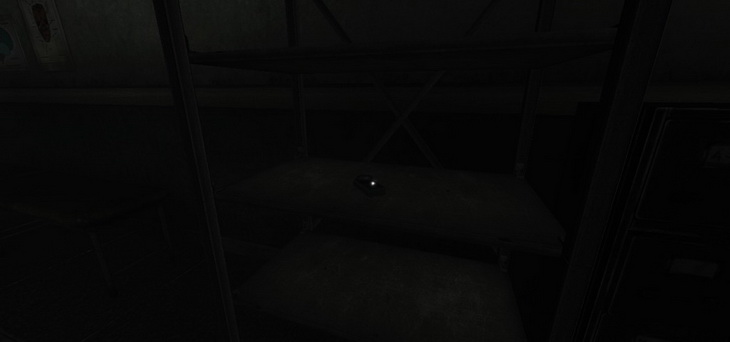
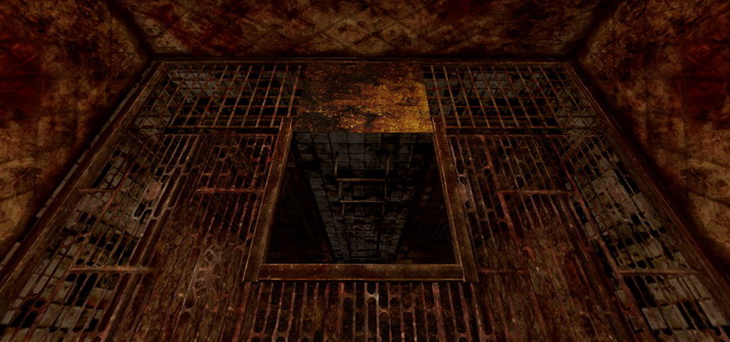
Area 6: Go past the morgue lockers and exit through the doors.
Area 7: Go to the end of the hall.
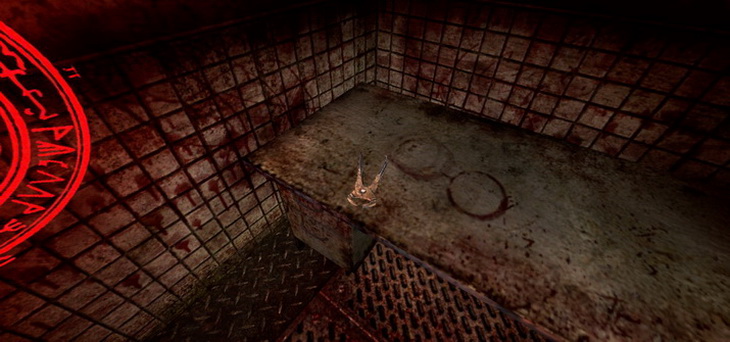
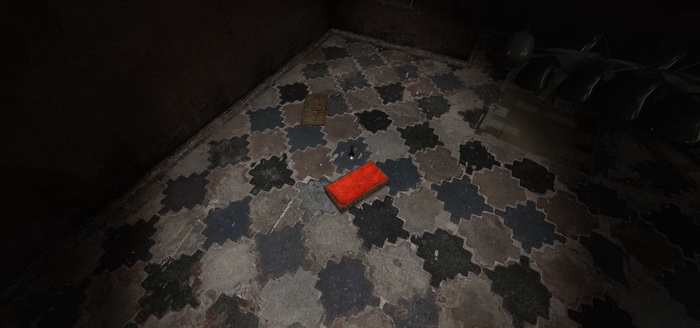
Area 8: Move around the lights on the floor and exit around the corner.
Area 9: Go to the end of the hall.
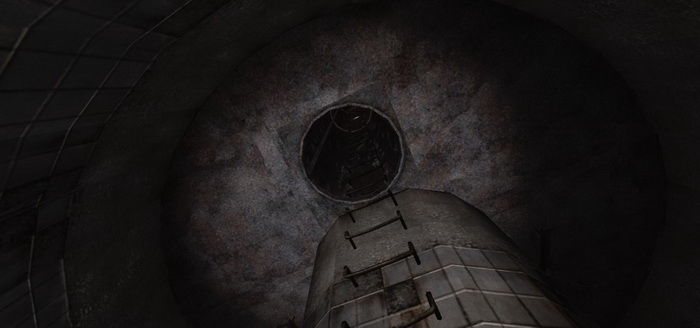
Area 10: Go through the narrow tunnel to a circular chamber, and climb the ladder.
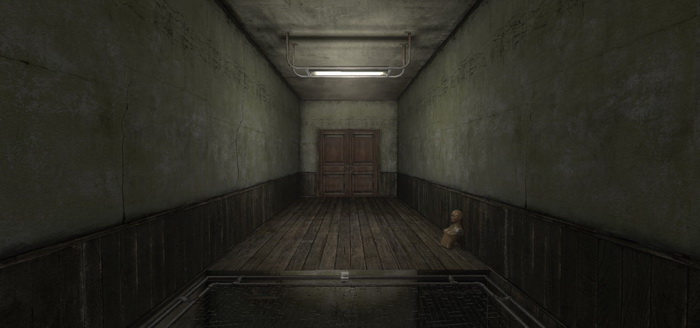
Final Area: At the top of the ladder, the room is closed. The manhole will slide shut. Then the rear wall will open to reveal an exit at the far end. Leave the labyrinth. |


08. Silent Hill Town Center |
| Maps |
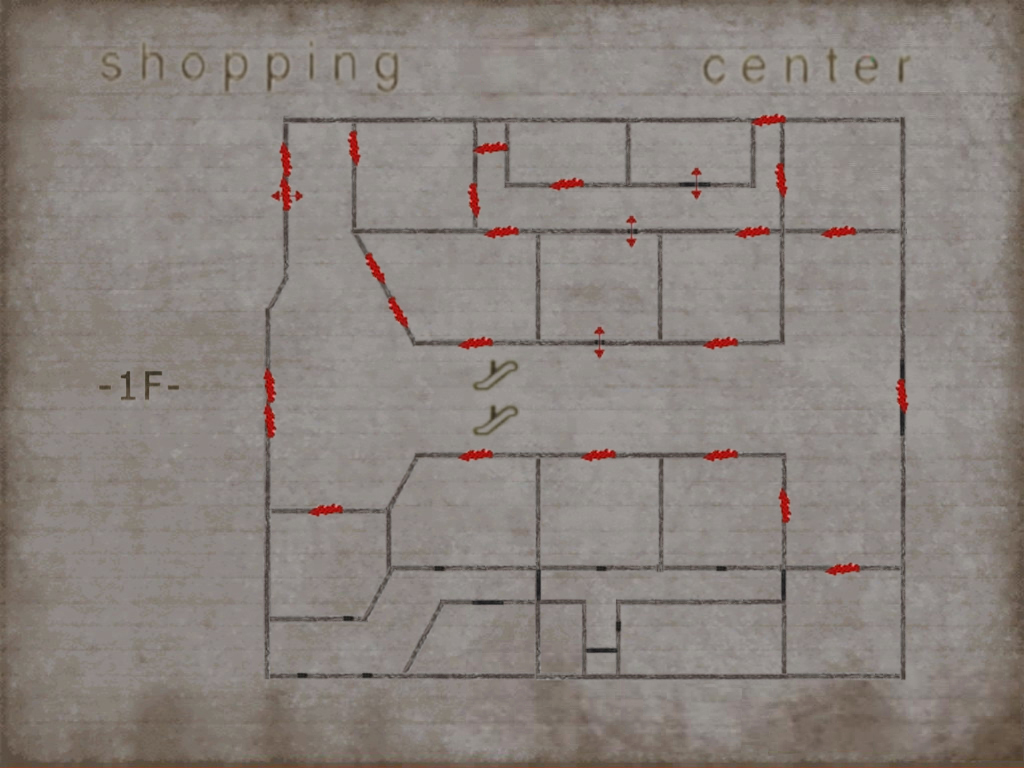
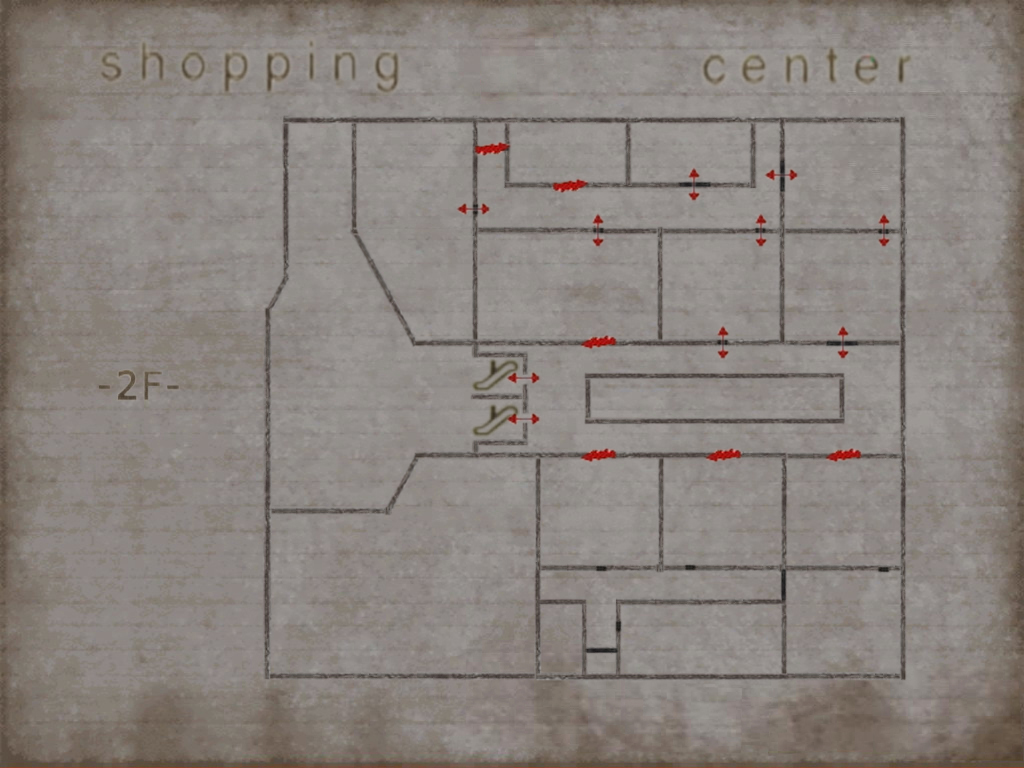
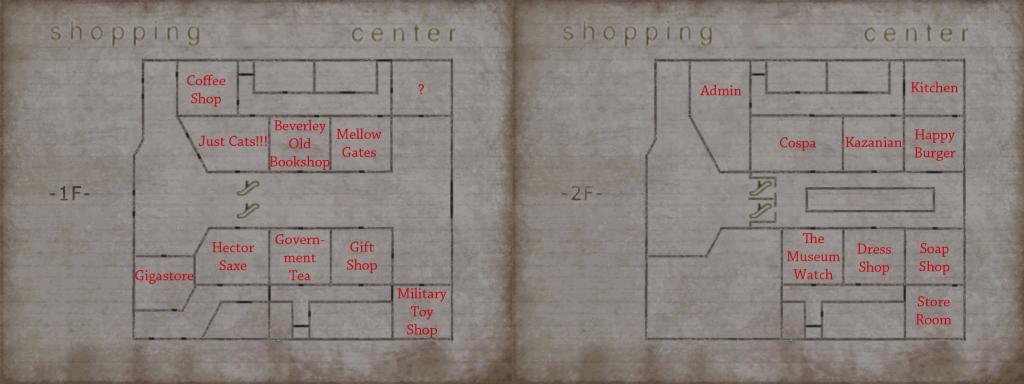
|
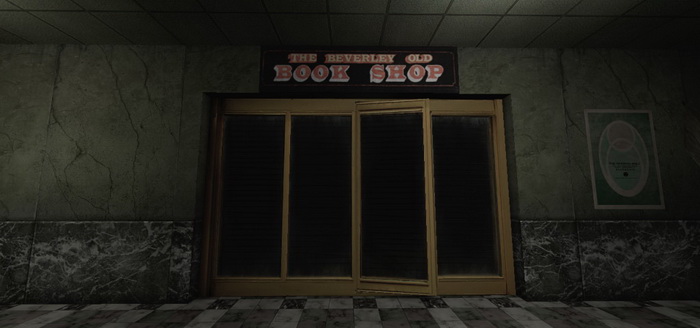
1) Enter the Beverley Old Book Shop on the right.
2) Exit through the back of the bookstore and go through the double doors in the employee hallway.
3) In the stairwell, run up to the 3rd floor and pick up the memo near the locked door. This is one of three memos that you need to decipher a keypad code.
4) Go to the 2nd floor and enter the door in the corner. This leads to Kazanian Jewelry.
5) In Kazanian, make note of the broken music box, then leave through the front.
6) In the main shop corridor, loop around the walkway and go to Happy Burger. Get to the door at the back of the shop.
7) In the kitchen, pick up the memo on the counter. This is the second of three memos you need to deciper a keypad code. You can also unlock the side door that leads back to the employee hallway.
8) Go back to the main shop corridor and down the escalators. Make your way over to the far right and pick up the memo near the benches. This is the third and final memo you need to decipher a keypad code.
9) Go back through Kazanian Jewelry, and head to the door with the keypad. The three memos you picked up are a mathematical equation. I'll let you do the fun math if you want, but the keypad code is 0863.
10) In the room, pick up the metallic handle.
11) Return to Kazanian and use the handle on the music box. Remember the tones that play for the next step.
12) Exit Kazanian, go to the stairwell, go down to the first floor, return to the bookstore and exit it, and run to the broken fence near the mall entrance. There is a music box on the counter. The solution is 1-7-3-5. Pick up the key inside.
13) Go back to the bookstore, through the stairwell, up to the 2nd floor, and use the key on the door close to the stairwell entrance. This leads to the clothing store.
14) Go to the fitting room in the corner to trigger a cutscene. |


09. Silent Hill Town Center Otherworld |
| Maps |


|
1) Exit the clothing shop and enter the elevator to the left side of the hallway. Descend the ladder and exit to the first floor.
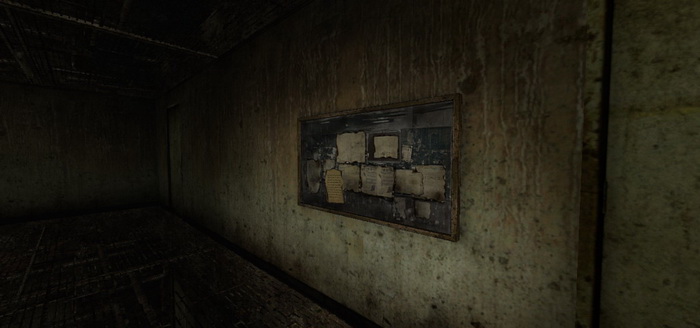
2) In the 1F hallway you will find a memo for the upcoming color puzzle hanging on a bulletin board.
3) Return to the 2nd floor. You will find a memo on the wall for clues to the upcoming clock puzzle hanging on the bulletin board.
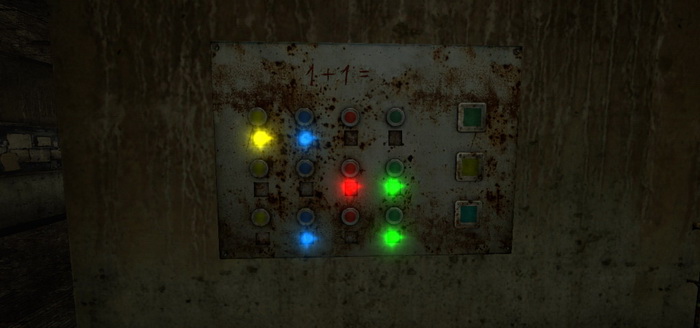
4) Get to the panel of color buttons on the right side of the hallway. The goal here is to match up two colors per row that will create the third color on the far right side. The solution in the image is the correct one. For the first row press the 1st and 2nd buttons. For the second row press the 3rd and 4th buttons. For the third row press the 2nd and 4th buttons. This will unlock the kitchen behind you.
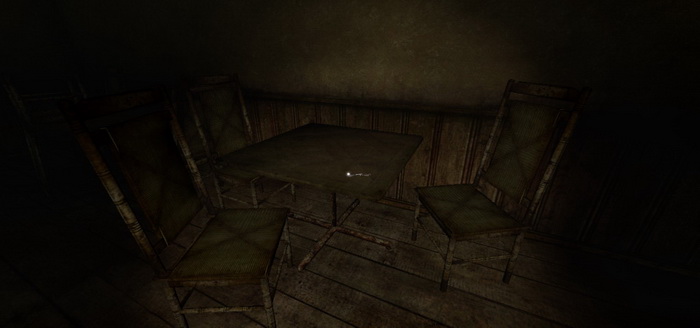
5) Enter the kitchen, then head to the front room. At the table, pick up a key.
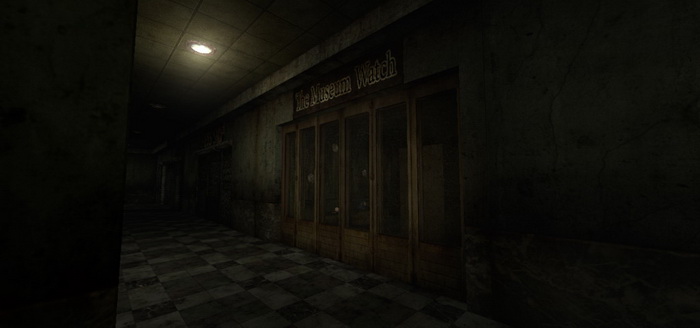
6) In the main corridor, head over to The Museum Watch and enter.
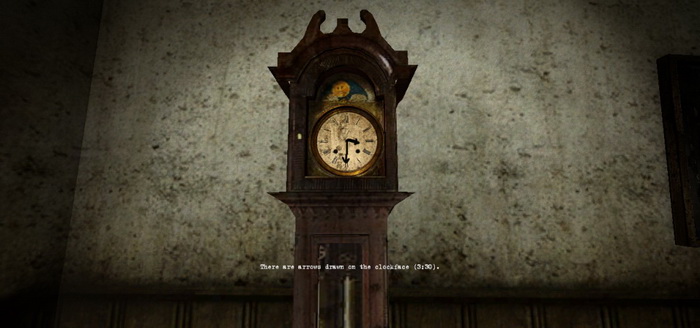
7) Inside, make a note of the grandfather clock (the face reads 3:30).
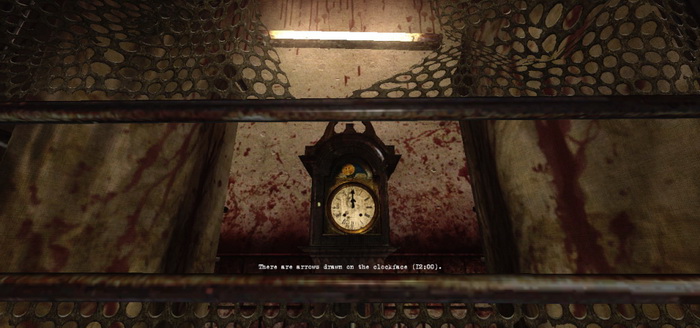
8) Exit to the hallway, enter the elevator and go to the 1st floor, and go through the door with the elegant design. You'll find a clock at the end. Make note of the clock (the face reads 12:00).
9) Go to the double doors and enter the keypad combination. The solution is 6-3-0.
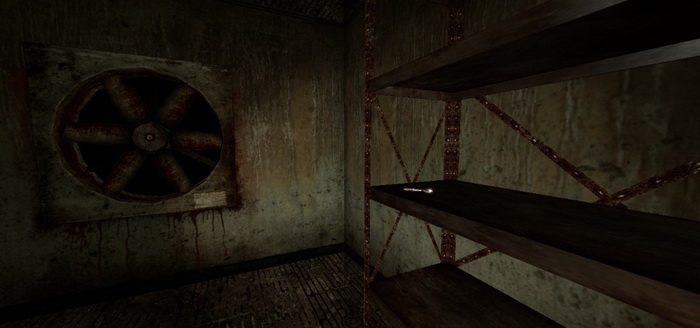
10) Run to the end of the hallway and pick up the key on the shelf near the rotating fan.
11) Use the key to unlock the double doors in this hallway. Inside, run to the far end and examine the memo (if you do not examine this memo, then you will die after falling into a hole you must jump into later).
12) Head back to the elevator, return to the 2nd floor, return to the watch shop, exit back to the main corridor, run to Happy Burger, make your way through the kitchen, head through the hallway to the elevator, take it to the first floor, and use the key on the door in the corner. This is the Mellow Gates shop.
13) Exit the Mellow Gates and into the lobby area. You can head over to the clock in the corner and see that the face reads 6:30, which is the solution to the puzzle you already solved.
14) Make your way over to the broken gate and go through.
15) Pick up the key on the shelf.
16) Head back to the Mellow Gates, return to the elevator, climb the ladder to the 2nd floor, and use the key on the door at the end of the hallway.
17) In the room, examine the note on the table. You can also examine the clock in the corner. When you are ready, jump in the hole (if you didn't read the memo I told you to read from earlier, this fall would simply kill you).
18) When you recover from the fall, exit the shop through the front. Try to leave the mall and a cutscene will trigger. You are now in the normal version of the mall. You can save your game, enjoy the music, and then leave. |

10. Returning Home |
1) Turn right and head north. Pass the Green Lion shop and go through the door in the barricade.
2) We are now in uncharted territory. This is a part of town previously unexplored and unknown. Unfortunately, no street names are provided. Continue to head north until the road is gone, then turn left. Continue down the alley until you find a gated area and go through it.
3) Pass through the gate, and go around the car in the garage. Continue down the alley.
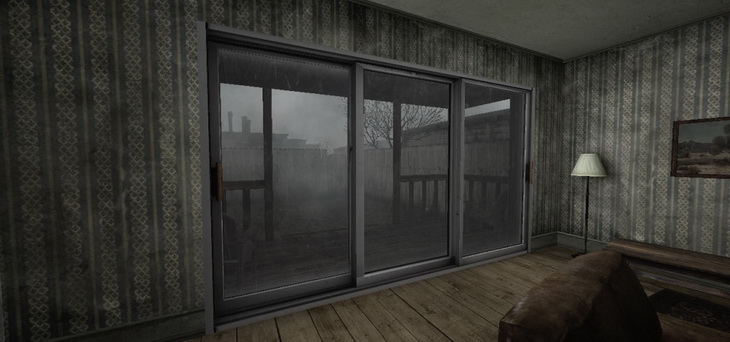
4) Eventually the alley dead ends. Enter through your backyard fence.
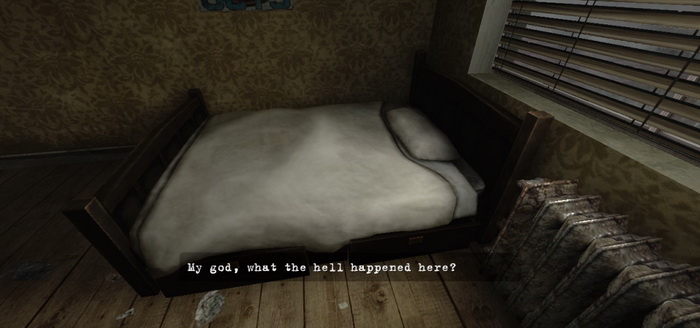
5) Enter your home and go upstairs to your room. Approach the bed to trigger a cutscene.
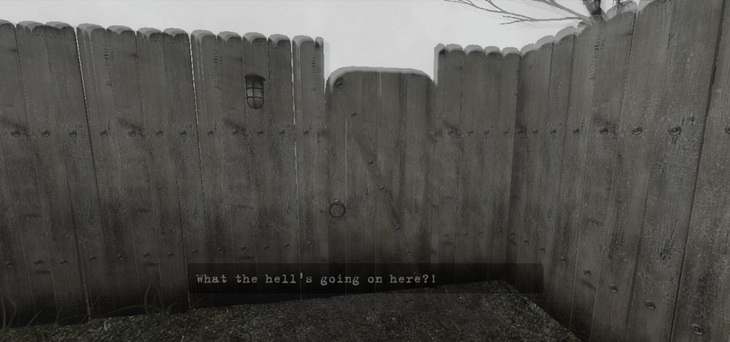
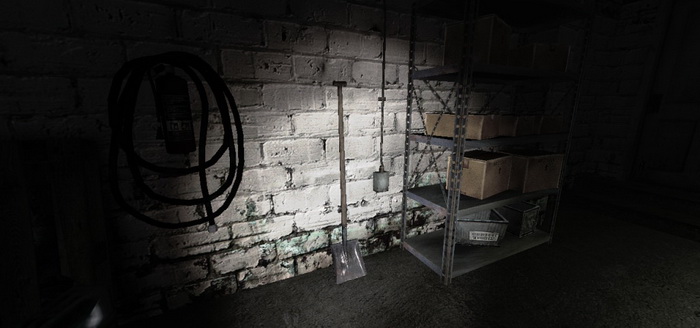
6) Go downstairs and enter the door next to the backyard. This is your garage. Pick up the shovel.
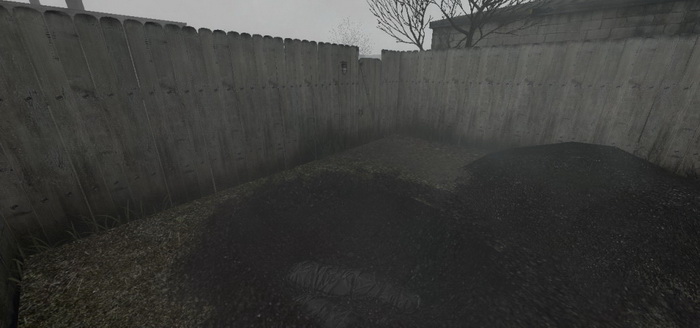
7) Go to the backyard to do some digging. This will trigger a cutscene. |

11. Return to the Hospital |
1) Enter the house and exit through the front door. You can save your game in the hallway.
2) Turn right and head down the street. Take a left at the intersection. Eventually you'll come to a little path next near windmill on the left. Pass through here.
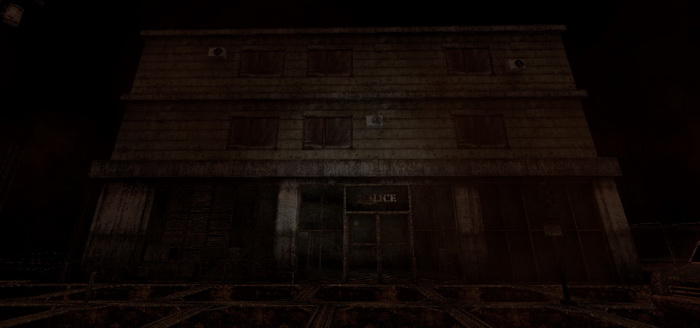
3) Continue straight until you come to the police station. Enter the station.
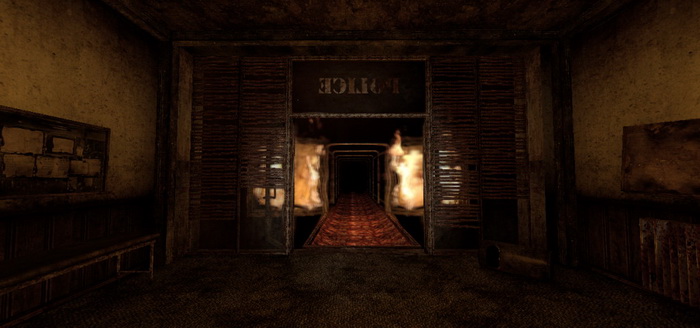
4) Once inside, take the left door. Pass through another door, and make your way around some desks. Exit the station...but things are about to get really hectic really fast! |
The Fire Chase
5) When you complete the chase, take a breather and then enter the hospital. |
12. The Truth |
1) All the doors are now locked except for two: you can save your game in the Exam Room, but more importantly your goal is the basement stairwell.
2) Descend the long passageway to reach the basement.
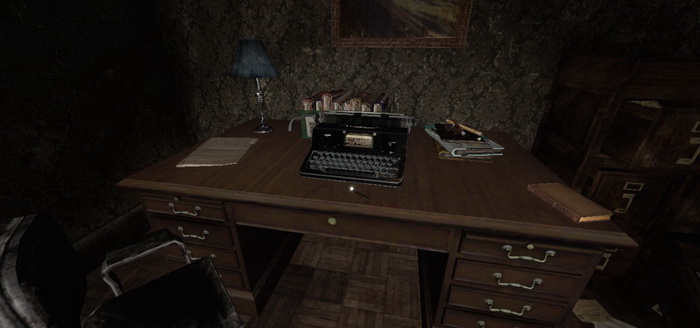
3) In the room, examine the papers on the desk. Some important plot points are revealed here. We also finally learn the name of our protagonist: Norman Wexler. You can also find Lisa Garland's iconic diary entry from SH1 in the corner. When you are ready for the weirdest and most challenging part of the game, exit the room... |

13. Nowhere |
1) You find yourself in the East wing of the first floor of the hospital. In this corridor, do not pay attention to either the stairwell or lounge doors, as they teleport you between each other. The director's office will lead to Room 206 of the Apartment level (the room with the hook puzzle). The kitchen will lead to one end of a morgue. The medicine room will lead to the opposite end of the morgue. The morgue room is the most critical part of this level, allowing you to gain teleportation abilities.
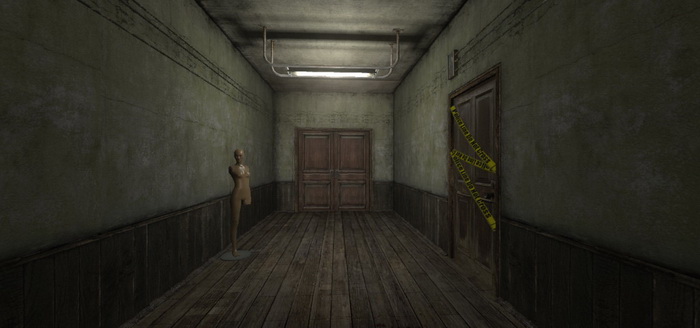
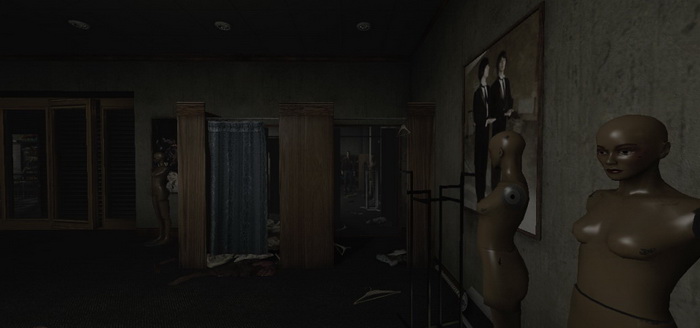
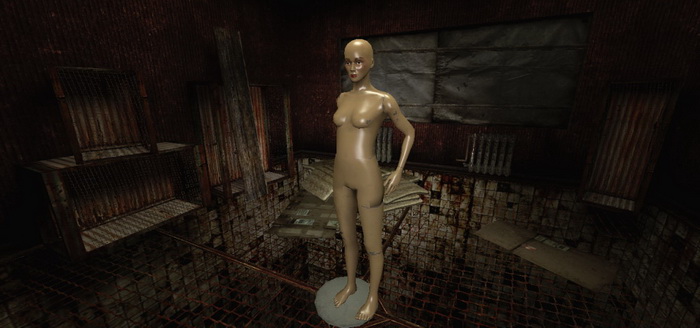
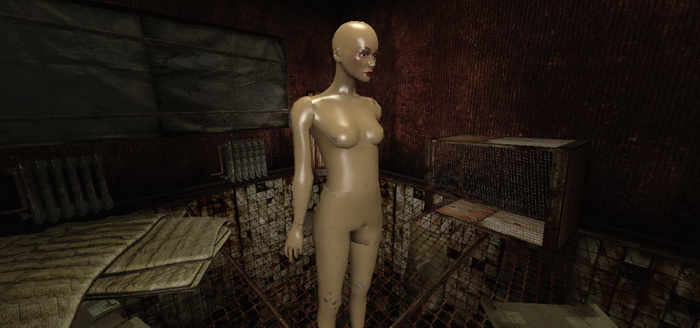
2) Go to Apartment Room 206 (remember, the Director's Room door leads here). In the front room, pick up the mannequin arm on the crate and attach it to the mannequin in the room.
3) Go to the kitchen area of Room 206 and pick up the photo on the counter. This will give you a clue to the morgue locker puzzle coming up.
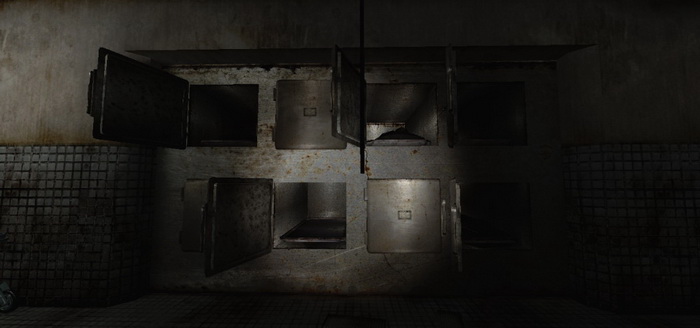
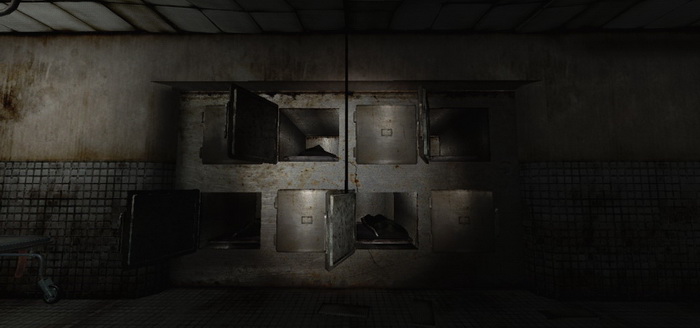
4) Go to the morgue (remember, the kitchen leads to the morgue) and open the lockers based on the note you picked up in room 206. The note told you to open the lockers in the opposite way of how they appeared in the photo. You must do this for both locker sides. The order is: Open Closed Open Open
5) Opening the morgue lockers in this order has transformed the front door into a teleportation door (it no longer leads to the first floor). Turn around and exit the morgue through the front door. You will teleport to the East wing of the 2nd floor. The west wing is blocked off by barbed wire. If you turn around, the door you just came from is now locked with a keypad. Room 205 will teleport you to the West wing of the 2nd floor (past the barbed wire). So enter Room 205 to teleport over there.
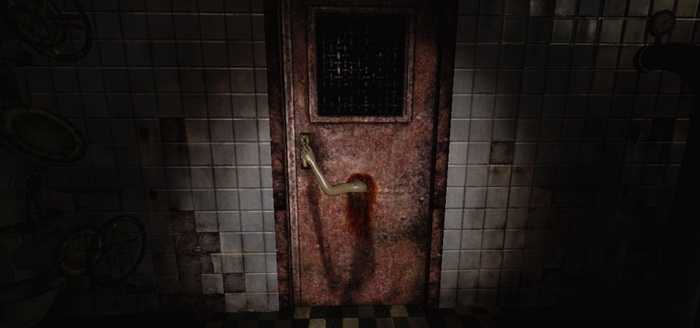
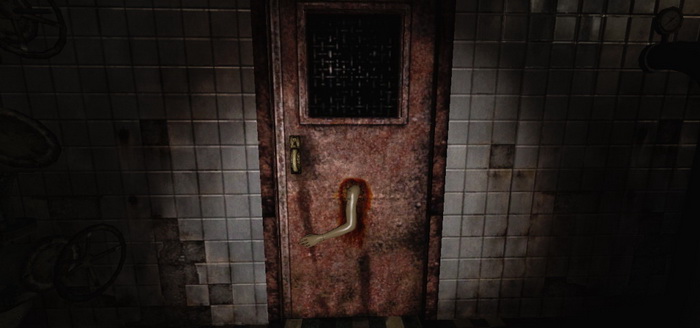
6) In the West wing, go to Room 201. You will find a door with an arm holding the door shut. This door is linked to the mannequin in Apartment Room 206. Remember this door.
7) Staying in Room 201, examine the note on the table. You must do this to enable the next step.
8) After examining the note, leave the room and go to the Nurse Center. The Nurse Center is now Happy Burger. Go to the middle of the restaurant and retrieve the doll from the hook (remember, you had to read the note in Room 201 before being able to take this doll).
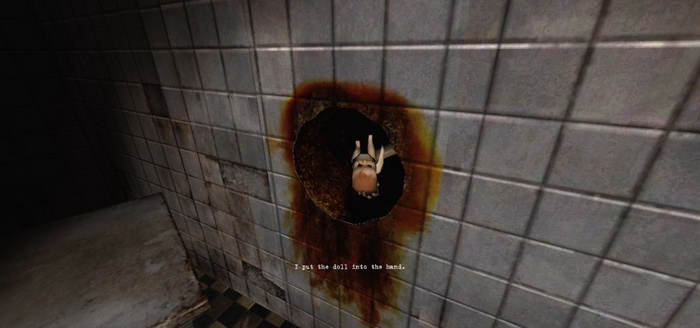
9) Return to Room 201 and place the doll in the hole.
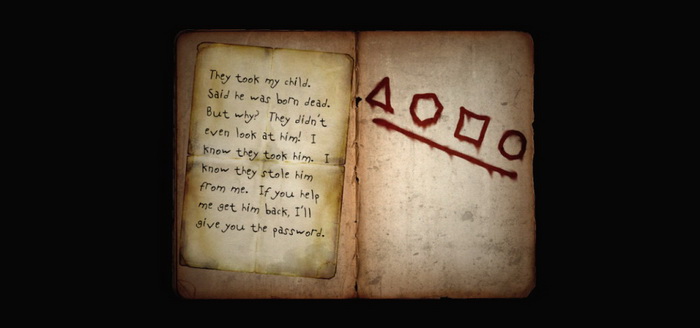
10) Re-examine the note on the table. You will now see 4 shapes. This is a clue for the combination to the keypad in the East wing. The number of sides equals code numbers. The keypad combination is 3-6-4-0.
11) Before going to the keypad, go to Room 202. Inside you will find a key at the far end. Take it.
12) Go to Room 204 to teleport back to the East wing. Head to the keypad and enter the code 3-6-4-0.
13) In the morgue, head to the far end and exit. You are now on the first floor again. Go to Apartment Room 206 and to the back bedroom. Use the key on the box to find a note for a new morgue locker combination. You are about to open up a 2nd teleportation door.
14) Go back to the morgue. Close all the doors on the right side. The note you picked up tells you the following:
This combination will turn the door at the rear of the morgue into a new teleportation door that takes you to the third floor. So remember that now the front door leads to the 2nd floor, and the rear door leads to the 3rd floor. Go to the third floor.
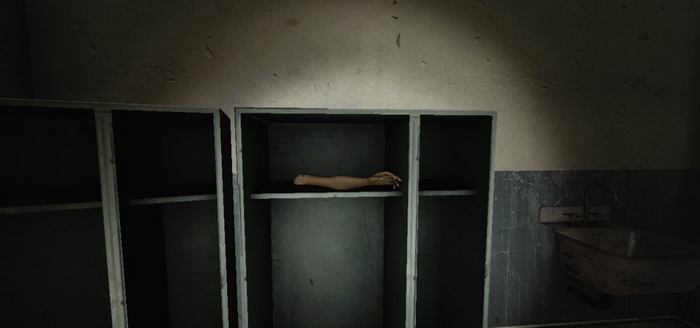
15) Go to Room 304. Inside you'll find a mannequin arm in one of the cabinets. Take it.
16) Head to the right bathroom in the hall, which leads back to the morgue. You now need to regain access to the first floor so you can attach the arm on the mannequin in room 206. What you have to do is disable the front door's teleportation ability. Go to the left side lockers and open or close ONE door. This will remove the teleportation ability. In the photo I have opened the bottom left locker.
17) Go to Apartment Room 206 and reattach the mannequin's arm. This will release the door the mannequin was holding shut on the 2nd floor.
18) Now you need to regain access to the 2nd floor, so just undo what you did when coming back to the 1st floor. In the image I just re-closed the bottom left locker.
19) Exit the morgue through the front door, head to room 205, then to room 201. The arm that the mannequin was holding shut is now freed.
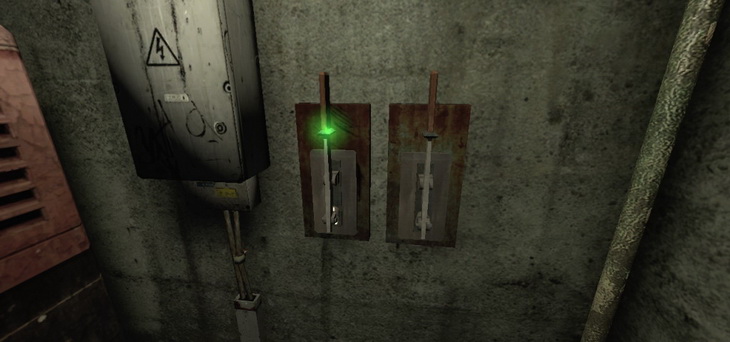
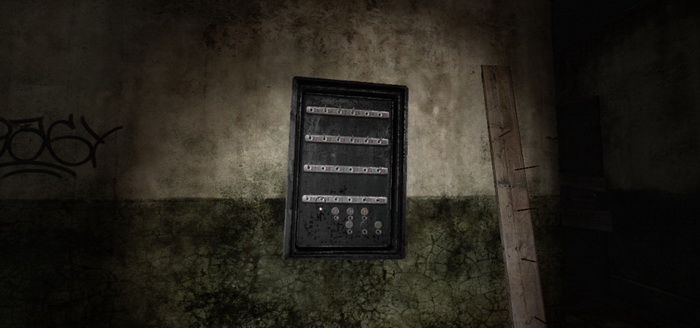
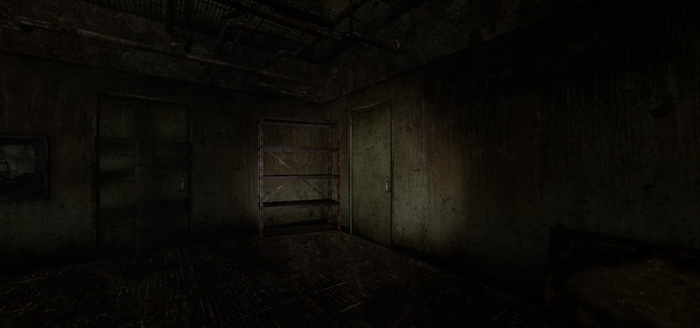
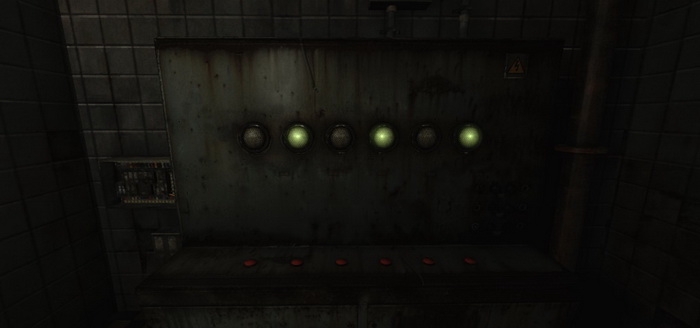
20) This is the control panel to shut off a fan to give you access to a key in another room. Only the green lights should be lit.
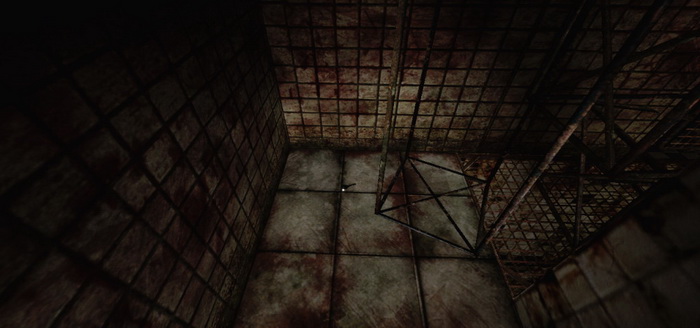
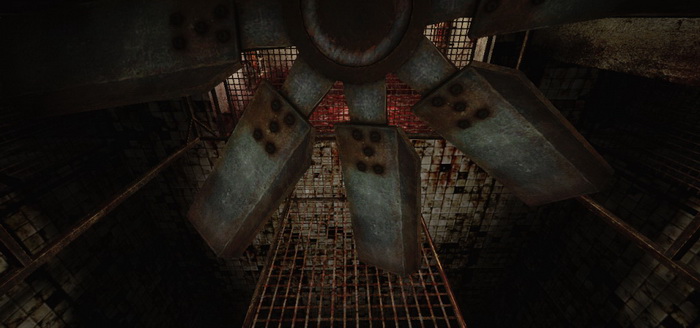
21) Go to Room 204, then to the morgue, exit the morgue through the rear door, then go to Room 307. In this room there is a key attached to a fan that is no longer rotating. Take the key. Be careful not to fall off the edges near the fan.
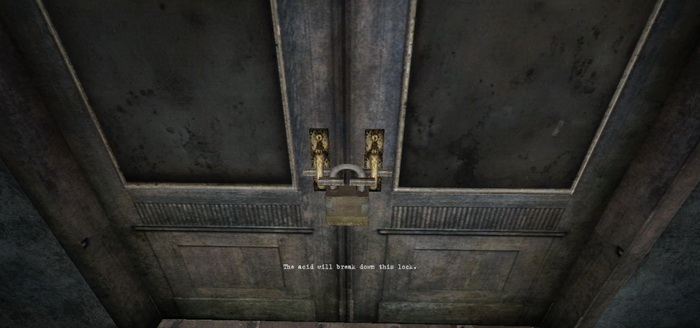
22) Go to Room 304 and use the key on the door inside. Repeatedly use the key until it breaks in the lock. A save point will appear on the table. Use it. The room will transform.
23) Attempt to leave. A key is resting in one of the cabinets. Take it. Use it on the right door to exit the room.
24) Go to the storage room and use the key. |


14. Finale |
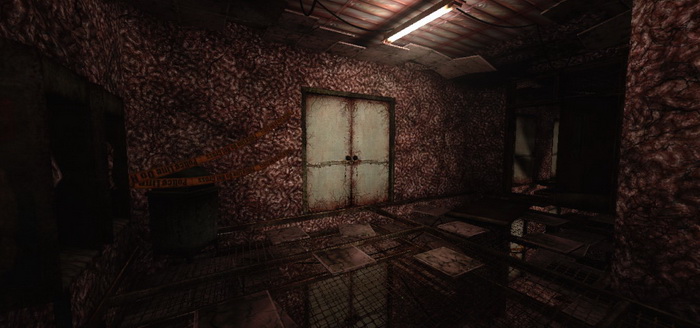
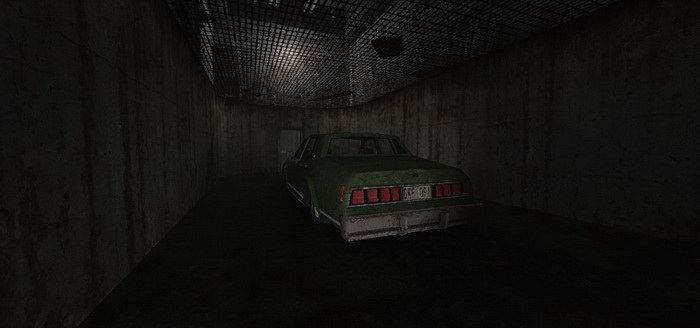
1) Enter the parked car in the flooded room. The car will fill with water. The screen goes black.
2) You wake up in your bedroom. Exit the room.
3) You are back in the hospital, and now the hall is flooding with water. The screen goes black as you accept your grim fate. You are never getting out. |
Congratulations! You beat Alchemilla Mod. |
| by Jam6i |