Items
Flashlight |
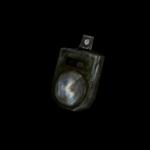
Location: Travis has it in the inventory from the beginning of the game. |
Radio |

Location: Travis has it in the inventory from the beginning of the game. |
Lucky Quarter |
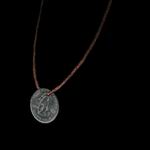
Location: Travis has it in the inventory from the beginning of the game. |
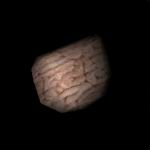
Plastic Lungs |
Location: Alchemilla Hospital (Otherworld), 2F, Room 205. |
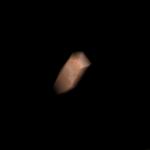
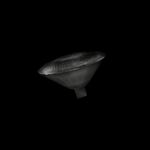
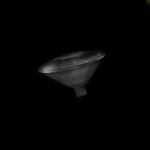
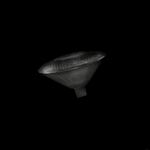
Golden Egg |
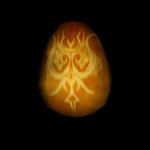
Location: Alchemilla Hospital (Otherworld), 2F, Room 202. |
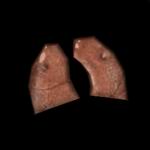
Plastic Liver |
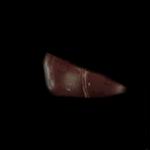
Location: Alchemilla Hospital (Otherworld), 1F, Women's Toilet. |
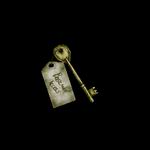
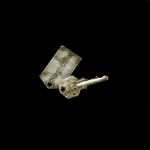
Staff Lounge Key |
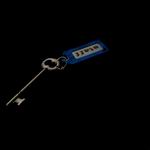
Location: Alchemilla Hospital, 1F, Women's Toilet. |
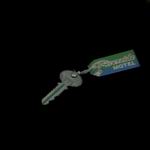
Exam Room Key |

Location: Alchemilla Hospital, 1F, Staff Lounge. |
Plastic Stomach |
Location: Alchemilla Hospital, 1F, Exam Room. |
Plastic Intestine |
Location: Alchemilla Hospital, 1F, Exam Room. |
Plastic Heart |
Location: Alchemilla Hospital (Otherworld), 2F, Room 204. |
Glass Eyes |

Location: Alchemilla Hospital, 1F, Exam Room (after inserting all plastic organs into the model). |
Future Piece |

Location: Alchemilla Hospital (Otherworld), 1F, Doctor's Office (after the fight with the boss). |
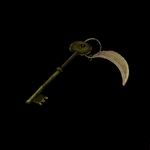
Basement Key |
Location: Cedar Grove Sanitarium, 2F, T.B. Ward (after solving the iron lung machine puzzle). |
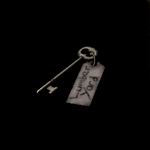
Belongings Key |

Location: Cedar Grove Sanitarium, 1F, Female Dorm 5. |
Archives Key |
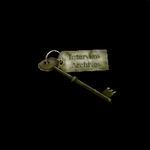
Location: Cedar Grove Sanitarium (Otherworld), BF, East Pipe Room. |
Dr. Harris's Key |

Location: Cedar Grove Sanitarium (Otherworld), 1F, Infirmary (after solving the miniatures puzzle). |
Jocasta Artifact |

Location: Cedar Grove Sanitarium, 1F, Dr's Office. |
Past Piece |

Location: Cedar Grove Sanitarium (Otherworld), 1F, Female Seclusion, Room 05 (after the fight with the boss). |
Theater Ticket |

Location: Cedar Grove Sanitarium, 1F, Lobby (after the fight with the boss). |
Lumber Yard Key |
Location: Silent Hill, in the open trunk of the car right after exiting the Cedar Grove Sanitarium. |
Sun Totem |

Location: Artaud Theater, 1F, Director's Office. |
Balcony Key |

Location: Artaud Theater (Otherworld), 1F, Director's Office. |
125W Bulb |
Location: Artaud Theater, 2F, Lighting Box. |
250W Bulb |
Location: Artaud Theater, 2F, Lighting Box. |
500W Bulb |
Location: Artaud Theater, 2F, Lighting Box. |
750W Bulb |

Location: Artaud Theater, 2F, Lighting Box. |
Moon Totem |
Location: Artaud Theater, 1F, East Corridor near the staircase. |
Stage Office Key |
Location: Artaud Theater (Otherworld), 1F, Stage, Forest's scene. |
Control Lever |
Location: Artaud Theater, 1F, Stage Office. |
Falsehood Piece |
Location: Artaud Theater (Otherworld), 1F, Stage, Cave's scene (after the fight with the boss). |
Motel Key |
Location: Artaud Theater, 1F, Lobby (after the fight with the boss). |
Bookstore Key |

Location: Andy's Books, in the cash register. |
Room 306 Key |

Location: Riverside Motel, 1F, Reception. |
Office Key |
Location: Riverside Motel, 1F, Maintenance Corridor. |
Token |

Location: Riverside Motel, 1F, Game Room. |
Cleopatra Key |
Location: Riverside Motel, 1F, Laundro Mat (after solving the washing machine puzzle). |
Jeweled Heart |

Location: Riverside Motel (Otherworld), in the heart-shaped pool. |
Dagger |

Location: Riverside Motel (Otherworld), 1F, Diner. |
Wedding Ring |

Location: Riverside Motel, 1F, Maintenance Room (after cracking the Jeweled Heart with the vice). |
Room 500 Key |

Location: Riverside Motel, 1F, Reception (after solving the rotary calendar puzzle). |
Truth Piece |
Location: Riverside Motel (Otherworld), 1F, area beneath Room 500. |
Present Piece |
Location: Alchemilla Hospital, Basement. |
Supplies
Health Drink |

Description: A refreshing herbal drink. With a mixture of herbs and vitamins, this drink is perfect for combating aches and pains. |
First Aid Kit |
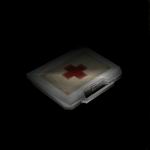
Description: A complete first aid kit. Filled with bandages, sutures, and other medical supplies, this can treat serious injuries. |
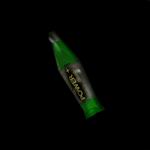
Ampoule |

Description: A narcotic ampoule. The powerful narcotic in these ampoules can ease the pain of any injury. The pack a kick, too. |
Energy Drink |
Description: A caffeinated drink with a kick. I sometimes drink these on long drives; keeps me awake. |
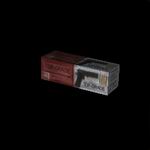
Target Ammo |
Description: A box of 24 .22 caliber bullets for use in a target pistol. |
Shotgun Ammo |
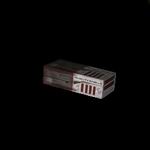
Description: A box of 4 shotgun shells loaded with buckshot. |
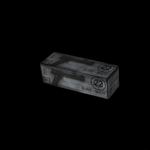
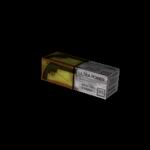
Service Ammo |
Description: A box of 16 9mm bullets for a medium caliber pistol. |
Rifle Ammo |

Description: A box of 4 .38 caliber bullets, designed for use in a hunting rifle. |
Assault Rifle Ammo |
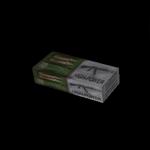
Description: A 18-round clip for an Assault Rifle, loaded with 7.62mm bullets. |
Redeemer Ammo |
Description: A box of 6 .44 bullets for a hand cannon. |
Extra Items
Room 502 Key |
Location: Silent Hill, on top of the staircase next to the Post Office (appears during second and further walkthroughs). |
Night Vision Goggles |
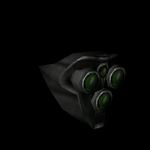
Location: Travis has it in the inventory from the beginning of the game (appears after gaining the Stalker accolade). |