Item List
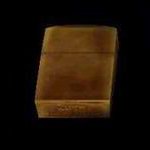
Flashlight |
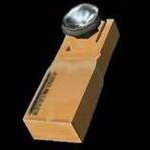
Location: On the counter in Café 5 to 2 at the beginning of the game, Old Silent Hill. |
Pocket Radio |
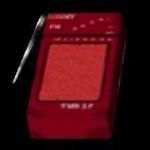
Location: On a table in Cafe 5 to 2, Old Silent Hill. You must attempt to leave and kill the Air Screamer before acquiring. |
A Note "To school" |
Location: At the end of the center Finney Street alley back path, Old Silent Hill. |
A Note "Doghouse" |
Location: By the demolished road at west Matheson Street, Old Silent Hill. |
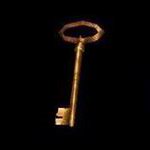
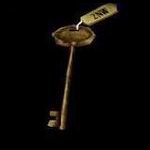
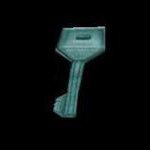
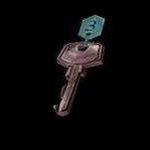
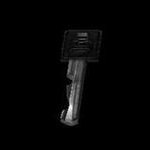
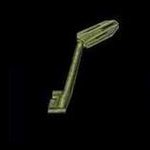
House Key |
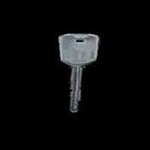
Location: Taped to the inner roof of the doghouse at the west side of Levin Street, Old Silent Hill (must read the note on Matheson Street in order to find). |
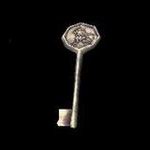
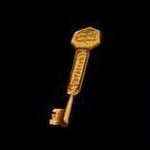
Key of "Woodman" |

Location: On the ground in the basketball court, accessed through the wide gate in the alley behind the cafe, Old Silent Hill. |
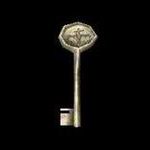
Key of "Lion" |
Location: Inside the open trunk of the police car by the demolished Finney Street bridge, Old Silent Hill. |
Key of "Scarecrow" |
Location: In the mailbox across the gap near the southwest corner of Ellroy and Matheson, Old Silent Hill. |
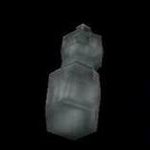
Chemical |
Location: On a shelf in the Lab Equipment Room, Midwich Elementary 2F. |
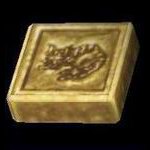
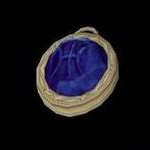
Gold Medallion |
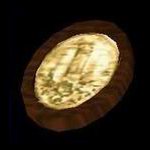
Location: In the "old man's palm" statue on the lab desk in the Chemistry Lab, Midwich Elementary School 2F (use Chemical). |
Silver Medallion |
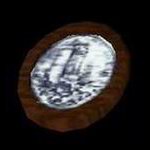
Location: Falls from the wall above the chalkboard in the Music Room after solving the piano puzzle, Midwich Elementary 2F. |
Rubber Ball |
Location: On the table in the Storage, Nightmare School 1F. |
Picture Card |

Location: On the table inside the top right 1F Classroom, Nightmare School. |
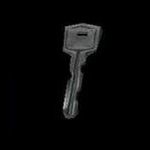
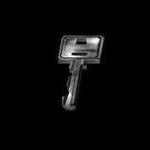
Library Reserve Key |
Location: Falls out of a side locker after checking the small locker with the banging door in the Locker Room, Nightmare School 2F. |
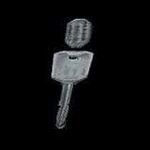
Classroom Key |
Location: Lying in the drainage ditch in the top right of the courtyard, after using the Rubber Ball and turning the water valve on the rooftop, Nightmare School. |
K. Gordon Key |
Location: By the boiler in the Boiler Room after defeating the Split Head, Midwich Elementary School BF. |
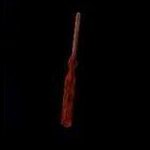
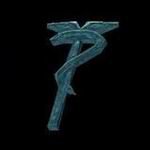
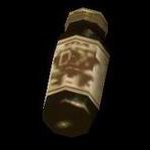
"Flauros" |
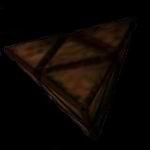
Location: On the altar of Balkan Church on east Bloch Street after meeting Dahlia, Old Silent Hill. |
Drawbridge Key |
Location: On the altar of Balkan Church on east Bloch Street after meeting Dahlia, Old Silent Hill. |
Basement Key |
Location: On the table in the Conference Room, Alchemilla Hospital 1F (accessed through Doctor's Office). |
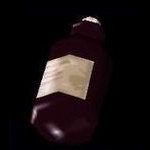
Plastic Bottle |
Location: Grouped with other plastic bottles on the far counter of the Kitchen, Alchemilla Hospital 1F. |
Unknown Liquid |
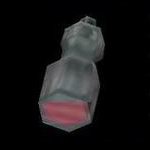
Location: On the ground behind the desk at the back of the Director's Office, Alchemilla Hospital 1F (use the Plastic Bottle to pick up). |
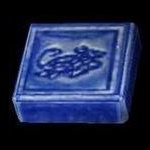
Plate of "Cat" |
Location: Hanging on the wall at the back of room 306, Nightmare Hospital 3F. |
Blood Pack |
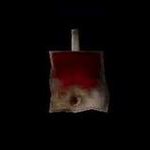
Location: On a shelf in the Storeroom, Nightmare Hospital 3F (accessed from the Storage Room). |
Plate of "Turtle" |
Location: On the back ledge in the Men's Washroom, Nightmare Hospital 3F. |
Lighter |
Location: On the bed in room 201, Nightmare Hospital 2F. |
Plate of "Queen" |
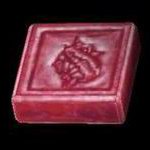
Location: On the desk in the Director's Office, Nightmare Hospital 1F. |
Plate of "Hatter" |
Location: On the back wall of room 204 by the Bloodsucker tentacles Nightmare Hospital 2F (use the Blood Pack to distract it). |
Disinfecting Alcohol |
Location: On the table in the Intensive Care Unit room, Nightmare Hospital 2F. |
Basement Storeroom Key |
Location: On the table in the Operating Room, Nightmare Hospital 2F (accessed from Operating Prep Room). |
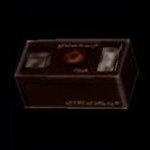
Video Tape |
Location: On the table in the first room on the right in the second hallway of the basement's secret basement, Nightmare Hospital B2. |
Examination Room Key |
Location: On the control panel in the sickroom in the second hallway of the basement's secret basement (B2), Nightmare Hospital. |
Antique Shop Key |
Location: On the desk in the Examination Room, Alchemilla Hospital 1F, after meeting Lisa in the Nightmare Hospital. |
Sewer Key |
Location: In the key box by the desk in the enclosed sewer office in the northeast of the Sewers (to resort area), lower level. |
Sewer Exit Key |
Location: On the plastic floating in the bloody water at the west end of the south upper level path, Sewers (to resort area). |
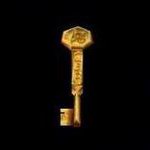
Kaufmann Key |
Location: On the floor between the billiard tables in Annie's Bar, Silent Hill Resort Area. |
Receipt |
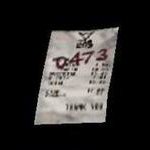
Location: On the floor between the billiard tables in Annie's Bar, Silent Hill Resort Area. |
Safe Key |
Location: Inside the cabinet shelf behind the counter in the Indian Runner general store, Silent Hill Resort Area. |
Magnet |
Location: On the couch in the motel office lounge, Silent Hill Resort Area. |
Motorcycle Key |
Location: In the crack in the floor after moving the shelf in motel room 3 of Normal's Motel, Silent Hill Resort Area (use Magnet). |
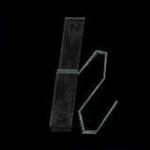
Screwdriver |
Location: On the table in the back room connected to the classroom, Nowhere BF. |
Pliers |
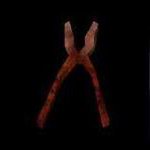
Location: On the table in the back room connected to the classroom, Nowhere BF. |
Key of "Ophiel" |
Location: Stuck in the faucet in the shower room beside the elevator in the first hall, Nowhere 1F (use Pliers). |
Stone of Time |

Location: Falls from the center pillar of the astrology room in the Ophiel hall after solving the astrology puzzle, Nowhere 1F. |
Key of "Hagith" |

Location: One of the hands of the clock in the antique shop room in the first hallway, Nowhere 1F (insert the Stone of Time to break the glass and reach the key). |
Amulet of Solomon |

Location: On the wall in the morgue past the "ALERT" keypad in the Ophiel hall, Nowhere 1F. |
Crest of Mercury |
Location: In a smashed display case in the jewelry store room in the first 2F wing, Nowhere. |
Ring of Contract |
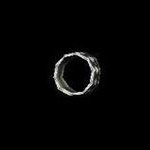
Location: In a smashed display case in the jewelry store room in the first 2F hall, Nowhere. |
Camera |
Location: On the desk in the office in the second 2F wing, Nowhere, after gaining access to the main elevator. |
Bird Cage Key |
Location: On the table in the left side room on 3F, Nowhere, after solving the light puzzle. |
Key of "Phaleg" |
Location: Inside the locked birdcage in the room by the elevator in the first 1F hall, Nowhere. |
Dagger of Melchior |
Location: Stabbed into the fridge in the kitchen in the Phaleg hall, Nowhere 1F (use the Ring of Contract before leaving). |
Key of "Bethor" |
Location: Inside the bag of jellybeans on a shelf in the Storeroom in the Phaleg hall, Nowhere 1F (rip open the bag and check the floor). |
Ankh |
Location: On the wall in the graffiti room in the Phaleg hallway, Nowhere 1F. |
Key of "Aratron" |
Location: Behind the plate on the back wall in the room at the left end of the second 2F hallway of Nowhere. Unscrew the plate with the Screwdriver and turn off the generator to acquire. |
Disk of Ourboros |
Location: On the control panel beside the bed in the sickroom in the Phaleg hallway, Nowhere 1F. |
Extra Items
Channeling Stone |
Location: On the front counter of the Convenience Store at the northeast corner of the Bachman Road and Finney Street intersection, Old Silent Hill. |
Gasoline Tank |

Location: On the counter in the garage at the Gas Station on Bloch Street, Old Silent Hill. |
Supplies
There are three health supplies and three ammo supplies found in a variety of abundance throughout the game. Refer to the charts below for a quick reference, with more detailed explanations following. |
Health Drink |
Availability: Very Common (5/5) |
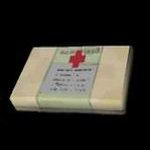
First Aid Kit |
Availability: Usual (3/5) |
Ampoule |
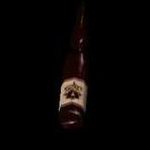
Availability: Scarce (1/5) |
Handgun Bullets |
Availability: Very Common (5/5) |
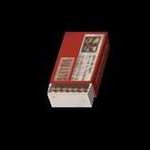
Shotgun Shells |
Availability: Usual (3/5) |
Rifle Shells |
Availability: Rare (2/5) |
| by Andrew Haffenden aka Conquerer (Silent Hill FAQ/Walktrough) |