Items
Game Tokens |
Location: Aerial Tram Station, on the counter in the lobby. |
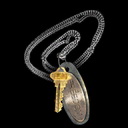
Key |
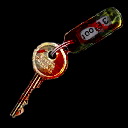
Location: Devil's Pitstop, motel section, on the table in the northern room. |
Power Cord |
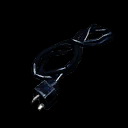
Location: Devil's Pitstop, 2nd floor, in the drawers in the bedroom of one of the rooms. |
Piece of Wire |
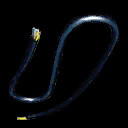
Location: Devil's Pitstop, basement, on the barrel in one of the rooms. |
Police Badge |
Location: Devil's Pitstop, shack C, in the clothes found on the bed. |
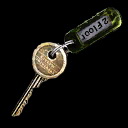
Rusty Key |

Location: Devil's Pitstop, shack C, in the clothes found on the bed. |
Free Ticket |
Location: Devil's Pitstop, shack B, obtained from the game machine after winning the game. |
Key |
Location: Devil's Pit, on the key rack in the one of the rooms on the lower level. |
Security Card |
Location: Centennial Building, garage's basement, on the wheelchair by the dead body of the security guard. |
ID Card |
Location: Centennial Building, 1st floor, Room 104. |
Slides |
Location: Centennial Building, 2nd floor, Room 200, on the desk. |
ID Card |
Location: Centennial Building, 2nd floor, Vault, taken from the hanging body. |
Diluent |
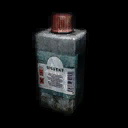
Location: Centennial Building, 18th floor, in the storage room of Room 1703 (Easy, Normal) or in the kitchen area (Hard). |
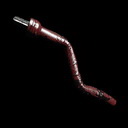
Lever |
Location: St. Maria's Monastery, Theater, on the desk in the Control Room (Easy, Normal) or in the theater auditorium (Hard). |
Vinyl Record |
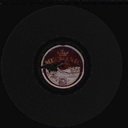
Location: St. Maria's Monastery, Theater, in the drawer of the desk in the Control Room. |
Blackboard Eraser |
Location: St. Maria's Monastery, Theater, in the chest in the cottage on the stage. |
Key |
|
Location: St. Maria's Monastery, 2nd floor, X-Ray Room, in one of the Screamers. |
Boat Key |
Location: St. Maria's Monastery, after the
cutscene in the mortuary. |
Small Key |

Location: Overlook Penitentiary, level A2, in the locked safe in the central watchtower. |
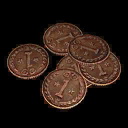
Quarter Dollar |
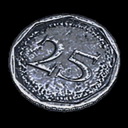
Locations: Overlook Penitentiary, level A2, in the locked safe in the central watchtower or Overlook Penitentiary, Block B, on the shelf in the Workshops storage room. |
Access Card |

Location: Overlook Penitentiary, level A1, by the dead body of the guard in the central watchtower. |
Crime Evidence |
Location: Overlook Penitentiary, Block B, Showers Room. |
Mourning Badge |
Location: Overlook Penitentiary, Block B, Showers Room. |
Prison Shank |
Location: Overlook Penitentiary, Block B, Showers Room. |
"Stolen Goods" Side quest's items
Locket |
Location: Apartment building on Lansdale Avenue, 3rd floor apartment, in the box under the bed frame. |
Gold Watch |
Location: Apartment building on Lansdale Avenue, 3rd floor apartment, in the box under the bed frame. |
Money Box |

Location: Apartment building on Lansdale Avenue, 3rd floor apartment, in the box under the bed frame. |
War Medal |
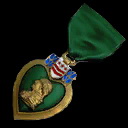
Location: Apartment building on Lansdale Avenue, 3rd floor apartment, in the box under the bed frame. |
"The Art Collector" Side quest's items
Painting "Despair" |
Location: Hillside, Police Station,
in a barricaded room near the dispatcher’s office. |
Painting "Sunrise" |
|
Location: Hillside, underground entrance,
in the booth. |
Painting “Wonder” |
|
Location: Apartment building through which you enter Pearl Creek, in the kitchen of the 1st floor apartment. |
Painting “Certainty” |
|
Location: Pearl Creek, in the storage unit on Laymond Avenue to the north of the Pearl Creek underground entrance. |
Storage Room Key |
Location: Chastain Heights, in the cash register in the hardware store east of St. Maria’s Monastery. |
Painting “Hope” |
|
Location: Chastain Heights, in the storage room of the hardware store east of St. Maria’s Monastery. |
Painting “Freedom” |
|
Location: Pleasant River, in the back of the van on Rice Street where the street bends. |
"Homeless" Side quest's items
Candy Bar |

Location: Pearl Creek: at the intersection of Brite Street and Laymond Avenue (Easy), along the south edge of Cook Street between Laymond Avenue and Lansdale Avenue (Normal), in the alley south of Crook Street (Hard). |
Old Coat |
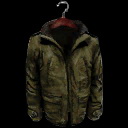
Location: The thrift shop on Brite Street: near the shop’s cash register (Easy), in the storage room (Normal), in the back of the storage room (Hard). |
Fishing Rod |
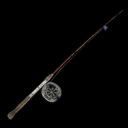
Location: Pleasant River: near the center of the docks (Easy), in the spillway outside of the Pleasant River underground entrance (Normal), on the boardwalk along the east edge of the docks (Hard). |
"Ribbons" Side quest's items
Key |

Location: Pleasant River, at the end of the pier in the docks. |
"Cinéma Vérité" Side quest's items
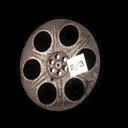
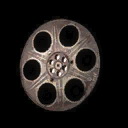
Film Reel |

Location: Movie Theater, on a coat check counter in the lobby (Easy/Normal) or in the small room behind a concession counter (Hard). |
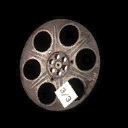
Film Reel |
Location: Movie Theater,
in the toilet stall in the restrooms (Easy/Normal) or behind the seats in the showing room (Hard). |
Film Reel |
Location: Movie Theater,
in the film storage room (enter from the projector room). |
Replacement Bulb |
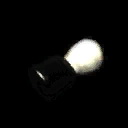
Location: Movie Theater, in the poster storage room at the back of the theater (Easy) or on the shelf behind the counter in the hardware store to the east of the monastery (Normal/Hard). |
Spliced Reel |
Location: Movie Theater, film splicing room (after you splice the three reels into one). |
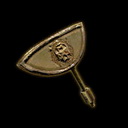
Wooden Crank |
Location: On the window
sill in the 1st floor room in the house from the movie. |
Key |
|
Location: In the box on
the table in the house from the movie. |
"The Gramophone" Side quest's items
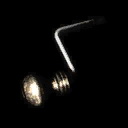
Crank |
Location: Apartment in the building on Brite Street, on the cabinet in the child's room. |
Vinyl Record |

Location: Apartment in the building on Brite Street, on the dresser in the bedroom. |
"Shadow Play" Side quest's items
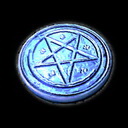
Soul-Eye |
Location: Loft on Brite Street, on the chair. |
Soul-Eye Token |
Location: Loft on Brite Street (after completing
the Soul-Eye projection). |
Four |
Location: Chastain Heights, in the box along the northern edge of Brite Street. |
Four Token |
Location: Chastain Heights,
in the alley connecting different parts of Brite Street (after completing
the Four projection). |
Healing |

Location: Pearl Creek, at the intersection of Cook Street and Lansdale Avenue. |
Healing Token |
Location: Pearl Creek, small park at the intersection of Cook Street and Lansdale Avenue (after completing
the Healing projection). |
Enlightenment |
Location: Pearl Creek, in the construction site between Laymond Avenue and Lansdale Avenue. |
Enlightenment Token |
Location: Pearl Creek, in the eastern Pearl Creek underground entrance (after completing
the Enlightenment projection). |
Harmony, 1st part |
Location: Pleasant River, at the base of the drawbridge control tower. |
Harmony, 2nd Part |
Location: Pleasant River, at the top level of the control tower. |
Harmony Token |
Location: Pleasant River, at the base of the control tower below the drawbridge (after completing
the Harmony projection). |
"Dead Man's Hand" Side quest's items
Heart |
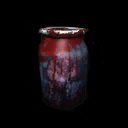
Location: Pleasant River, house on the south side of Rice
Street, in the labyrinth below the house. |
"Ashes to Ashes" Side quest's items
Urn |
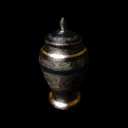
Location: Pleasant River, house on the north side of Rice Street, on the dresser in the bedroom. |
Equipment & Supplies
Walkie-talkie |
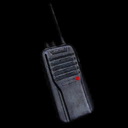
Description: Portable, two-way radio transceiver. |
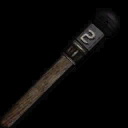
Flashlight |
Description: A heavy utility flashlight with a long handle. |
Forensic Flashlight |
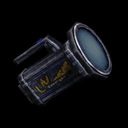
Description: A special police flashlight with two. |
Lighter |
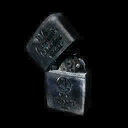
Description: A small flip-top metal lighter. |
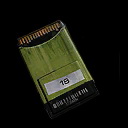
First Aid Kit |
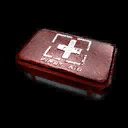
Description: A common first aid kit. Good for treating basic cuts, burns and other minor injuries. |
Money |

Description: A few dollars and change. |