Walkthrough
01. Nightmare
02. Central Square Shopping Center
03. Nightmare Mall
04. Hazel Street Subway Station
05. Underpass
06. Construction Site
07. Hilltop Center Office Building
08. Nightmare Hilltop Center
09. Daisy Villa Apartments
10. Silent Hill
11. Brookhaven Hospital
12. Nightmare Hospital
13. Lakeside Amusement Park
14. Church
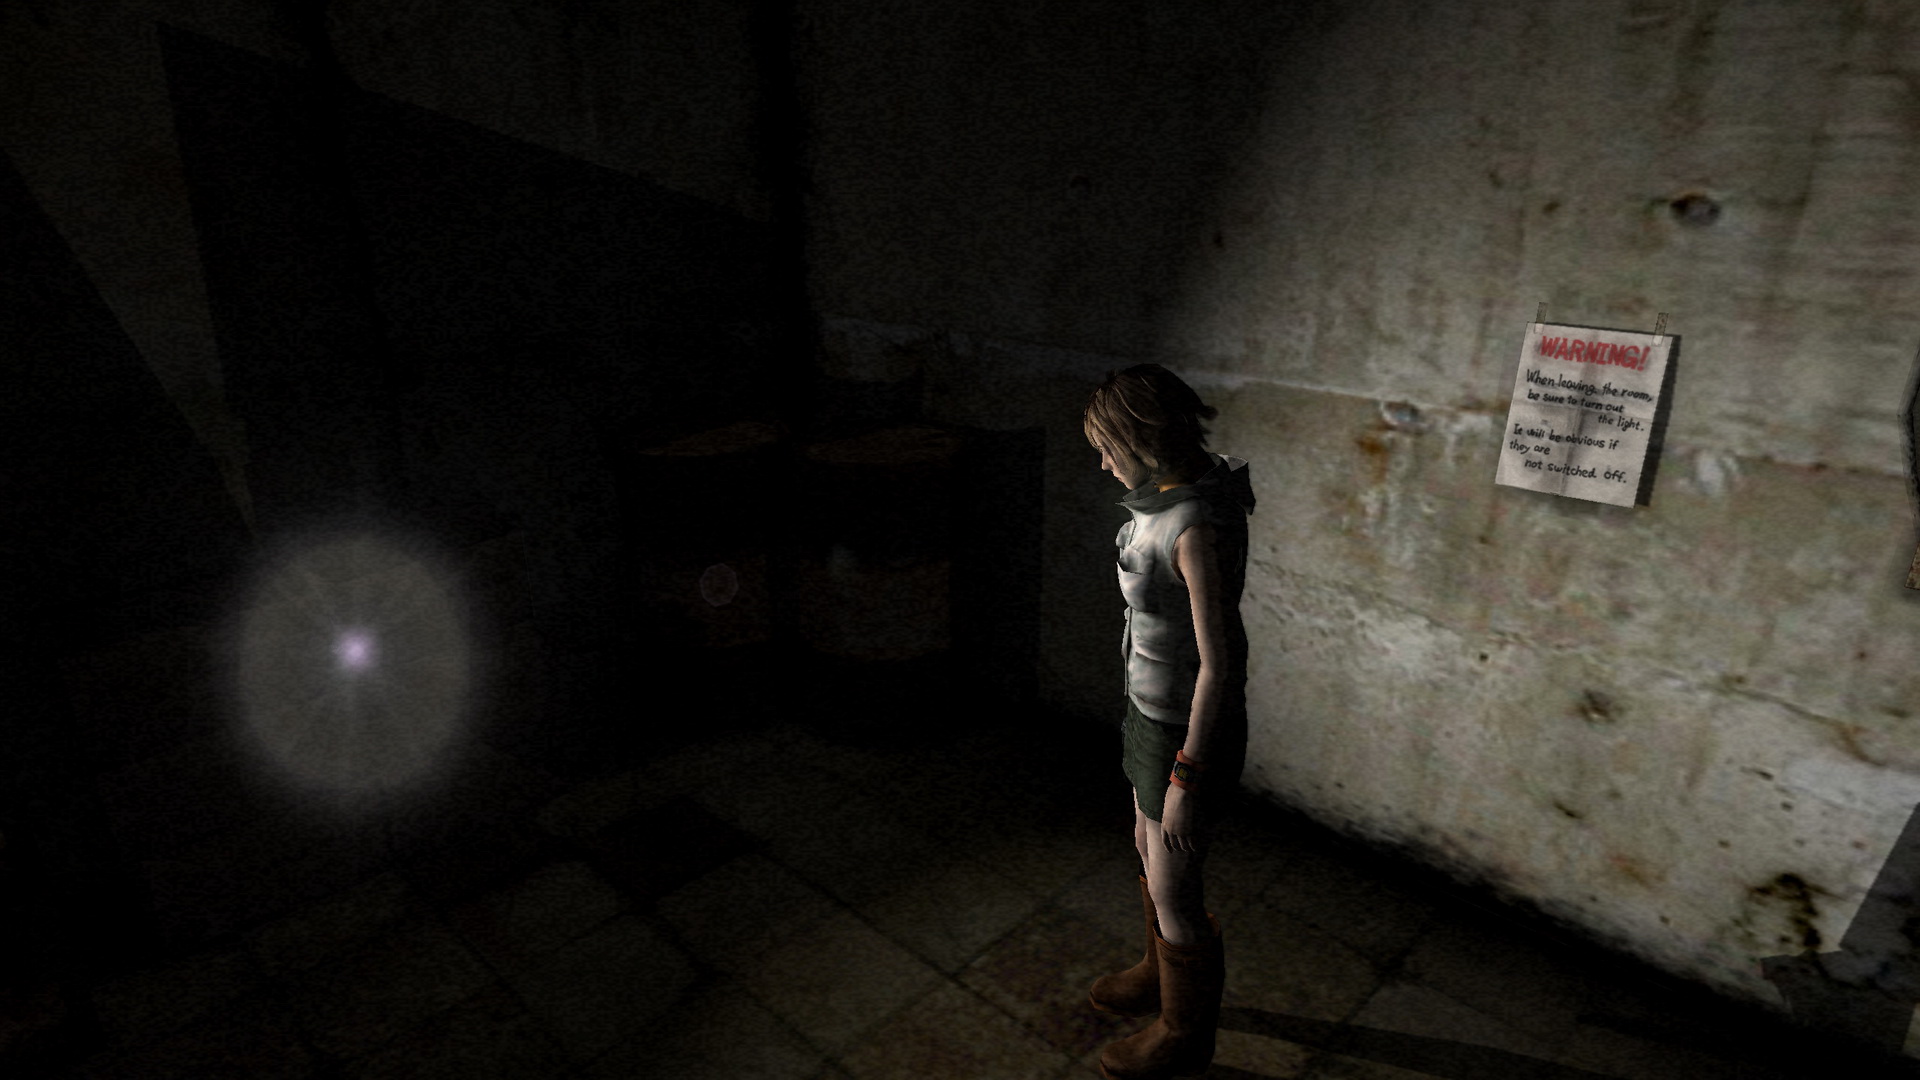
Nightmare Mall"Is this a dream? It's got to be. Not even a kid could believe in this. But when am I gonna wake up?" First Floor Southwest HallNow in a dark hallway overrun with Double Heads, consider dropping some jerky or just be very quick and run past them all. Follow the hallway to the west and go through the door directly ahead at the fork. Take the three Health Drinks in the shelf and the Ampoule on the desk. Note the Save Point on the bed and exit the infirmary. Make your way north past any Double Heads and through the double doors. First Floor West and Northwest Hall: Finding the FlashlightIn the room ahead of you, you'll only find a ladder that you can't reach so remember it for later. Ignore the two Closers in the main hall and take the north hall past another one. Move around the corner and enter the room beside the ladies' room.
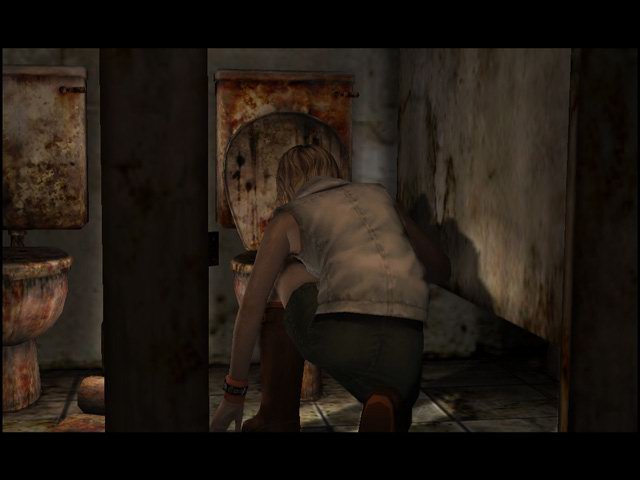
Note on Flashlight: Press Circle to toggle your light on and off. Note that while it's very helpful to see and required to pick up some items in dark areas, it can alert enemies to your presence, so consider turning it off at various moments when trying to be sneaky. Now enter the ladies' room and grab the 7 Bleach on the counter. This item won't be here and isn't needed on Easy Riddle Level. Knock on the fully closed stall and walk away, only to be invited back for another look. Silent Hill 2 Reference
Examine the toilet in the open stall (without blood all over it). Select "Yes" to remove the blockage. Heather wimps out but not without slandering our boy James.
Done in the washroom, head east and move under the twisted shutter at the end of the hall. First Floor North Hall: Women's Clothing StoreAvoid the Closer and Double Head and enter the familiar store under the partly-closed shutter. Grab the 8 Hanger from the clothes rack near the door, and in the far corner you can find a 9 Bulletproof Vest on another clothes rack. Note that you must have the Flashlight and have it on to pick up both these items. Collect it in the storage room beside the ladies' room in the previous hall if you missed it. Note on Bulletproof Vest: Equip this vest for added protection from enemy attacks, limiting damage received by about 15%, while blocked attacks will not damage Heather at all while wearing it. Note that due to its weight and nature, Heather won't be able to run as fast while wearing it. It's helpful if damage is a serious concern of yours, but otherwise mobility may be more important. Give it a try and see what you think. You'll hear something fall if you check the other door here but there's nothing to be found. Leave the store, head back under the dented shutter to the previous hall and make your way to the midwestern part where the escalators to the subway are on your map. Enter the room on the north side of the hall. First Floor West Hall: Shop with Ladder
Second Floor West HallUp here, head past the nice scenery of corpses on stretchers. Past the escalators you'll find a TV showing static. Examine it for a familiar but faint image from the first Silent Hill. Further down the hall you'll find another TV with a Save Point on it, but head back and go through the door by the first TV. You'll be greeted by three Numb Bodies so keep on your toes. Kill them if you wish, but be sure to grab the Health Drink and Handgun Bullets on the counter and exit via the other door at the back, unlocking it first. Be wary of the Closer in this hall. The easternmost door here is locked, but you can access the shop at the southwest end of the hall (it's accessible from both sides). In that shop, grab the 10 Walnut from the smashed display case. If examined, Heather says something is rattling around inside it so we'll have to look for a way to break it open. Done on 2F for now, exit to the west hall and climb the escalators to 3F. Third FloorStay clear of the Closer up here on Normal/Hard and be mindful of the Double Head in the other hallway that may join if you're noisy. Enter the restaurant through the right double doors. Find the roasted dog on a large plate and examine it to find the 11 Cooked Key in its stomach. Interesting... On the back shelf is a First-Aid Kit and Health Drink. Exit the restaurant through the same doors. To the east you'll find a locked door with an inscription and a place to insert a small stone. Kill the Closer if you wish to read this or it may beat you down. We'll have to remember it for later anyway. There's an open washroom down the northern hall past a Double Head but there's nothing inside, so head back down to 2F with your new key. Back to the Second Floor: Using the Cooked KeyMove through the shop beside the TV displaying snow to the office hallway, then enter the easternmost room, called Cafe Turn Mill, using the Cooked Key. Take the two Health Drinks on the shelf and examine the steaming pipe nearby to get the 12 Steel Pipe. This is a great melee weapon, so much better than the Knife and fairly user-friendly. Be sure to use it while saving up Handgun ammo. Exit the cafe through the other doors. Heading to the EastHearing Numb Bodies patrolling, use them as batting practice with your new weapon. There's a locked door here at the east, but along the southeast wall you can slip through the pale orange double doors. Now in what's left of Helen's Bakery, grab the 13 Detergent from the cart deeper in the room. This item won't be here and isn't needed on Easy Riddle Level. Exit the baked bakery through the other door. Moth Hallway: Preparing the Insecticide
Remember the Detergent you just acquired and the Bleach much earlier in the mall? On their own they're not very lethal but upon examining them Heather discovers they can be dangerous when mixed. Find the bucket near the door in the moth hallway and combine and use the Bleach and Detergent while standing over it. The fan in the previous hall must be turned off to allow the formula to linger and work its magic. Heather will concoct the insecticide and then run out of the room as it stings her eyes. Heather won't step back in the hallway as is on Easy/Normal due to the strong chemicals, but on Hard you can unwisely re-enter and take damage. Therefore you must turn the fan back on to clean up the air. Do so and head back in the hall to discover the insects have all been killed. Back in the insect hall, move down the long hallway past the dead bugs and enter the room north of the stairs (second door on the right). Find the three packs of Handgun Bullets on the left shelves and Beef Jerky on the right boxes. Exit the room and head through the northeast pale orange door to find a Closer. Ignore it and pass through the other door to the eastern hall. Second Floor Mall East
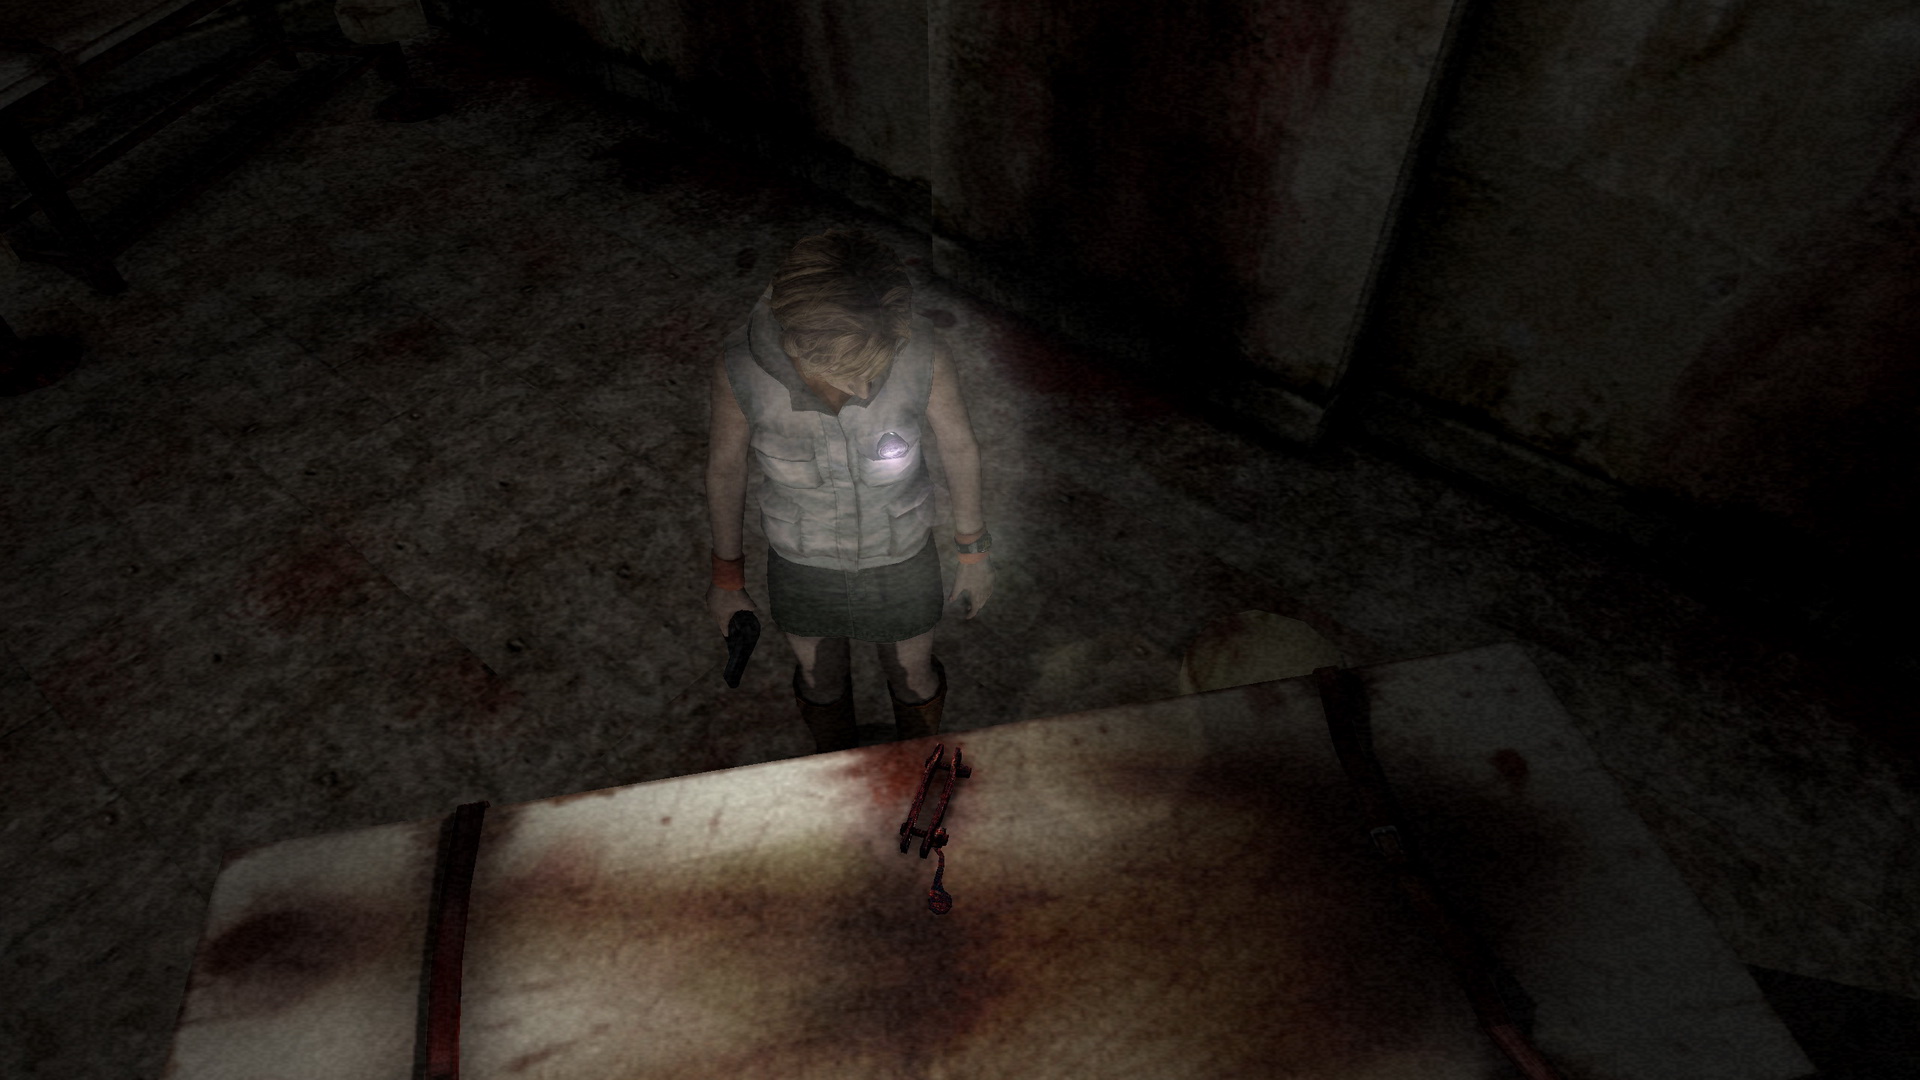
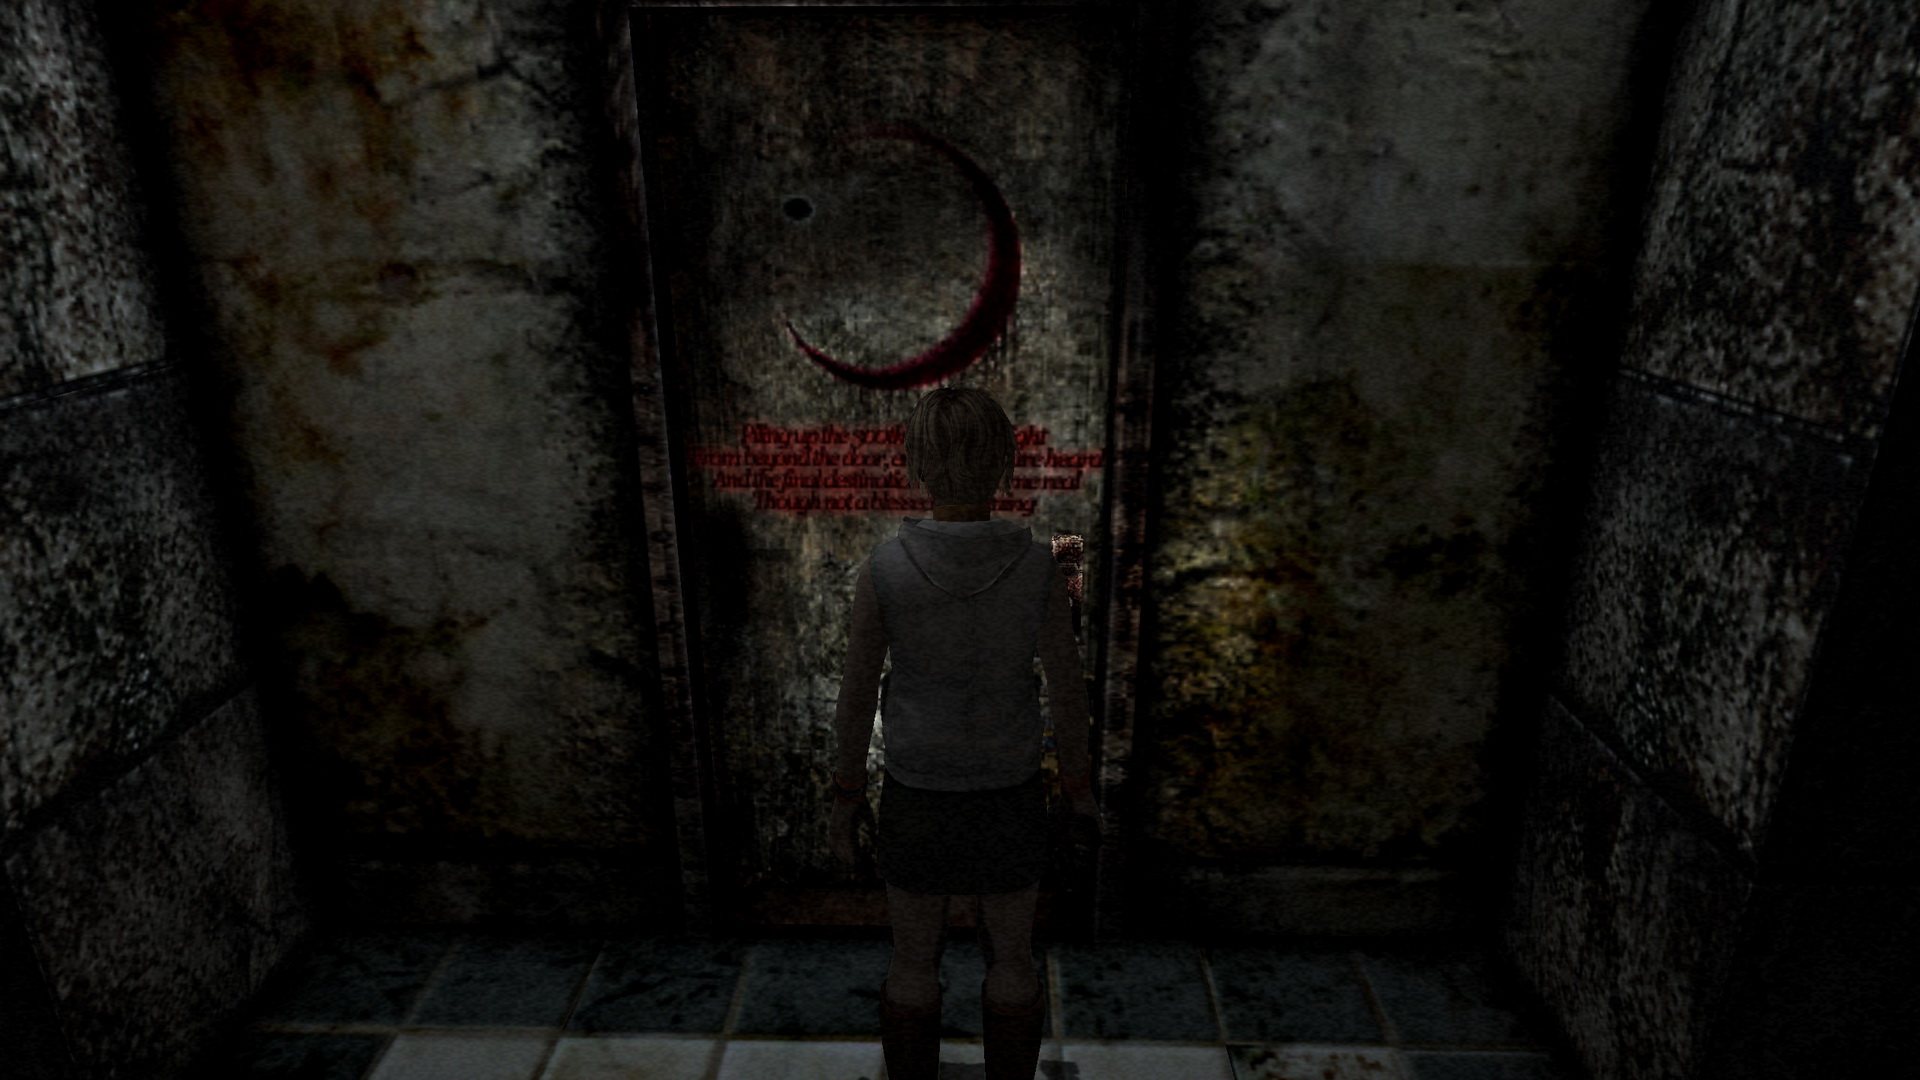
On the right table here you'll find a vise to crack something open. Insert and crack open the Walnut from your inventory to receive the 14 Moonstone that was inside it. Looks like it may fit into the 3F mall door. On the other wall you'll also find a Save Point. Leave the room. Heading Back to the WestRun west past any Double Heads and move through the orange door there after unlocking it. There'll now be Pendulums in here too, great. Make your way back to the cafe at the southwest of this balcony hall, ignoring any Pendulum or Numb Body on way. There's more Numb Bodies in here and you'll want to kill them to get past. Kill the first one quickly with the pipe and then move around the counter to bat the other one. Leave through the door behind the counter. In the office hall, either slip through the more northern room that'll be full with new Numb Bodies, or run past the Closer in the hall and move through the empty southeastern shop to the western hall. Consider saving your game with the TV Save Point in the hall due to an upcoming boss fight and head up the escalators to the third floor. Third Floor: Past the Moon Door
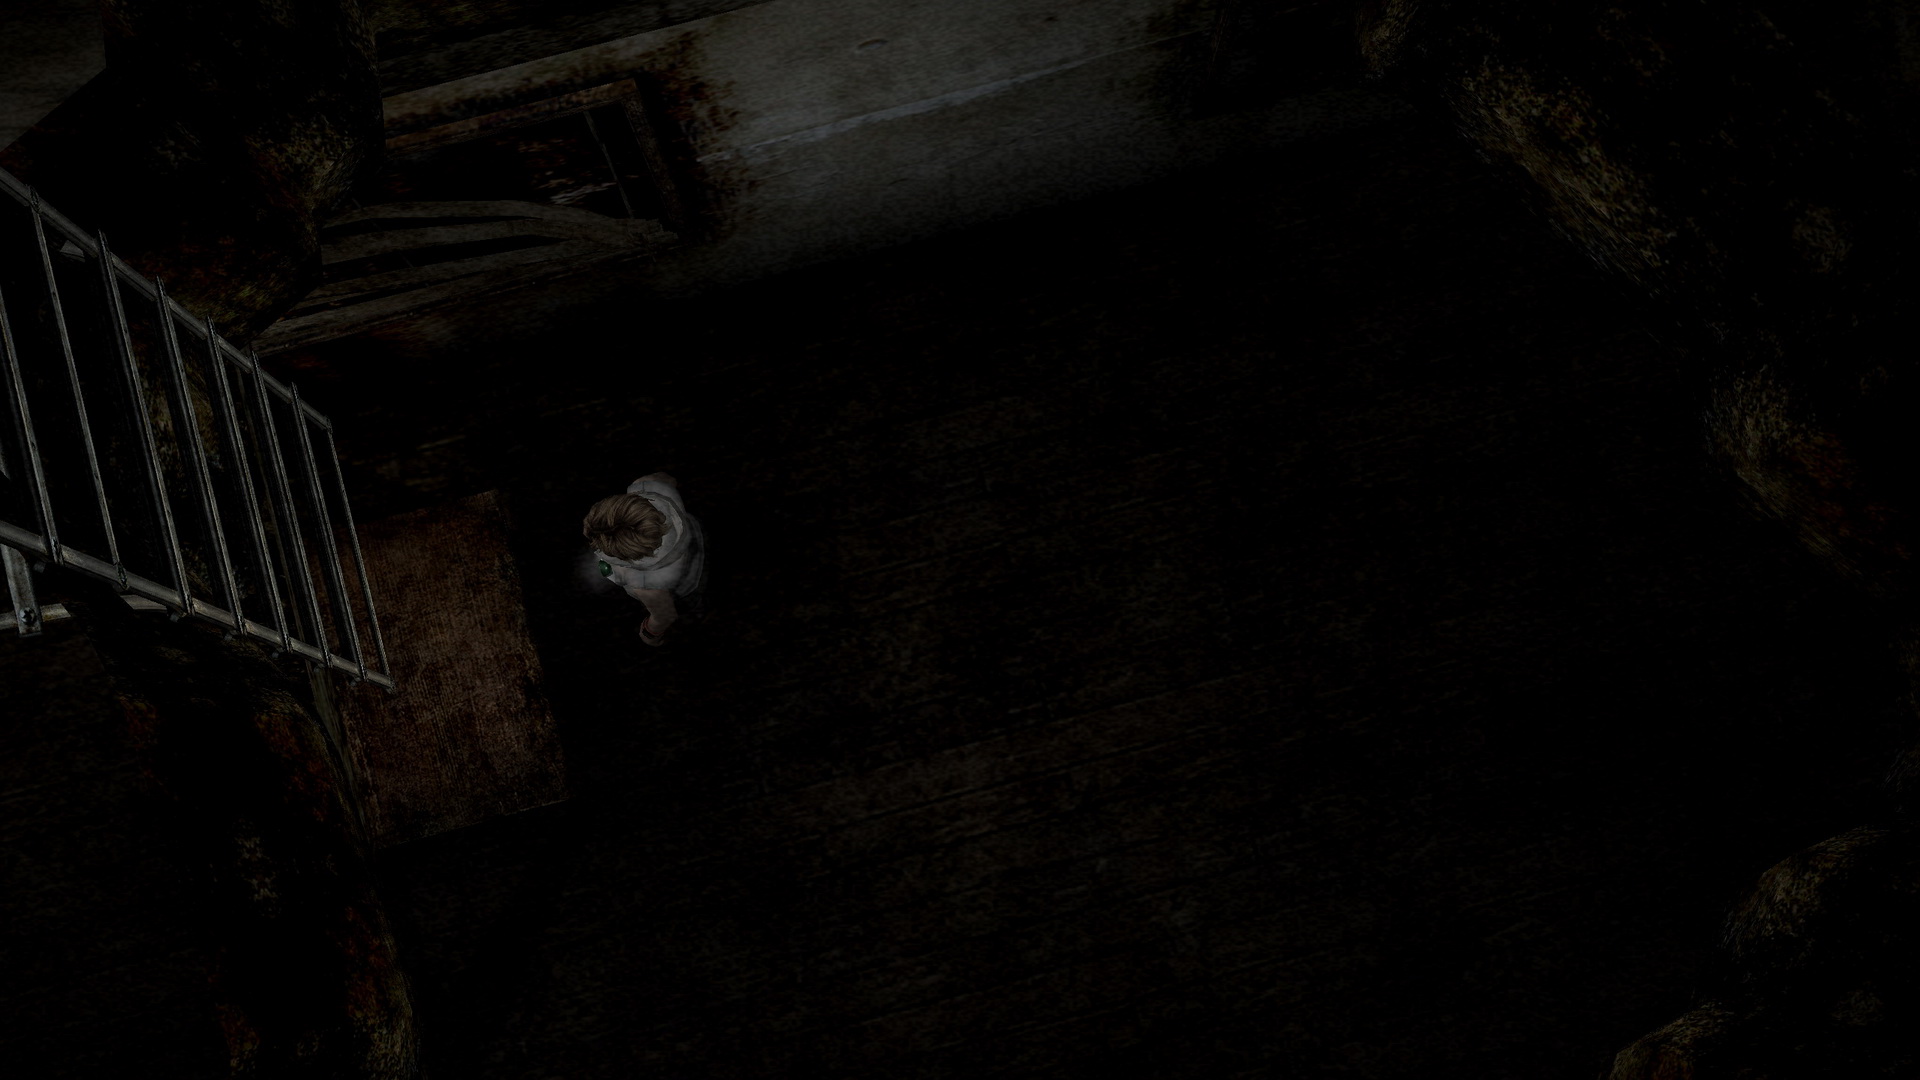
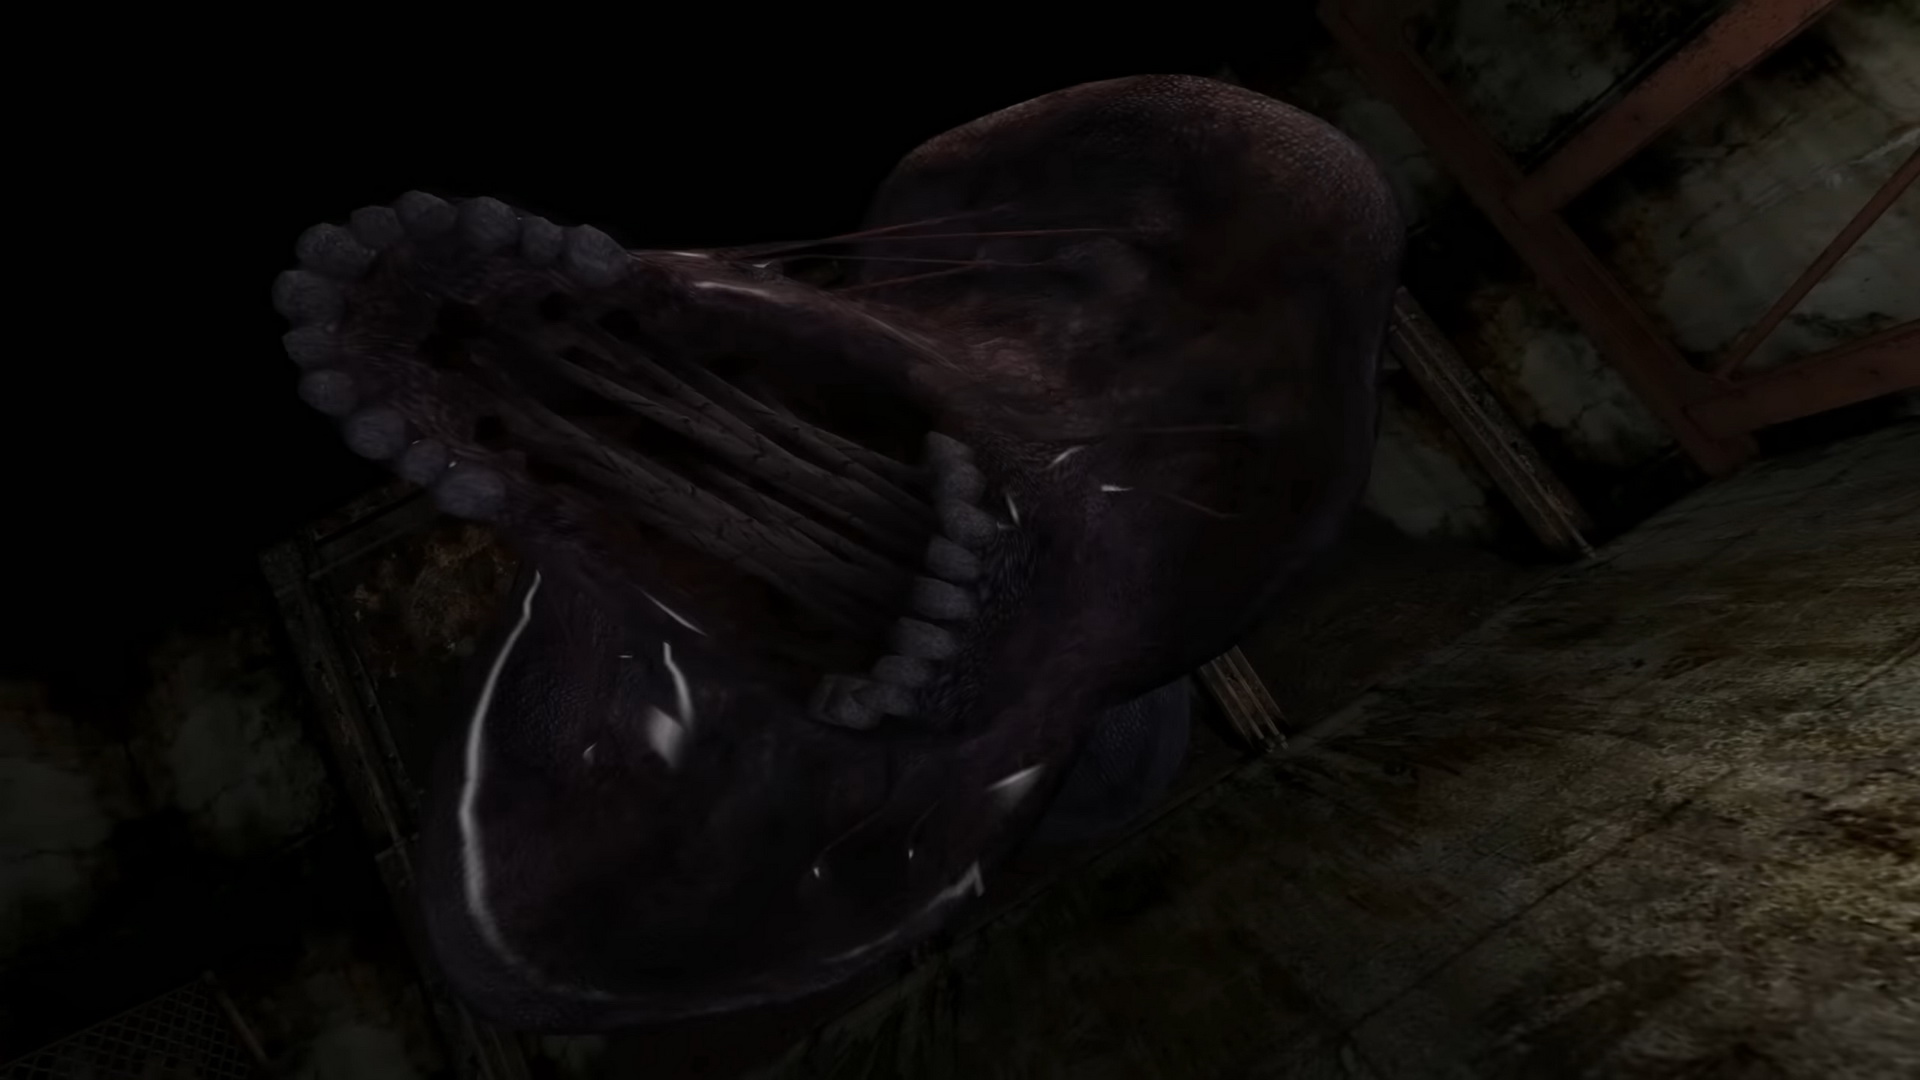
You may hear Numb Bodies patrolling, but it's from another floor. Follow the pathway around to the ladder and start your descent. Where to? Who knows... Heather eventually reaches the bottom where a giant purple worm comes to say hello, but the ladder gets destroyed behind her and it's time for the first boss fight. Boss: Split Worm (Mall First Floor)
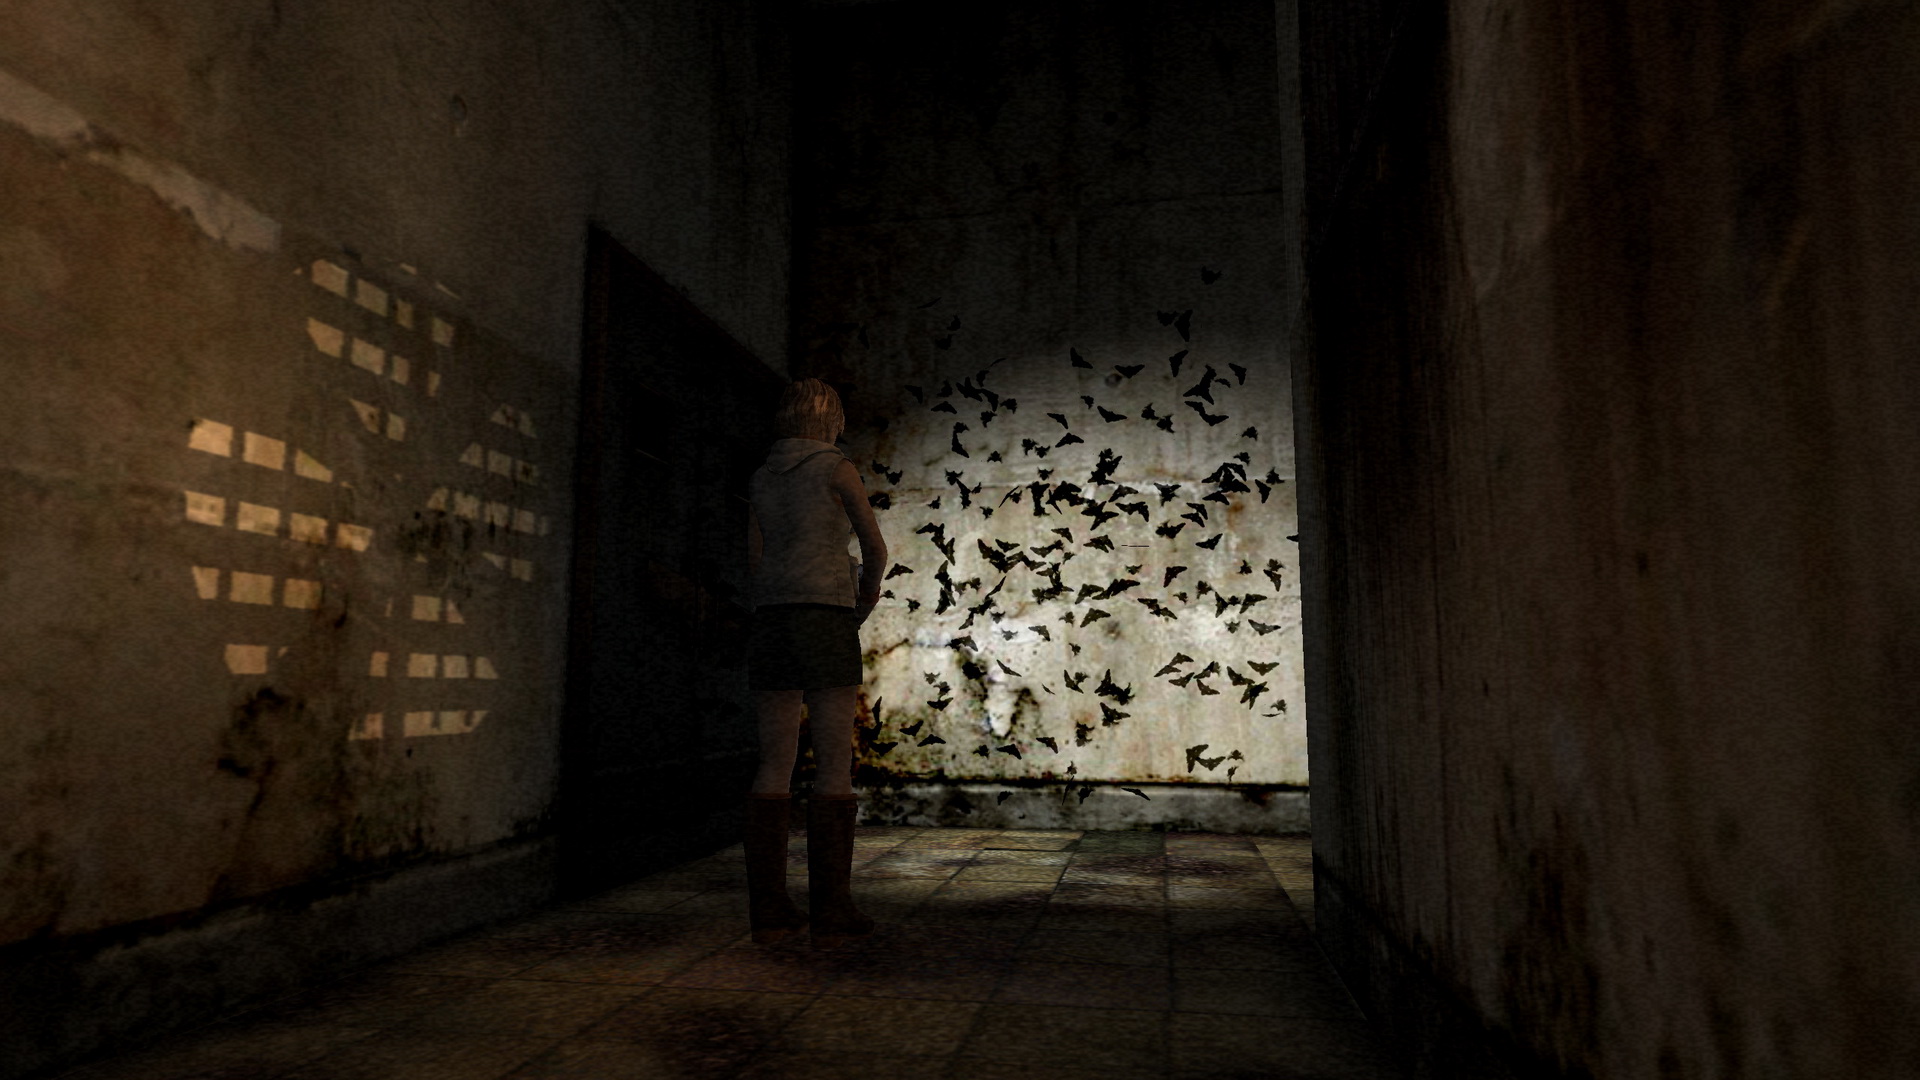
The worm will retreat back into the tunnel and re-emerge from another one, possibly on the other side. Hold L2 and the camera will aim towards the tunnel the worm will next appear from, so get ready to set up shop and start shooting once it opens its head. Always stop shooting as soon as it begins to close its head and be prepared to strafe or run out of the way since it may snake forward to another hole, possibly bumping you on the way. Repeat the above strategy until the worm drops dead. Note that if you instead fire just 2-3 times and stop, the worm won't retreat back in the tunnel and you can avoid extra down time waiting for it to re-emerge (although it's still a very short battle on Easy/Normal). However this will open you up to potential attacks and stuns. Read below for how to deal with them and consider which approach you'd rather. But if you do prevent it from leaving and avoid its attacks, you'll get more chances to shoot it at each hole. If low on ammo or wanting to try a different strategy, you can always use the Steel Pipe, but be prepared to block the Split Worm's attacks every few swings or so. There is an effective strategy where you can thrust 2-3 times, block and repeat. It does require mastering to perform well since the worm can easily knock you down for long periods if you're not well-positioned or too slow to attack. It is generally only recommended for experienced players and is actually the most effective strategy to end this battle in the least amount of time on Hard. Split Worm's attacks: Overall this is a very simple fight, and as long as you pay attention and avoid in-game reloads at the wrong times, you should be able to avoid all attacks from occurring, but otherwise they're easy to avoid. After around 15 Handgun Bullets on Normal and up to around 35 on Hard (or more if you shoot its shell), the Split Worm will drop to the floor, ending the fight. Normal Shopping Mall ReturnThe mall transitions back to its normal form after the boss fight. Find and pass under the partly-closed shutter ahead to the next hall.
Heather meets Douglas again but Heather splits to head home via the subway. |

| 02. Central Square Shopping Center | 04. Hazel Street Subway Station |