Western South Vale Revisited
Welcome to the eighth chapter of the complete walkthrough guide for Silent Hill 2 Remake (2024) covering revisited Western South Vale and Silent Hill Historical Society. Use the key summary below for short, spoiler-free directions and the complete walkthrough section for in-depth guidelines with extra explanations. This walkthrough also includes complete maps with all items and monsters marked for easy reference.
For the original Silent Hill 2 walkthrough please go to this page.
Legend
1 Auto Parts key – key items
2 Radio – equipment
Health Drink – supplies
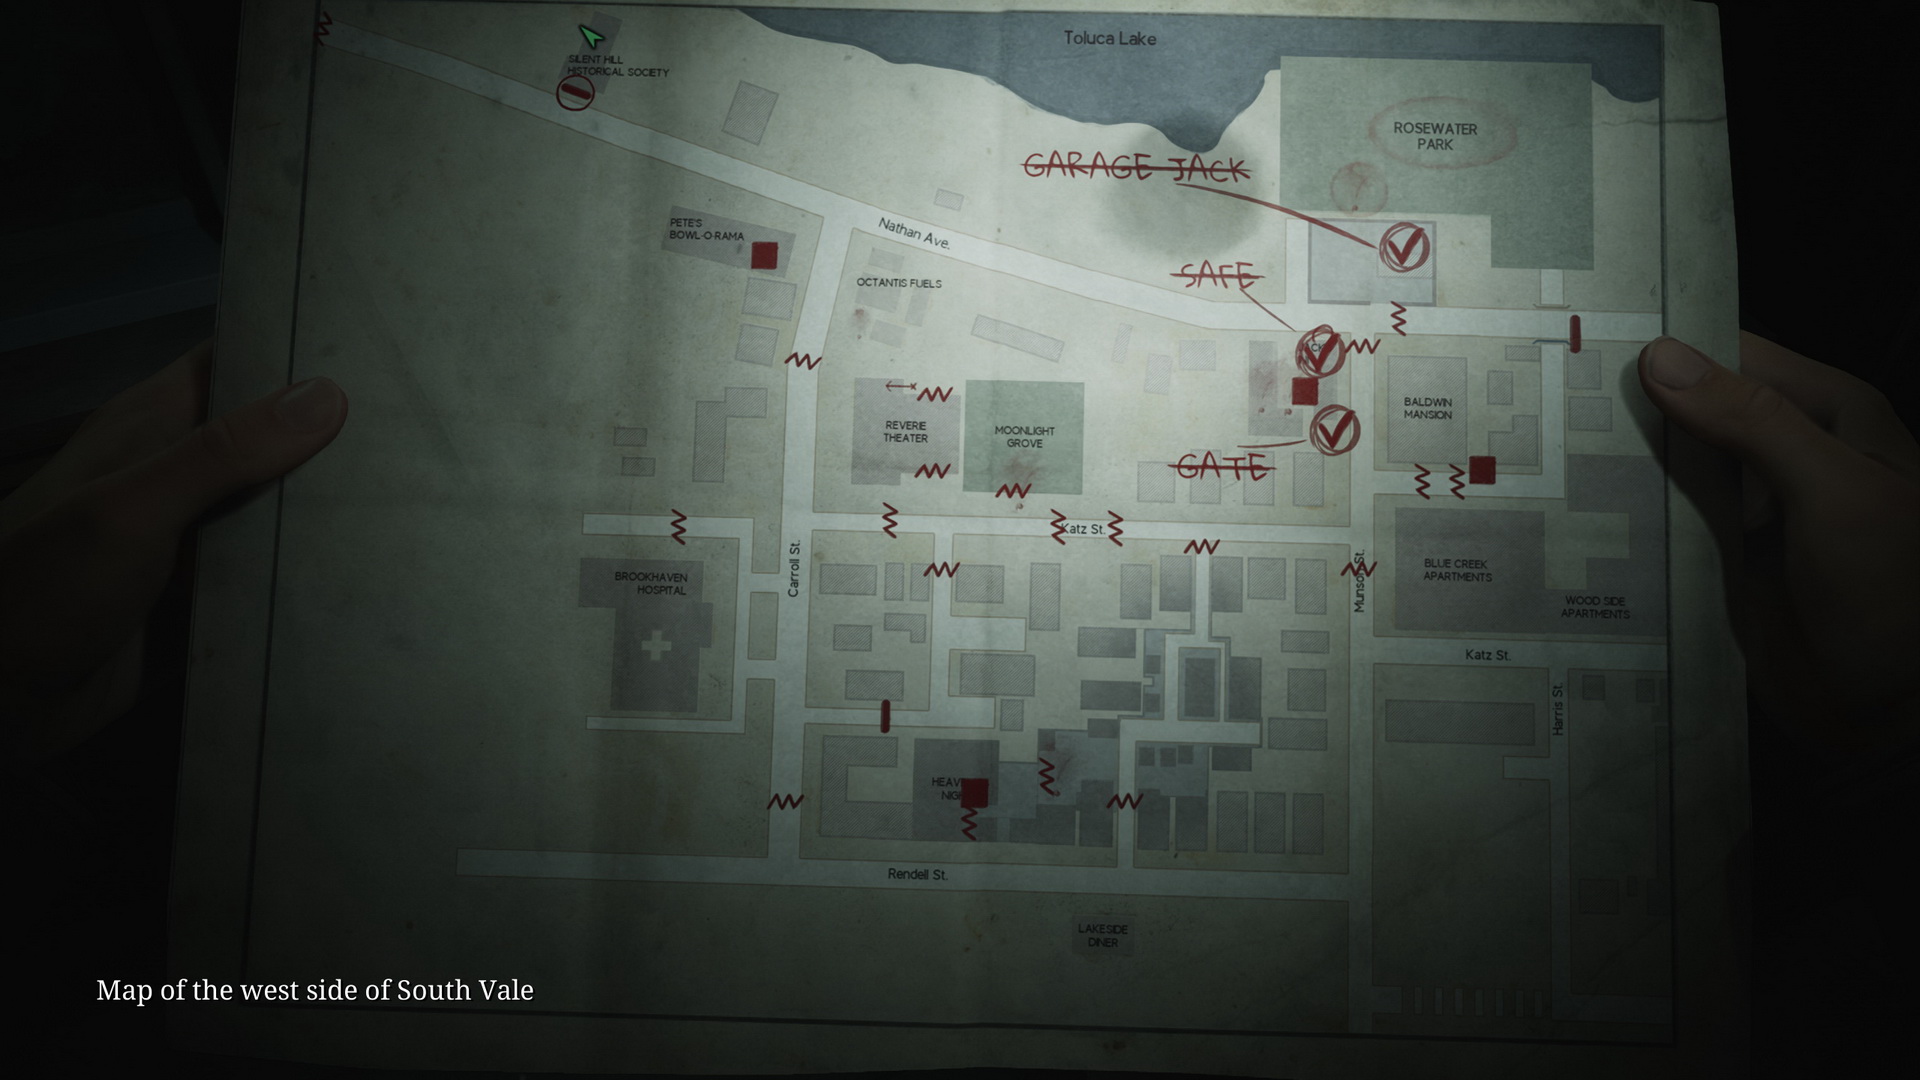
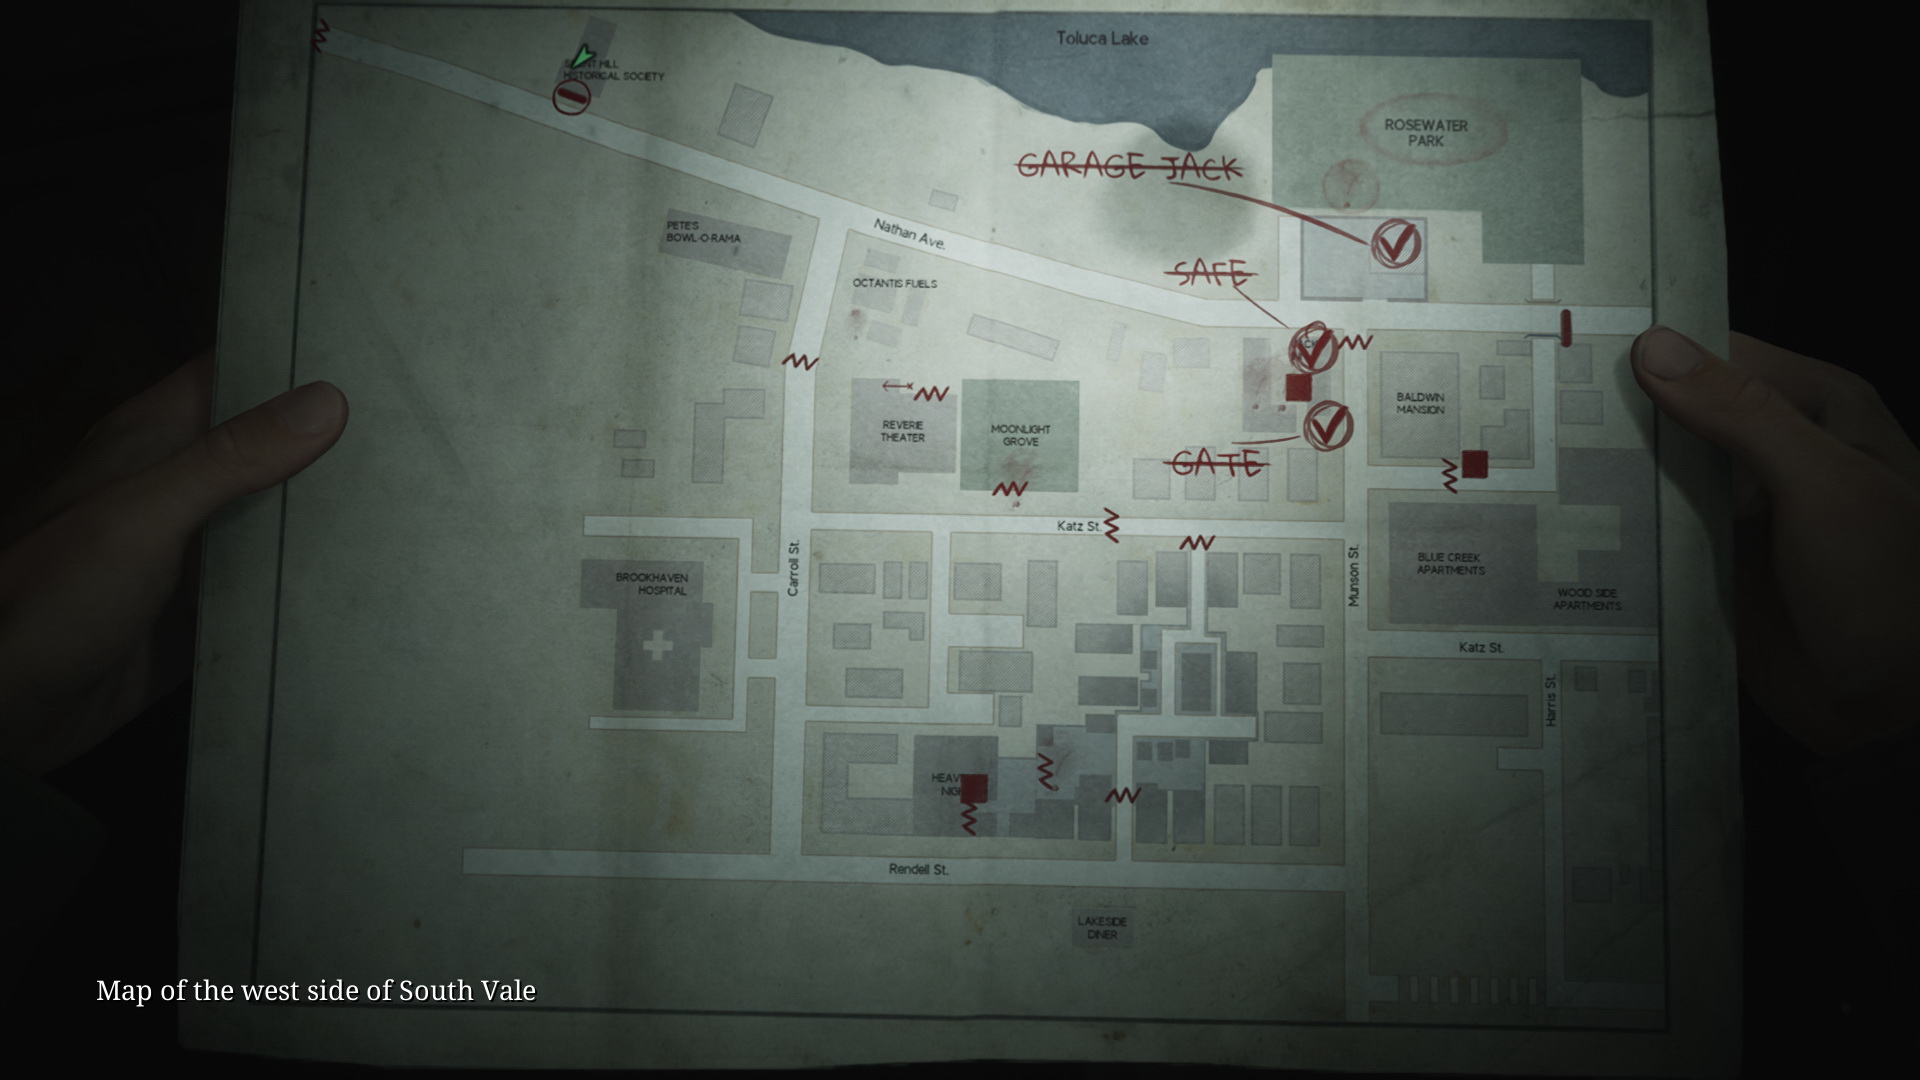
Map of Silent Hill – maps
Save Point – save points
Flower Shop Message – collectibles: memos, strange photos and glimpses of the past
NG+ – New Game+ items, memos and actions
Contents
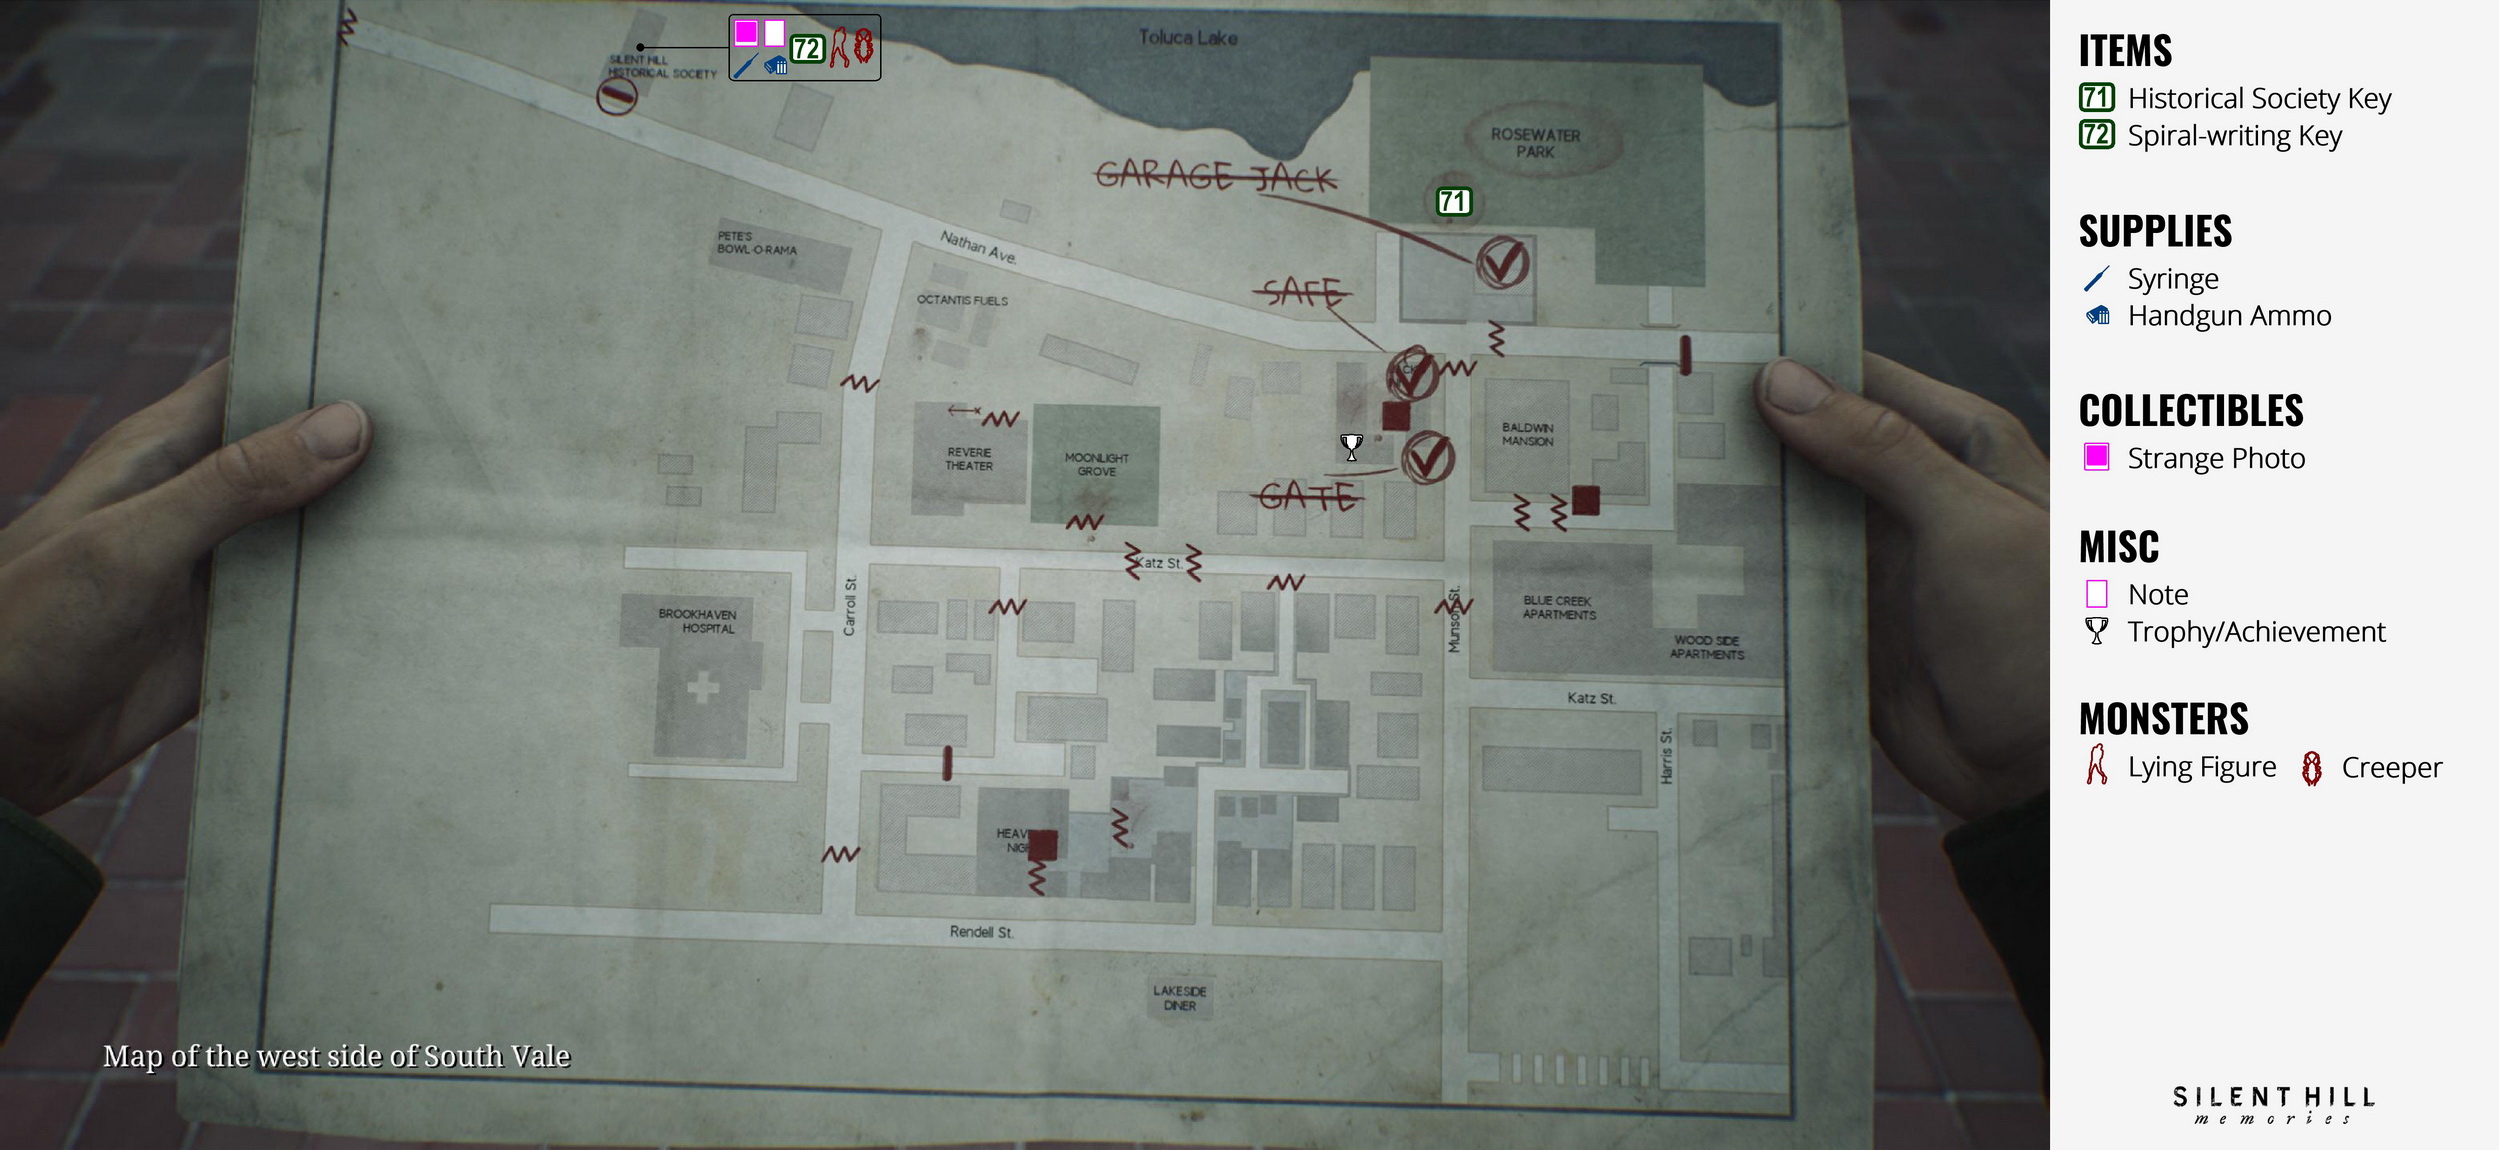
Complete Maps |
|
Collectibles count:
- No memos
- 1 strange photo
- No glimpses of the past
Key Summary
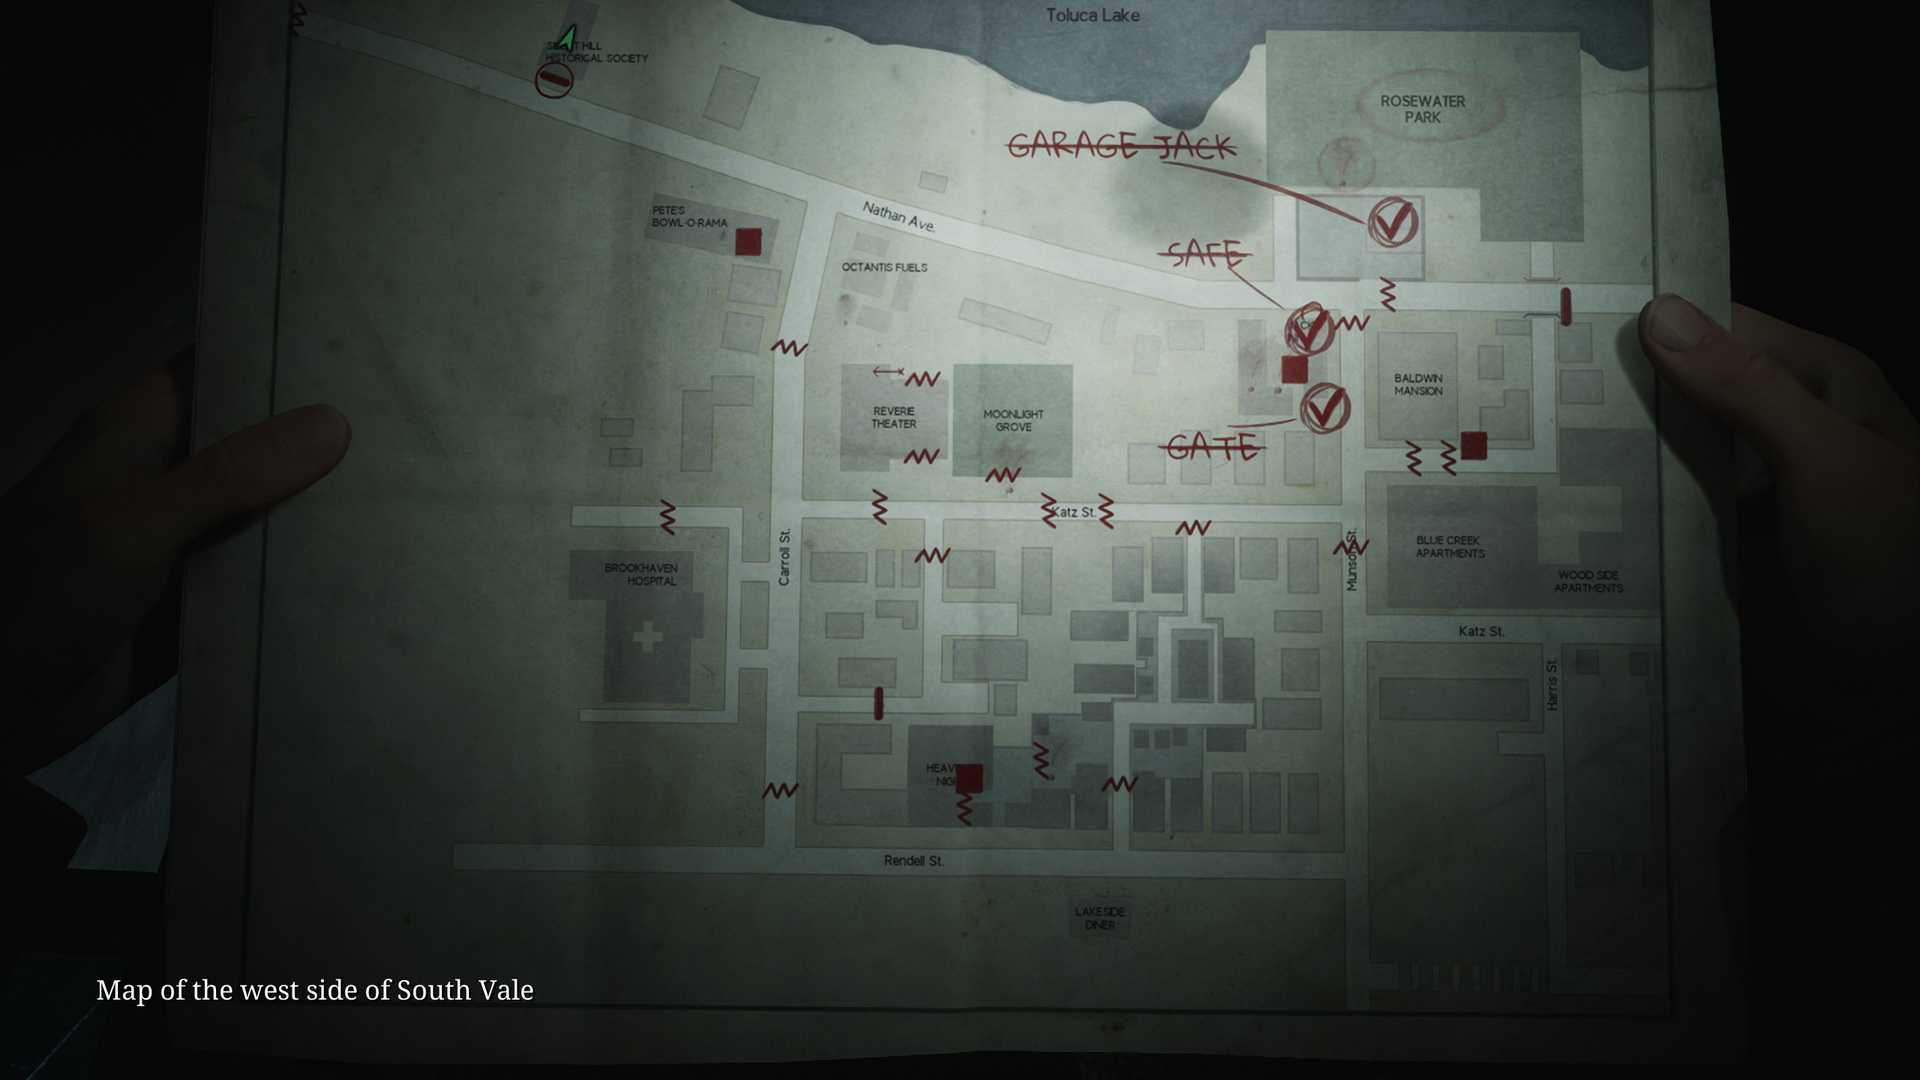
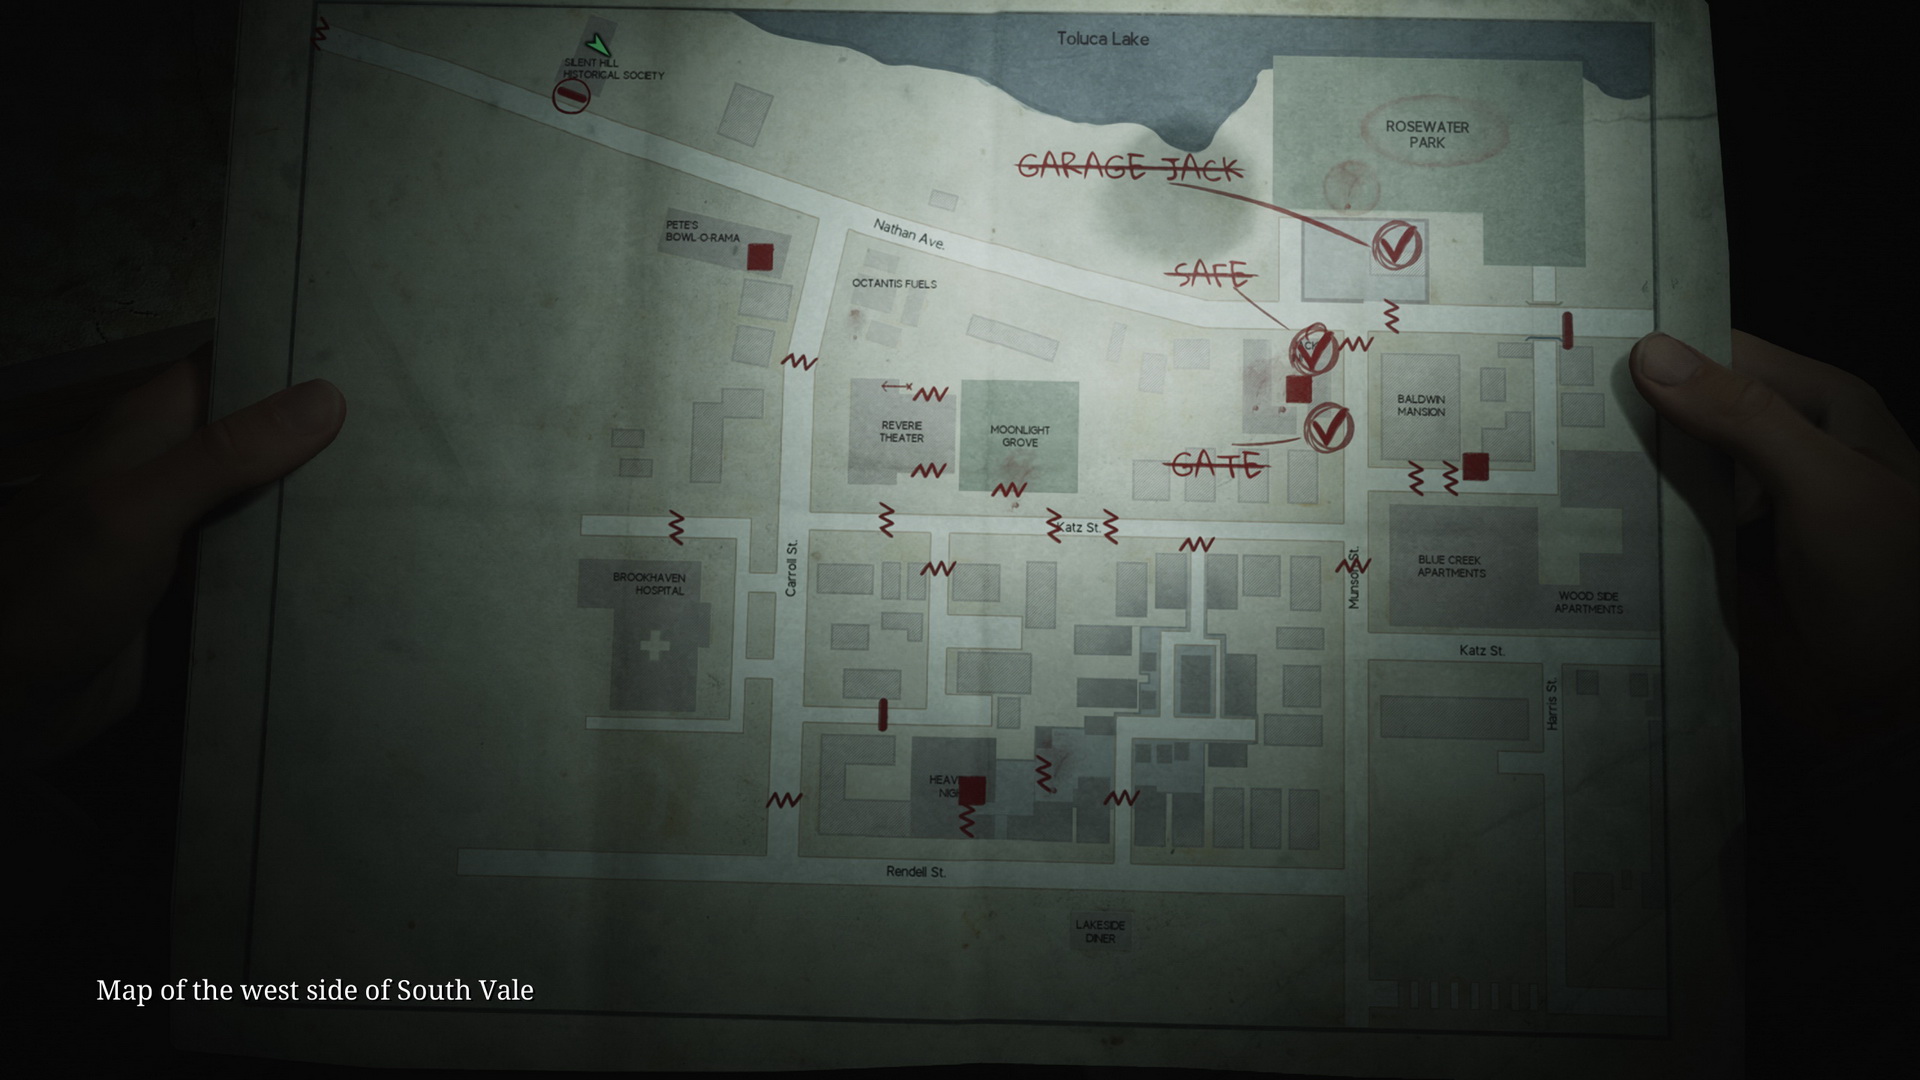
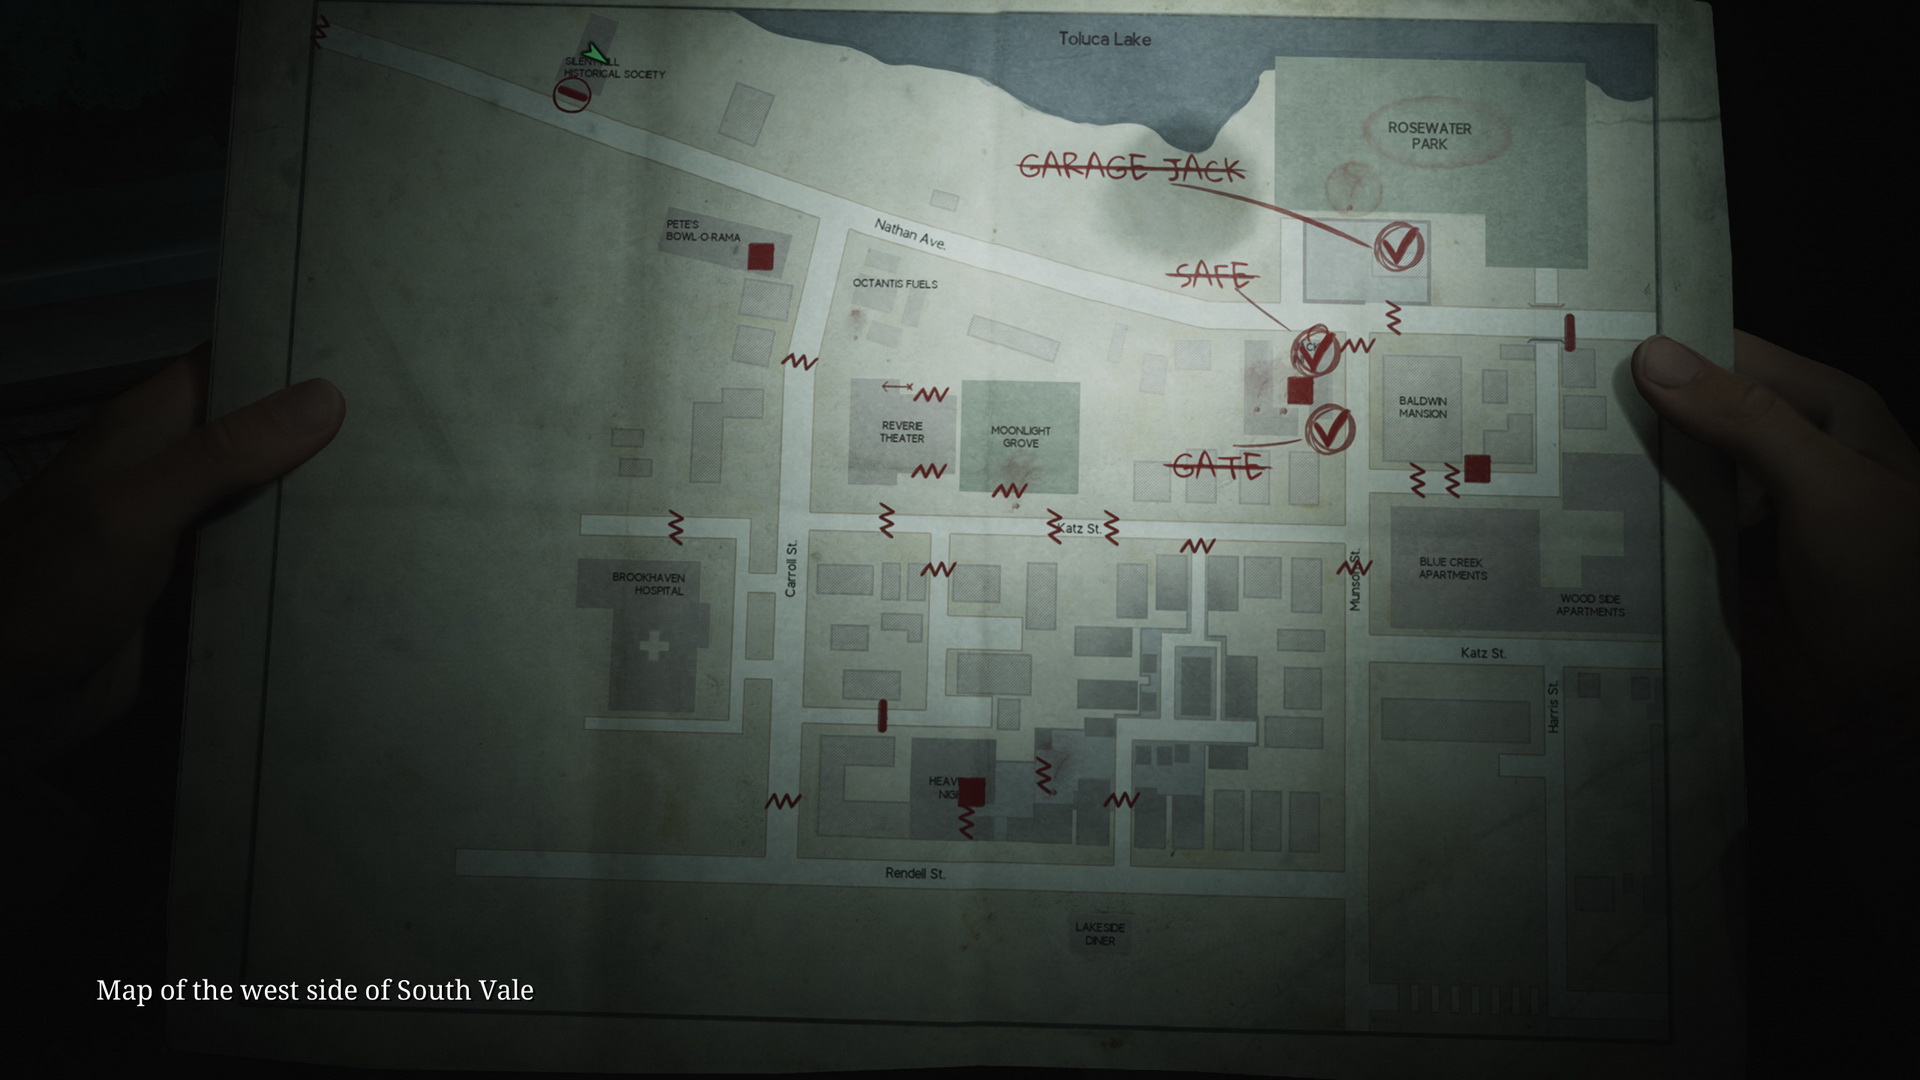
West South Vale
- Run to the spot marked in Rosewater Park.
- 71 Historical Society Key. After the cutscene, interact with the ground before the statue to get the key inside the box.
- Trophy/achievement: All Seems in Order. Visit Room 106 at Jacks Inn and interact with the symbol that's been revealed behind the tear in the wallpaper.
- Continue west via Nathan Ave. until you reach the Silent Hill Historical Society museum.
Silent Hill Historical Society
- There's a Save Point right in front.
- Strange Photo #17: "The new clock". Exhibition hall to the left, behind the glass in one of the cabinets.
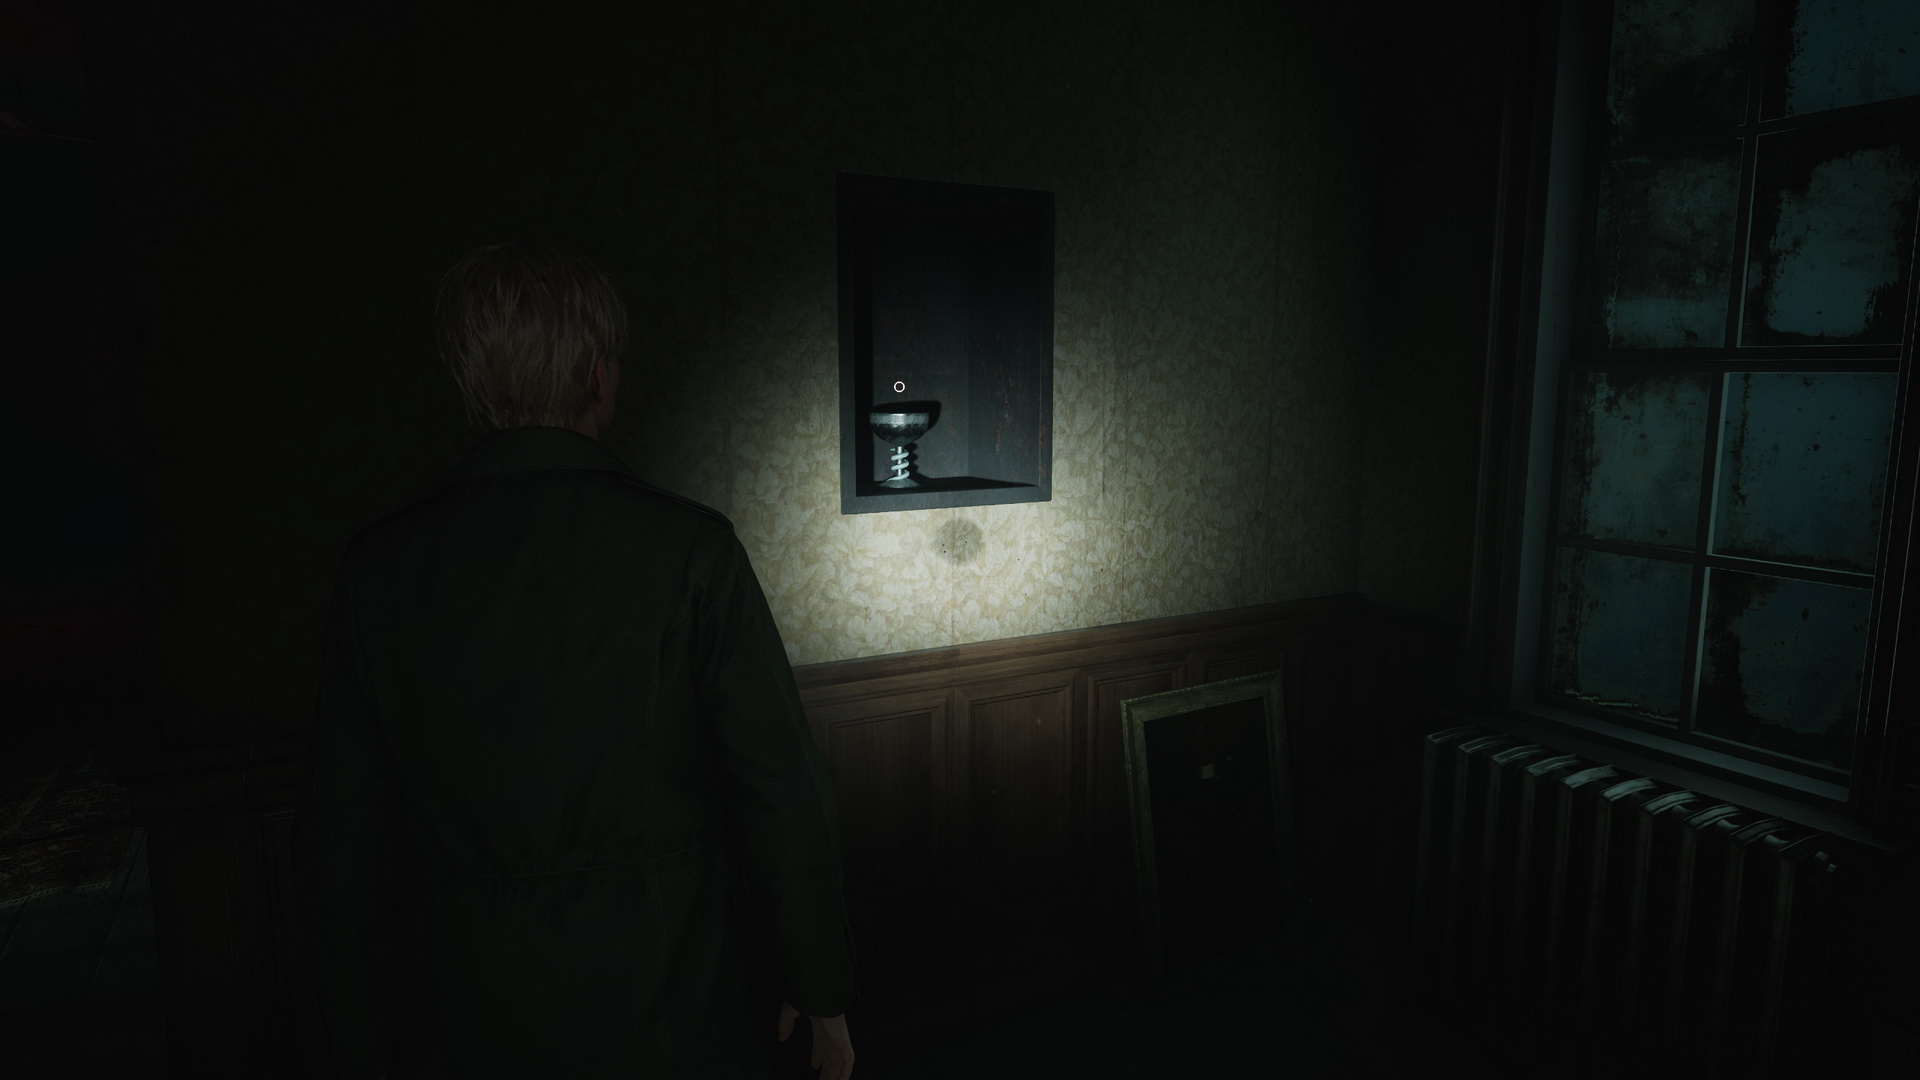
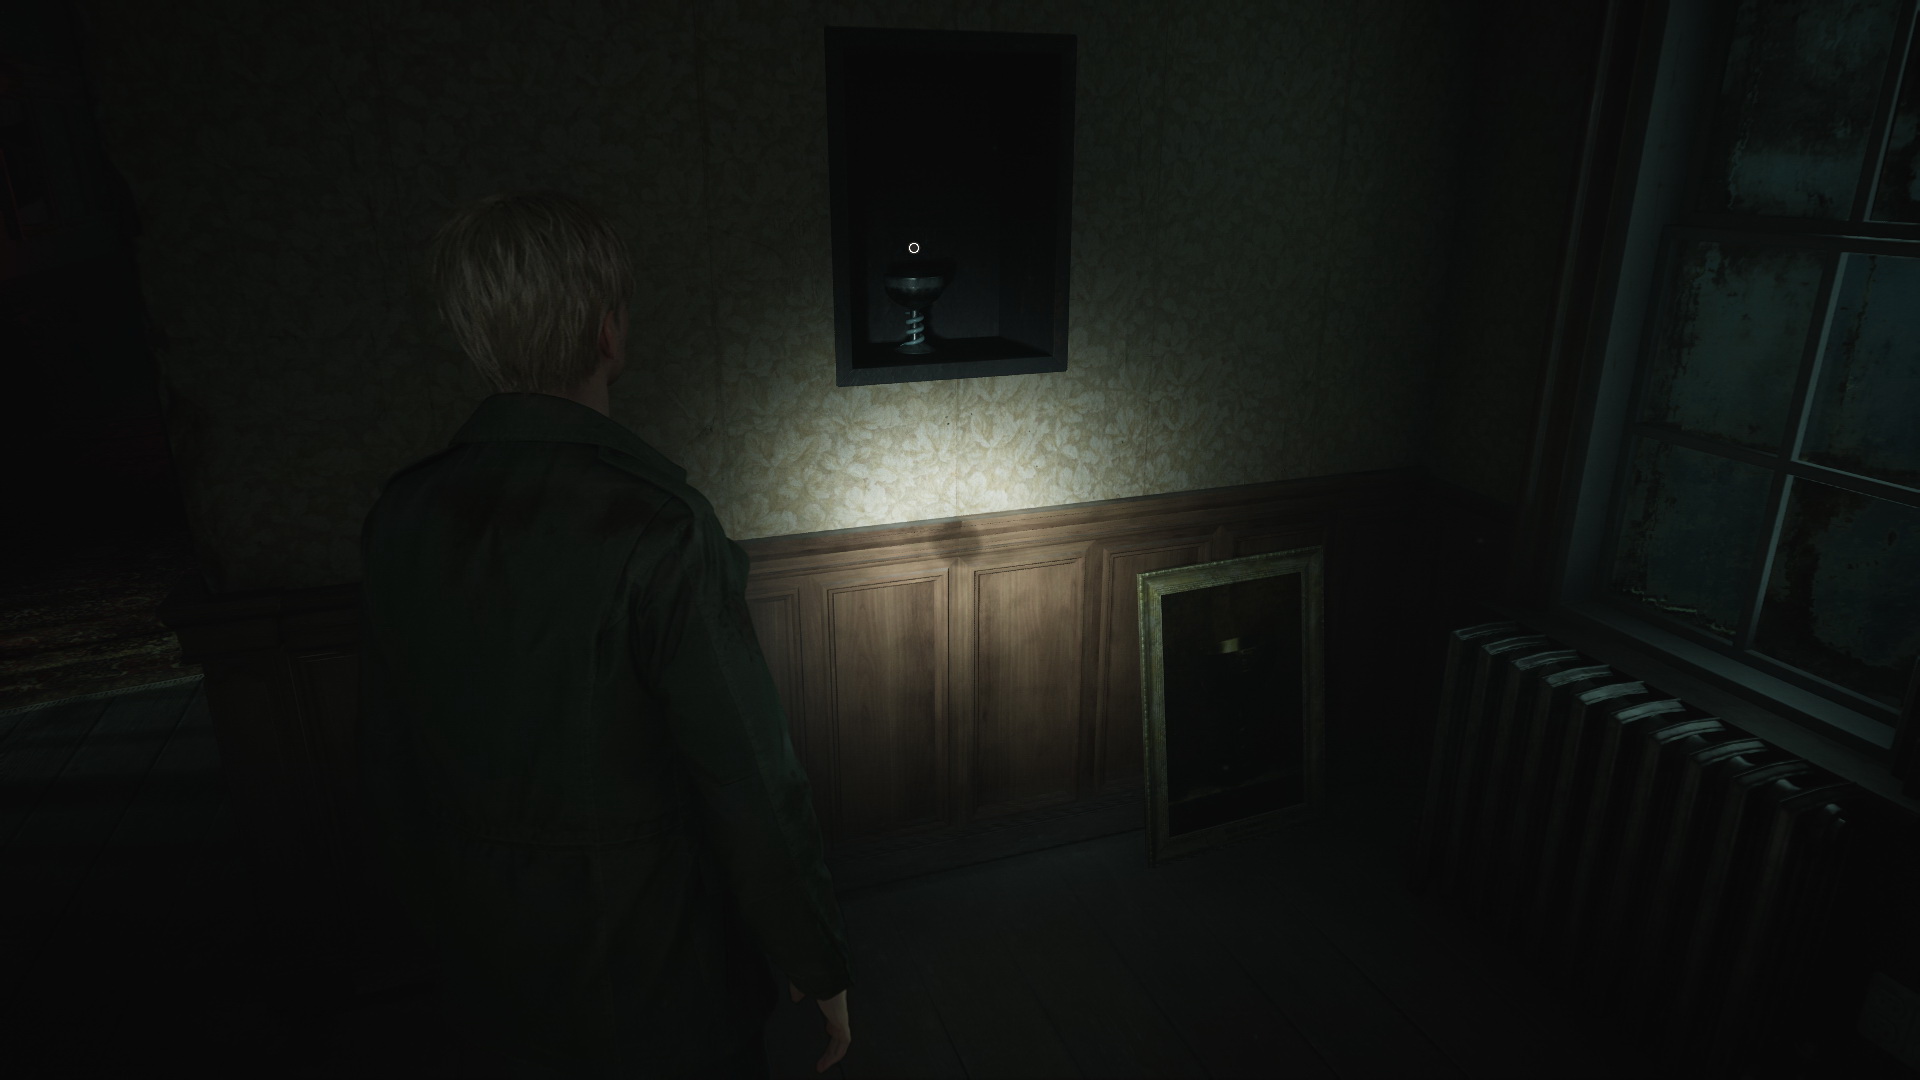
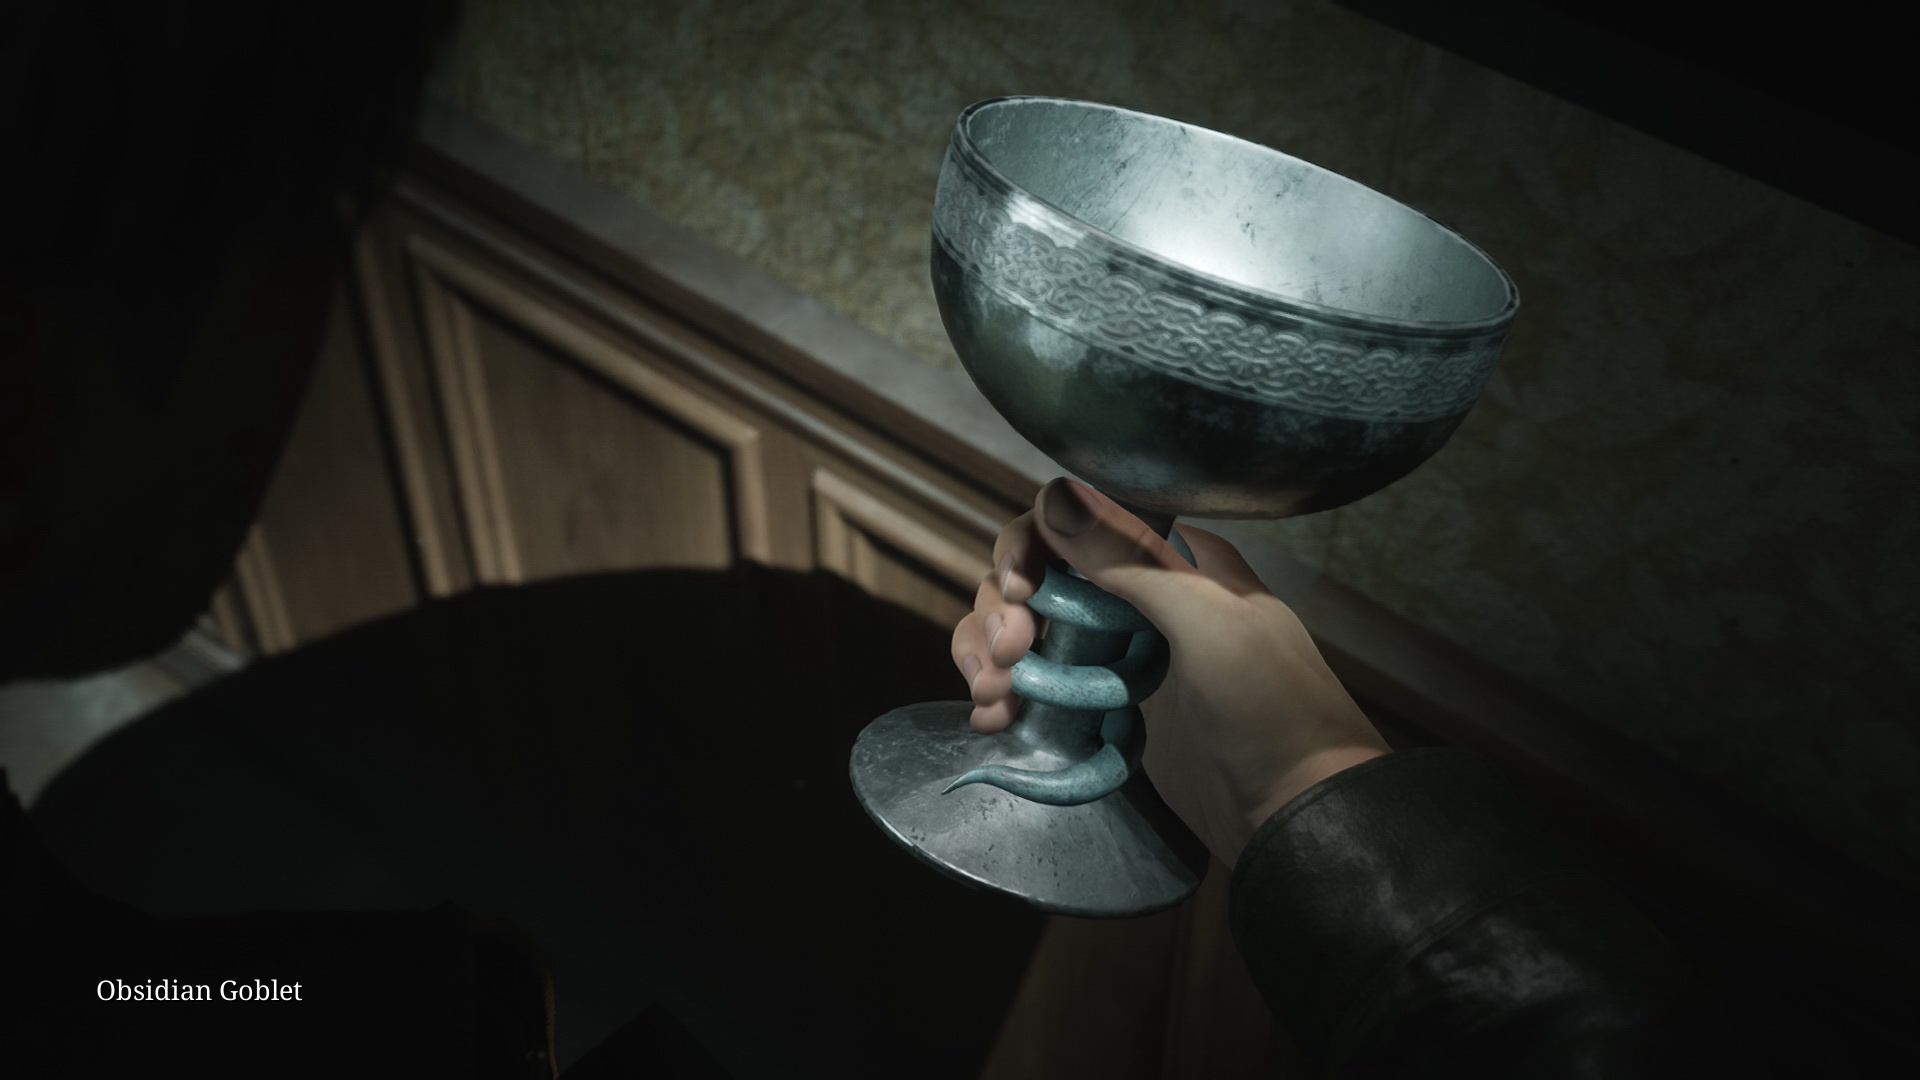
- NG+ E10 Obsidian Goblet. A black goblet in a wall niche in the main exhibition hall.
- Find the stairs and go all the way down. Jump down the hole in the floor at the end of the corridor.
- Find and break the wall with a door behind (the third one to the left).
- Go through the flooded corridor and take the door to the right.
- 72 Spiral-writing Key is on the ground in the small room in this area (illuminated by a red light).
- To get outside the bug-filled room you need a code. The code will be a random three-digit combination of the unstained lit buttons on the keypad: 2, 3, and 9 – input by trial and error. Possible variations are: 239, 293, 329, 392, 923, 932.
- Use the key to unlock the gates in the floor and jump down.
Complete Walkthrough
West South Vale
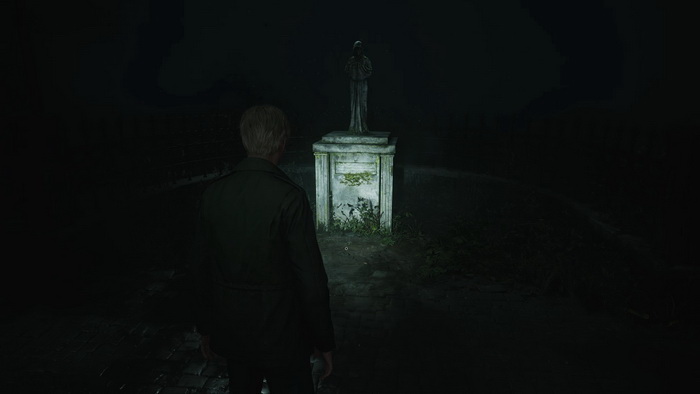
After the tunnel, you will return to Rosewater Park. Proceed to the spot marked on the map by going left, up the stairs and through a metal gate. Approach the statue of Jennifer Carroll for a cutscene with Angela.
After the cutscene, interact with the ground before the statue to get the 71 Historical Society Key inside the box.
Exit the park and return to the street. Now, continue west via Nathan Avenue until you reach the Silent Hill Historical Society museum.
Trophy/Achievement: All Seems in Order |
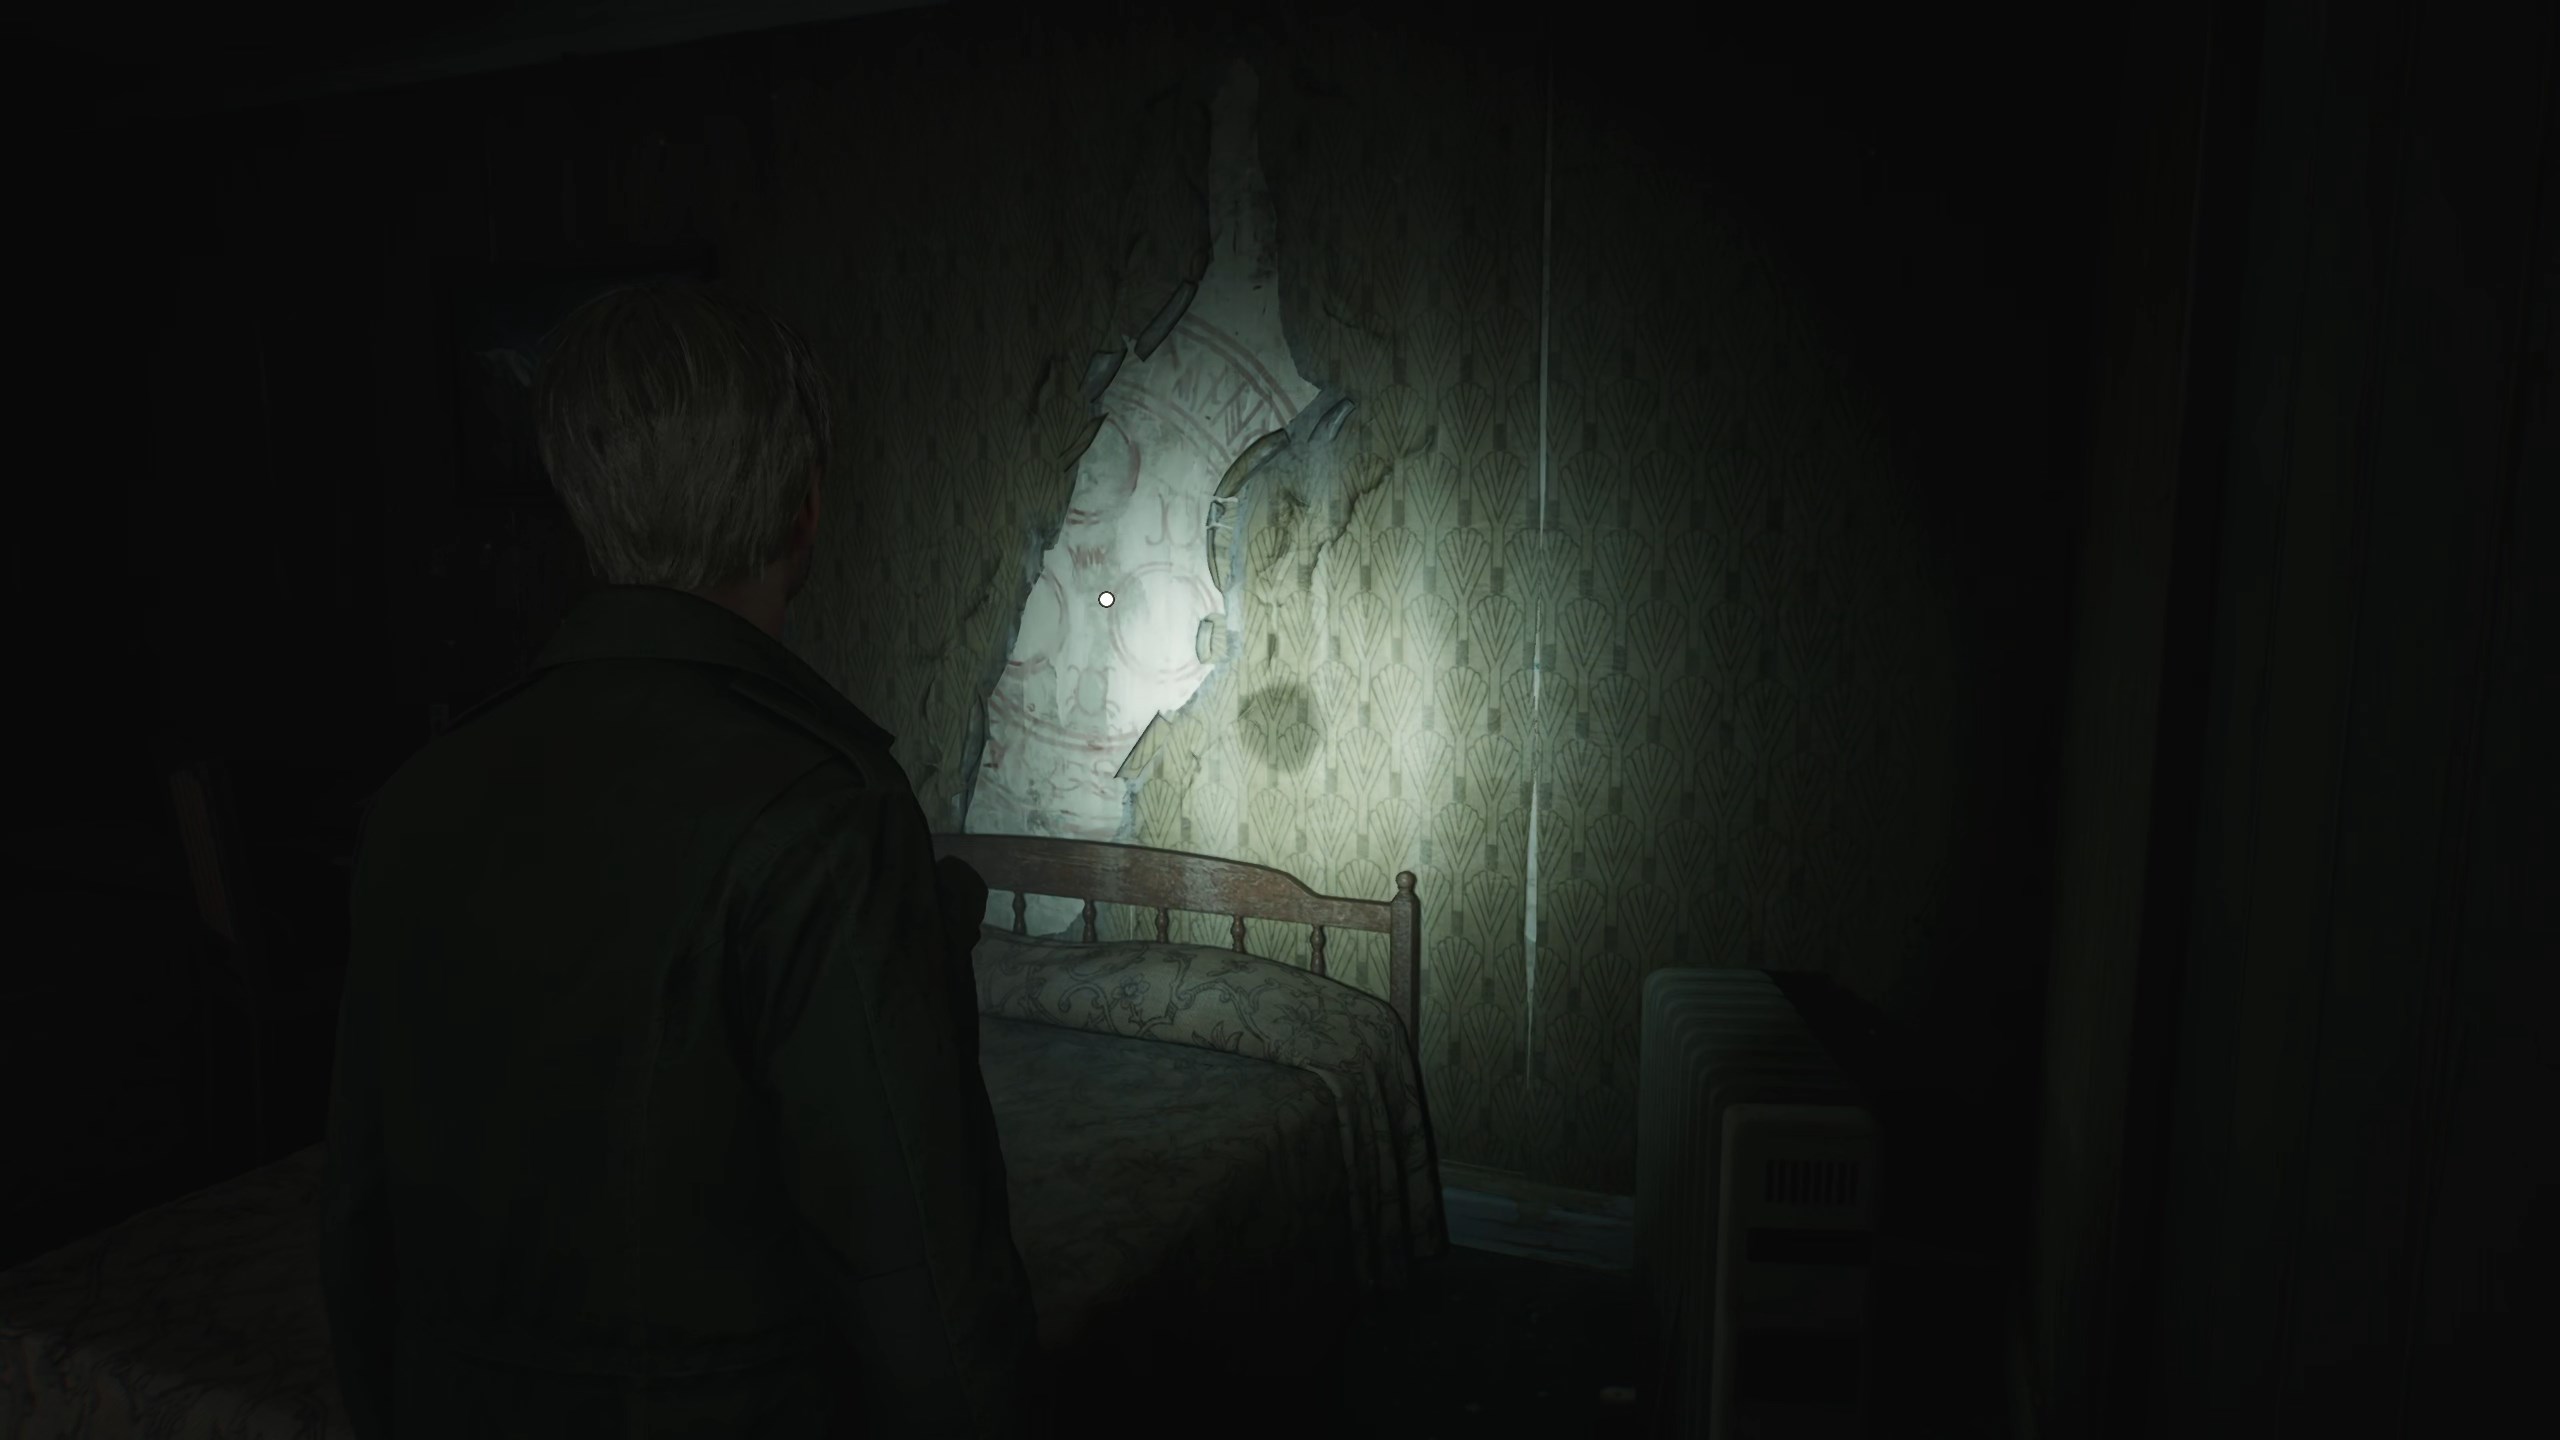 On your way to the museum, visit Room 106 at Jacks Inn and interact with the symbol revealed behind the wallpaper tear. |
Silent Hill Historical Society
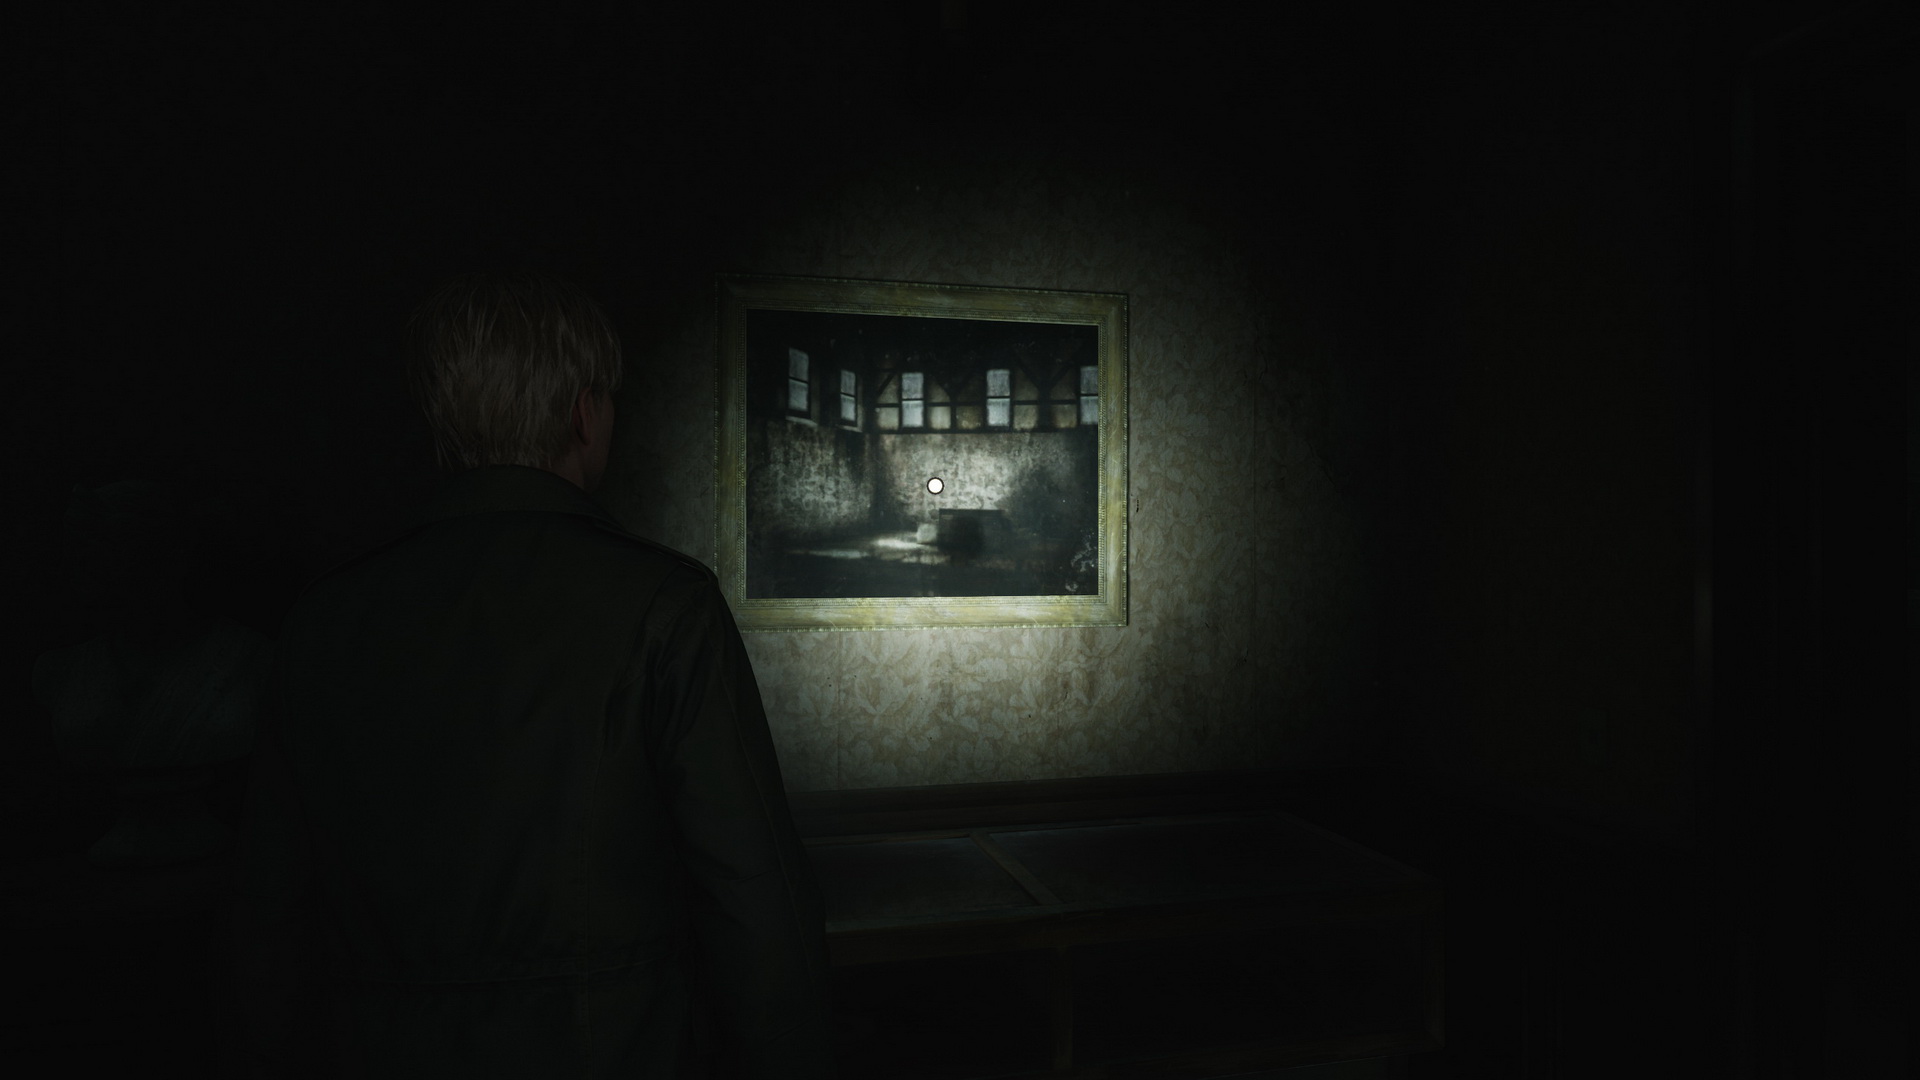
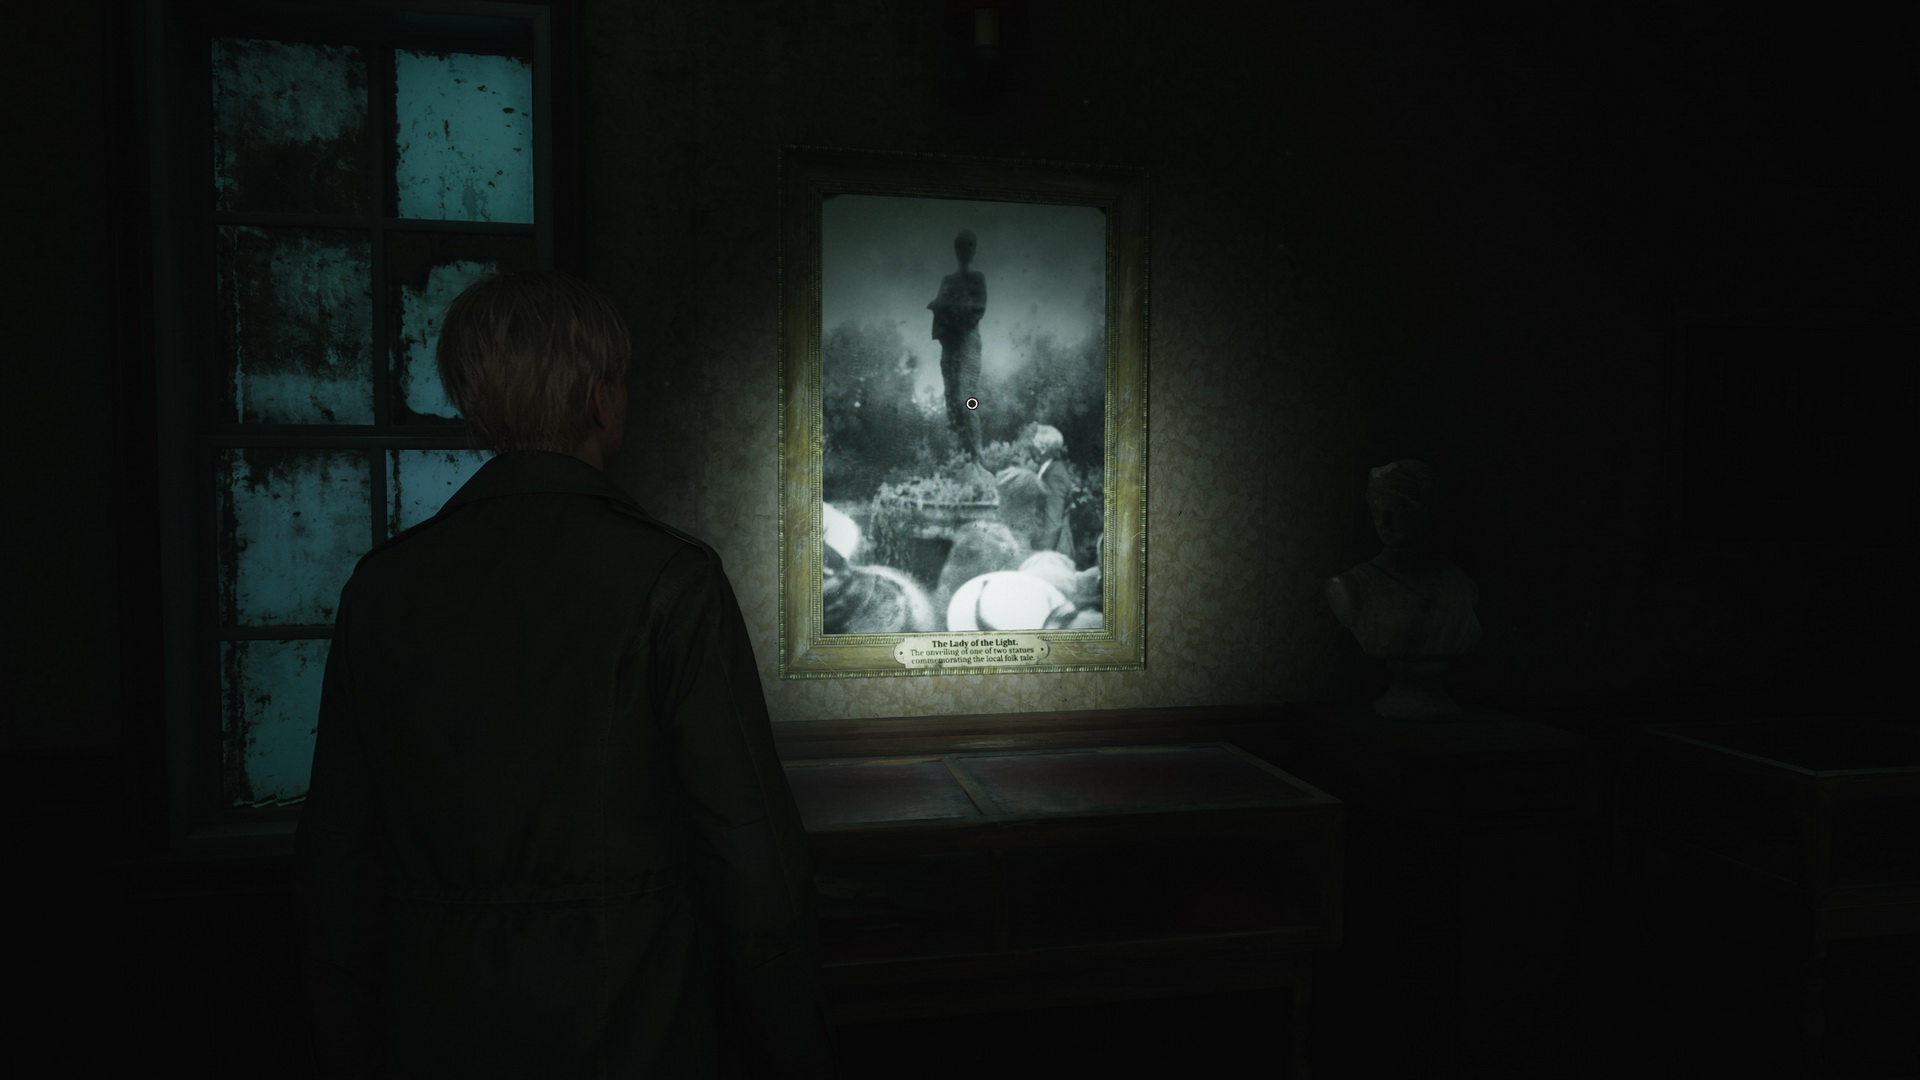
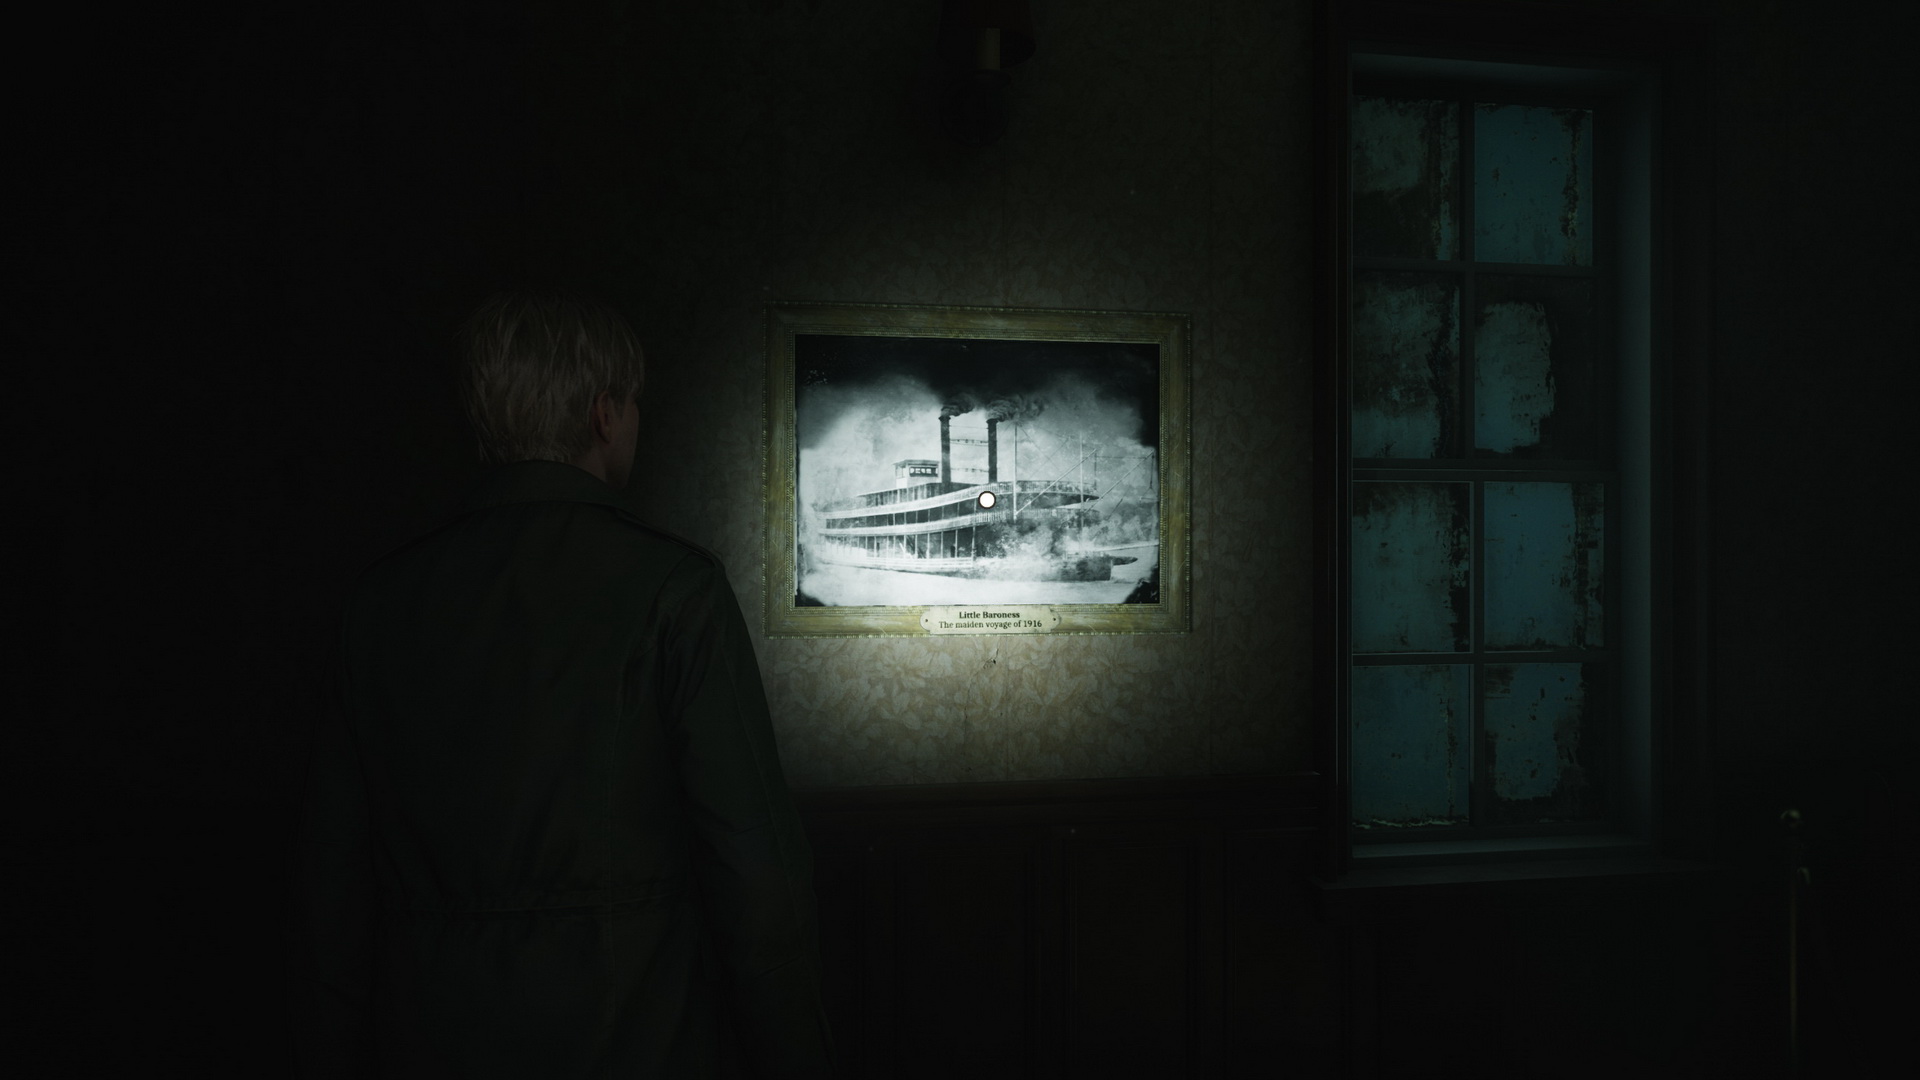
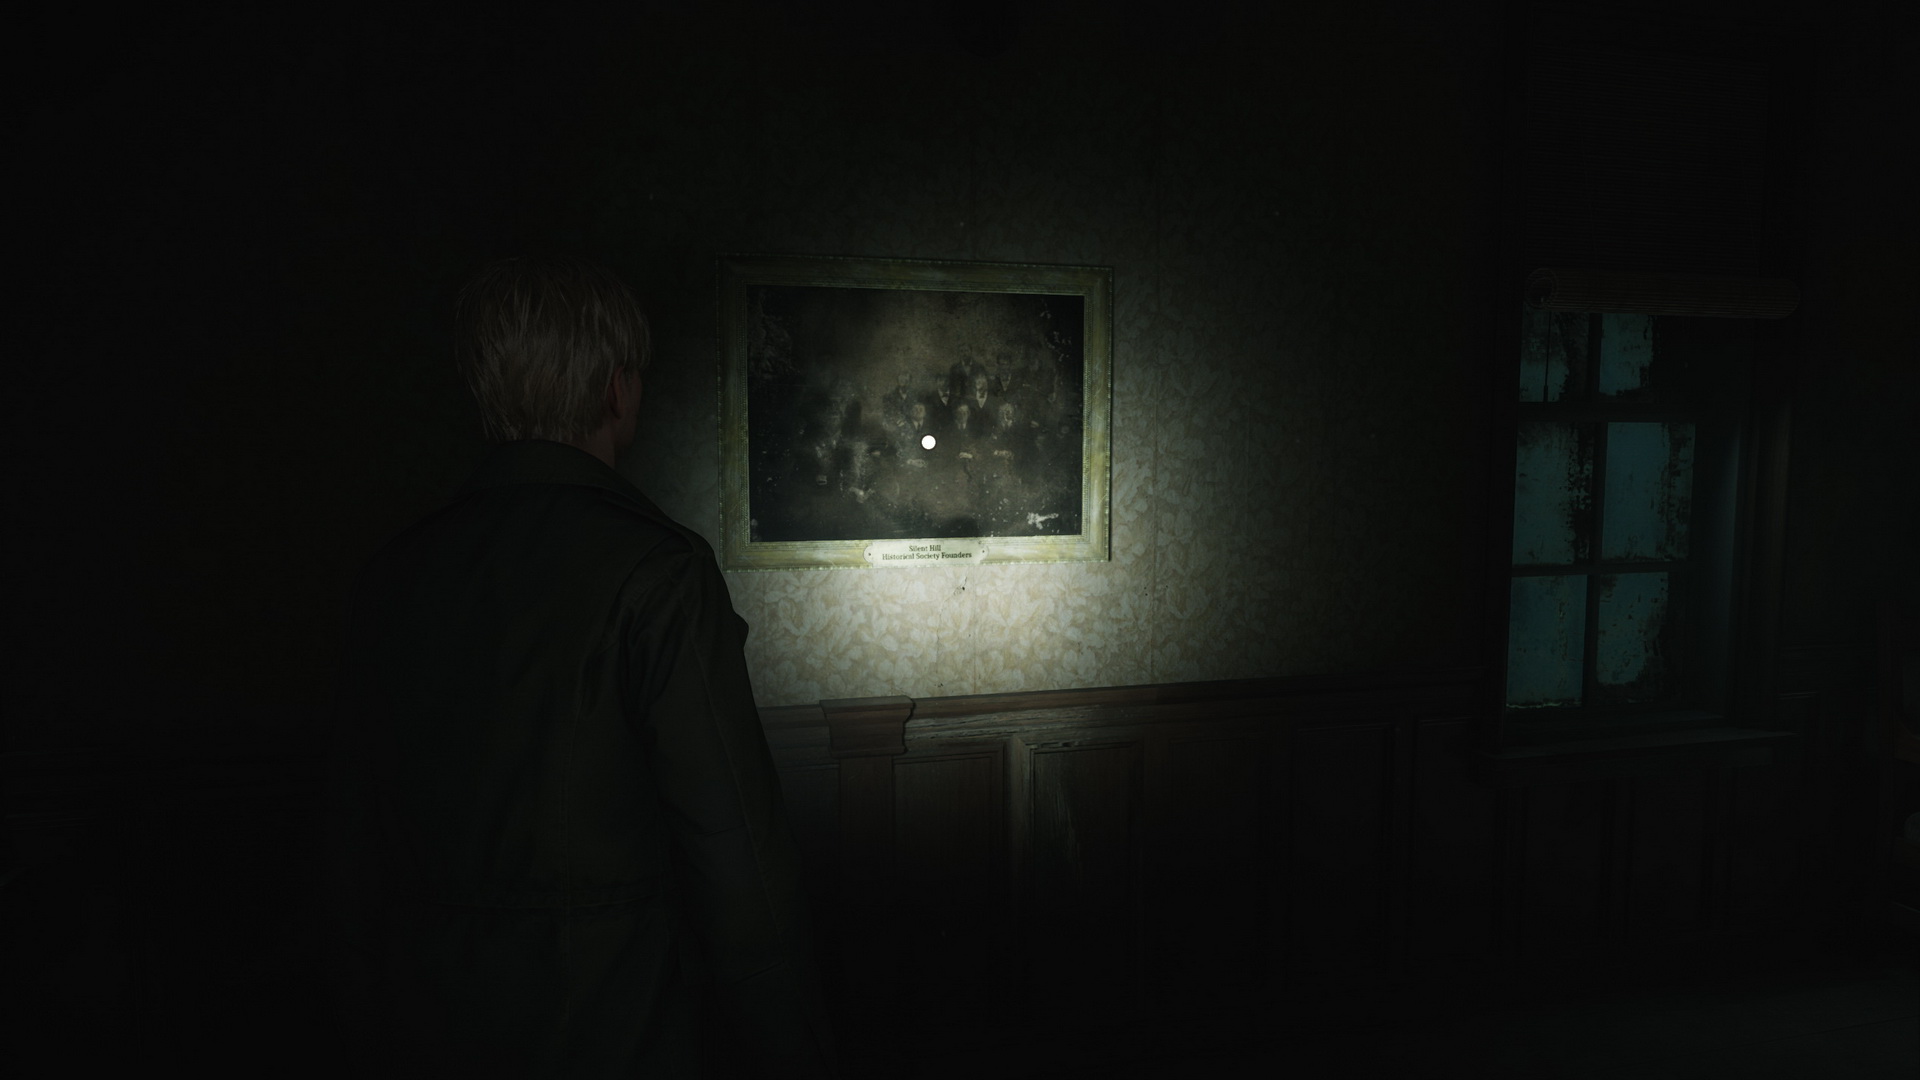
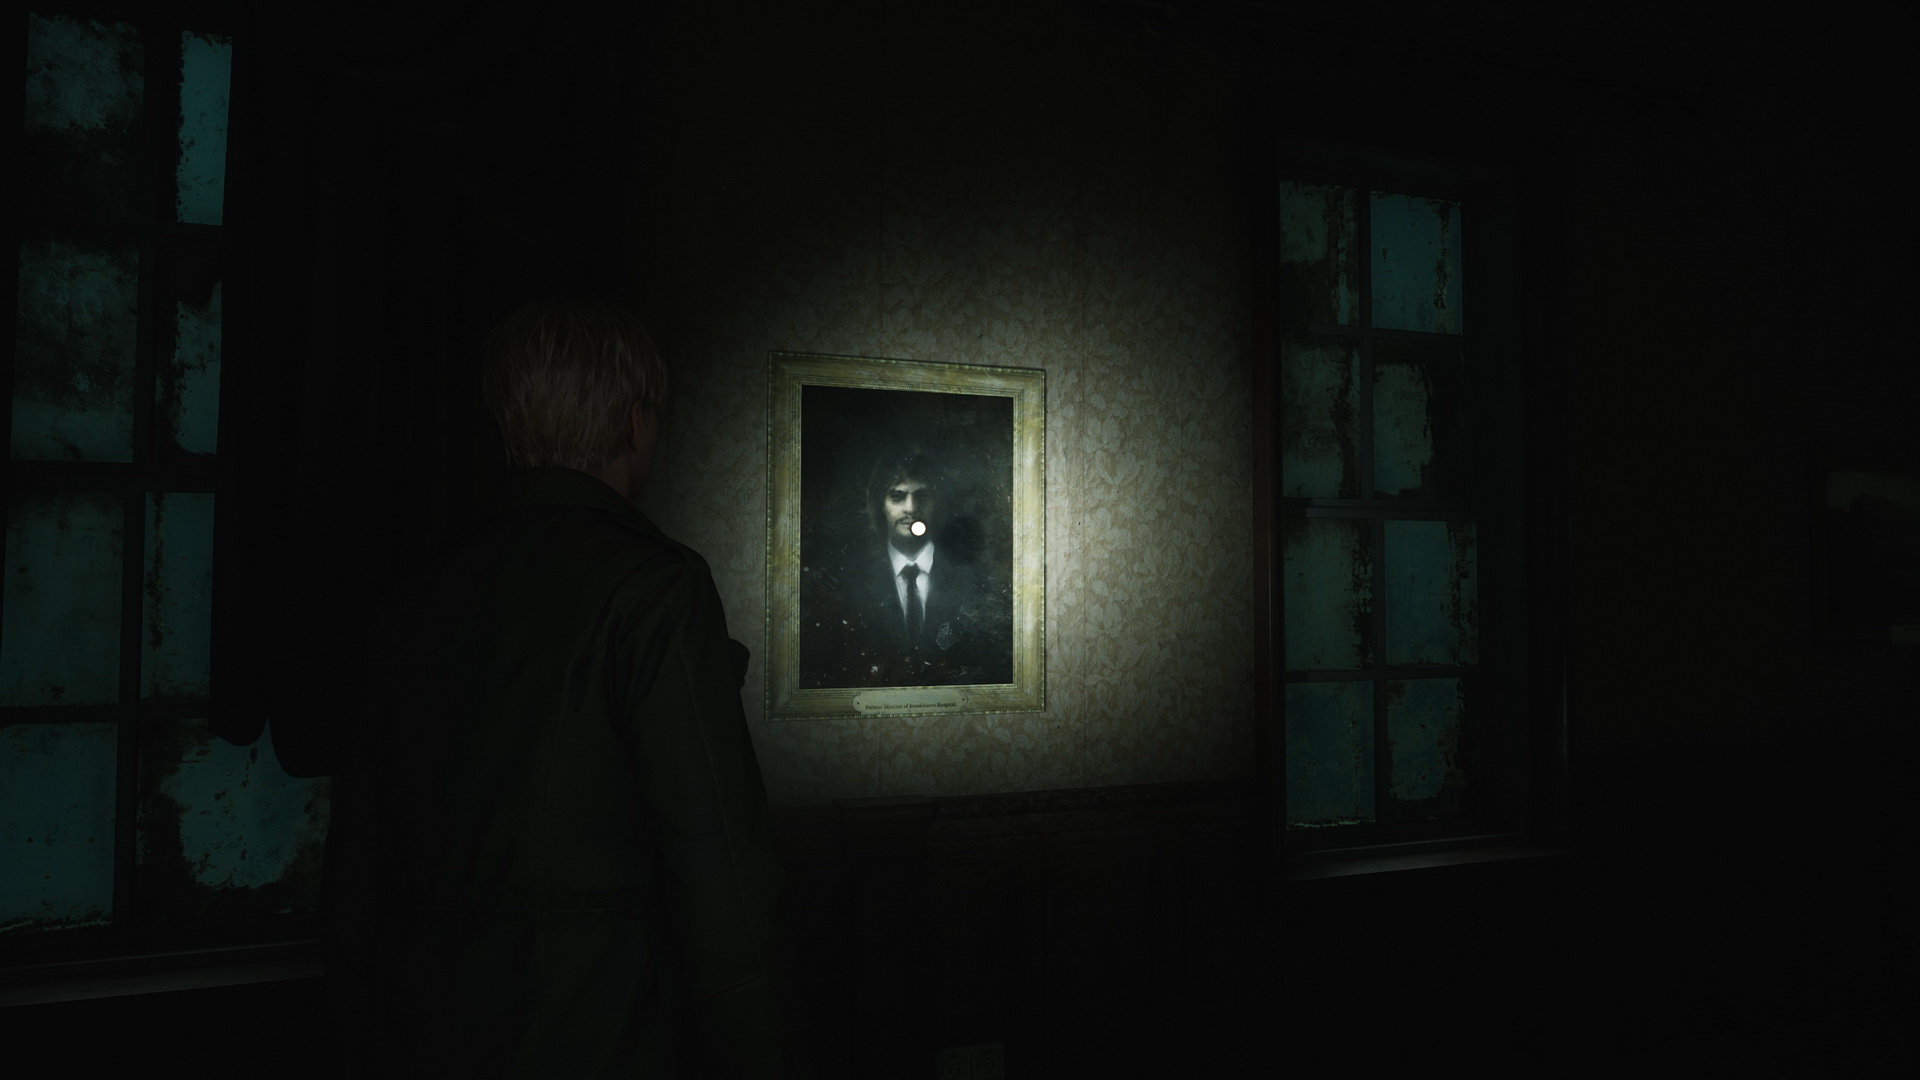
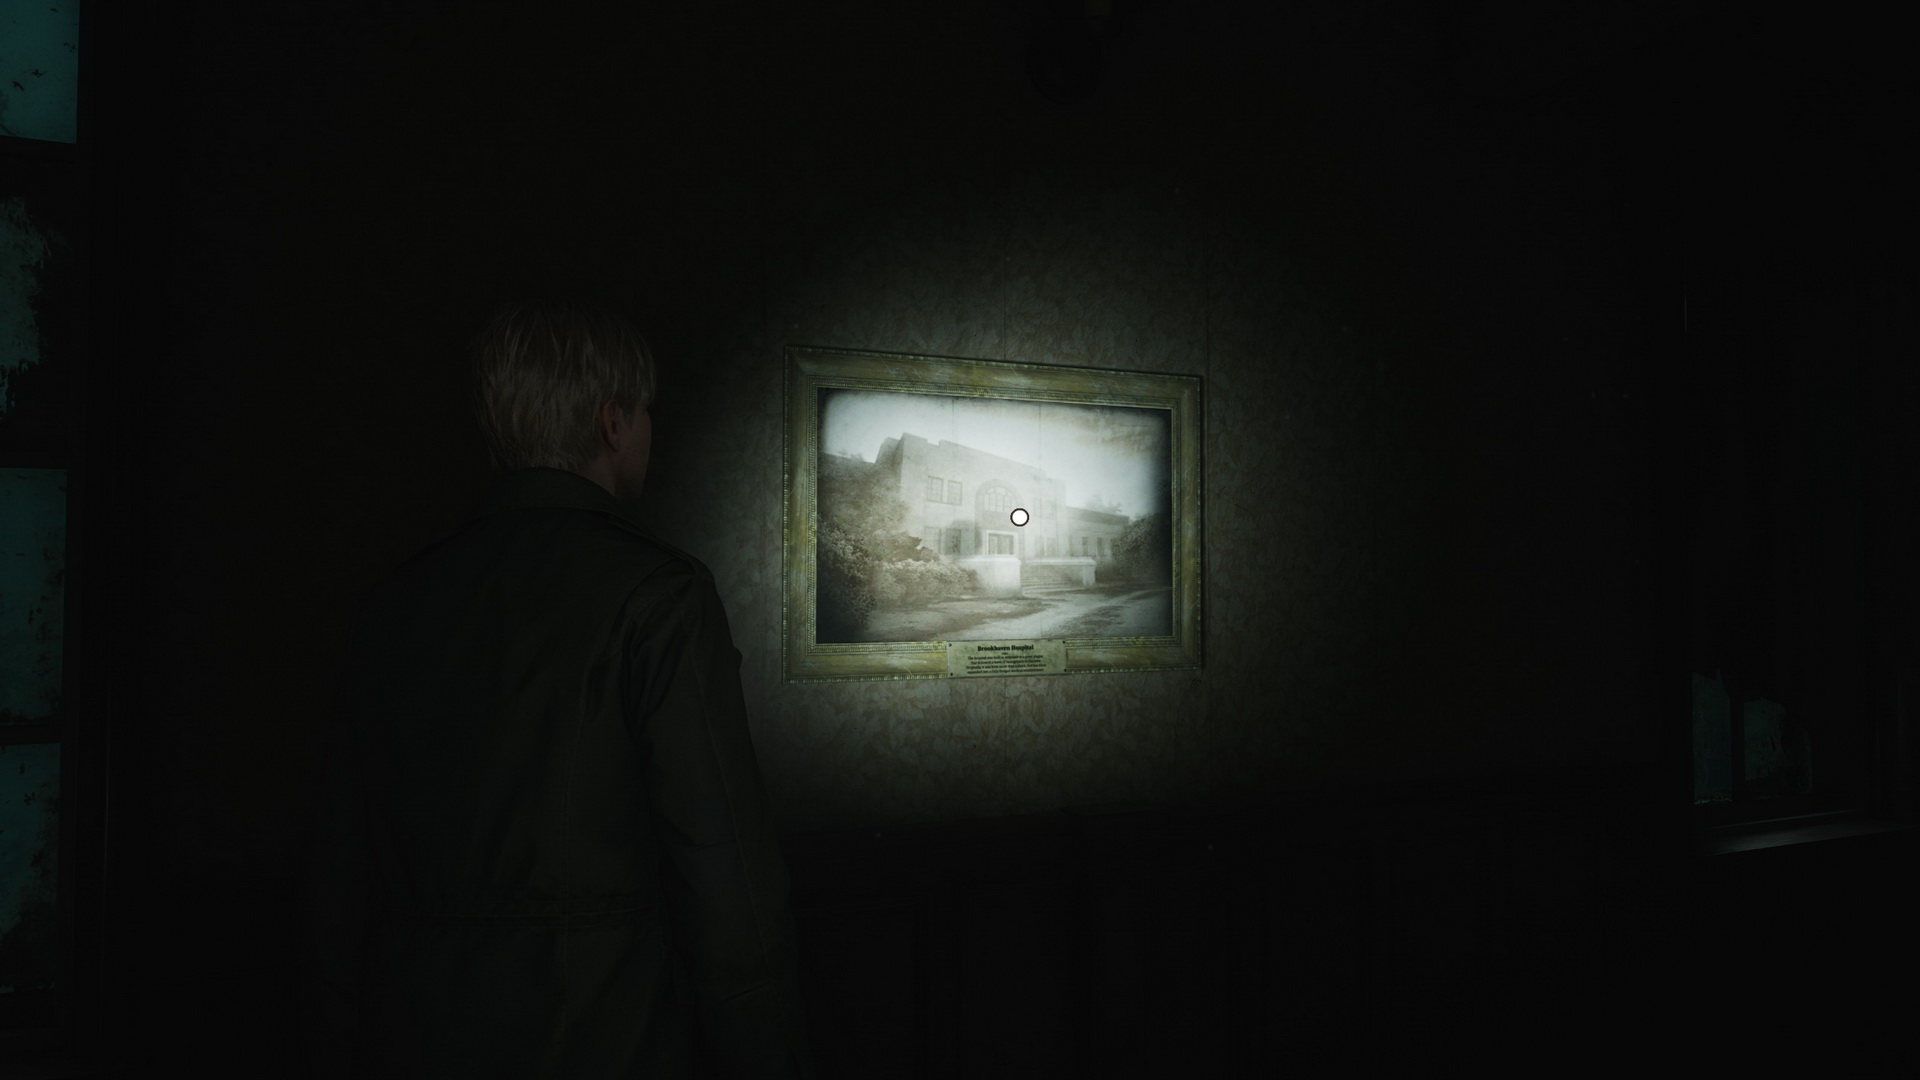
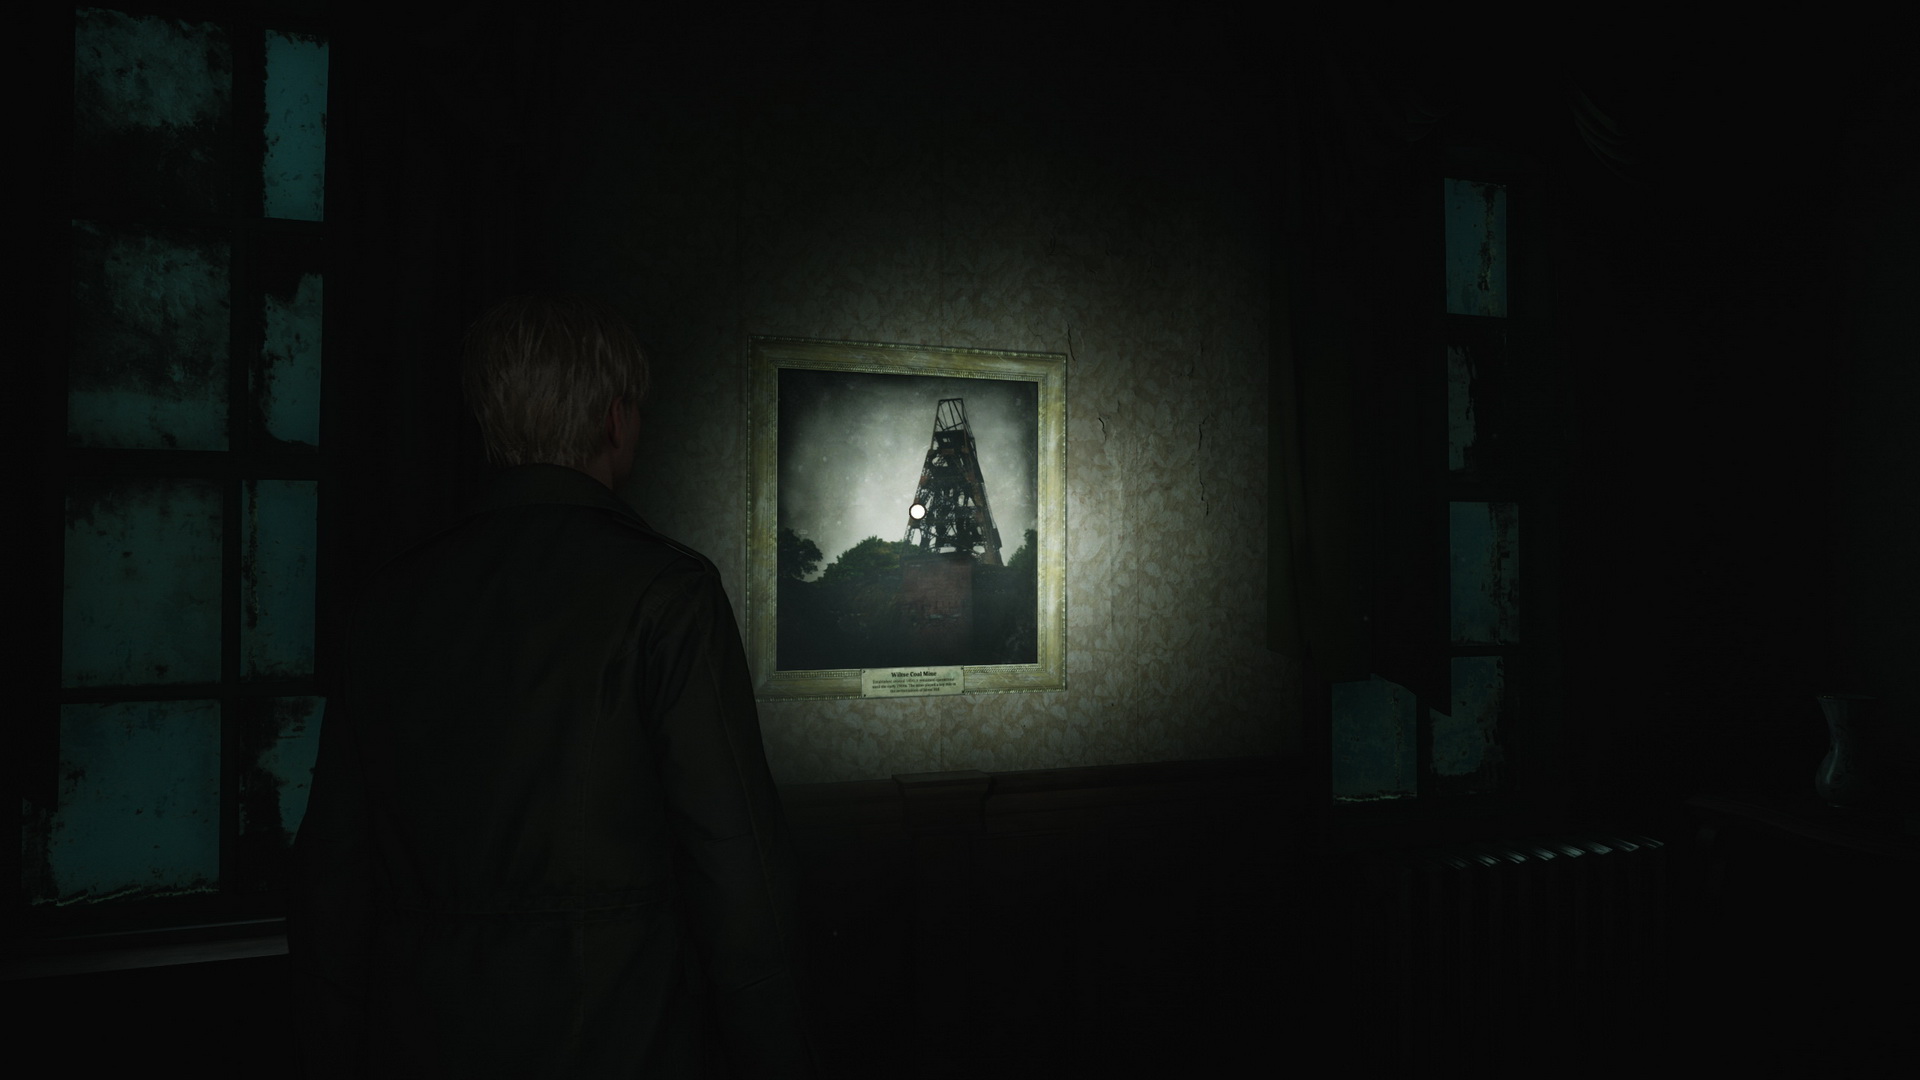
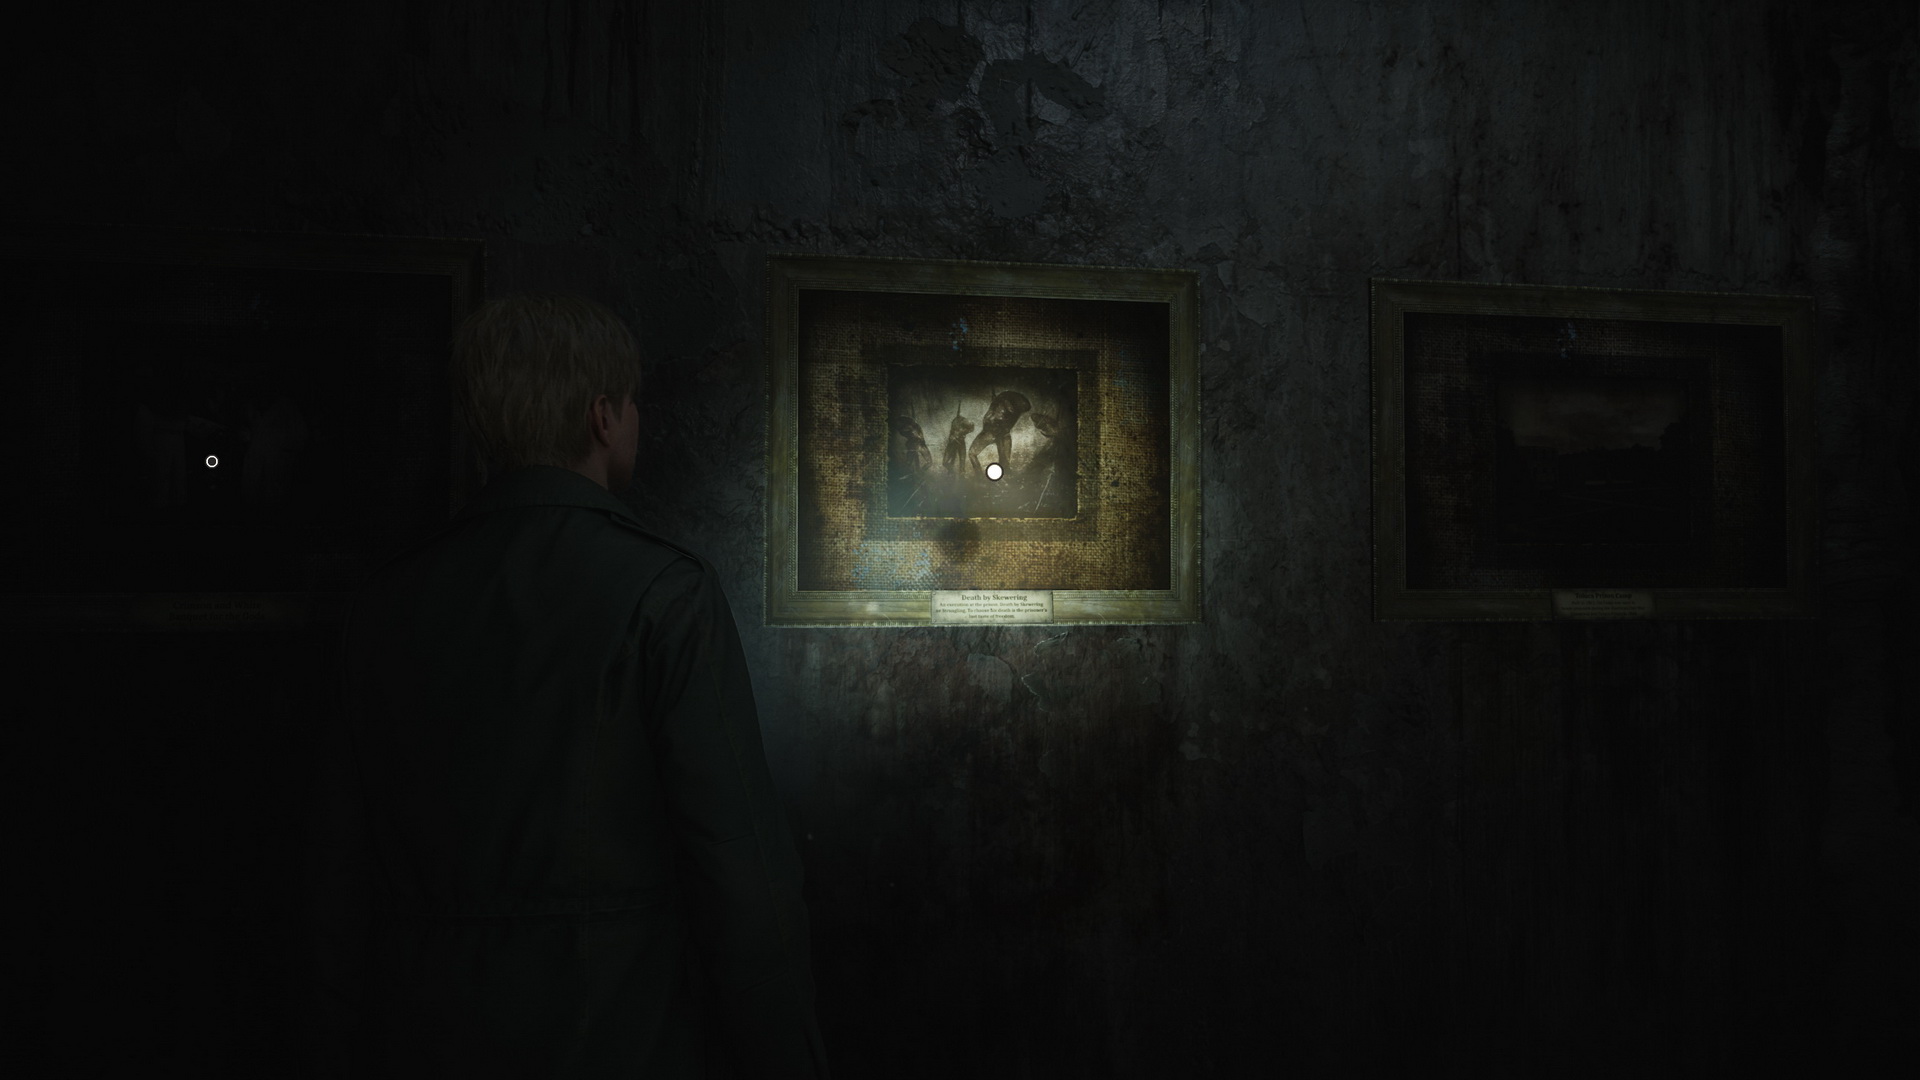
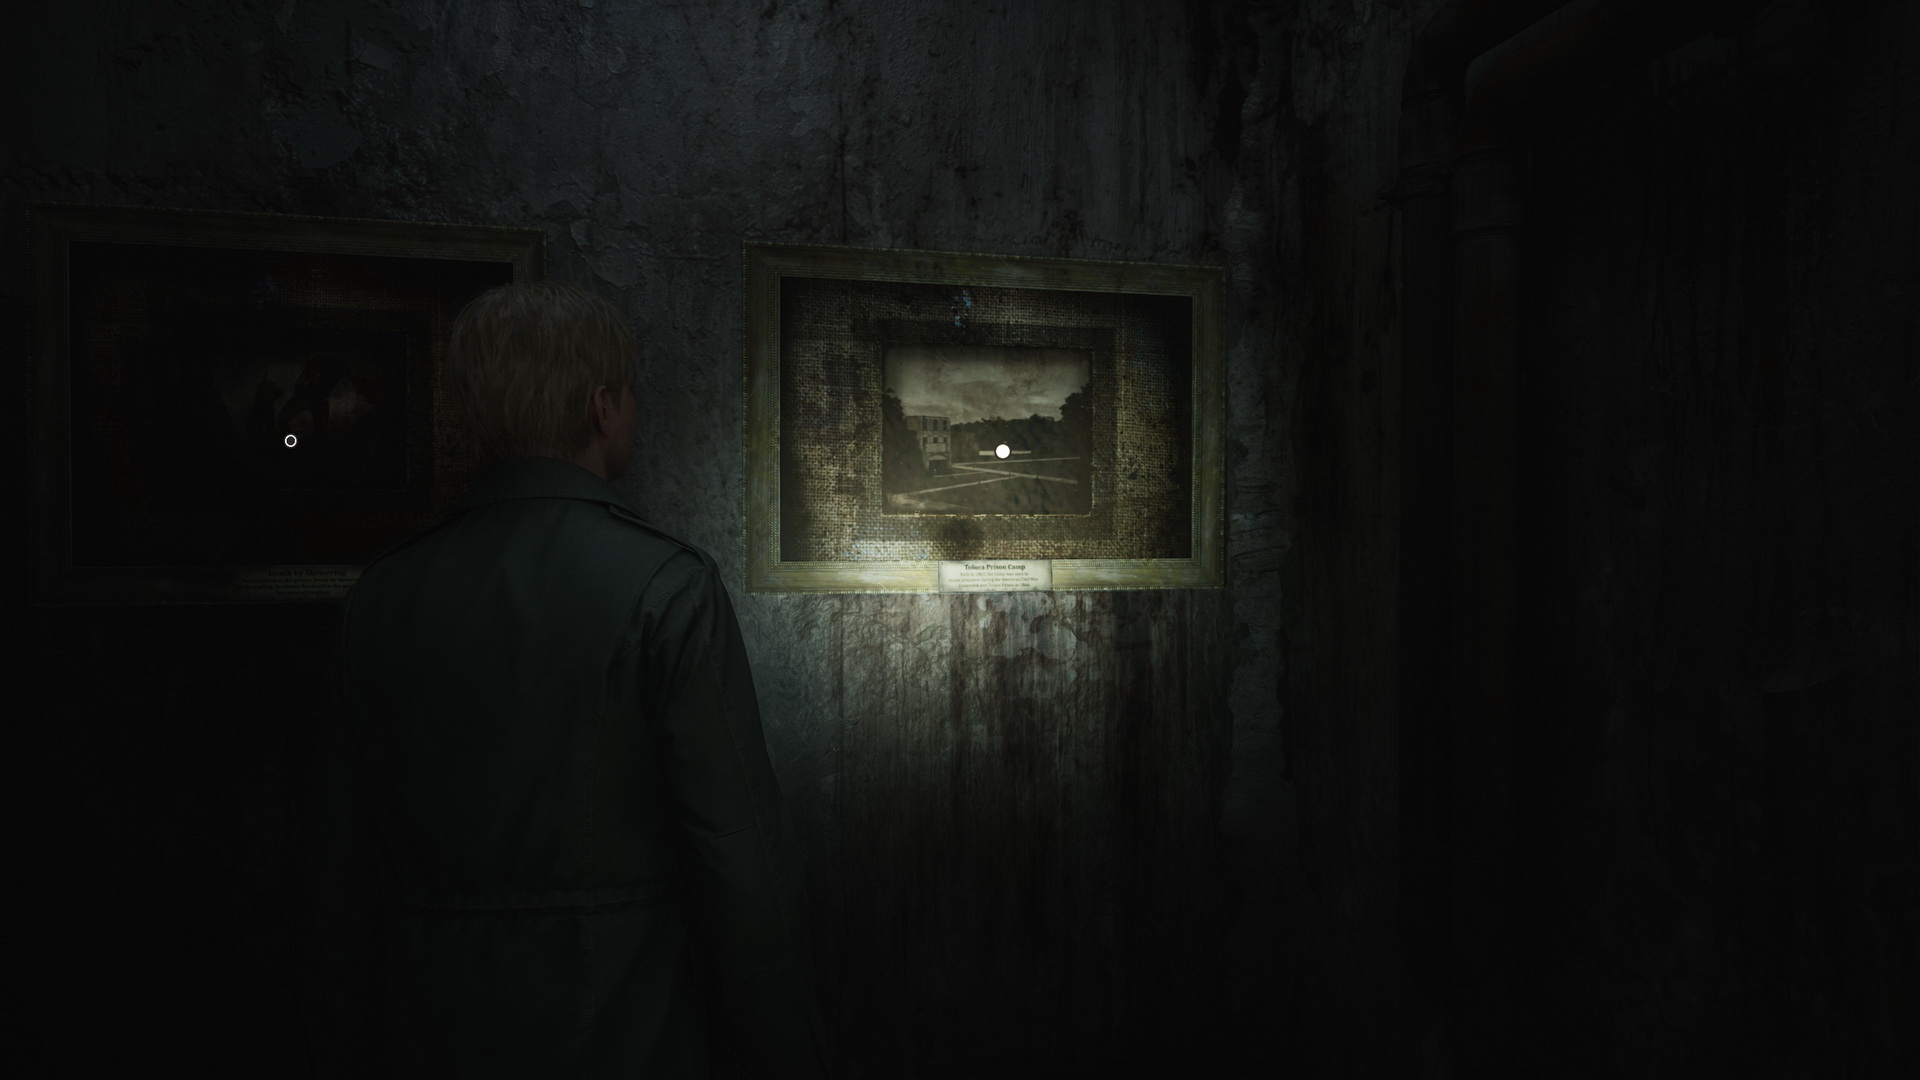
There's a Save Point to the left of the entrance. Proceed to explore the exhibition halls, which contain multiple photos and paintings. In the hall to the left, you can find three artworks and a Health Drink inside a display case.
 |
 |
 |
 |
 |
 |
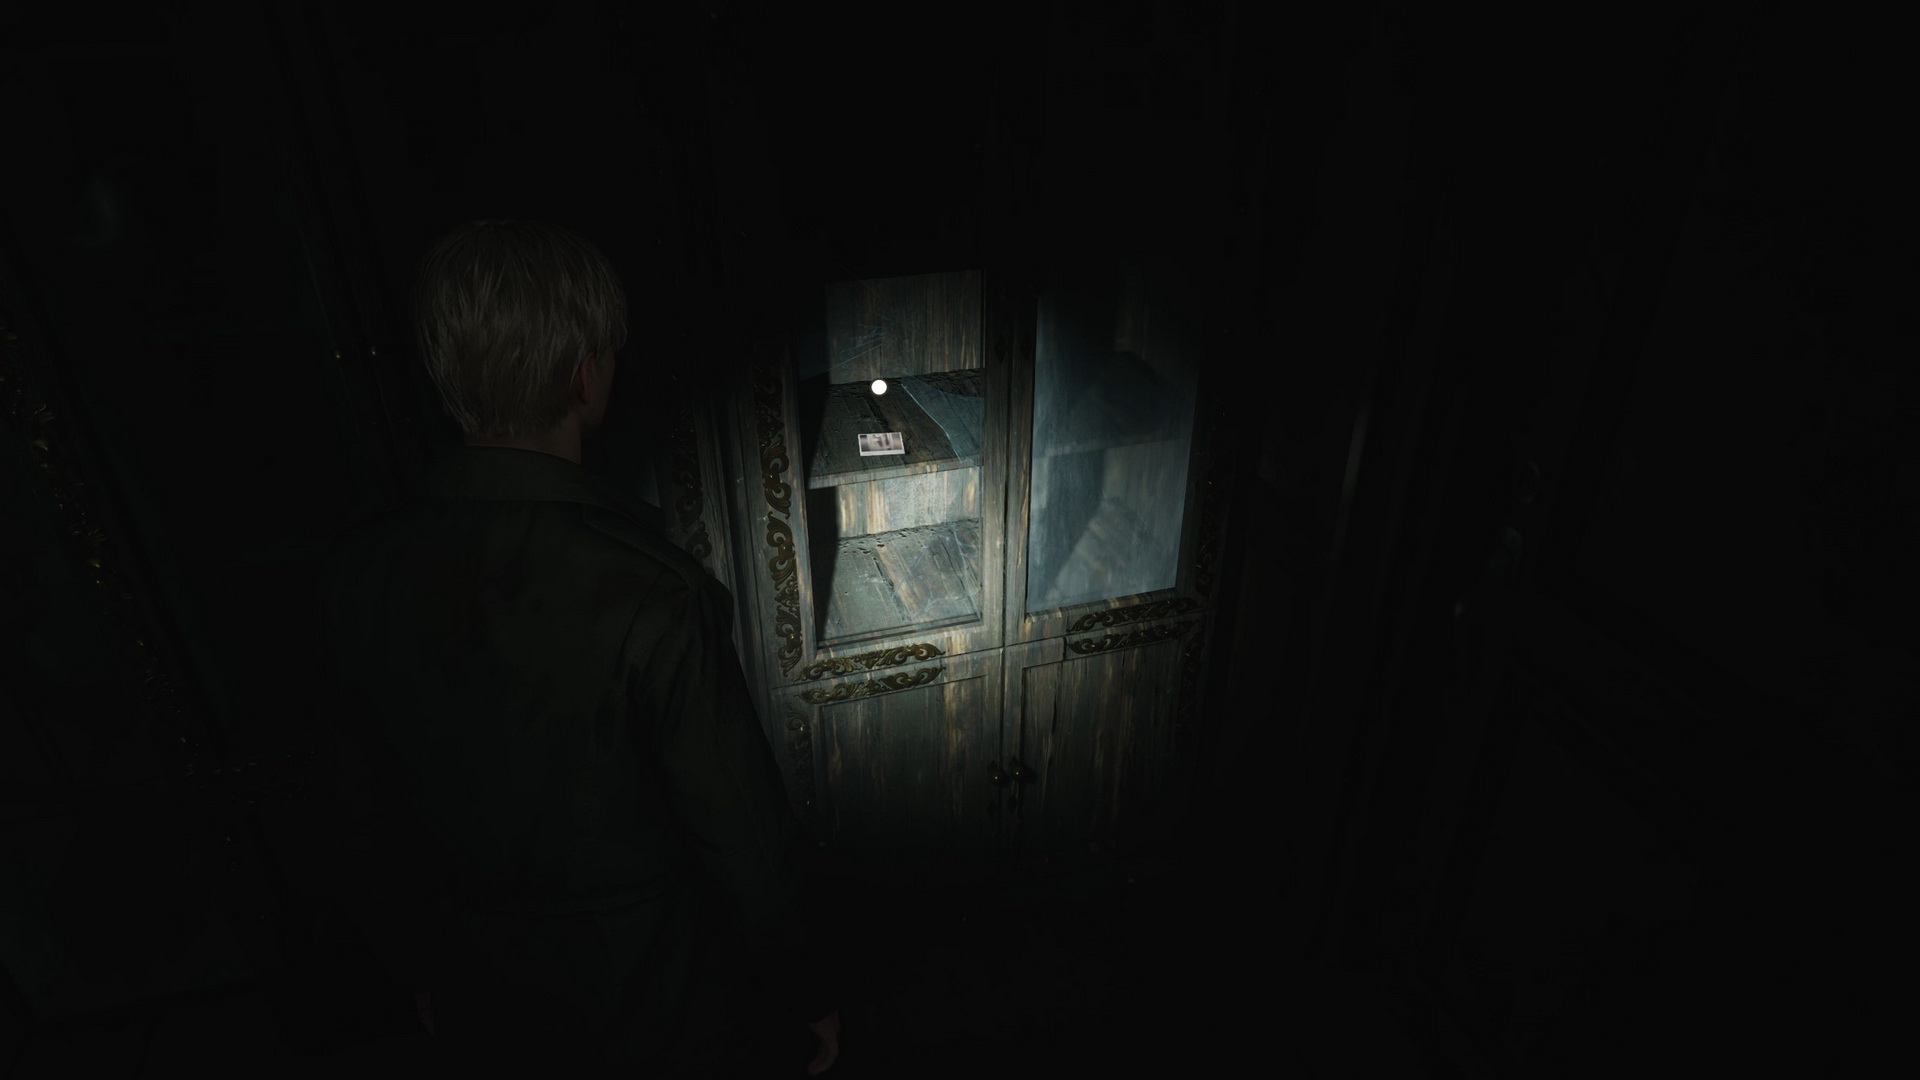
There's also Strange Photo #17: "The new clock" behind the glass in one of the cabinets.
 |
 |
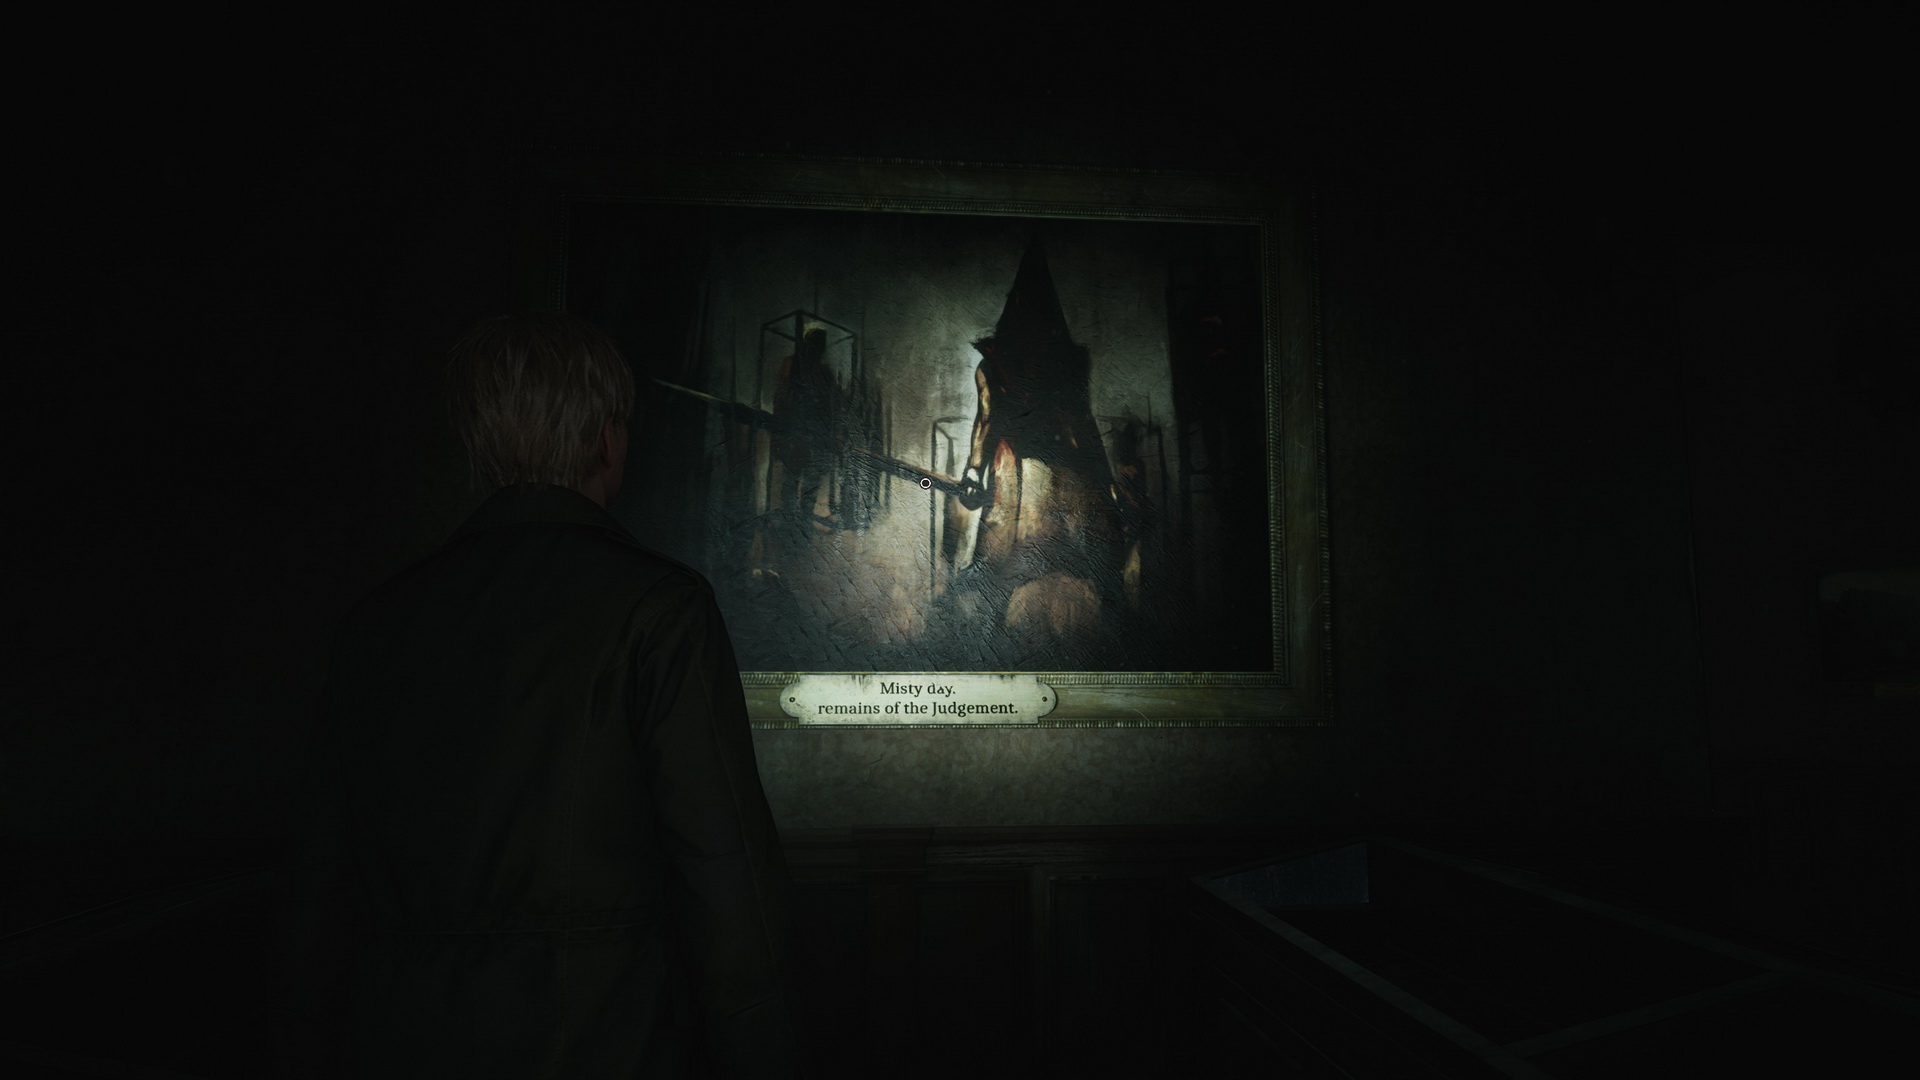
You can see a painting of the Pyramid Head in the main hall and many other images, as well as a book in one of the display cases.
 |
 |
 |
 |
 |
 |
 |
 |
 |
 |
 |
 |
 |
 |
 |
 |
 |
 |
New Game+ Item: Obsidian Goblet |
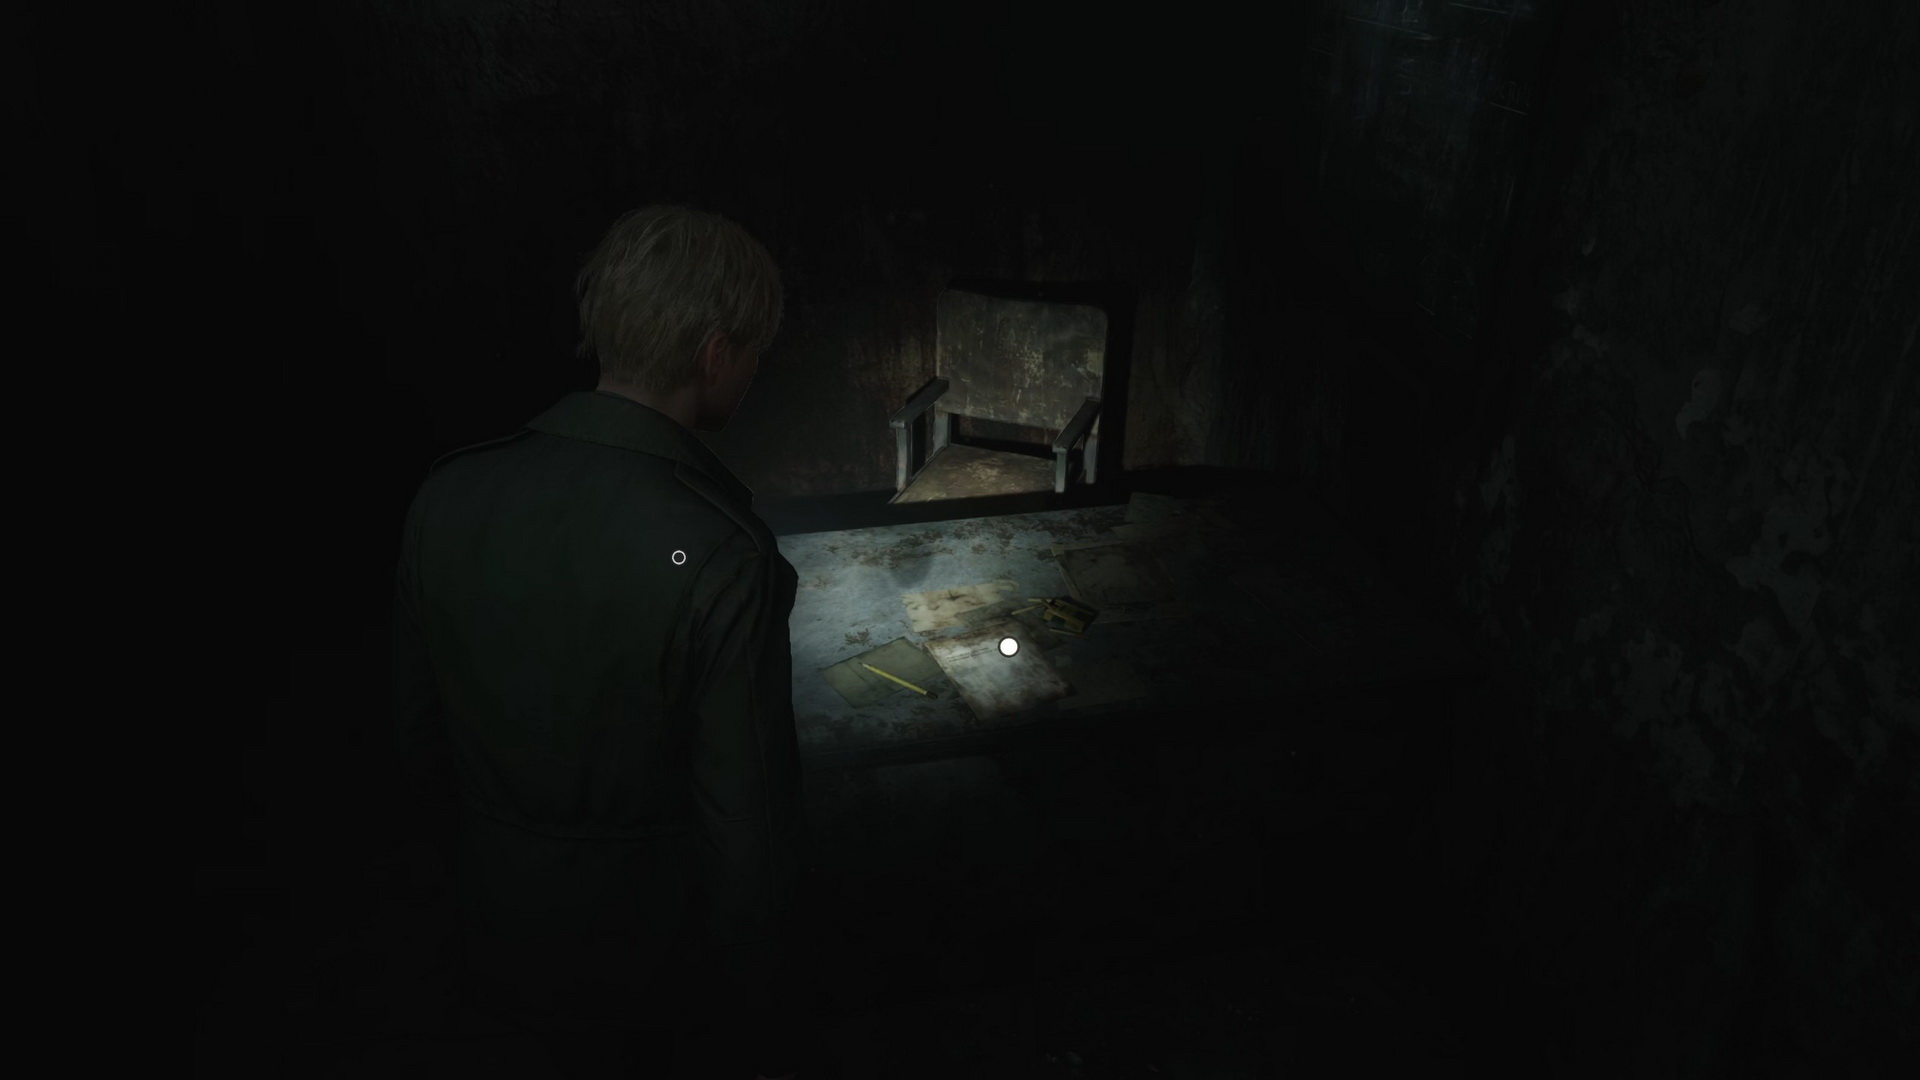
Find the stairs and go all the waaaaaaaay down. On the desk to the right, there's a short note and a Syringe in a first aid kit.
 |
Proceed through the door. In the corridor, you will find a single Lying Figure. Explore a room to the right to find three more paintings and Handgun Ammo on a desk.

|
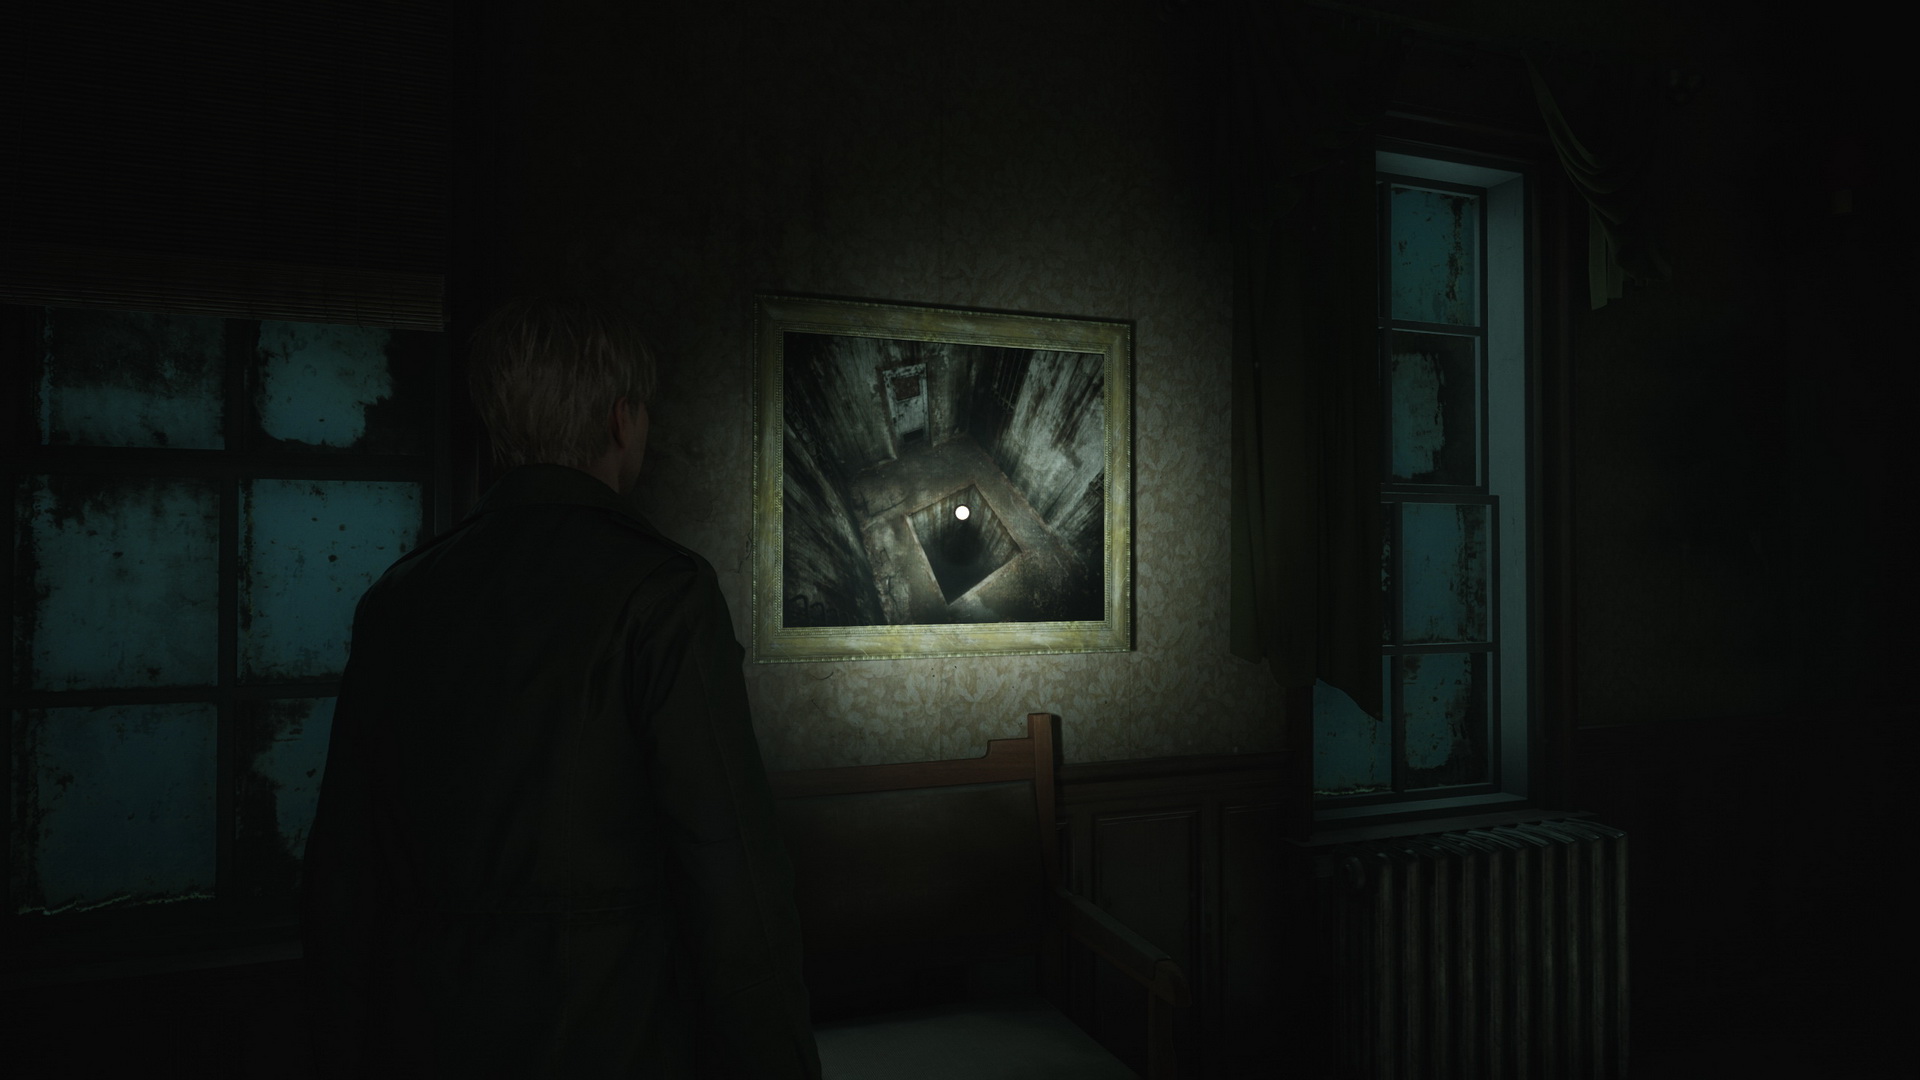
Follow the corridor to find a hole in the floor behind the door. Against all logic, jump down.
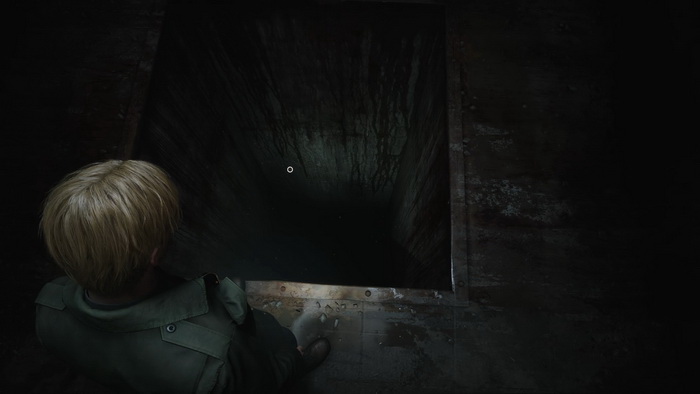
You will find yourself trapped in the round well. Turn around counterclockwise and break the wall with a door behind (the third spot to the left). Go through the flooded corridor with a Lying Figure, go up the stairs and take the door to the right. This next area has locked gates in the ground. Proceed into a small room nearby to find a 72 Spiral-writing Key on the ground illuminated by a red light.
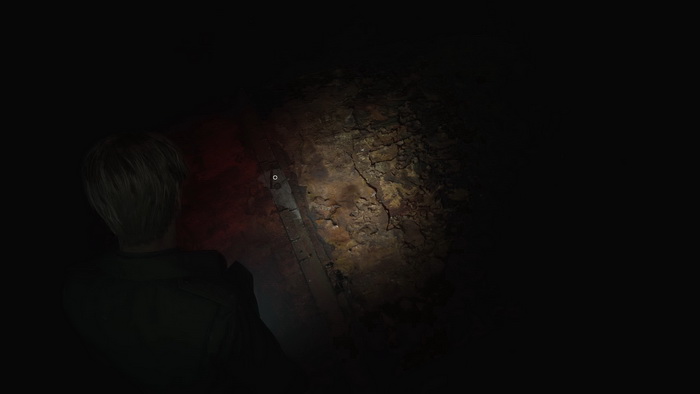
Taking the key will trap you in the room full of creepers, and to get outside, you will need to solve a small puzzle.
Puzzle: Bug Room Keypad Code
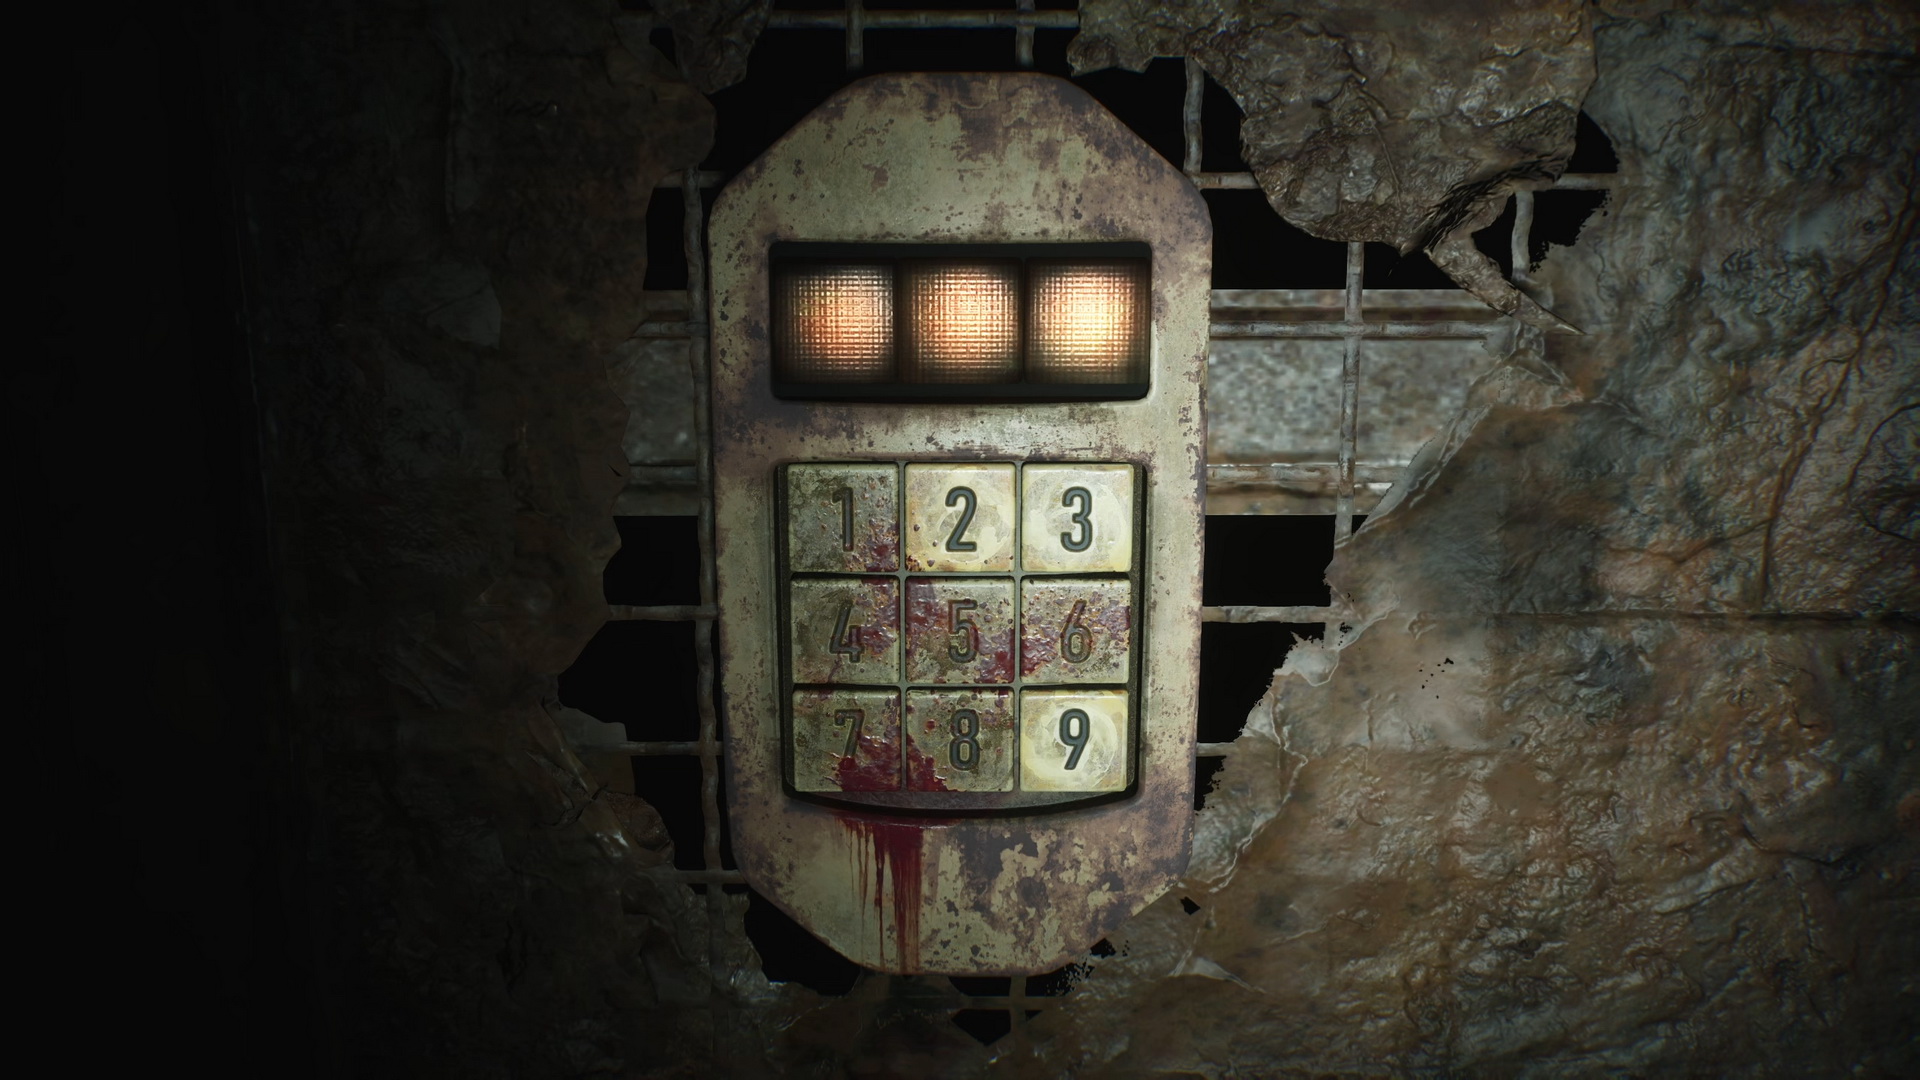
The code will be a random three-digit combination of the unstained lit up buttons on the keypad: 2, 3, and 9 – input by trial and error. All possible variations are: 239, 293, 329, 392, 923, 932.
After you escape the room, approach the floor gates, use the key to unlock them and jump down again for the next area.
| 07. Otherworld South Vale | 09. Toluca Prison |