Item List
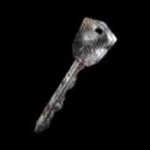
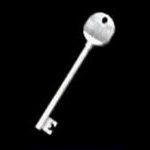
House Key |
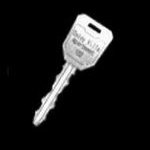
Location: In your inventory from the start of the game. |
Pendant |
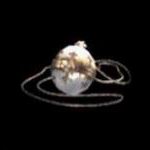
Location: Carried from the beginning of the game. |
Tongs |
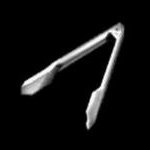
Location: On a counter in Helen's Bakery on 2F, Central Square Shopping Center. |
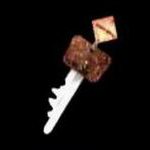
Key taken with Tongs |
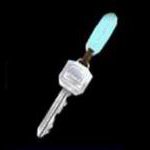
Location: Under the skid in the northernmost storage room in the 2F north hall, Central Square Shopping Center. |
Shakespeare Anthology 1 |

Location: On the floor of "My Bestsellers" bookstore by the north shelf on 2F, Central Square Shopping Center (Normal/Hard Riddle Level only) . |
Shakespeare Anthology 2 |

Location: On the floor of "My Bestsellers" bookstore by the north shelf on 2F, Central Square Shopping Center (Normal/Hard Riddle Level only) . |
Shakespeare Anthology 3 |
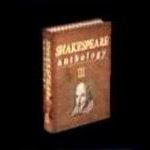
Location: On the floor of "My Bestsellers" bookstore by the north shelf on 2F, Central Square Shopping Center (Normal/Hard Riddle Level only) . |
Shakespeare Anthology 4 |

Location: On the floor of "My Bestsellers" bookstore by the north shelf on 2F, Central Square Shopping Center (Normal/Hard Riddle Level only) . |
Shakespeare Anthology 5 |

Location: On the floor of "My Bestsellers" bookstore by the north shelf on 2F, Central Square Shopping Center (Normal/Hard Riddle Level only) . |
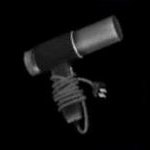
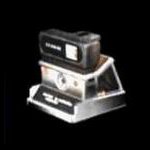
Radio |
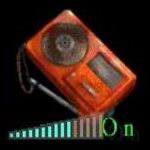
Location: Inside the southwest elevator accessed from 2F, Central Square Shopping Center. |
Flashlight |

Location: Between the boxes in the northwest storeroom beside the women's washroom, easily found by turning off the light, Nightmare Mall 1F. |
Bleach |
Location: On the counter in the northwest women's washroom, Nightmare Mall 1F (Normal/Hard Riddle Level only) . |
Hanger |
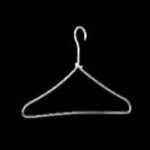
Location: On the clothing rack by the door of the women's clothing store, Nightmare Mall, 1F (Flashlight required). |
Walnut |
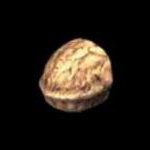
Location: In the smashed display case in the jewelry store at the south of the west 2F escalator corridor, Central Square Shopping Center. |
Cooked Key |
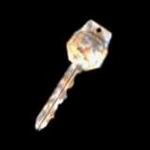
Location: Inside the roasted dog on the table in the restaurant, Nightmare Mall 3F. |
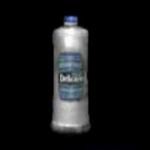
Detergent |
Location: On the cart in Helen's Bakery, Nightmare Mall 2F (Normal/Hard Riddle Level only). |
Moonstone |

Location: Inside the Walnut after cracking it open with the vise in the northwest shop in the east section of 2F, Nightmare Mall. |
Nutcracker |
Location: On the table at the end of the hallway down the east stairs below the north part of platform 2, Hazel Street Subway Station B4. |
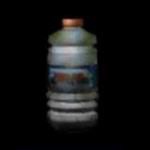
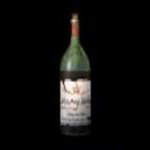
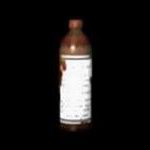
Wine Bottle |
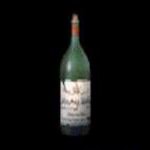
Location: In a wine rack at the end of the southwest hallway through the door, Underpass upper level. |
Oil-Filled Bottle |
Location: Acquired after filling the Wine Bottle with kerosene from the oil heater in the lower small room in the east, Underpass upper level. |
Dryer |
Location: On a chair in the west garbage room, Underpass lower level. |
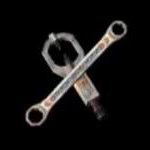
Screwdriver |
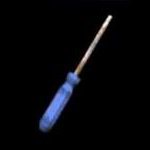
Location: On a box at the north end of the northeast Gallery of Fine Arts corridor, Hilltop Center 5F. (Normal/Hard Riddle Level only) . |
Jack |
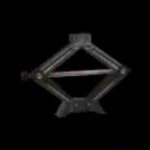
Location: On the back left shelf in the lower large western room of KMN Auto Parts, Hilltop Center 5F. |
Rope |
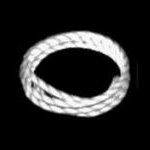
Location: In the jammed drawer (open on Easy Riddle Level) in the northernmost small room of Monica's Dance Studio, Hilltop Center 3F. |
Oxydol |
Location: In the middle room of Green Ridge Mental Health Clinic, accessed after meeting Vincent in the north room, Nightmare Hilltop Center 2F. |
Pork Liver |
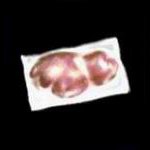
Location: In the small fridge inside Last Drop Café, Nightmare Hilltop Center 1F. |
Matchbook |
Location: On the table in the southwest corner room of KMN Auto Parts, Nightmare Hilltop Center 5F. |
Silver Coin |
Location: Amongst several others on the table near the door in the northwest room of Onestop Imports, Nightmare Hilltop Center 4F. |
Life Insurance Key |

Location: Inside the pop can after using the Silver Coin on the vending machine in the northwest room of Onestop Imports, Nightmare Hilltop Center 4F. |
Dad's Notebook |
Location: Received from Douglas after exiting Daisy Villa Apartments after the Missionary boss. |
Nail Polish Remover |
Location: Inside the open locker in the Women's Locker Room on 2F, Brookhaven Hospital. |
Instant Camera |
Location: In the locked briefcase in room M4, Brookhaven Hospital 2F. |
Stairwell Key |
Location: Glued to the wall in room C4, Brookhaven Hospital 1F (Nail Polish Remover required to remove). |
Cremated Key |
Location: In the oven of the B3 Crematorium, Nightmare Hospital. |
Plastic Bag |
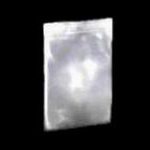
Location: In the garbage can of the 2F Women's Locker Room, Nightmare Hospital. |
Plastic Bag (With Blood) |
.jpg)
Location: Use the Plastic Bag in front of the blood bucket in Examining Room 4 to fill it up, Nightmare Hospital 3F. |
Talisman |
Location: Found by Heather in a cutscene in room C4 of Brookhaven Hospital 1F, immediately after defeating Leonard. |
Roller Coaster Key |

Location: Inside the tin can at the back left of the souvenir shop, which falls after investigating the area and moving away, Lakeside Amusement Park |
Red Shoe |
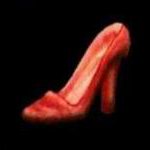
Location: On the center of the children's amphitheater stage, Lakeside Amusement Park. |
Chain |
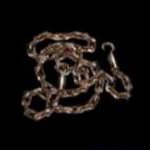
Location: On the right aisle bleacher in the children's amphitheater, Lakeside Amusement Park. |
Douglas's Notebook |
Location: On a chair just inside the Fortune House, Lakeside Amusement Park. |
Doll Head |
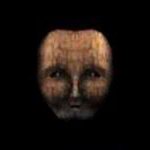
Location: On the table in the Fortune House, Lakeside Amusement Park. |
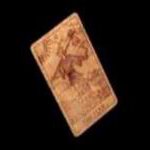
"Eye of Night" Tarot Card |
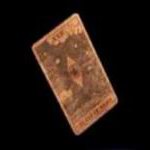
Location: On the ledge under the stained glass in the Church's Chapel. |
Cassette Tape |
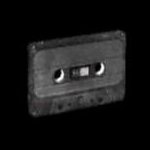
Location: On the desk in the bedroom in the second corridor of the Church, upper level. |
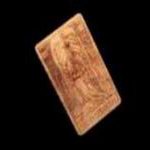
"Moon" Tarot Card |
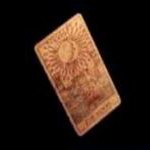
Location: On the table in the library, Church upper level. |
Book: Otherworld Laws |
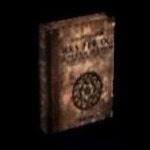
Location: Received by Vincent in the library of the Church, upper level. |
Brass Key |
Location: Mounted on the butterfly collection frame in Alessa's bedroom, Church lower level. |
"Fool" Tarot Card |
Location: Inside the book in Alessa's hospital room in the Church's lower level south hallway. |
"High Priestess" Tarot Card |
Location: On the bed in the southernmost room of the Church's upper level south corridor. |
"Hanged Man" Tarot Card |
Location: On a gurney in the morgue, Church lower level. |
| by Andrew Haffenden aka Conquerer (Silent Hill 3 FAQ/Walkthrough) |