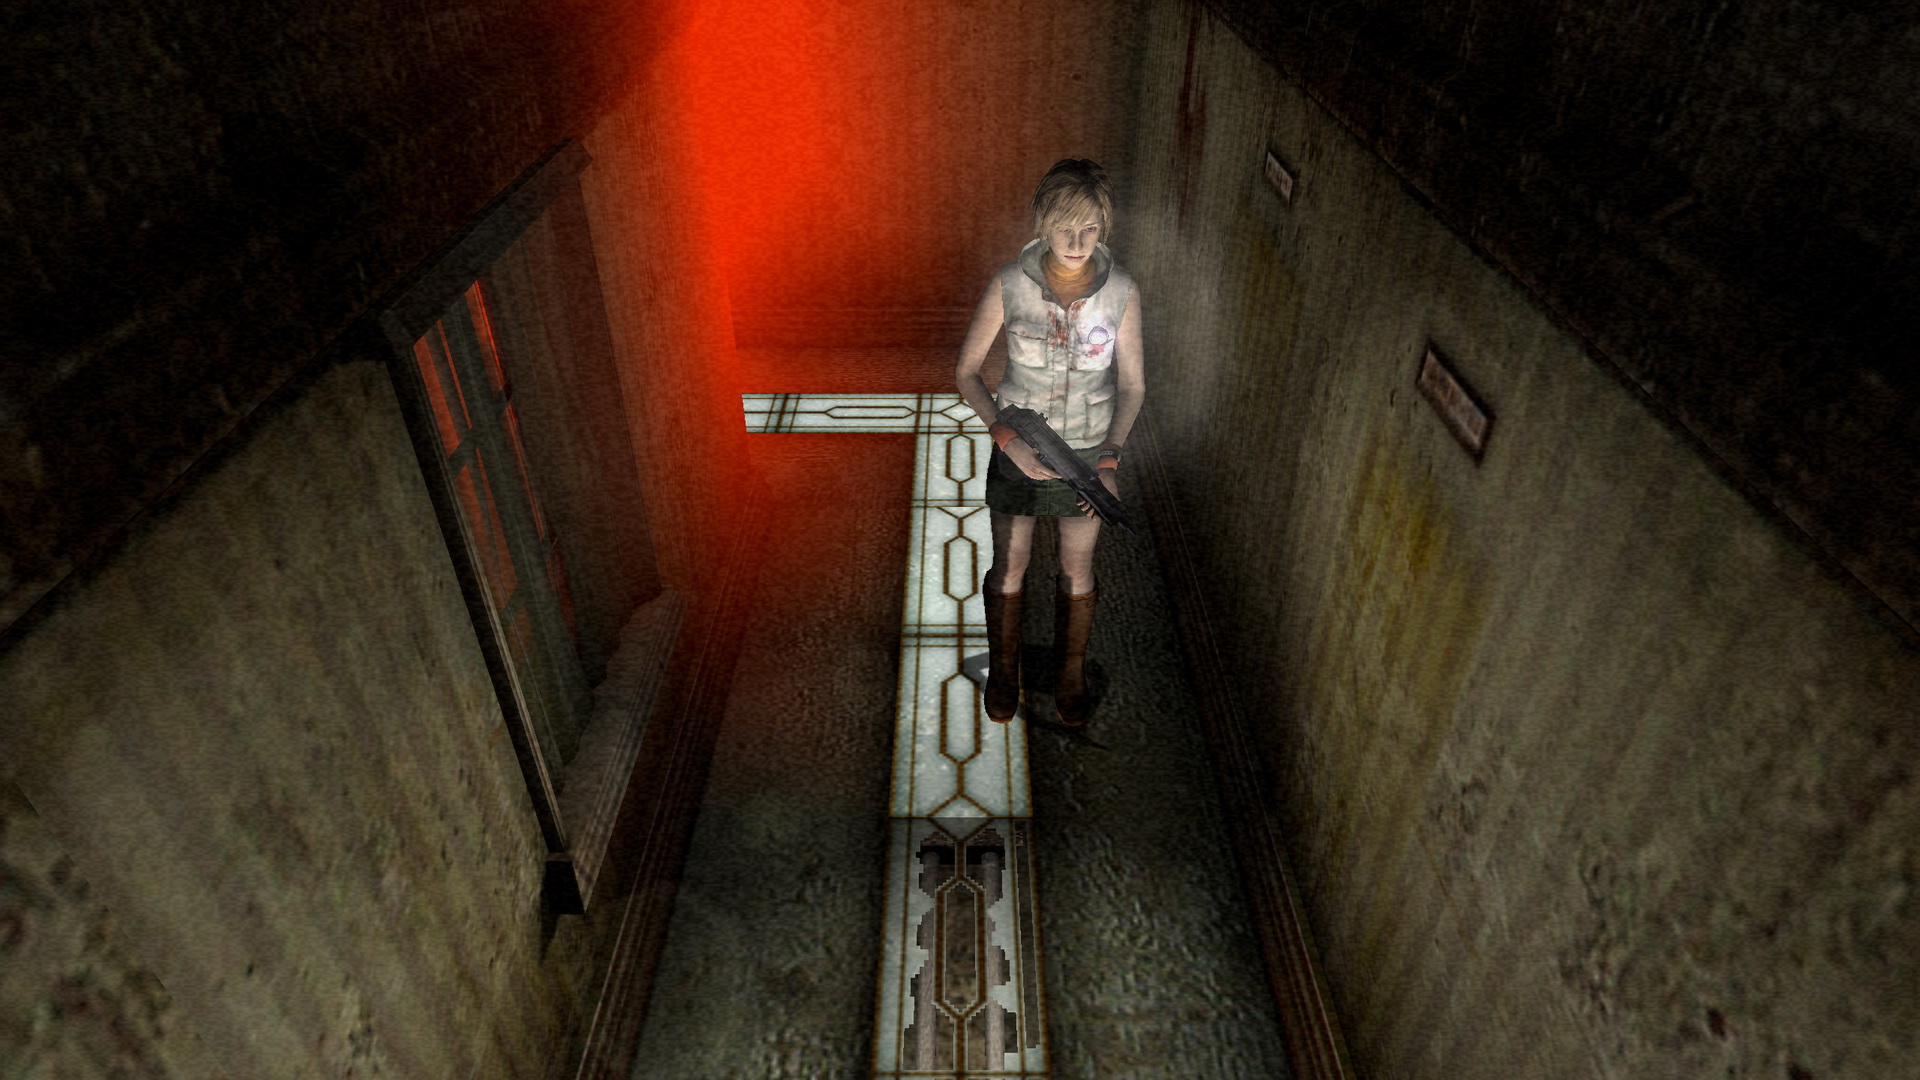
Mini-Puzzles
This section covers all the briefer puzzles or mini-events that are more about understanding which items to use or performing some action rather than solving a riddle or uncovering a code.
Contents
- Key Under Skid (Mall)
- Finding the Flashlight (Mall)
- Ladder and Hanger (Mall)
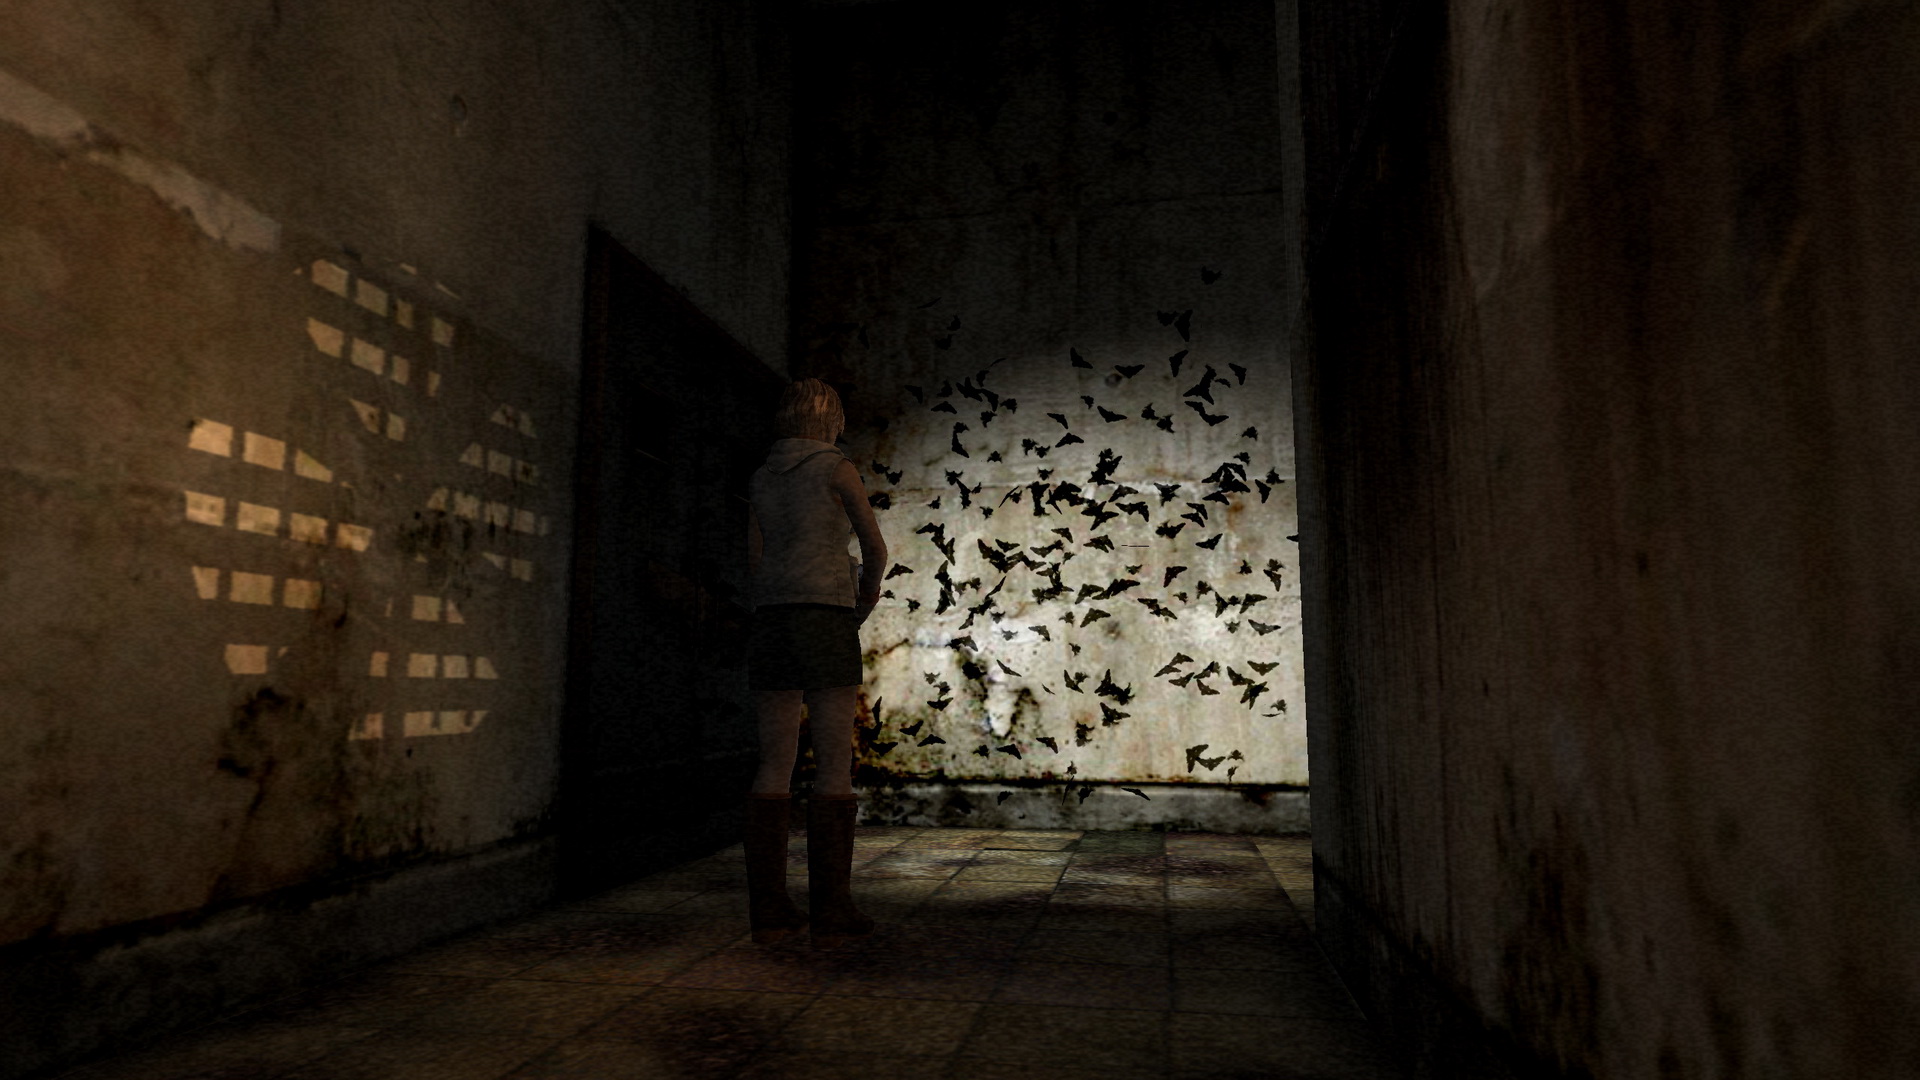
- Moth Hallway (Mall)
- Walnut, Moonstone and Moon Door (Mall)
- Platform 2 Locked Gate (Subway)
- Catching The Train (Subway)
- Stuck Drawer and Elevator Shaft (Office)
- Flame Purifies All (Office)
- Silver Coin and Vending Machine (Office)
- Monster Fairy Tale (Office)
- Key Glued to Wall (Hospital)
- Basement Shelf and 3F Keypad (Hospital)
- Blood Ritual (Hospital)
- Mountain Coaster (Amusement Park)
- Borley Haunted Mansion (Amusement Park)
- Swing Rocket Gate (Amusement Park)
- Life-Sized Dolls (Amusement Park)
- Happy Carousel Riddle (Amusement Park)
- Crying Girl Footstep Hallways (Church)
- Aglaophotis Abortion (Church)
Key Under Skid (Mall)Location: Central Square, North End Storeroom 2F
|
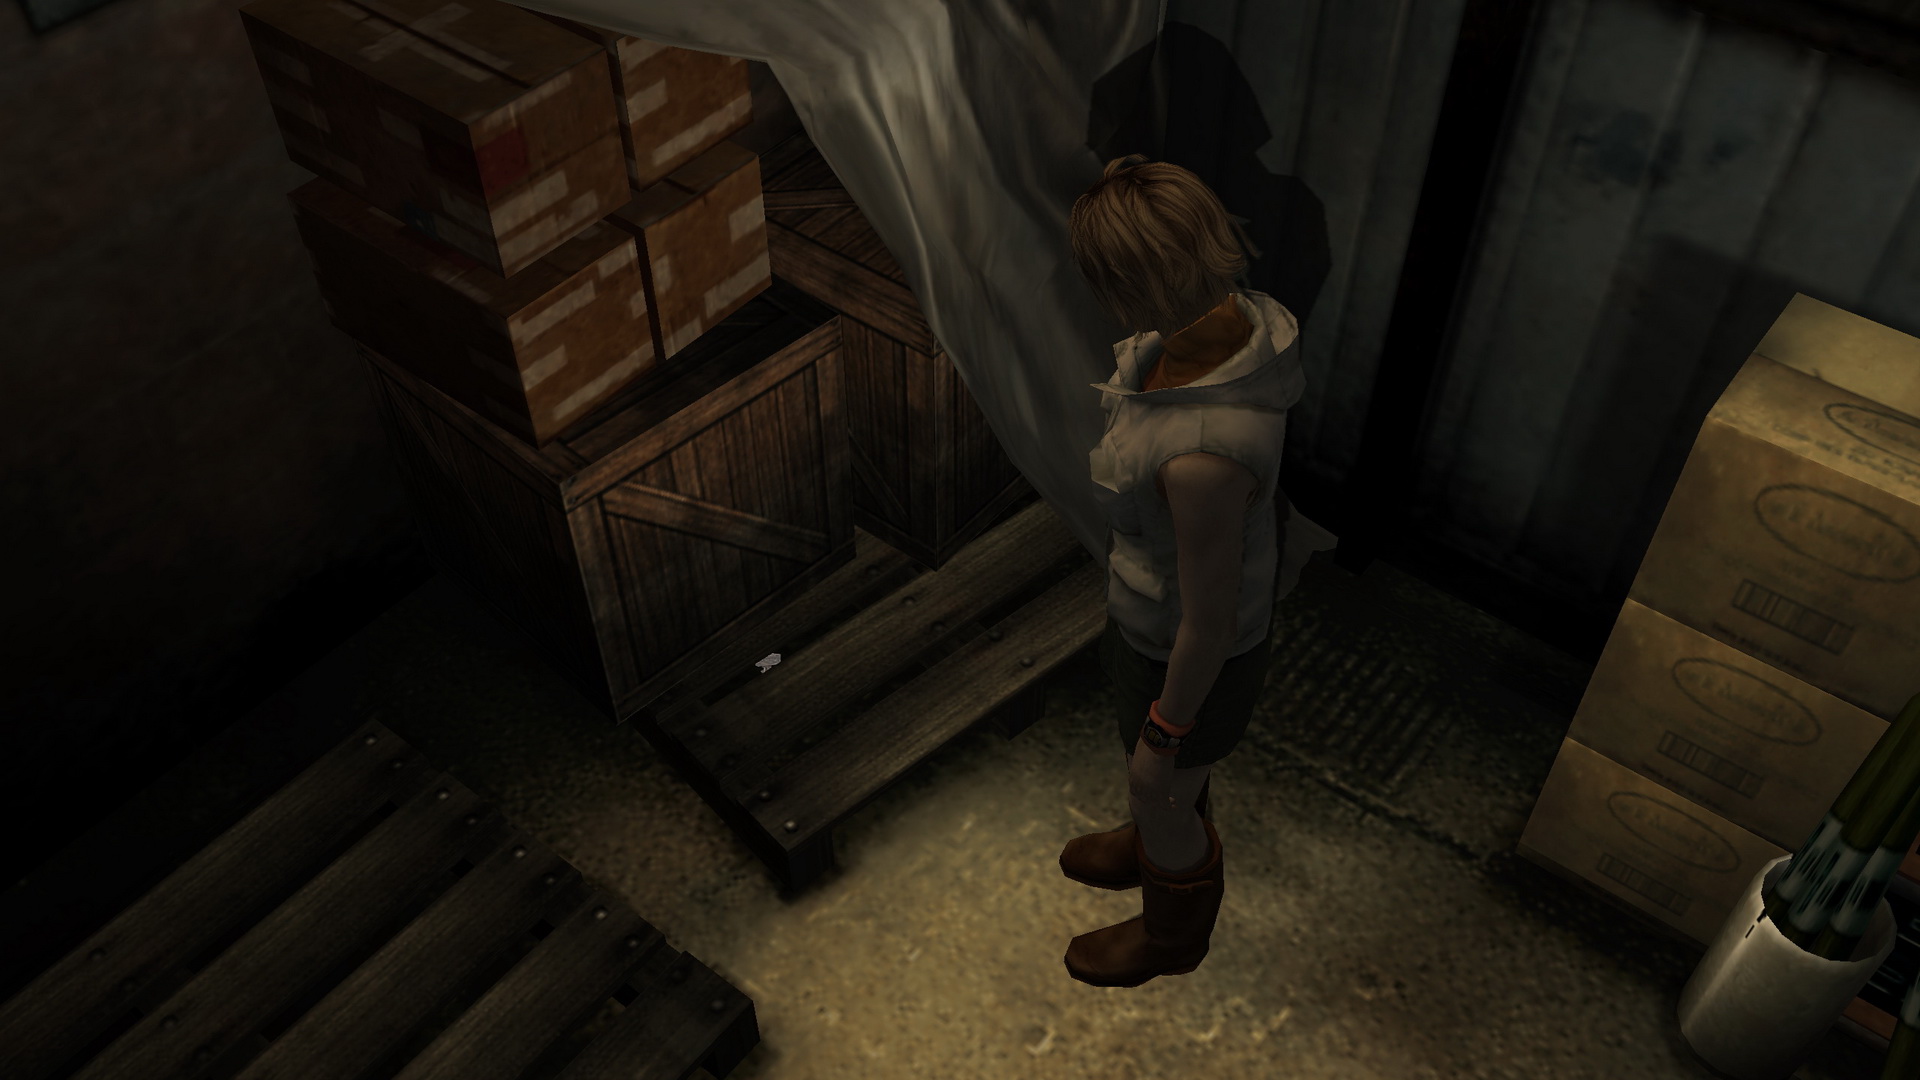
Finding the Flashlight (Mall)Location: Nightmare Mall, North Storeroom 1F
Follow instructions by using the switch and you'll see light still shining from between the boxes along the wall. Examine it to get the Flashlight. You will need this to pick up the next items and advance to the next floor. |
Ladder and Hanger (Mall)Location: Nightmare Mall, West Shop 2F
|
Moth Hallway (Mall)Note: This mini-puzzle doesn't exist on Easy Riddle Level. Instead, this hallway will be clear and the following items cannot be found and aren't needed. Location: Nightmare Mall, Southeast Hall 2F
To do this, first turn off the fan in the previous hall since it connects to this hallway and we'll need the mix the linger. Then approach the bucket beside the door in the moth hallway and combine and use the Bleach and Detergent. Heather will mix them and run out of the room as the strong chemical reaction makes its way around the hall. Back in the previous hall, turn the fan back on to clear up the chemicals and pass through to find the moths all dead. On Normal, Heather won't step back in the hall until you turn the fan on, while you can re-enter prematurely on Hard and potentially lose health. So be safe and remember the fan before advancing. |
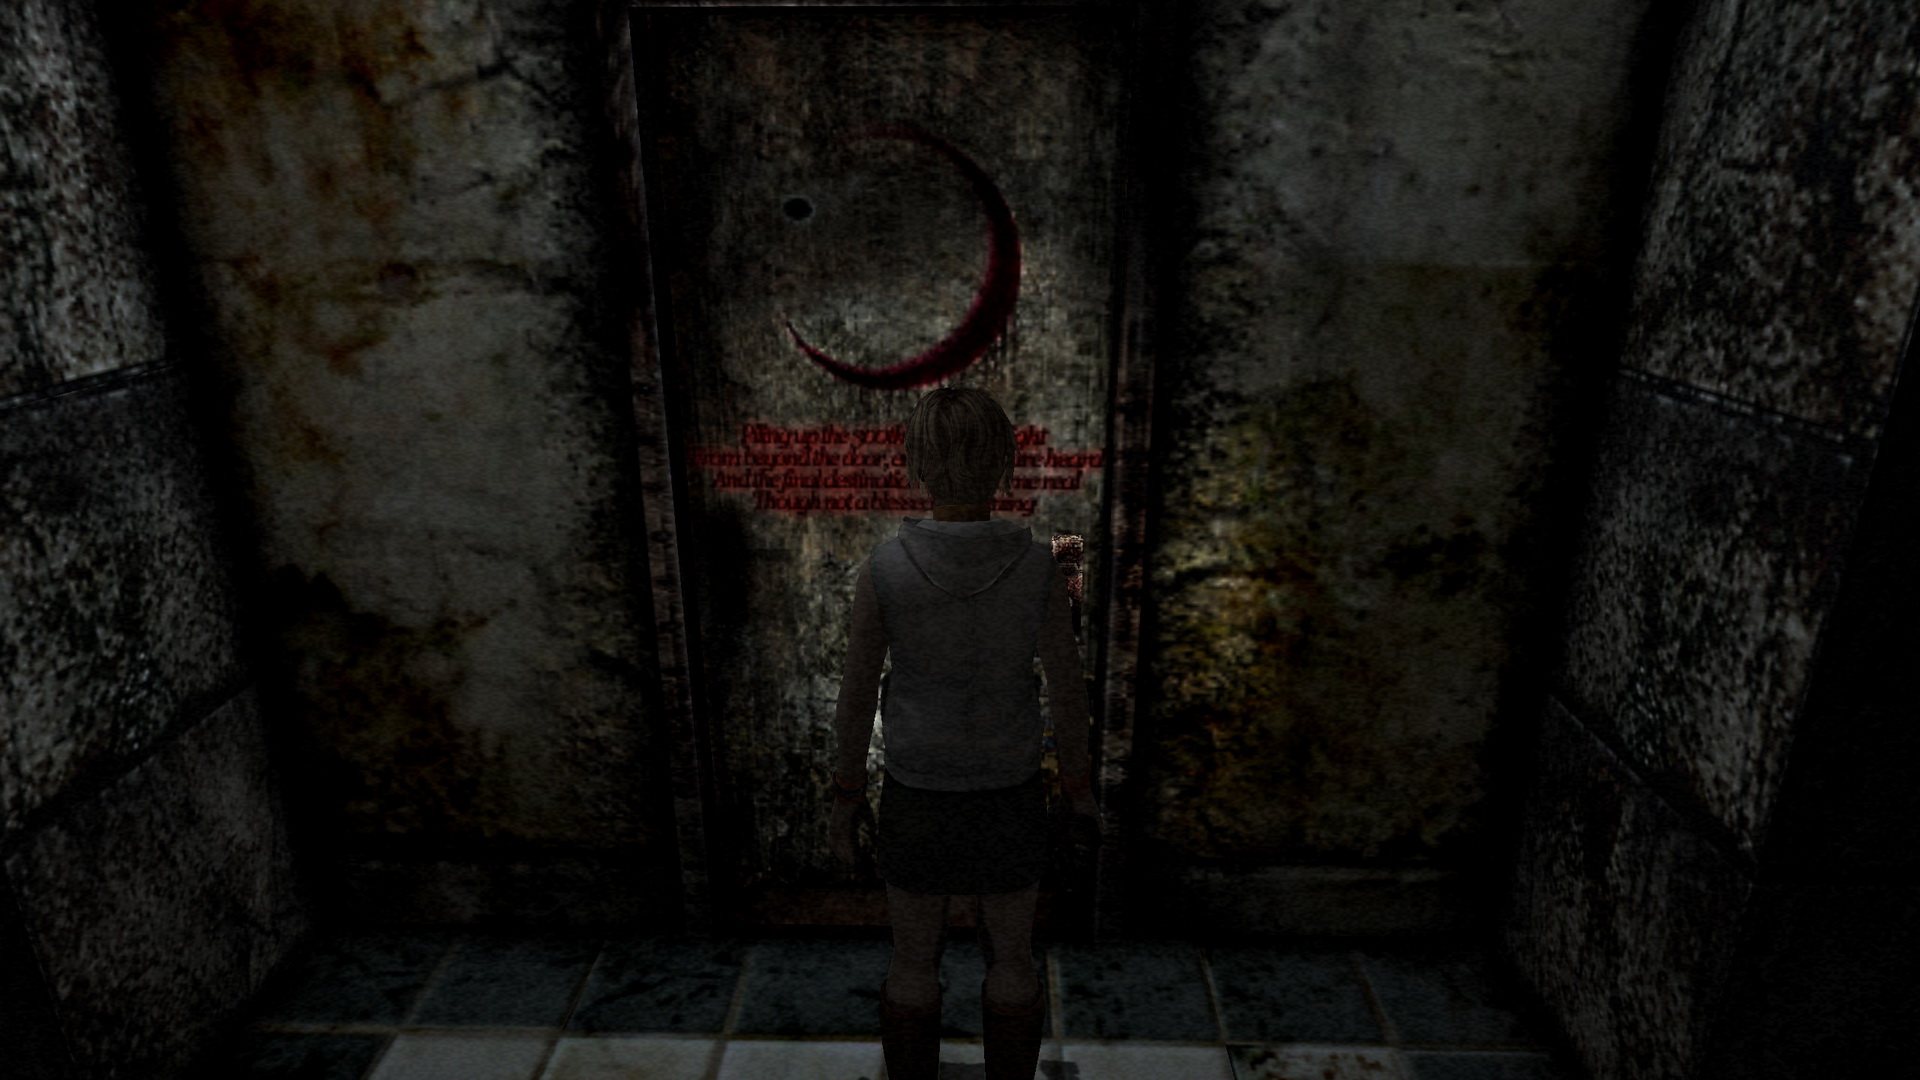
Walnut, Moonstone and Moon Door (Mall)Location: Nightmare Mall, 3F Hall
While this sounds like gibberish and isn't really a riddle that needs to be solved, it seems to allude to pregnancy. 300 days works out to 10 months, not far off the general 9 months a baby sits in its mother's womb. You will soon see how the theme of pregnancy (and perhaps "cries of pain") is important as you progress through the game.
Back to the theme of pregnancy, perhaps the riddle is more relevant after all, with the Walnut pregnant with the Moonstone inside. And maybe the cries of pain beyond the door could also hint at a challenge that lies just ahead... |
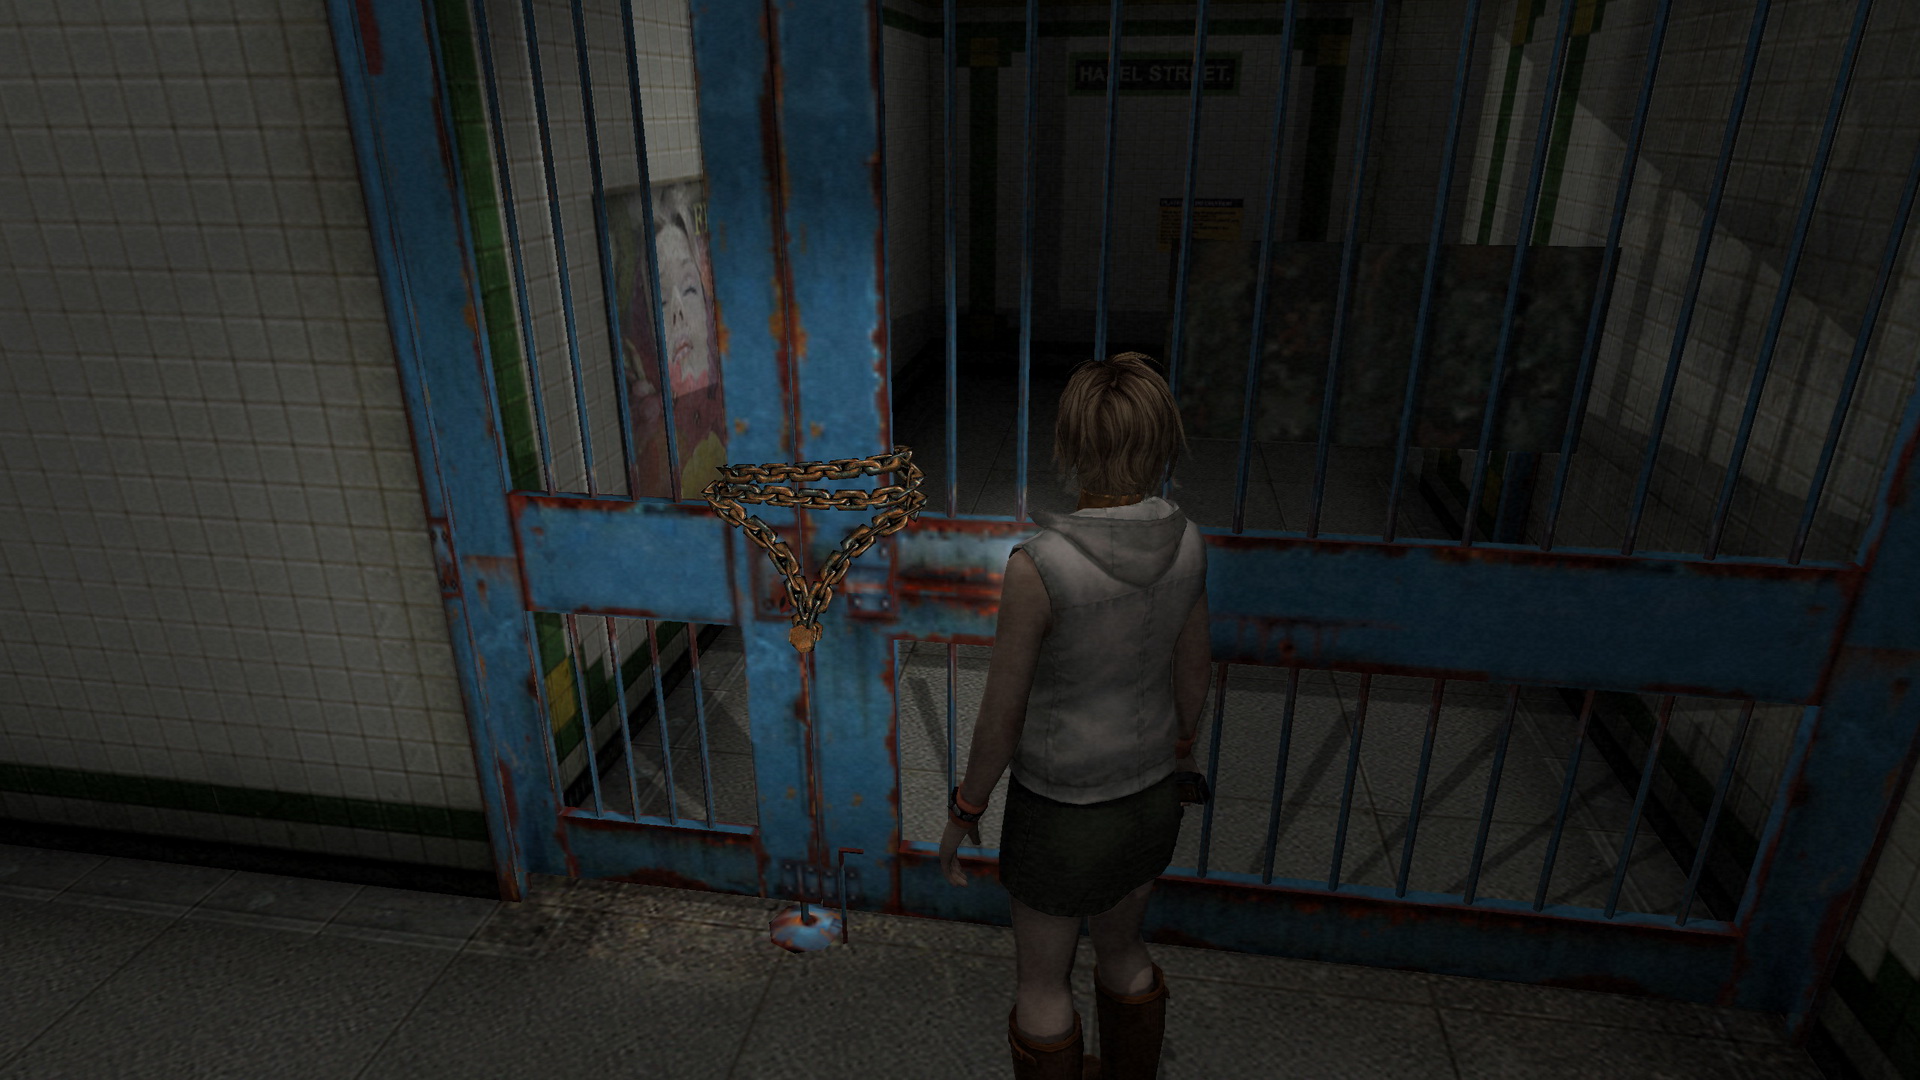
Platform 2 Locked Gate (Subway)Location: Subway, B2 Southeast
|
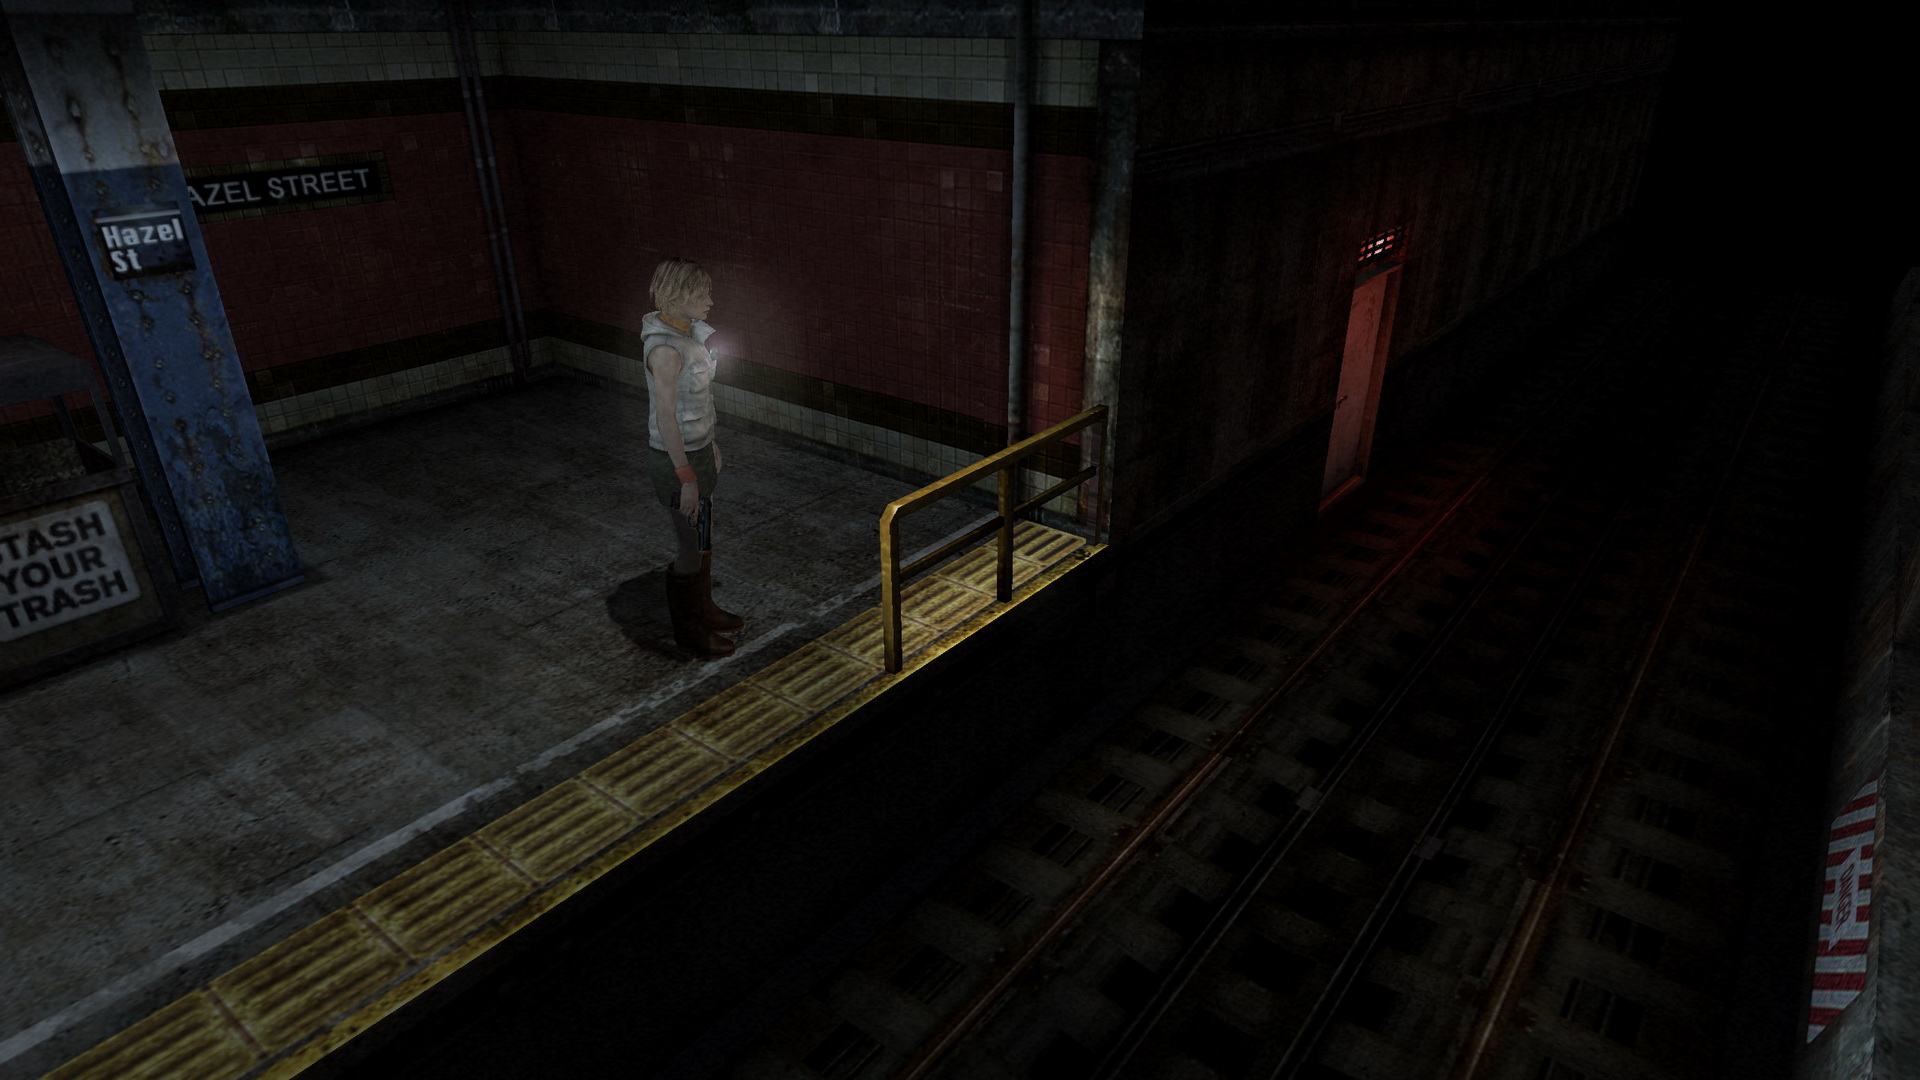
Catching The Train (Subway)Location: Subway, East Platform 3
Upon reaching east platform 3, to spawn the subway train you must jump on the tracks and try to open the door with the red light at the east end. Immediately upon doing so, multiple Double Heads will spawn and a train horn will sound. You now have limited time to run back and climb back up on the platform (do so a bit past the railing). Be sure to stay on the near side of the tracks the entire time since a train may ram you either way if you go too far. Once back up, the train will stop in the cutscene. Now you can head west down the platform, pass through the gate after unlocking it, and move up and down the next stairs to reach the open door at the end of the subway train. Enter it to proceed. |
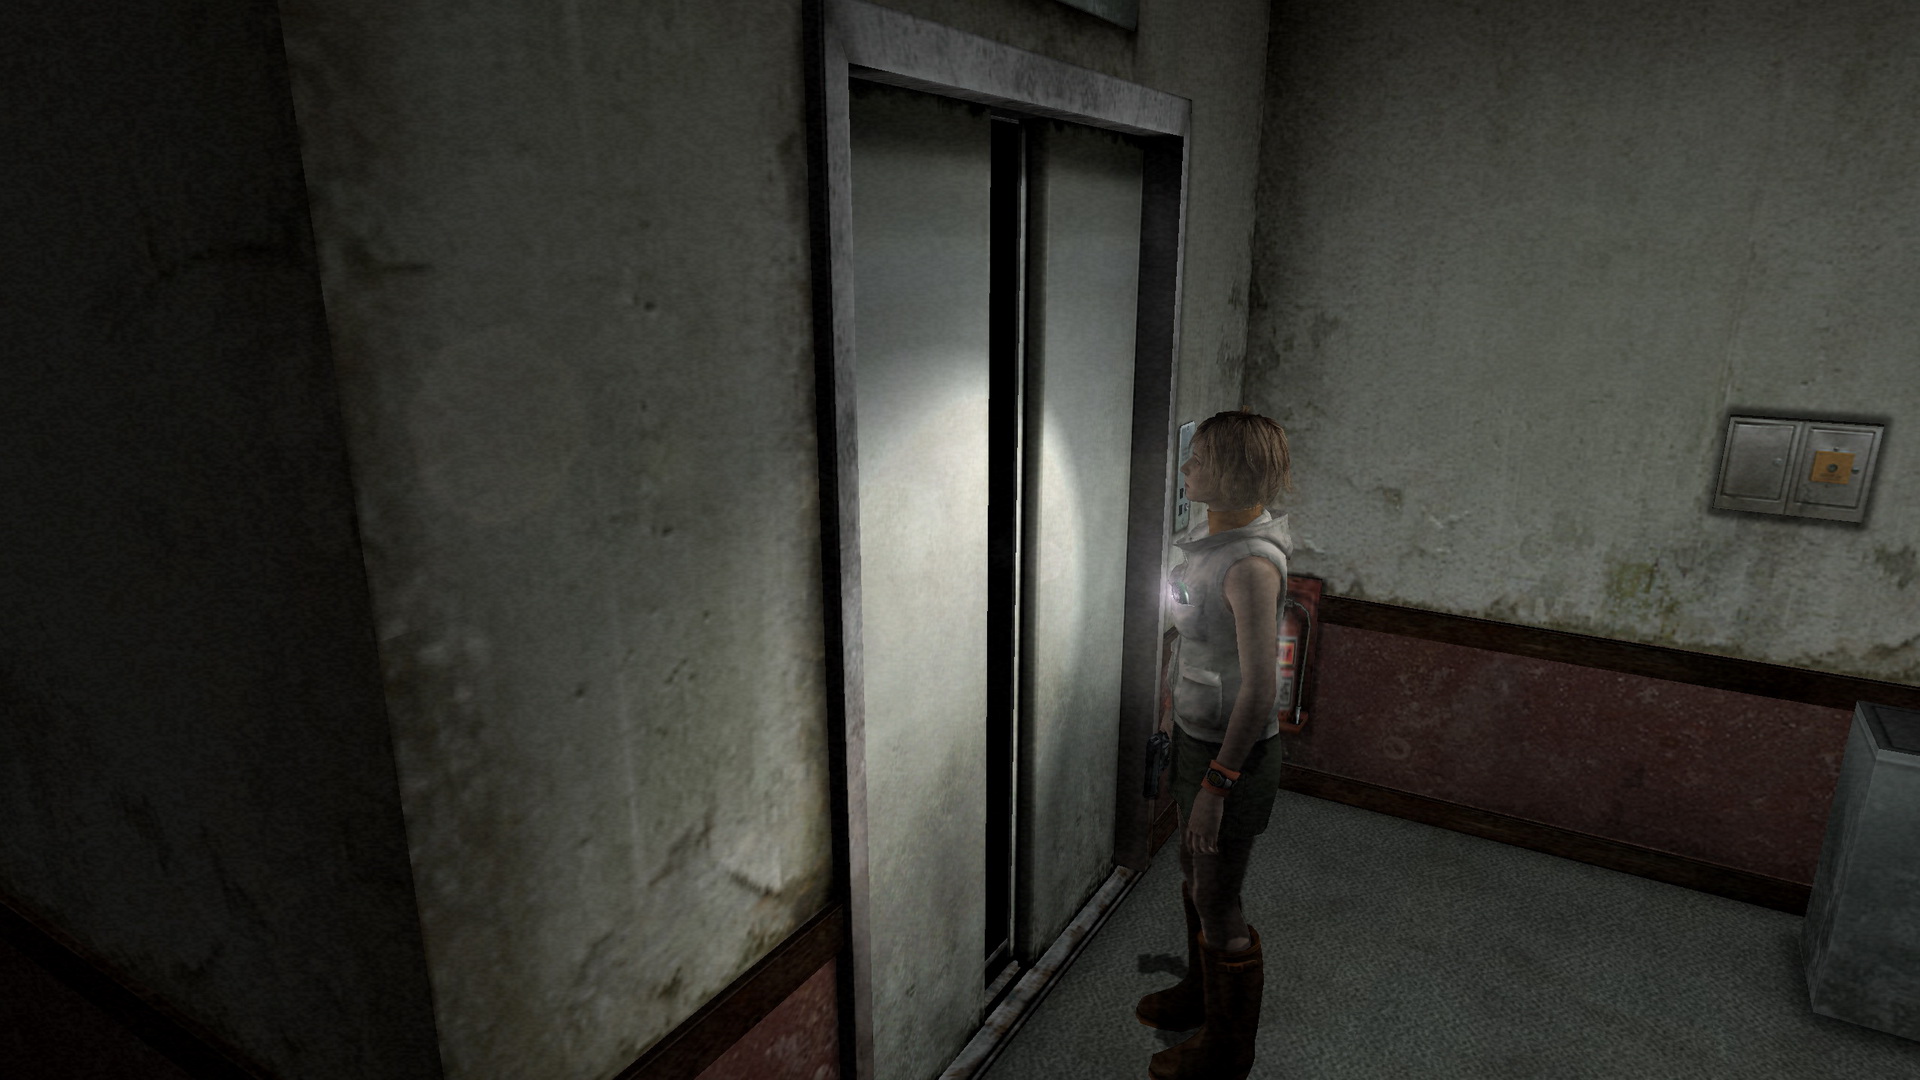
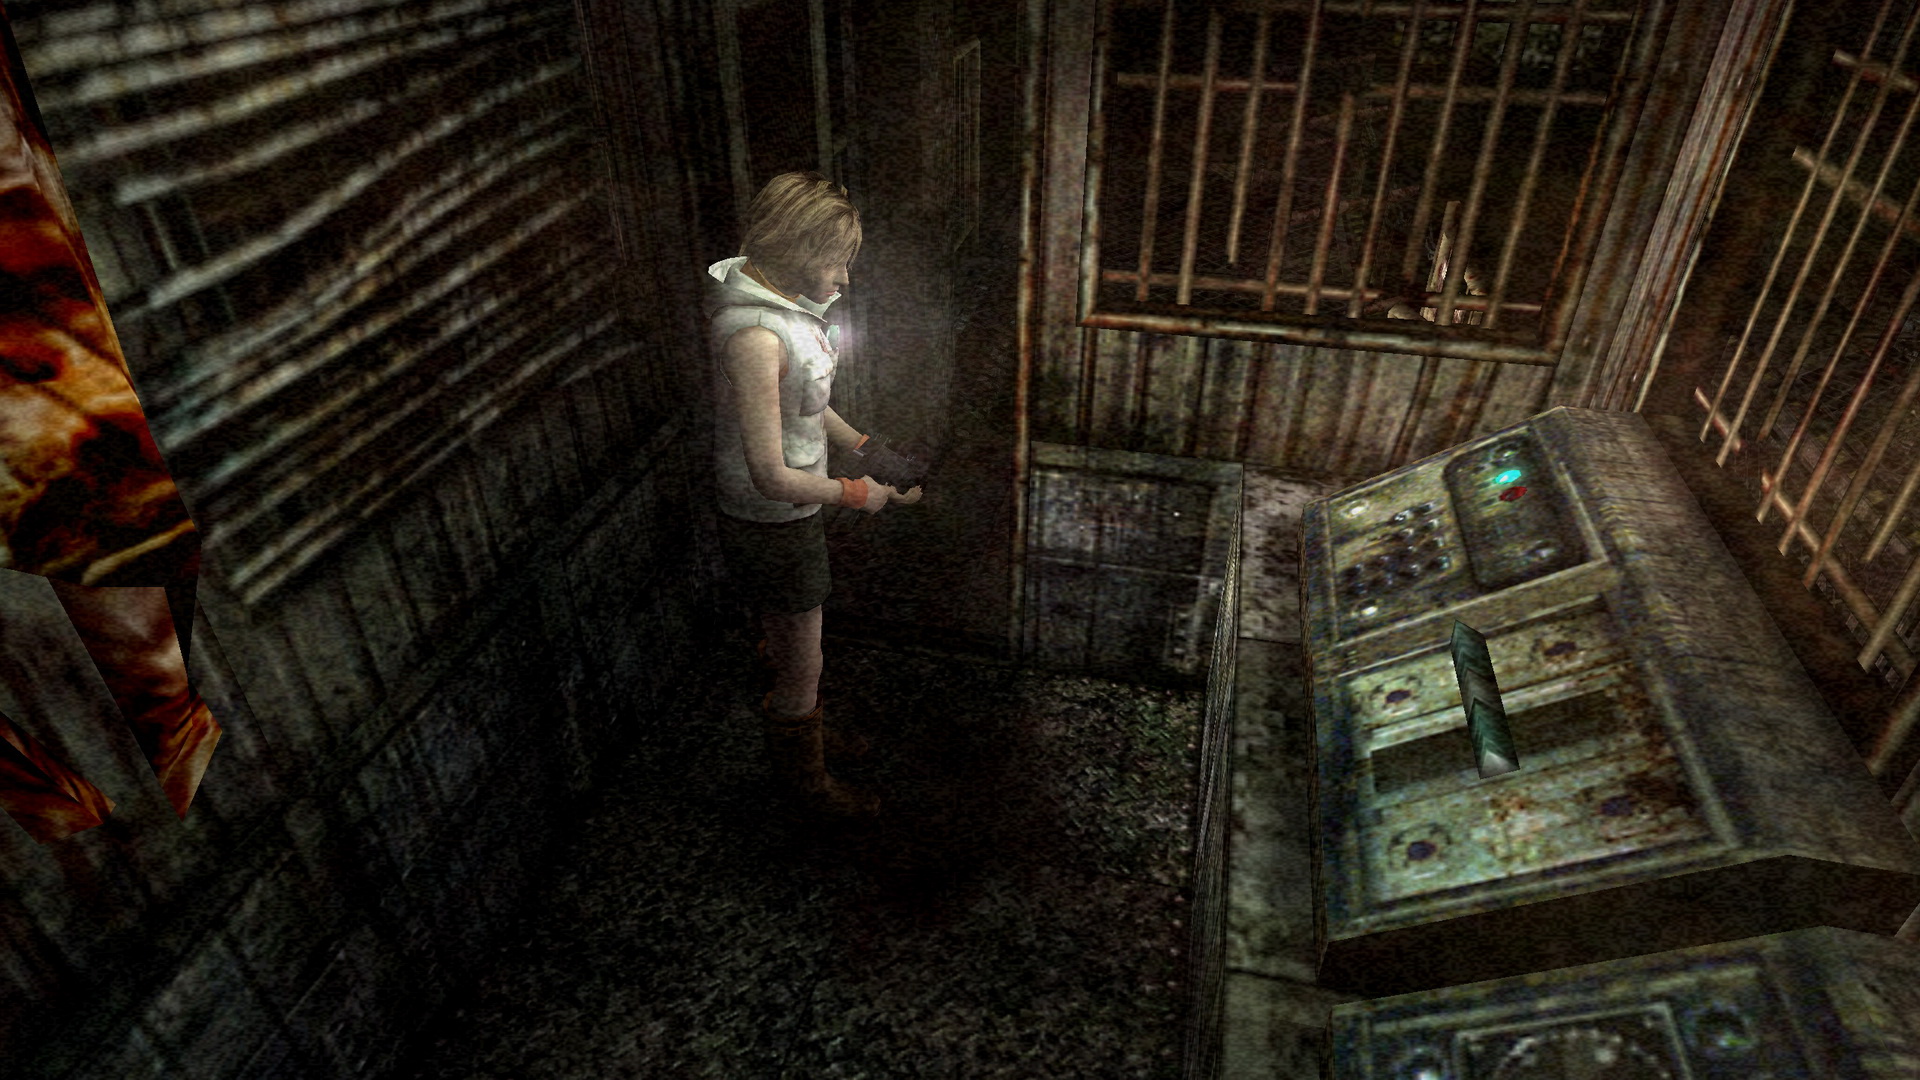
Stuck Drawer and Elevator Shaft (Office)Location: Hilltop Center, Third Floor
Now head to the west elevator on 3F and use the Jack to prop open the doors further, then use the Rope to create a passage to 2F. Descend down the rope to the second floor. |
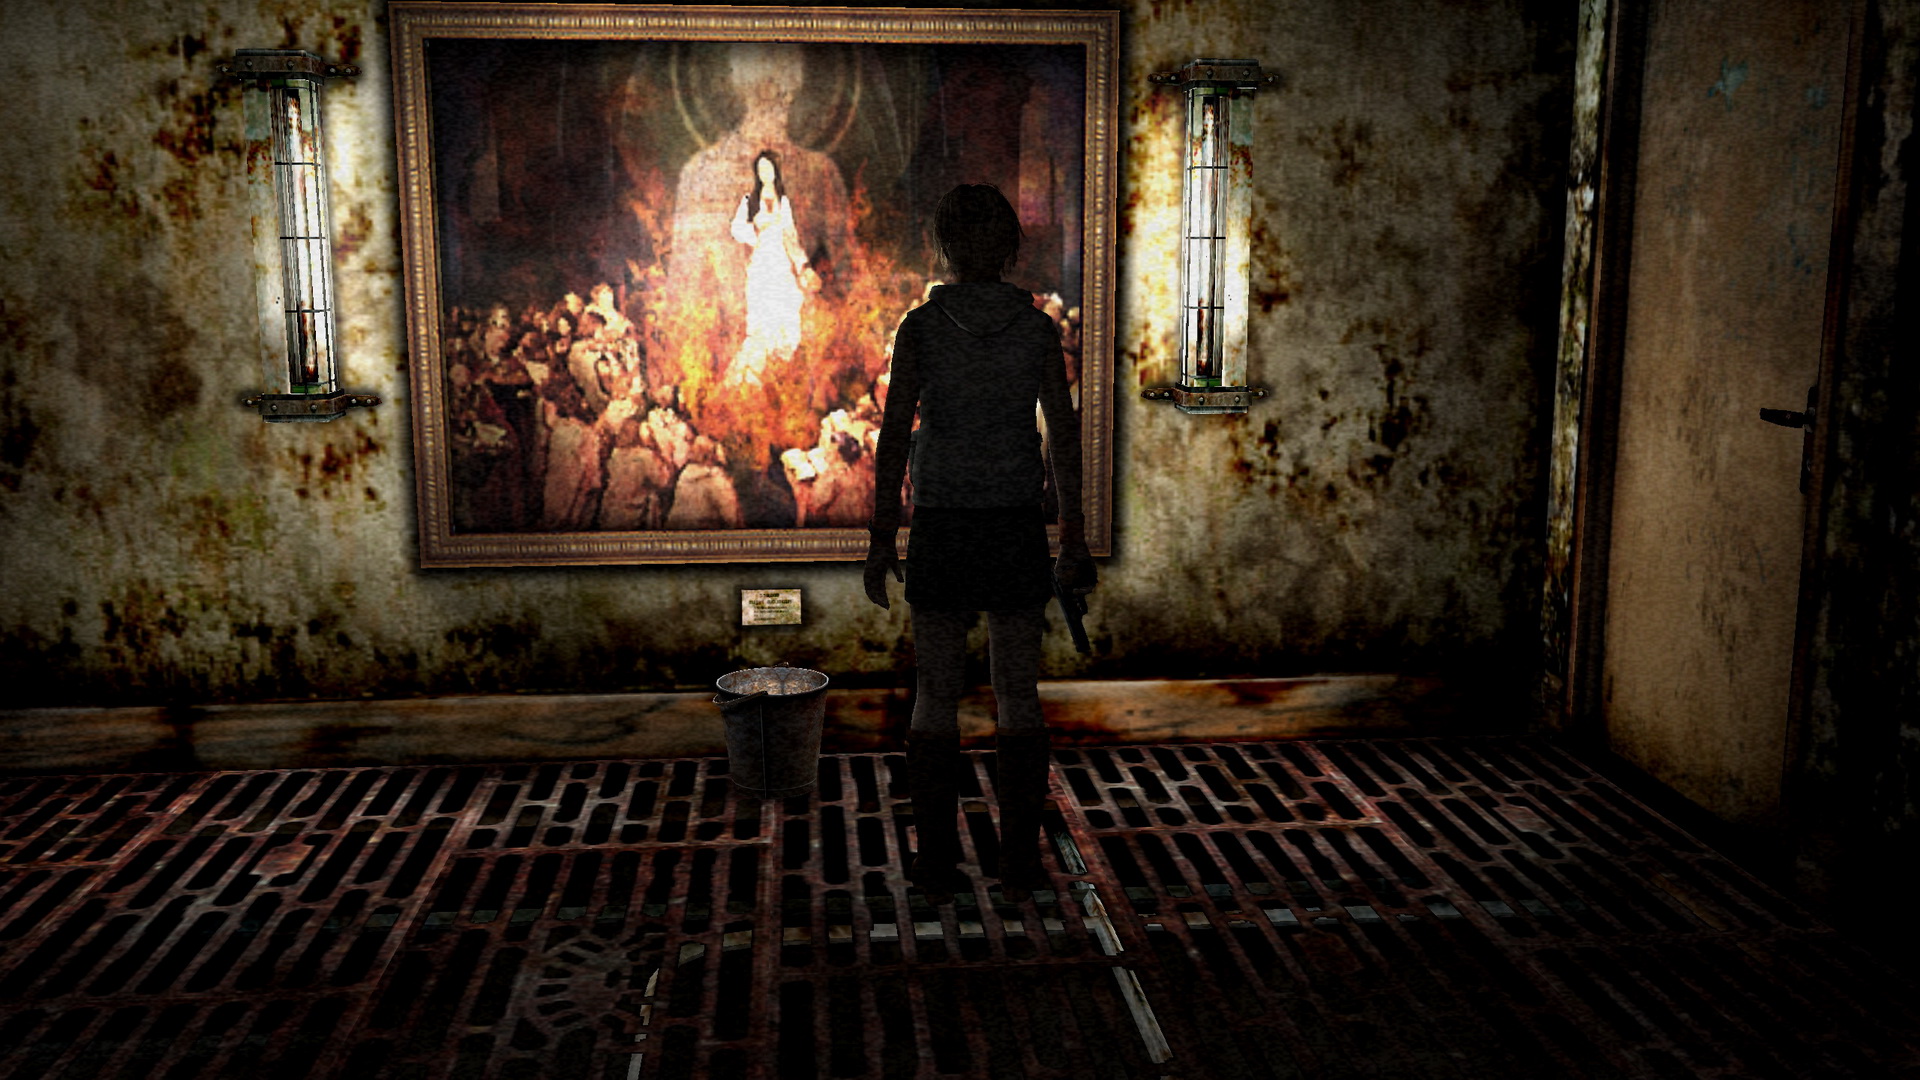
Flame Purifies All (Office)Location: Nightmare Hilltop Center, Art Gallery 5F
|
As it suggests, you must burn the painting to "find the road to Paradise." To do this you must first acquire the Oxydol, Pork Liver and Matchbook, while a junior high school chemistry book found near the Oxydol provides some advice on how to do this, although it is only found on Easy/Normal Riddle Level (the second page only appears on Easy).
To clear up any confusion, the Oxydol you have is hydrogen peroxide. Oxydol is the term used for this chemical in Japan. According to the chemistry book, the solution itself will not be sufficient for a sustained fire, while pouring it onto liver will allow the oxygen to continuously burn it when lit. With that, combine and use the Oxydol, Pork Liver and Matchbook while standing in front of the bucket by the painting. Heather will pour the Oxydol on the Pork Liver and burn it with the Matchbook, creating a large enough fire to burn the painting. Pass through the small doors to continue your adventure towards Paradise. |
Silver Coin and Vending Machine (Office)Location: Nightmare Hilltop Center 4F
|
Speaking of riches and silver coins, use the Silver Coin acquired from the desk in the same room and insert it into the vending machine to receive a can of pop, which has the Life Insurance Key inside it. |

Monster Fairy Tale (Office)Location: Nightmare Hilltop Center, 1F Hall
While part two is not necessary to expel it, you'll find it on the table on your way down from behind the 5F art gallery painting to 4F. Part three is located in the open southern room of Elberton Life Insurance on the first floor. Once you read it, Heather will say the magic words, "TU FUI, EGO ERIS" that expel the beast for good, just as they did in the fairy tale. To obtain the Life Insurance Key above to access that hallway and room, you must first solve the above mini-puzzle with the Flame Purifies All painting and then use the Silver Coin in the vending machine room at the northwest of 4F. |
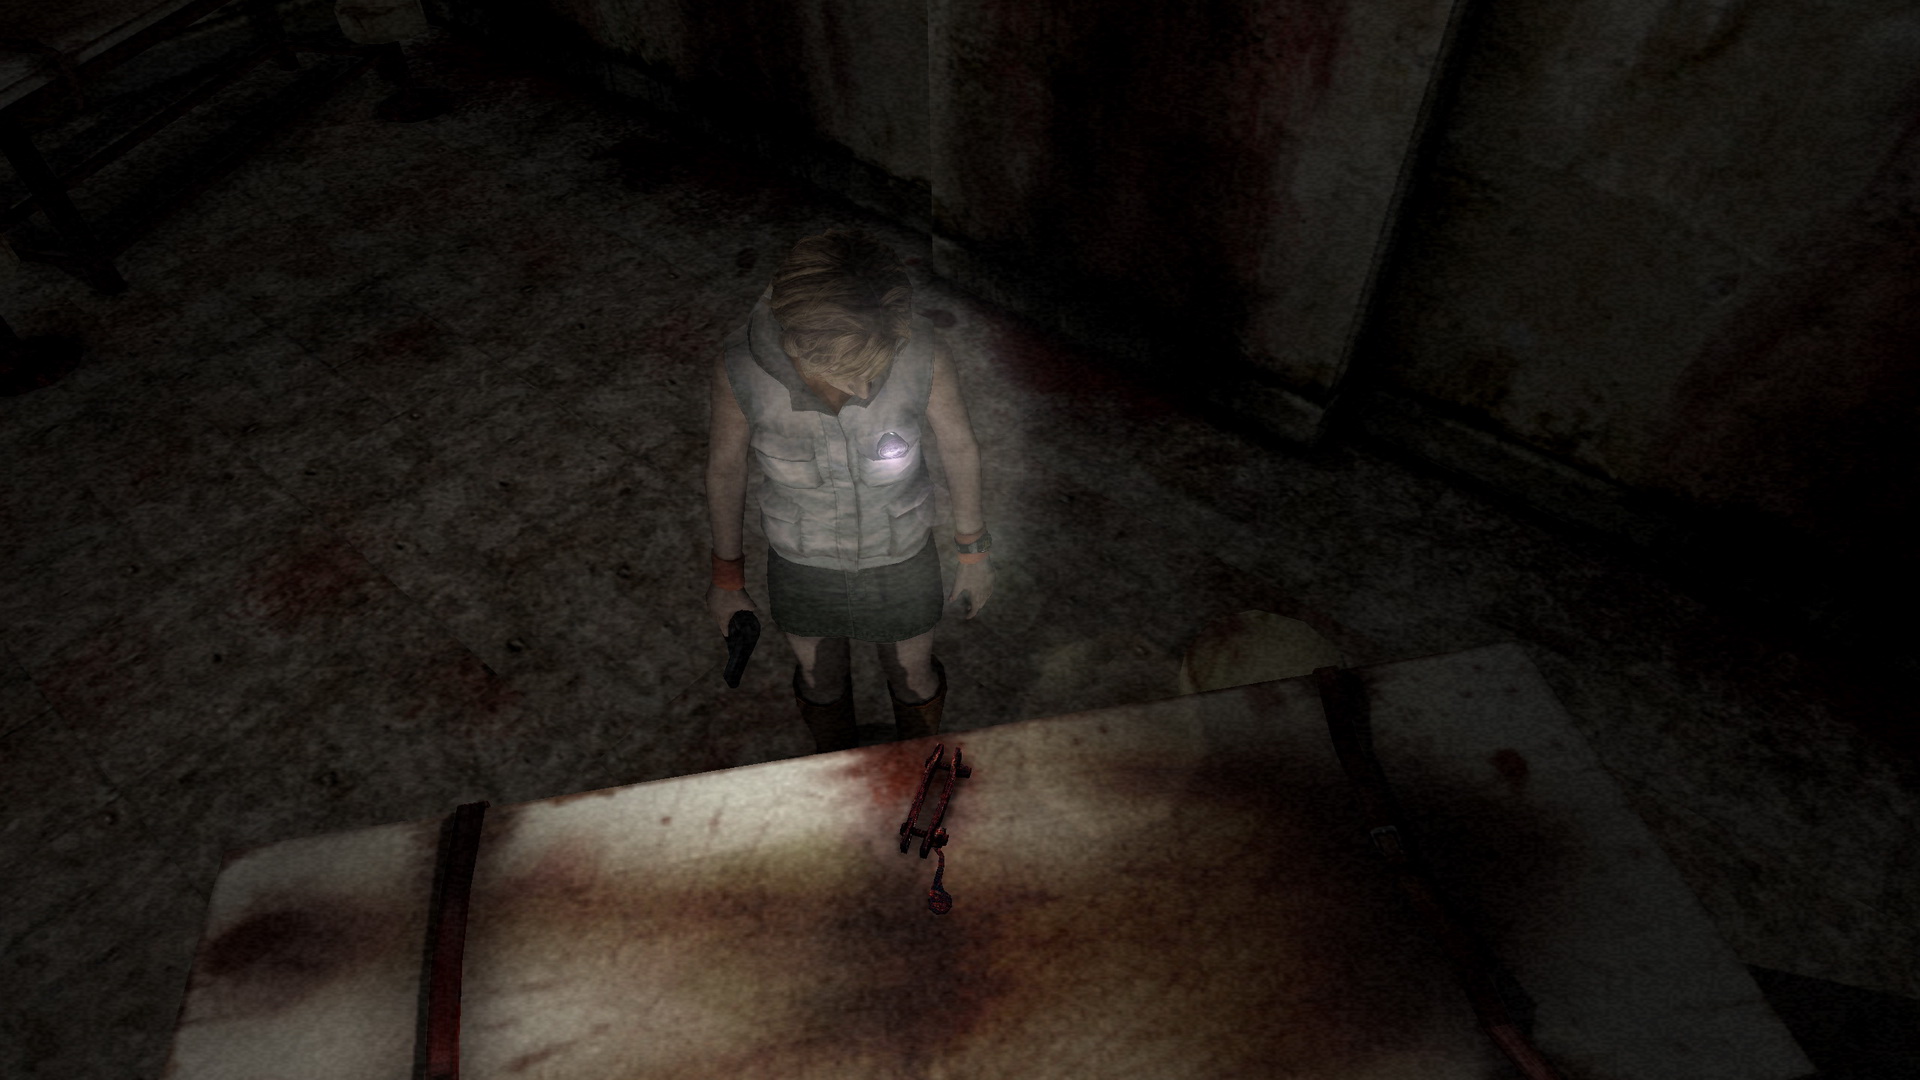
Key Glued to Wall (Hospital)Location: Brookhaven Hospital, Room C4 1F
|
That "junk those nasty wenches won't stop using" is the Nail Polish Remover. Use it to peel off the Stairwell Key. |
Basement Shelf and 3F Keypad (Hospital)Location: Brookhaven Hospital, Basement
|
While this may be a translation error or perhaps simply the words of a crazed lunatic, the "underground garage" he refers to is the basement Storeroom where you will find a blood smear near a shelf. Heather cannot quite see behind it as is and cannot move the thing either, so you'll need to get creative here. Use the Instant Camera to take a photo of what's behind the shelf, revealing a four-digit code in polaroid form, which is the key to the 3F patient wing keypad. It shouldn't be nearly as hard to read as the bloody wall code from Silent Hill 2, but may sometimes take a careful look. |
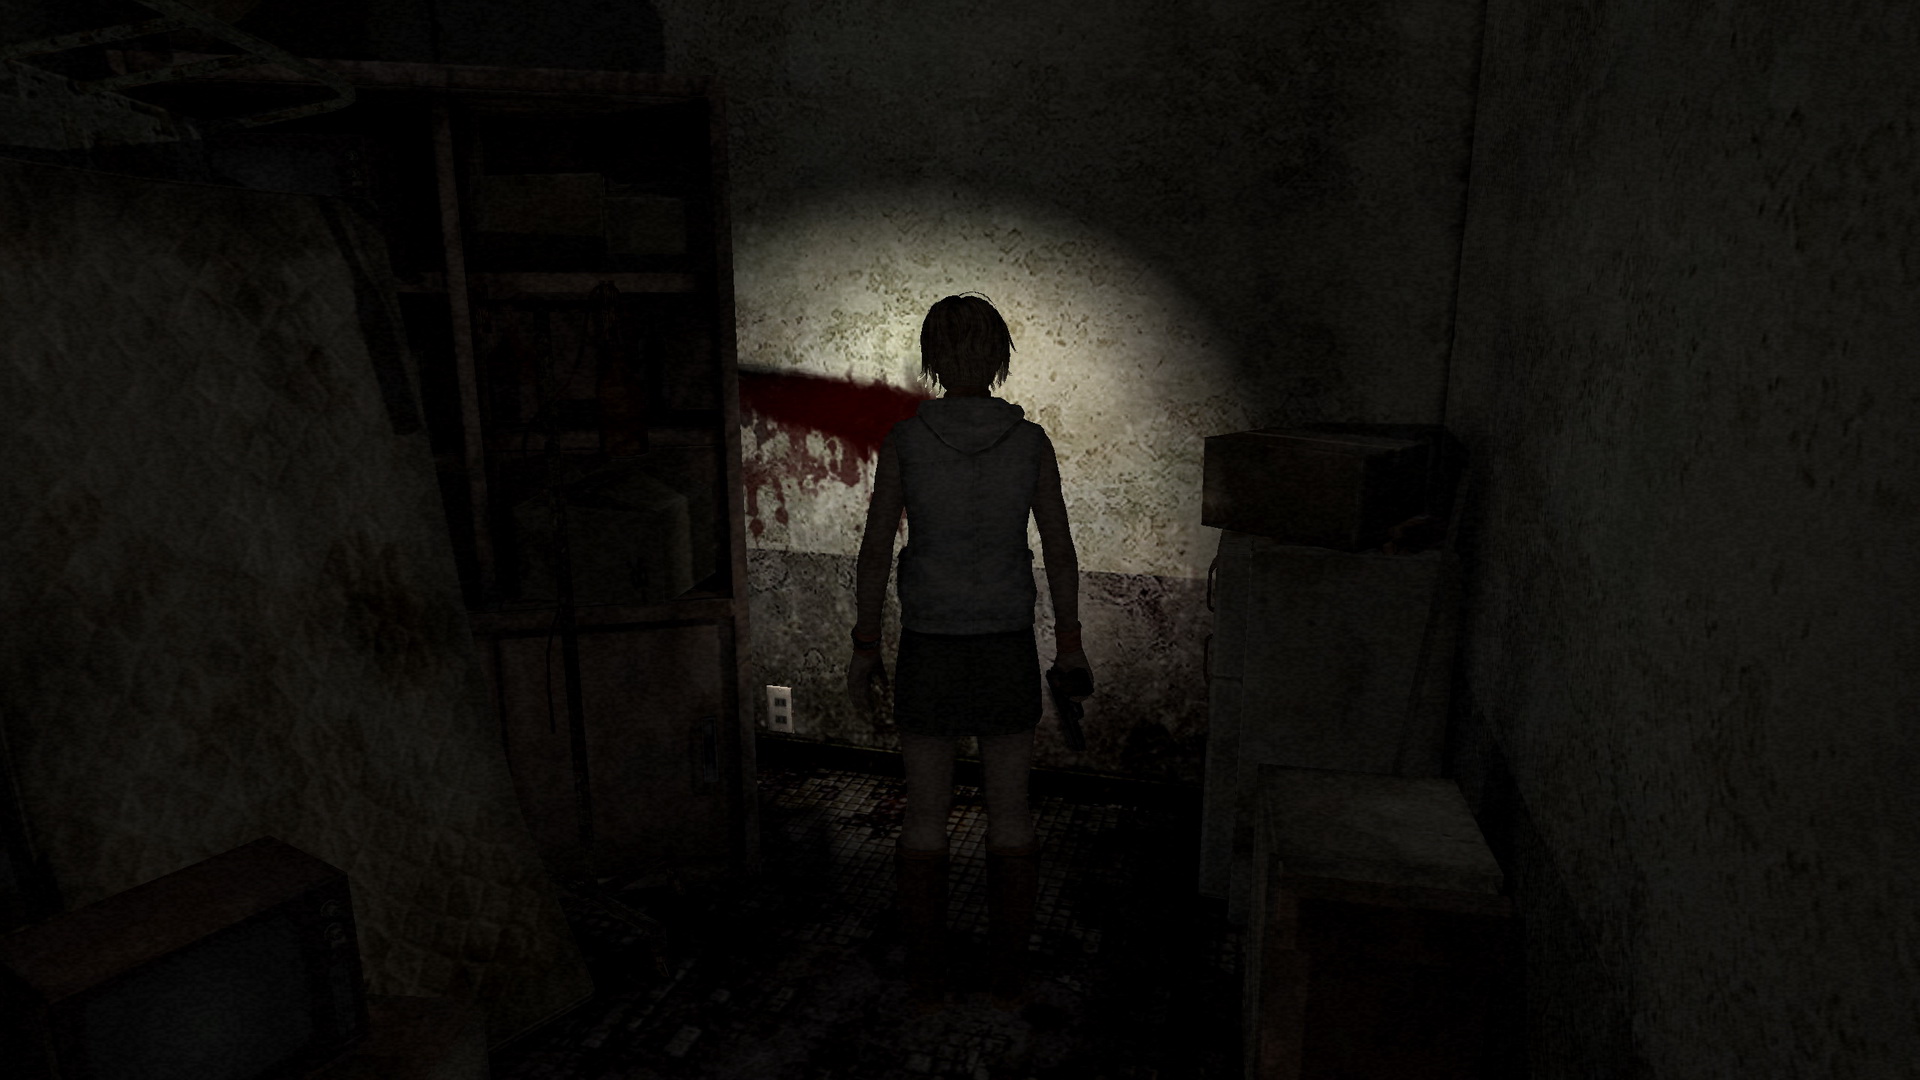
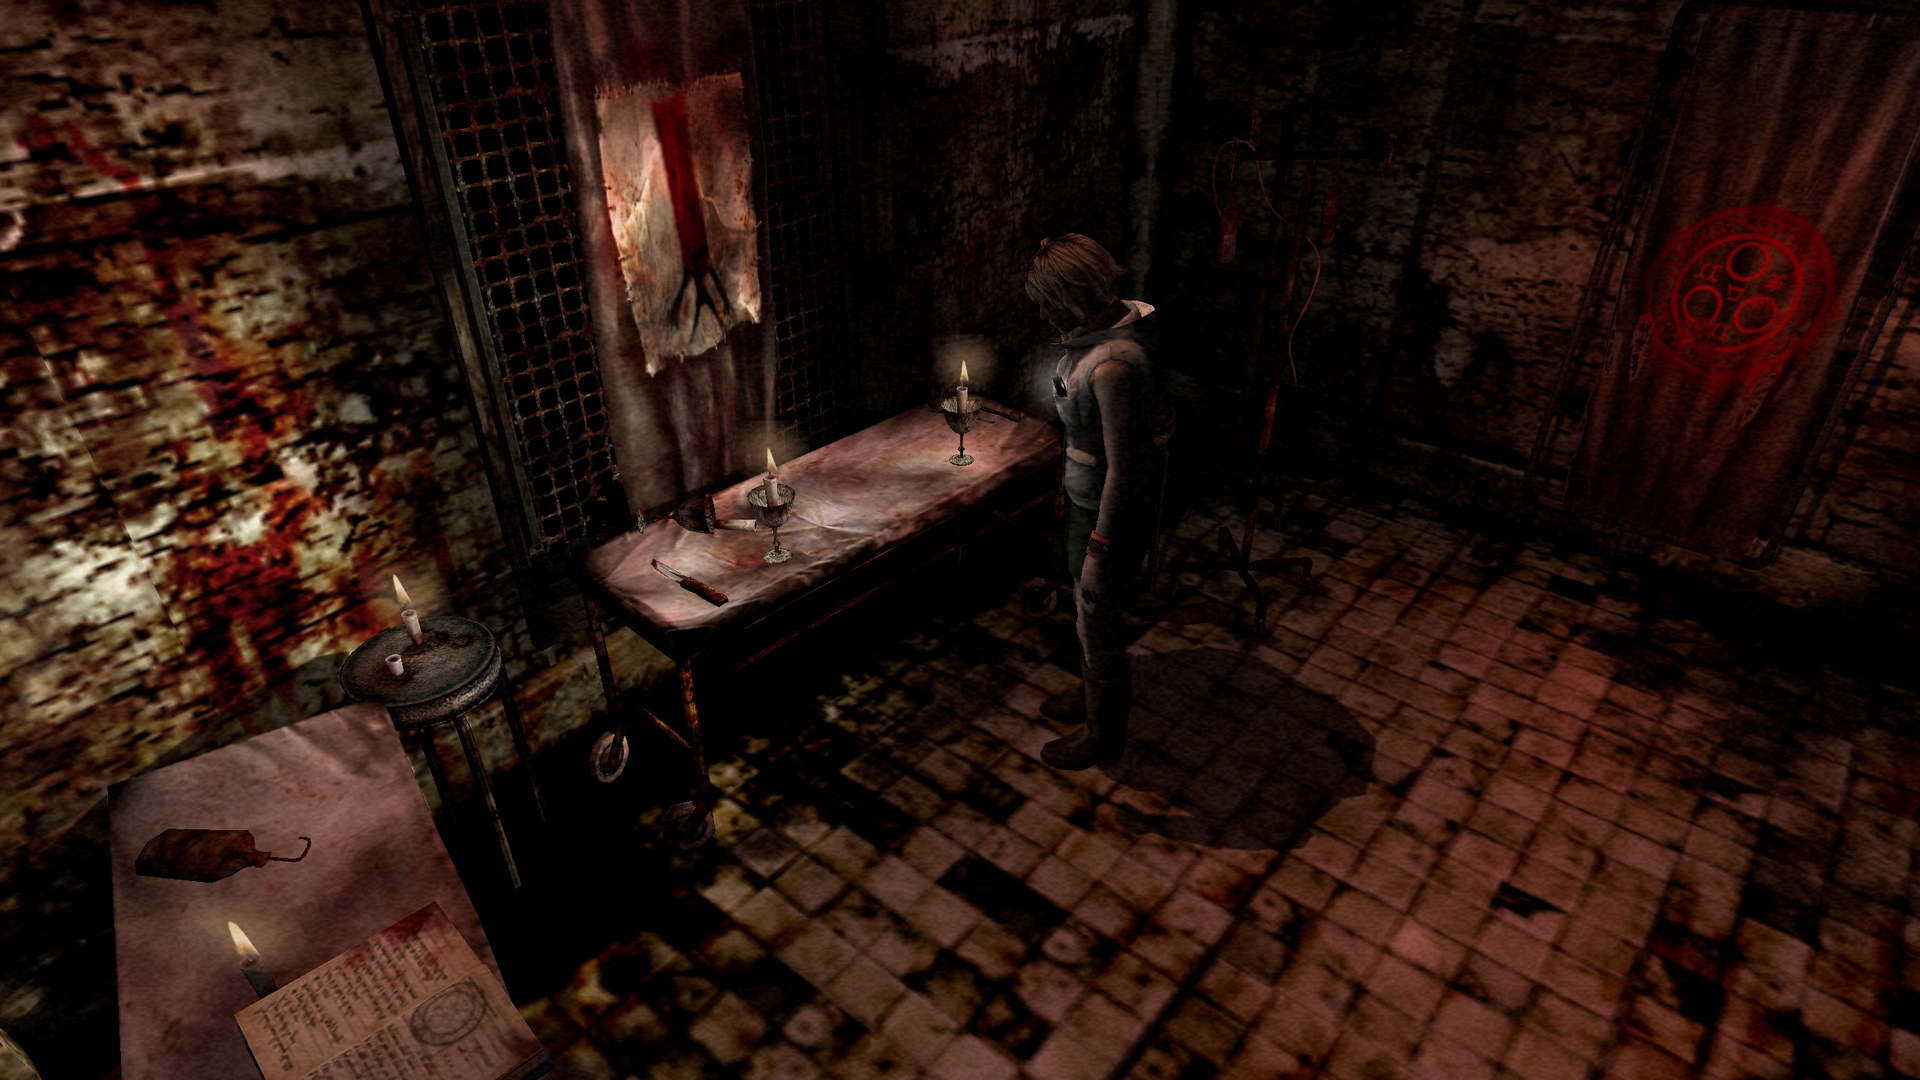
Blood Ritual (Hospital)Location: Nightmare Hospital, Room C4 1F
|
Sound like something familiar? There is a body hanging in Examining Room 4 that's dripping blood into a fully-filled bucket. First you must acquire the Plastic Bag, then use it here to acquire the Plastic Bag (With Blood). Following the "Lost Memories" instructions, pour the Plastic Bag (With Blood) on the altar. This will reveal a bloody trail and a ladder that leads down to Leonard. Behave yourself. |
Mountain Coaster (Amusement Park)Requires: Roller Coaster Key: Found in a tin box that falls after moving to the back left of the souvenir shop and then away from the area.
What you must do is enter the souvenir shop in the previous circular path. Move to the back left of the room, then to the right side or somewhere else and you'll hear a crash. Move back to find fallen boxes everywhere and the Roller Coaster Key in one of them. Now head up to the platform and use the Roller Coaster Key to enter the small control room beside the tracks. Examine the panel near the door and turn it off. Now you can proceed. While on the tracks this time, the ride manages to turn itself on anyway, but the extra time it was off provided Heather with just enough time to look for a place to safely drop and survive. |
Borley Haunted Mansion (Amusement Park)Spiky Roof Hallway
|
Red Glow Hallway
|
Swing Rocket Gate (Amusement Park)Requires: Chain: On the right side bleachers in the small amphitheatre near the Swing Rocket ride.
Heather notices the Chain acquired nearby has hooks at both ends. What you need to do is use it to attach one end to the gate, and then run up the ride and use it again to attach the other side around the center column of the ride, specifically from the metal bar sticking out. Now enter the nearby control room right by the small stairs and turn on the ride, breaking the door open in the process. |
Life-Sized Dolls (Amusement Park)Location: Marchen Travel, Lakeside Amusement Park
One photo shows a shadow of one of the life-sized dolls with the shadow of a shoe beside her (Cinderella). The other reveals the shadow of the other doll with something in her hand (Snow White). The shoe shadow should make things very easy here, so find the matching plate near the Cinderella doll on the right side and place the Red Shoe there. Then put the Doll Head in Snow White's hand on the left and the left end door past the statues will unlock, allowing you to advance. |

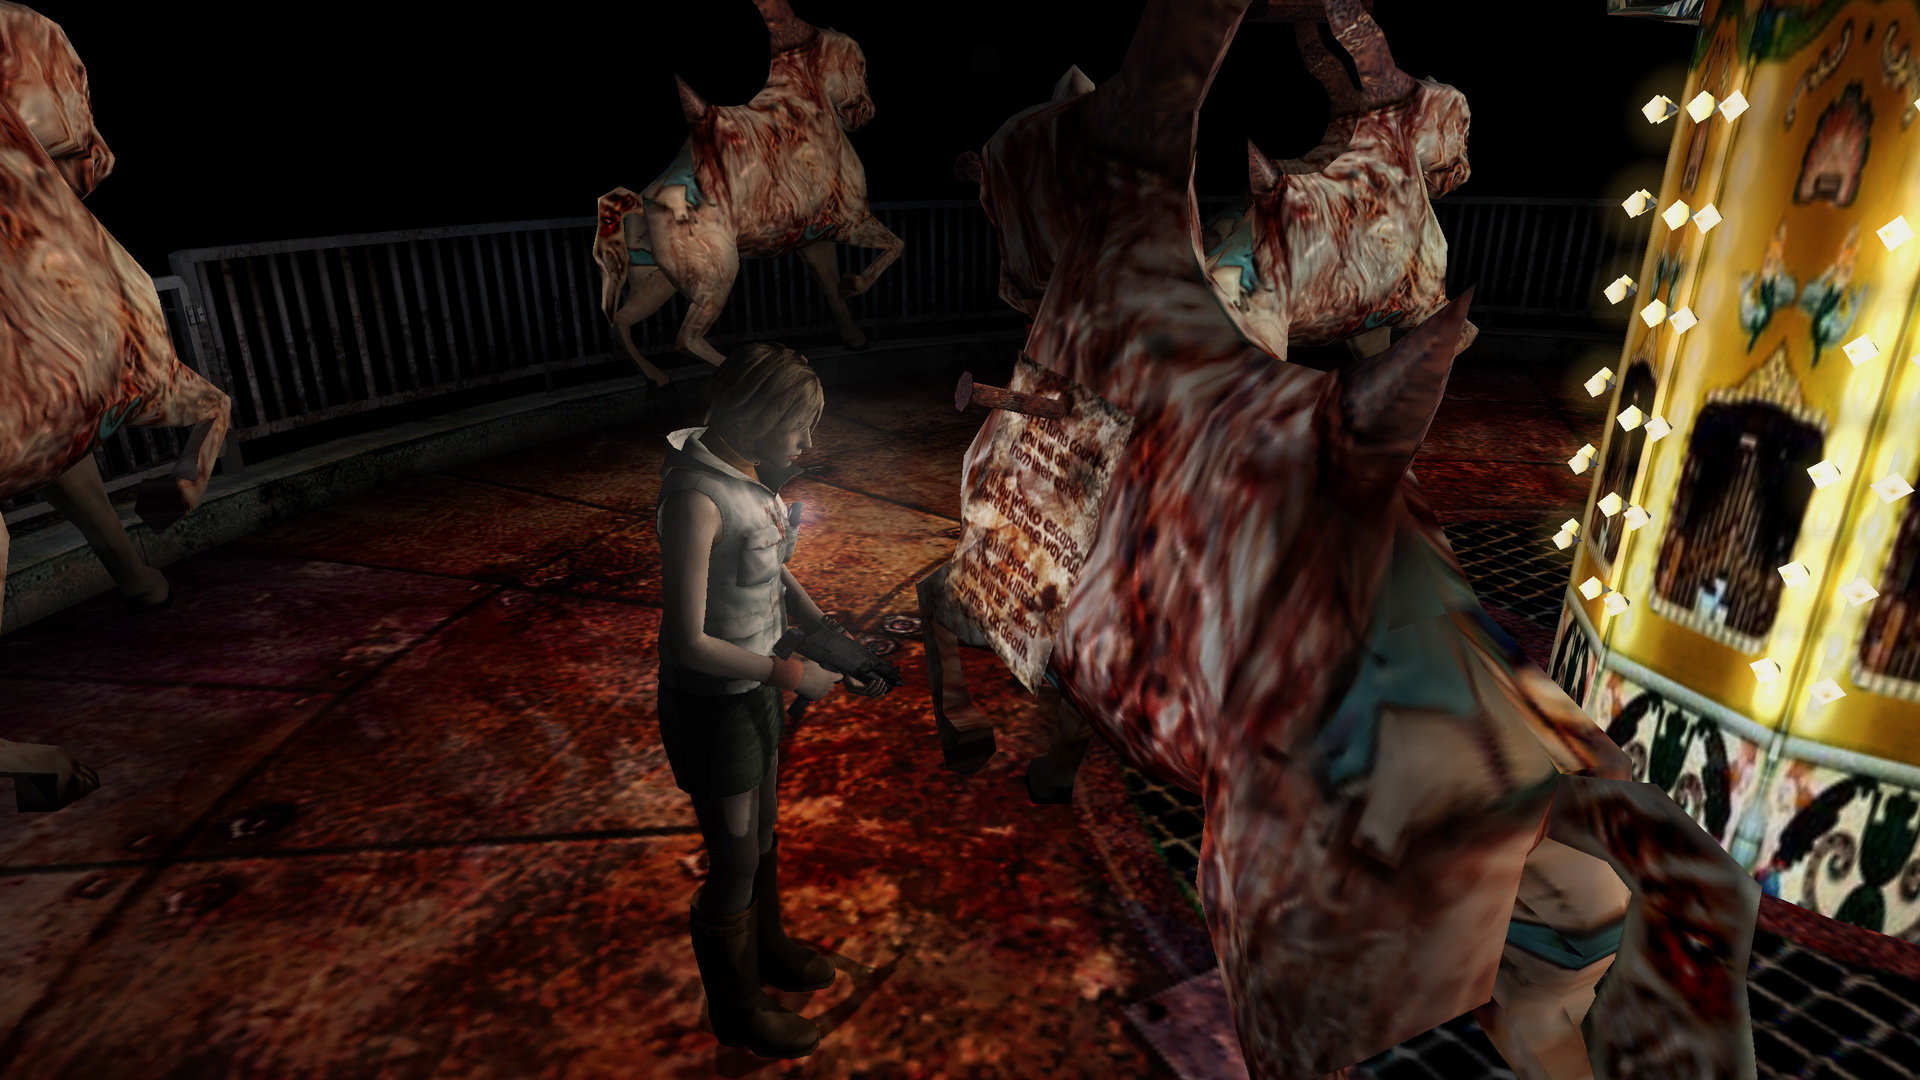
Happy Carousel Riddle (Amusement Park)
|
What this means is that when the carousel spins 52 times (13x4), you will die. But there is a way out... "you will be saved by the 12th death." But 12th death of what? Take a look around – can you find 12 of anything here? What about the horses... There are exactly 12 of them and one appears to already be dead with the memo pinned to it. So what you need to do is kill the remaining 11 horses and you will solve the mini-puzzle and survive. Pull out your Katana (or the Steel Pipe if you missed it) and start swinging away at the horses, using the overhead downward swing (hold X) for quickest results. You can use firearms but it's a complete waste of ammo. You'll hear horse noises after every hit and then a very distinct death sound, upon which the horse will shortly stop moving. Move onto the next one. Also note that each horse spits out a type of gas from its mouth that will hurt you if you're not careful. To best deal with this, kill the horses in a clockwise fashion so you approach from the reach and are never exposed to the gasses. Once all 12 horses are "dead", some time will pass and they'll all begin moving again but you've solved the riddle. Soon you will be greeted by your next enemy. |
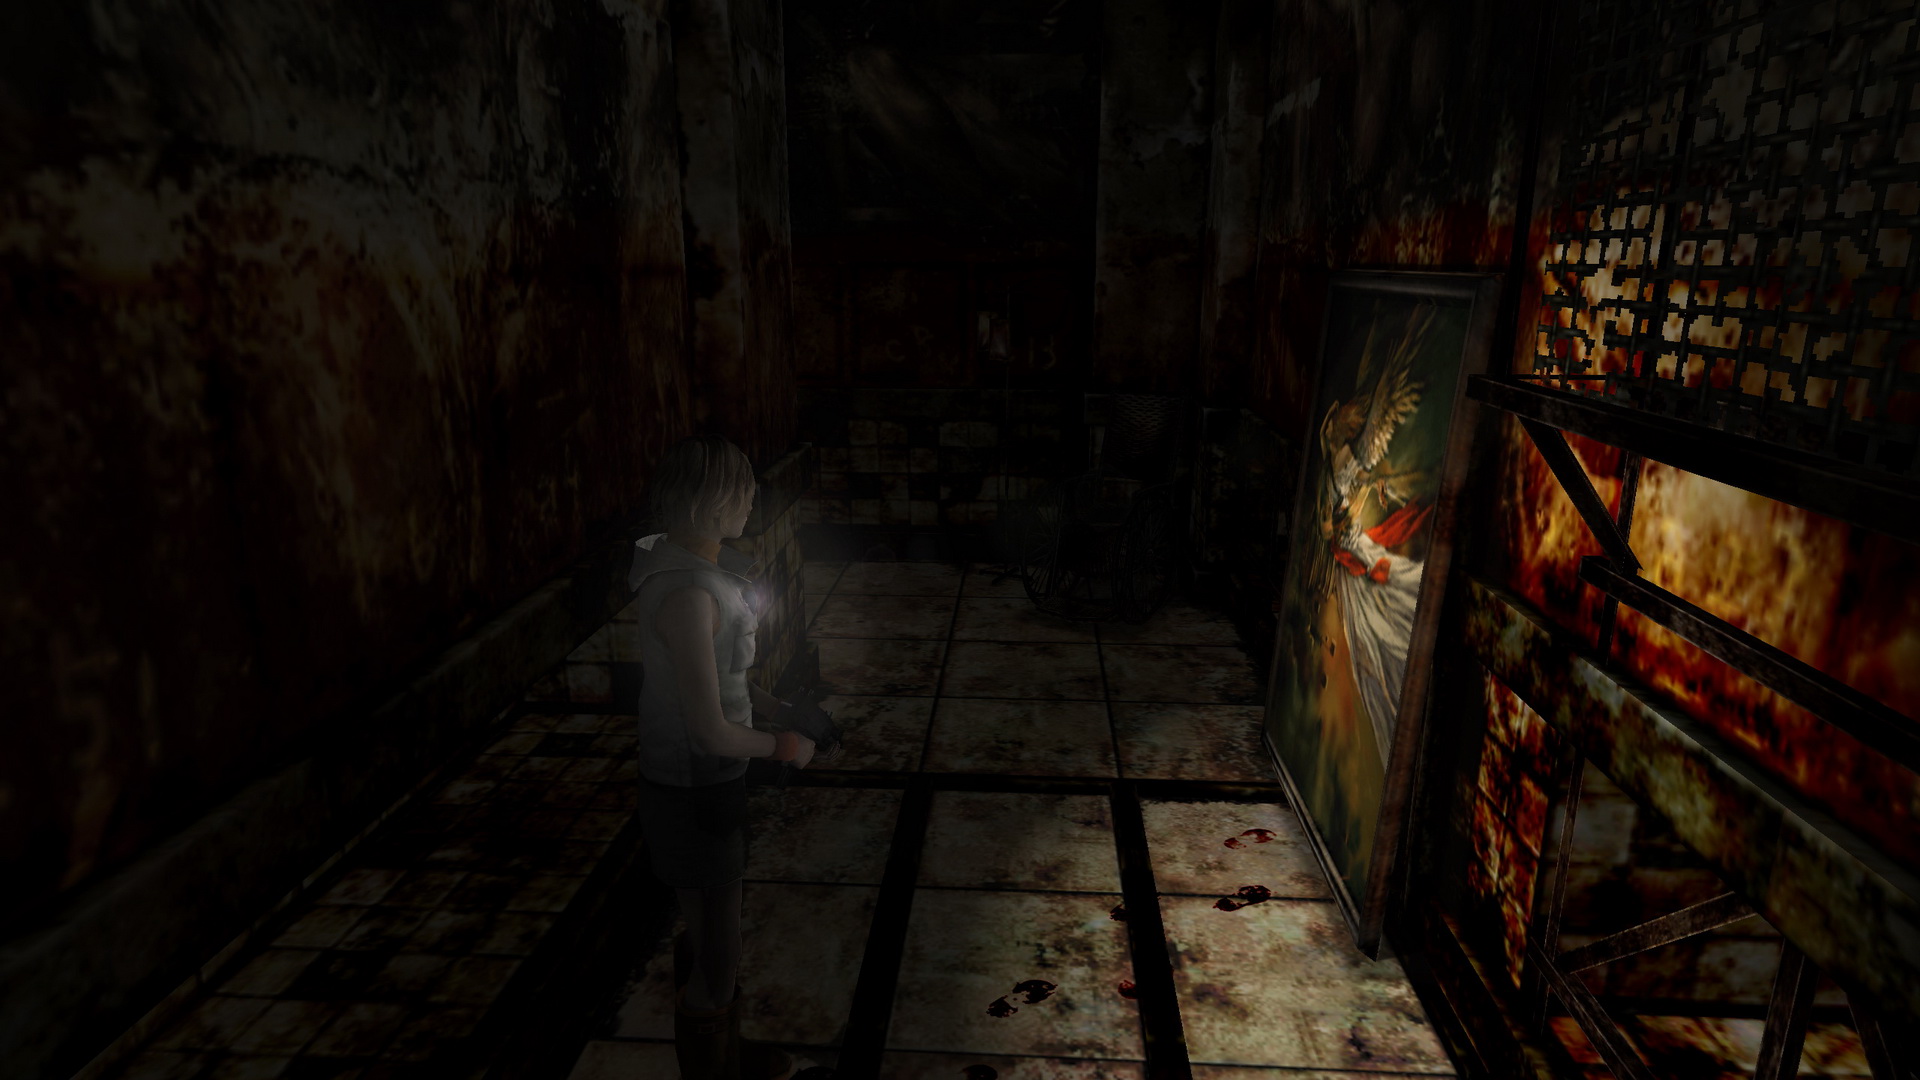
Crying Girl Footstep Hallways (Church)
Later on in the south end of the lower level you'll hear and see the same bloody footprints accompanied by the same girl's cries. Watch them this time approach the wall. Examine the wall once they reach it to reveal a hidden door to another room. |
Aglaophotis Abortion (Church)Location: Church, Beyond Tarot Door
The Talisman doesn't work and is quite useless as Claudia explains, but what else do you have? Remember reading that book about Aglaophotis in Alessa's hospital room in the Church? Here's what it says:
Guards against demons, eh? Do you also remember what that liquid did in the first game? Inside your Pendant is a red tablet that Harry gave to Heather to wear at all times... could it be? Use it to stop this madness once and for all. Note that if you take too long or attack Claudia, Heather will begin birthing the God and it'll be Game Over. |
| by Andrew Haffenden aka Conquerer (Silent Hill 3 Puzzle Guide) |