Playing the Game
This section includes tips, strategies, game concepts and basics to help any newcomer familiarize themselves with the game.
Note: This section was written with the Playstation 2 version in mind, thus you will see PS2 button inputs like "X" come up often. If playing on Xbox or PC, keep in mind your button inputs will be different. Also, other versions come with slightly different menus.
Contents
01. Menus
02. Game Basics
03. Combat Strategies
04. Items
05. Health System
06. Controls
07. Difficulty Settings
01. Menus
Here we start by breaking down the various menus including their functions and changeable options. Main MenuThis is the menu that you see upon starting the game. Refer to below for all its options. 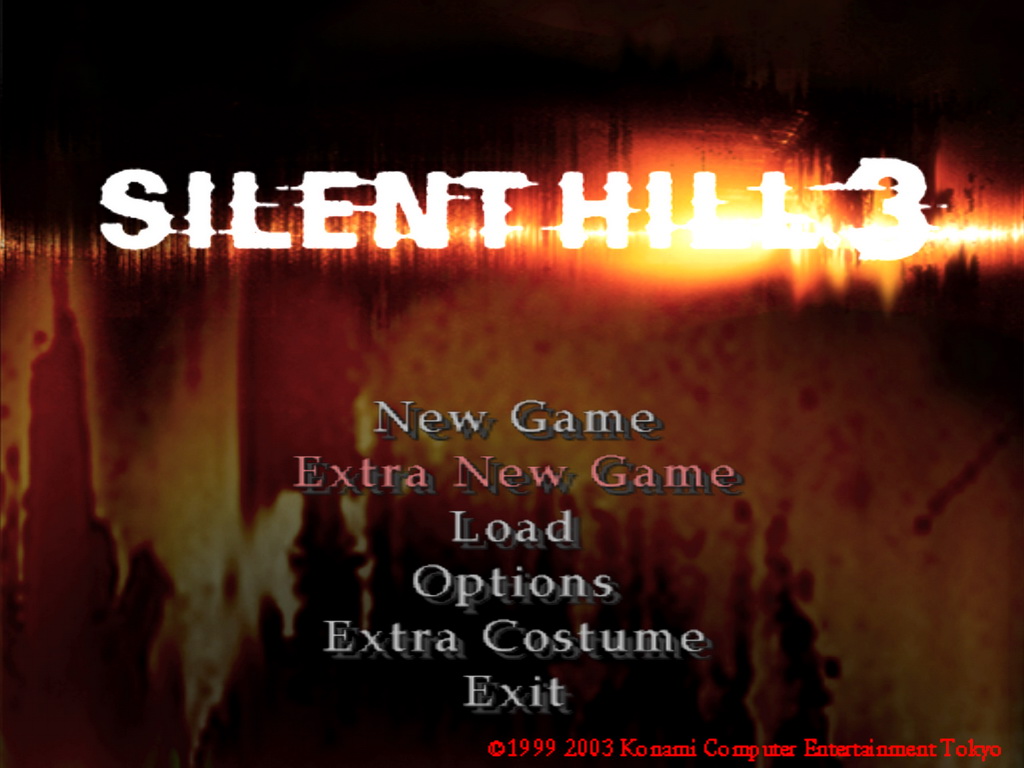
Opening Movie New Game Extra New Game Continue Load Options Extra Costume 
Save/Load Menu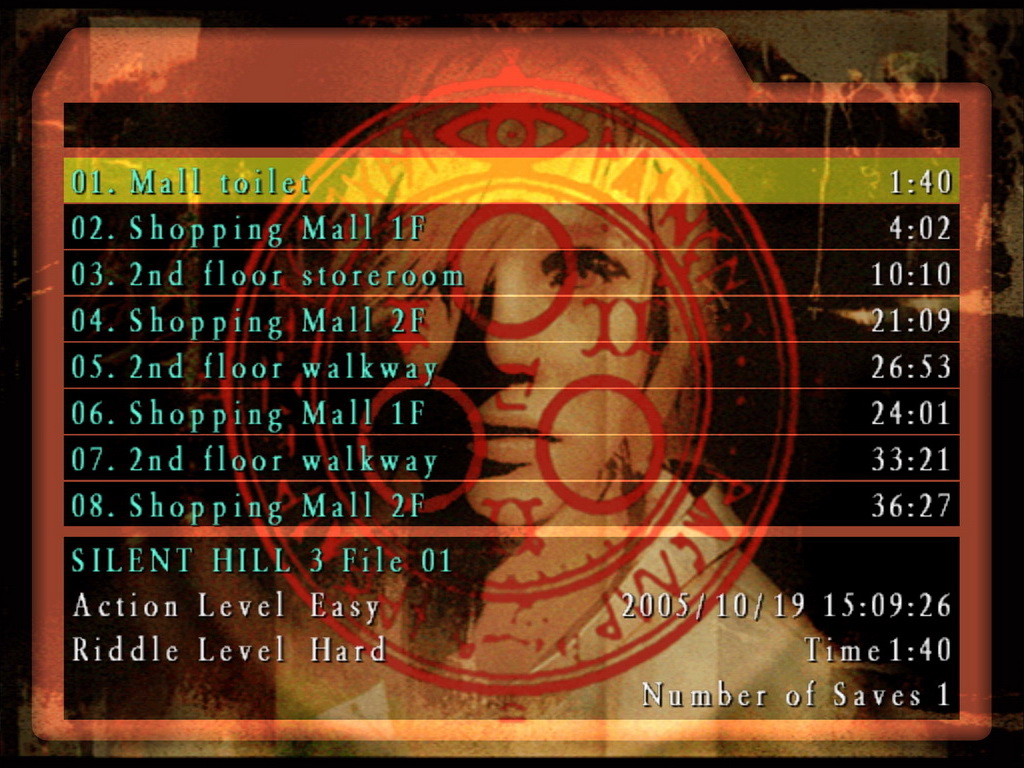
This is the menu where you save and load your game, accessed via Load from the main menu or from a save point when saving. In order to save your game you'll need to find and examine red circular insignias over the game. To start things off you will need 364 KB to save a new file on your memory card and can save up to 40 slots on each card. Consider saving in multiple slots over the course of the game in case you wish to load a previous save, although feel free to overwrite files if you don't need them anymore. But be sure to never overwrite your main file that has any unlockables if you ever start a fresh New Game instead of an Extra New Game. Options Menu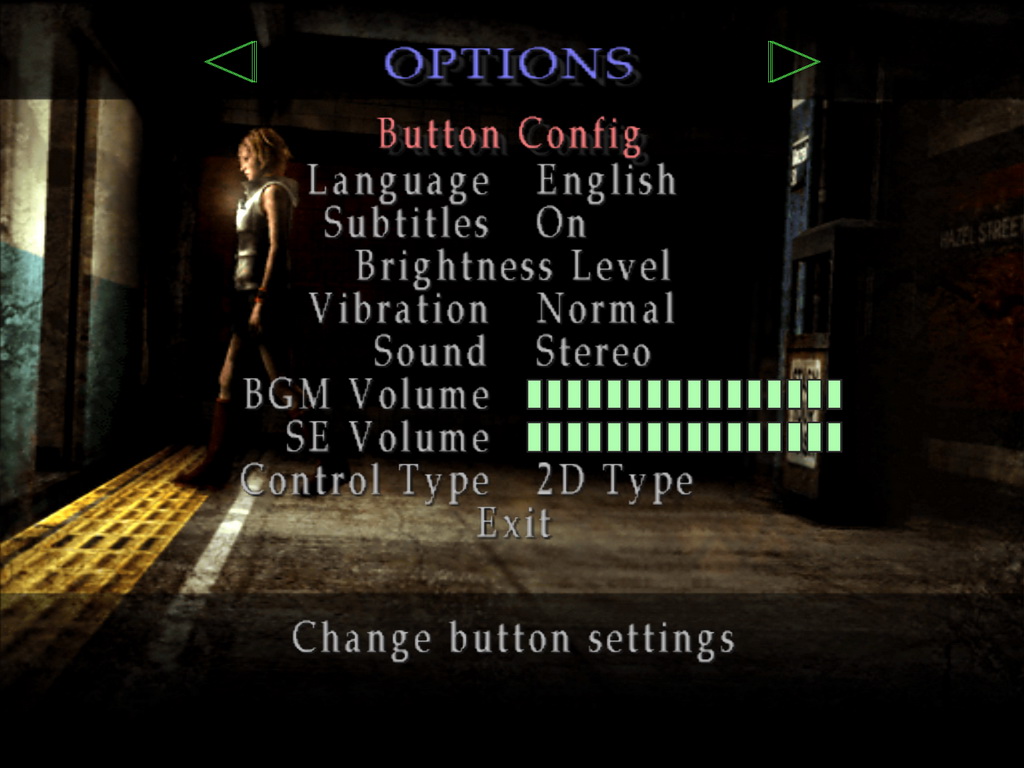
Refer to below for a list of all options that can be changed.
Extra Options 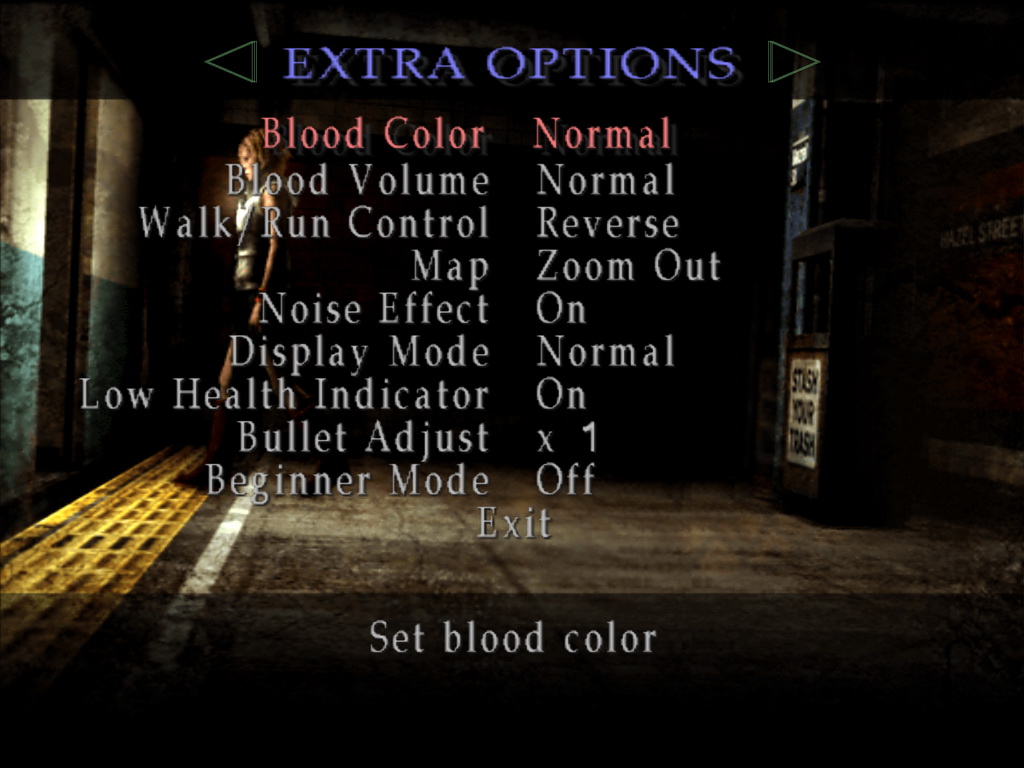
This menu is accessed by pressing L1 or R1 in the Options menu and contains more gameplay-focused options.
Note: The game must be completed once to unlock Bullet Adjust, upon which x1 and x2 are available. Each additional game clear will unlock the next level up to x5. The game must be completed on Hard Action Level to unlock the Life Display while Beginner Mode is unlocked upon dying 3-4 times on Easy or Normal Action Level. Inventory Menu
This is your in-game menu where you can view, use and equip all your items and view other menus. Unlike Silent Hill 1 and 2, the inventory this time is segmented according to items, weapons and supplies to make navigation less cluttered. View the diagram below for a breakdown of the menu while you can read more about each function farther down. Status Maps Memos Options Items Weapons Supplies |
02. Game Basics
In this section we'll go over general principals and basics that are important in playing the game. CameraAs a survival horror game you'll experience a lot of variable and obscure camera angles that may make it difficult to see where you're going or what's ahead of you. Most of the time you can adjust it and even move the camera behind Heather by holding L2 and moving it around with the right stick. This is very helpful for fighting bosses or just generally staying on top of where you're going. Also pay attention to sudden camera angle changes or specific angles that hint towards certain items or other environmental details. Using MapsMaps are extremely valuable tools to navigate through the game, with each area generally having its own map that can be found early on. Once found, hit Triangle to view the map to see your current location and what's around you on the current floor, or use the left analog stick to change floors. Heather will mark open doors as arrows, locked doors as solid lines, impassable doors as squiggly lines, and other various points of interest as circles or other markings. Don't ever feel ashamed for frequently checking the map as it's an incredibly valuable tool and perfect for reorienting or reminding yourself of where to go. Using the Radio and FlashlightAh, the series staples. You will find these two items fairly on in the mall and both are valuable tools to help you on your journey. Your Radio will emit static to alarm you to any nearby monster and your Flashlight will allow you to see in the dark and pick up certain items. Note that you can adjust the Radio volume in the inventory or turn it off altogether, which helps you be more discreet. The Flashlight can also be turned on and off by pressing Circle, which again can be helpful for avoiding enemies in dark hallways. Game ConceptsThis includes regular ideas and principles of playing the game, all described below. Running Running Slow and Sluggishly Ammo Conservation Conserving Health Items Searching Areas Checking Doors Memos Codes Nightmare Areas Soft ResetThis is a function that resets you to the main menu without resetting the game console, a function normally not available in older survival horror titles. To do this, press and hold Start + Select. This way you can load a previous save or start a new game. |
03. Combat Strategies
Now we'll dive into the combat side of the game and how to approach different situations. For strategies for each enemy including suggested weapons, refer to the Enemies section. Targeting Enemies Shooting/Fighting Enemies Fighting Multiple Enemies Kicking Enemies Pushing Enemies Surrounded Escaping Grapple Attacks Switching Walk/Run Control Strafing Bulletproof Vest Blocking Reloading |
04. Items
A heavy focus of Silent Hill 3 is finding and using various items, including keys, weapons, supplies and other objects. In this section we'll cover all aspects of finding and using them. Finding ItemsIt's not that hard to find items in Silent Hill 3, but keep an eye out for suggestive camera angles, where Heather is looking, and keep your Flashlight on for clarity. Be sure to check every door you come across to search every room, finding all key items and supplies inside. Using ItemsEvery key is automatically used by examining the door it unlocks if you have it in your inventory. Items that aren't keys will have to be used from your inventory while standing in front of the target. Certain items aren't effective on their own and must be combined first. See below for more details. Additionally you can examine certain items for more details, providing clues for their usage. Combining ItemsThis process has been streamlined by a single step since Silent Hill 2 but is relatively the same. First, stand in front of your target and enter your inventory. Find the first item and select "Combine", then move to the next item (no back required). If it's a two item combination you can simply use the second item to mix them, or in a three item mix you'll need to combine the first two items and use the third. Note that you can add the final item to the mix too but it's an unneeded step since whatever you use gets added to what's already combined. You'll notice which items are included in your mix so far under the Items tab on the left side before using. Also understand that many items that can't be combined with anything may have Combine as an option, so don't let that confuse you if it otherwise doesn't make sense. Examining ItemsSeveral items have an Examine option in your inventory that allows Heather to take a closer look and report any interesting details or thoughts. This will help you assess not only where to use items but also what to do with the more confusing ones, since you may not know just by picking up an item that there's something rattling around inside it, but Heather will certainly notice when examined. So be sure to use this function whenever unsure about an item. Equipping ItemsNew in Silent Hill 3 is the ability to equip more than just weapons, such as supplies, a vest, silencer and perfume. Equipping supplies like ammo, health and jerky allows you to reload, heal or use them with R3 in-game. Other items can be worn or used by equipping them to receive their benefits. Extra SuppliesSilent Hill 3 uses a variable supply system that will hook you up with additional ammo and health pickups in certain areas if you are struggling, including perhaps two First-Aid Kits instead of two Health Drinks. This does not mean to go and waste your supplies knowing you will get more because you'll struggle even more, but know you will have some backup supplies if you're having a hard time. Keep an eye out for them and note what you find may be slightly different than what's stated in the walkthrough. |
05. Health System
Here we'll cover everything health related including your status and supplies. Health Status
The worse you're off, the faster the square pulse will move. Additionally your controller may vibrate once your health dips into the red. Health Supplies Recovering Health |
06. Controls
PS2 Controls
PC Controls
Button Configuration TypesThere are two Button Configuration types available in the Options menu: Type A and Type B. I'd suggest keeping with the default of Type B which is most similar to previous games in the series, but feel free to try A which swaps a few button inputs around. Control TypeJust as previously, there are two control types in Silent Hill 3 that dictate player movement: 3D and 2D. Refer to each below for an understanding of how they work. Visit the Options menu to change it. If I could give a recommendation, I would suggest keeping the default 3D. While SH2's 3D control was a bit clunky, SH3's is instead incredibly smooth and fluid to the point that I'd say it feels much nicer to play with than to constantly change directions per camera angle with only slightly more open control. That and it's incredibly easy to turn with a sharp radius in 3D, including tight stairwells. Give it a chance and you'll see that this game may have the best implementation ever of tank controls in a survival horror game. 3D Type 2D Type Extra OptionsBefore you start your game you may want to visit the Extra Options to tailor your game how you like. Press L1 or R1 in the Options menu to access and change the following settings. Blood Color and Volume Walk/Run Control Map Noise Effect Display Mode Bullet Adjust Beginner Mode |
07. Difficulty Settings
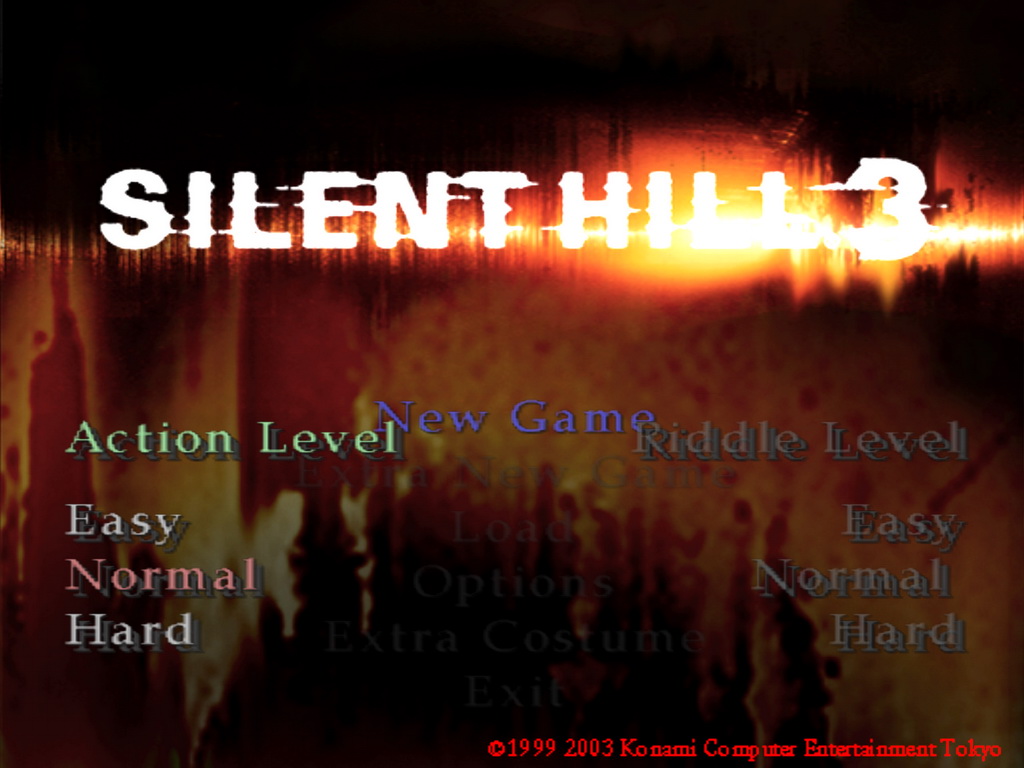
Action LevelThis sets the combat difficulty. Enemy and boss attacks will vary in damage, speed and overall aggression depending on which level you choose, in addition to their health. This also determines how many items and supplies will be found. Read each difficulty below for a general understanding of what they entail. Beginner Easy Normal Hard Riddle LevelThis sets the complexity of puzzles found throughout the game, whether in written form via riddles or what items may or may not be required to pass certain areas. Easy Normal Hard Suggested Action and Riddle LevelsReturning to the series or even as a newcomer familiar with survival horror, Normal and Normal may be the best way to go. Those not so experienced in the genre may want to consider Easy Action Level, but Normal Riddle Level is still rather reasonable and doesn't cut small pieces out of the game like Easy. Hard Action Level should be off limits unless confident in your abilities and experienced in the genre, and I'd avoid Hard Riddle Level your first time unless ready for an extreme intellectual challenge. Even on additional playthroughs Hard Riddle Level will likely give you headaches, but this guide is always here to help you. Extreme Action LevelsBy completing Hard Action level you will unlock Extreme 1 Action Level, which is a step above Hard. Beating that will unlock Extreme 2, while you can keep upping the ante until you reach Extreme X (10), the hardest Action Level in the game and a supreme challenge. For these levels, take Hard and multiply it accordingly to have some idea of what you're up for, including a health bar half the size as Hard for all levels and increasing enemy damage. You will certainly want to use Bullet Adjust x5 to give yourself a proper chance. While choosing your difficulty in the main menu, use the left and right buttons to toggle between the Extreme levels you've unlocked. |
| by Andrew Haffenden aka Conquerer (Silent Hill 3 FAQ/Walkthrough) |