Unlockables and Secrets
Contents
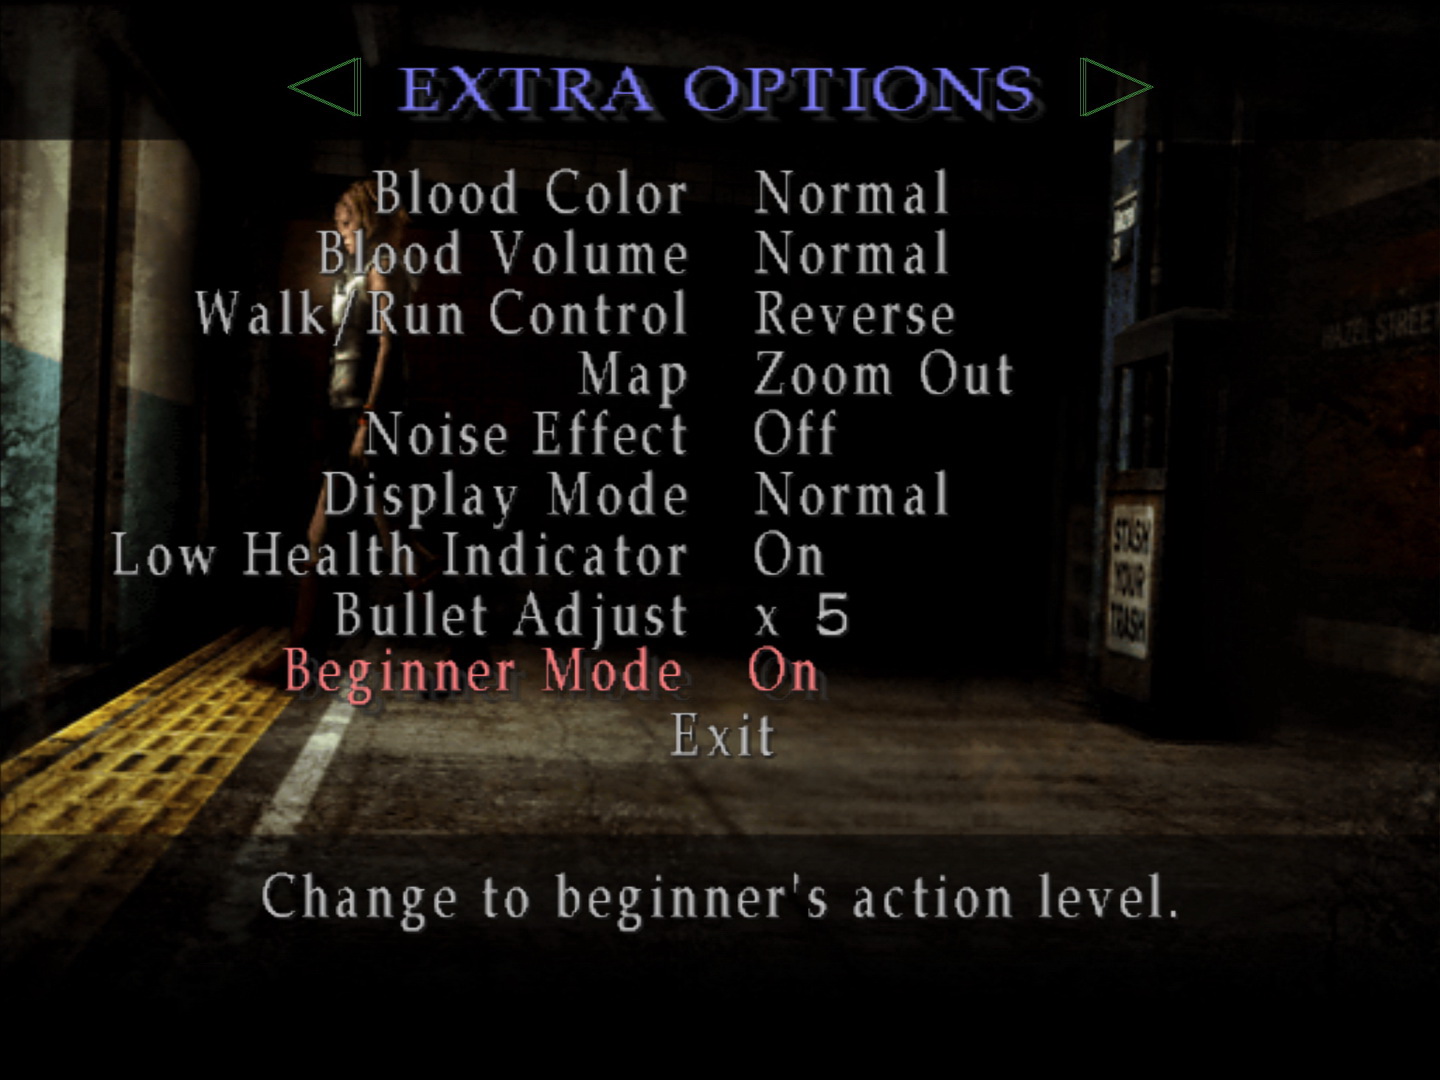
- Beginner Mode
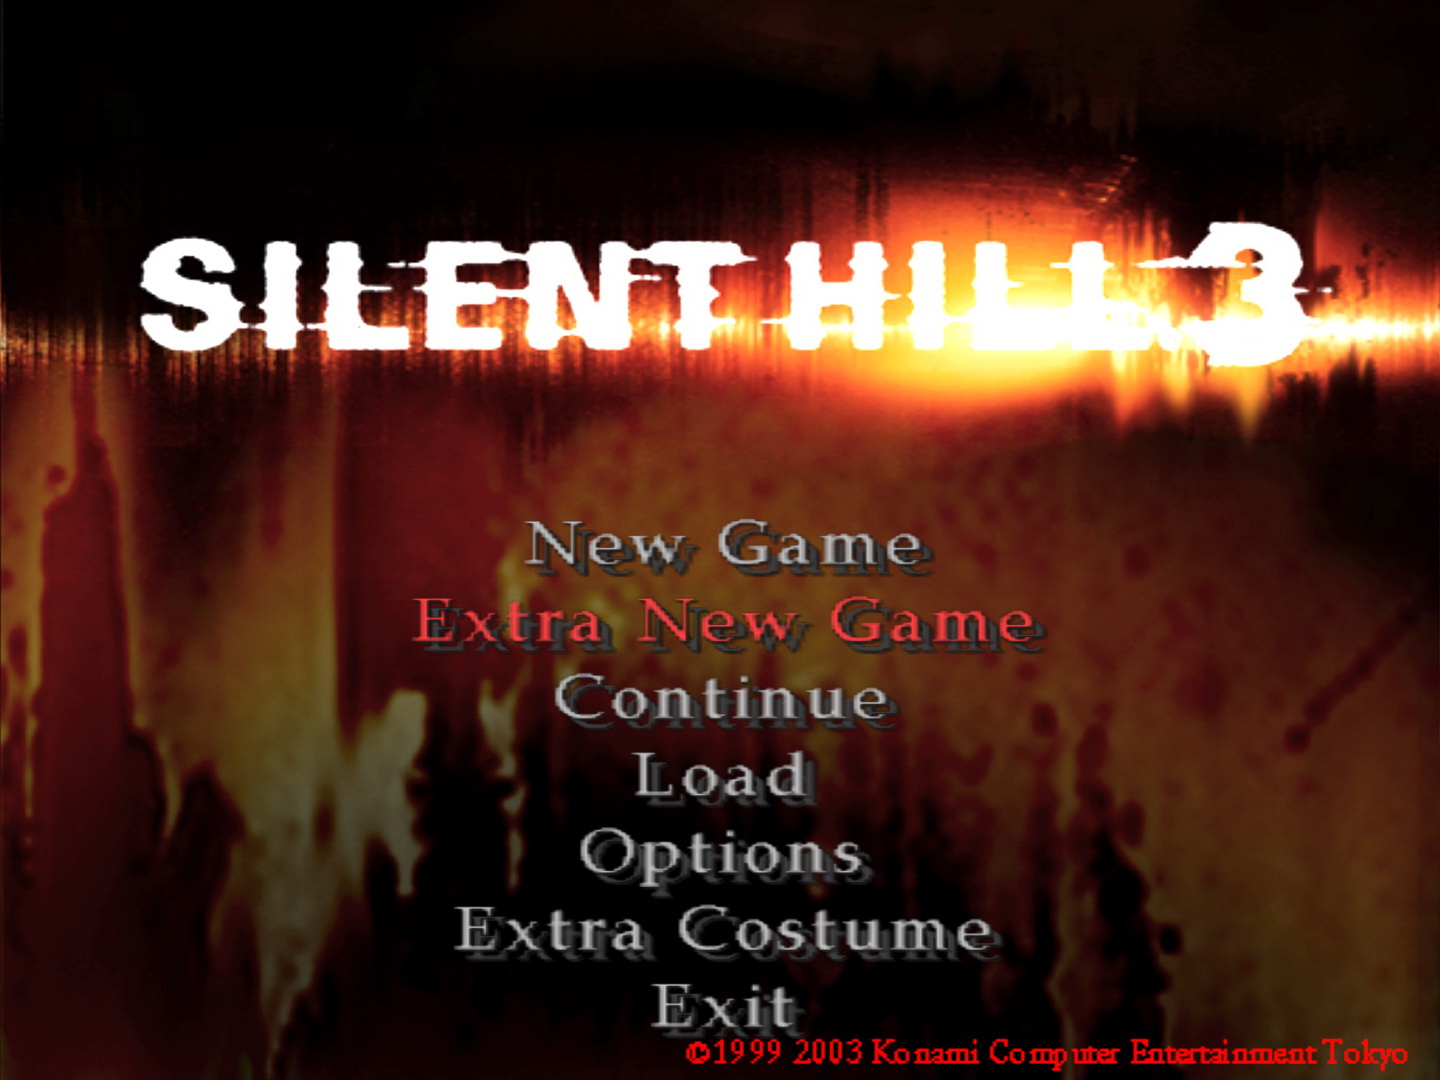
- Extra New Game
- Extreme Action Levels
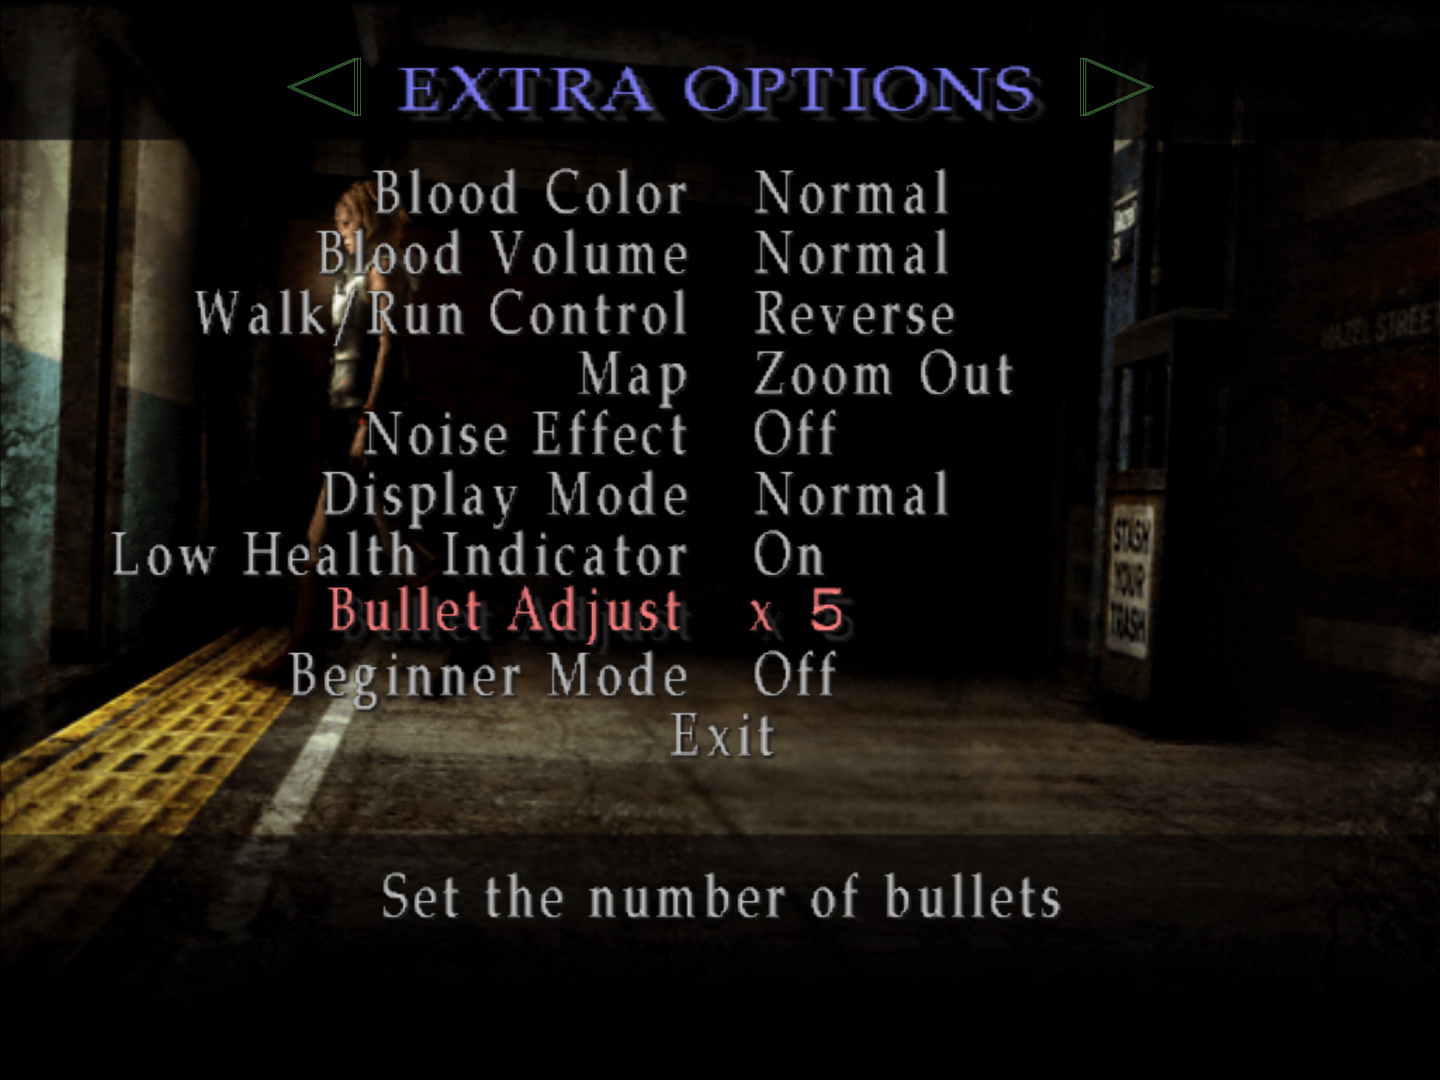
- Bullet Adjust
- Life Display
- Extra Weapons
- Douglas in Underwear
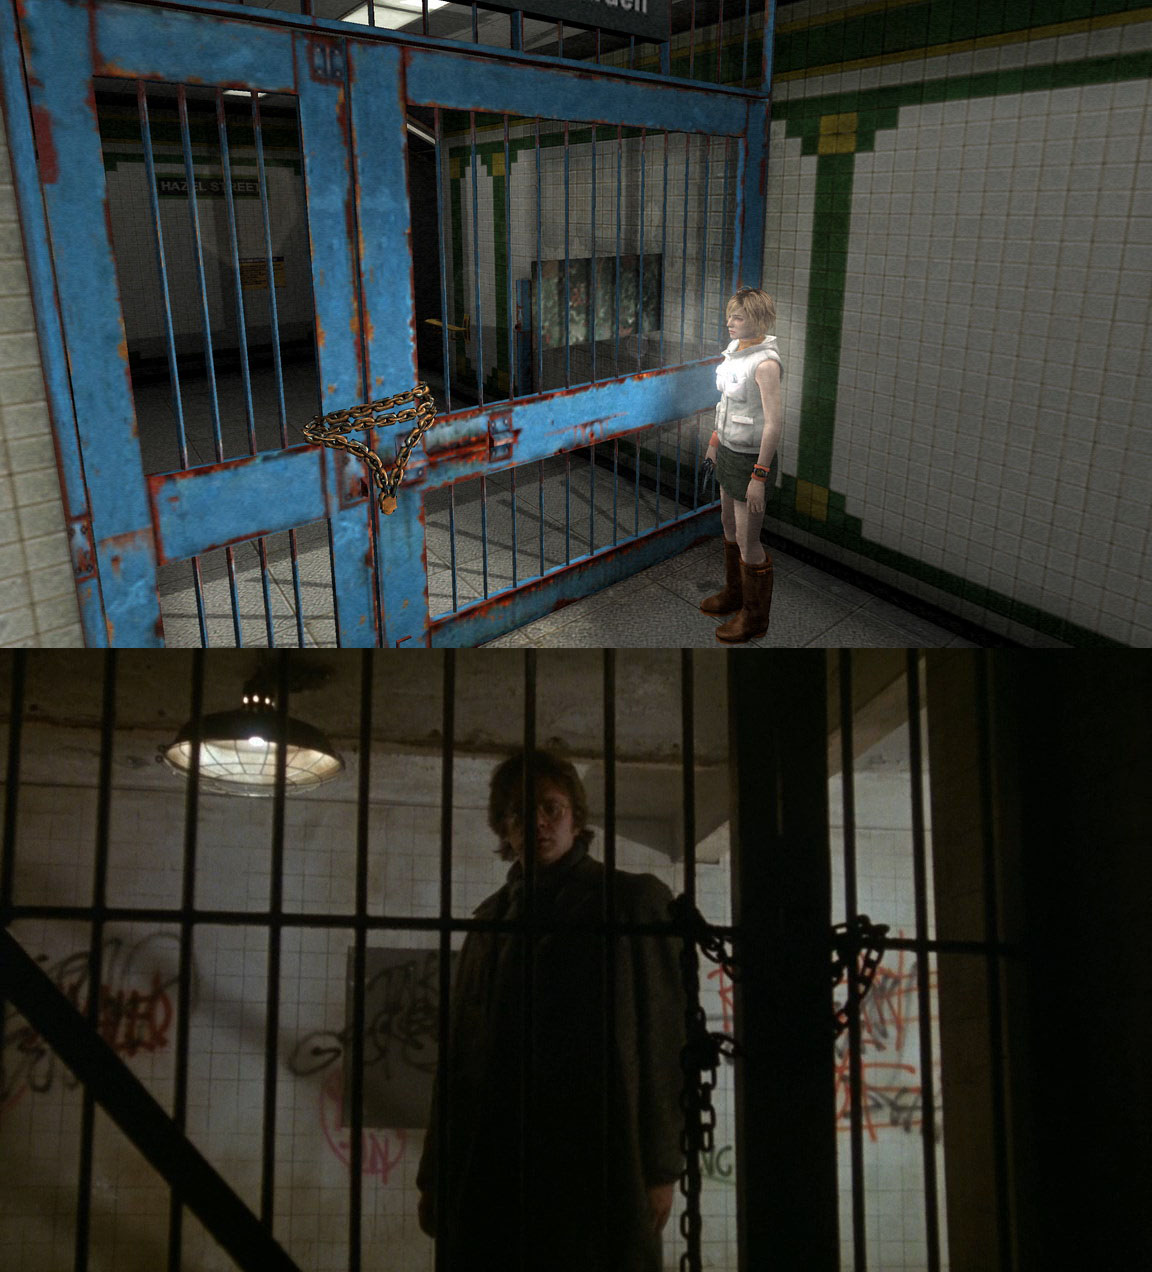
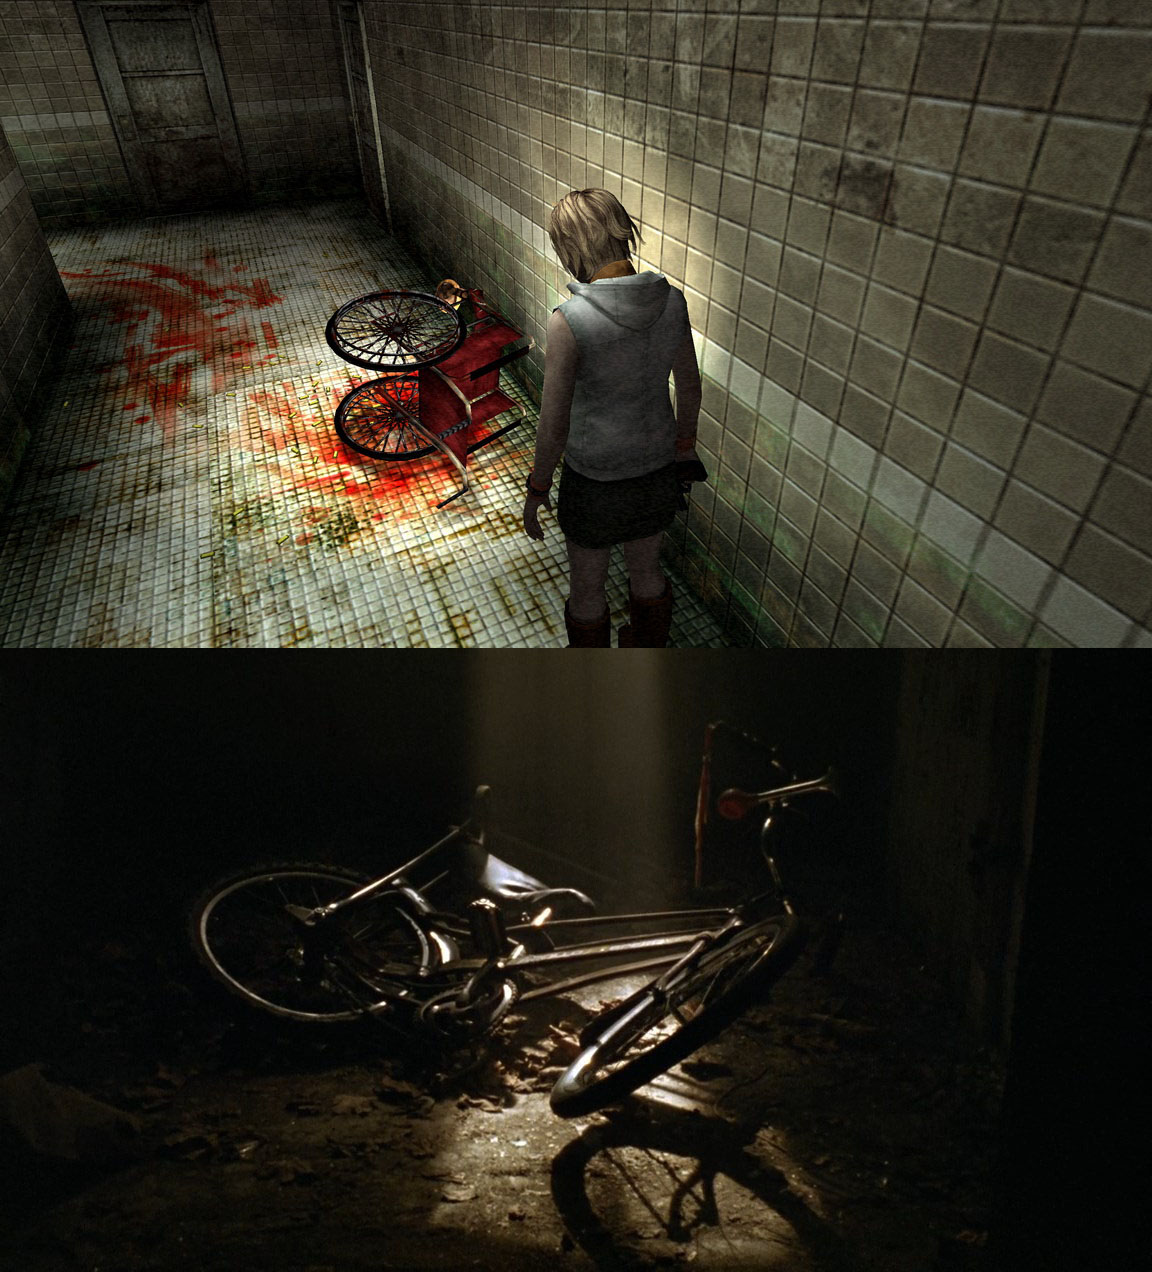
- Bloody Underpass
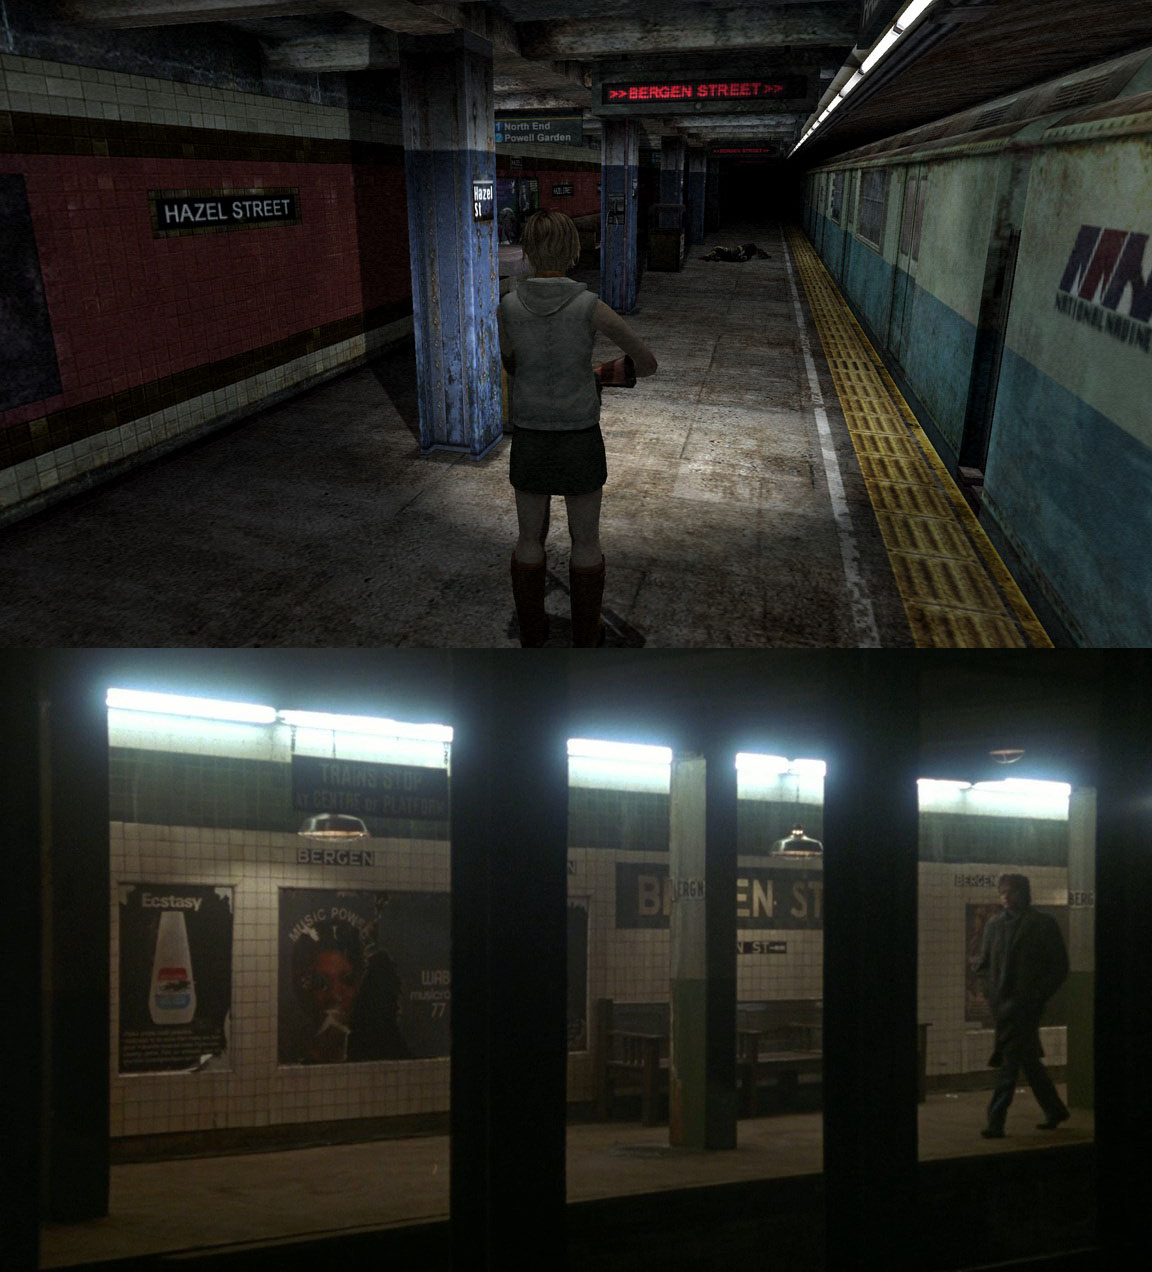
- Silent Hill 2 References
- Secret Item: Silencer
- Extra Costume Clues
- Similarities to Silent Hill 1
- Jacob's Ladder References
- Session 9 References
Beginner Mode
|
Extra New Game
|
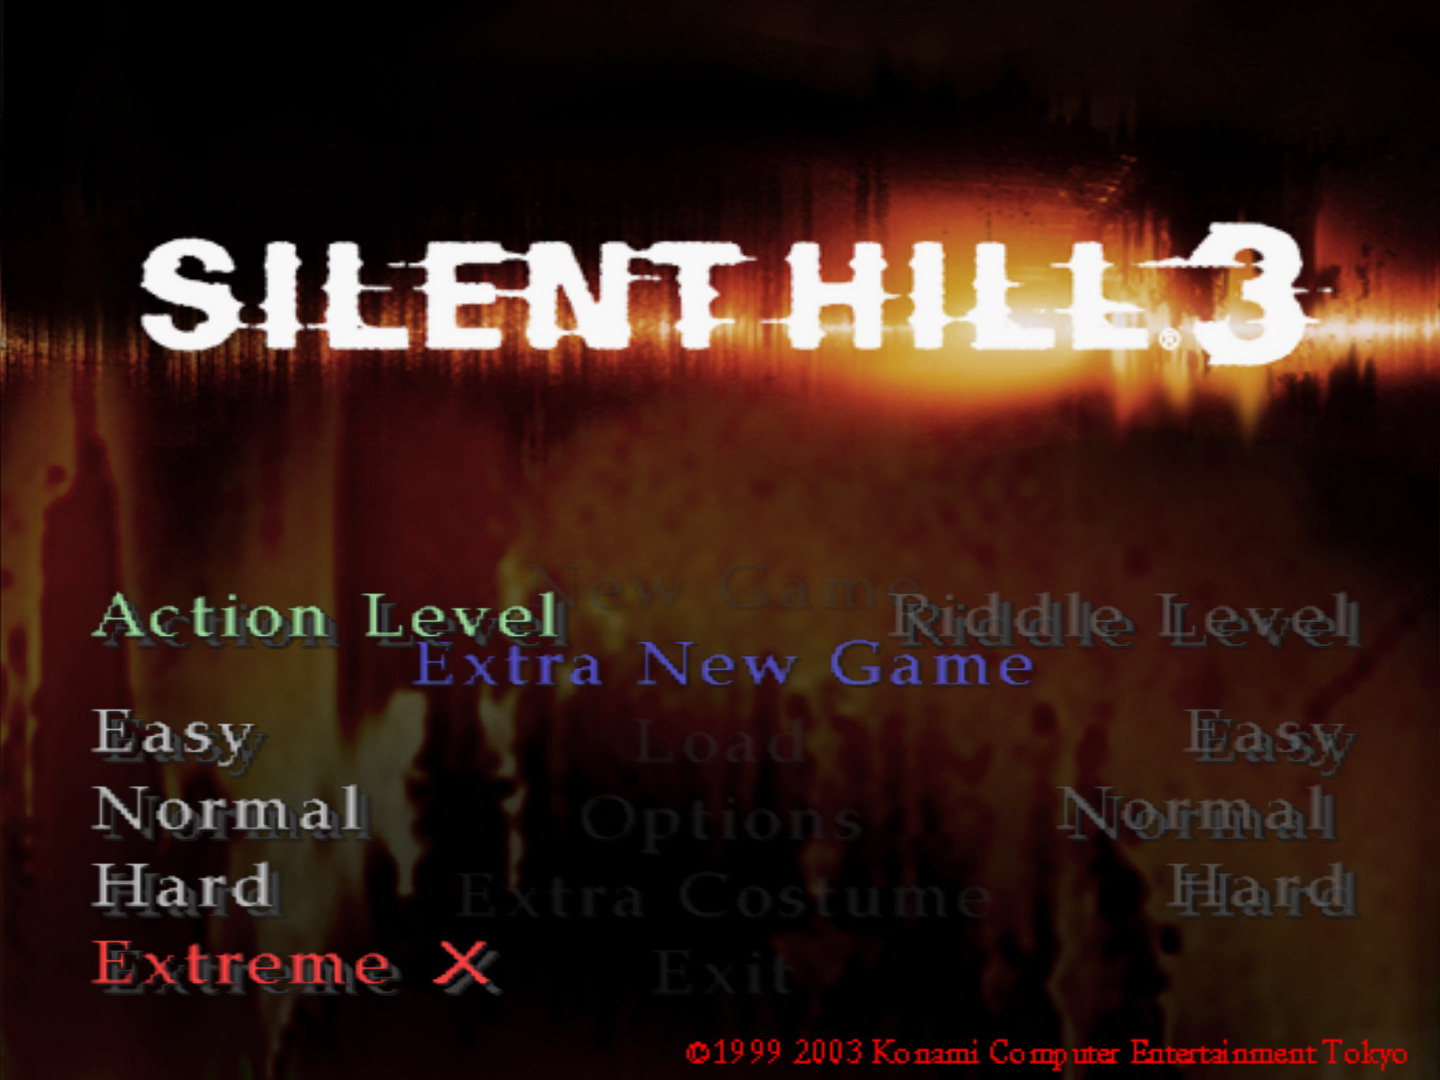
Extreme Action Levels
|
Bullet Adjust
|
Life Display
|
Extra Weapons
There are six unlockable extra weapons in Silent Hill 3, all only available in an Extra New Game. See the requirements to unlock each weapon below, upon which they can be found in your next playthrough. Note that using any extra weapon will reduce your ranking by one small star (or 0.1/10). |
Unlimited Submachine Gun |
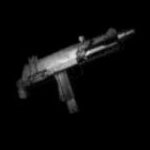
Description: "Fires unlimited rounds. No submachine gun bullets necessary." Unlocked upon defeating the final boss with a melee weapon. You can use guns, but the final blow must be made by a melee weapon, so switch to a melee weapon permanently past a certain point just in case. This fantastic weapon has an infinite supply of ammo and never has to reload, allowing you to unleash a bullet storm on any enemy, saving you from any difficult situation. Otherwise it behaves exactly like the standard SMG. Hold R2 and X to fire, and use the left analog stick to aim up, down, left or right. Once unlocked, the Unlimited Submachine Gun is found on the stack of boxes at the left end of the alleyway outside the beginning washroom in Central Square Shopping Center. |
Beam Saber |
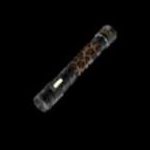
Description: "A sword shining with a strange force. A switch turns the blade on and off." Unlocked after beating the game with more fighting than shooting kills, but if you don't get it after your first run you will automatically receive it after your second. The Beam Saber is a green lightsaber sword as if taken straight out of Star Wars. May the force be with you as you use it to defeat enemies, and you'll find that it's a very powerful melee weapon. It starts as just a short handle, with the beam extending upon raising it with R2. Press X for a single swing or multiple times for a three swing combo, or hold X for an overhead downward swing. If you get a perfect 10-star ranking, the Beam Saber will extend and give you even more range. Once unlocked, the Beam Saber is found embedded as the door handle of the northwest end door in Central Square's north office hallway on the second floor. |
Flamethrower |
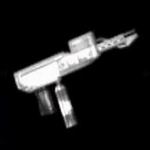
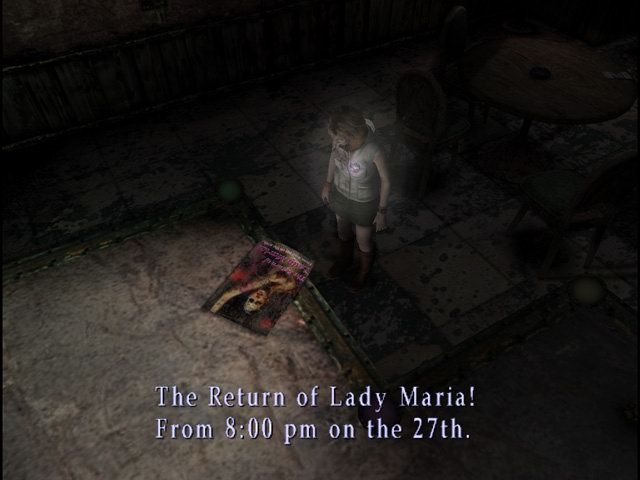
Description: "This thing'll roast the bad guys, and I don't have to worry about fuel, either." Unlocked upon beating the game with more shooting than fighting kills, but if you don't get it after your first run you'll automatically unlock it after your second. Similarly to the Unlimited Submachine Gun, it not only has an infinite fuel supply and will never run out, but can be manually aimed in all frontal directions. Hold R2 to ready it and hold X to continuously shoot flames. Unfortunately the Flamethrower is normally rather weak in power and not a very effective weapon as a result, however its flames will dramatically strengthen upon receiving a 10-star ranking. Once unlocked, the Flamethrower is found on the counter inside Helen's Bakery on 2F by a slightly altered flyer, Central Square Shopping Center. |
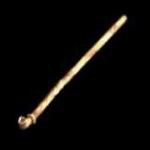
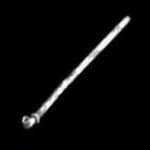
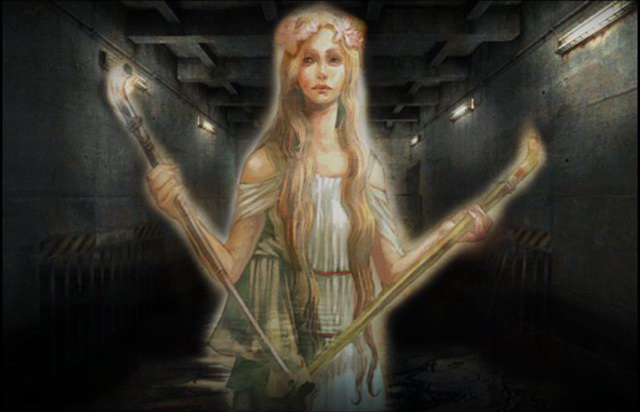
Gold and Silver Pipes |
|
Unlocked after completing the game just once, the Gold and Silver Pipes are found in the form of a secret. First you must obtain the standard Steel Pipe in the mall and make your way to the room with the monster in the water in the lower level of the Underpass (where the Dryer is used to kill it). Approach and examine the edge of the water at any single spot (before or after killing the monster, doesn't matter) to see a prompt asking if you'd like to drop your Steel Pipe in it (you must unequip it if using it). Select yes and a princess will appear and ask you three questions, whether the Gold, Silver and rusted pipes she's holding are yours.
|
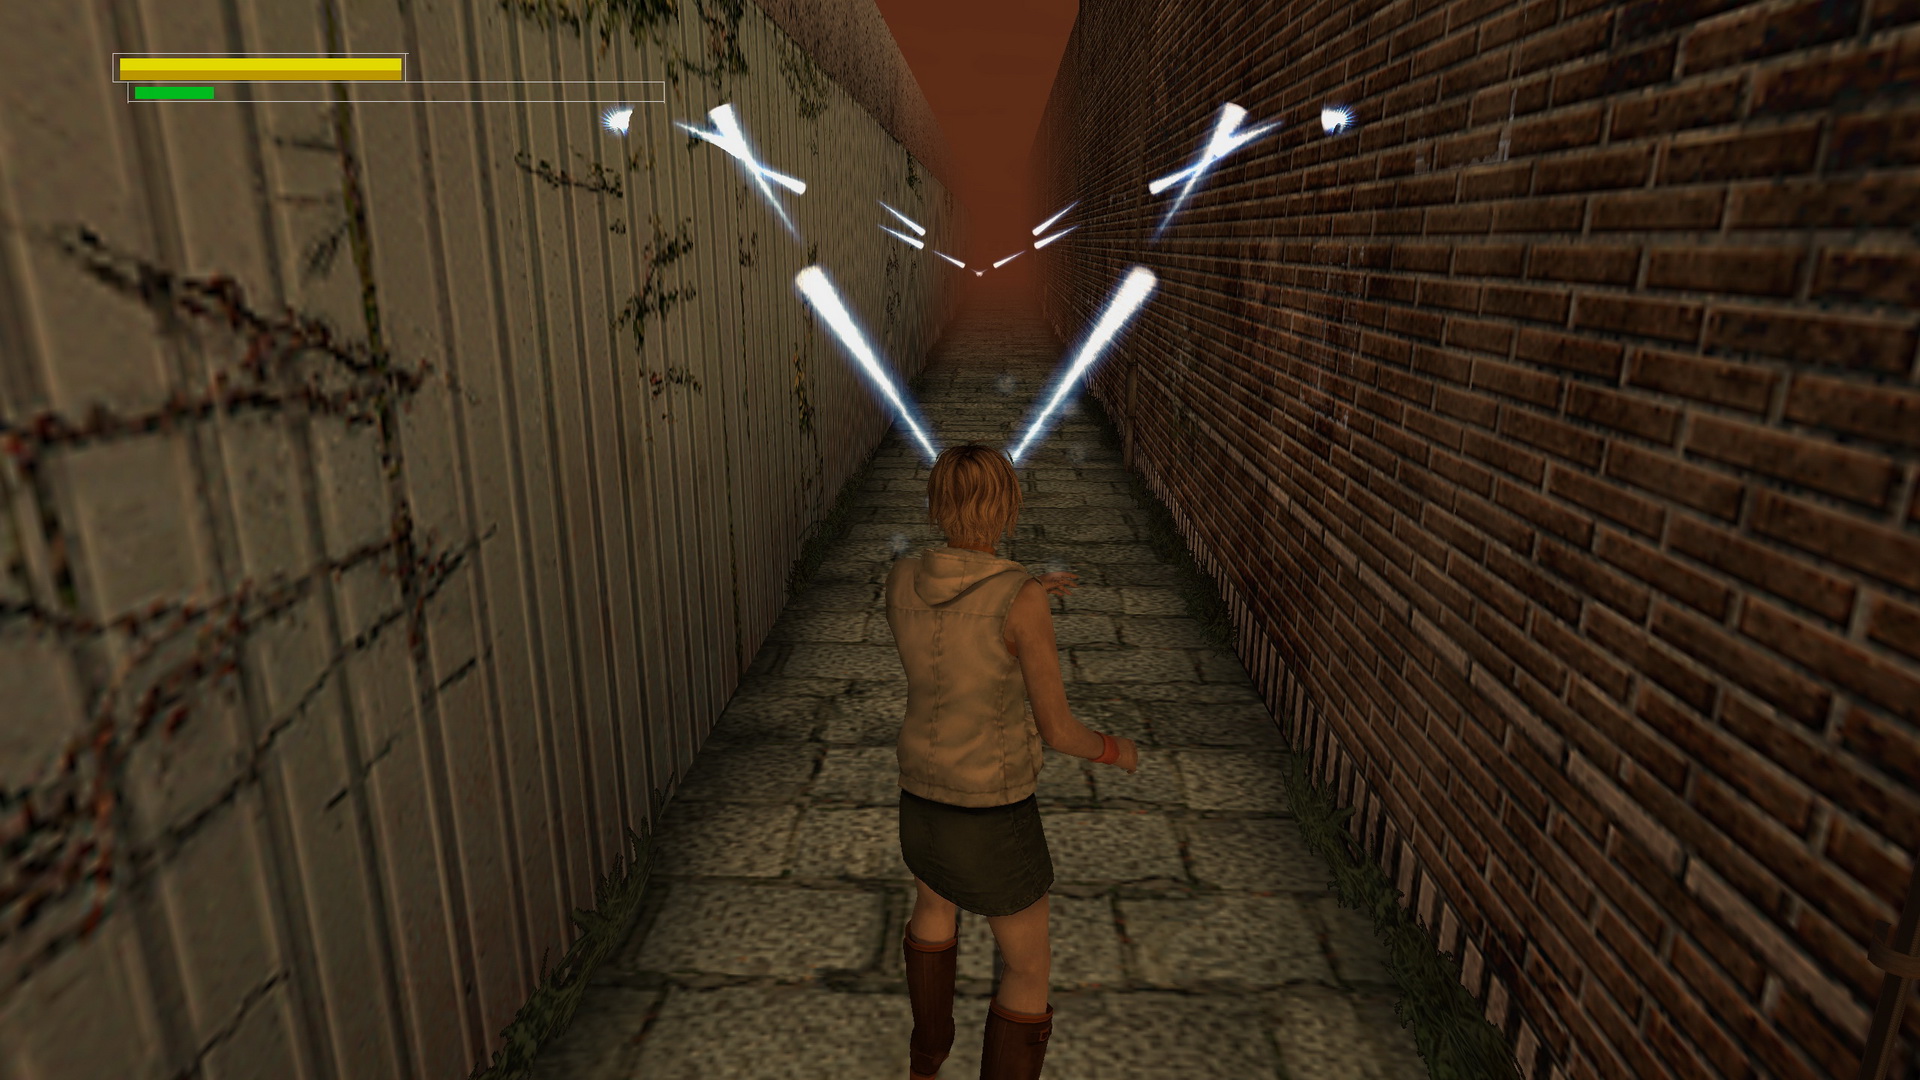
Heather Beam and Sexy Beam |
|
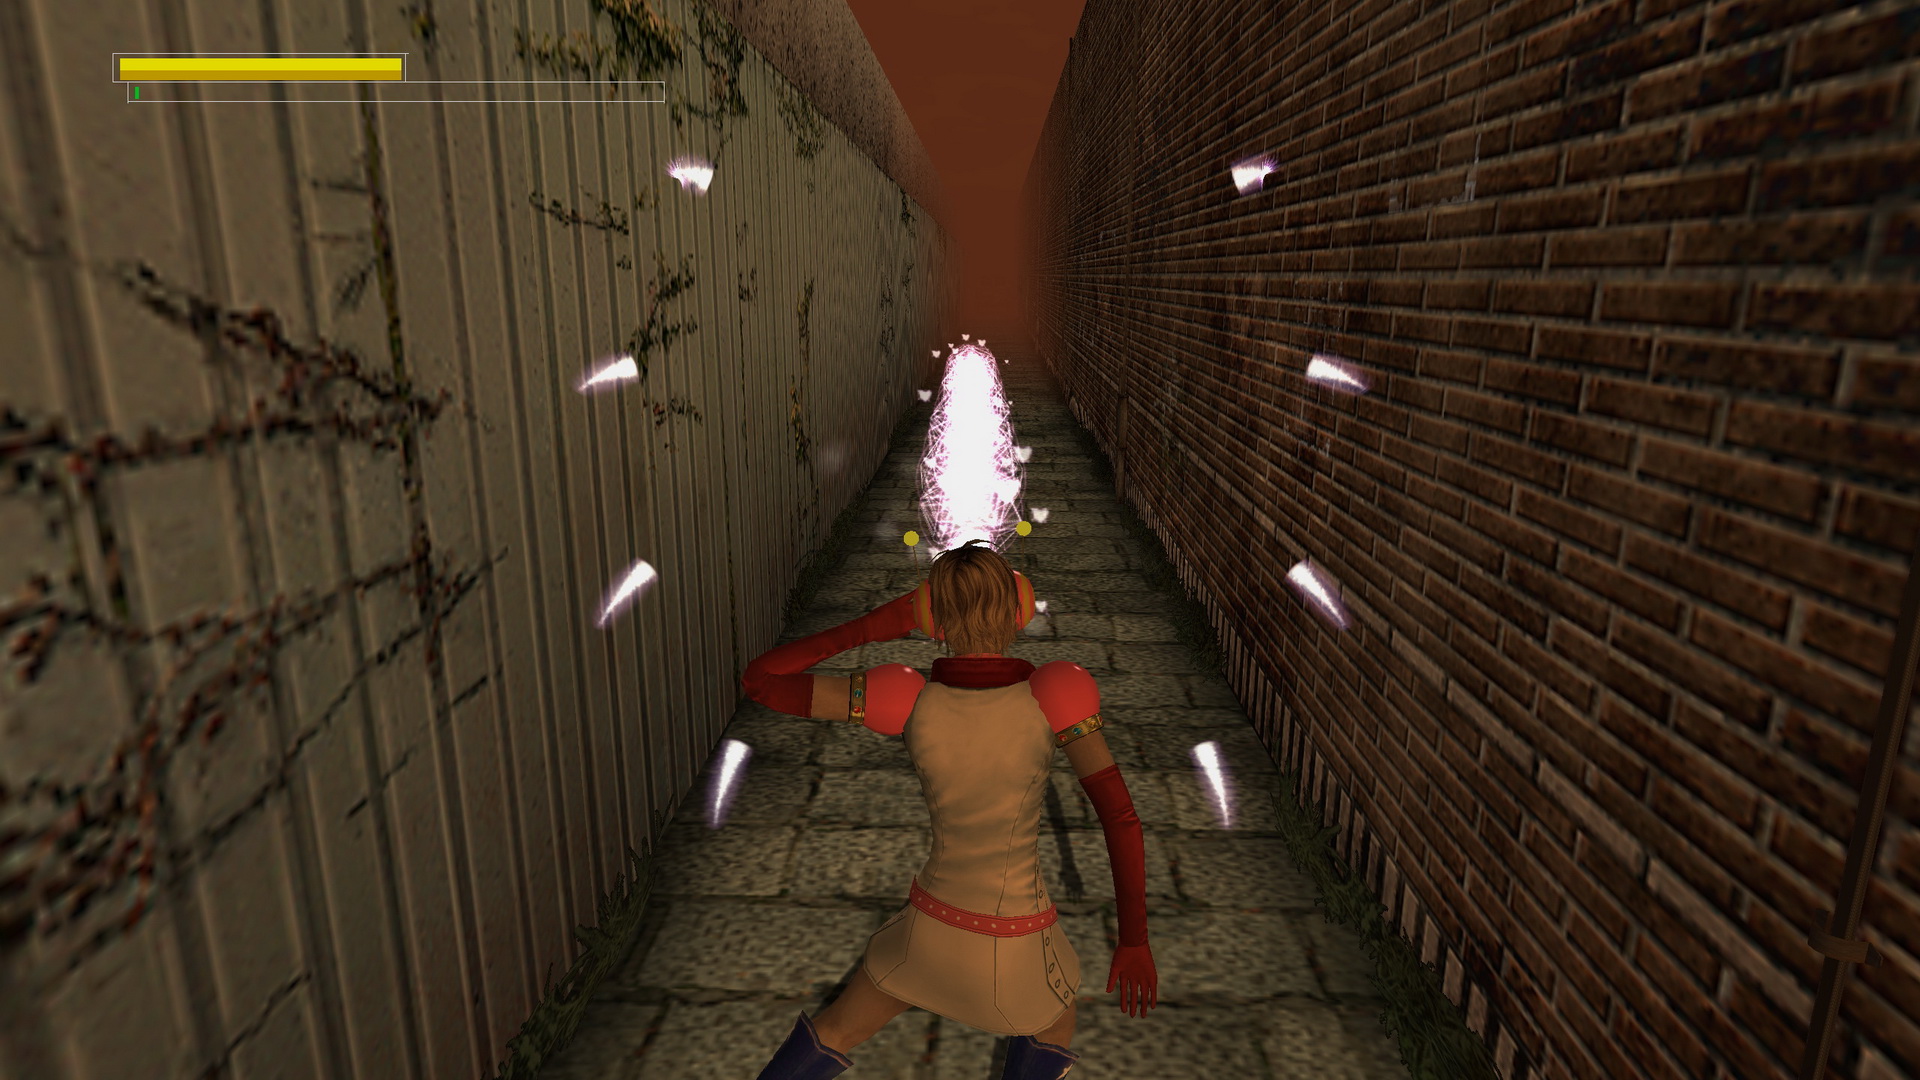
Although the Heather Beam is quite a powerful weapon, you should still keep your distance to enemies to stay out of harm's way and utilize the weapon's range. All other weapons must be unequipped to use it. Hold R2 to prepare it and press X to fire singular sphere-shaped projectiles (press, let go then hold to fire them continuously), although this attack is quite weak. Hold X to perform a much more powerful and practical heat-seeking beam attack. Note that it requires and depletes your stamina to fire beams and projectiles, and you can see how much stamina you have at all times with the Life Display turned on (unlocked by completing the game on Hard).
The Heather Beam or Sexy Beam are required to receive the Revenge ending. To receive it, you must kill at least 31 enemies with either weapon before reaching Heather's apartment where the game will abruptly end. |
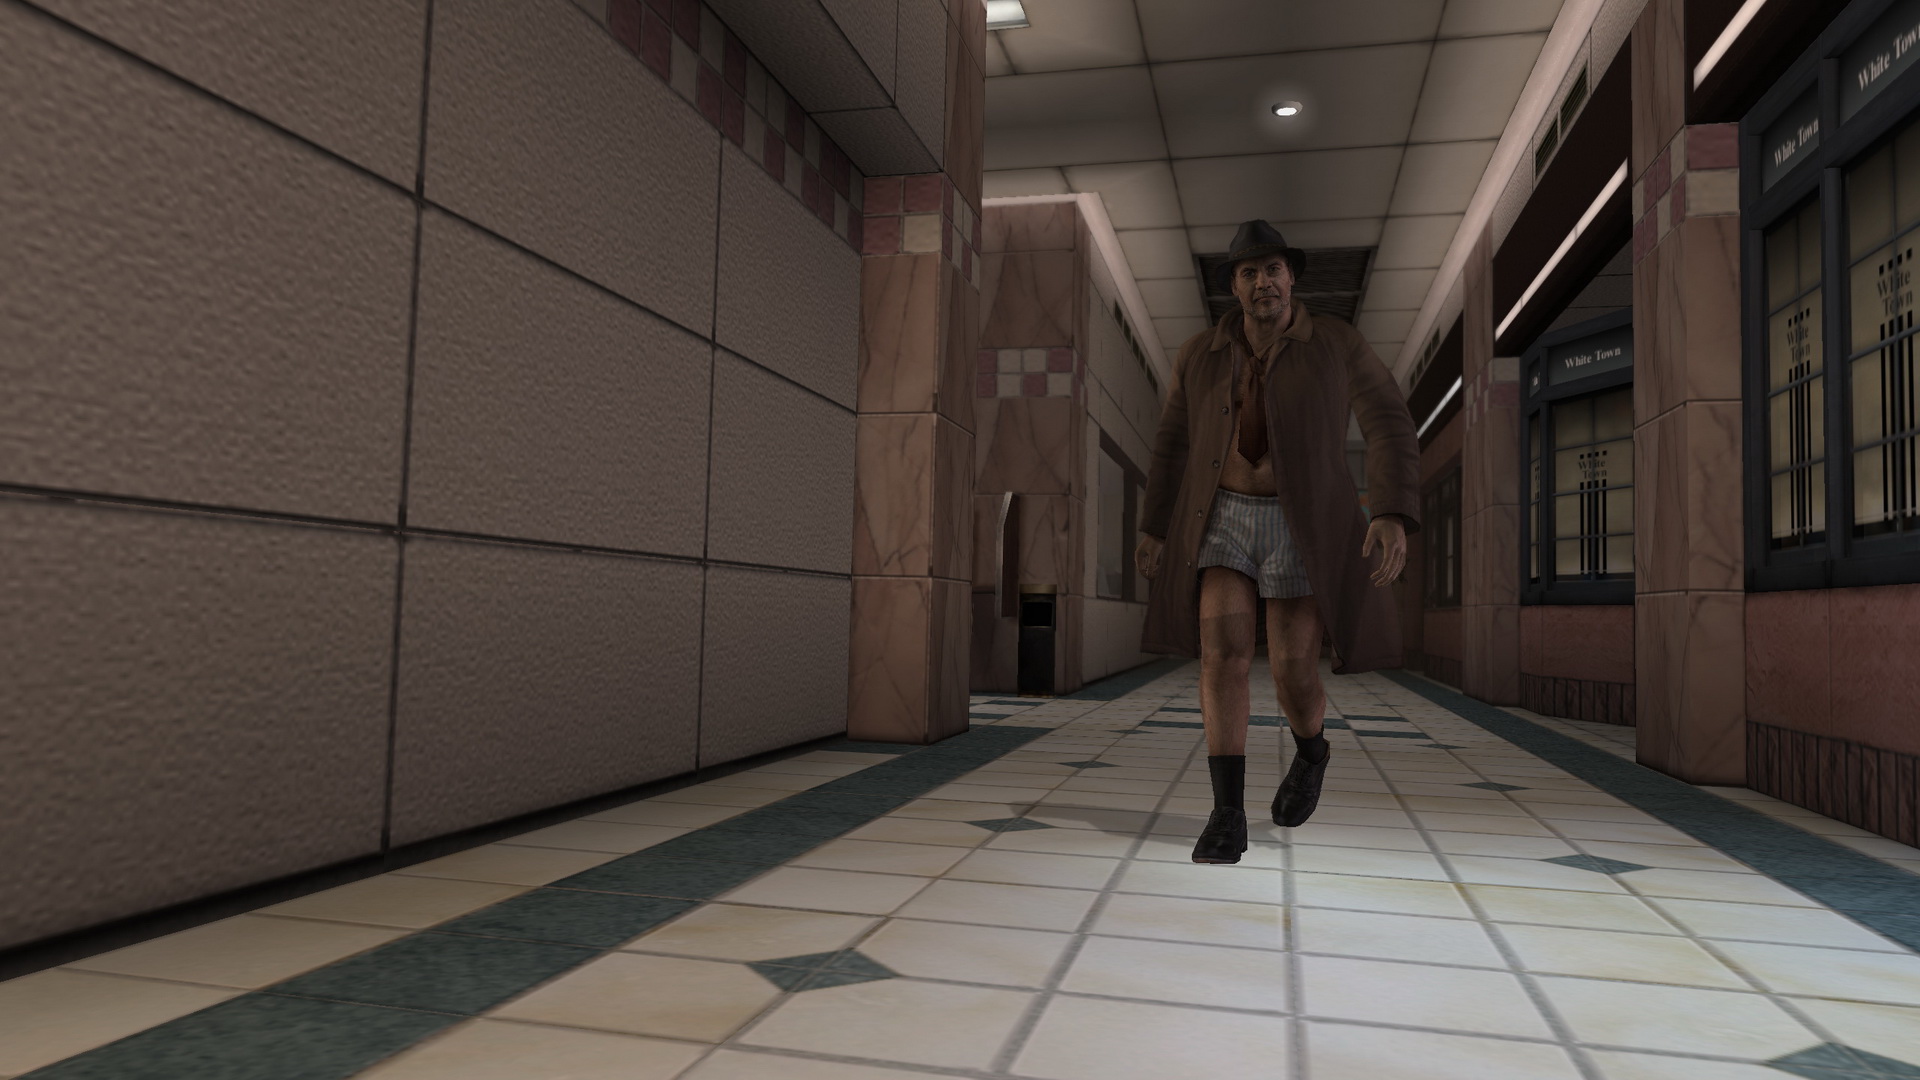
Douglas in Underwear
|
Now select your Action and Riddle Levels and you'll hear Heather moan to signify you've entered the code properly, because clearly she loves the idea of Douglas in his boxers. Get ready to have a laugh here, especially in the first scene. |
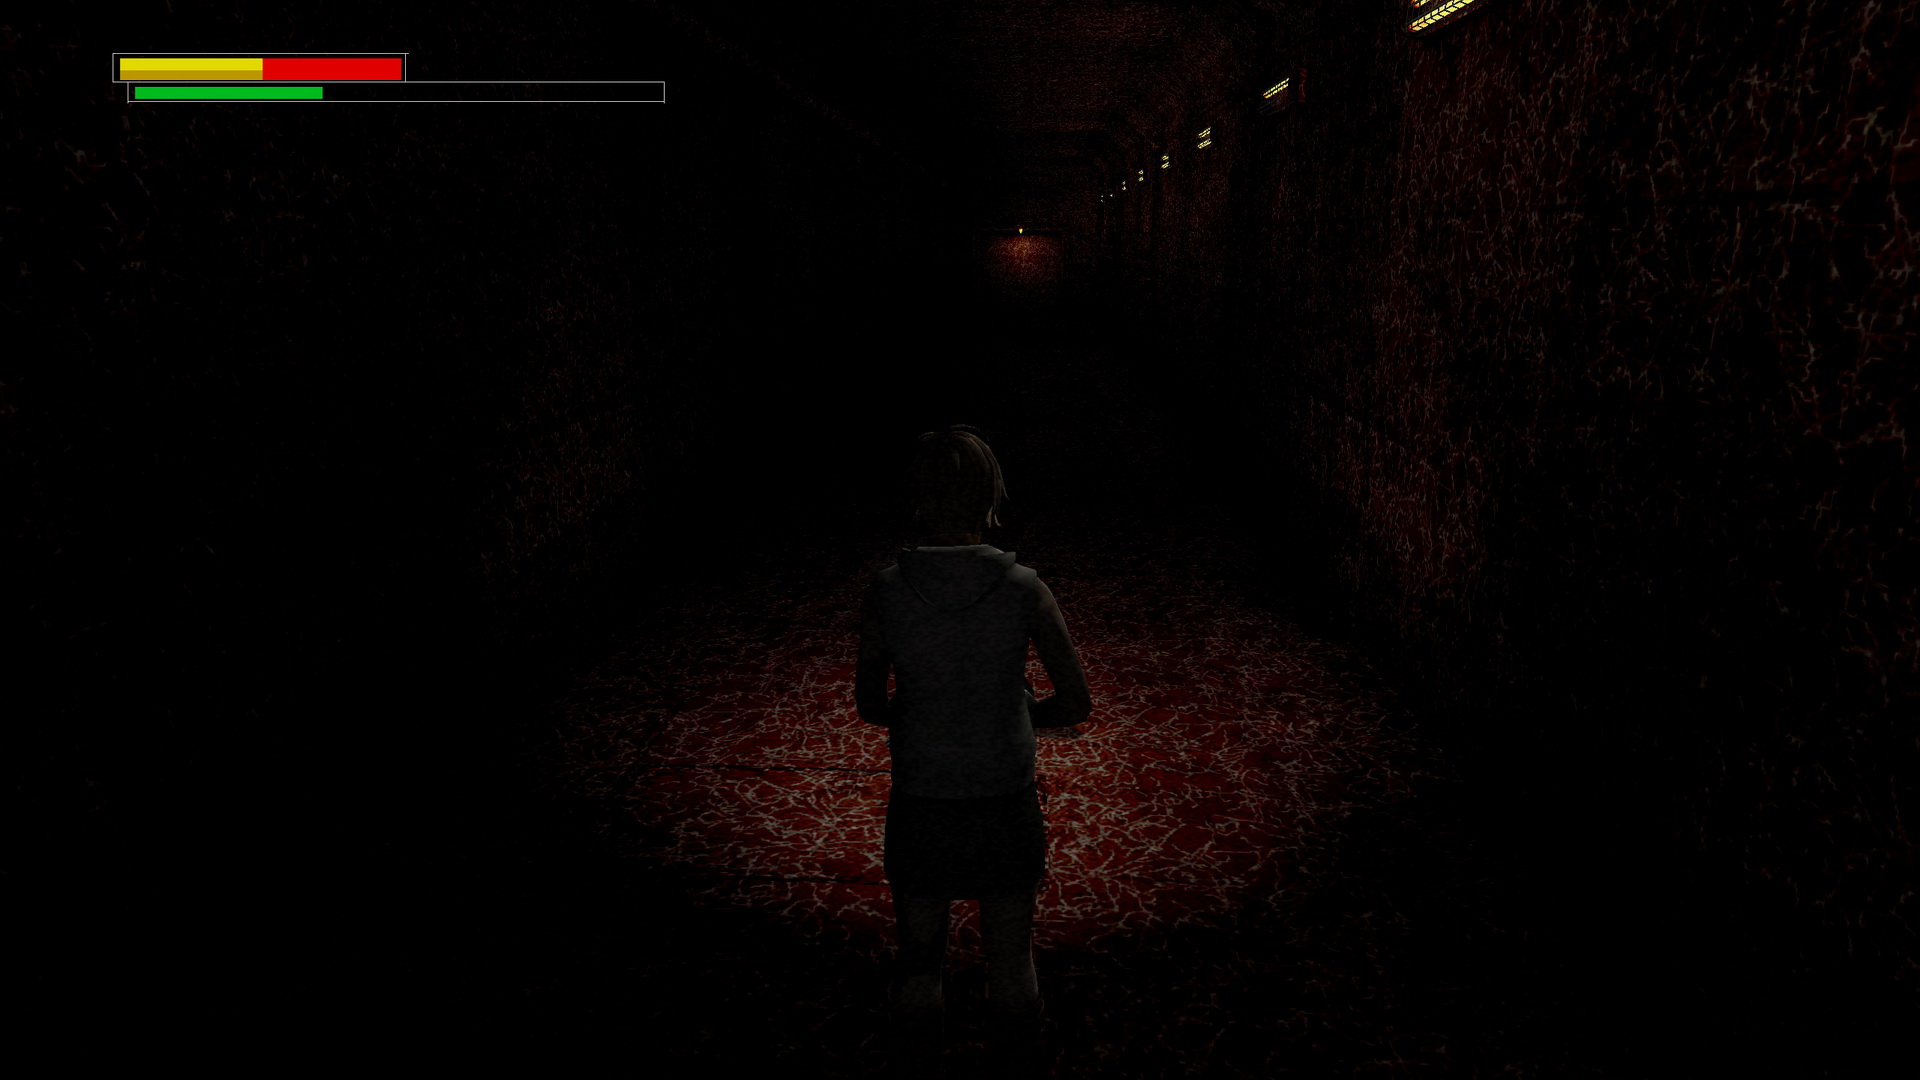
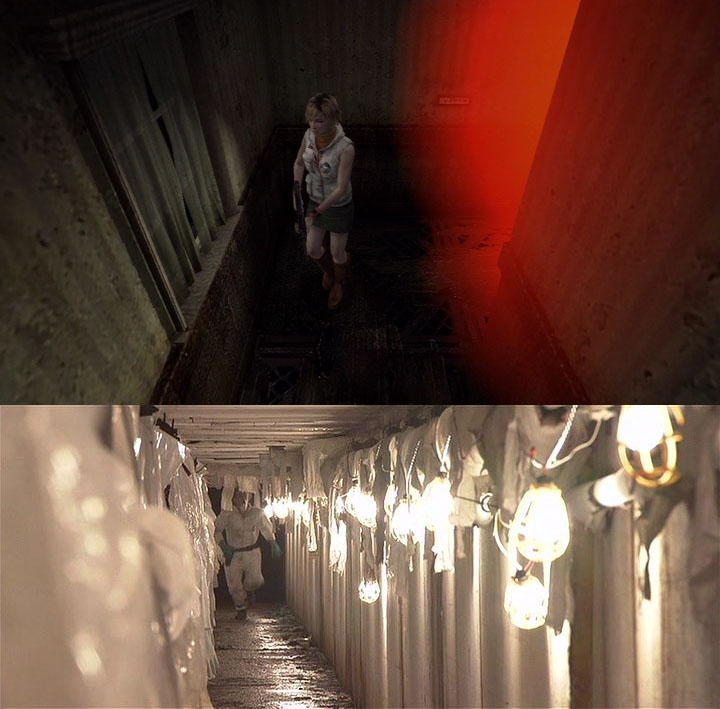
Bloody Underpass
|
Silent Hill 2 References
If you have a completed save of Silent Hill 2 on your memory card you can experience up to four extra scenes or comments referencing the game. They can be found in the following locations: |
|
|
|
|
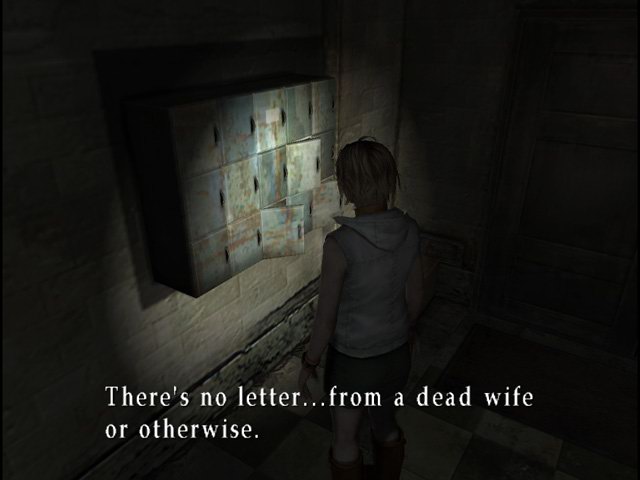

Secret Item: Silencer
The Silencer can be attached to the Handgun or Submachine Gun to reduce its volume and cover the muzzle flash when fired. It allows you to be a bit more discreet when fighting multiple enemies in a room or hallway such as Slurpers, and hiding the flash prevents the Missionary and Scrapers from deflecting your bullets from the front. To use the Silencer, equip it from your inventory and it'll automatically attach to the Handgun or Submachine Gun when they are equipped, allowing you to seamlessly switch between them. Unequip the Silencer to remove it. Note that the power of each bullet will be slightly weakened with the Silencer equipped. |
Extra Costume Clues
|
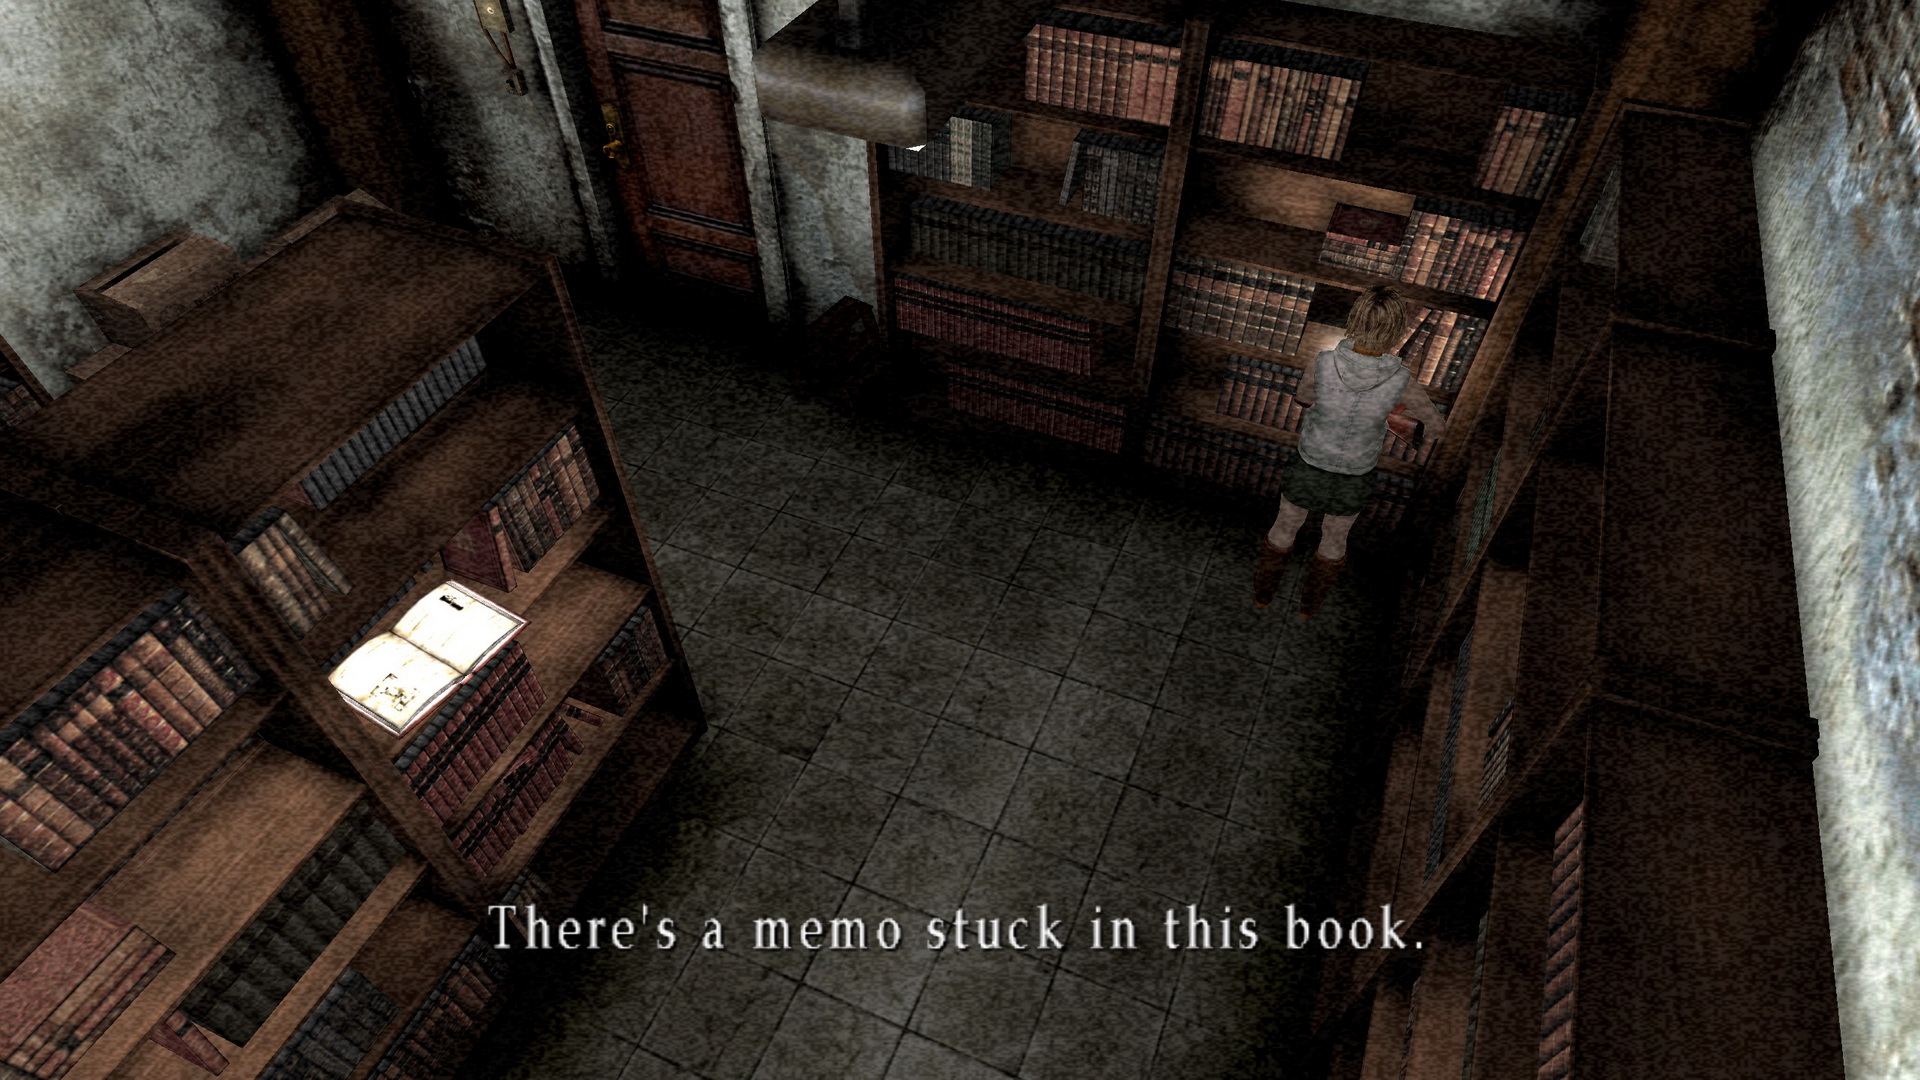
Church Library Riddle: The "Royal Flush" Shirt CodeAfter completing the game at least once and then starting an Extra New Game on Hard Riddle Level, you'll come across eight hidden notes on the Church's library shelves (no visual clue, you just have to find the right spots blindly) that piece together a very difficult riddle. Read it below in whole:
Where to even begin here... With the first line perhaps referring to this riddle being found only in an Extra New Game (new transformation), five number clues are listed along with two additional hints. Let's start with the clue for the first number, which is "the traveller to St. Ives." This refers to a famous nursery rhyme riddle called "As I was Going to St. Ives". It reads as follows:
The trick to this riddle is all in the language. Rather than pulling out a calculator, simple reading comprehension reveals only the author to be going to St. Ives, while the man and his wives, sacks, cats and kits are completely inconsequential and not accompanying him to St. Ives. Note that even our riddle spells it out with "the traveller", indicating it's one person from the start. With just one person going, the first number of our riddle is 1. Onto the second, "the hare wear a crown of straw." This is a tricky one, but if you're familiar with Lewis Carroll's Alice in Wonderland you may remember the March Hare from the tea party scene with the Mad Hatter. In the original illustrations by John Tenniel inside Carroll's book, the March Hare wears strands of straw on his head like a crown. Okay, so how do we deduce a number from this character? Well, March is the third month of the year. Therefore the second number is 3. "King of beasts and goddess of harvests." Who's that? Well, the king of beasts is certainly the lion, also known as the king of the jungle as well as the zodiac symbol for Leo, from July 23 to August 22. Continuing the zodiac theme, what comes next? That would be Virgo from August 23 to September 23. The symbol for Virgo is a (female) virgin or maiden, with heavy association with wheat as this period from August to September is known as harvest time when the crops are cut. Further, Greek and Roman mythology associate Virgo with Proserpina, the Roman goddess of harvest. And the common theme between Leo (king of beasts) and Virgo (goddess of harvests)? They both share the month of August, the eighth month of the year. Therefore the third number is 8. Now the fourth number, "representative of both knight and page." This calls back to the history of playing cards which descended from tarot cards. Tarot cards ascended from ace to 10 just as do modern playing cards, however the face cards were Page, Knight, Queen and King. Modern playing cards retained Queen and King, but effectively merged the Page and Knight under the new name of Jack. As the first face card and thus the 11th numbered card, and representing both knight and page, the fourth number of the riddle is 11. And now our last number, "lapis lazuli or turquoise." Simple enough to figure out, lapis lazuli and turquoise are both birthstones for the month of December, the 12th month of the year. Therefore the fifth number is 12. And so we're left with 1 3 8 11 12, but it's not the final form of our code. We read on for two more clues:
So we won't have any spaces in our code and the final form must have 14 button presses. "One is always two" refers to standardizing each number as two digits, which means 1 becomes 01 while 11 remains as is, and so on. But if we go with 0103081112 we only have 10 buttons all told. How do we get the final four if we can't use spaces? Well, what do we often use on the internet to solve this problem? Underscores, specifically four of them – one between each two-digit number. 10 numbers plus 4 underscores is 14 buttons all told. That leaves us with the following code:
This is the password for the "Royal Flush" Shirt. Enter it into the Extra Costume menu to add it to your inventory on your next Extra New Game playthrough. |
Similarities to Silent Hill 1
Perhaps you noticed or perhaps you didn't that Silent Hill 3 throws back a hell of a lot to its direct prequel, the very first Silent Hill. Not only do the games share heavy themes such as wheelchairs, giant fans and metallic grating everywhere, but when you really take a look at certain aspects you'll find a lot of striking similarities between the two. While some may be more coincidental in nature, others are clearly a throwback to the original 1999 game. These similarities include:
You could take it even further with a lot of smaller little details, such as things like both characters saying "Where am I?", both of them suffering from headaches throughout the game, and both using Screwdrivers, but you could be here all day by examining all those small similarities. Either way, there's a ton of details in Silent Hill 3 that are either direct nods to its prequel or coincidental but interesting similarities. |
Jacob's Ladder References
Jacob's Ladder is a psychological horror film directed by Adrian Lyne in 1990, revealed by Team Silent to have been a major inspiration to the Silent Hill series and already strongly referenced in Silent Hill 2. Team Silent pay further homage by additionally referencing the film in Silent Hill 3 as explained below. This film is absolutely a must-see for any fan of this game or series. |
|
|
|
|
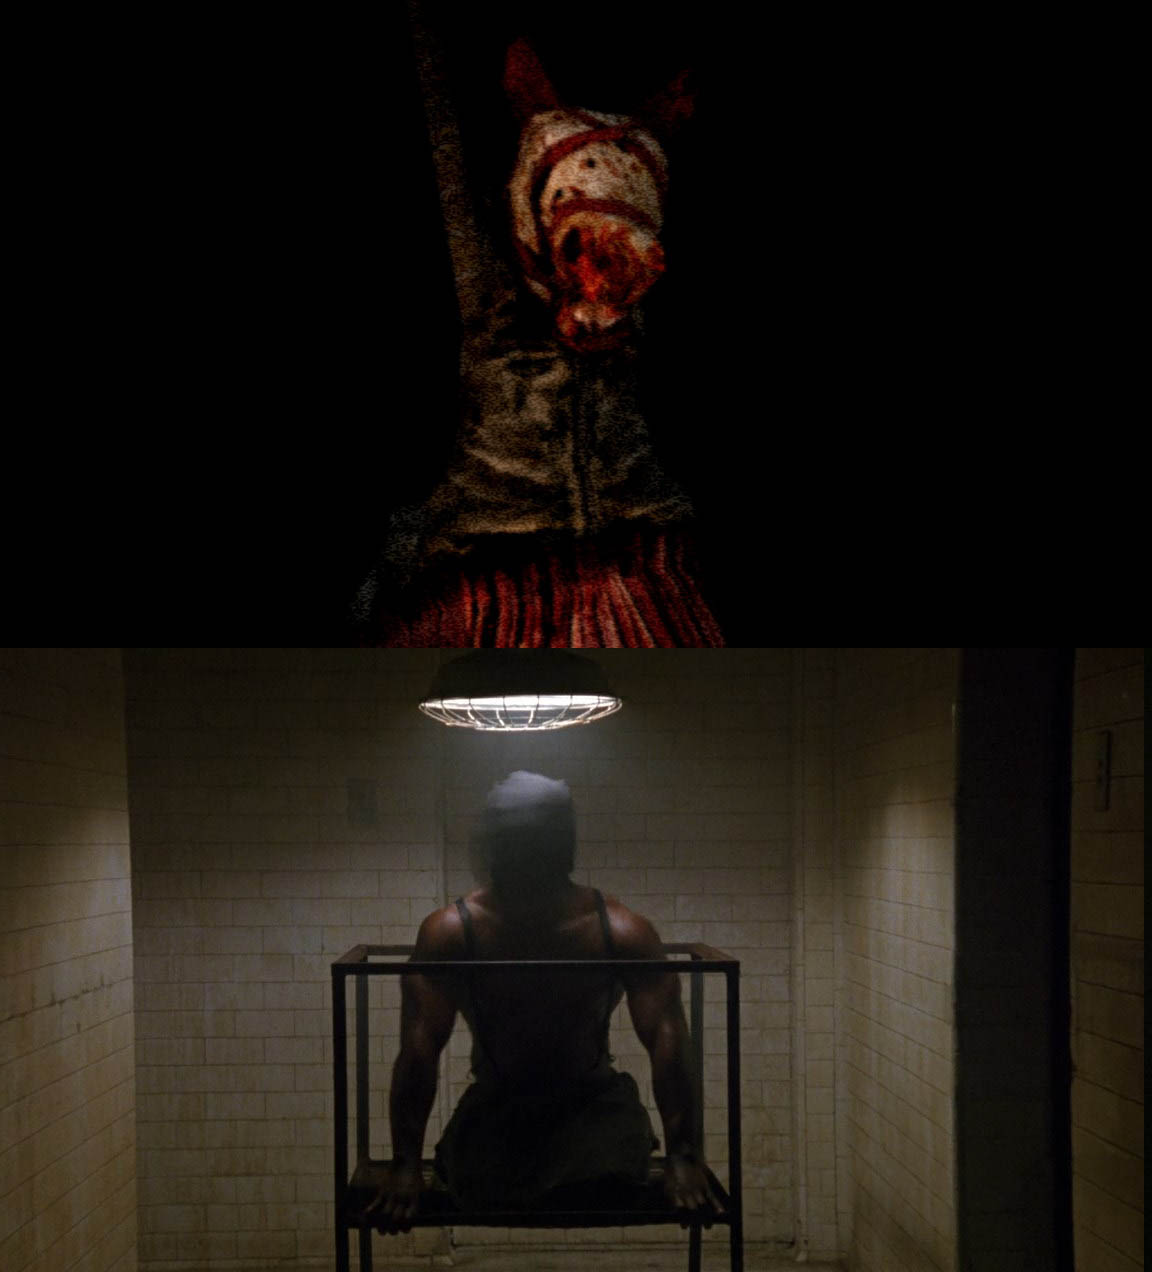
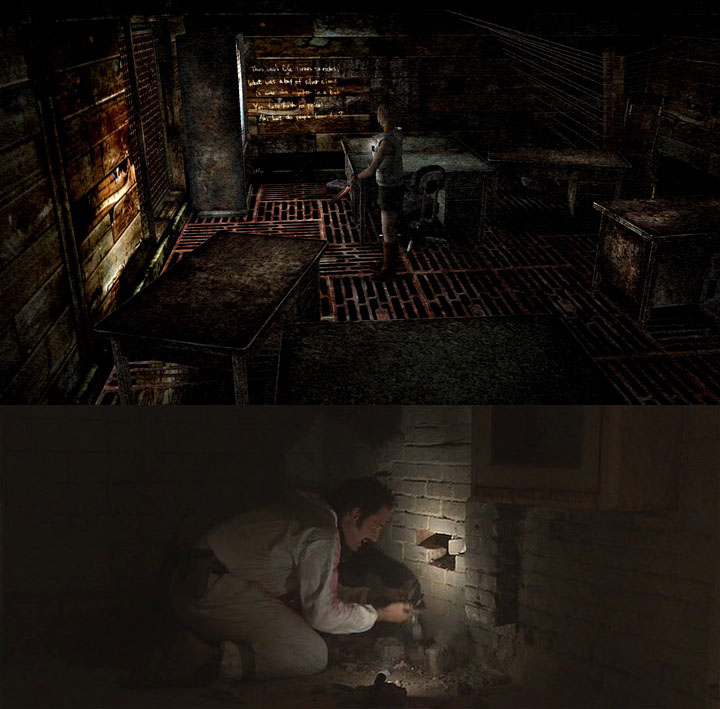
Session 9 References
Session 9 is a horror thriller film directed by Brad Anderson in 2001, just one month before Silent Hill 2's release. Like Jacob's Ladder, the film had quite an impact on Team Silent and as a result they've paid homage to it in Silent Hill 3 as explained below. While it's interesting just to see the sources of the references, it's also a fantastic and eerie horror film that is a must-watch for any fan of Silent Hill. I would recommend watching the film before reading these references as some contain spoilers. |
Note: In his 2020 tweet Masahiro Ito denied that the wheelchair in this scene was a reference to Session 9. In fact, he never watched the film. According to him, the wheelchairs in Silent Hill 3 were rather a metaphor for Heather's birth and a reference to Silent Hill 1 ending with Dahlia, Alessa and a mysterious figure sitting in the wheelchair. |
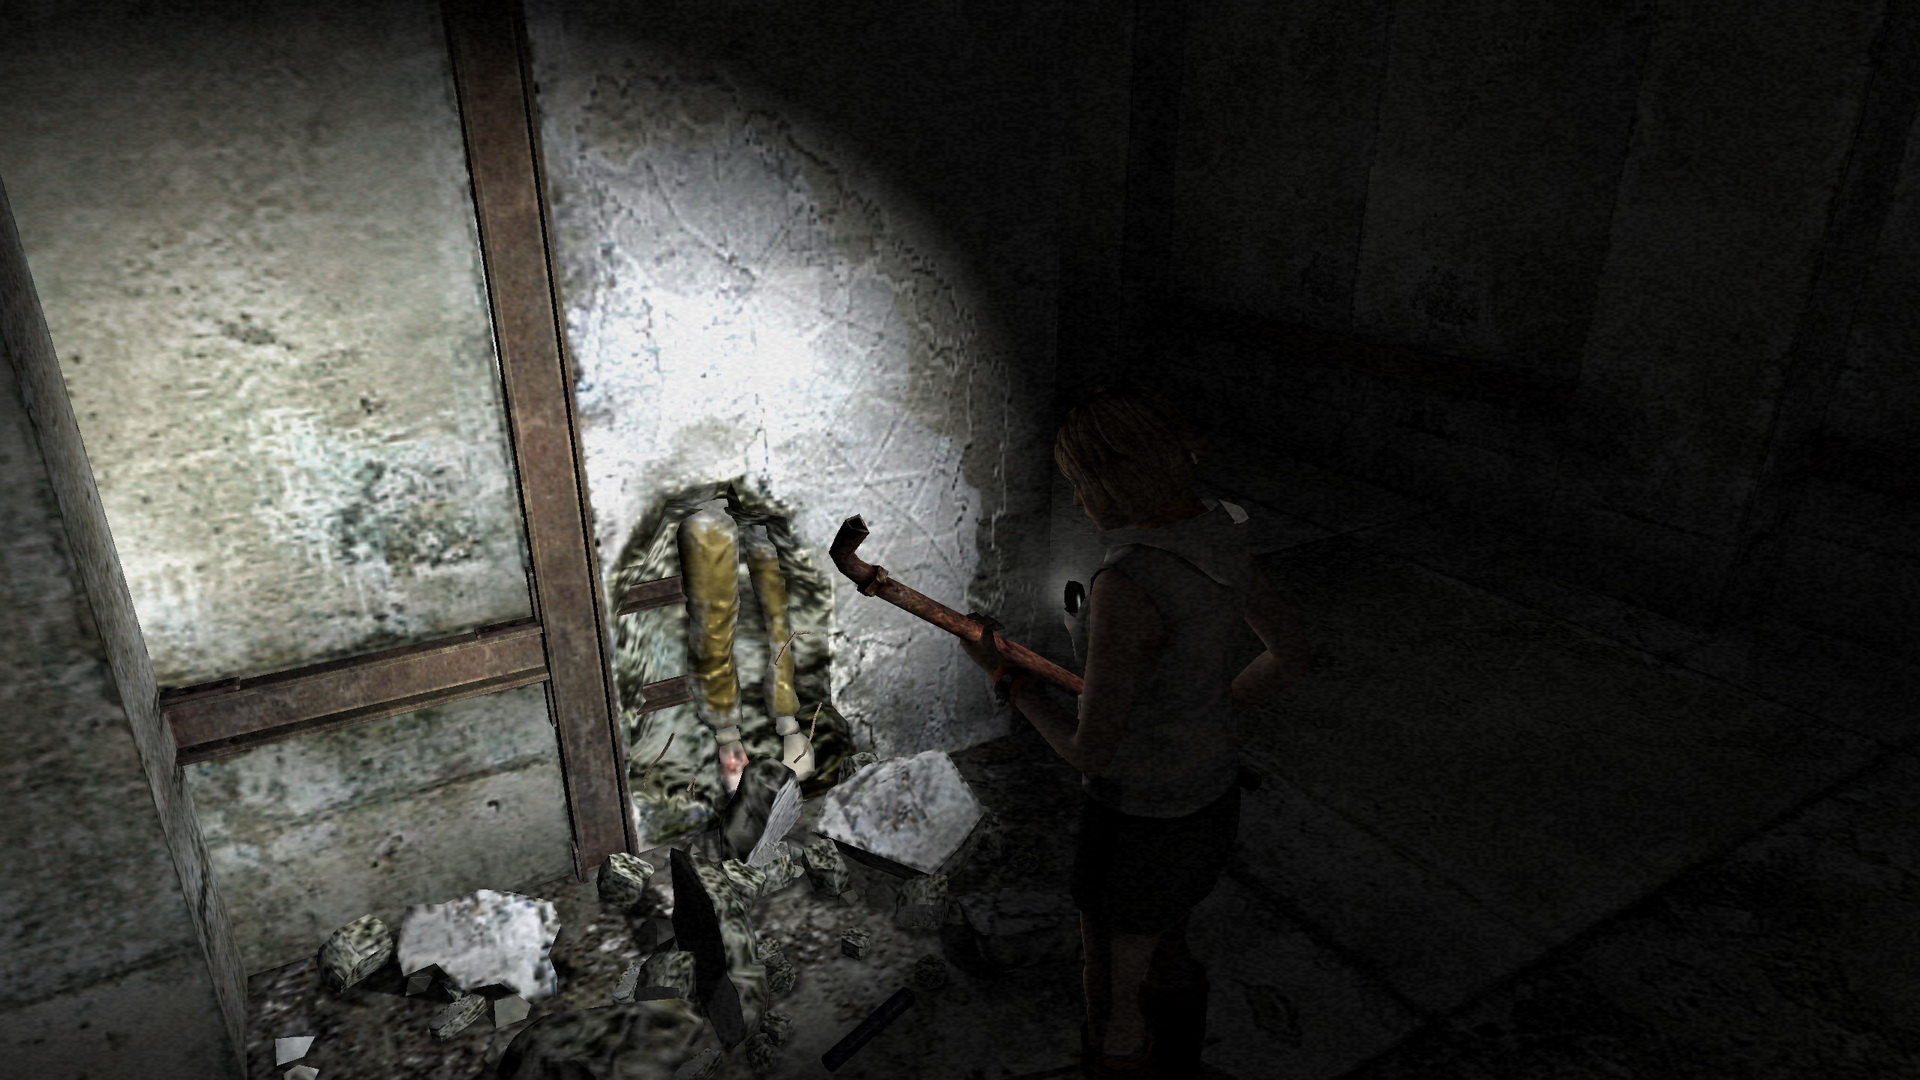
This appears to stand as a reference to Session 9, particularly when Hank finds a bunch of old coins behind a wall in the asylum, much to his surprise. He takes the coins and tries to escape the asylum, but things don't go well for him. Perhaps the note alludes to this with, "Yet fate hath no price..." Fortunately Heather chooses to take just one coin for the machine and doesn't suffer a similar fate. |
|
|


| by Andrew Haffenden aka Conquerer (Silent Hill 3 FAQ/Walkthrough) |