Bosses
Boss 1: Split Worm (Central Square Shopping Mall)
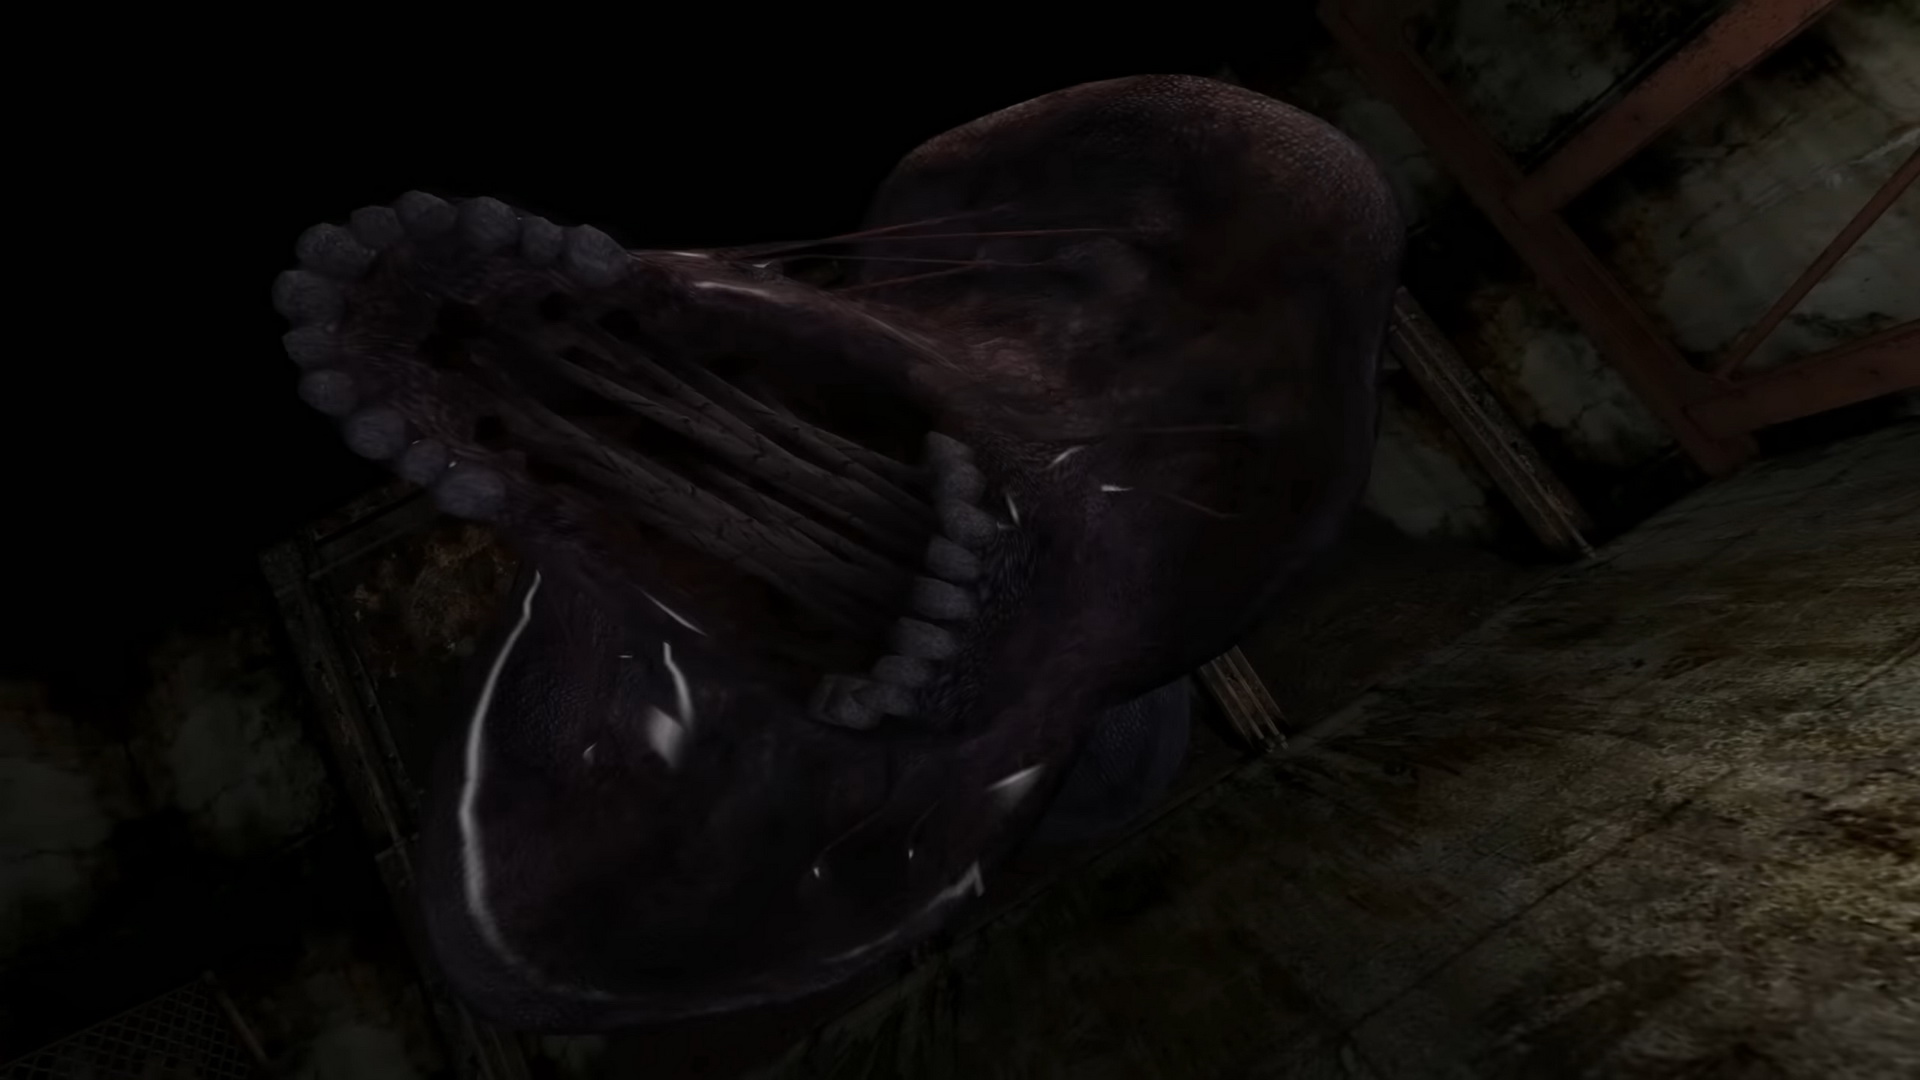
Immediately equip your Handgun which you should have a decent bit of ammo for if you haven't gone full Rambo. The giant worm will emerge from one of the six tunnels and open its protective shell. Take this opportunity to shoot it 3-5 times until it closes its shell. Hold L2 at all times to center the camera on the worm so you can see what you're shooting.
The worm will retreat back into the tunnel and re-emerge from another one, possibly on the other side. Hold L2 and the camera will aim towards the tunnel the worm will next appear from, so get ready to set up shop and start shooting once it opens its head. Always stop shooting as soon as it begins to close its head and be prepared to strafe or run out of the way since it may snake forward to another hole, possibly bumping you on the way. Repeat the above strategy until the worm drops dead.
Note that if you instead fire just 2-3 times and stop, the worm won't retreat back in the tunnel and you can avoid extra down time waiting for it to re-emerge (although it's still a very short battle on Easy/Normal). However this will open you up to potential attacks and stuns. Read below for how to deal with them and consider which approach you'd rather. But if you do prevent it from leaving and avoid its attacks, you'll get more chances to shoot it at each hole.
If low on ammo or wanting to try a different strategy, you can always use the Steel Pipe, but be prepared to block the Split Worm's attacks every few swings or so. There is an effective strategy where you can thrust 2-3 times, block and repeat. It does require mastering to perform well since the worm can easily knock you down for long periods if you're not well-positioned or too slow to attack. It is generally only recommended for experienced players and is actually the most effective strategy to end this battle in the least amount of time on Hard.
Split Worm's attacks:
The Split Worm's most standard attack is a headbutt which will knock you down from close range (remaining down for about 10 seconds too), but you should always stand at a distance anyway unless you know what you're doing with the pipe strategy.
Another is a dangerous lunging bite attack that can reach you as long as you're standing in front of it at any distance, but it'll telegraph this with a screech and backward head movement before lunging. Avoiding it is as simple as strafing left or right away from the center of the screen. Note that while this attack does moderate to heavy damage on Normal and below, it is a one-hit kill on Hard, so look out and avoid it when it comes.
The worm can also bump into you while crossing the floor to another tunnel, inflicting minimal damage, but it moves incredibly slowly and you should always be able to escape from its path. Additionally, the worm has a ground pound move that does no damage but staggers Heather for about a second. Be careful cause it often follows up with the biting lunge, so get ready to dodge it asap.
Overall this is a very simple fight, and as long as you pay attention and avoid in-game reloads at the wrong times, you should be able to avoid all attacks from occurring, but otherwise they're easy to avoid. After around 15 Handgun Bullets on Normal and up to around 35 on Hard (or more if you shoot its shell), the Split Worm will drop to the floor, ending the fight.
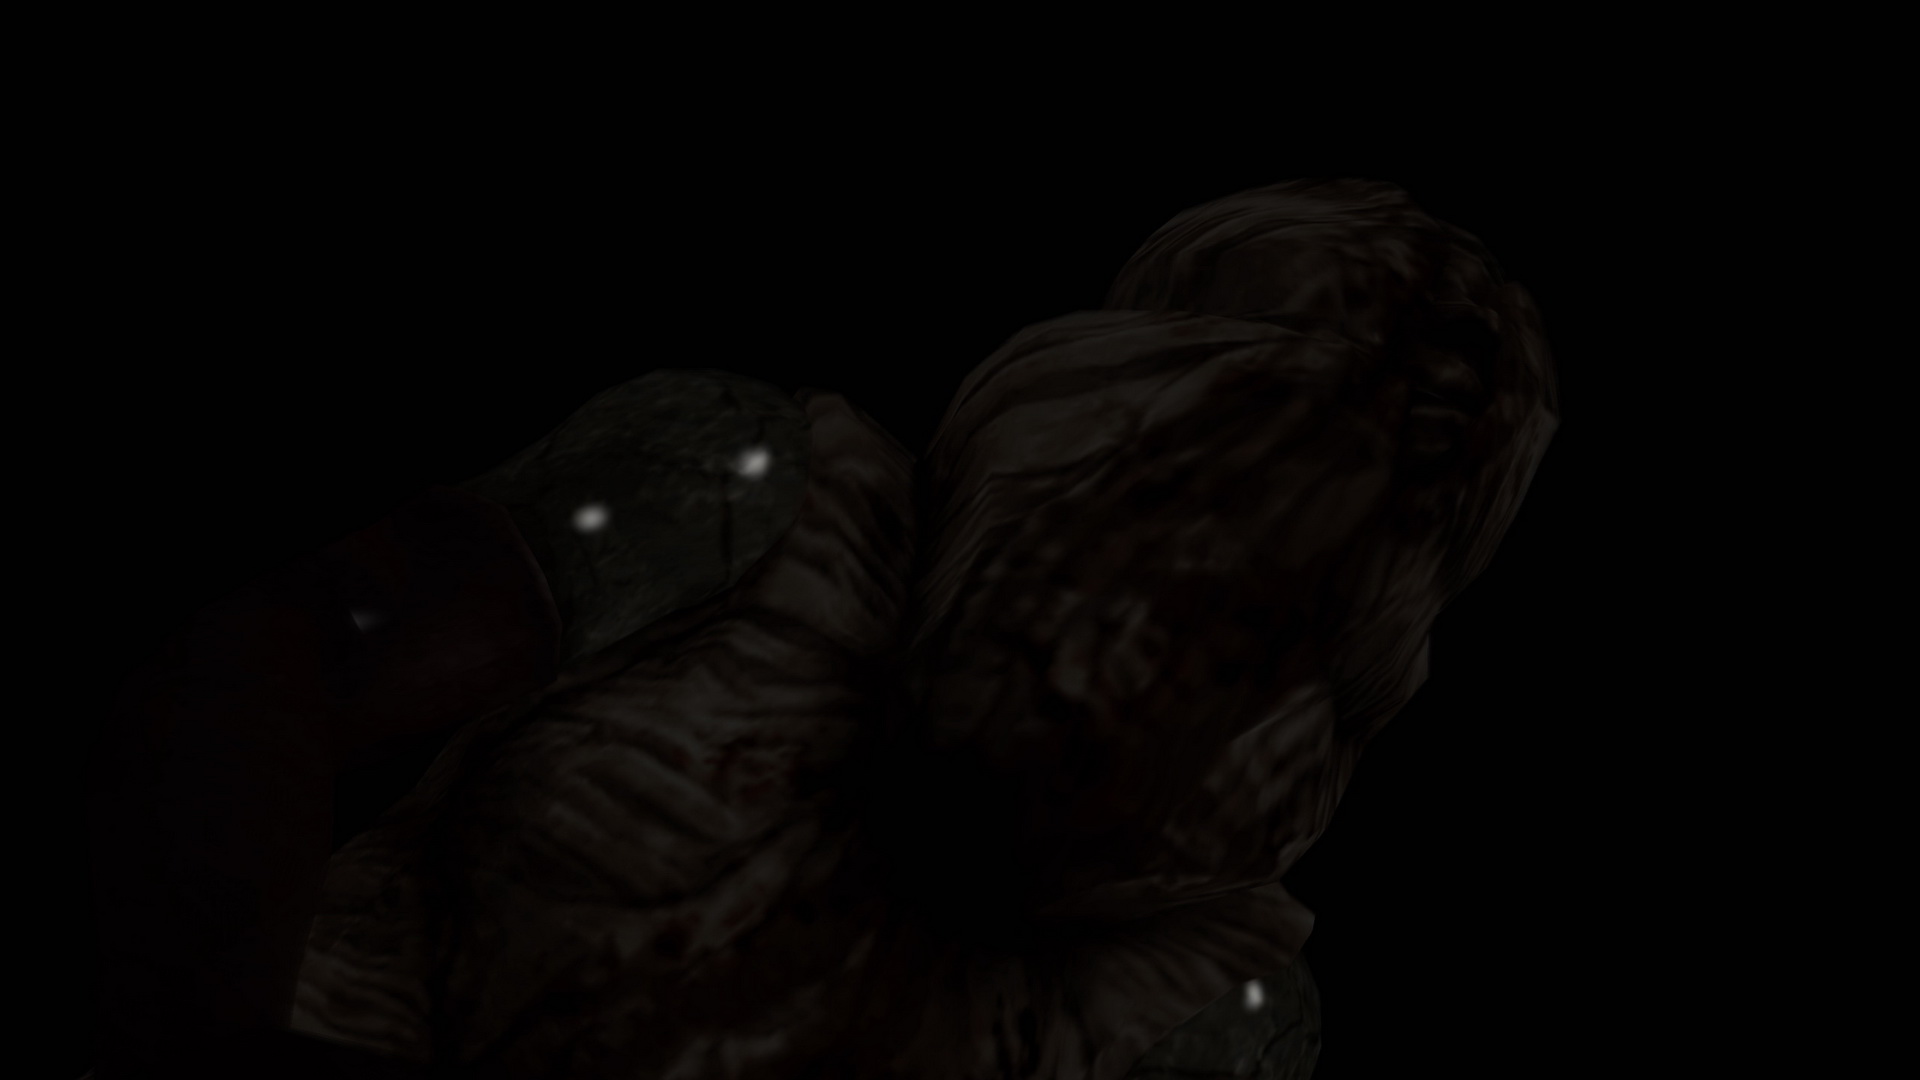
Boss 2: Missionary (Daisy Villa Apartments)
Equip the Shotgun for this battle. You may also want to consider the Bulletproof Vest if taking damage is a concern of yours, but it's probably best to go without it due to the mobility restriction and how key movement is in this fight.
If you fire at the Missionary from the front, you'll witness and hear the creature block your bullets with its blade hands, plus it'll almost always hit you back. Therefore you'll need to find a way to shoot it from the side or behind to hit all meat. To start off, you can essentially run right up to and past it for a free shot from behind while it may swing and miss where you were. You'll get a free Shotgun blast or kick while it's down, but stand clear while it gets up or prepare to block to prevent almost all damage as it wildly swings its arms (or equip the vest to prevent any damage with a block, but the difference is negligible).
Throughout the battle the Missionary will try to space itself from you by running very quickly away and around the rooftop and then coming back at you for attacks. When this happens, try to turn the tables back and get behind it by running towards it but at an angle so that you avoid any head on attack as it comes towards you. Also consider strafing to do this or avoid an incoming attack as it may rush you, then always try to blast it from behind or the side once it passes. You can often still get a shot in as it begins to run away, as long as its back or side faces you.
Sometimes you'll be able to get in a free shot or kick while it's down but often it'll only remain down for a short period. So consider taking a shot from farther back or be prepared to block after your attack if close enough. Often after you successfully block, or if you're out of swing range, you'll immediately get another opportunity to shoot with its back facing you, so take it if so. Otherwise, it may turn to face you and swing, but this is really simple to avoid by running or strafing away, further leaving its back or side completely exposed for another easy blast.
Rinse and repeat, avoiding and running past its attacks while it runs around until it exposes its back, and taking advantage while its back is exposed after standing (or standing then attacking).
Missionary's attacks:
This creature has several attacks, including a thrust, standard swing and running swing. Additionally it may flail both blade arms while standing up after being downed and can also counter attack if it blocks your fire from up close. Try to always maintain a distance to the Missionary and never let it get close enough to attack you. Do this by always being on the run and only trying to shoot it after it either swings and misses you or runs past and is exposed.
If you run out of Shotgun ammo, the Handgun is fairly okay but lacks the stopping power. The Missionary normally blocks Handgun bullets from the front as well, however equipping the Silencer will hide the muzzle flash and prevent it from blocking anything. I wouldn't recommend melee weapons unless totally out of ammo. If so, use the Katana and only go for swings from behind after it misses you. Don't get greedy and leave before it gets a chance to swing back.
After knocking down the Missionary four or five times, with about 6-10 Shotgun shells on Normal and Hard, the creature will stay down. Kick it to end the fight for good.
Boss 3: Leonard (Brookhaven Hospital)

The best-suited weapon for this fight is probably the Shotgun with its high power, and you should have a decent amount of ammo for it. That said, the SMG is great too but ammo is very limited, and the Handgun isn't too bad and can allow you to fight from a very safe range.
Immediately at the start, approach Leonard and quickly blast him with the Shotgun or burst your SMG. When he drops, hold your fire until he hits the floor underwater, at which point you can continue with the SMG or fire more shells to keep him down there as long as you can while thrashing, or get in a free kick or two. Otherwise he'll try to swim away, at which point you can't damage him and have to wait for him to re-emerge. Hold L2 to track him while underwater.
As he swims, follow him back and forth and generally try to stay behind him at a safe distance, since when he eventually rises after swimming for 5-10 seconds he'll try to smack you on the way up if within range. When he does come up, stay clear of any arm swing and blast or shoot him again. From there just rinse and repeat the strategy. The more quickly you can continue firing at him while on the ground, the longer you can keep him pinned, do more damage and prevent him from annoyingly swimming around the arena.
Simply repeat the strategy of attacking him when he rises, trying to keep him pinned when he drops, and then waiting for him to rise after swimming if he slips away. And avoid the spinning brushes at the back since they'll seriously hurt Heather if touched, even killing her on Hard.
Try the Katana if low on ammo. Use the same methods for avoiding him, but once he stands try to move behind him and attack that way. Kick or slice him with the downward swing while he's thrashing on the ground.
Leonard's attacks:
Leonard's attacks are fairly simple in nature. He'll either swing with his left or right hand when standing or while rising from the water. Always stand clear before he rises, preferably behind him and ready to attack. Don't be afraid to get close for a good blast, but make sure he's not about to swing at you first.
Overall it's quite a simple fight and shouldn't give you much trouble. Stay clear of him to avoid his attacks and get in your shots while he's standing or thrashing underwater.
Boss 4: Memory of Alessa (Lakeside Amusement Park)
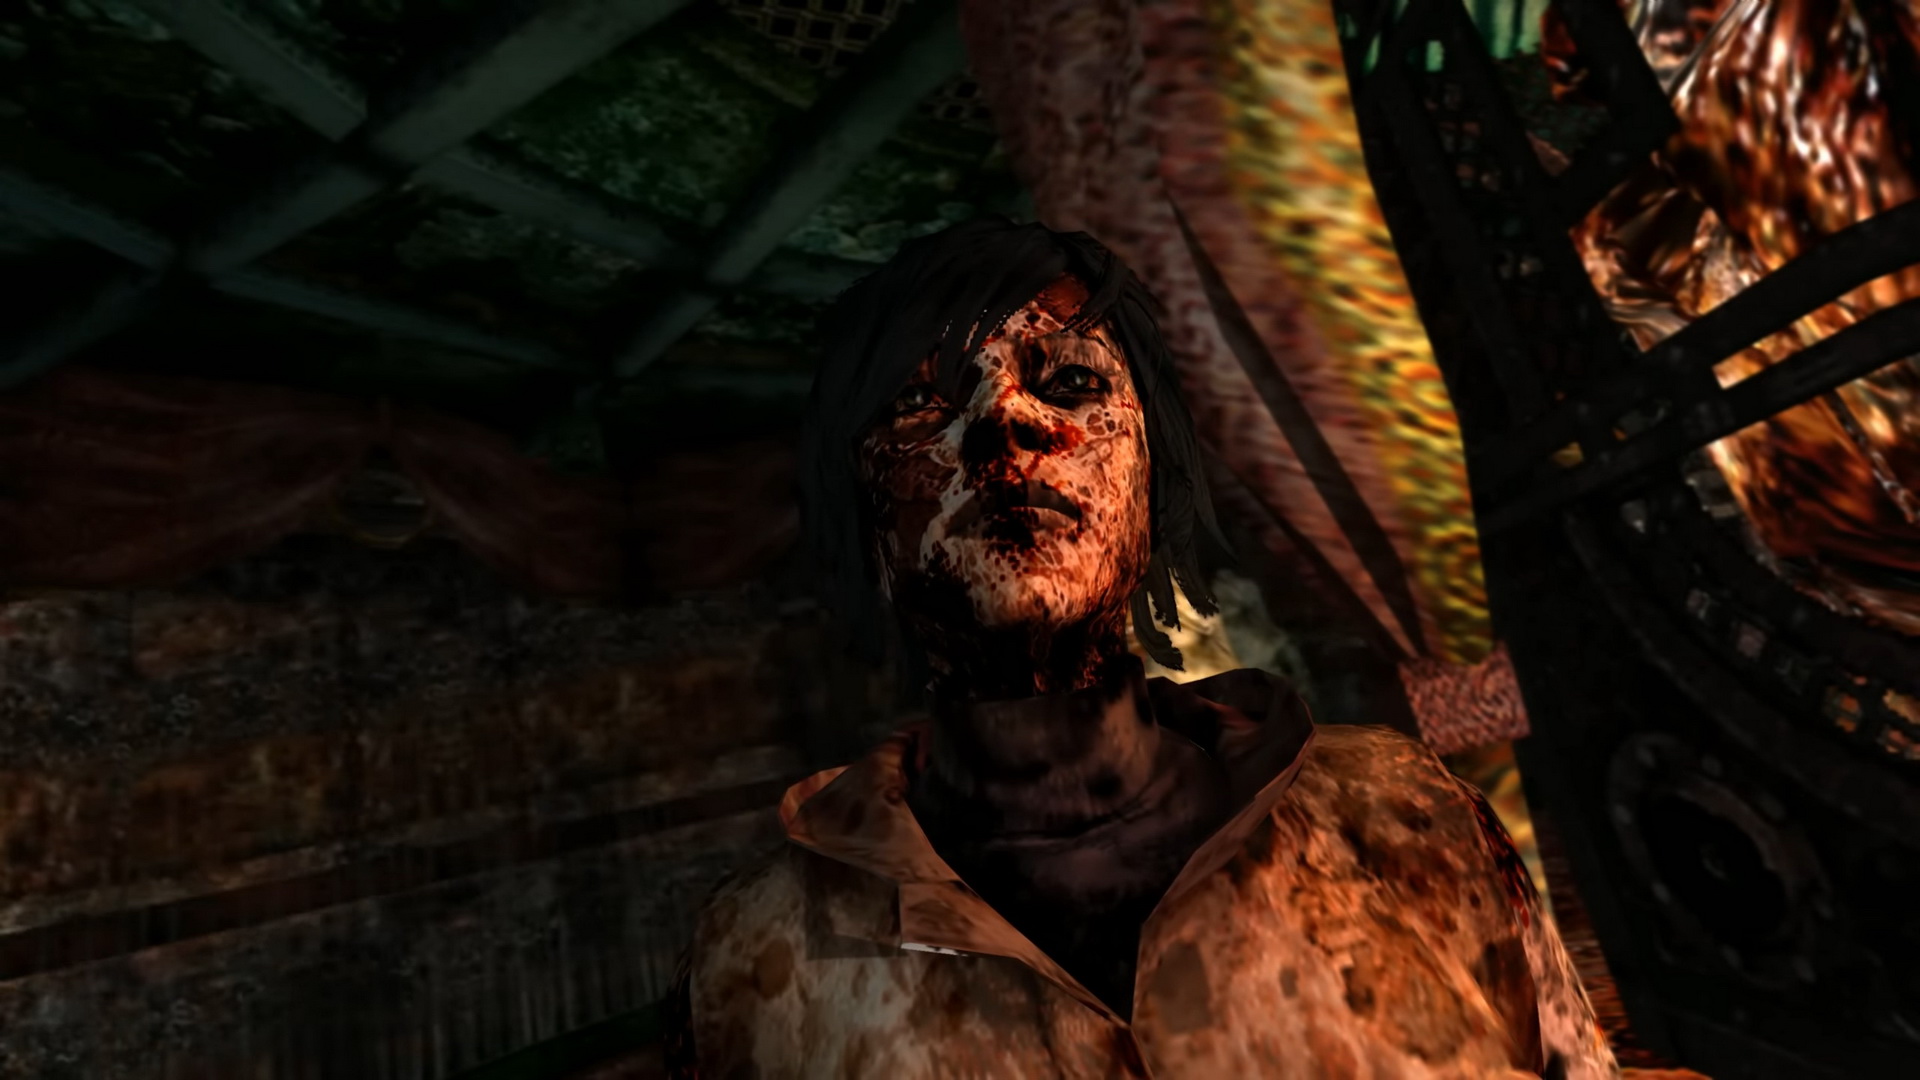
This plays out as a very unique boss fight with four separate forms where Alessa will die and reappear (but gone for good the last time). She can also inflict quite a bit of damage, especially in her Handgun and Submachine Gun forms, so consider equipping the Bulletproof Vest to limit damage. Also be mindful that she gets slightly stronger in each form and you will need to inflict more damage to finish her, especially in her final form.
1st Form
Weapon: Knife
Alessa challenges you by raising her knife in the air. Laugh at her weapon choice and equip a good melee weapon which will be sufficient – the Katana is best, but the Steel Pipe is good too. While you can be fairly careless in this form due to how weak her knife is, just wait for her to try to attack (you'll hear a whipping sound) before quickly retaliating before her attack lands. Or even run past her and get an attack in from the side or behind.
Alternatively you can just bust out the Shotgun, wait for Alessa to attack and shoot just as she does and repeat, but you can save the ammo with the Katana, especially in this form.
Note that Alessa can also block your attacks, limiting your damage output. She stands in a distinct position and your attacks make a distinct sound when this happens, rather than the usual scream of pain. Simply move around to another side of her or bait another attack and then go after her. Note that you can also block by holding Square with R2, which can come in handy, especially later.
Alessa may run away at times so be sure to follow and take advantage of her passiveness by attacking her. Repeat the above strategy and she will soon drop to the floor and disappear.
1st form attacks:
Alessa only has a standard knife swing attack in this form which inflicts very minimal damage. But it should be easy enough to avoid her anyway.
2nd Form
Weapon: Handgun
With the easiest form out of the way, Alessa returns with a Handgun. She'll usually spawn offscreen so you can either wait for her to find you or go hunt her down. Use L2 to focus the camera and assist your search. Always be careful and stay on the move in her firearm forms since you really don't want to be shot from a distance. Use the horses as cover and try to sneak behind her to get in your attacks more safely.
You can be pretty cheap here, but who's watching? The Katana has decent range and if you get too close to Alessa she may pistol whip you. Try to stand just outside of her pistol whip range but not far enough that she tries to shoot you. Keep attacking while holding R2 and you will push Alessa each time (keep tapping X to perform quick three-blow combos). Repeat this and she shouldn't get a chance to attack. Chase her when she runs away and get your attacks in to finish her off in this form. Otherwise you can use the Shotgun if needed, shooting after she initiates her swings or raises her handgun.
2nd form attacks:
Alessa can either shoot you with the Handgun, inflicting a fair amount of damage, or perform a pistol whip, which is more on the lighter side. Be mindful of your health by checking your status often enough, especially if you're shot.
3rd Form
Weapon: Steel Pipe
Interestingly, Alessa downgrades to a pipe here so you can relax a bit knowing you won't be shot from a distance, but she still has quite a bit of range with this weapon while attacking. Keep using the Katana (or Steel Pipe) and consider trying the same method as above so that you swing at Alessa as she approaches you and gets knocked back each time. However, back up every once in a while since her swings may follow through even if you hit her, since she gets stronger in every form. Or you can take the easy route with the Shotgun if you have the ammo.
Alessa may run away but this can work in your favour cause you can just wait for her to come back and you'll be ready to attack while she won't be, allowing you to continue the above strategy. If she doesn't come back right away, it's likely because she doesn't have much health left and her aggression levels have decreased. Run ahead and anticipate her by attacking where she's going. Eventually you'll finish her off.
3rd form attacks:
Her only attack is a regular pipe swing which inflicts noticeably more damage than the knife, but not as much as a Handgun shot. Be careful since her range extends quite far, so try to get behind or beside her before attacking if you can.
4th Form
Weapon: Submachine Gun
This is the final form of Alessa, and don't let the Submachine Gun scare you. It's actually good news because you can do the same strategy as you did for the 2nd Form of Alessa. Try to find her quickly so she doesn't surprise you with a burst of fire. Note that while the Katana three-blow swing and push back strategy still works well, Alessa is at her strongest now and may be able to hit you sometimes if you don't readjust every now and then. But it's still better than getting shot at.
Try to get Alessa just in range so that the tip of the Katana hits her. The further away she is while still getting hit the better, and if you find she's getting too close and may be able to hit you soon, just stop, back up and reset. Alternatively you can play this final form safe by using the Shotgun, blasting her when she swings at you or raises her SMG.
When she runs away, quickly follow her because she will likely try to shoot you if she creates any distance. If she does start shooting, quickly duck behind a horse and let her finish the clip. Once she starts reloading, ambush her. Soon enough she should fall to the ground and disintegrate for the final time, but if still alive get your kicks in while you can.
4th form attacks:
Alessa can fire a burst of bullets at you, inflicting a lot of damage, or whack you with her SMG. Make use of the horses as cover and try to get behind Alessa. Avoid attacking her from longer distances since she will try to shoot you.
Final Boss: The God (Church)
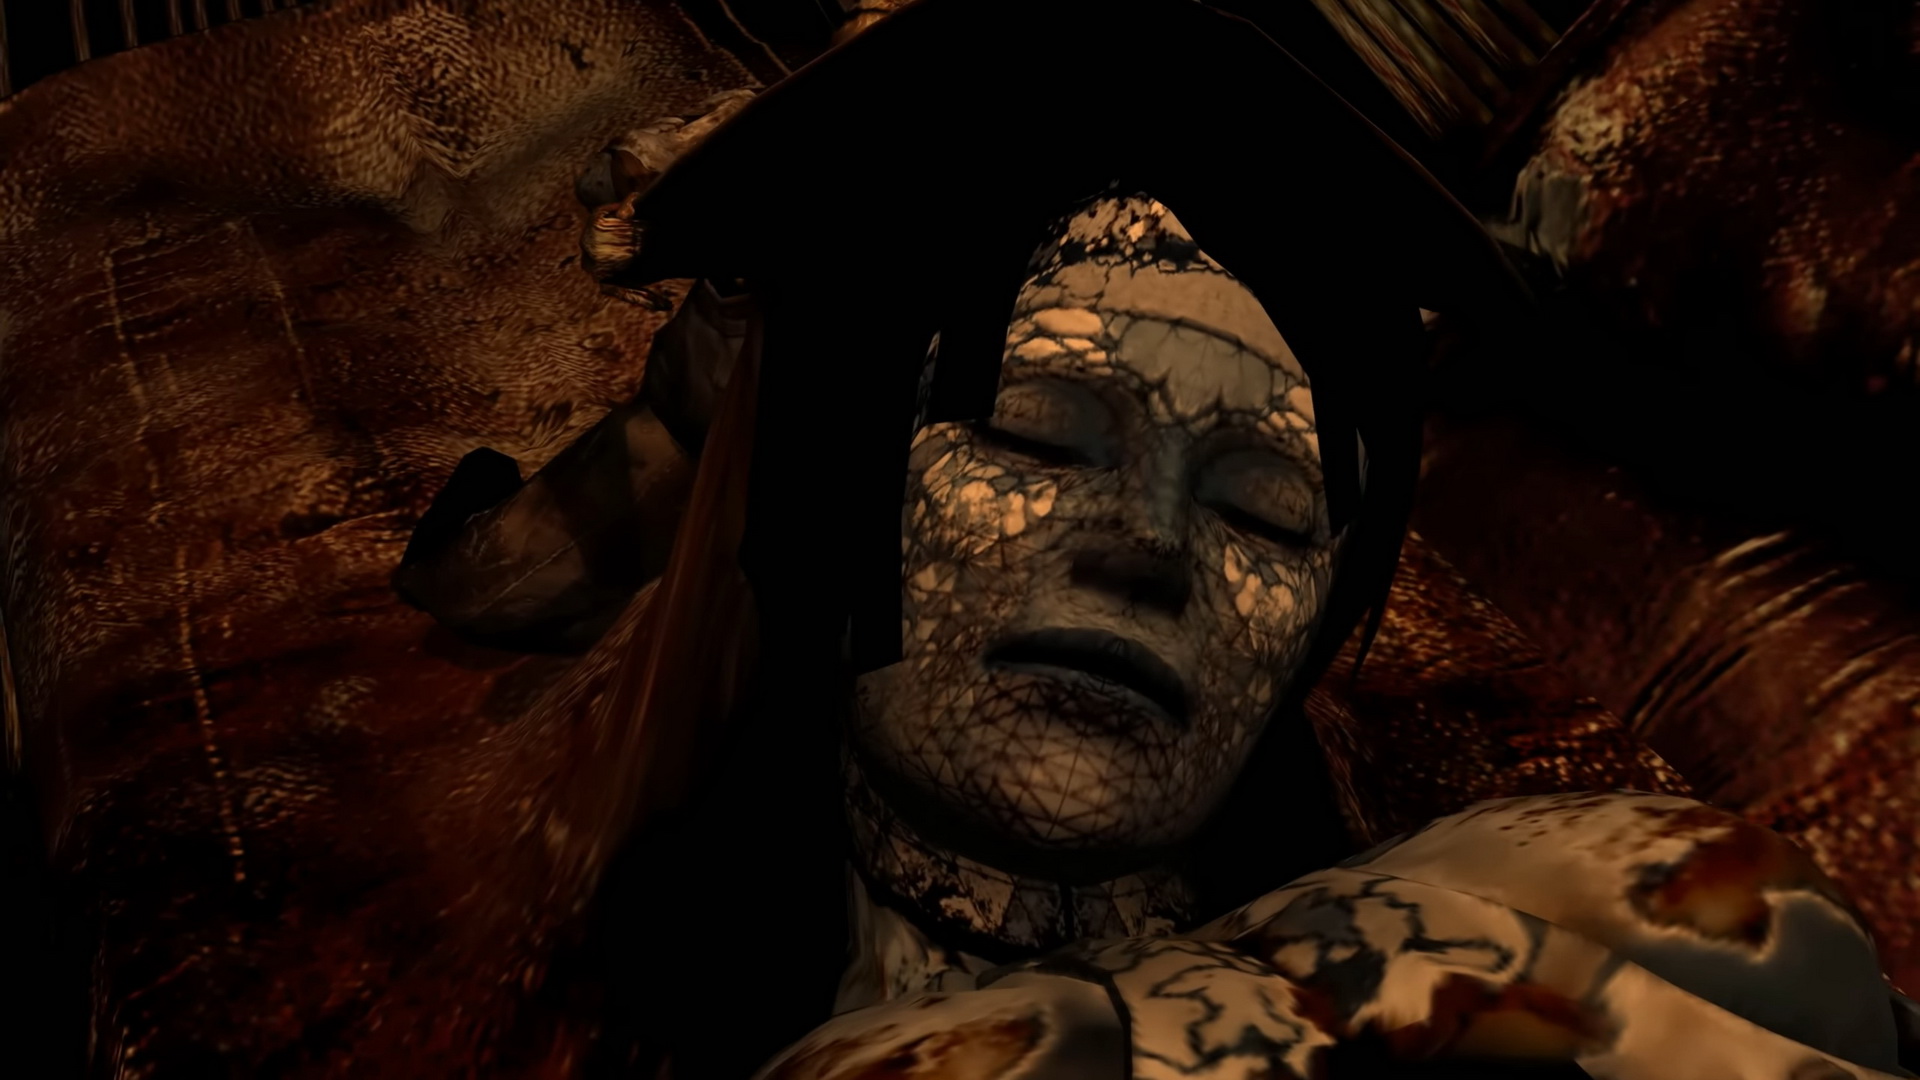
So this is the God, eh? To start things off, the God will be standing upright with a curtain over her face. The Handgun is a very effective weapon in this battle due to its range and volume of ammo, so equip it and fire away until she lowers to her hands and knees. From this position you can attack the God's head either with firearms or a melee weapon, but do note that she will be able to smack you if close enough.
Take a look at the floor to find a very helpful black semi-circle. As long as you are outside the inner part of this marking, the God will be unable to physically smack you, although she can still throw fire your way. Therefore using firearms from behind that line is a fairly safe method.
However, keep in mind you will unlock an extra weapon by defeating the God with a melee weapon. While you may be exposed to her smack attacks, you can also avoid them by not getting greedy and only attacking her 2-3 times before leaving and repeating when there's another window. Once she drops to her hands and knees, wait for her to swing her arm while you're behind the black semi-circle, then go in for two or three thrusts at her head with the Katana, then safely leave. From there, fire more Handgun shots at her from behind the line as you dodge the fire to either side and just keep repeating the strategy.
To be safe for the extra weapon, you may want to restrict firearms for only when the God is standing up, at least after the first couple minutes. The God will only die from the lower position so keep that in mind as you attack her late in the fight.
Do note that in the PC version there is a safe zone to the right of the God's head in the lower position, right by her arm along the low edge wall. Therefore you can wait for her first arm swing while down, then go in for 3-4 thrusts and then strafe to that side wall and she'll swing right through you. Then just go in for another series of thrusts and return to the safe zone before her attack and repeat. Always remember to wait for her first arm swing once she lowers to that stance before rushing in to attack her. Simply repeat the Handgun fire from the higher stance to bring her down each time.
Sadly this safe zone does not exist in the PS2 version so you'll have to defeat her the more traditional way. That includes strafing or running around from side to side to avoid her fire attacks, which spread from the semi-circle line and divert outward to hit you. She'll telegraph the fire attacks by flicking her arm, so get moving as soon as you see this action.
Note that at first the fire may divert outward only once and move rather slowly overall, but it'll speed up and divert two or three times later on so be sure to keep on the move until the fire has stopped flowing. After, take the open opportunity to fire at her and get ready to move if she dishes out more fire. If you don't react just as her hand moves, it may be too late and you'll get hit, so do stay on top of it and be sure to heal when hit since it's rather damaging.
After dodging the fire attacks, the God should stand back up, which is when it's time to fire more Handgun Bullets to bring her back down. This gives you another opportunity to go for Katana swings after she first swings her arm upon dropping, or you can safely fire from behind the semi-circle if strictly using firearms.
While the Handgun is best or most efficient for shooting the God while standing, the Shotgun and Submachine Gun can offer more power per shot or second so go ahead and use the ammo you've got. While getting close with the Shotgun is normally the way to go, it opens you to physical attacks, so consider staying behind the line or limiting your closer range blasts. And be wary of the Shotgun's slow recovery time so you can escape in time from any fire attacks, which effectively makes the Handgun the safer option.
Do stay on top of your health in this fight since she may hit often and quite hard as well, especially if you're getting hit by the fire attacks. The Bulletproof Vest remains as an option to limit damage taken, but it does limit your speed quite a bit and removes your ability to strafe, so it's really not ideal for the fire.
The God's attacks:
The God has several types of attacks that are all very powerful. A swing of her arm while standing is the easiest to avoid by simply avoiding her from up close in that stance. While on her hands and knees, she can perform a dangerous arm swing (that does not reach beyond the semi-circle) or a headbutt if right by her face. Approach her head from the side to avoid the latter while attacking, and run or strafe behind the semi-circle after attacking to avoid any counters.
Lastly the God can and will often throw fire across the arena when you're behind the semi-circle while she's on her hands on knees, and this inflicts a lot of damage. Always be ready to bail as soon as her hand moves and you should be able to avoid it. Note that the fire increases in volume, spread and speed as the fight goes on so it'll get harder to avoid later on.
Keep in mind the God will die from the lower position, so be sure to attack her with a melee weapon in that stance later in the battle if you want to unlock the extra weapon, which is worth it. After dealing enough damage, the mighty God will drop to the floor. Mission accomplished.
by Andrew Haffenden aka Conquerer (Silent Hill 3 FAQ/Walkthrough) |