Item List
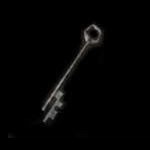
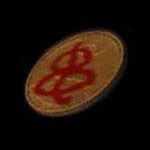
Lynch Street Line Coin |
Location: In the hand of the "mannequin" in the women's washroom of the Subway World B1, after getting the Pistol and answering the phone in Room 302. |
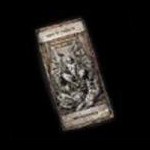
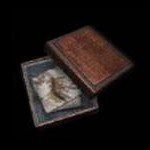
Temptation Placard |
Location: On the door of the office within the King Street Line turnstiles on B1, Subway World. |
Chocolate Milk |
Location: In the fridge of Room 302 from the beginning of the game. |
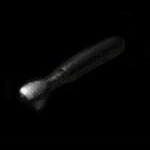
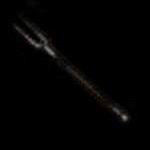
Blood-Inscribed Spade |
Location: Offered by Jasper after giving him the Chocolate Milk by Wish House's front door, Forest World (after meeting the little boy in the cemetery). |
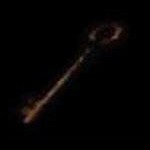
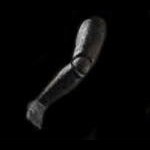
Rusted Bloody Key |
Location: Buried in the ground by the tree root that looks like a hand in the second last area with trees in the southeast passage of the Forest World (use Blood-Inscribed Spade to dig). |
Source Placard |
Location: On the cracked-open door after reading the memo on the floor inside Wish House, Forest World. |
Water Prison Exit Key |
Location: Hanging on the sign at the northwest of the B2 waterwheel room, Water Prison World. |
Watchfulness Placard |
Location: On the door at the west of the kitchen, Water Prison World B1. |
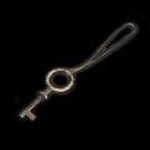
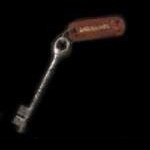
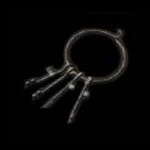
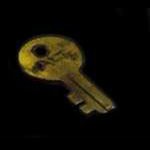
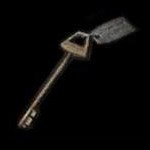
Ghost's Key |
Location: In the hands of the Ghost found pinned with a Sword of Obedience in the birthday room on B3, Building World. |
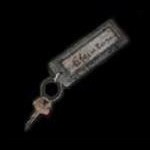
Albert's Sports Key |
Location: On the northwest shelf in the middle aisle by the cat food in the pet shop, Building World B7. |
Chaos Placard |
Location: Hanging on the door marked "207" at the top of the large stairwell on B10 (accessed from Bar Southfield), Building World. |
Locker Key #106 |
Location: Taped to the back of the right orange-tinted photo on the wall in the open side room of room 301, Apartment World 3F. |
Red Paper (1 of 2) |
Location: On the table in room 301's living room, Apartment World 1F. |
Red Paper (2 of 2) |
|
Location: In the small box by the key rack in room 105's living room, Apartment World 1F. |
Superintendent's Key |
Location: Taped to the back of the left orange-tinted photo on the wall in the open side room of room 301, Apartment World 3F. |
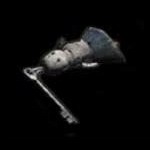
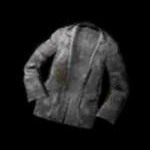
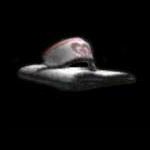
Shabby Doll |
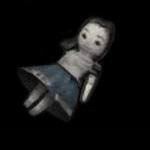
Location: Placed by the Man with the Coat on the stairwell steps near the 3F doors, Apartment World. |
Torn Red Paper (1 of 3) |
Location: In the box by the key rack in the living room of room 105, Apartment World 1F. |
Torn Red Paper (2 of 3) |
|
Location: Inside the kitchen fridge of room 102, Apartment World 1F. |
Torn Red Paper (3 of 3) |
|
Location: Inside the bloody shirt on the bed frame in the northwest room of room 203, Apartment World 2F. |
Apartment Keys |
Location: On the key rack in the living room of room 105, Apartment World 1F. |
"Skinned Mike" Cassette |
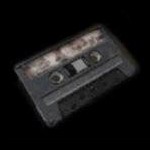
Location: On the living room table in room 205, Apartment World 2F. |
Doll Key |
Location: Between Henry's bed and the far wall in Room 302. Only found after locating Torn Red Paper in room 102's fridge, placing it under 302's door from the outside, then returning inside to read the Red Diary Scrap (cont.), during Apartment World. |
Succubus Talisman |
Location: Slipped under the front door of Room 302 after completing the Apartment World. |
Hospital Room Key |
Location: In the mouth of the snake statue in the randomly-placed room, Hospital World 2F. |
Small Key |
Location: In a Red Diary envelope under Room 302's front door after retrieving Eileen in the Hospital World. |
Toy Key |
Location: Under Room 302's front door with the Kid's Letter after returning from the Subway World 2nd time. |
Filthy Coin |
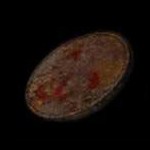
Location: Inside the toy box in the northeast subway car accessed from the east Lynch Street Line platform, Subway World 2nd time B3 (use Small Key to unlock box). |
1$ Coin |
Location: Derived from the Filthy Coin after washing it in Room 302's kitchen sink, during the Subway World 2nd time. |
Murder Scene Key |
Location: Falls out of the north vending machine on the east Lynch Street Line platform after using the 1$ Coin, Subway World 2nd time B3. |
Cynthia's Commuter Ticket |
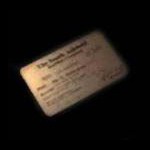
Location: On the ground among Cynthia's belongings within the King Street Line turnstiles by the B1 ticket office, Subway World 2nd time (obtain via King Street Line escalators). |
Train Handle |
Location: On the floor in the locked bloody ticket office within the King Street Line turnstiles, Subway World 2nd time B1 (use the Murder Scene Key to unlock). |
Crested Medallion |
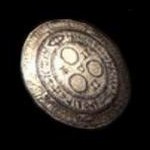
Location: On the small gravestone statue on the Toluca Lake waterfront at the end of the northwest pathway, Forest World 2nd time. |
Doll's Head |
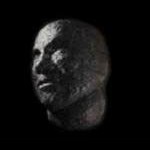
Location: In the well in the second southwest pathway, Forest World 2nd time (Torch must be equipped and lit to find). |
Doll's Left Arm |

Location: In the well in the second northeast pathway from the Wish House compound, Forest World 2nd time (Torch must be equipped and lit to find). |
Doll's Right Arm |
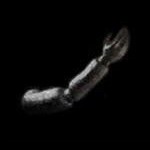
Location: In the well in the northeast end pathway, Forest World 2nd time (Torch must be equipped and lit to find). |
Doll's Left Leg |
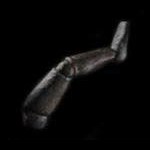
Location: In the well in the southeast end pathway, Forest World 2nd time (Torch must be equipped and lit to find). |
Doll's Right Leg |
Location: In the well in the first northwest pathway, Forest World 2nd time (Torch must be equipped and lit to find). |
Prisoner's Shirt |
Location: On the ground in the northwest torture room accessed from the kitchen in the inner B1 core, Water Prison World 2nd time. |
Water Prison Generator Room Key |
Location: In the hand of Victim 18 (bloated, shirtless Ghost) met in the outer staircase from 1F to B2 of the Water Prison World 2nd time. Only appears after reading the Prisoner's Shirt via Room 302's bathtub and must be defeated and pinned with a Sword of Obedience to claim the key. |
Cake Candles |
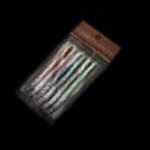
Location: On the counter of Albert's Sporting Goods, Building World 2nd time B5. |
Billiard Ball |

Location: On the floor by the ladder at the end of the shower room hall under the elevators, Building World 2nd time B12. |
Stuffed Cat |
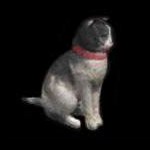
Location: On the floor by the northeast door in the birthday party room on B3, Building World 2nd time. |
Volleyball |
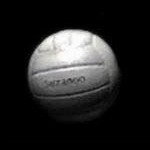
Location: On the ground by the boxes near the door at the south of the B12 pathway, Building World 2nd time. |
Pickaxe of Hope |
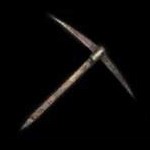
Location: Stabbed into the end of the hallway in Room 302 of the Past at the bottom of the spiral staircase following Building World 2nd time, after collecting the memos and viewing the cutscene. |
Keys of Liberation |
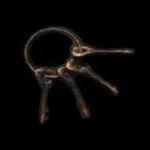
Location: In the coat pocket of Walter's corpse in the hidden back room of 302, only after returning from Room 302 of the Past (and using the Pickaxe of Hope). |
Umbilical Cord |
Location: On the living room shelf in room 105 on 1F, Outside Room 302. |
Spear of the Holy Mother |
Location: Eight of them are found stuck in the perimeter stone statues during the Final Sacraments battle with Walter, after Outside Room 302 (they unlock after Henry uses the Umbilical Cord on the true Walter's body). |
Nurse's Uniform |
Location: On a cushion chair in the living room of room 303 during Outside Room 302 (must be unlocked first). |
| by Andrew Haffenden aka Conquerer (Silent Hill 4: The Room FAQ/Walkthrough) |