Playing the Game
This section includes tips, strategies, game concepts and basics to help any newcomer familiarize themselves with the game. Note: This section was written with the Playstation 2 version in mind, thus you will see PS2 button inputs like "X" come up often. If playing on Xbox or PC, keep in mind your button inputs will be different. |
Contents01. Menus |
01. Menus
Each menu in the game is a little different to use with various options available. This section covers all of them. Main Menu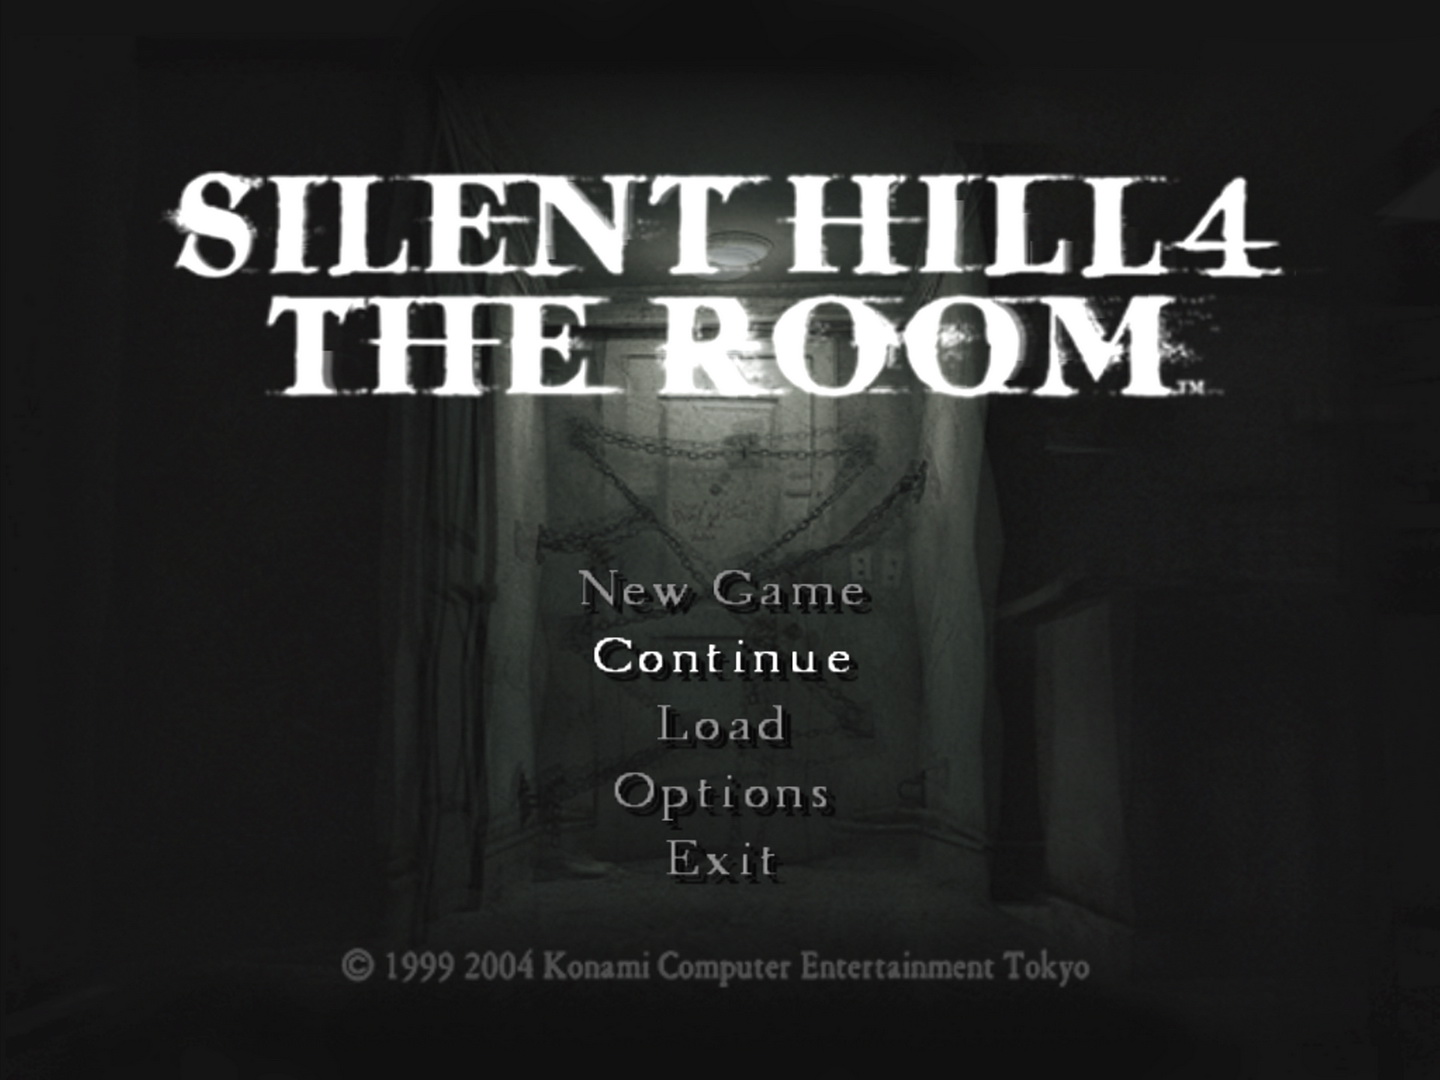
Opening Movie New Game Continue Load Options Options Menu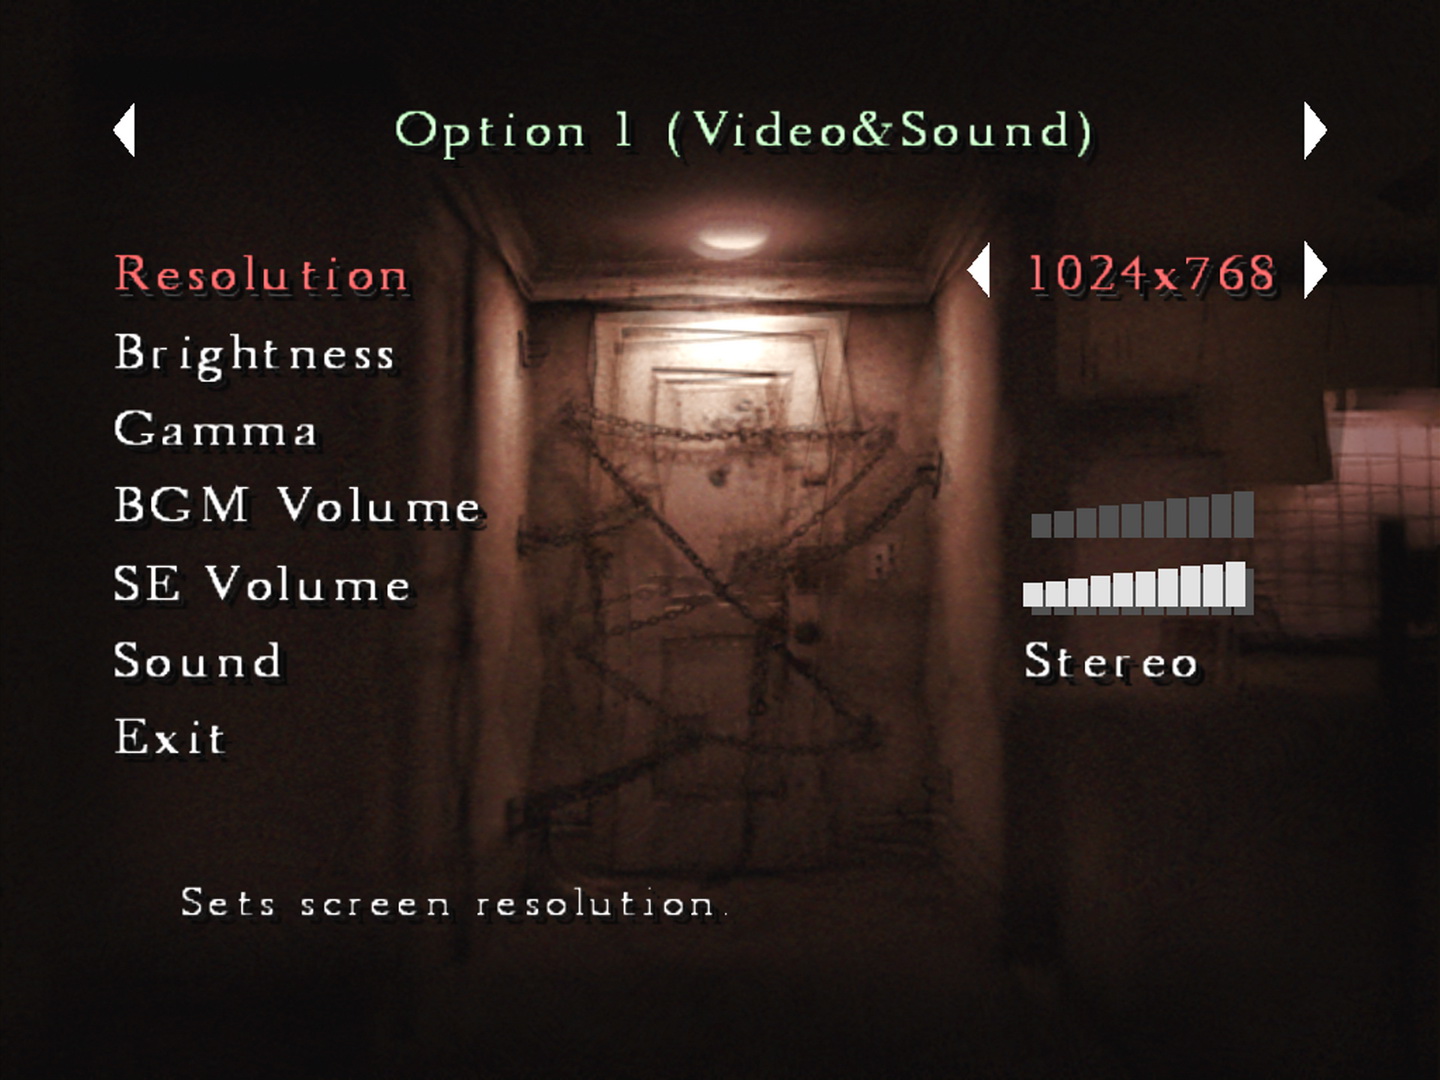
Here you'll find two pages of Options. Although things have been changed a bit, consider the first page the normal options and the second page what was called the Extra Options in the past. Note that there's an extra page in the PC version and a few of these options are mixed between pages. The following can be changed on PS2: Option 1
Option 2
Visit the Controls section for a rundown on these functions under Options 2. Save/Load MenuThese are really two different menus, for saving and loading respectively, but they look and function the same way beyond the end result. To access the Save Menu, examine the notepad save point in your apartment's living room. Select one of the 30 slots and save. To access the Load Menu, hit Load at the Main Menu and select which file to load. 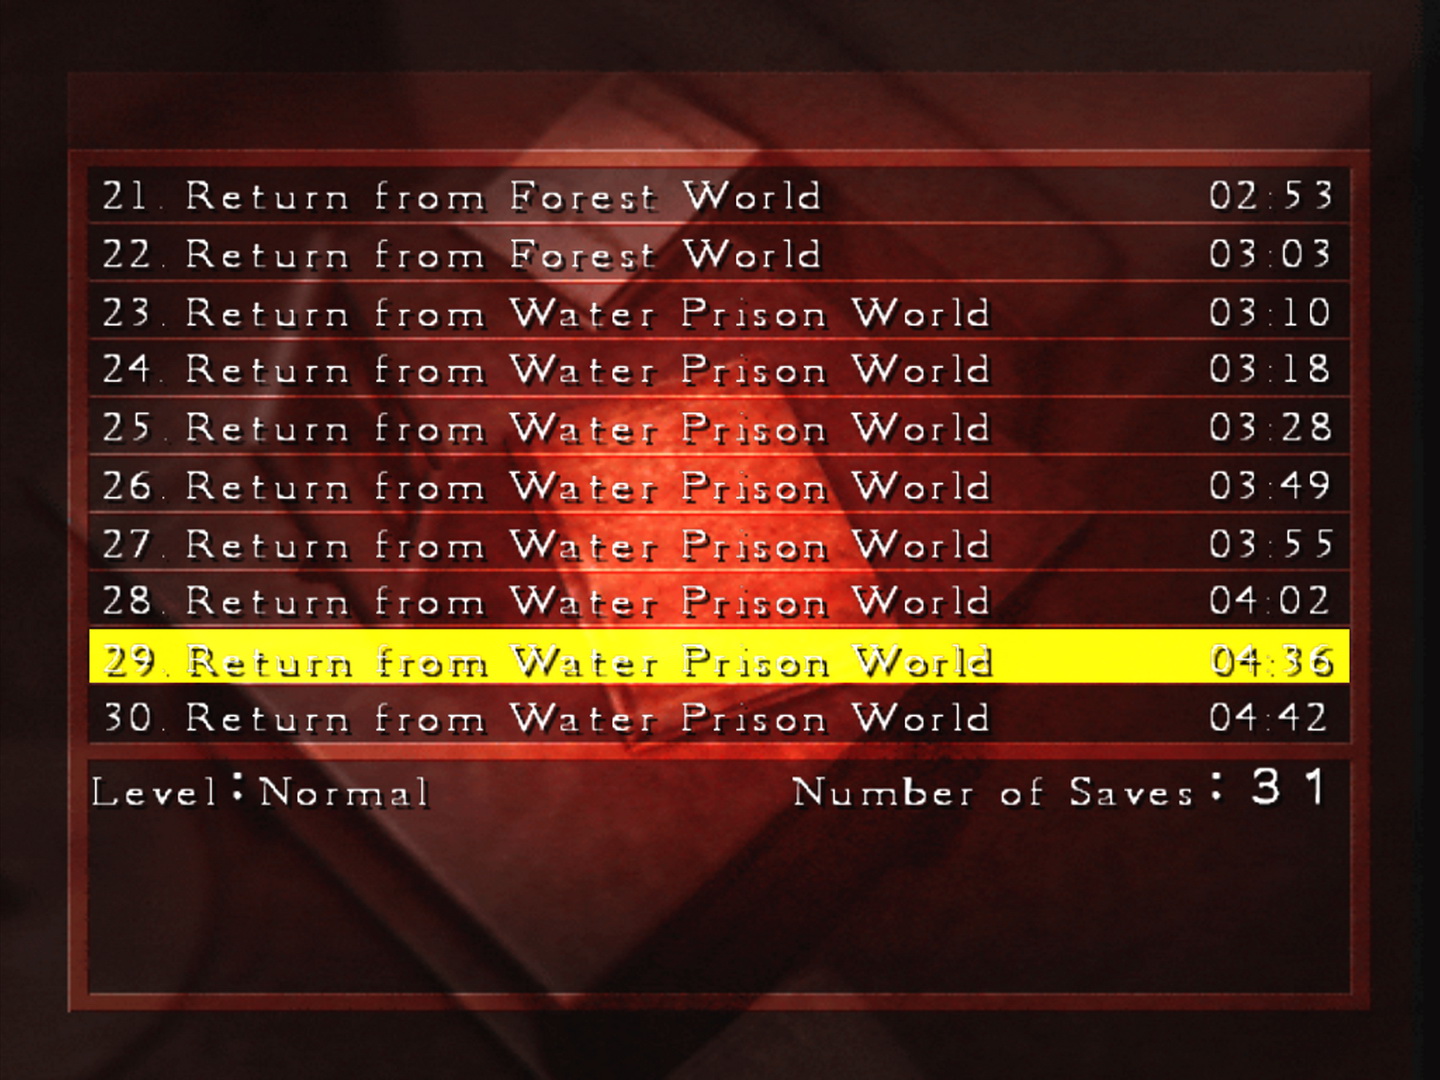
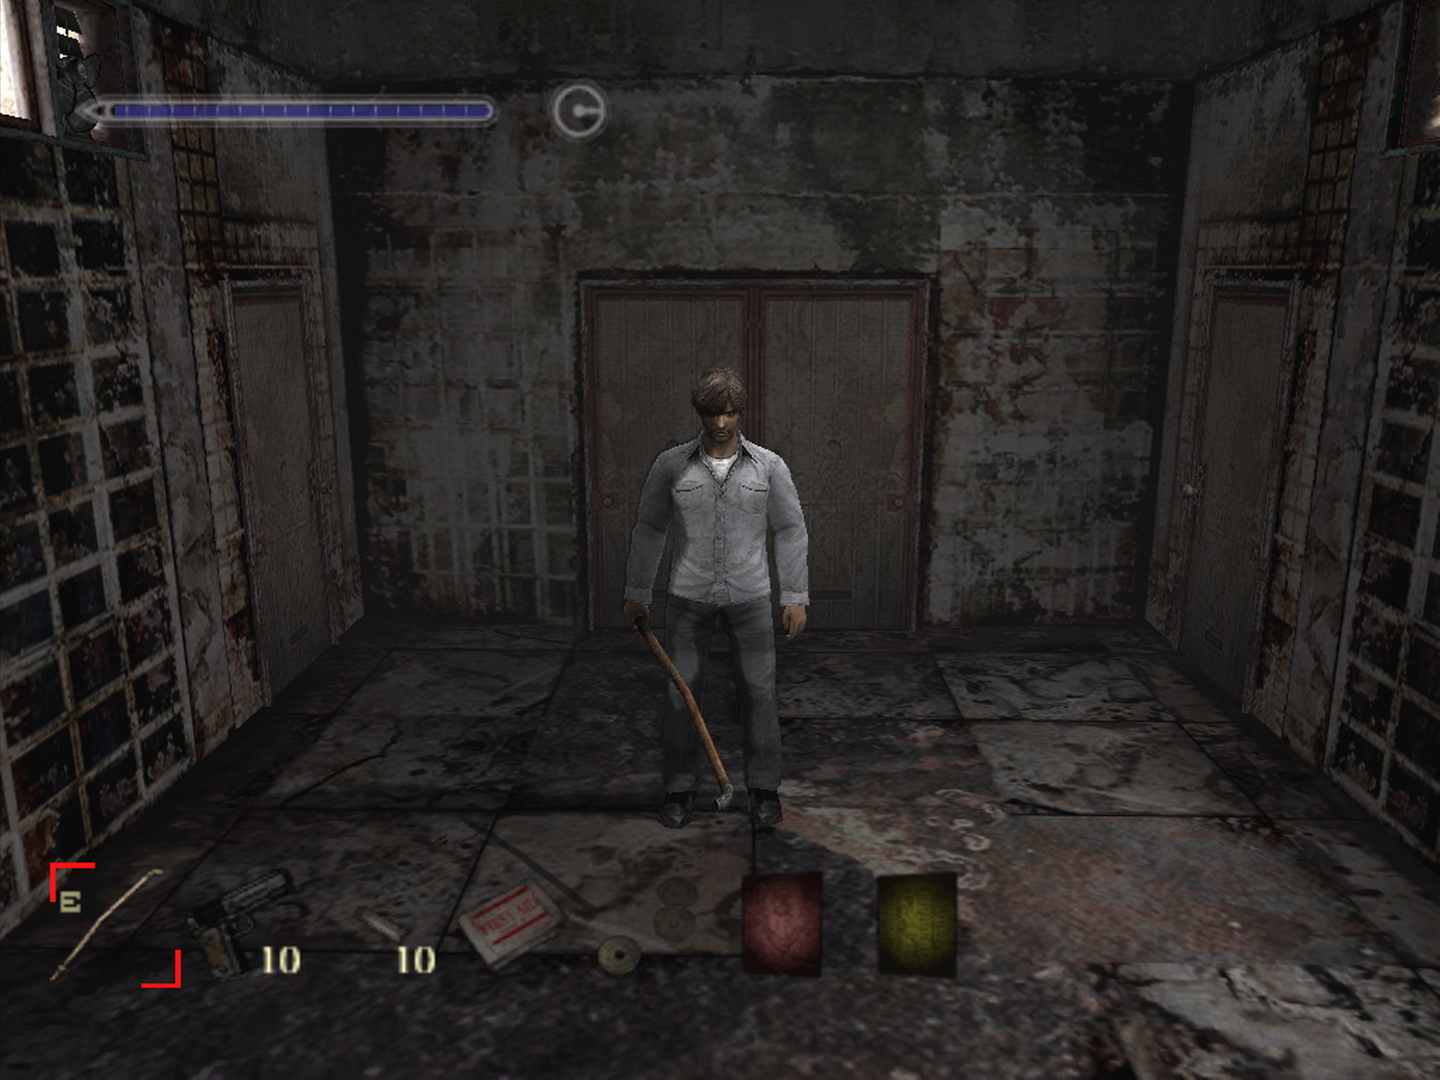
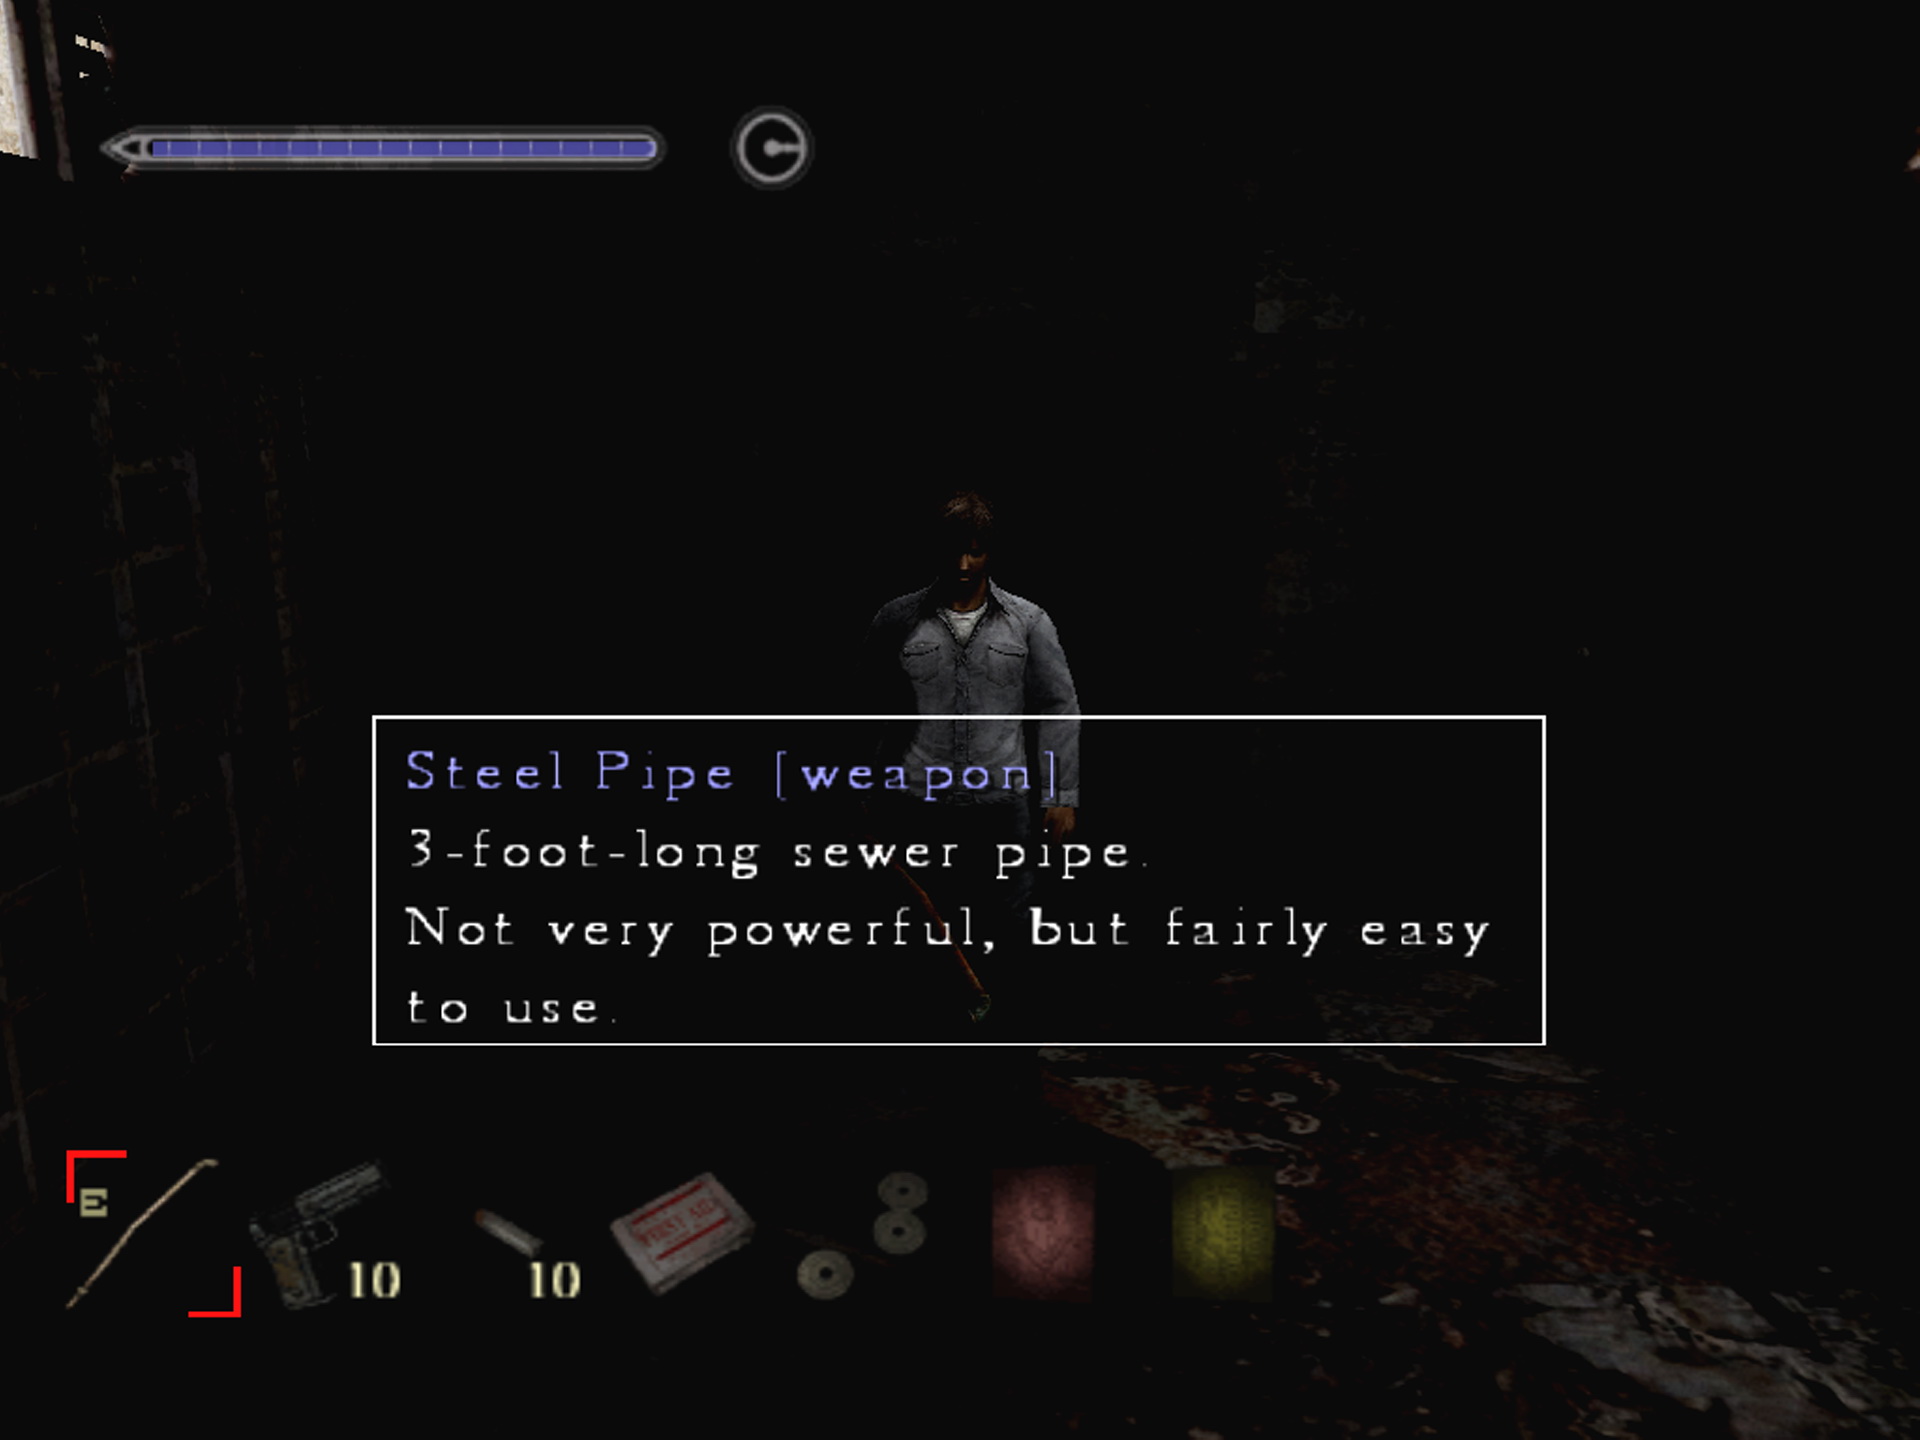
Saving and Loading If always playing A Brand-new Fear runs, overwriting will keep your file and everything unlocked as it should be. Note that in the load and save menus, the current location of each save file will be listed, or it'll say "A Brand-new Fear" if it's saved after game completion. You'll also find your play time at the right of the file, while at the bottom of the menu you'll see all the endings achieved in your file, with the last one seen highlighted. Inventory MenuSilent Hill 4 changes things up quite a bit with a limited inventory and new system after it was limitless and relatively the same in all the previous games. But now you can only hold up to 10 items at a time and can cycle through, use and equip items/weapons in real time in the new mini-menu. Use the D-pad to cycle between items and hit Square to use or equip anything. The status screen has also been replaced with a health bar which can be turned on permanently or hidden outside of combat or taking damage. But there still exists a classic inventory menu where you can cycle through all items and read their descriptions like before. Press Select to view this menu and refer to the image below for a brief overview of it. The live inventory is very much the same but lacks the item name and description box.
Note the health bar in the top left which will update in real time as damage is taken or health is recovered, while the circle beside that is your charge up attack gauge. Fill it up by holding X with a weapon equipped (and aimed with R2) and release to unleash your special attack. Item Chest MenuSince your inventory can only hold 10 items, another new thing to The Room is an item chest in your apartment, which works a lot like the one featured in the Resident Evil series. It can hold unlimited items and can be used to store and retrieve items whenever inside Room 302. Take a quick look at the diagram below for an overview of its layout. To place an item in the chest, press down to access your items where it's marked "PLAYER". Now select an item with X to put in the chest. To claim items from the chest, press up, find the item you want and press X to send it back to your inventory. Note that items are grouped by categories of weapons and items, which can be cycled with up and down. Items you will not need for a while should be dumped, while some may become relevant again later on and will need to be retrieved. 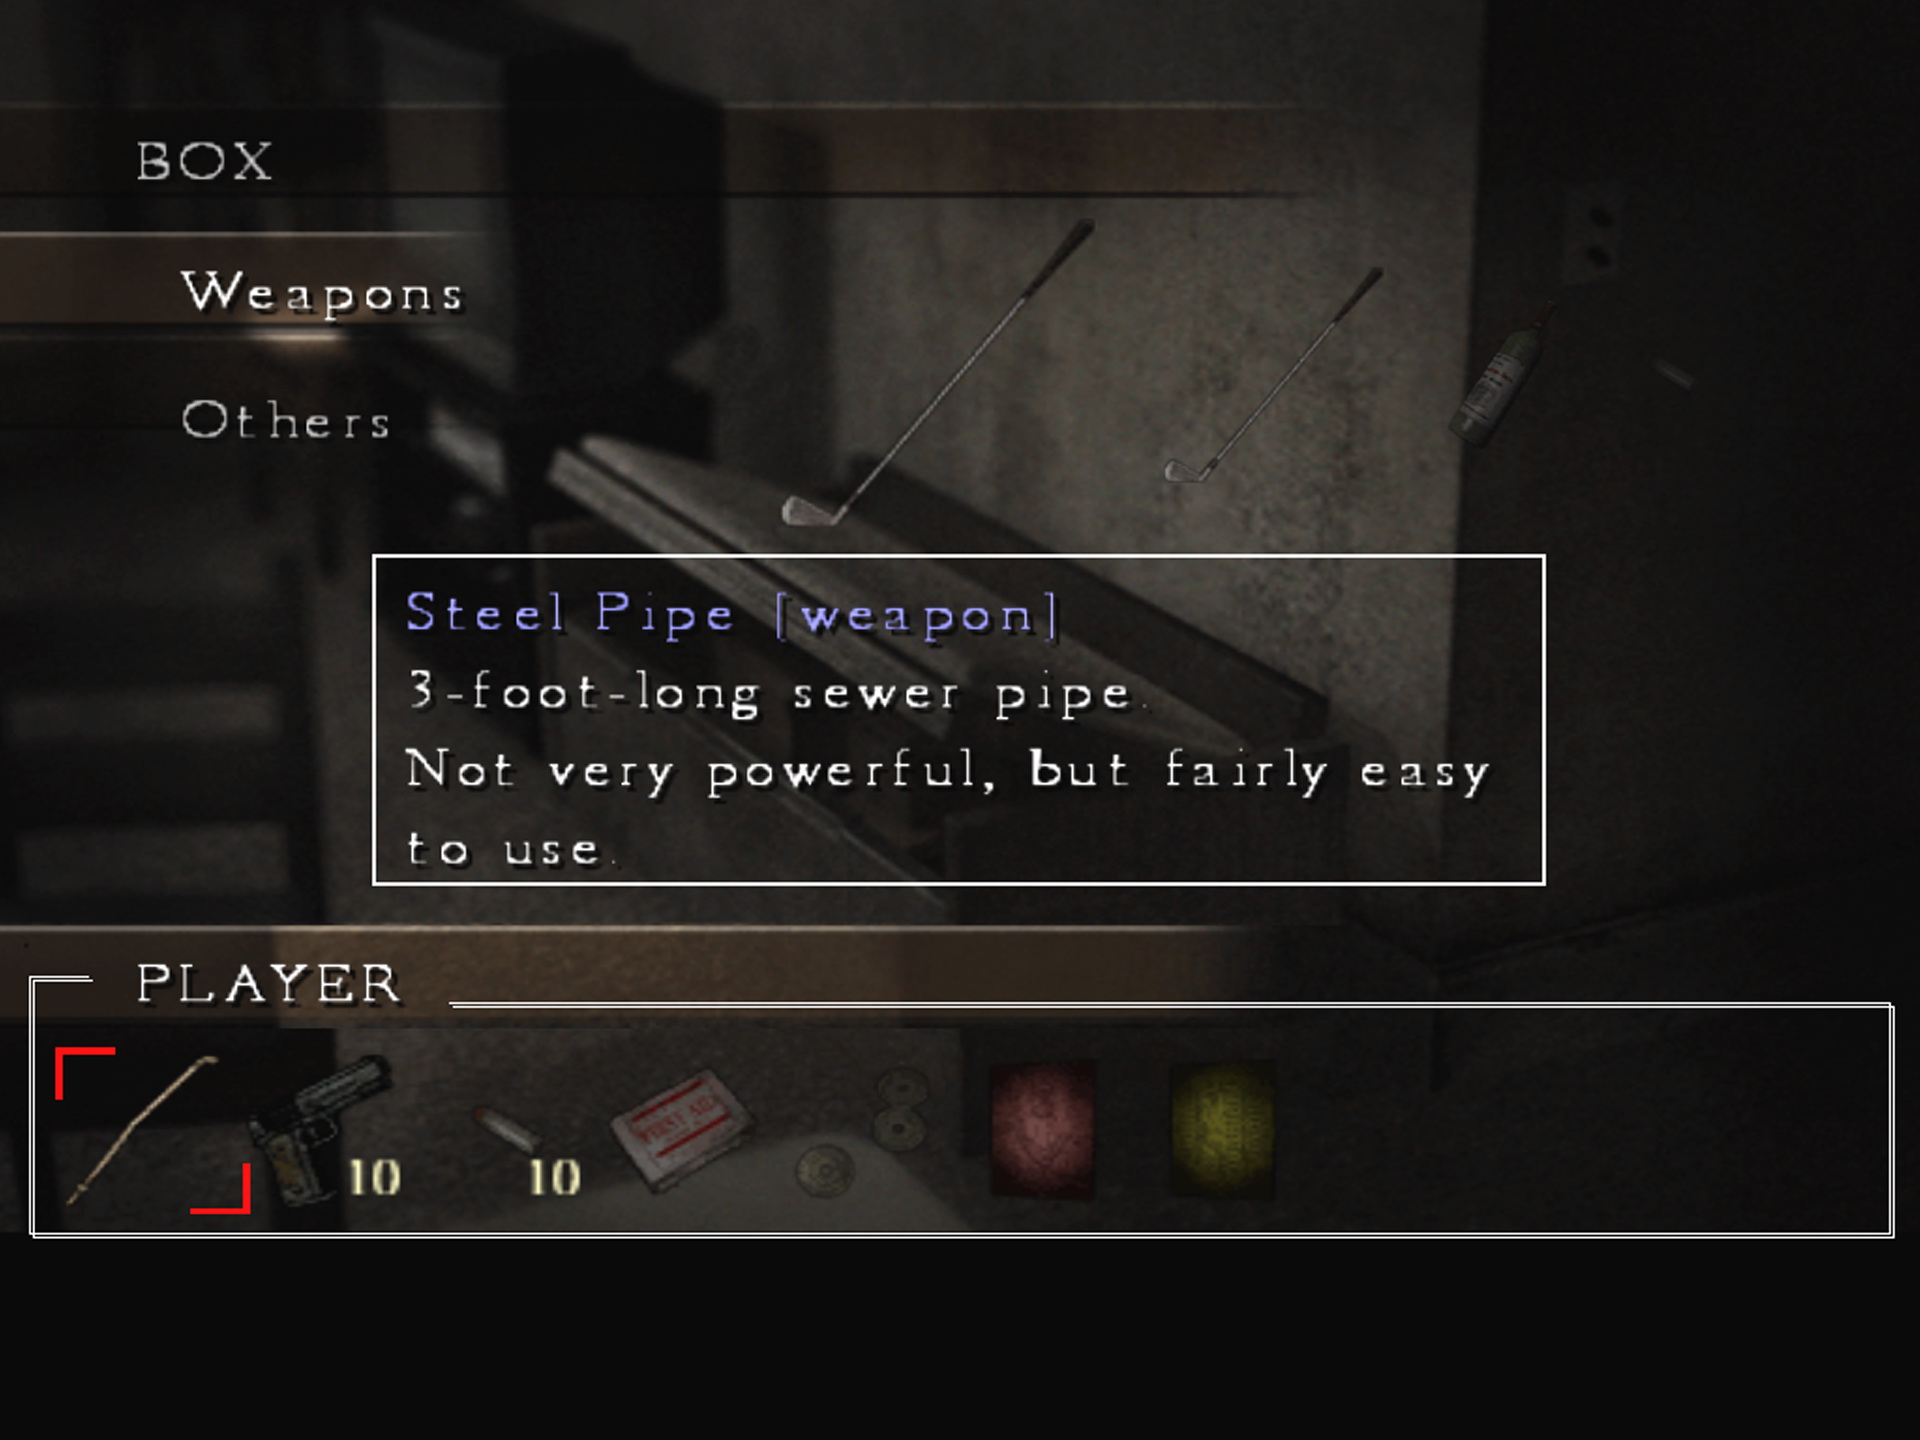
Scrapbook MenuAfter collecting any of the 52 memo items featured in the game, it will be added to your Scrapbook. Press Triangle during gameplay to access this menu, where you can scroll through a list of all memos collected and read whichever one as desired. Note that the Triangle function is shared between the Scrapbook and Map. Pressing Triangle while looking at one will switch over to the other, while Circle backs out of both. Whichever of the two you left open before exiting last will appear first when you press Triangle again. 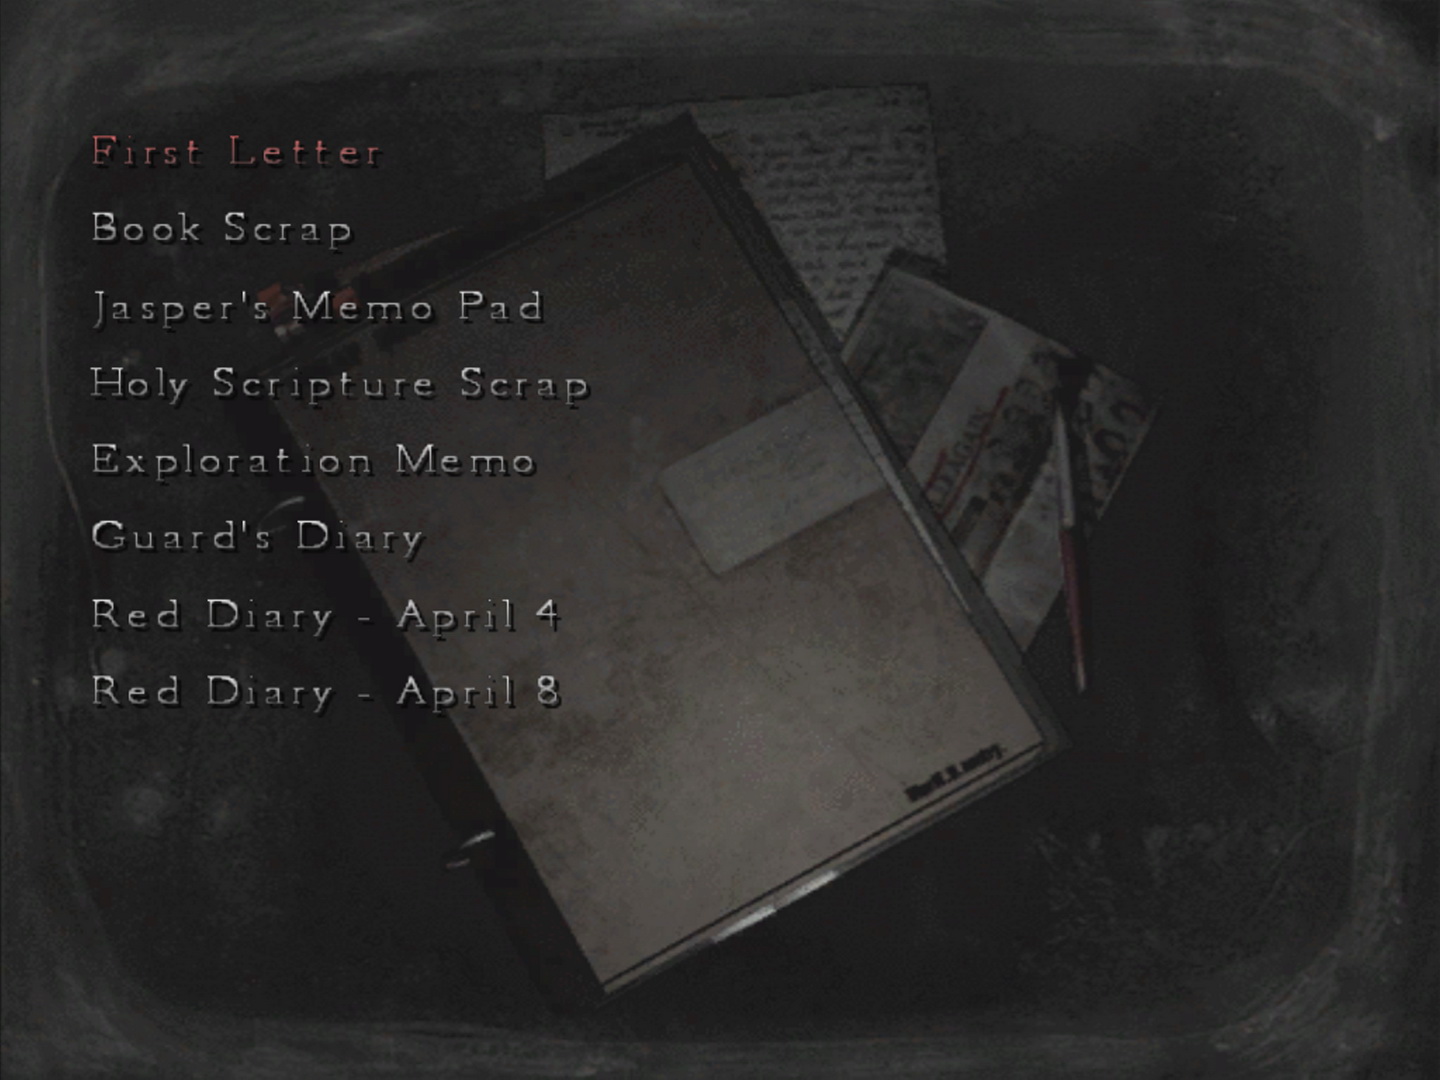
Pause MenuPress Start to pause during gameplay and access this menu which isn't much of anything but a pause screen where you can also view the Options Menu by pressing Triangle. This is because Options have been removed from the inventory menu like in previous games. Note that the game timer will stop when the game is paused like this. On PC, there are a few more options here to view the Scrapbook, Map or quit to the title screen. 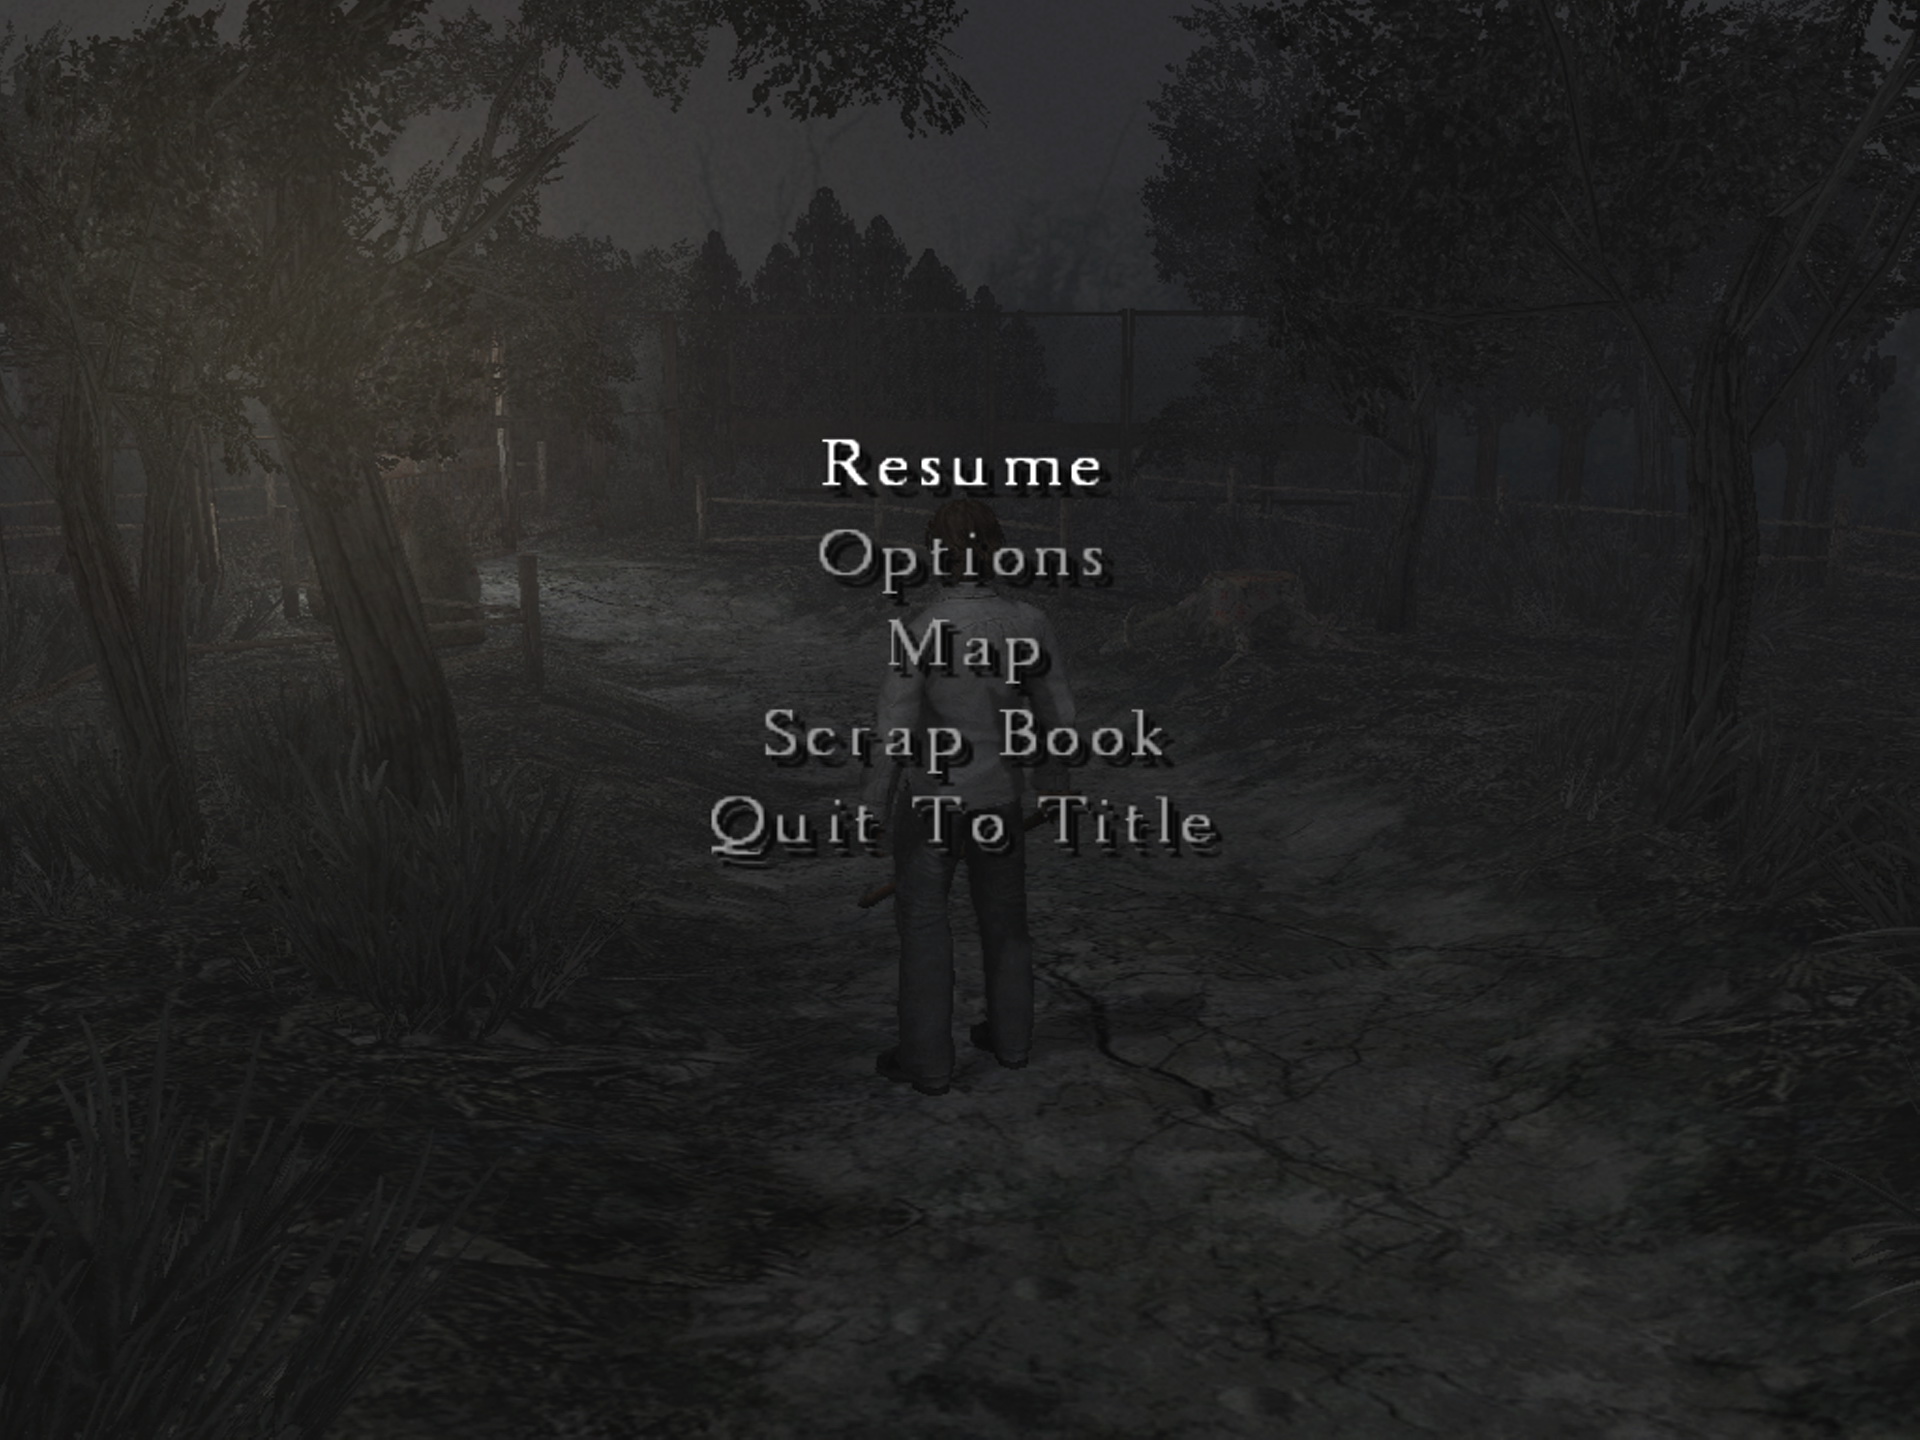
|
02. Game Basics
This section covers all the traditional basics of getting used to the game and its concepts. CameraThere have been a few changes to how the camera works this time after it remained relatively the same in the previous games. Most often it will follow Henry from behind and maintain a certain distance, but L2 works more directly now. Instead of shifting the camera behind Henry, it changes it instantly and generally resets it to a closer position behind him. This includes reflecting his new direction if it's changed. So if you wish to see the other way, just turn Henry around and press L2. Note that in some locations the camera will be set at an obscure angle or showcasing more of a full room than just Henry, but you can often shift it with L2. Additionally, L2 doesn't need to be held anymore to make small adjustments up, down, left and right. Instead, just use the right stick on its own this time, while L2 can reset your angle if needed. Using MapsAs always in Silent Hill, the map is your best friend. A difference this time is that Henry won't have to find any maps but instead will draw his own as he goes along, which has its benefits and drawbacks. You can't quite plan ahead of time without knowing what's to come, but it saves you from having to locate a map to get a sense of where you've been. Henry will mark an "X" over areas that are inaccessible, squiggly lines for jammed doors, solid lines for locked doors, and arrows over unlocked doors. If ever stuck, always refer to your map to help you. Game ConceptsRunning Ammo Conservation Conserving Health Items Melee Weapons Searching Areas Checking Doors Memos Codes Revisiting Areas Escorting Eileen Note that Eileen is a little slow due to her injuries and is easy to leave behind if not actively waiting for her, so you'll have to babysit her fairly often. If you neglect her too much, she may become dangerously possessed and slow you down even more, potentially inheriting some Ghost-like qualities that can harm you for brief periods. This will make it harder to receive one of the better endings at the end of the game. That said, you will find Eileen-only weapons to enlist her into combat and make her rather helpful. Using the Torch Soft ResetAs usual, Silent Hill 4 contains a soft reset function that lets you return to the main menu with a combination of button presses, since there's no way to do so in any menu (except on PC). To use soft reset, press and hold Start + Select + L1 + R1 + L2 + R2 at any time to return to the Main Menu. If you wish to return to the game after doing so, select Continue (which will add a continue to your stats), or load a save file. This is helpful if you've made a mistake and wish to try again by loading a previous save. |
03. Combat Strategies
Within this section are strategies for killing each enemy and general fighting strategies, as well as important things to note. Targeting Enemies Kicking Enemies Fighting Multiple Enemies Try to focus on one enemy at a time and rush to kick it before anything else, then turn to the next one. Otherwise, while the Pistol can't be relied upon all the time with limited ammo and inventory space, it's a great backup weapon for when things get too crazy. Just pull it out and fire away. Always deliver stomps as quick as FedEx and repeat until things are clear. Otherwise if things are too bananas, just run away and move on. Pushing Enemies Surrounded Otherwise, turn to the Pistol to quickly kill an enemy or two and go from there. Lastly, go with your best melee weapon's charge up attack to knock down two or more enemies at once, and always be quick to stomp or you'll just delay more trouble. Once you've handled at least one or two enemies you'll often be able to escape, or you can just stay and finish off the job. Charge Up Attacks At the top of your screen beside your health bar is the charge up meter. Hold R2 to ready your weapon and X to charge that meter, then release once it flashes. Note that you can even charge between regular attacks with efficient button pressing, making regular-regular-special an effective combo. With some weapons it's a 360 swing that must be performed from up close, while others have their own special style. Some weapons have more powerful and useful charge up attacks than others, like say the Rusty Axe. Not only is it very powerful, it allows Henry to take a few steps first. This makes it fantastic to attack from a safe range and you won't take any damage while performing the attack. While most do have special attacks, some weapons like the Wine Bottle, Stun Gun, Bug Spray and Torch just have the one attack. But try to give every other weapon a try and see which special attack appeals to you the most. Managing Unkillable Enemies Eventually you will find Swords of Obedience which you can use to stab them and keep them out of commission as long as they're pinned. Do note you'll usually need to knock Ghosts down several times before you can use these swords, at least by normal means. You'll also find Holy Candles which are multi-purpose but one use is to place one (or two) by a Ghost and watch it drop the Ghost to be stabbed without any other action. Alternatively, a couple Silver Bullets can be found later in the game that will down Ghosts immediately but also only temporary. These are best saved for the toughest Ghosts and only if you have a sword to stab them. Otherwise, other unkillable enemies such as Wheelchairs (which damage you when nearby like Ghosts) and the Man with the Coat should be avoided entirely and cannot be taken care of in the same manner. They can however be downed and put offline for short periods but they'll never be gone for good. Learn to swallow your pride and run away while you can. Switching Default Control Hopping To do so, press down and Circle while holding R2 to hop backwards, or left or right with Circle to hop to either side. If you sense an enemy is about to attack and you don't have much time to run away, or if you attack and miss, turn to this method for a quick escape. Give it a try and see what you think. |
04. Room 302
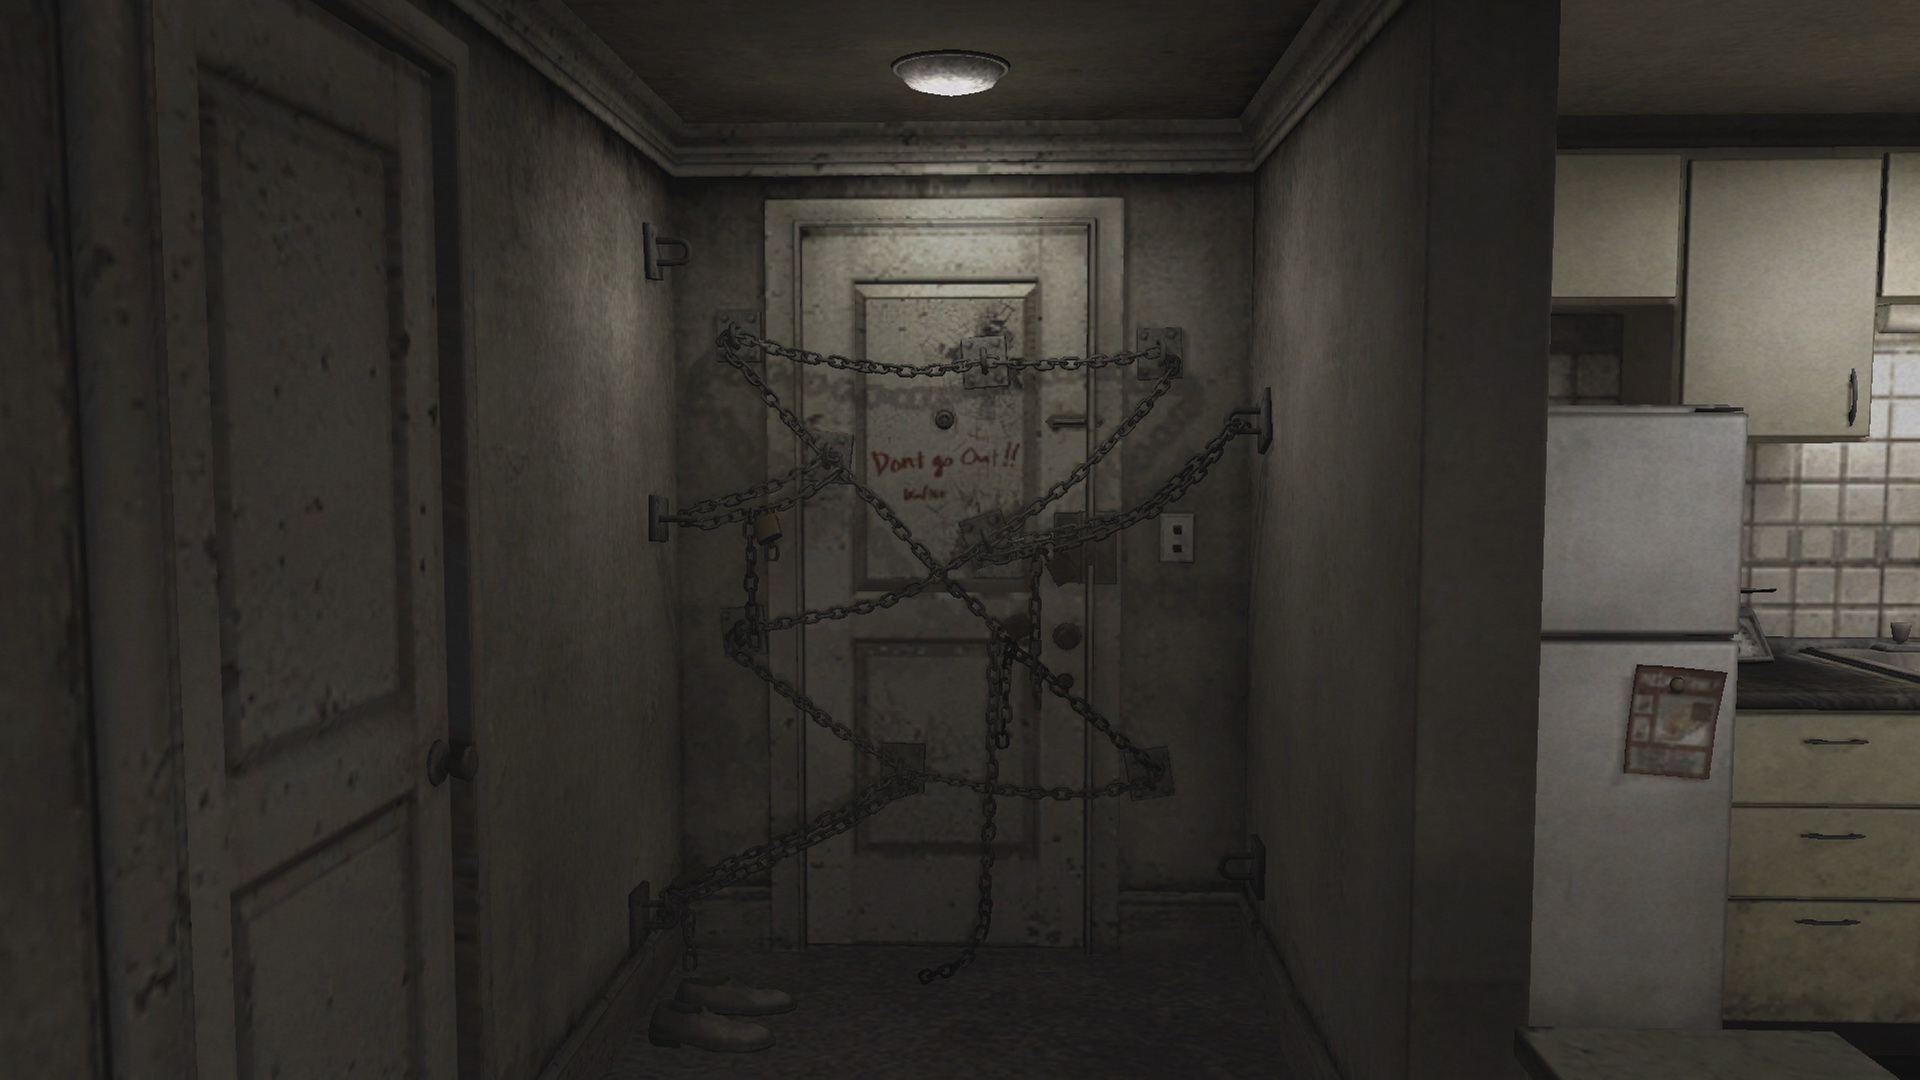
This is where Silent Hill 4 differs from the previous games the most, and why it has "The Room" in its title. Rather than simply progressing through a series of traditional levels like before, Henry will return to Room 302 on the regular. His main goal is to escape the room and he does manage long trips in the outside world, but ultimately Room 302 keeps serving as a hub to help him ultimately achieve his goal. Despite being trapped within the room, it's also very helpful and serves as a safe haven in the first half by recharging your health, but also allows you to save, store and retrieve items, collect memos and observe many things happening in the surrounding building, hall and apartment next door. This section covers everything you need to know about "The Room", otherwise known as Room 302. RoomsFirst let's cover the basics of each room and what options you have in each. |
 Front Hall |
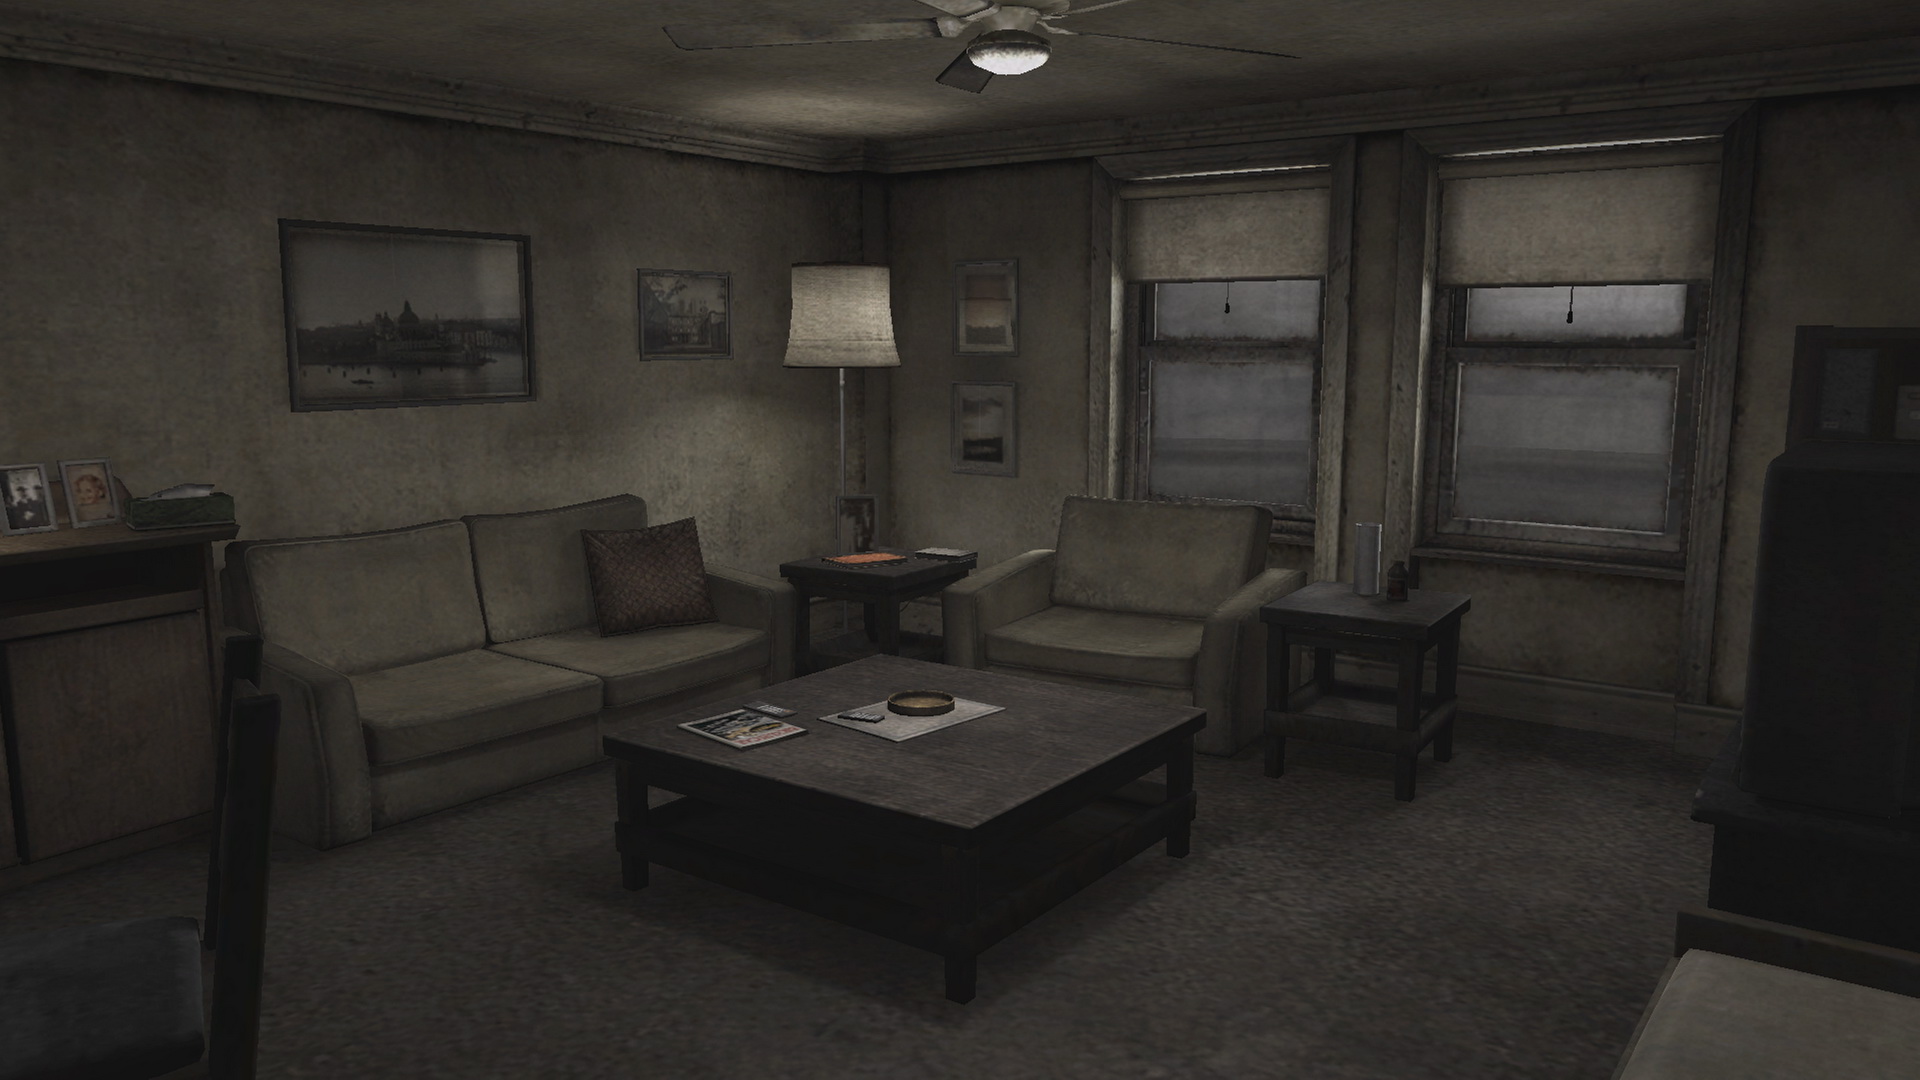 Living Room |
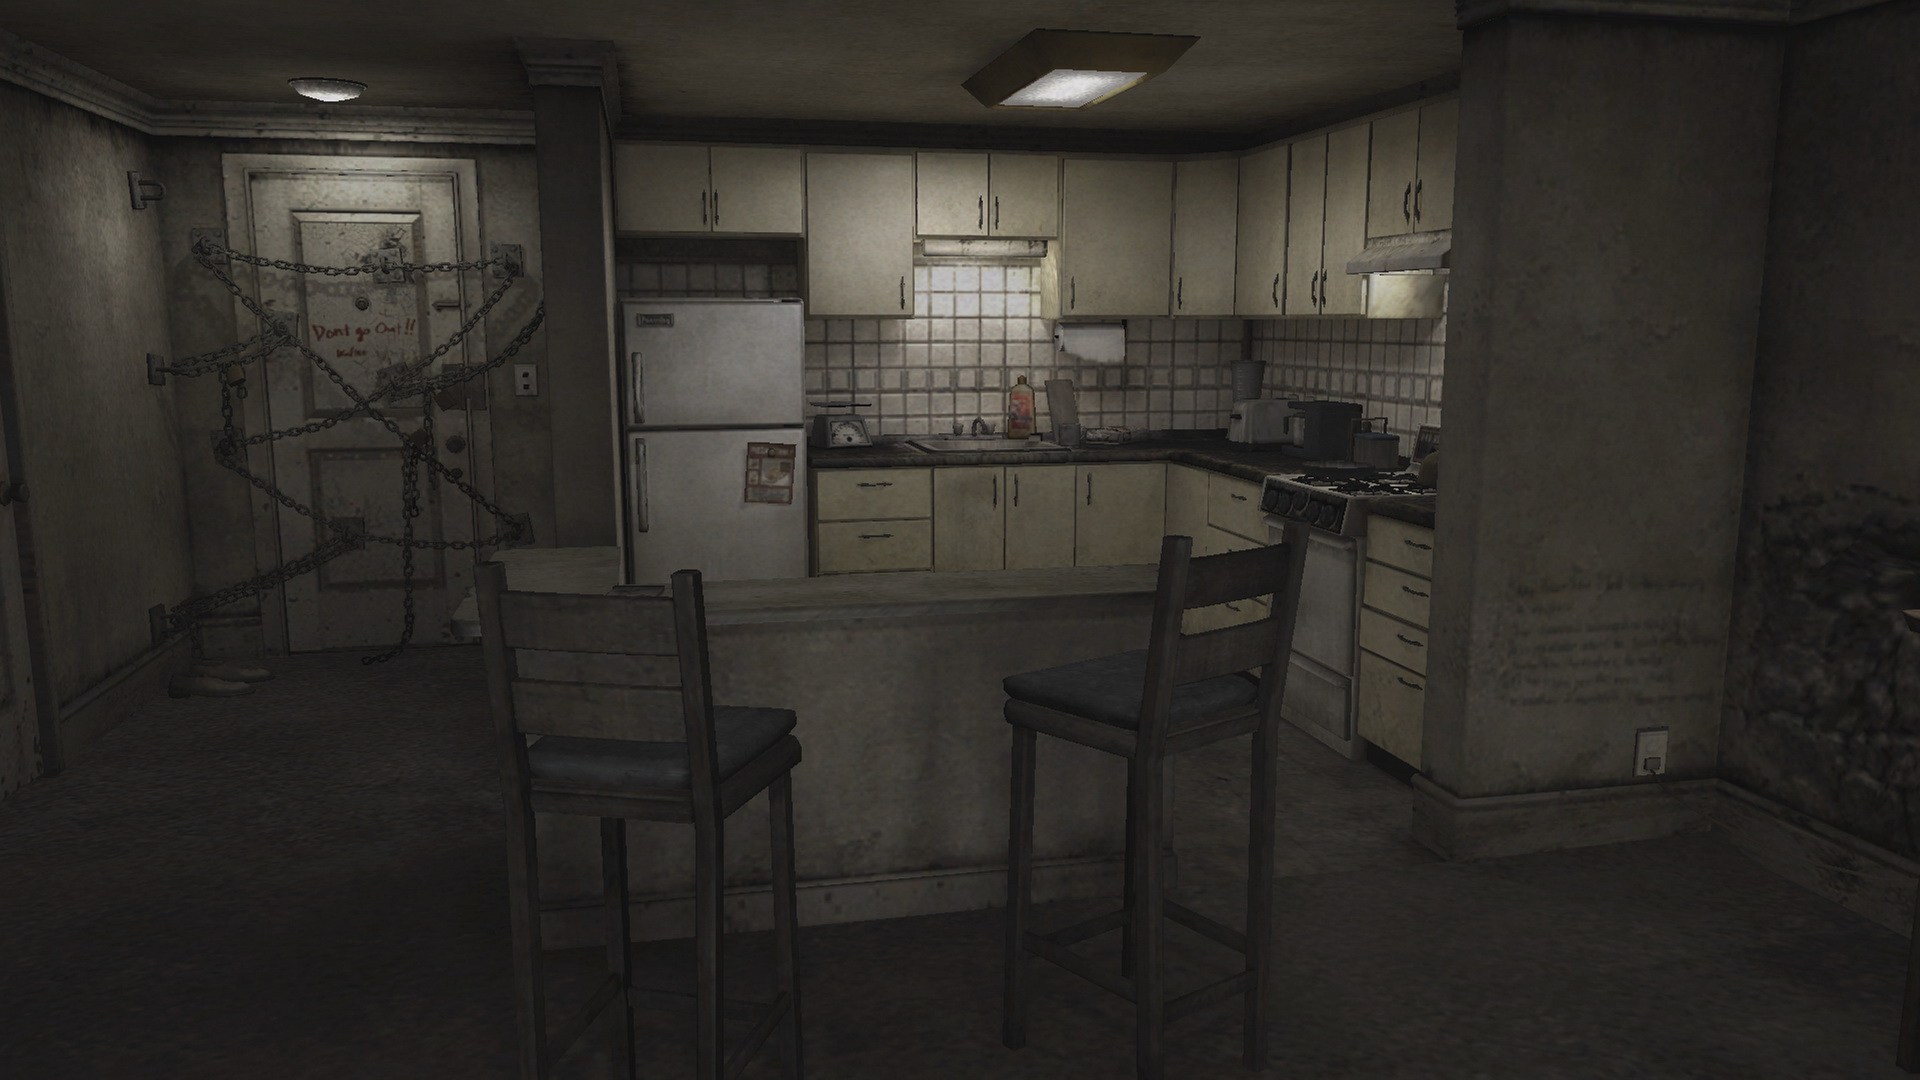 Kitchen |
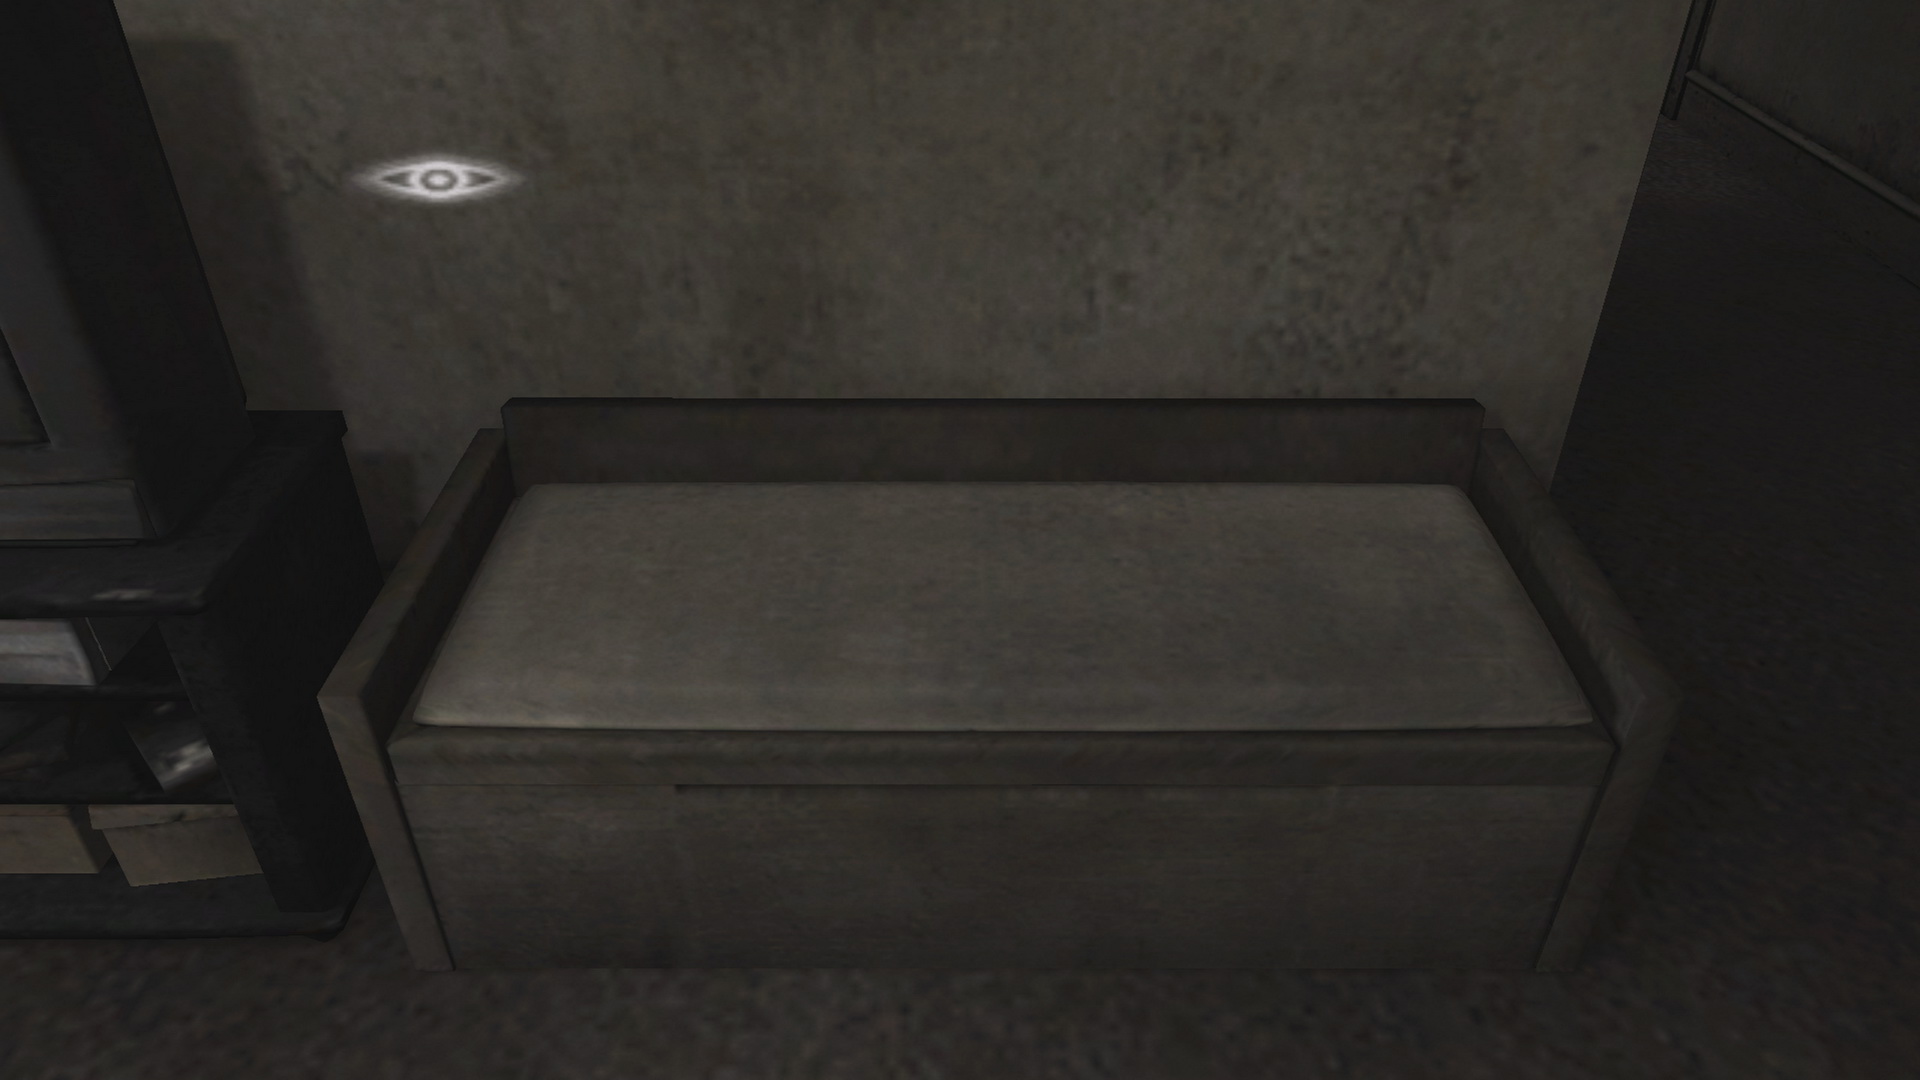
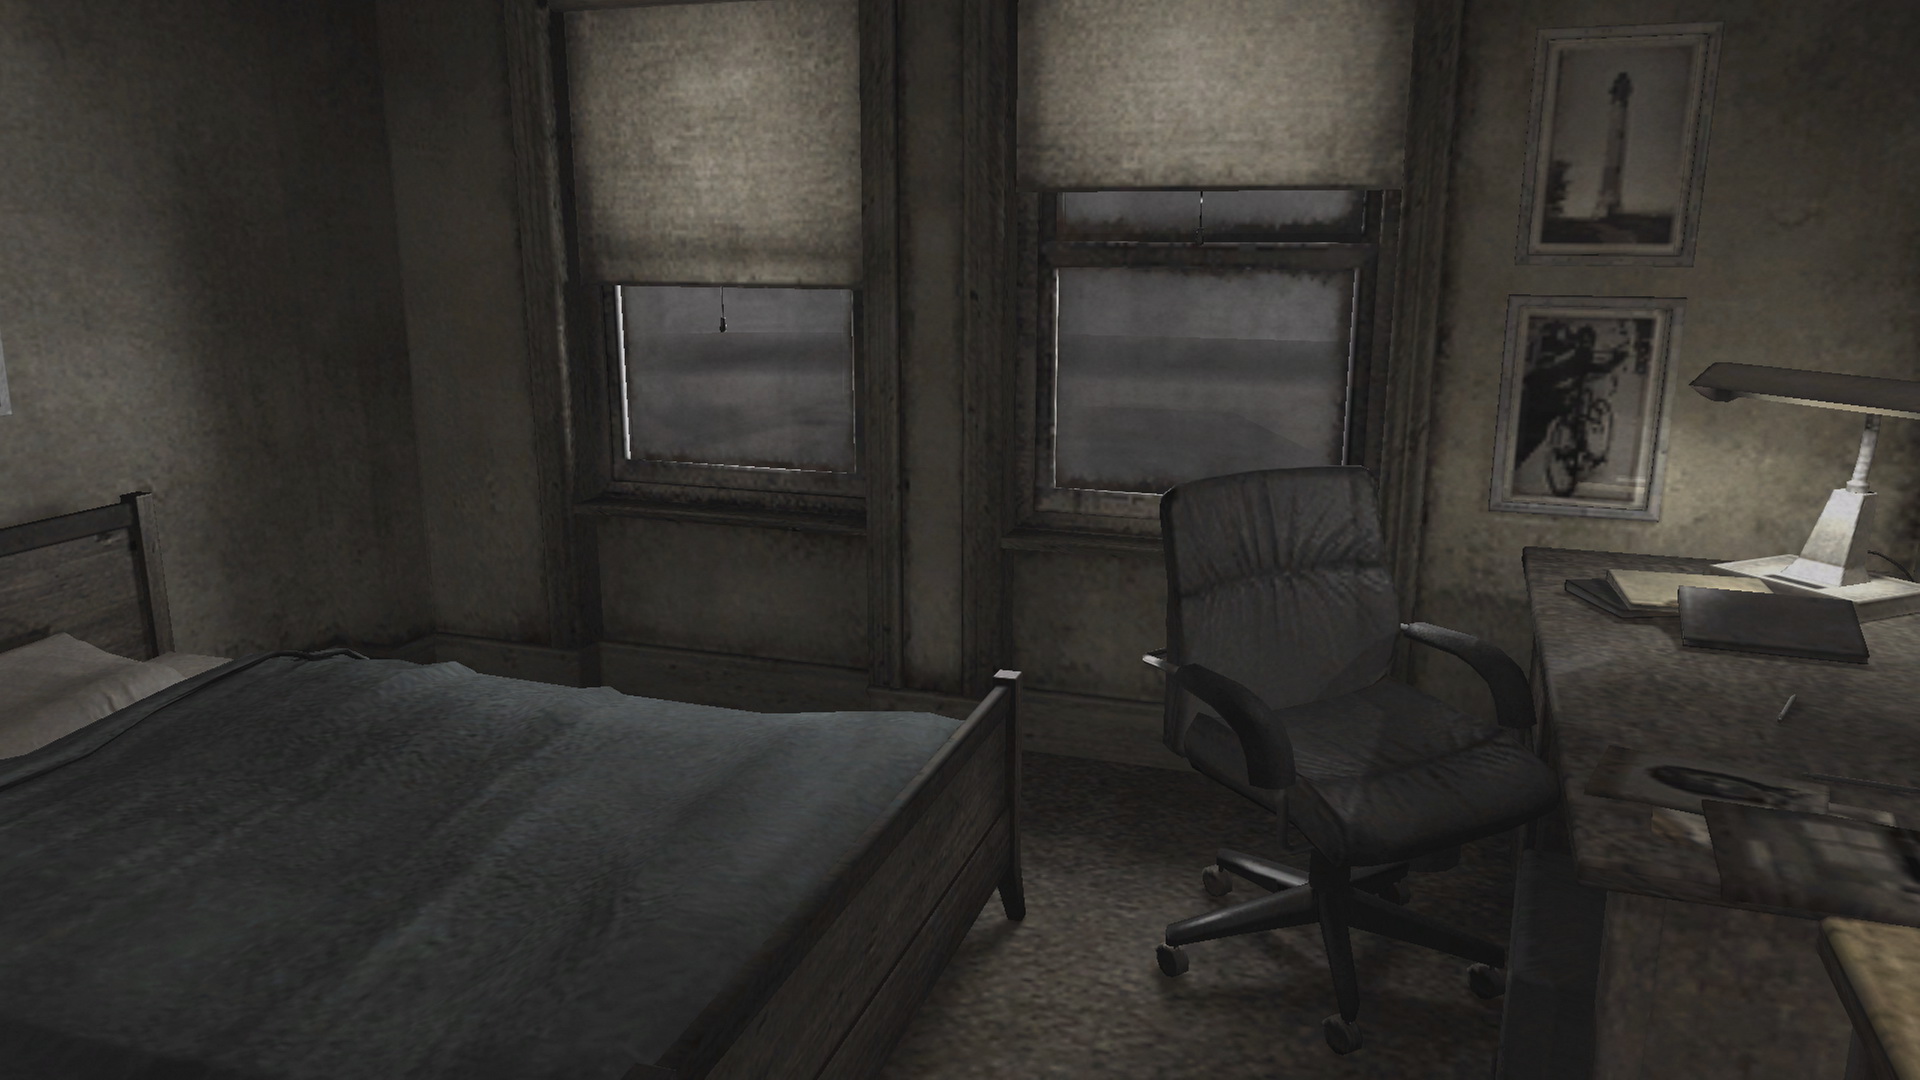 Bedroom |
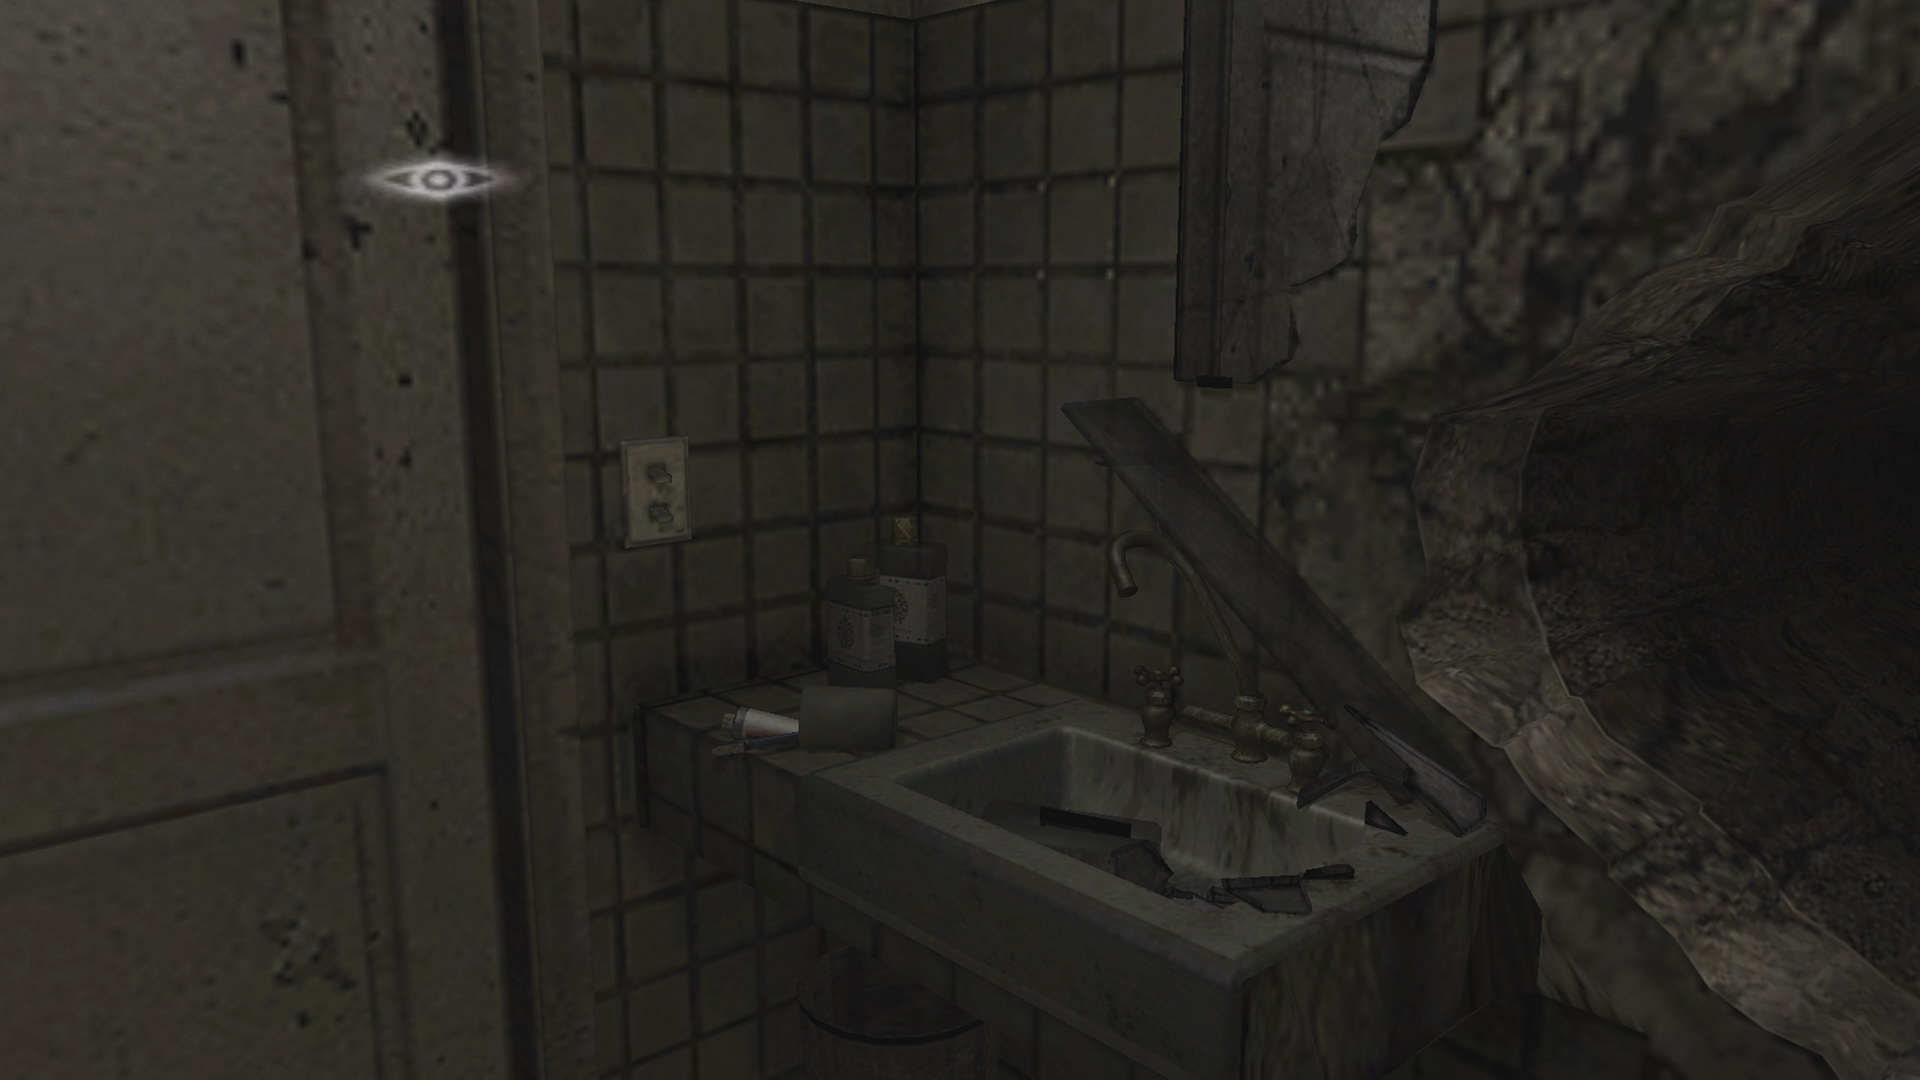 Washroom |
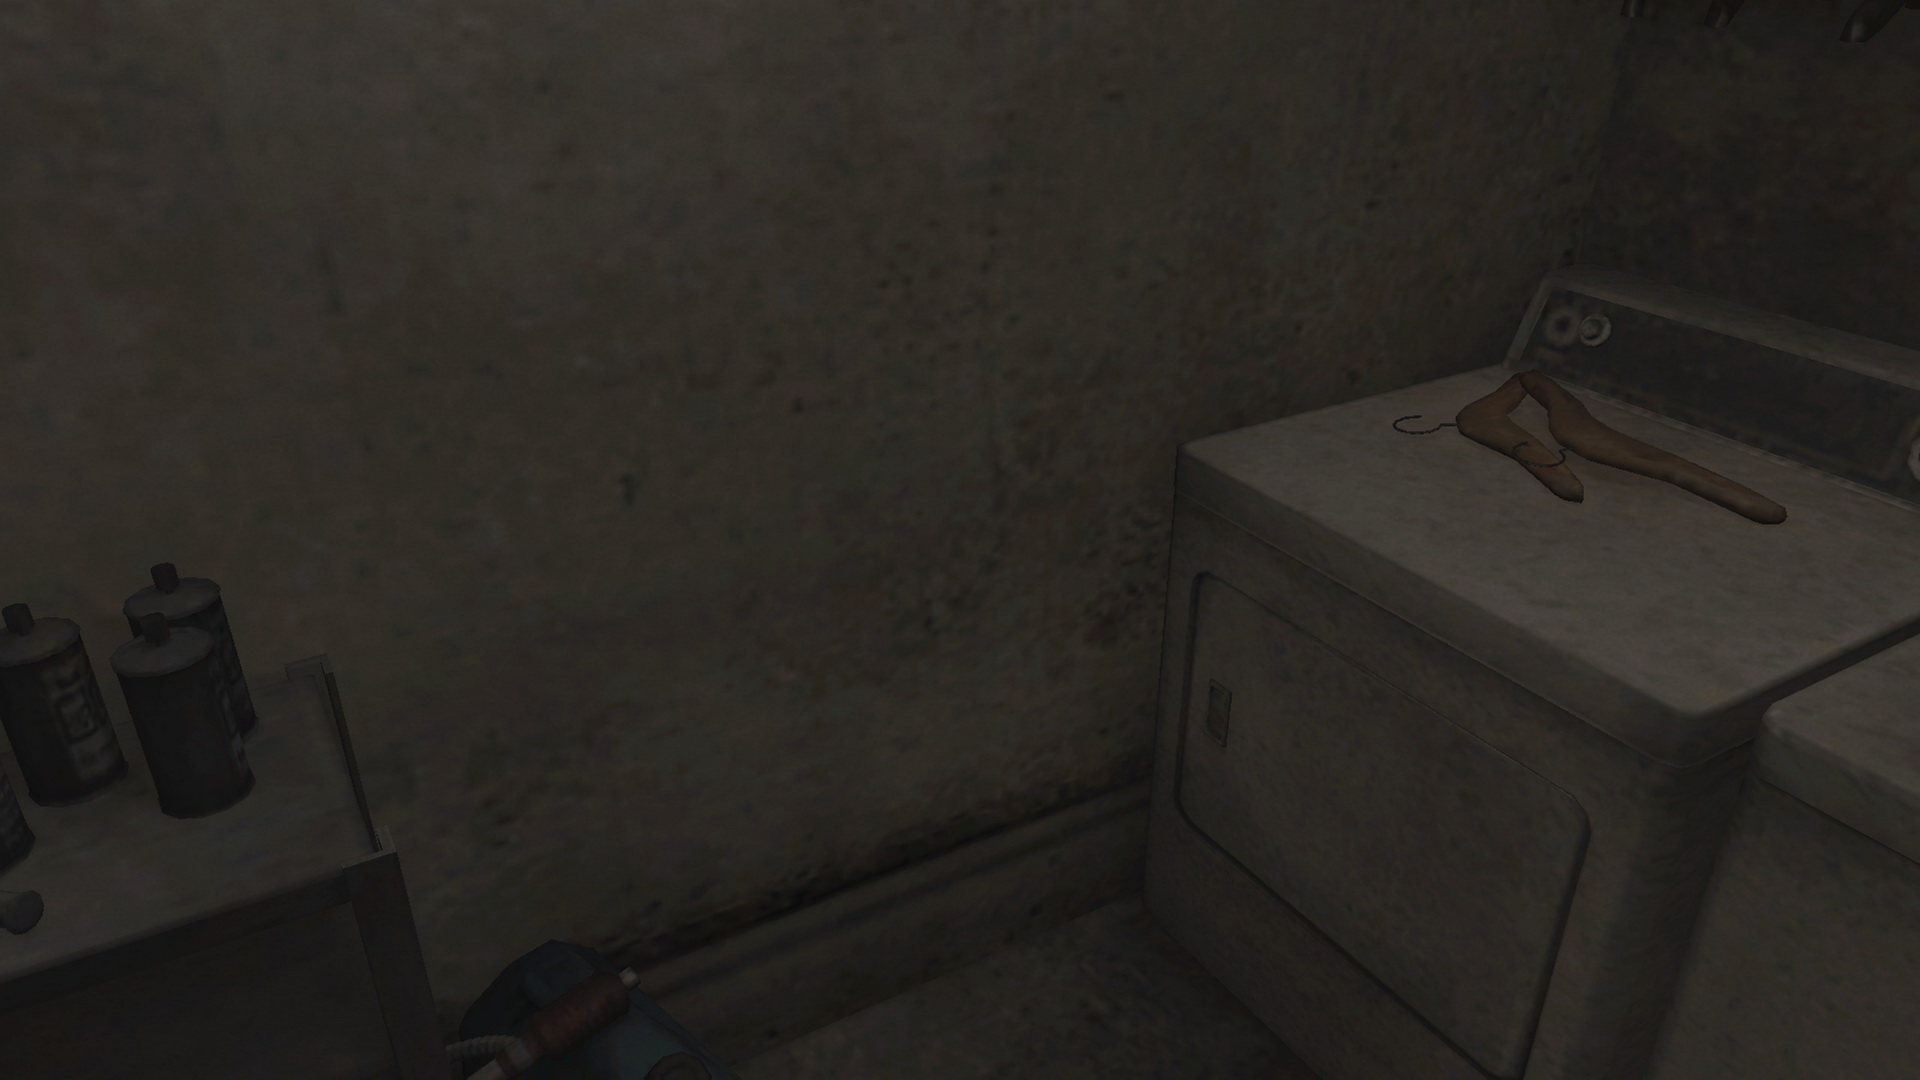 Laundry Room |
Points of Interests |
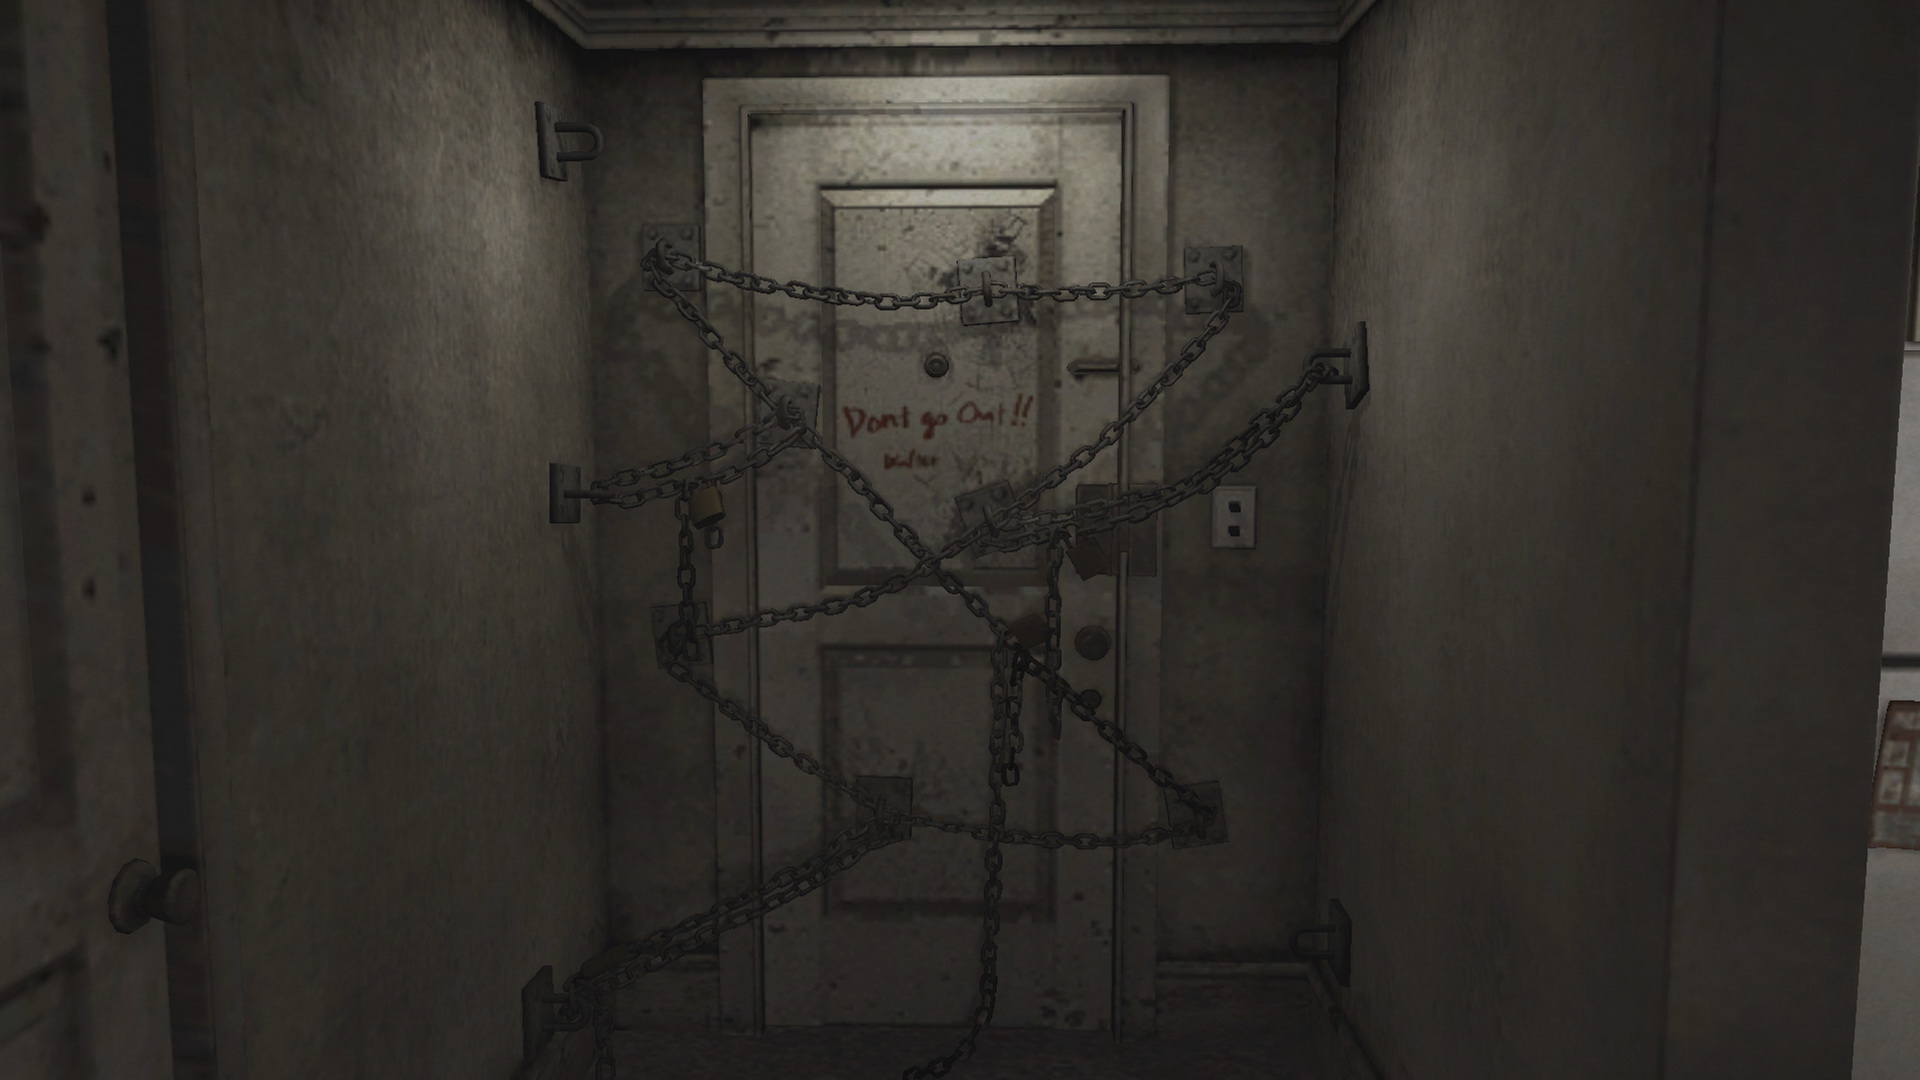 Front Door |
 Item Chest |
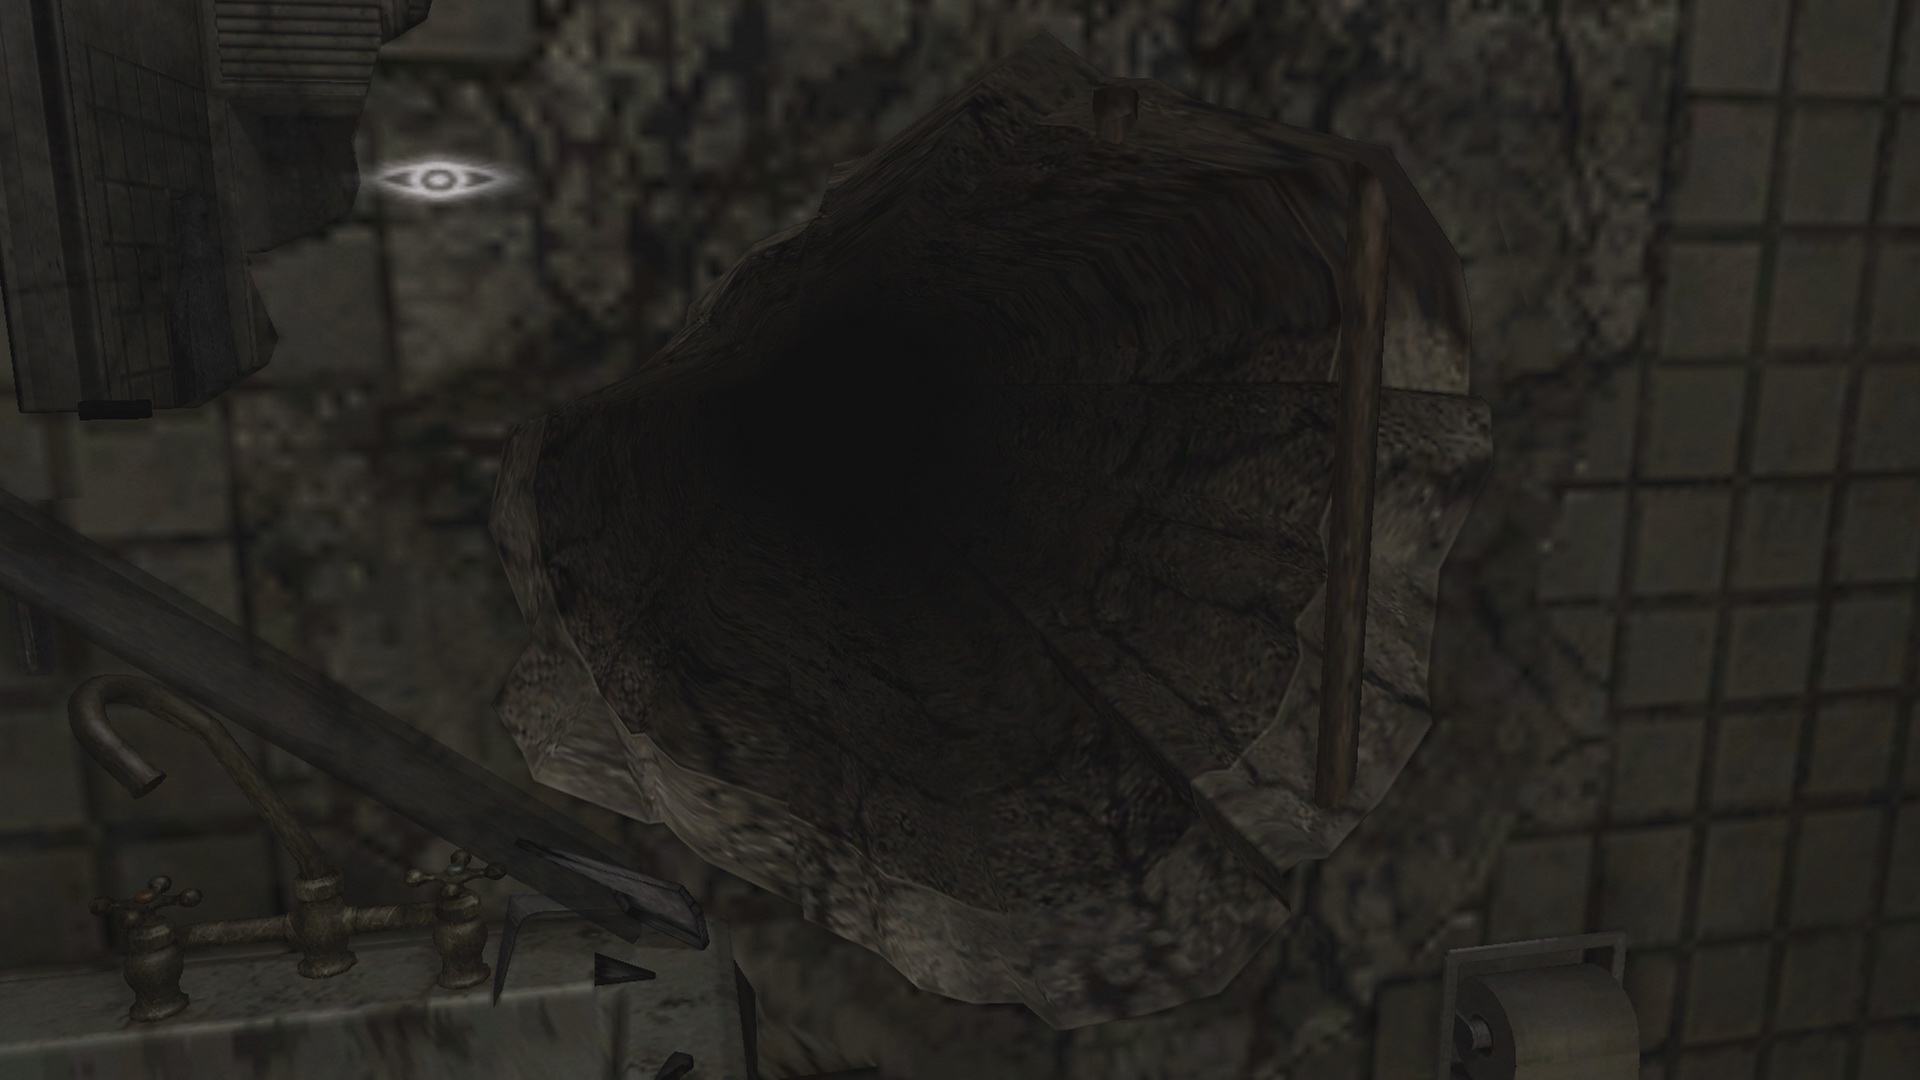 Portal |
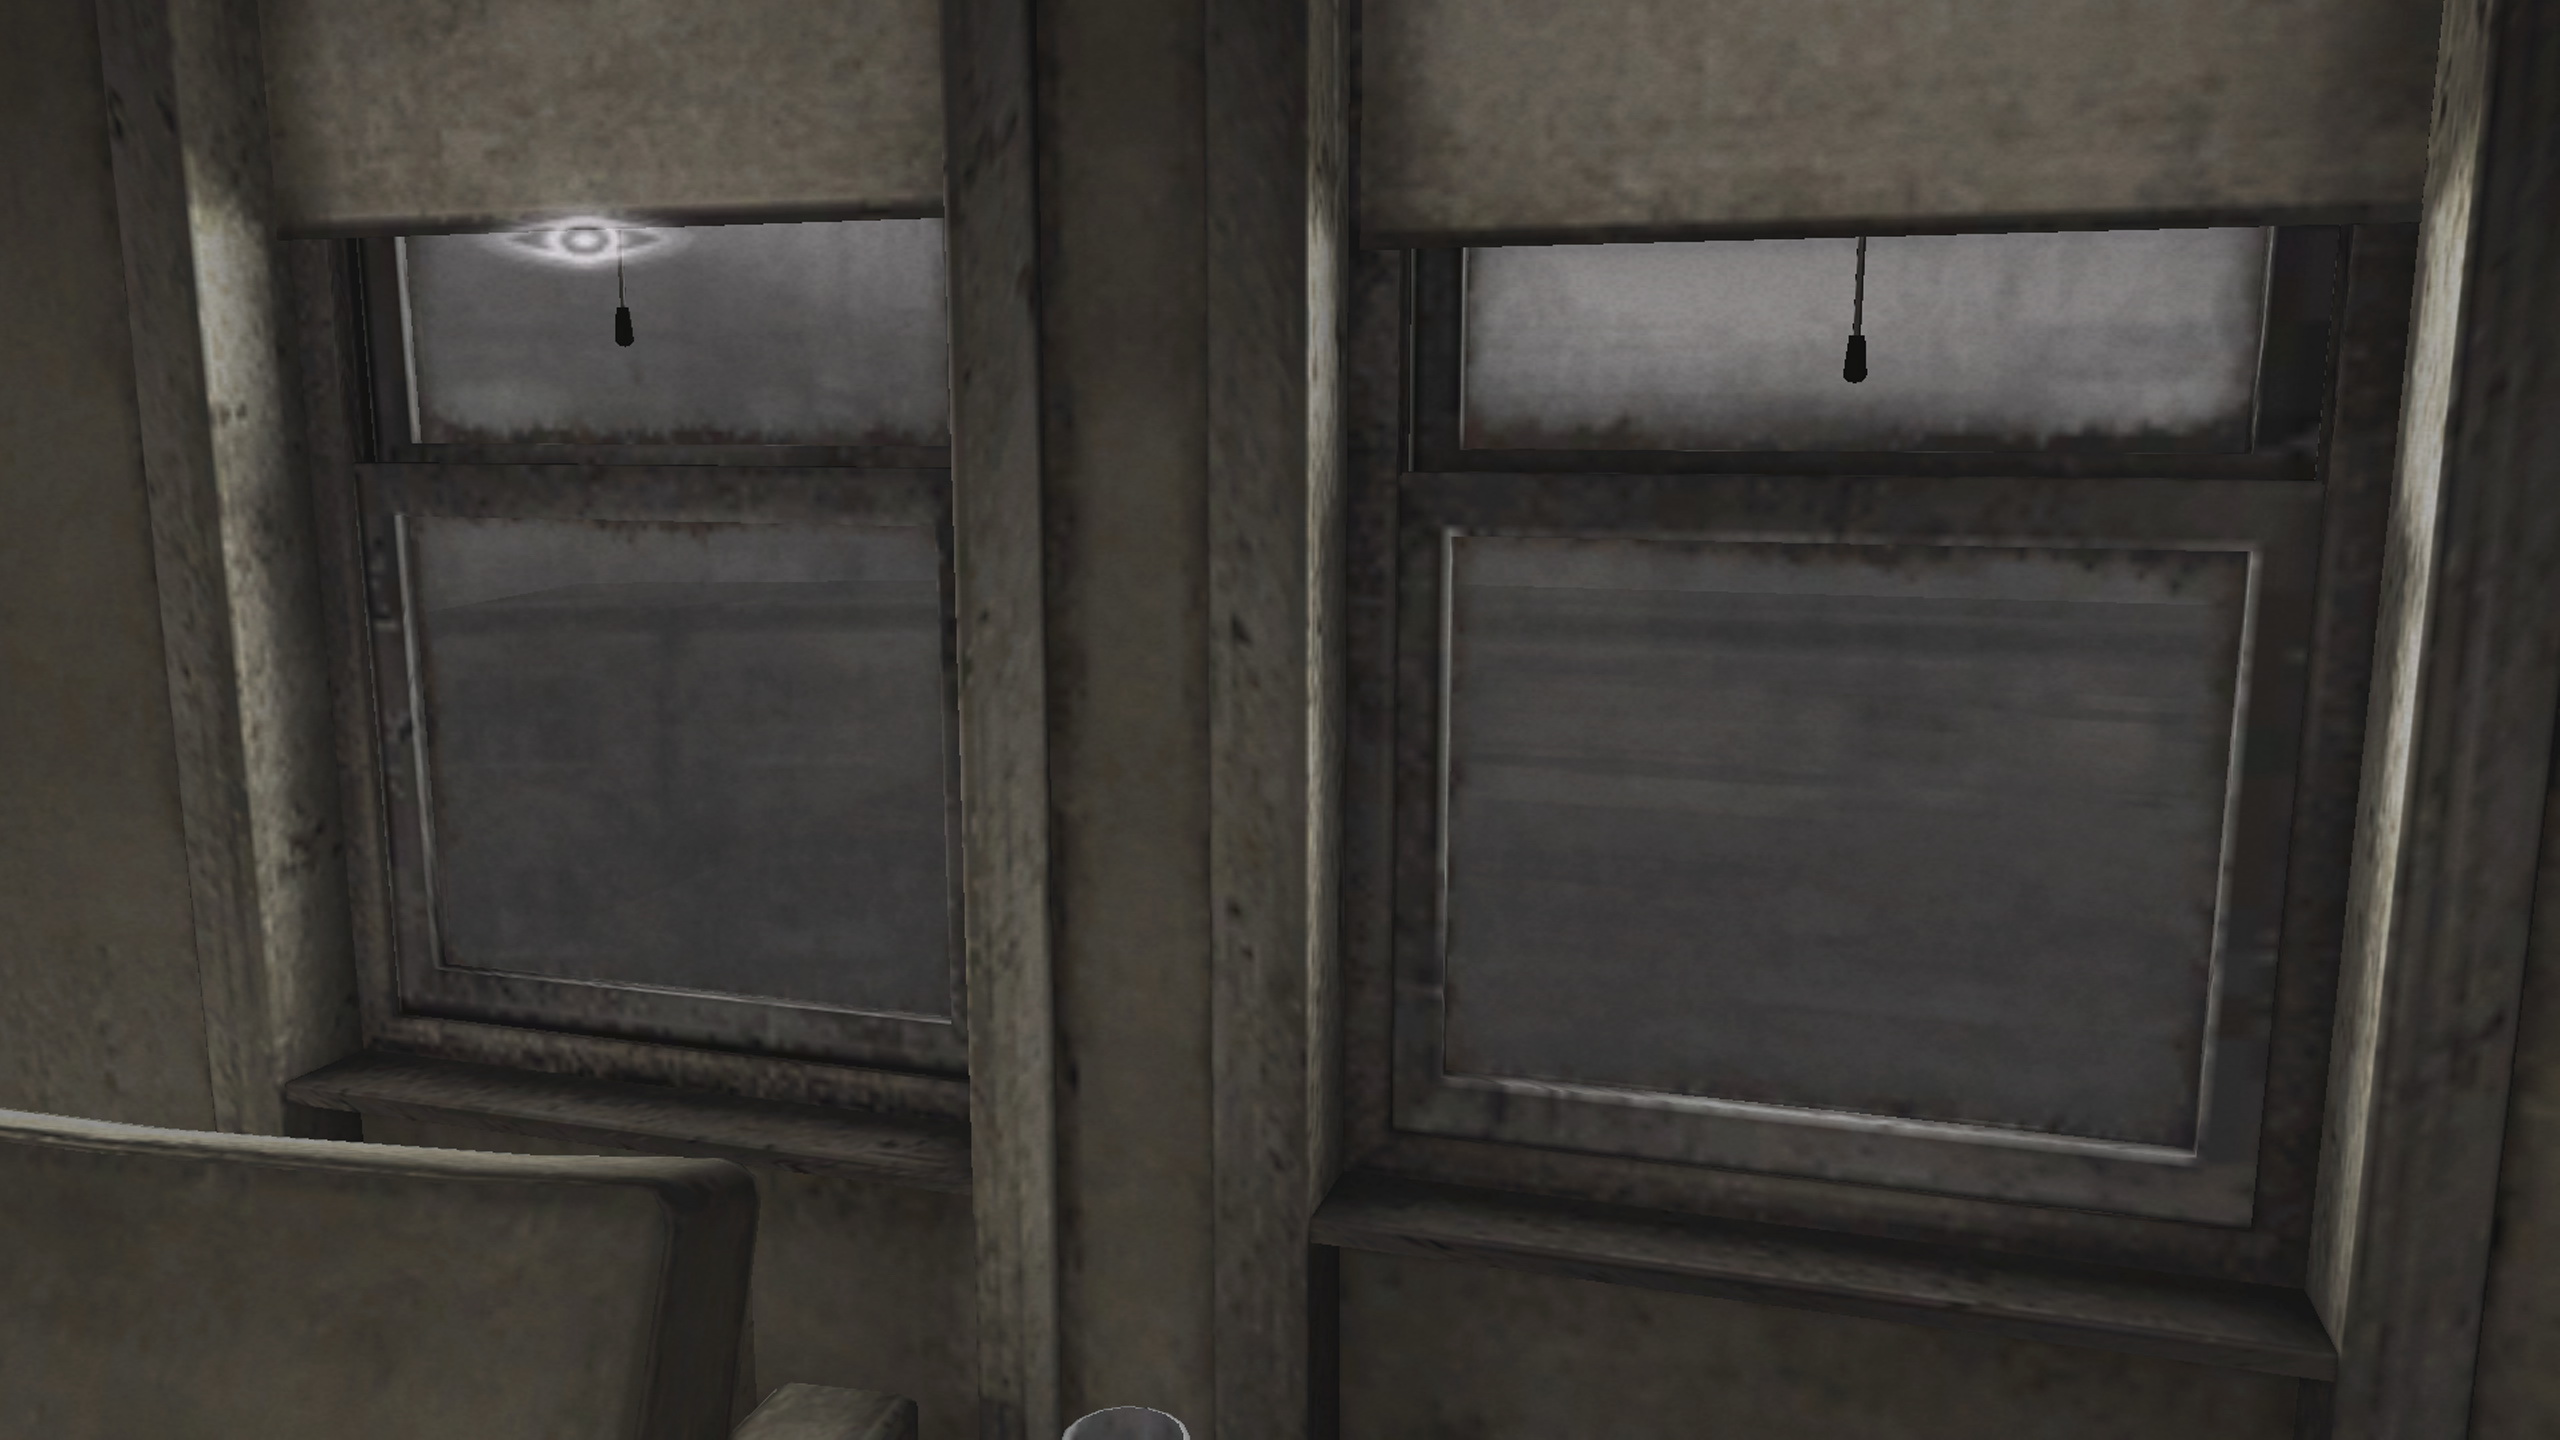 Windows |
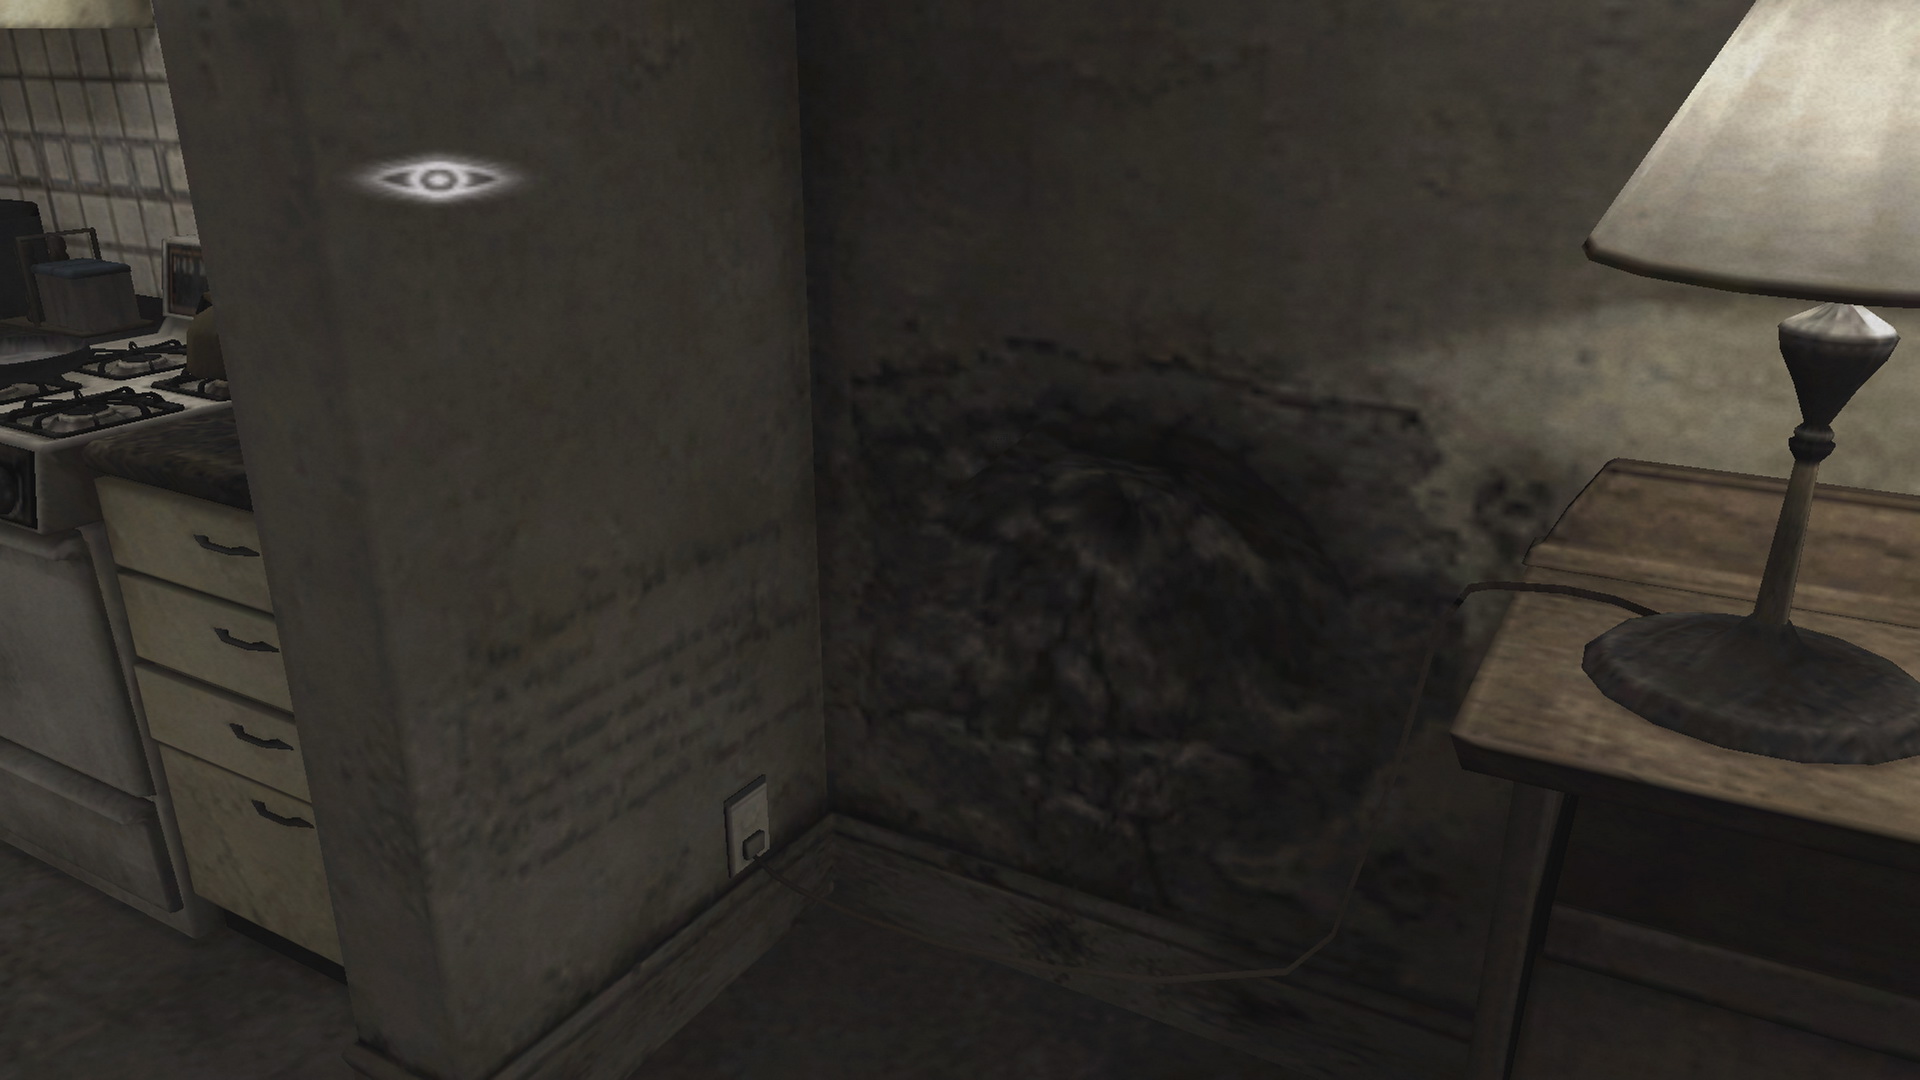 Eileen Peephole |
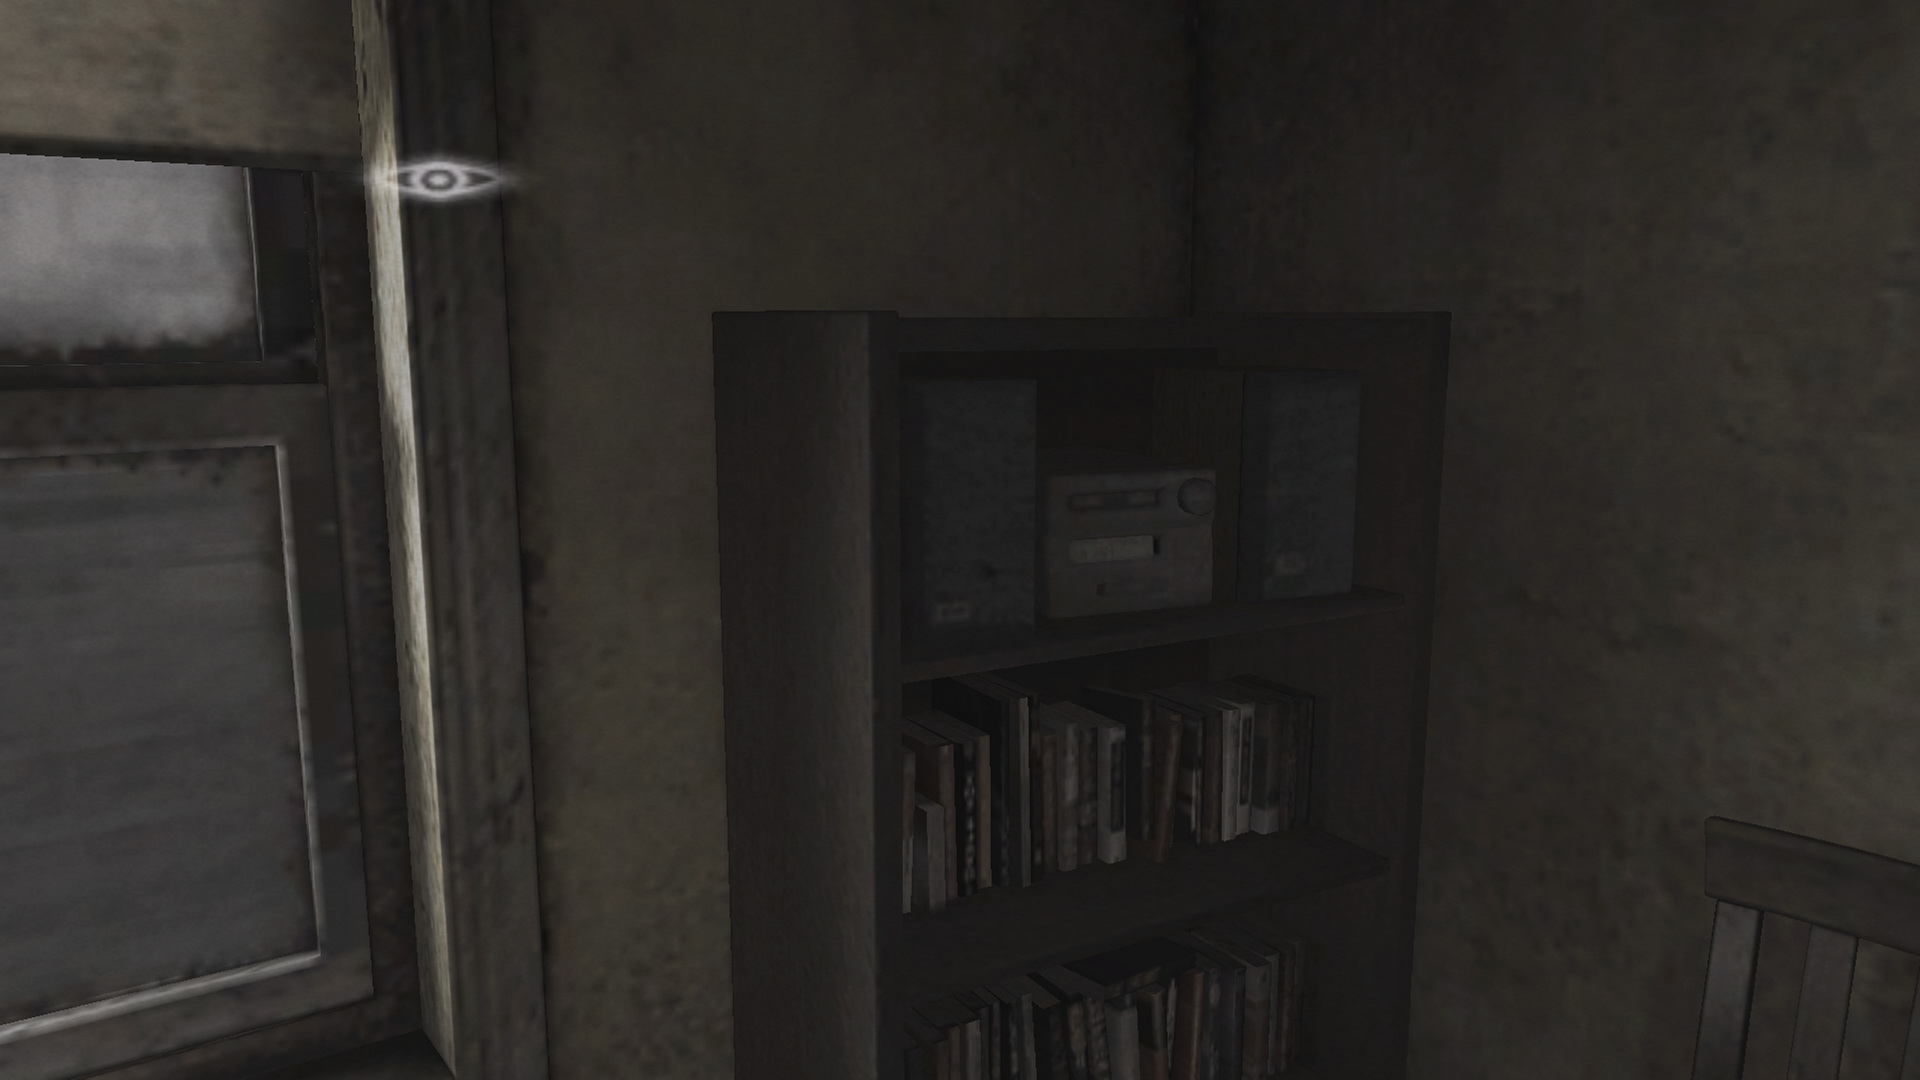 Radio |
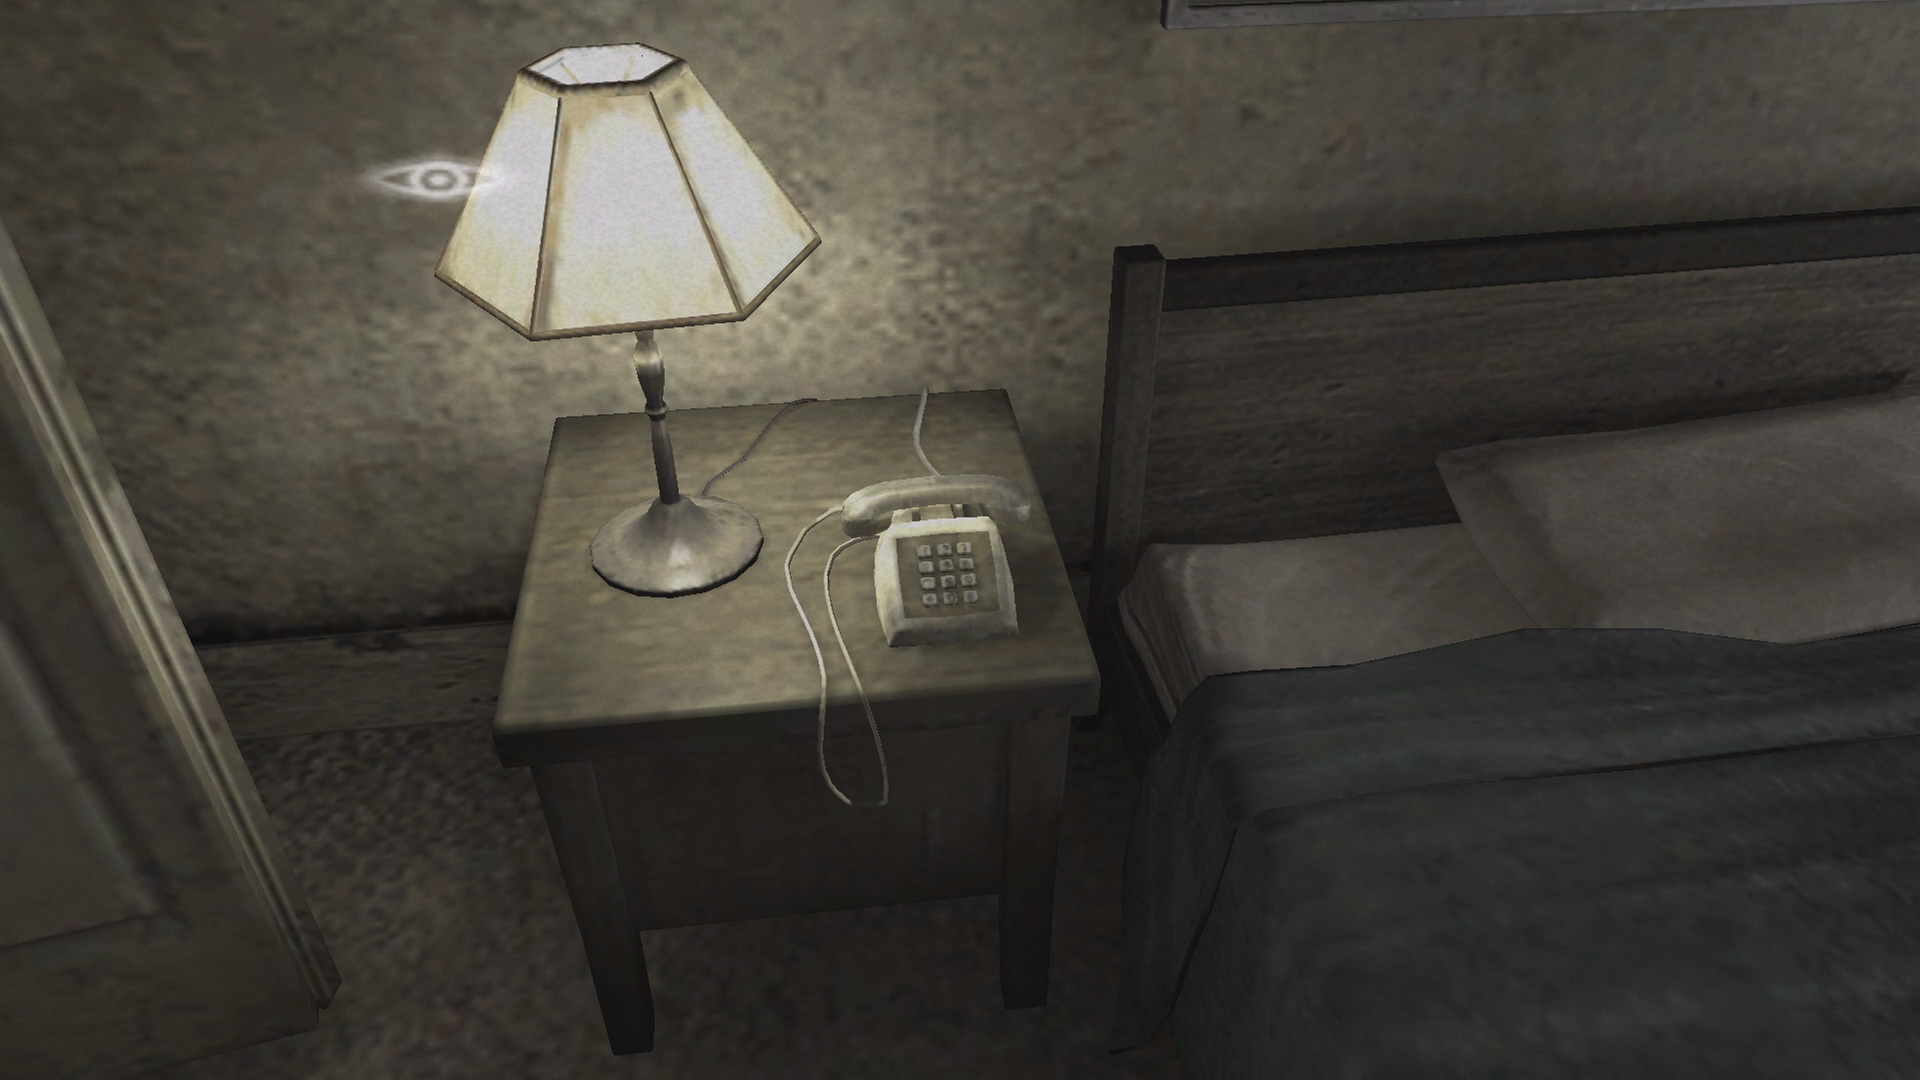 Telephone |
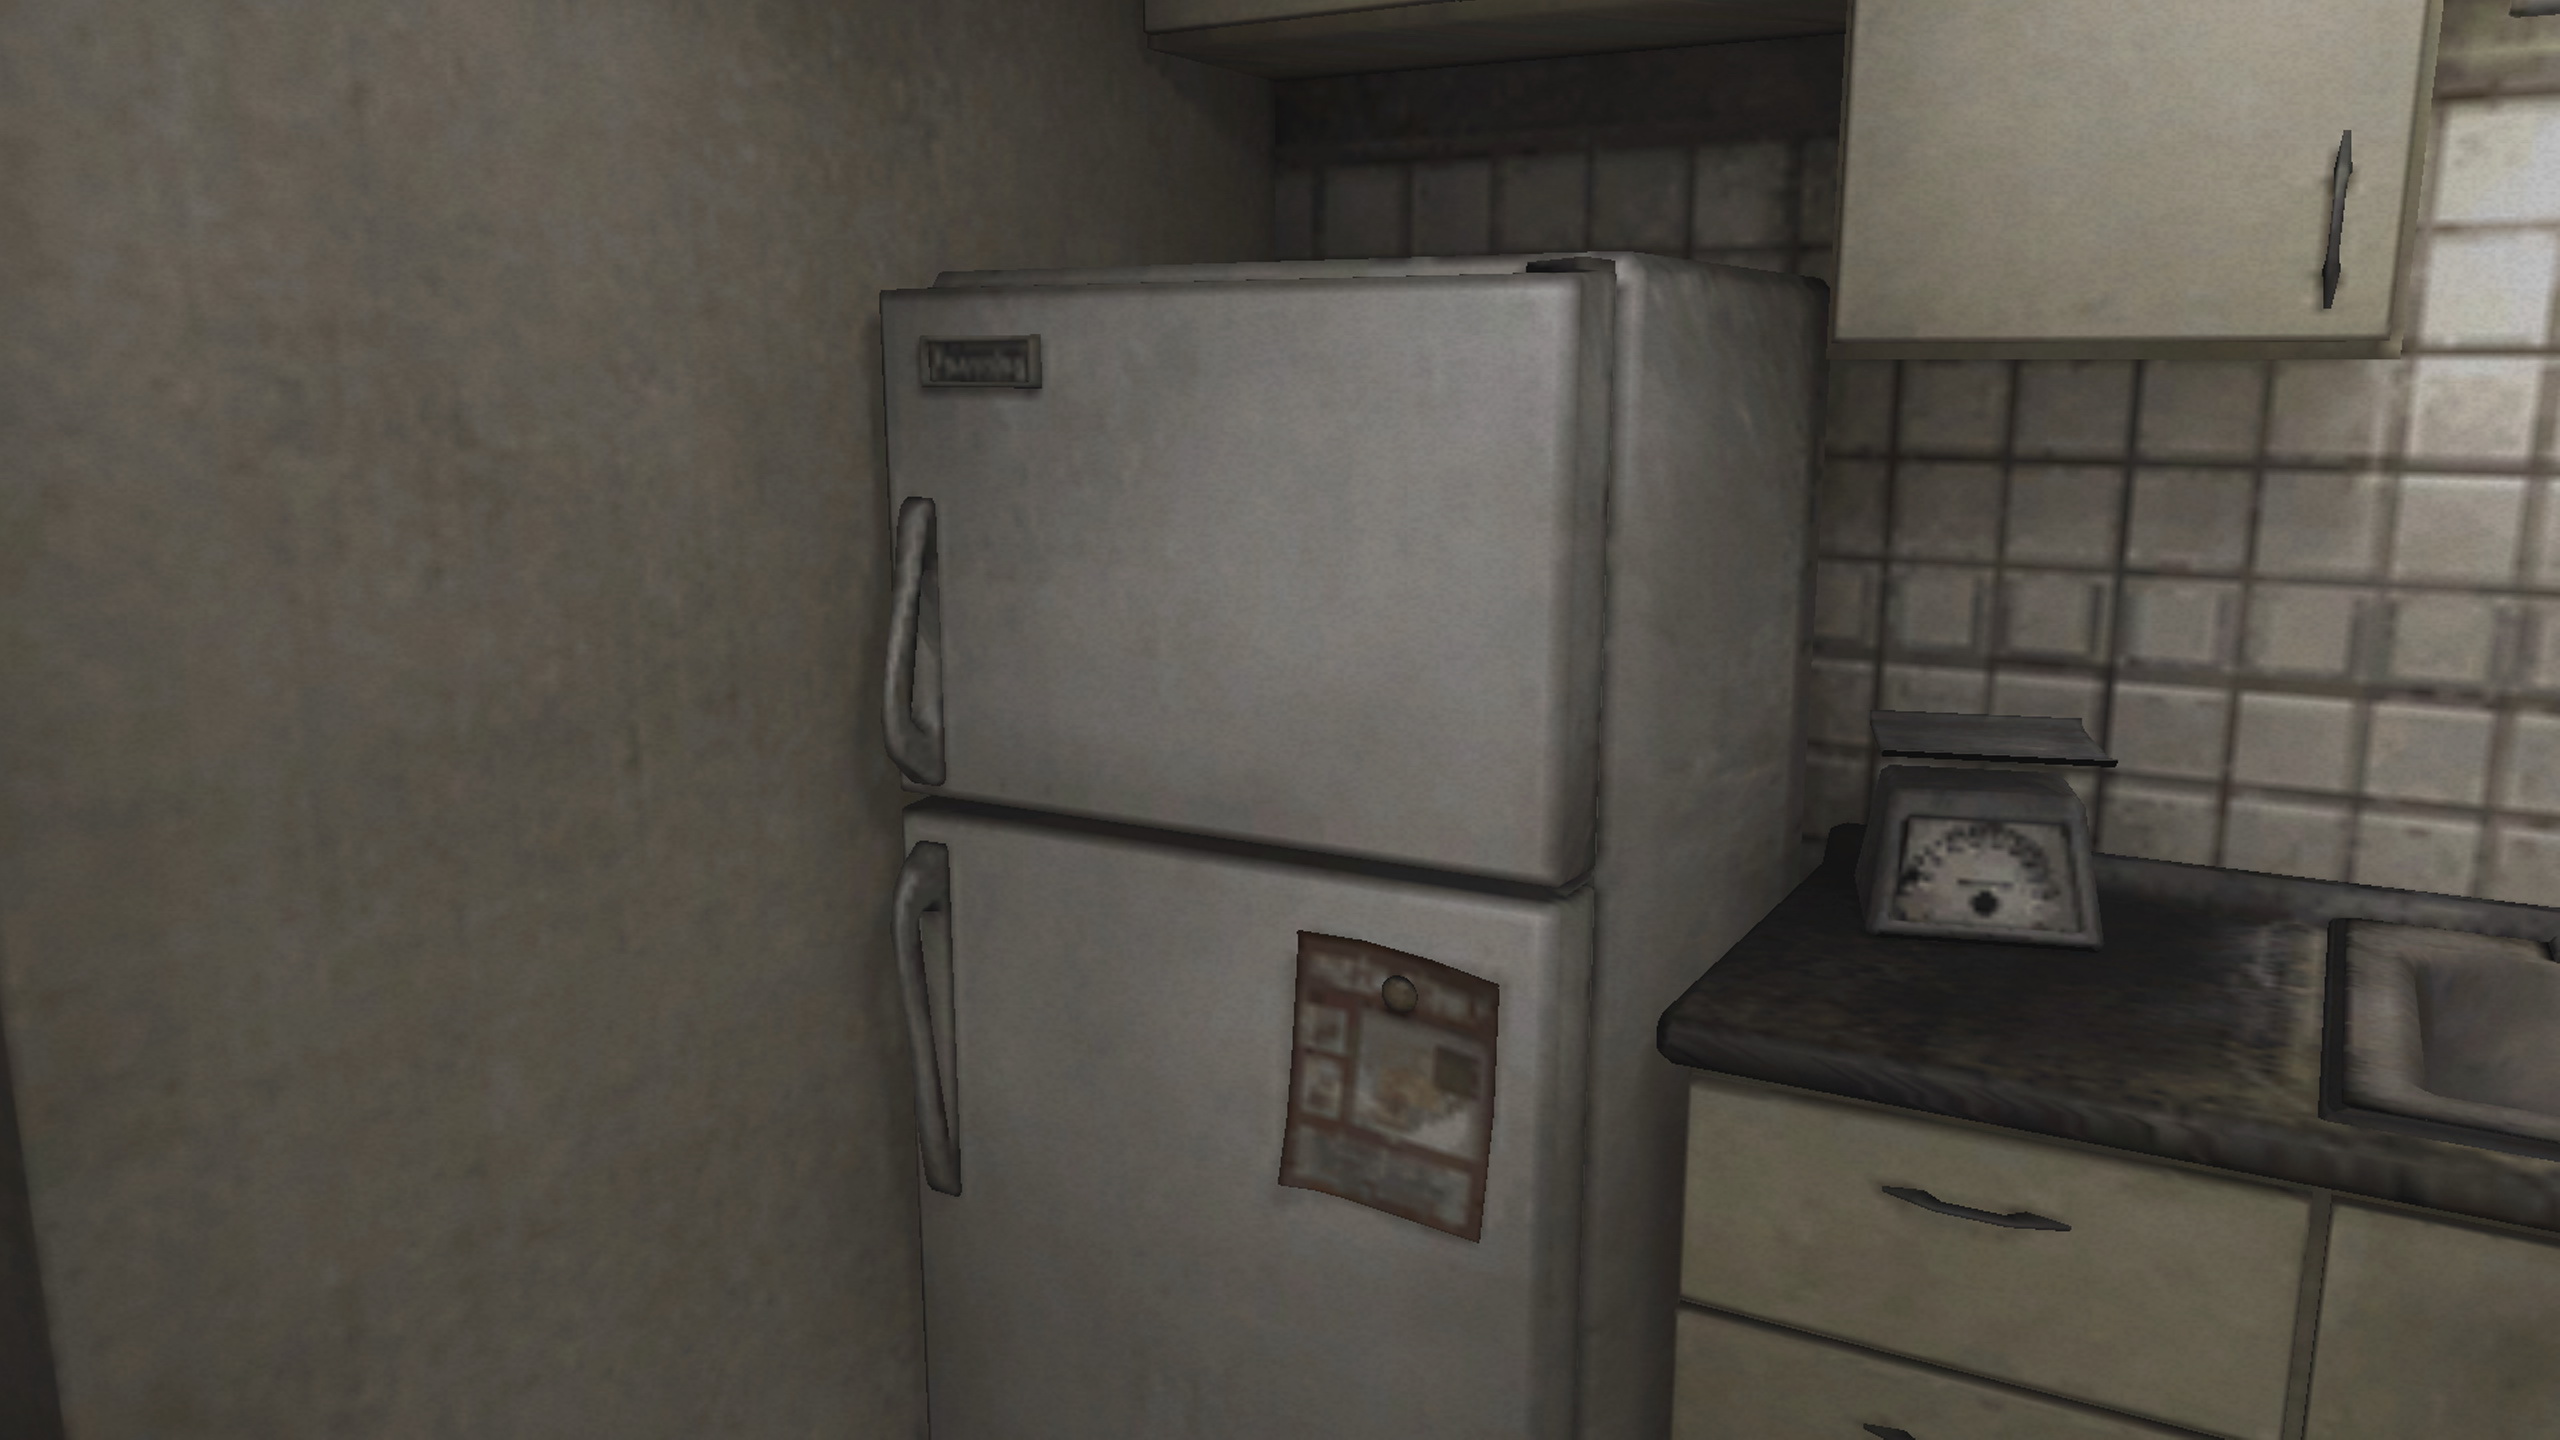 Fridge |
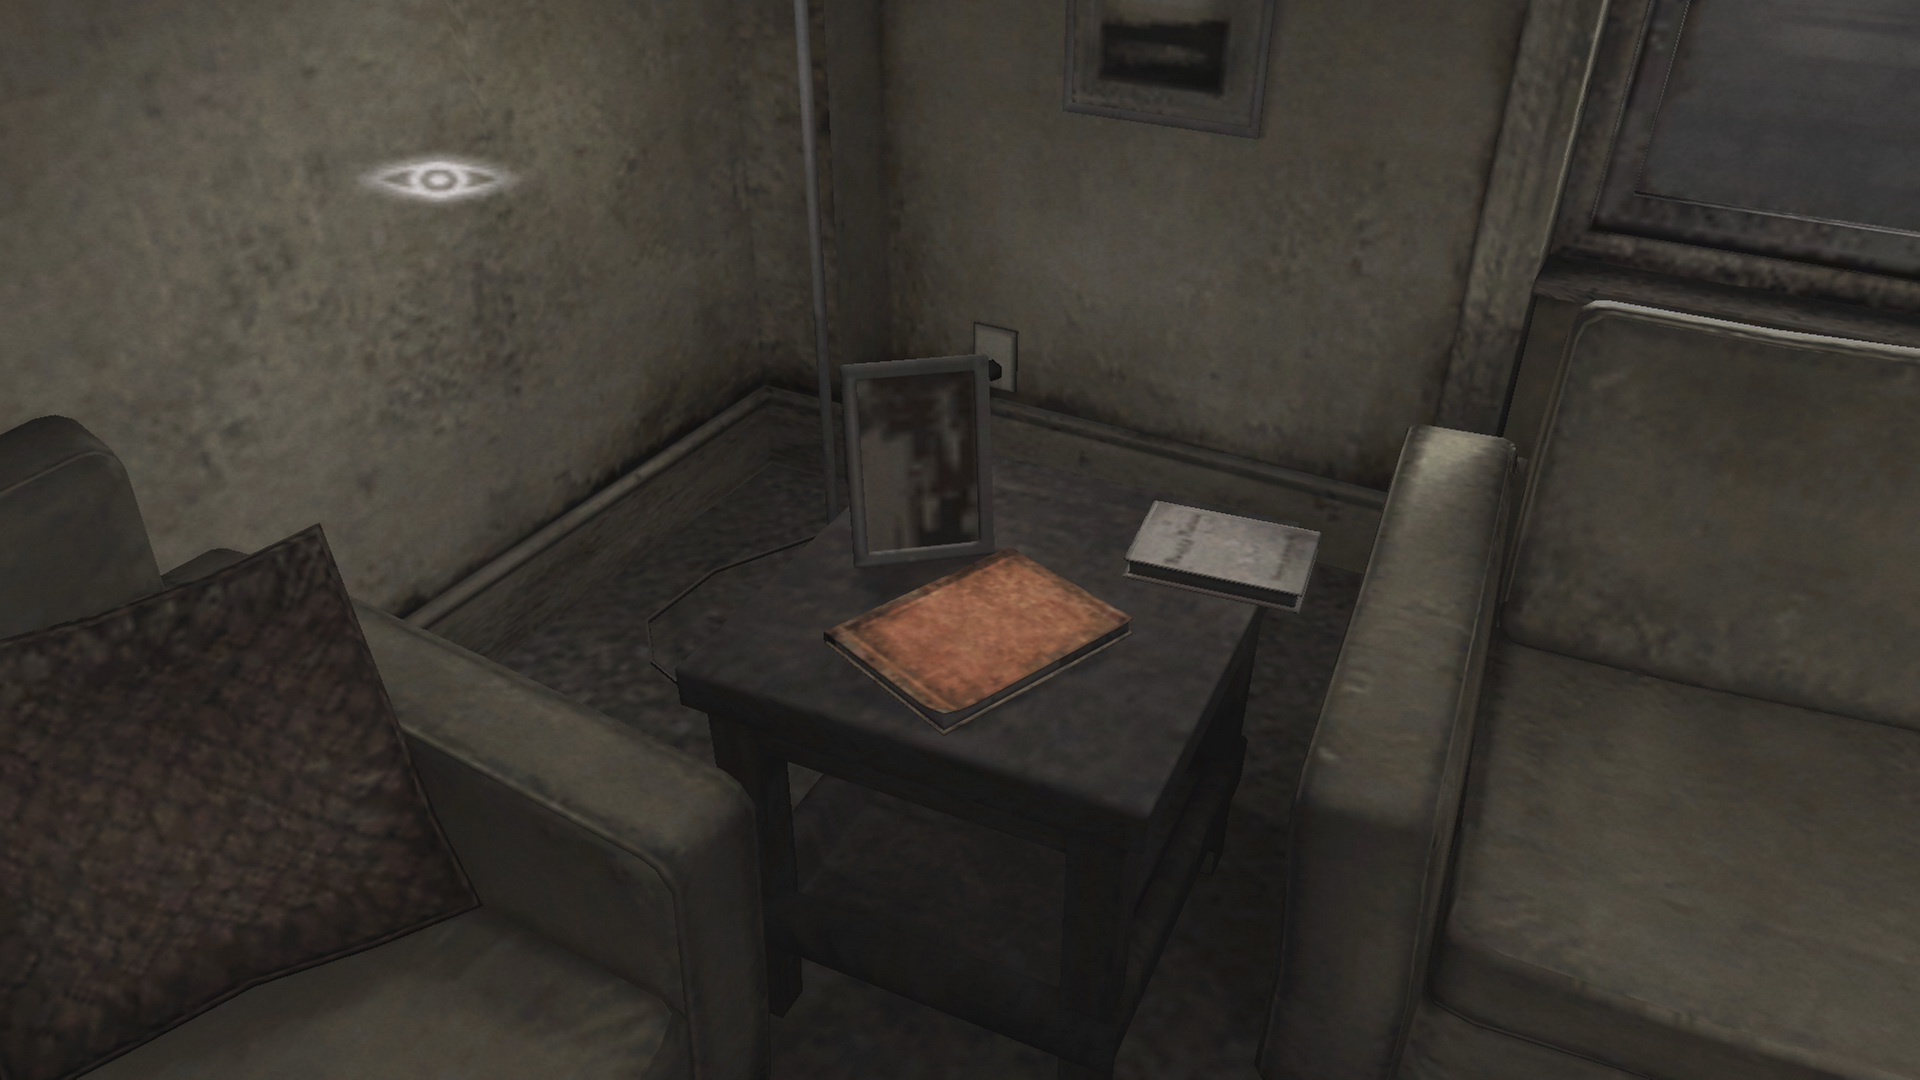 Save Notebook |
FeaturesHealth Regeneration Memos Hauntings |
05. Items and Inventory
This section deals all things item and inventory related. Finding ItemsAlways keep on the lookout for items whenever entering new rooms or hallways. Pay attention to changing camera angles and where Henry might be looking if there's something offscreen or in a corner. Sometimes items may be hidden just around a corner normally out of sight, so it never hurts to be comprehensive. Using Key ItemsThis includes keys and other important and required items on your journey. Keys are the most simple and are almost always used by just approaching the door it unlocks and pressing X, which will use it automatically. Some keys that aren't for standard doors, such as a locker or a cage will need to be used manually from your inventory by moving the item cursor and pressing Square at the intended target. The same goes for using other key items such as placards, coins, and so on. Equipping Weapons and Reloading FirearmsAnother big difference from past games is how weapons are equipped and reloaded. Press Square over any weapon to equip it, but note you can't unequip a weapon without equipping another or by dumping it in your chest. To reload a firearm, press Square over either the weapon or its ammo. The latter will need to be done to load a Silver Bullet into the Pistol. Weapons cannot be equipped or reloaded from the inventory menu this time. Note that Eileen's weapons can be equipped or unequipped freely, just as long as she's near you. Equipping and Using Anti-Spirit ItemsThis really depends on what you're using but let's go through them all. Press Square over a Saint Medallion (to protect against Ghosts or hauntings, or exorcise the latter) to equip it until it breaks. Hit Square again to unequip it if you wish to save it for later, since it will eventually break. To place a Holy Candle, find where you want to use it and hit Square. These can be placed in the outside world (effective for dropping Ghosts) but are best used to exorcise hauntings in your apartment. Sometimes they can be placed on objects like chairs and tables and other times you'll have to find a different spot, but they have a fairly large range and will melt away as they exorcise one or more hauntings together. While the Pistol and a Silver Bullet are in your inventory, equip the Pistol and press Square over the Silver Bullet to load it into the gun. Now shoot as you would normally, but just make sure it lands. For Swords of Obedience, Ghosts must first be knocked down multiple times with normal weapons, dropped once with a Holy Candle (or two), or shot once with a Silver Bullet before you can stab one in. When down, approach the Ghost and press Square over the Sword to stab it in. If it doesn't work you'll just need to knock it down some more until you can stick it in, which can be a lengthy process by normal means. Using SuppliesJust like items, simply hover over a healing item and press Square to use it. Ammo works the same way when reloading your guns, although you can also reload by pressing Square over the gun itself if you have the extra ammo. Inventory ManagementFor the first time in the series, managing your inventory is important and somewhat of an art, as it's always been in classic Resident Evil games. Generally you'll want to carry just one weapon, but sometimes having the Pistol and a clip or two as backup is a good strategy. You can generally avoid carrying healing items in the first half since you can just return to 302 for a recharge, but having one or two in the late game may be a safe approach. Just be sure to dump any items you don't plan on using. Otherwise, just go about your business as normal and return to your apartment to dump items in your item chest when things get too cluttered. Also note that Eileen's items take up an inventory slot, and you can also only unequip it when near her. So if you plan to remove her weapon from your inventory, you'll need to unequip it before returning to 302. |
06. Health System
Here we'll take a good look at the new health system in Silent Hill 4 and how to best take care of yourself. Life GaugeNew to the series is a life gauge or health bar, although one was unlockable in Silent Hill 3. Rather than judging your health based on your status colour in your inventory you'll be able to see at all times what condition you're in. It's fairly standard so just pay attention and heal when needed. It'll display in blue until your health dips below 40% where it'll turn yellow and then orange as it nears empty, warning you to heal. Normally the health bar is set to disappear offscreen when not in combat or taking damage. Just hit R2 to enter combat stance and see your status at any time, or visit the Options and turn off the Hide Gauge option to keep it on at all times. Health SuppliesAlthough you won't find a ton in the first half of the game, there are three different health items that can recharge your status. That includes Nutrition Drinks, Portable Medical Kits and Ampoules, which recharge a quarter, half and all health respectively (or less/more depending on difficulty). The Ampoule specifically recovers a big chunk and then continues to heal over a brief period. Recovering HealthYou can always wait until your health dips below 75% before using a Nutrition Drink, or below 50% before using a Portable Medical Kit. Otherwise while in the first half of the game, try to save health items and return to your apartment to automatically regenerate health. To heal in your apartment, just stand around and watch your life gauge fill up. With health items, highlight one in your inventory and hit Square to use it. Always return to 302 over using a health item if you can, although it won't be an option anymore past halfway. |
07. Controls
PS2 Controls
PC Controls
3D/2D Hybrid ControlYou won't find this in any menu but this is Silent Hill 4's new control scheme, which is some weird mix of free movement and a hint of tank controls, at least for making sharp turns. Generally where Henry runs is dependent on how you push the analog stick relative to the camera, but rather than changing significant direction instantly, Henry will gradually begin to turn in an arc until going the other way. If you wish to turn around more quickly, consider stopping entirely and then going back. To be frank, this control scheme is fine most of the time, but in certain situations it can be an absolute nightmare since its hybrid qualities remove any level of precision. It's very likely Henry will have a mind of his own in some situations and move as if drunk, doing something you really didn't want, but it's just something you'll have to adapt and get used to since there's sadly no other option in this game. Why? We'll never know. It was always great to choose in Silent Hill 2 and 3. The decision being made for you here is a real drawback, especially when it doesn't commit to being entirely 2D or 3D. Extra OptionsBelow are all the options you can change in the Options 2 menu. While not called Extra Options in this game, it's the category they would all fall under in previous games. Note that on PC there's an Options 3 page with even more options, while some of these are mixed on both pages. Some of the extra choices in that version include the first person control inside your apartment, including inverted look and whether you sidestep or turn with the left analog stick moved sideways. All options below are changeable in the original PS2 release. Default Control Noise Effect Blood Color Head Motion Hide Gauge Hide Icon |
08. Difficulty Settings
After two games with separate difficulties for action and riddle level, Silent Hill 4 returns to having just one difficulty level. While two memos regarding one puzzle may change on Hard, this difficulty level instead only dictates all action-related aspects. Read about each level below. Easy Normal Hard Recommended Difficulty LevelReturning players from earlier games will likely find themselves at home on Normal with a decent but not overly difficult challenge. Those new to the series may be best off starting on Easy to familiarize themselves, especially since this game introduces a lot of enemies and some that will constantly hound you. I'd recommend Hard only for series veterans who have been able to clear Hard in previous games, but I'd generally suggest at least beating it on Normal first to understand what it entails. Remember, it's a lot easier to die when you don't have every supply and weapon on you at all times. |
| by Andrew Haffenden aka Conquerer (Silent Hill 4: The Room FAQ/Walkthrough) |