Puzzles
Here you will find the solutions for all puzzles in the game. Unlike earlier games in the series, all puzzles have the exact same solutions every time and there are no difficulty levels. These fixed solutions are all explained in full below, while the Quick Reference Solutions can be found in the next section if you wish just for the answers to the game's more significant puzzles.
Full Puzzle Solutions
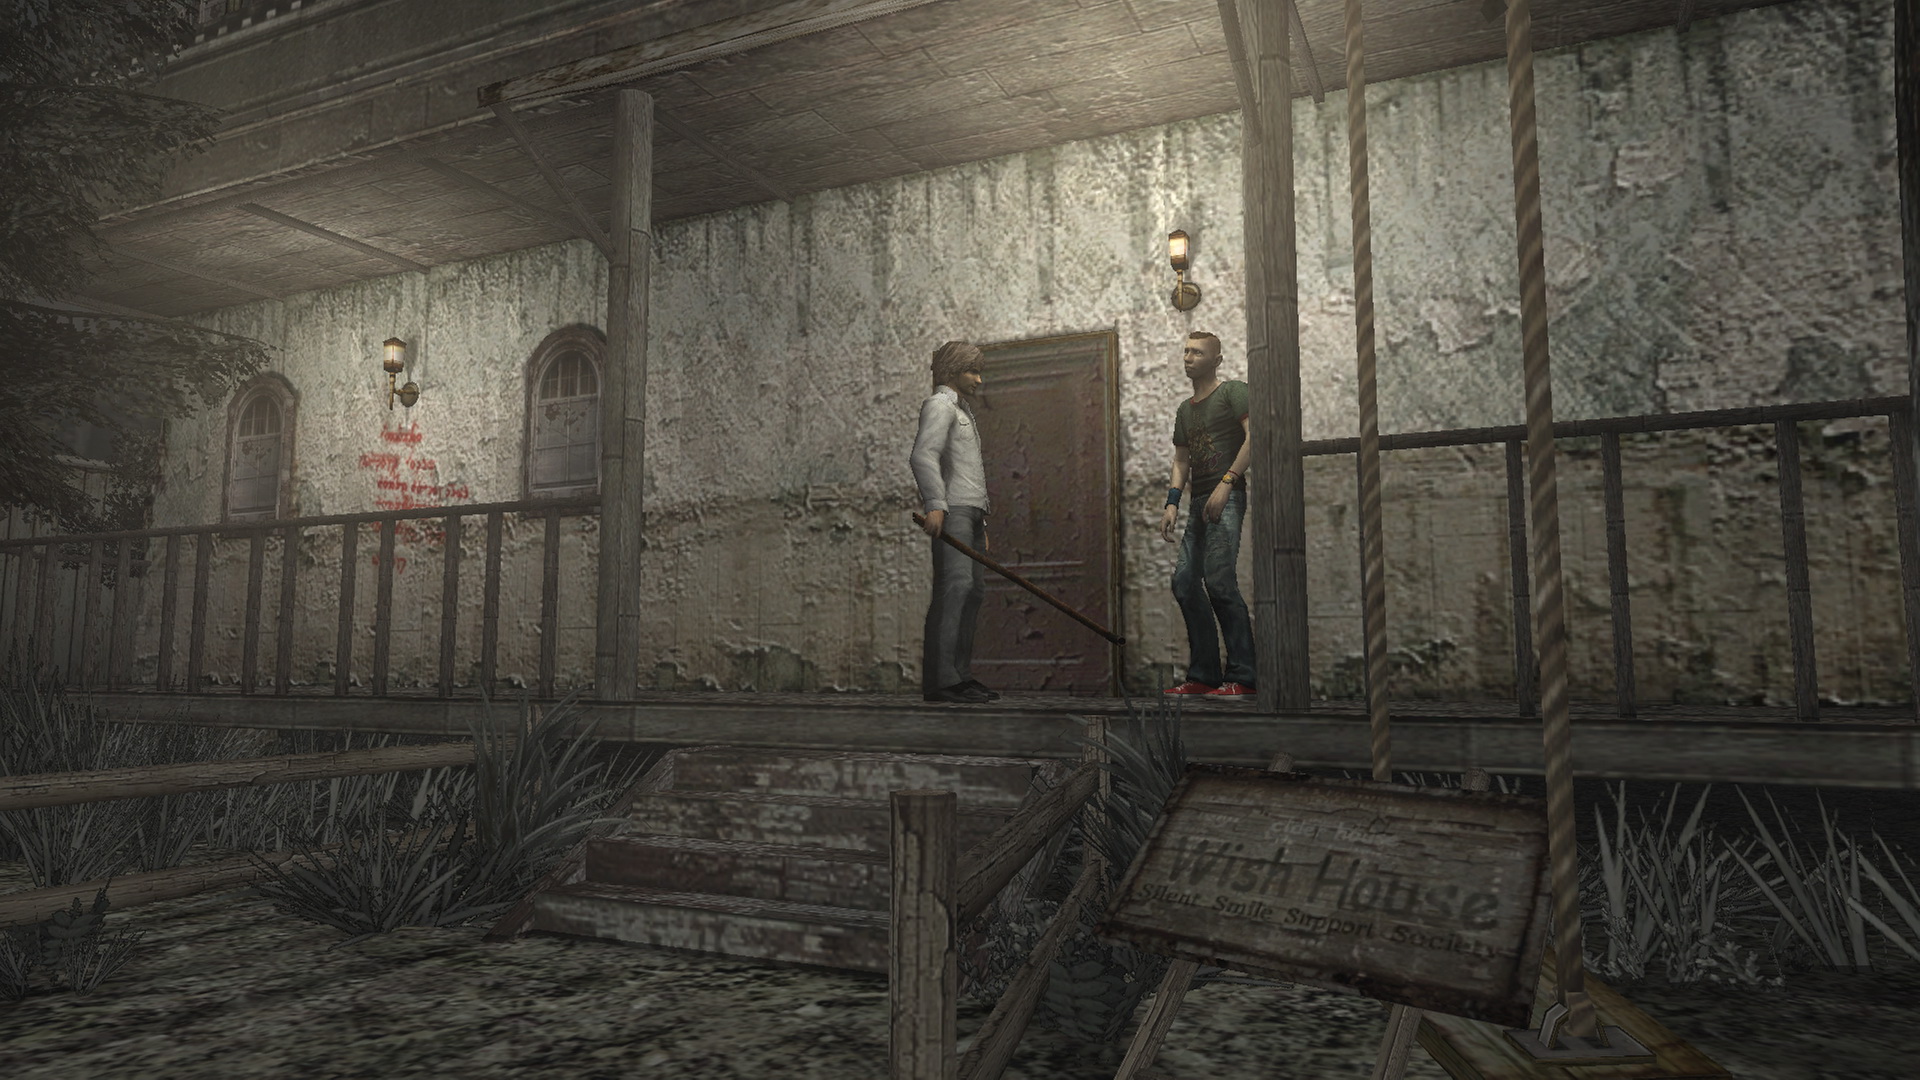
01. Thirsty Jasper (Forest World)Location: Wish House Compound, Forest World
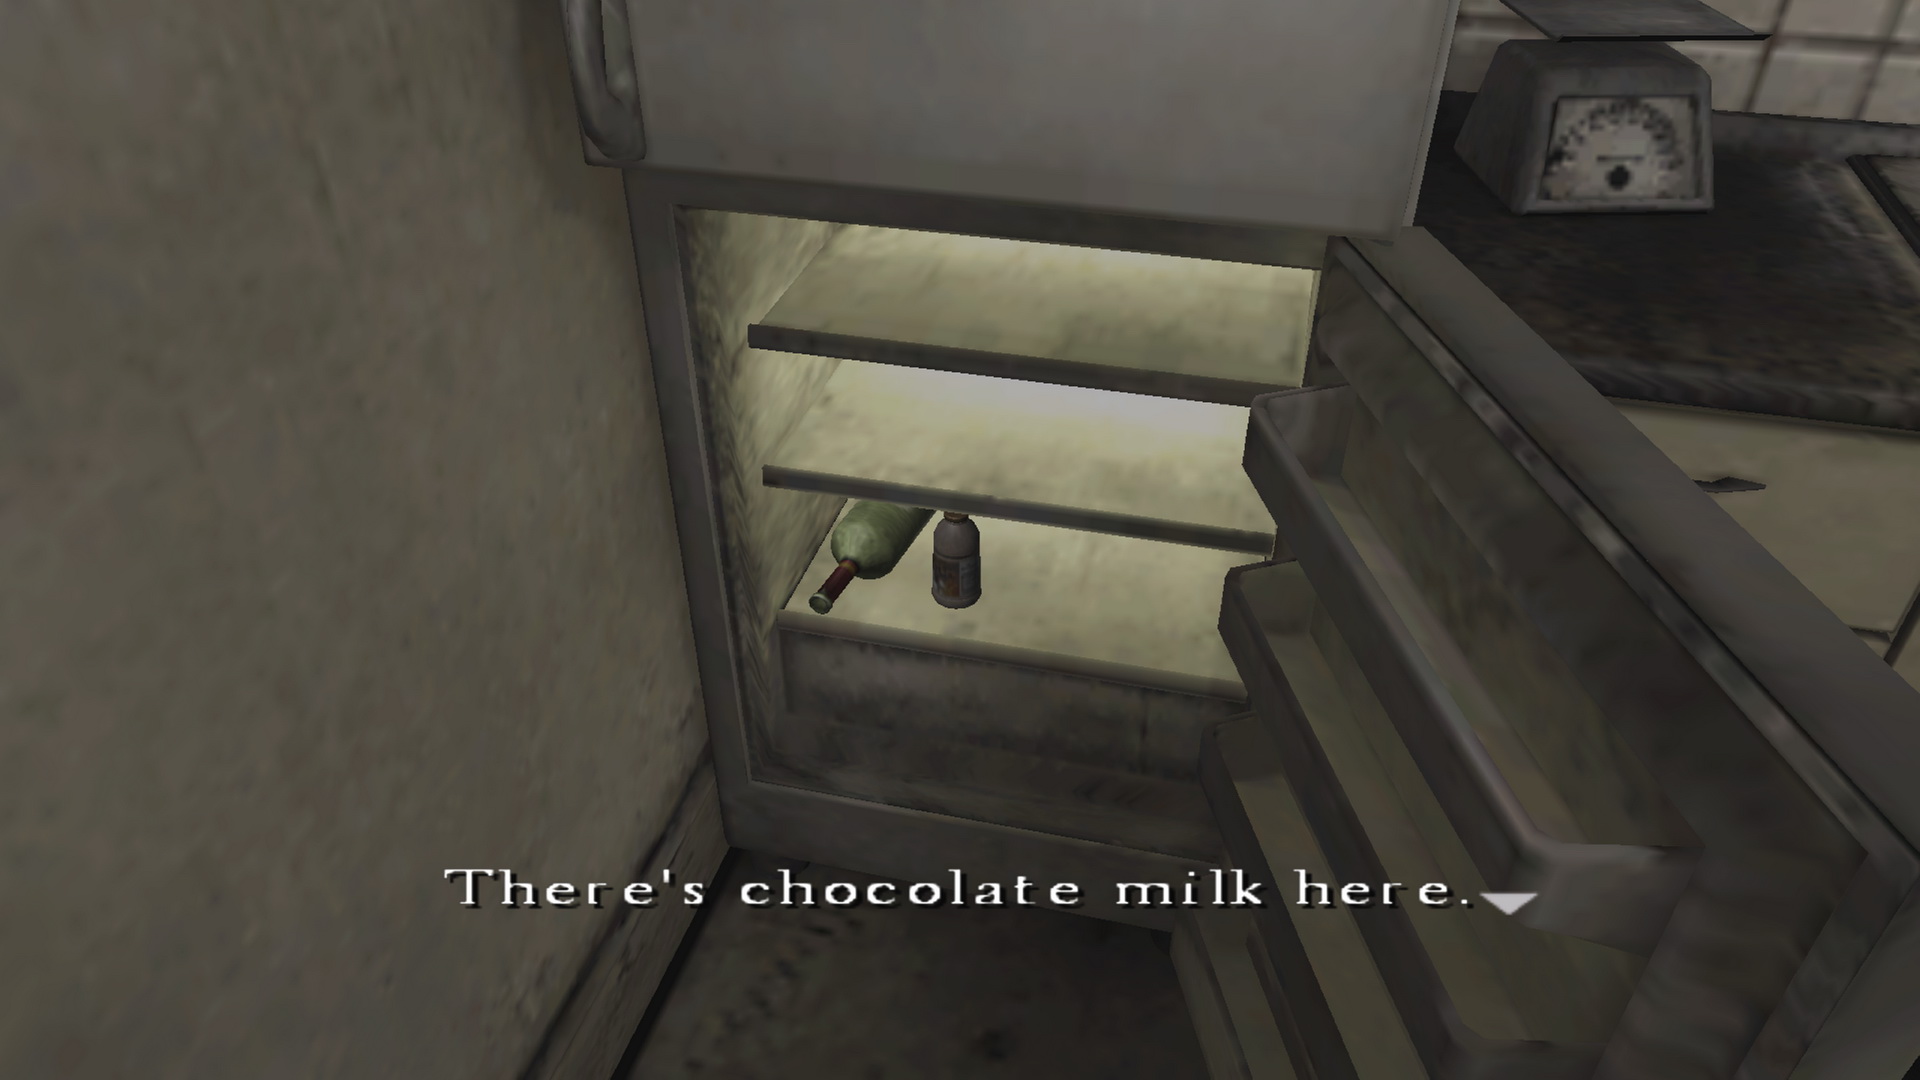
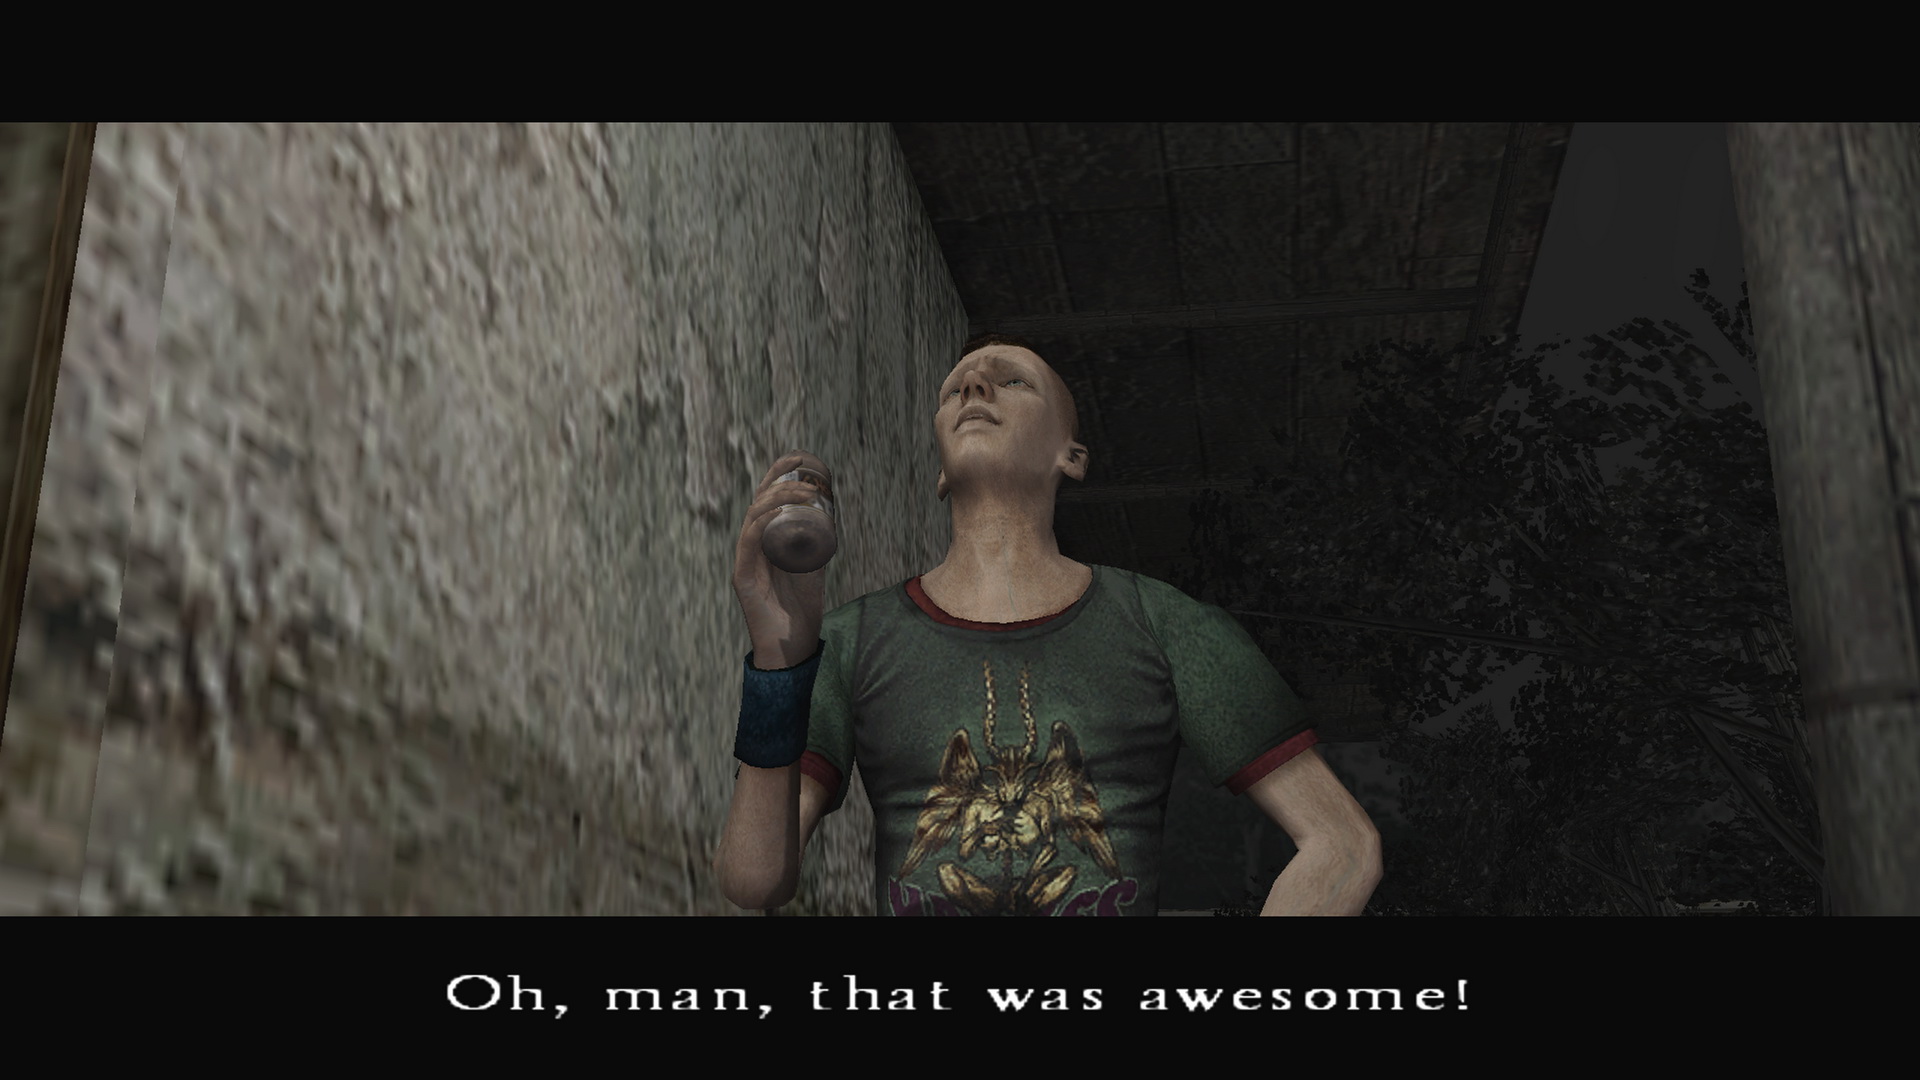
After viewing the cutscene in the southwest cemetery of the Forest World, you can then meet Jasper on the front steps of Wish House. He tells you he has "something really good" but won't give it up for free. He then says he's really thirsty and goes on about chocolate... Ringing any bells? If you don't have it on you, grab the Chocolate Milk from Room 302's fridge (or your item chest if you grabbed and dumped it) and give it to him. He'll toss the Blood-Inscribed Spade on the porch for you to pick up. |
02. Blood-Inscribed Spade (Forest World)Location: Wish House Compound, Forest World
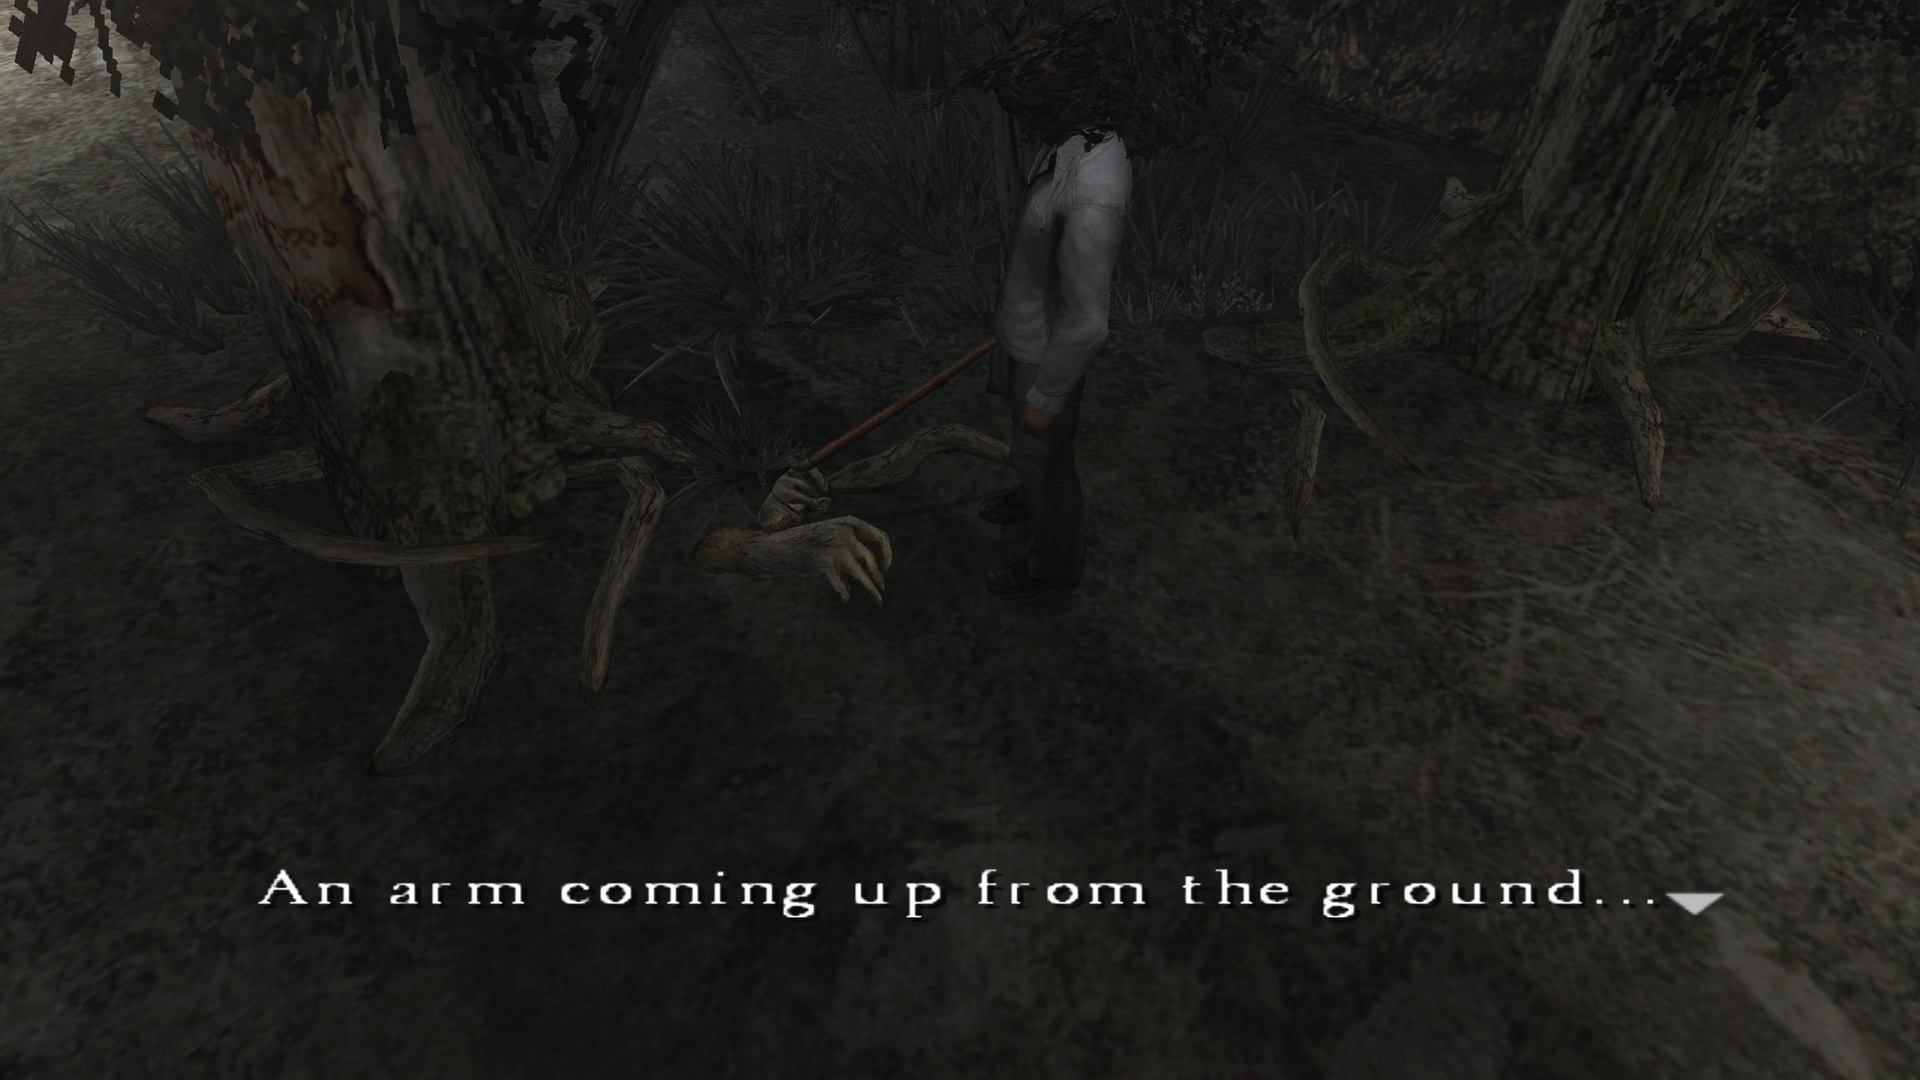
As you pick up the Blood-Inscribed Spade, you'll see the following inscription on it:
This is referring to a location to use the spade. Jasper's Memo Pad from his running car touched on this. Remember the "nosy guy" is who gave Jasper the spade.
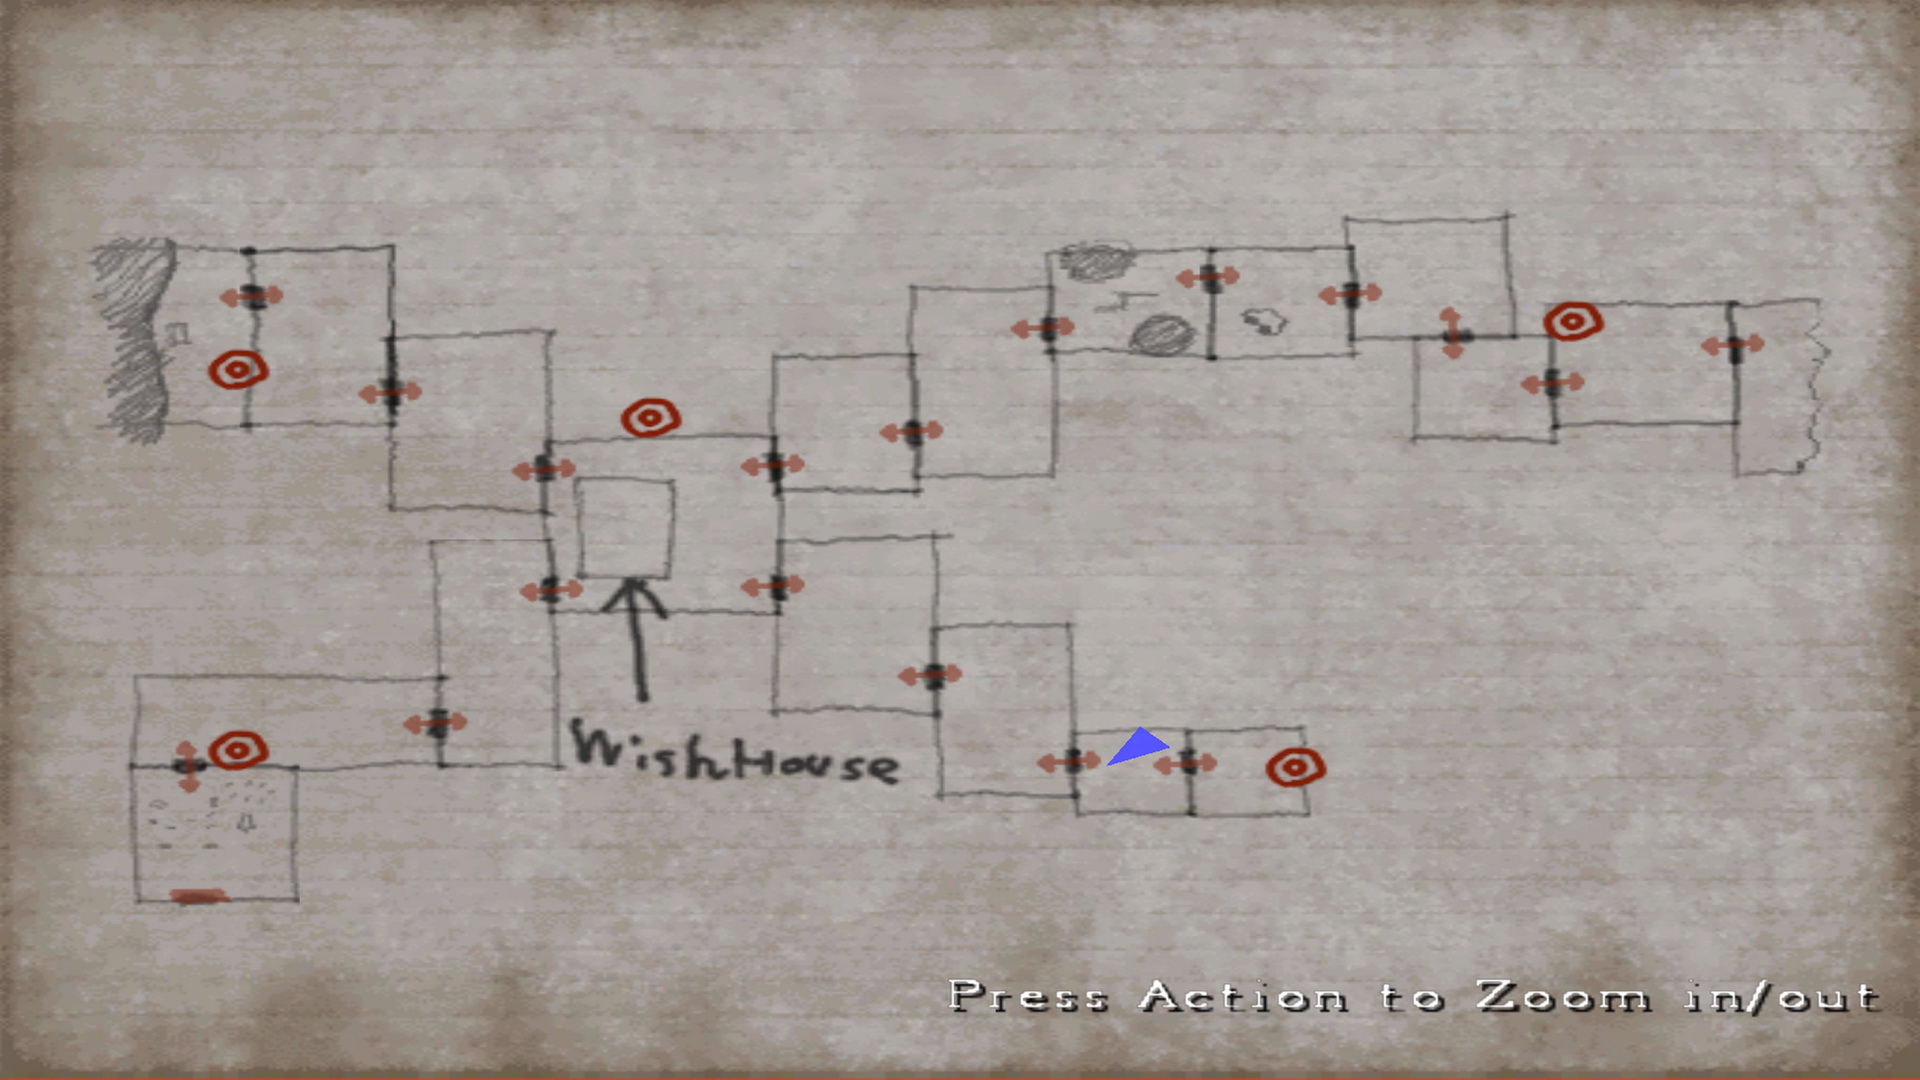
Make your way through the southeast passage to the small lot with trees before the end path. Find the tree root that looks like a hand and use the Blood-Inscribed Spade. Henry will dig up the Rusted Bloody Key. |
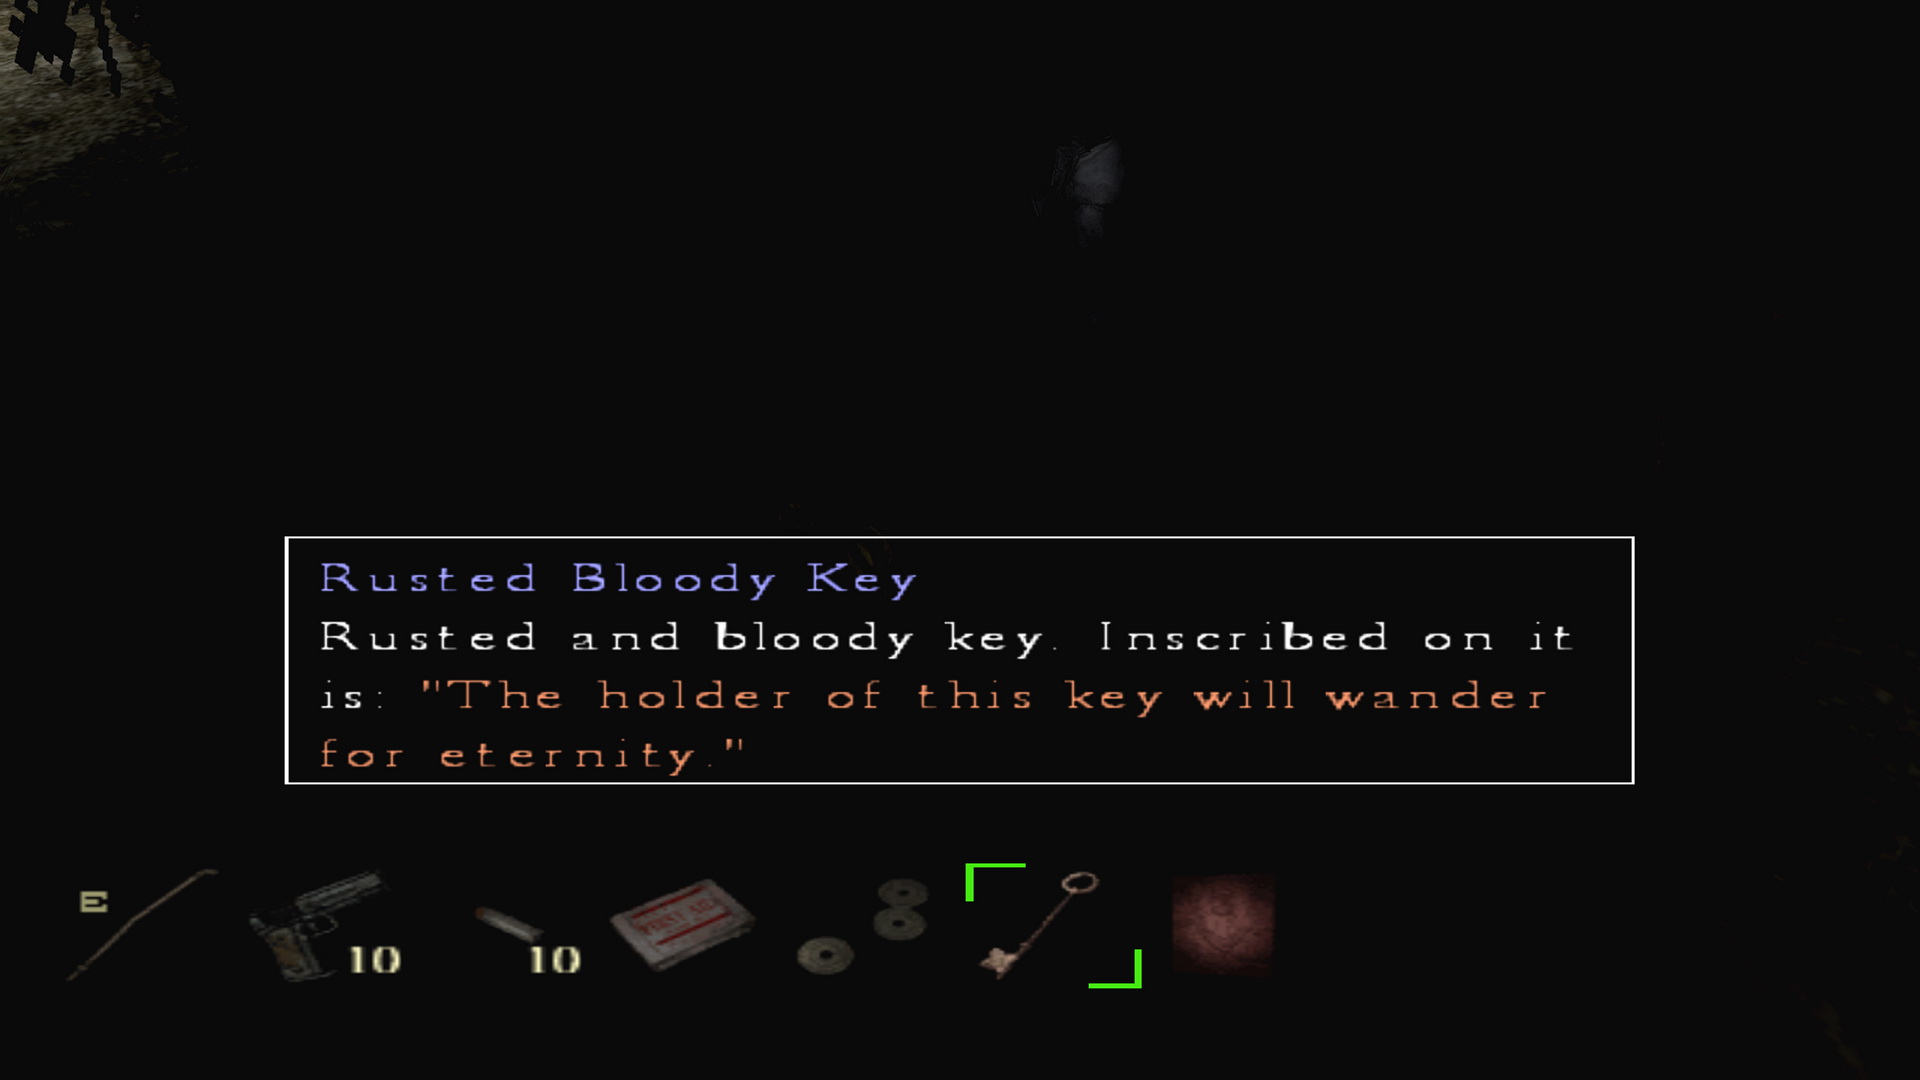
03. Rusted Bloody Key (Forest World)Location: Southeast Passage, Forest World
Engraved into the Rusted Bloody Key is:
Jasper's Memo Pad provides more information regarding this as well:
What these two messages explain is that you won't be able to get back to Wish House while carrying this key. If you try, you'll see heavy mist in the previous path and each time you try the other door you'll be transported back to the beginning. But surely by now you should realize what you can do about this. You'll need to find a portal and utilize your item chest. Head through the next gate to the southeast end path and use the Portal to return to Room 302. Dump the Rusted Bloody Key in the chest and return to the Forest. Now make your way back to Wish House and use the Portal there to return to 302 and reclaim the Rusted Bloody Key. Return to Wish House and enter the orphanage with the Rusted Bloody Key. |
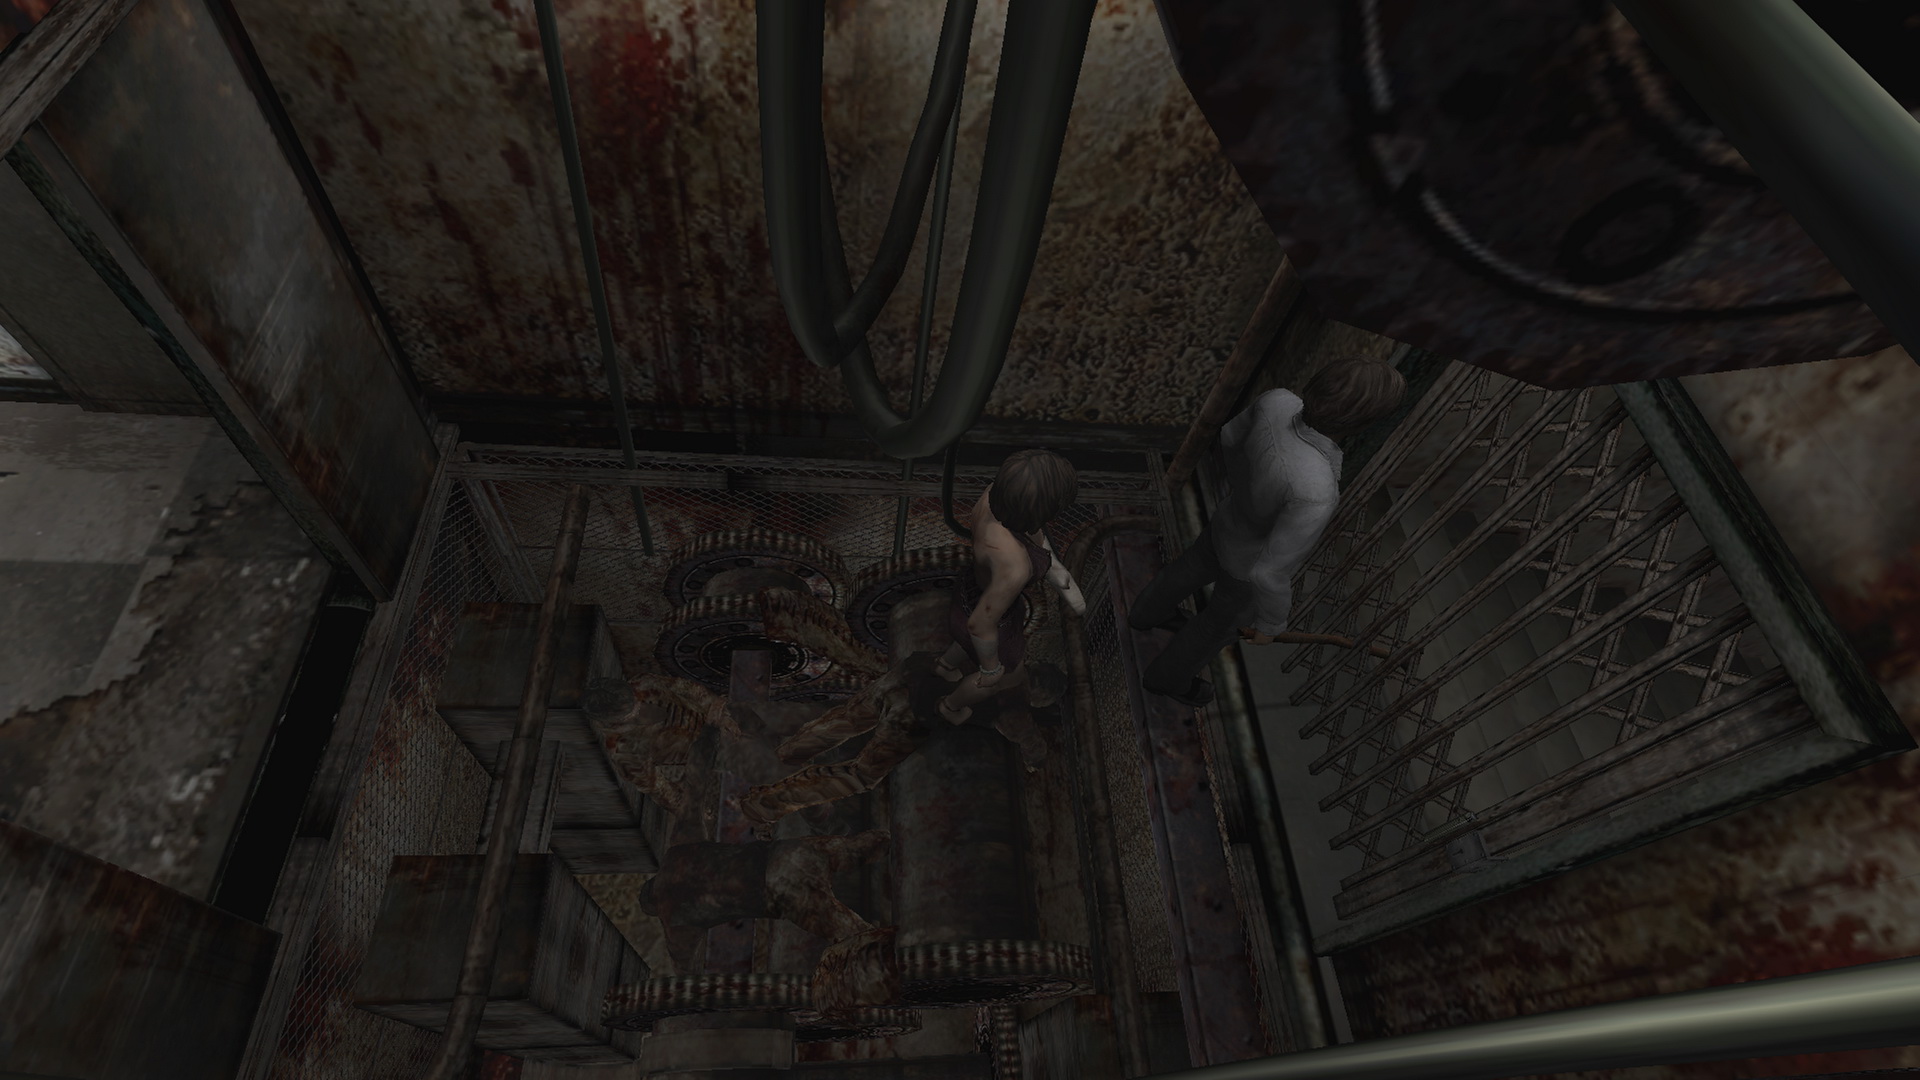
04. Revolving Water Prison Cells (Water Prison World)Location: 2F/3F Surveillance Room, Water Prison World
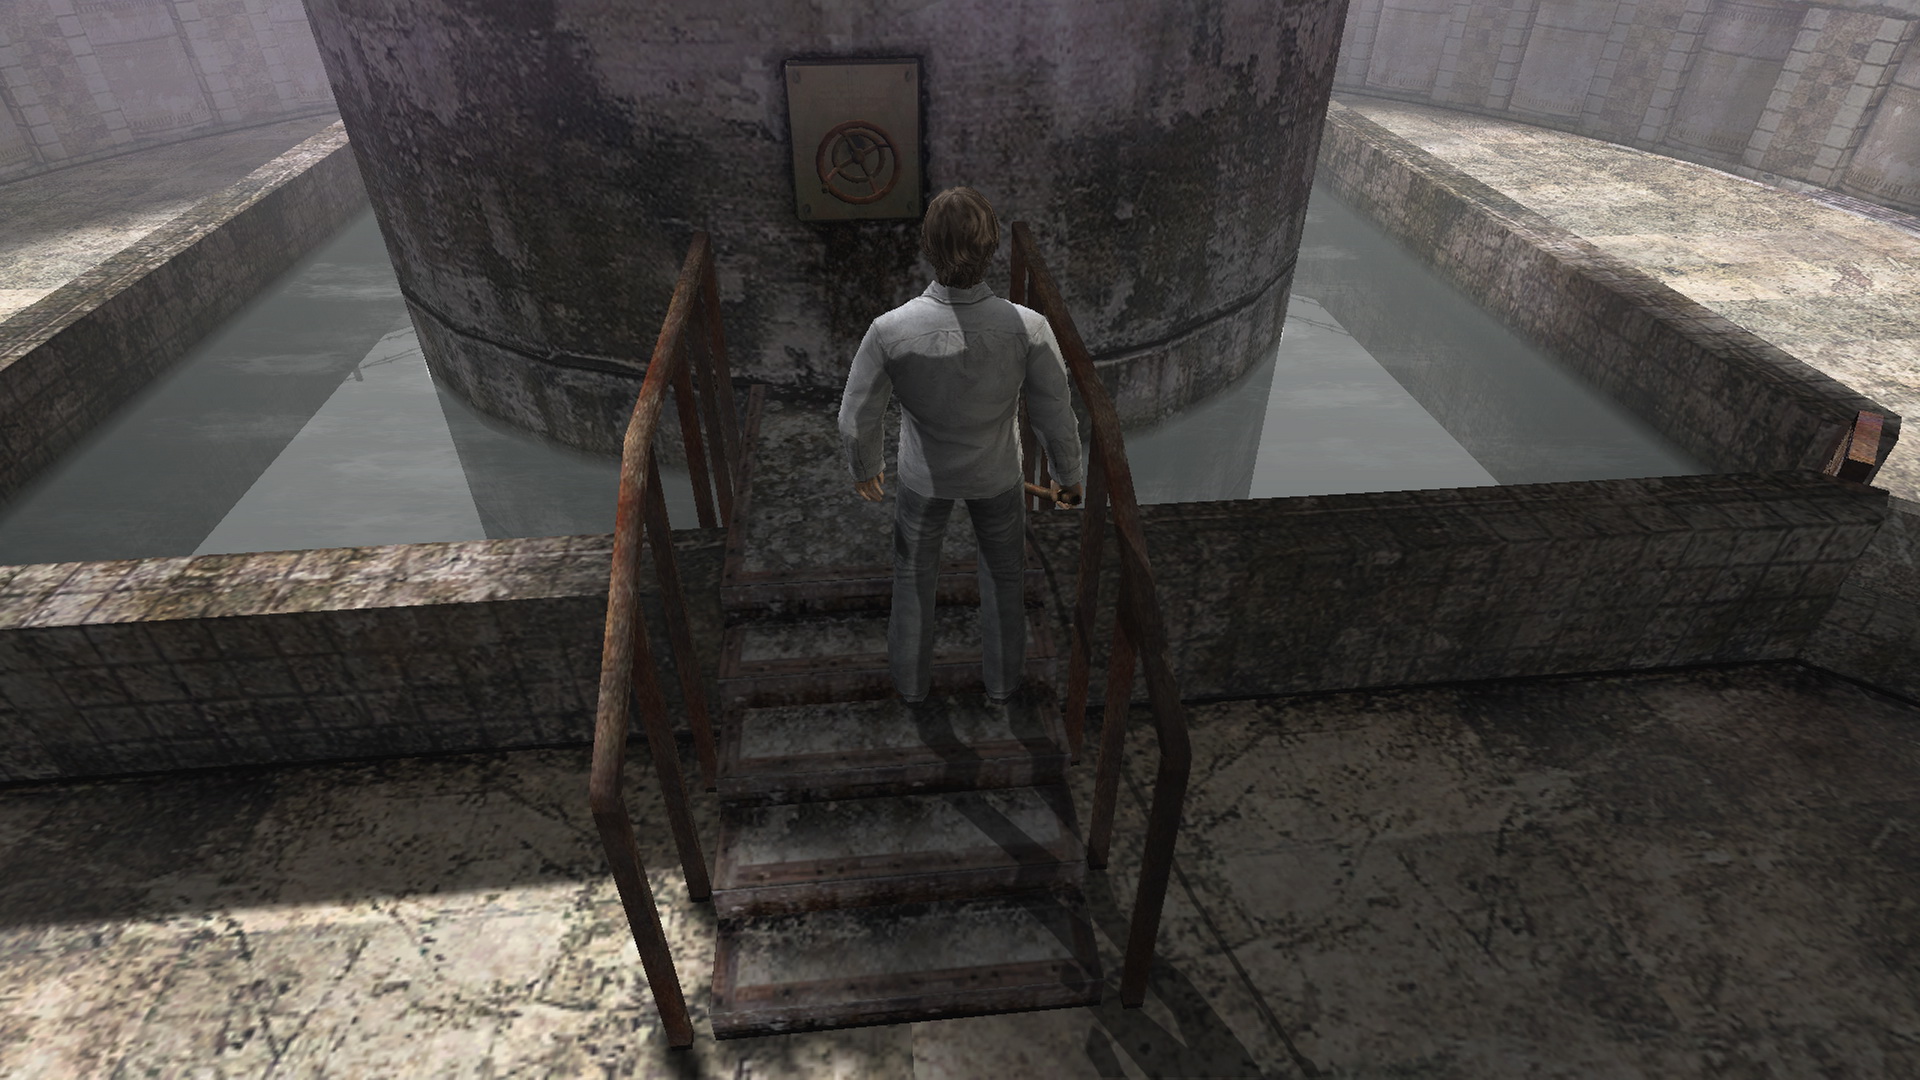
In the Water Prison you'll come across three cellblocks of cells, some of which are locked, some that are open and some that contain holes that allow you to jump down below. After jumping down a series of holes in the 8 o'clock position, you'll end up in the basement where you can then access the inner surveillance rooms where you can rotate the cells. The idea of this puzzle is to align the cells on each floor in a certain order so that the third floor floodlights are activated and can reach the basement kitchen via a series of cell holes. While also allowing you to physically reach the kitchen via the same holes (if you haven't already), this specifically allows you to see and use the keypad in the kitchen, which is otherwise too dark to use. The solution is the same for each difficulty every time, although the two memos will be different and very unhelpful on Hard – but in that case, just read the Easy/Normal memos below which still apply. Easy/Normal
Hard Difficulty
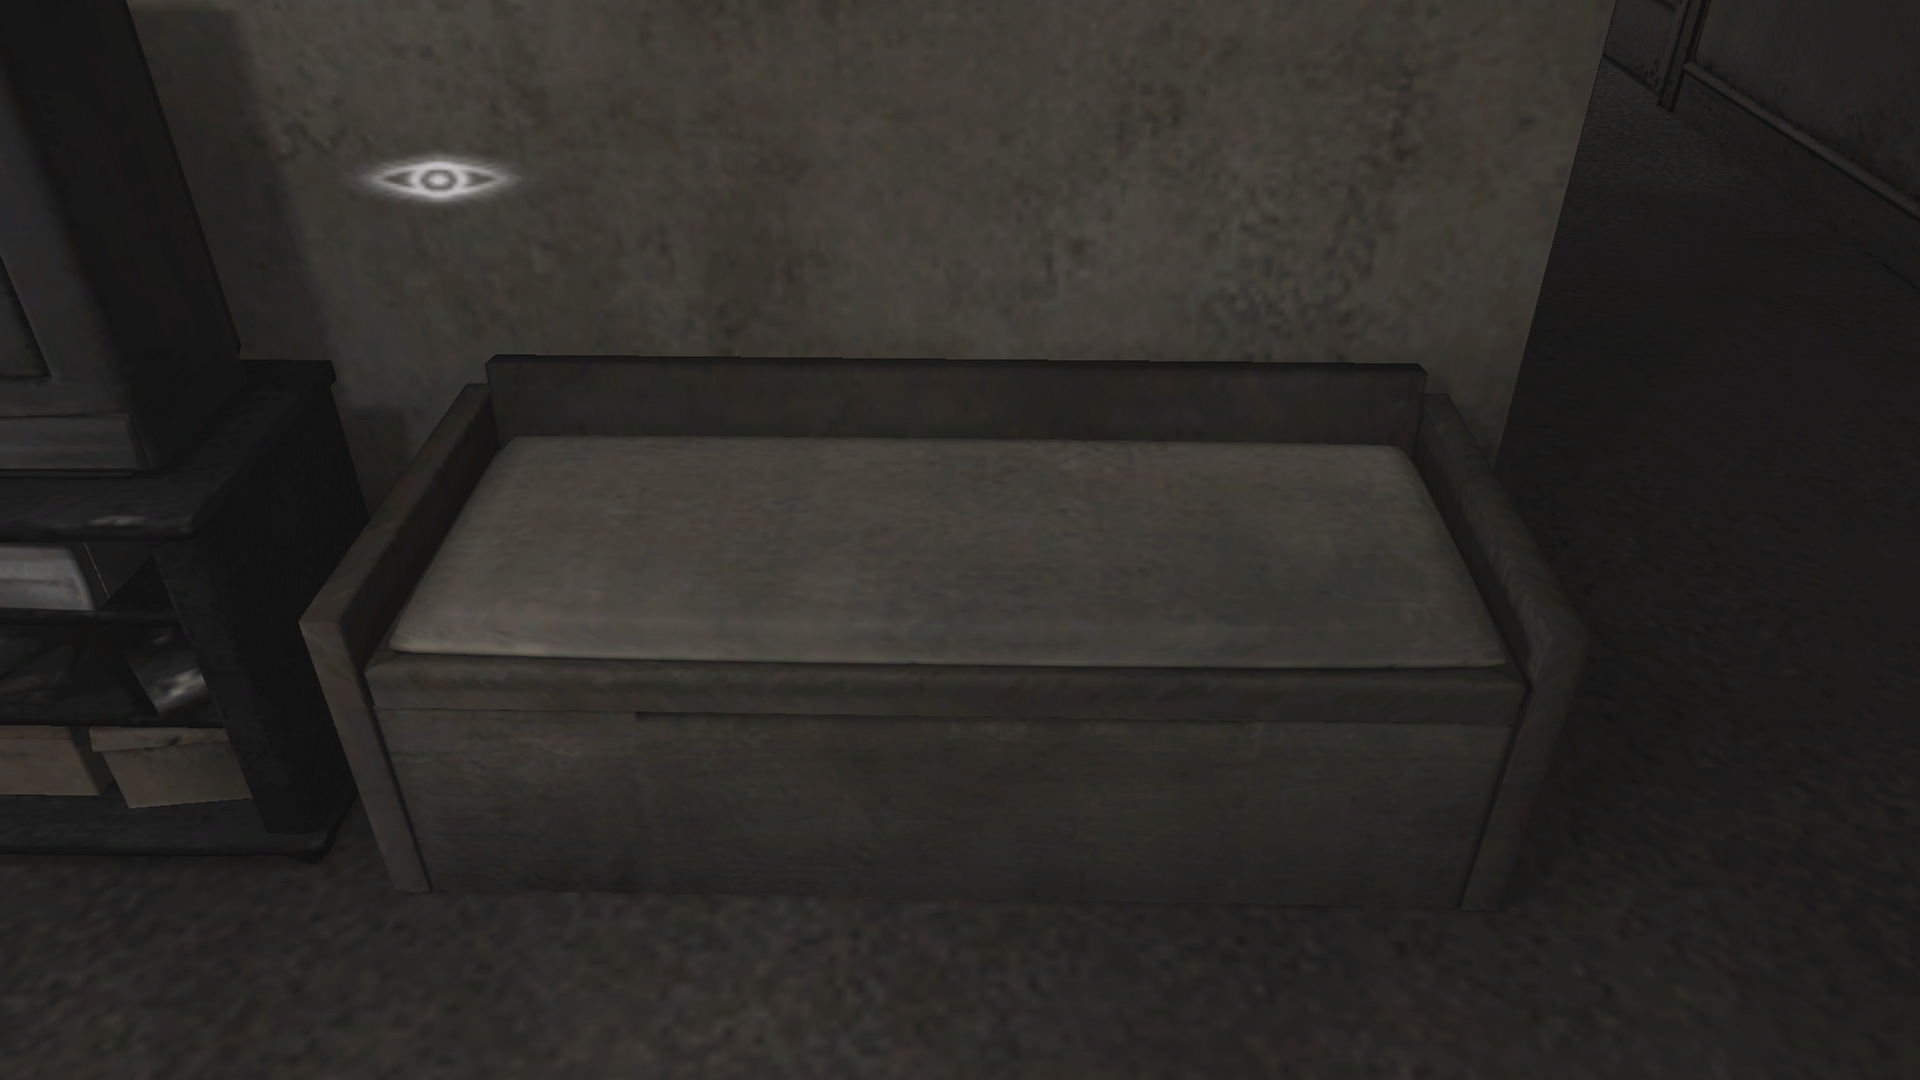
As explained, you must first open the sluice valve on the roof to get this whole process started. Then you want to locate the cell with the blood-stained bed on each floor using the peepholes and align them all in the same spot using the valves in the 2F and 3F inner surveillance rooms. The 1F cells can't be rotated since there is no valve there, so you'll need to align the 2F and 3F bloody bed cells with the one on 1F, which is always in the 1 o'clock position. Confirm yourself with the peephole. On 2F the blood-stained bed starts in the 7 o'clock position, four spots away from the 1 o'clock cell. Doesn't matter which way you turn it, left or right, just as long as you turn it the same way four times (Henry will turn it a few times in the cutscene but you need to do that four times). Confirm via the 1 o'clock peephole that the blood-stained bed is in the right spot. Good, now move on to 3F. Up top the blood-stained bed starts in the 10 o'clock cell, two over from 1 o'clock. Turn the valve up here twice right to align the bloody bed. After turning it once, you'll see a cutscene of the man on 1F being freed from his cell (unless you already did so if you moved the 3F cells for the Stun Gun) but you must turn it again to complete your task. Confirm via the 1 o'clock peephole that the bloody bed is there. In short, the solution to this puzzle is always the following:
So what exactly does that do? Opening the sluice gate on the roof allows the water to flow over the B2 waterwheel, generate power and activate the 3F floodlights. Aligning the bloody bed cells allows that light from 3F to shine through the 1 o'clock cells to the B1 kitchen in the 12 to 3 o'clock position so that the keypad there can be used to advance. Note that the position the water falls on the waterwheel also changes from the starting to finishing position (and the direction the wheel spins), while the waterwheel and lights turn off in other positions. If you haven't yet unlocked the dining hall on B1, head back up to 3F and jump down the 1 o'clock cell holes until you reach the basement. Then use the keypad to finish the world. |

05. Water Prison Basement Keypad (Water Prison World)Location: B1 Kitchen, Water Prison World
After completing the revolving prison cells puzzle and arriving in the basement kitchen, you'll find the Watchfulness Placard and a keypad on the door to the torture room. The code to unlock the door is found on the wall of the 3F inner surveillance room:
Enter the code 0302 to advance. Coincidence that it's the same number as your apartment? Probably not. |
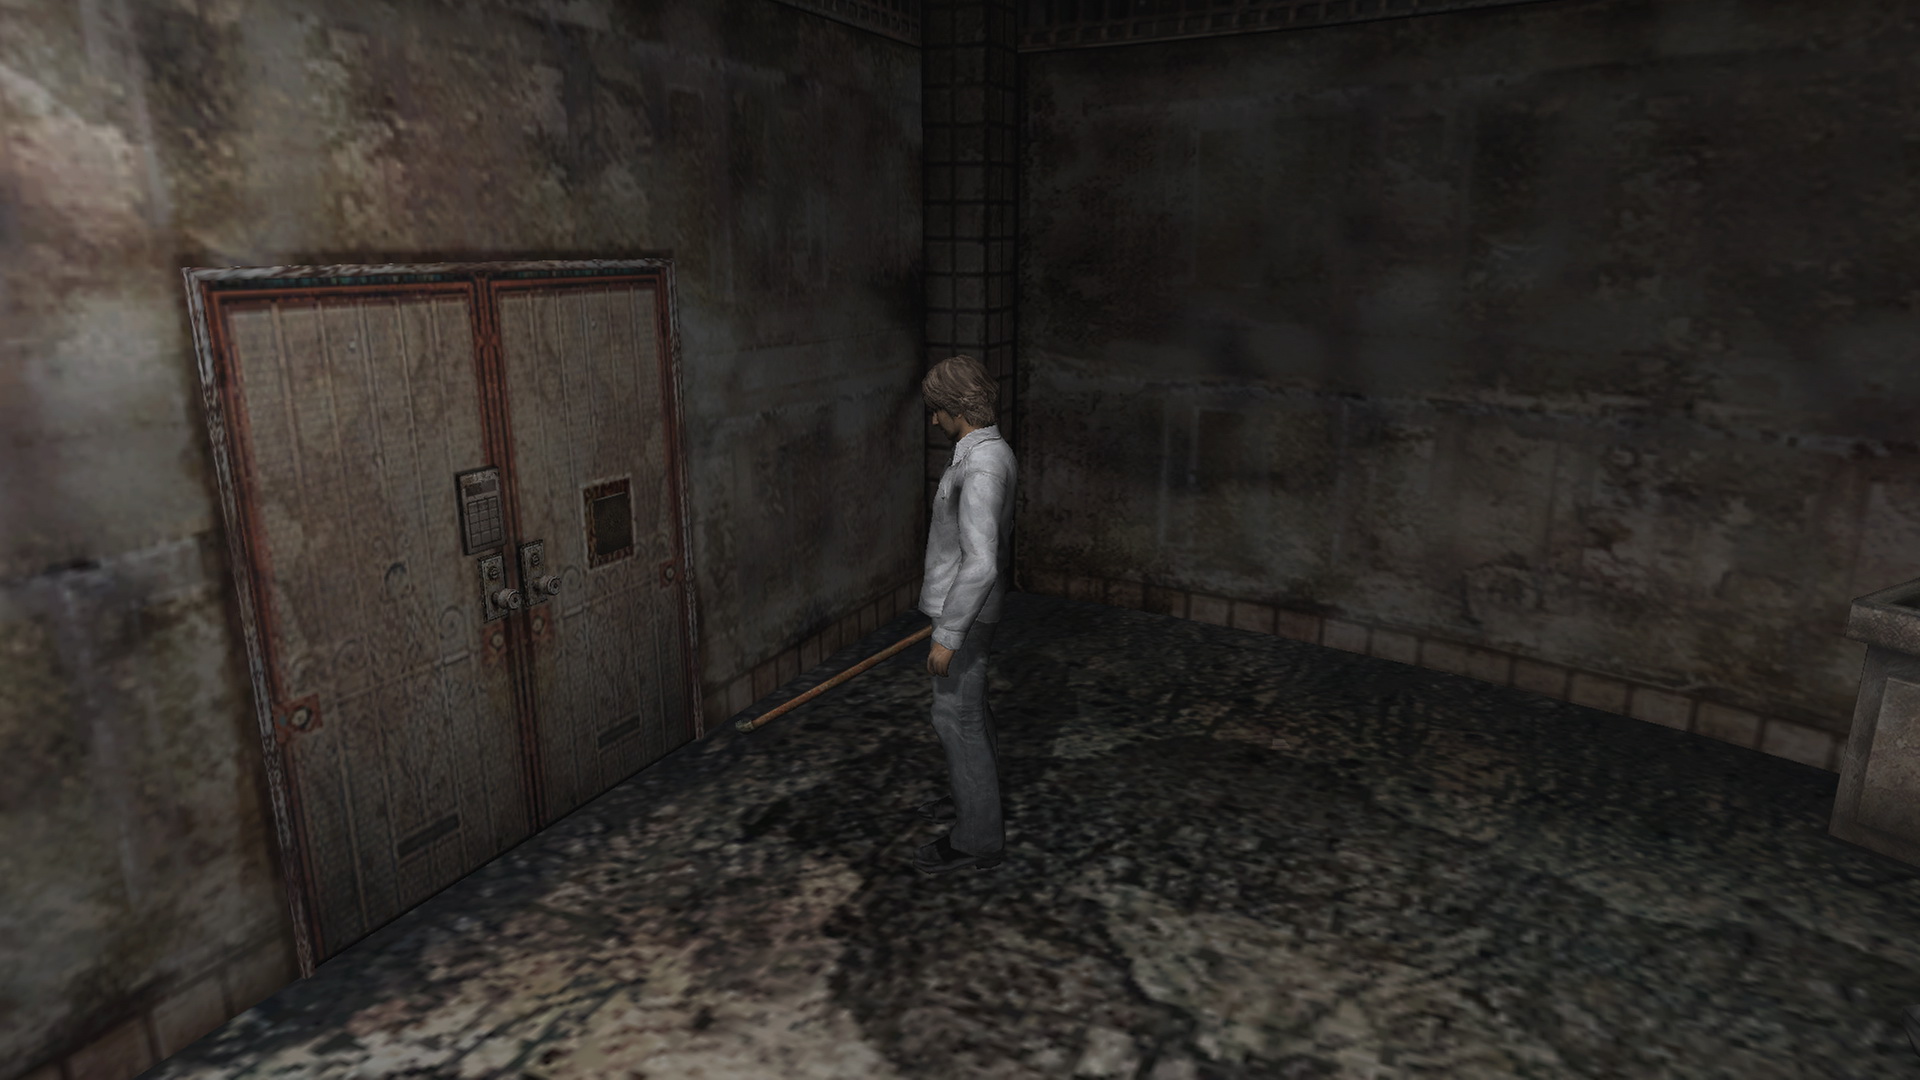
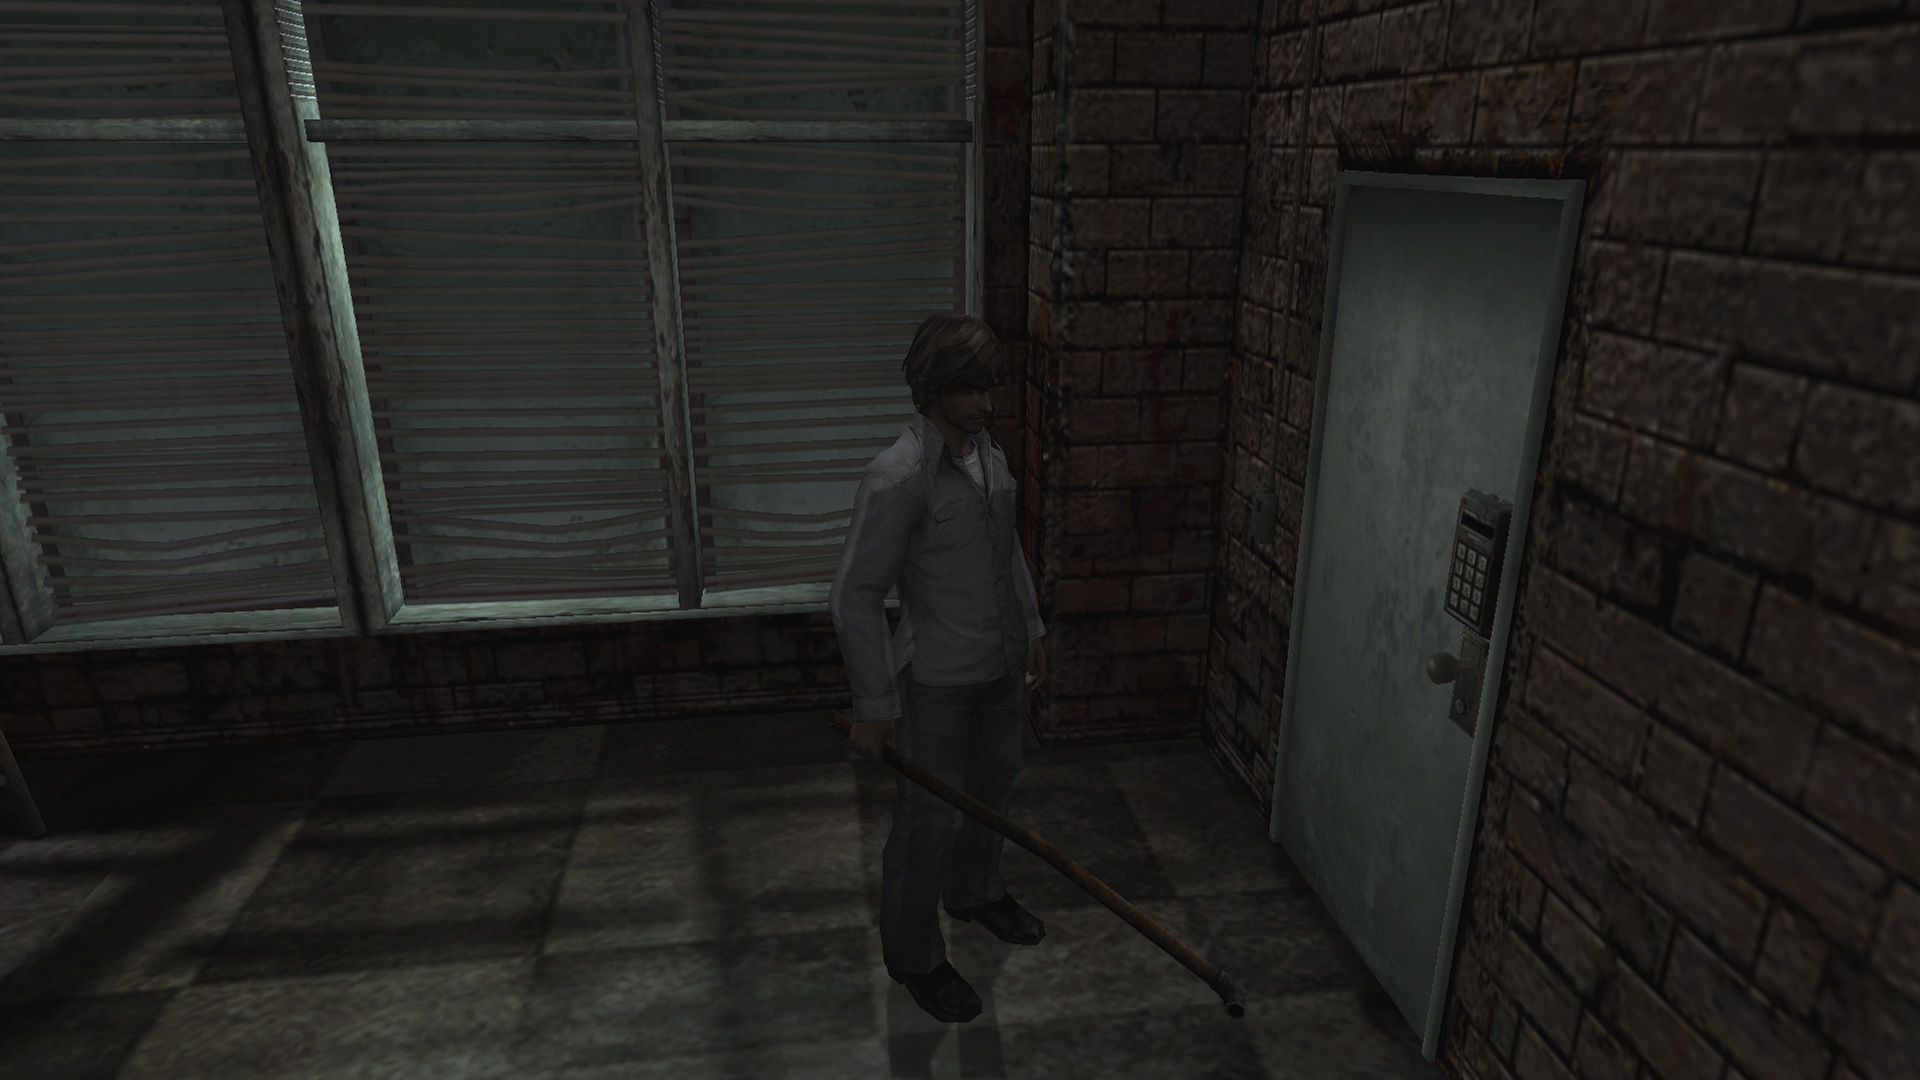
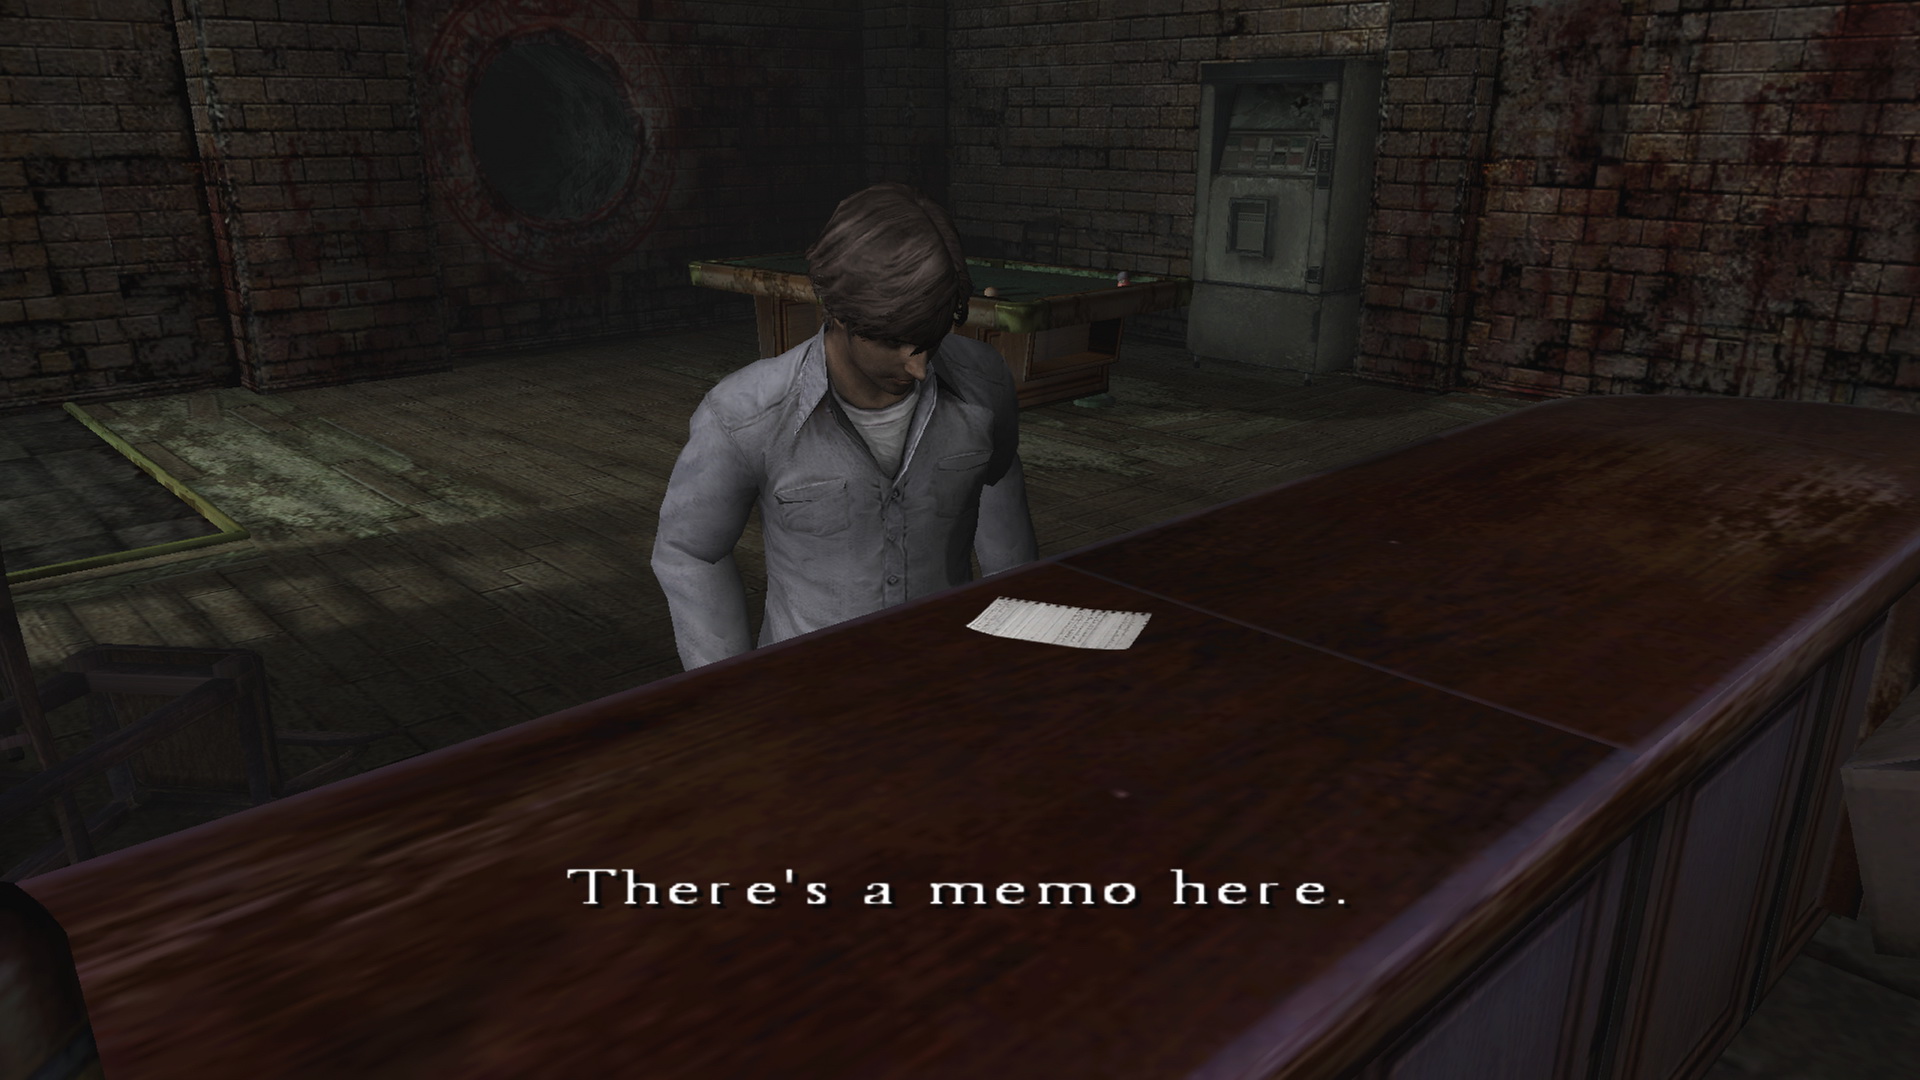
06. Bar Southfield Keypad (Building World)Location: Bar Southfield B15, Building World
After arriving in Bar Southfield you'll find the back door locked by a keypad and the Bartender's Memo on the bar which reads:
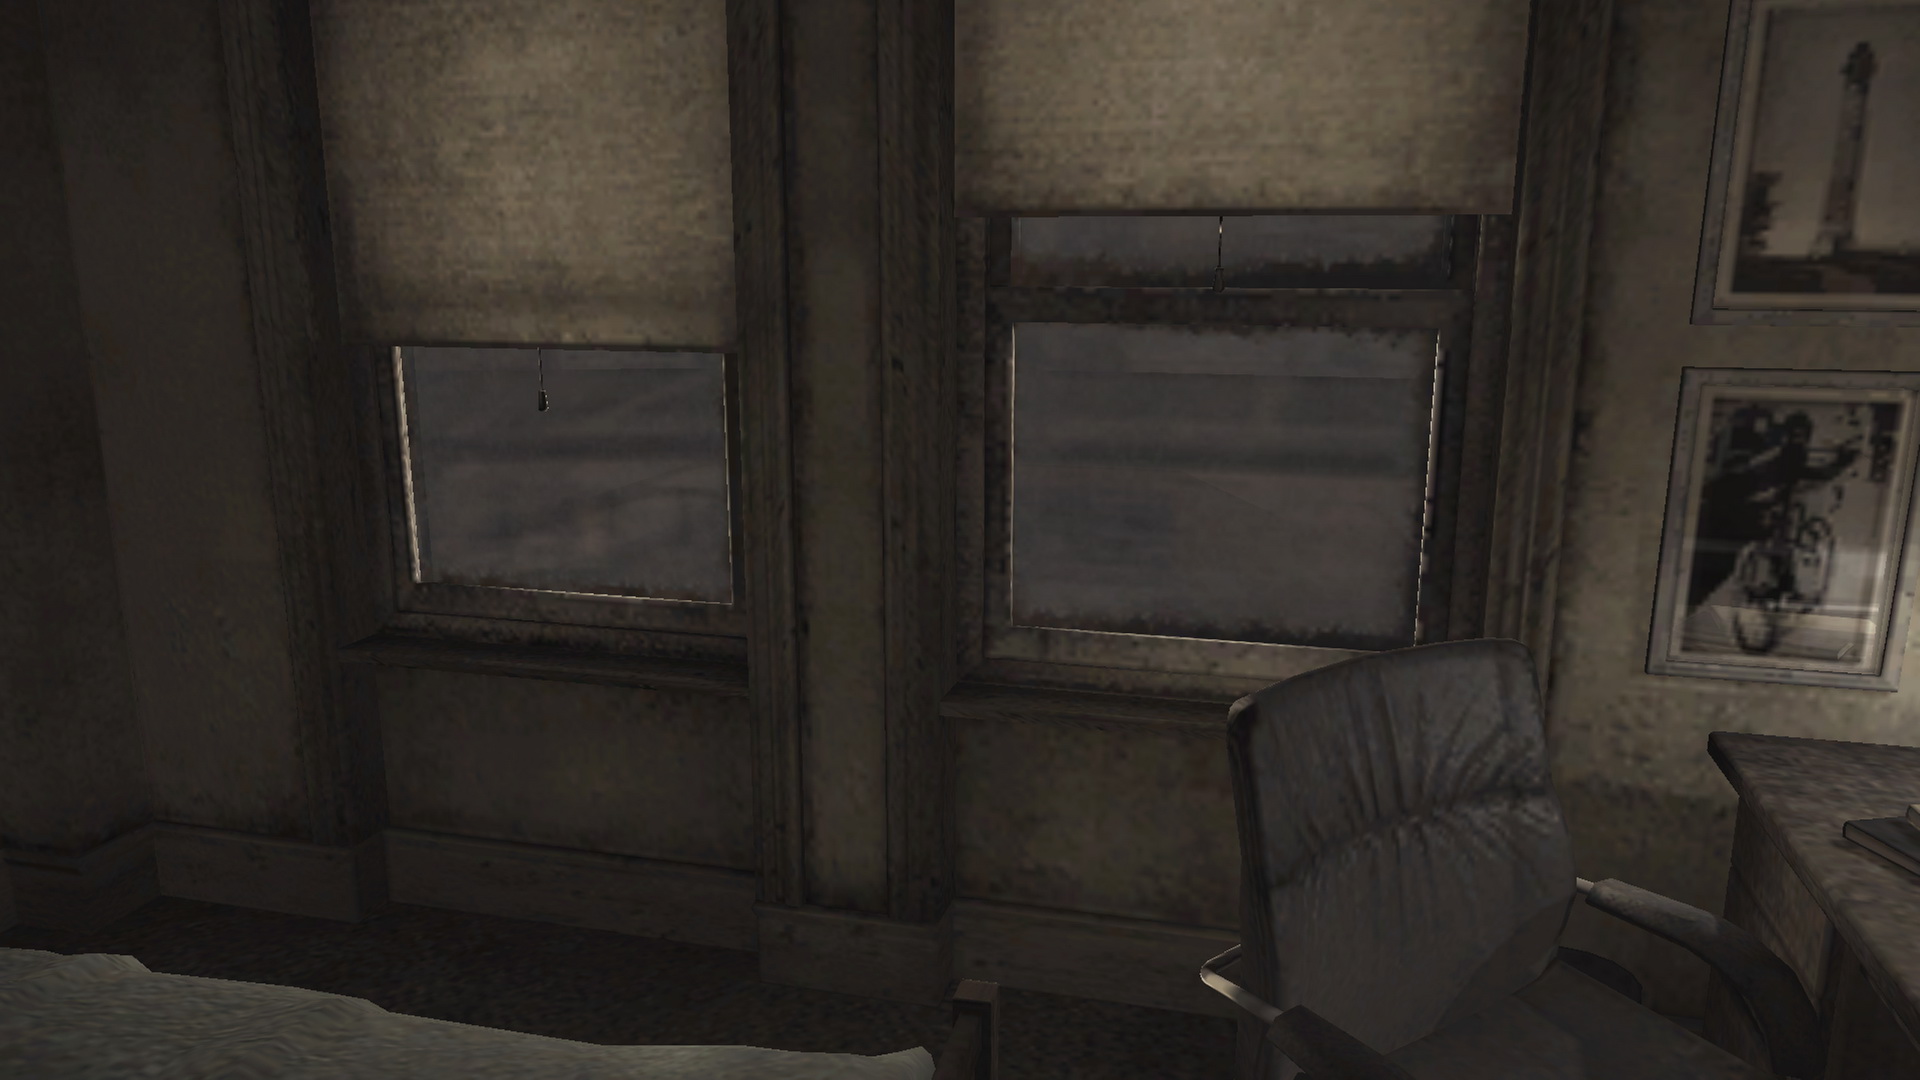
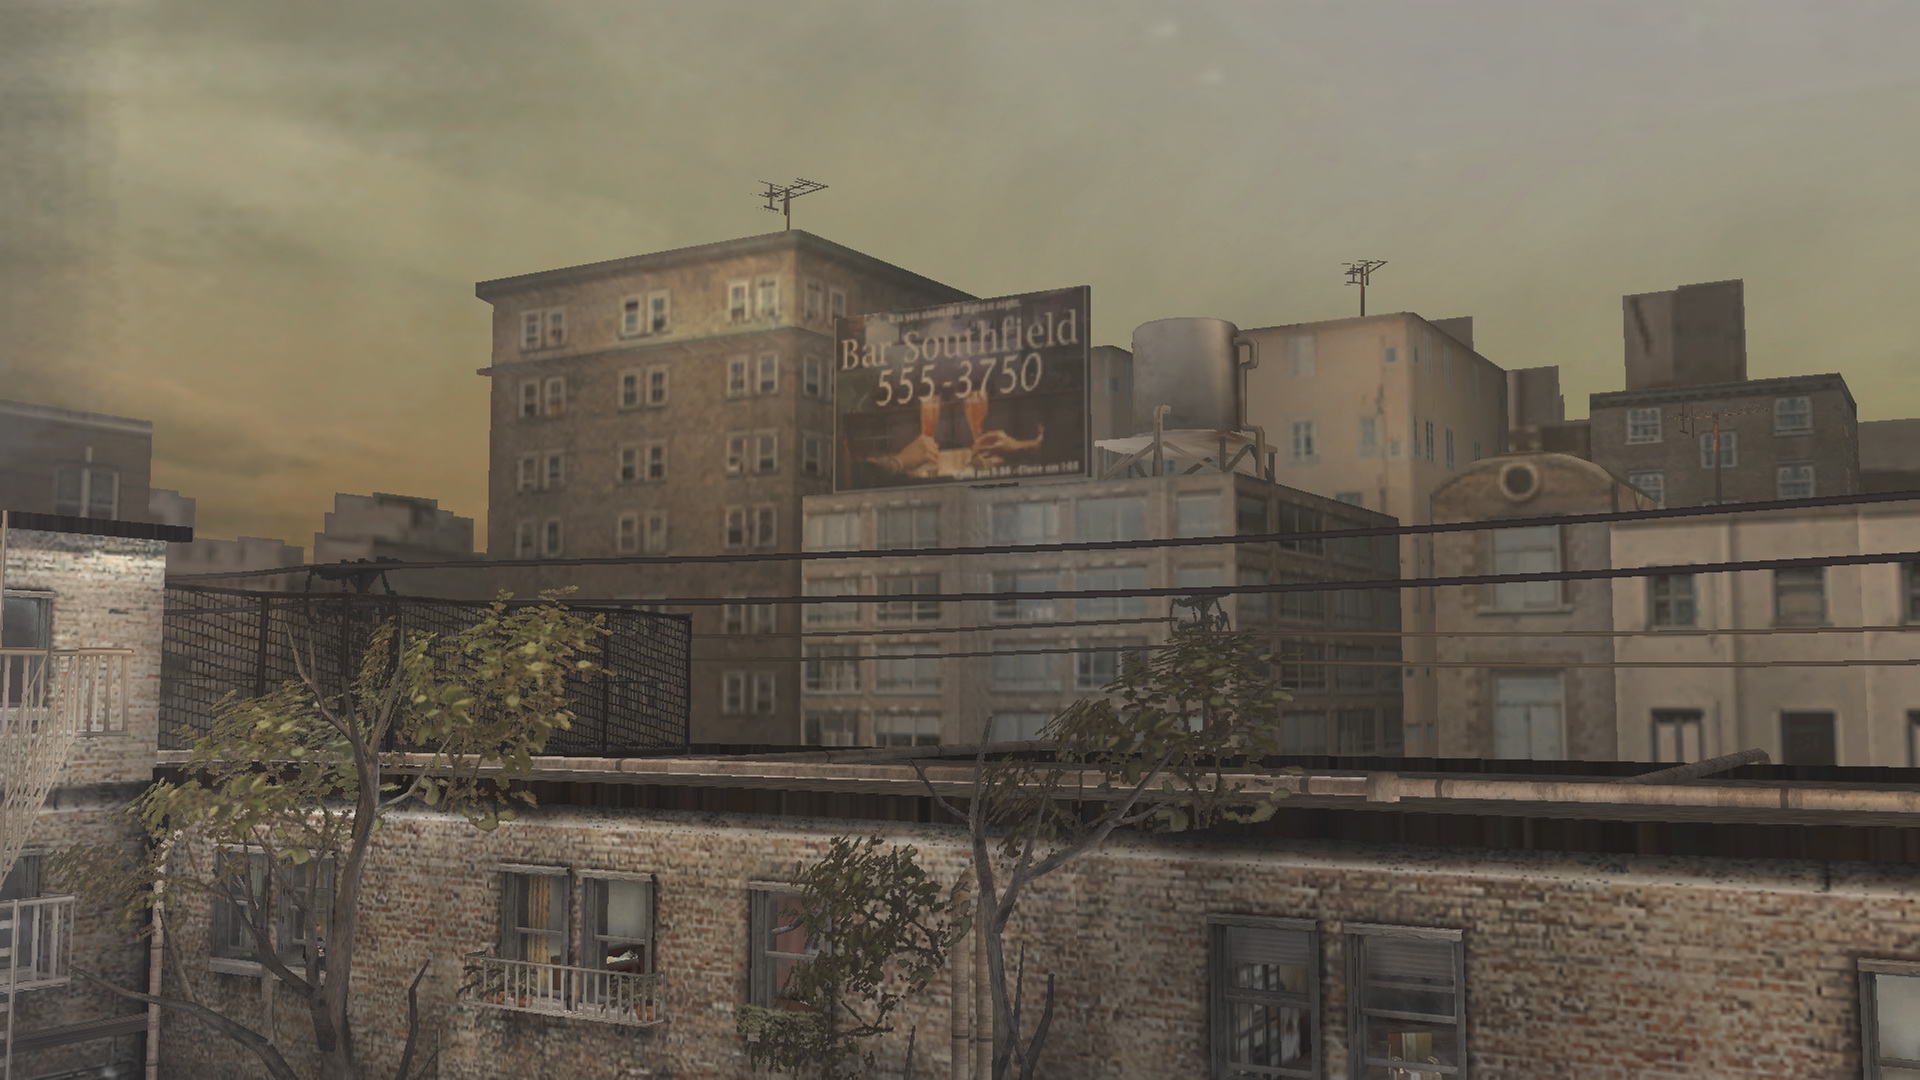
So the code is the last four digits of the bar's phone number, which is written on the sign on the roof. So how can you see the sign? Well, give it a good think. You have already been on a series of rooftops visible from Room 302's windows if you've been paying attention, and you may have also seen a billboard for a bar out your apartment window if you've taken in the sights. Return to 302 via the Portal by the billiard table to take a closer look. Back there, look outside your bedroom window. Up and to the left you'll see the billboard:
And so the code is 3750. Return to the bar and use that code to advance through the back door. |
07. Finding Room 303's Key (Apartment World)Requires:
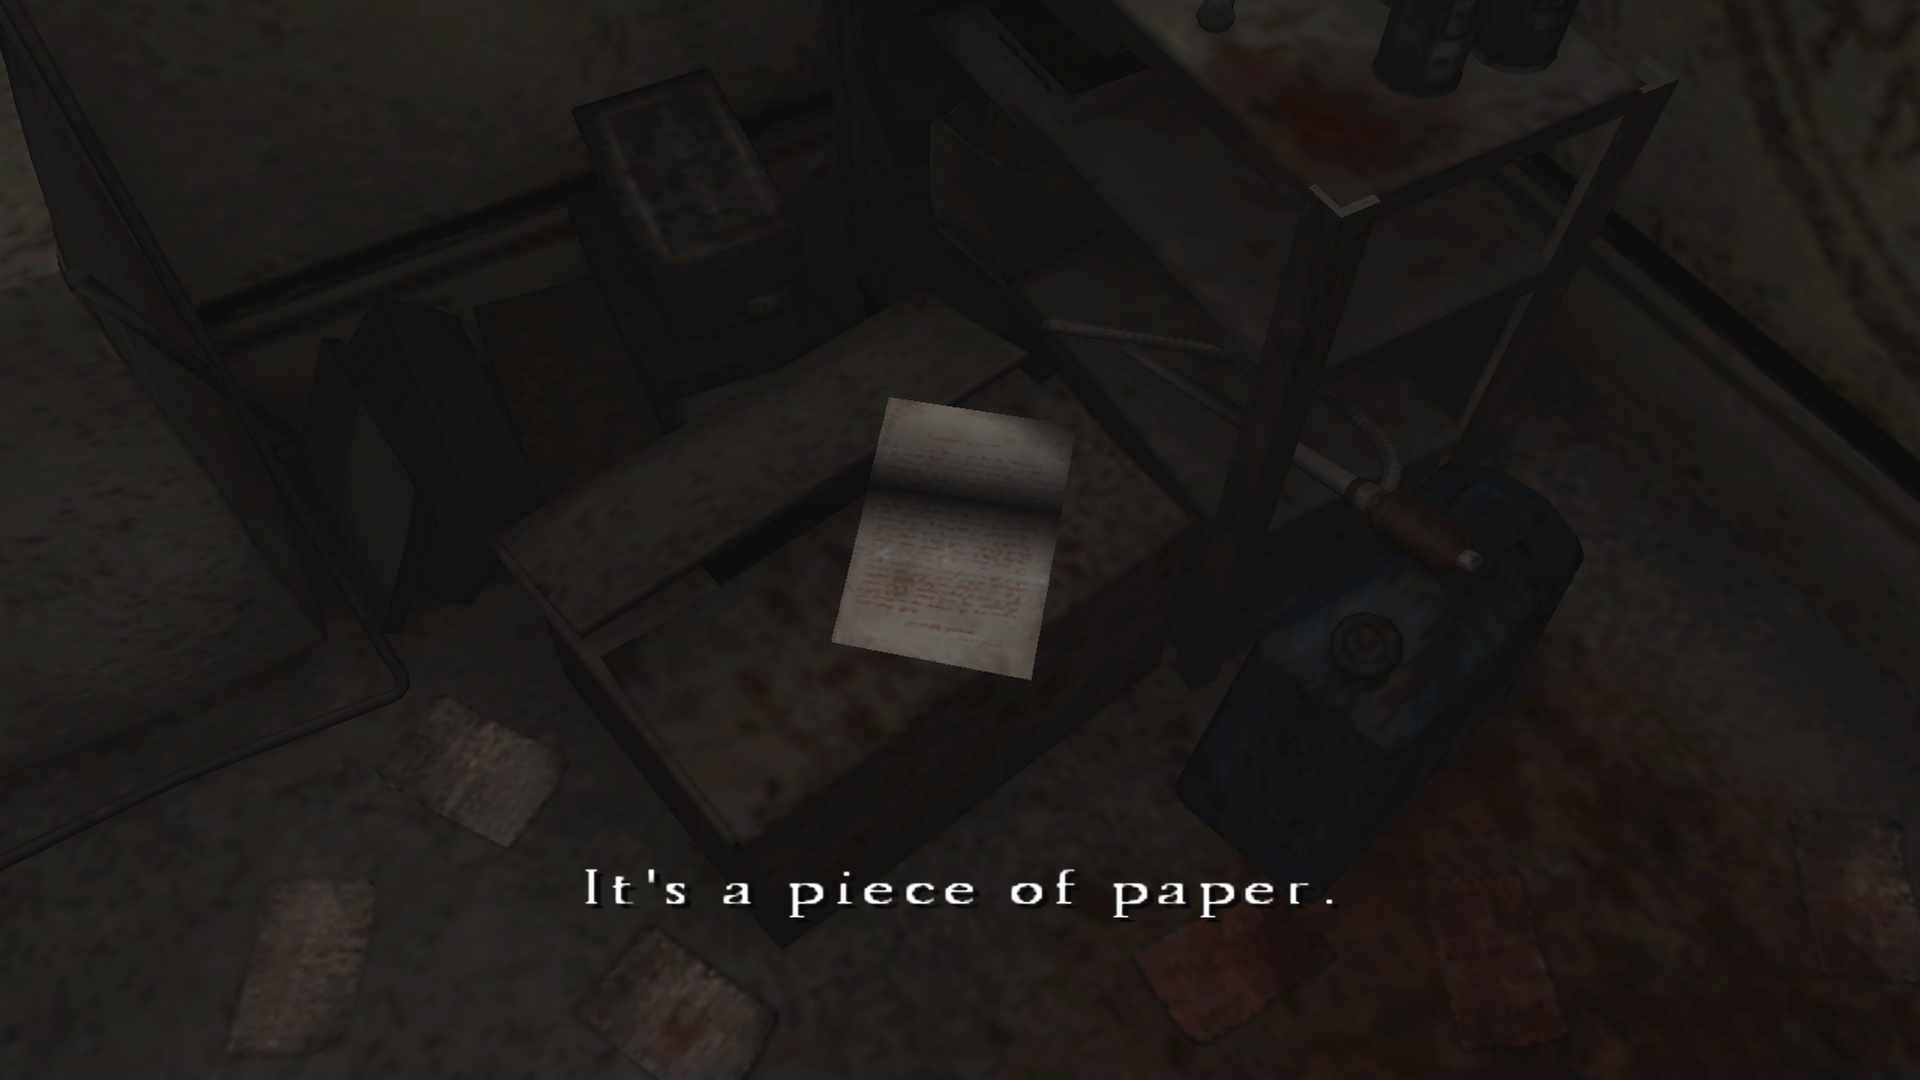
After finding the Apartment Keys in 105, you'll find it's missing the key to 303, Eileen's apartment. The secret to finding it involves the pieces of red paper found in the Apartment World. Upon finding these, Henry thinks he should slip them under 302's front door and read them from his apartment, since they can't be read as is. It specifically comes down to one piece that you absolutely need, but the Red Paper and Torn Red Paper found in 105 set you on the right path. When slipped under 302's door from the 3F apartment hallway, you will find the Red Diary - May 20 and Red Diary Scrap inside your unit, which read as follows:
The second paper is torn and so you'll need to find the other half somewhere. That other half is the Torn Red Paper inside room 102's fridge after clearing the Tremers surrounding it. Grab it and place the Torn Red Paper under 302's exterior door from 3F, then return to its interior. Now you'll find the Red Diary Scrap (cont.) under the front door:
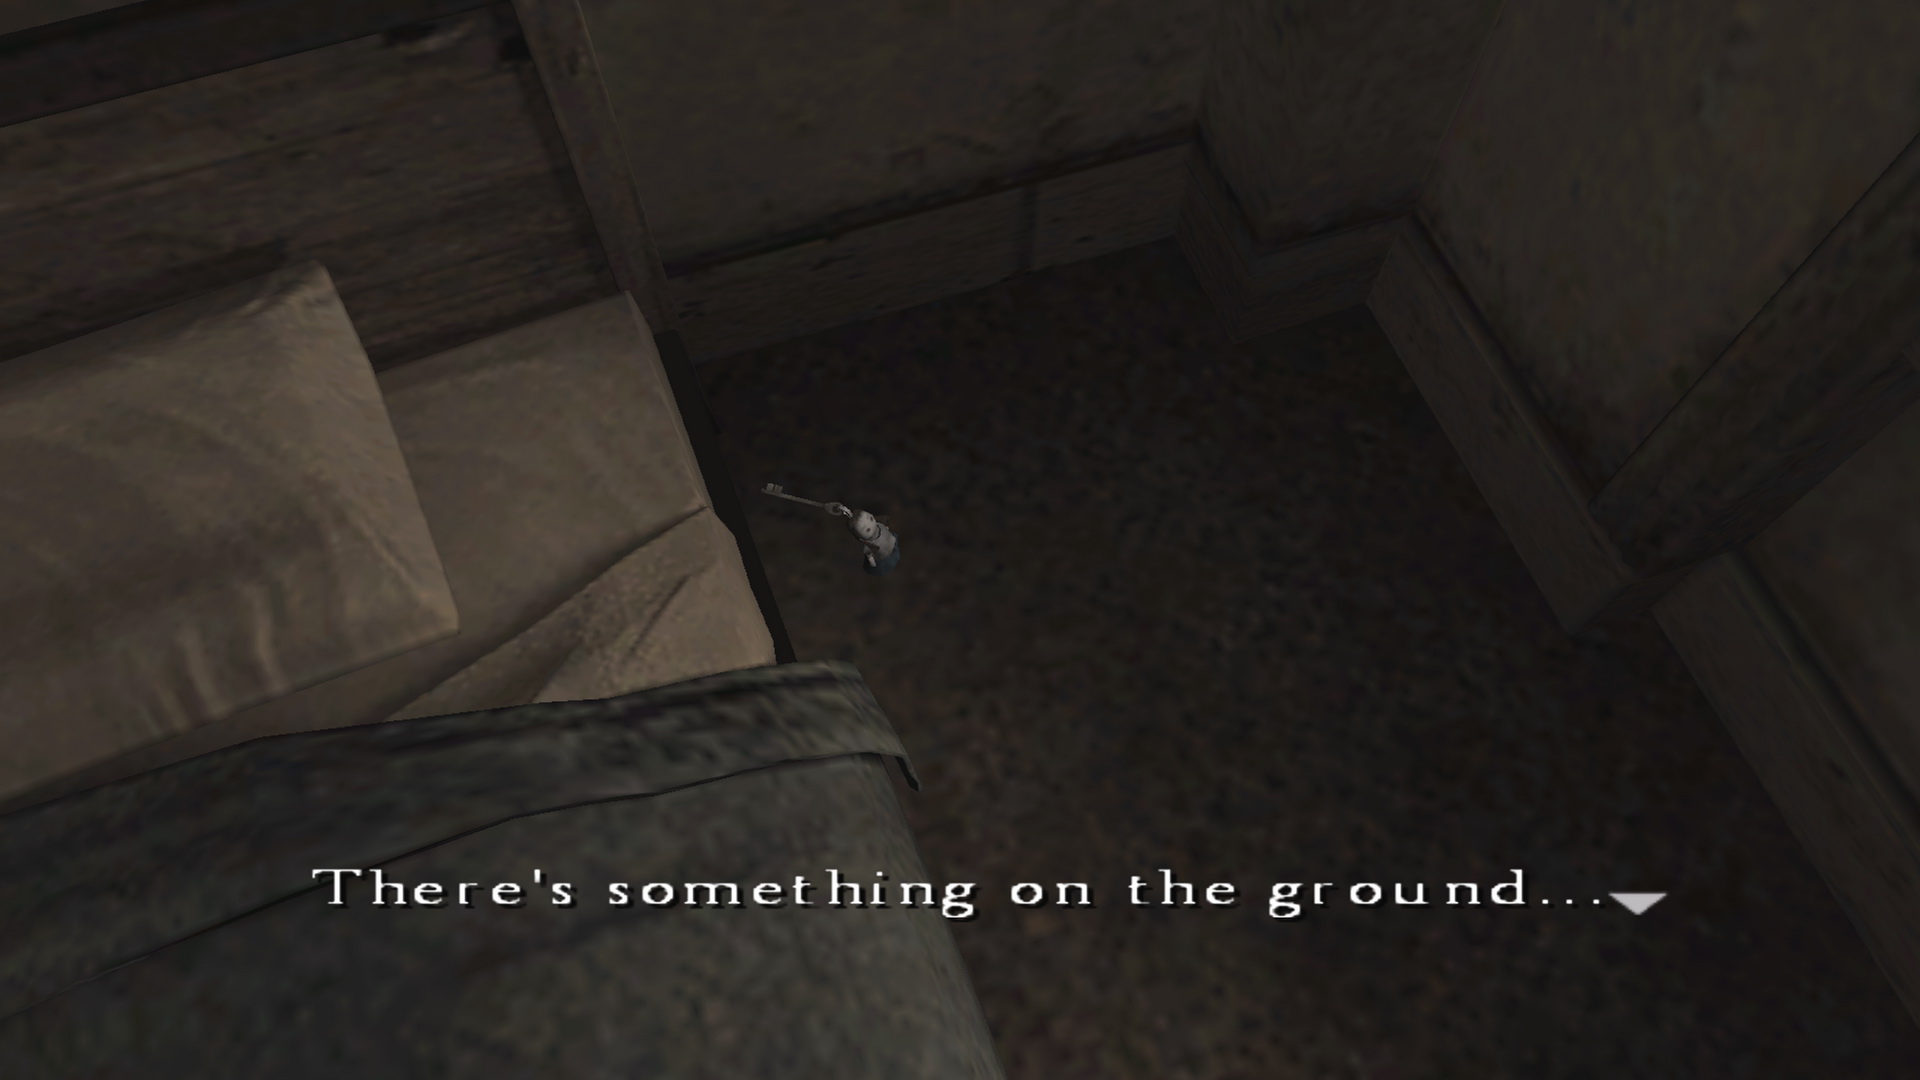
Now go to your bedroom and you'll find the Doll Key between the far wall and the right side of the bed near its head. Note that you must read the Red Diary Scrap (cont.) or this item will not appear here. Now return to the Apartment World and use the Doll Key to enter Eileen's room 302. Note that there's another Red Paper inside 301 and Torn Red Paper in 203 that can be placed under your front door and read inside 302, but they have nothing directly to do with finding the key itself. I would recommend finding them for story purposes however. |

08. Opening Up A New Portal (Room 302)Requires:
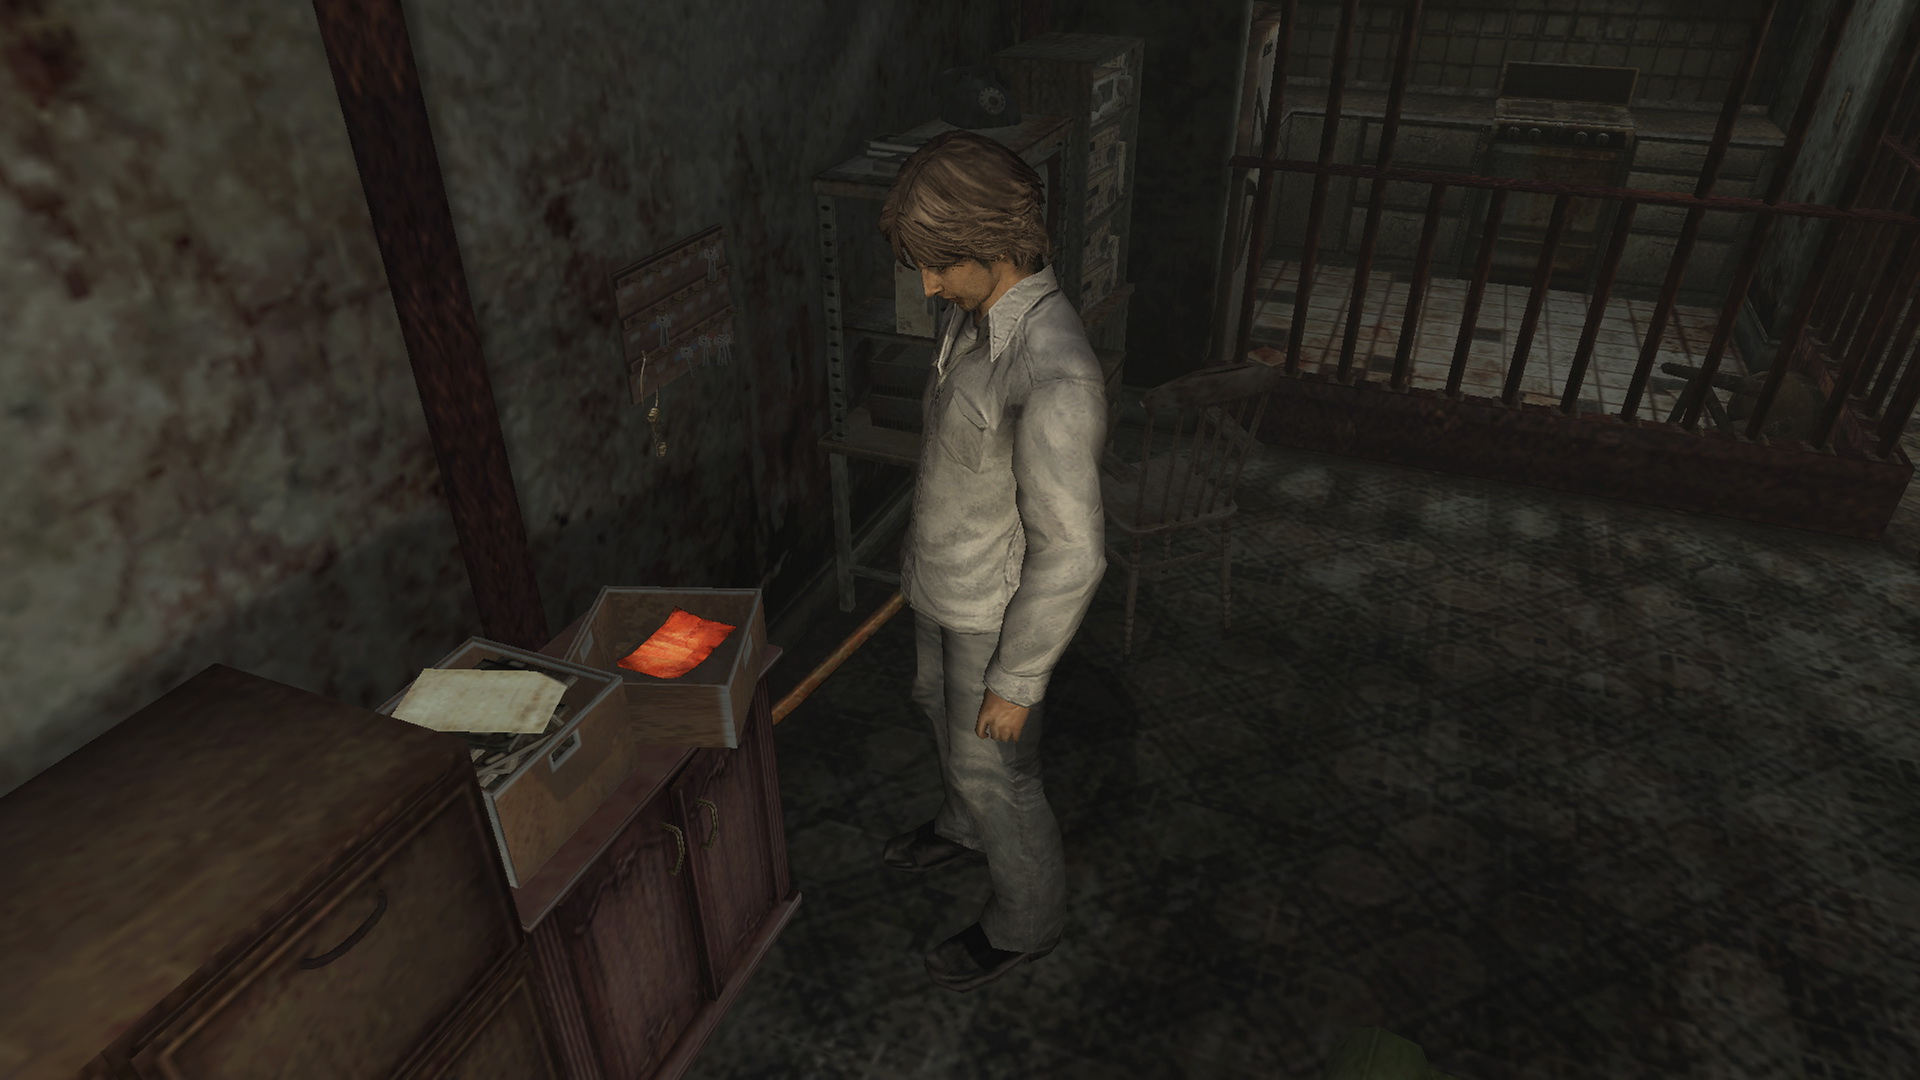
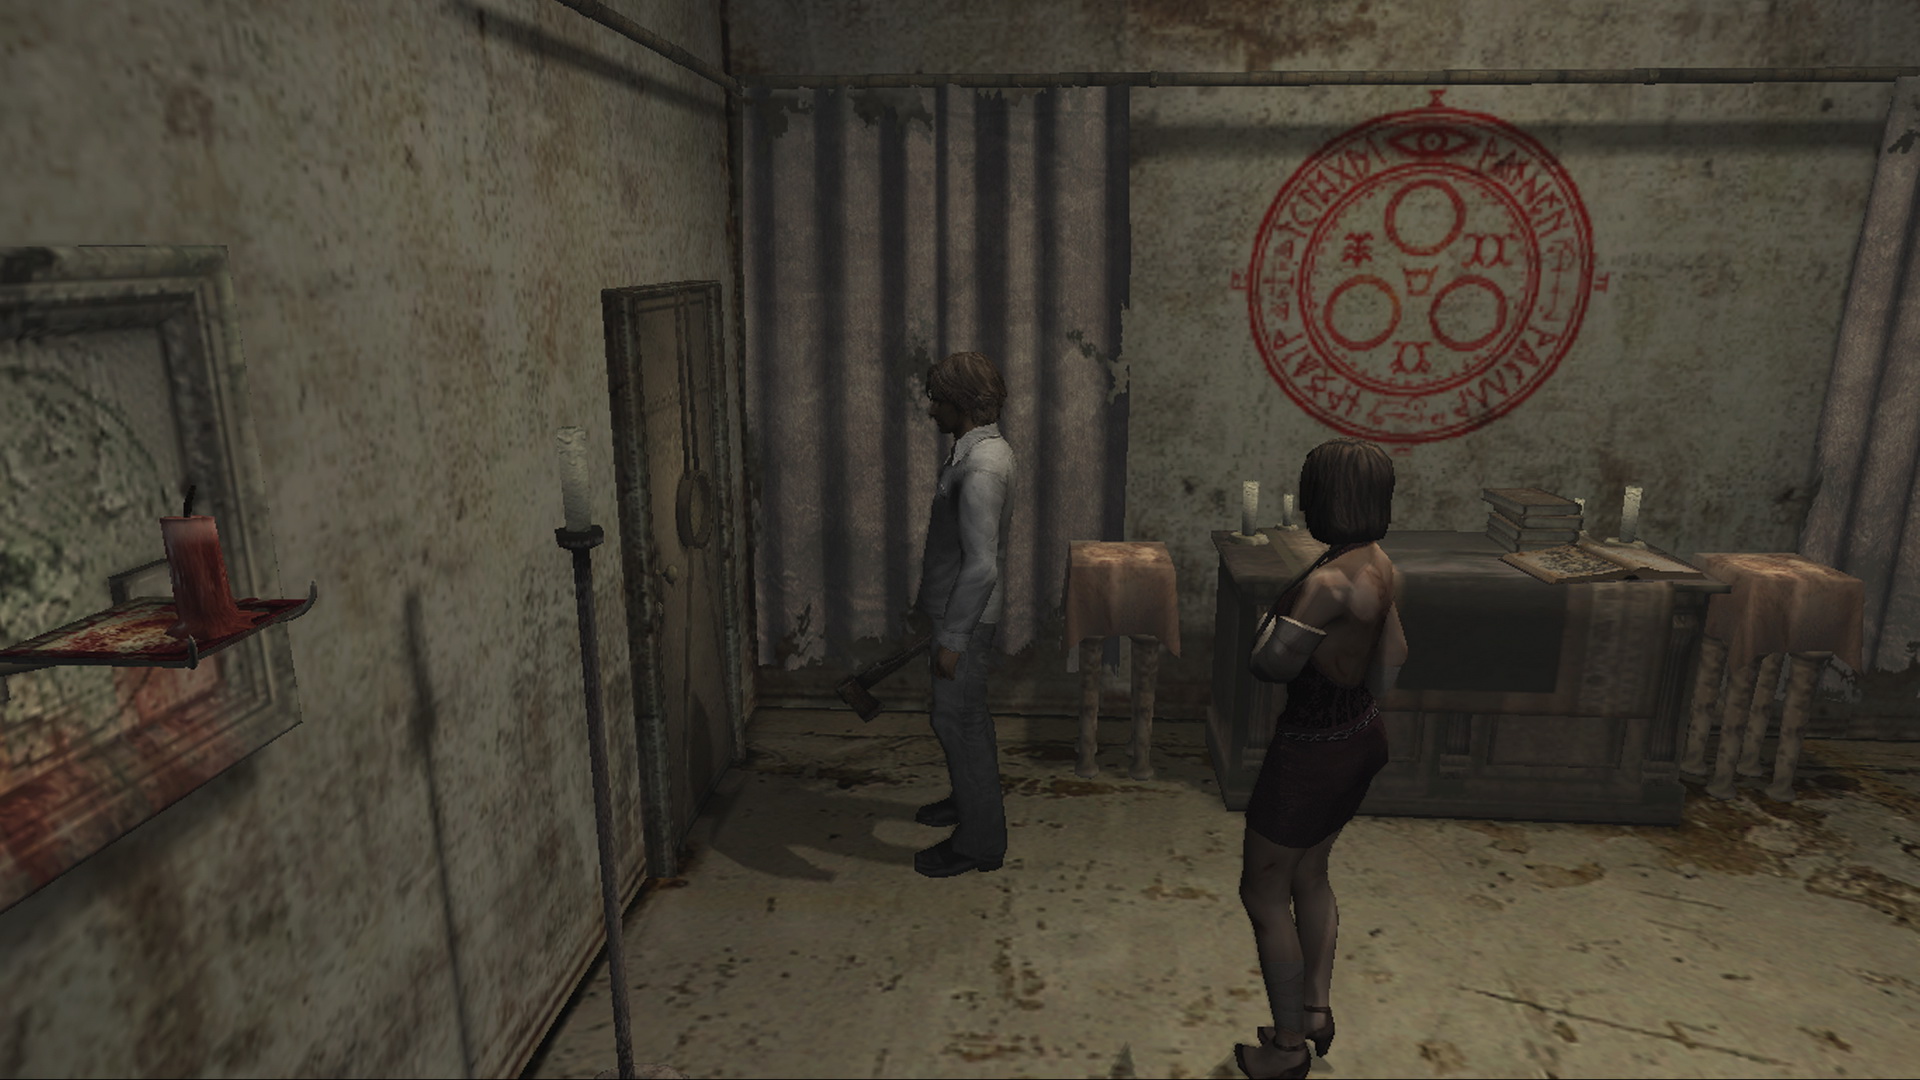
After completing Apartment World, your washroom portal will be filled in and can no longer be used. You will also find the Red Diary - July 13 and Succubus Talisman under your front door. Henry describes it as a card with a "frightening demon" on it. The Red Diary may arouse some curiosity in one part:
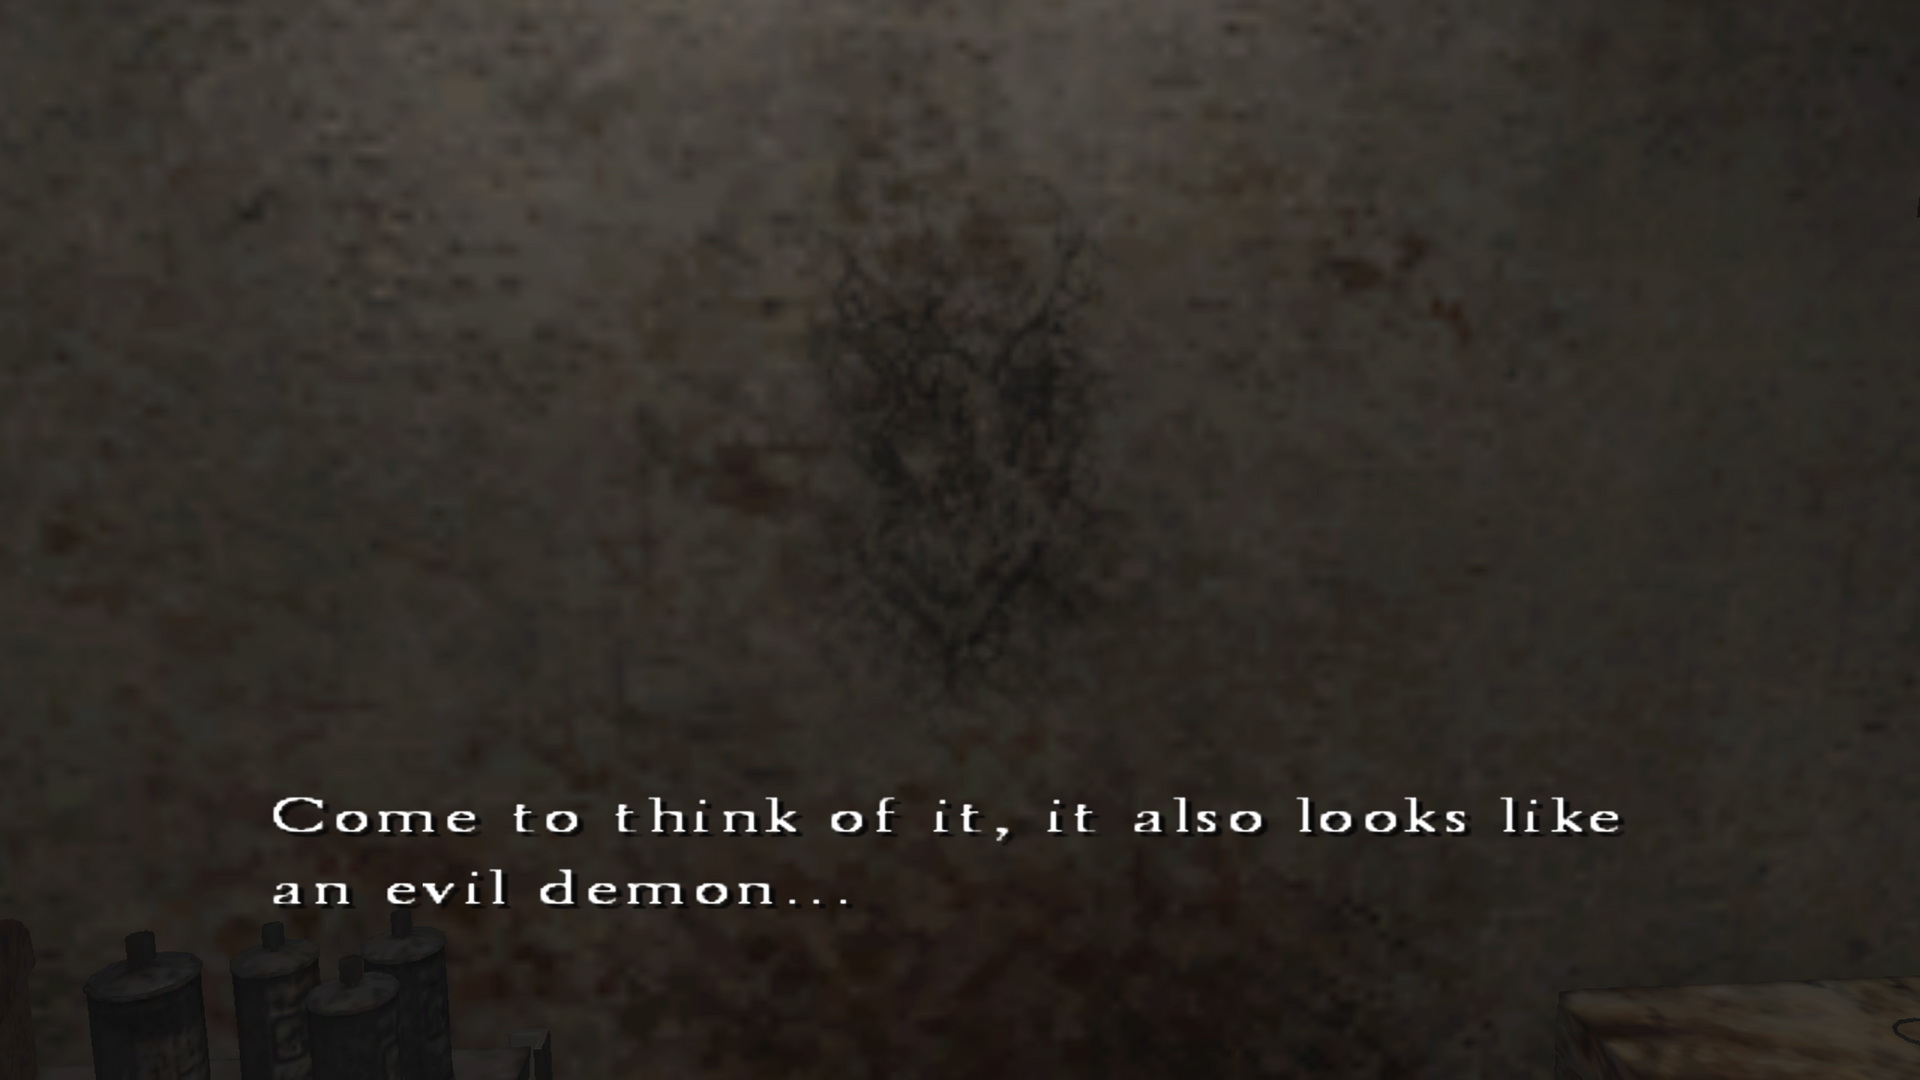
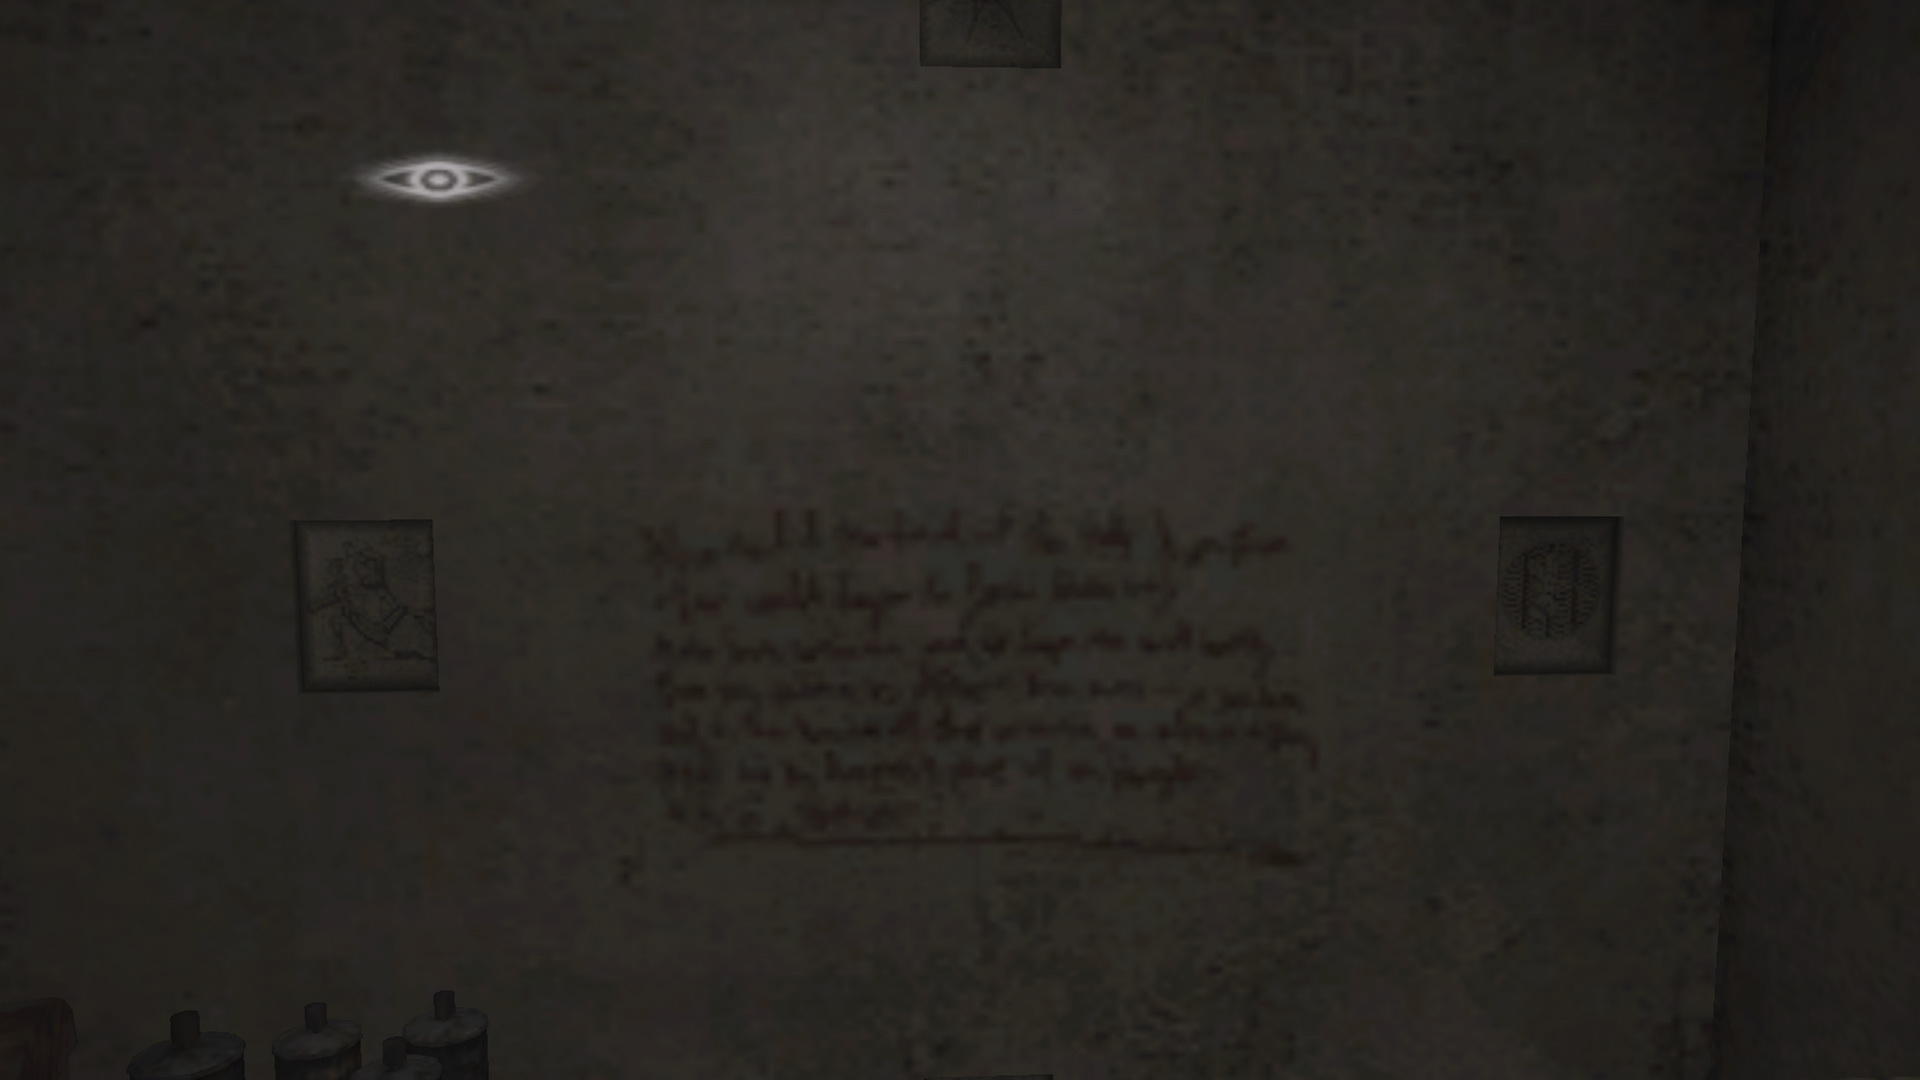
Storage room? Would that be the laundry room? The dryer did explode with blood earlier so perhaps another check up is warranted. Inside you may notice a mark on the wall, which to Henry looks like an "evil demon". Ringing any bells? Perhaps this one is out of left field either way, but note the common demon theme and use the Succubus Talisman while facing the mark. A note written in red will form on the wall, surrounded by four square depressions. The note doesn't really provide you with any clues, but the four depressions surrounding it make it obvious enough. Each one is inscribed with a word and image that matches one of the four placards you found at the end of the first four worlds. Reclaim them all from your item chest. Place the Temptation Placard on the left, Source Placard on the right, Watchfulness Placard on the top, and Chaos Placard on the bottom. A new portal will form. Enter it to advance. |
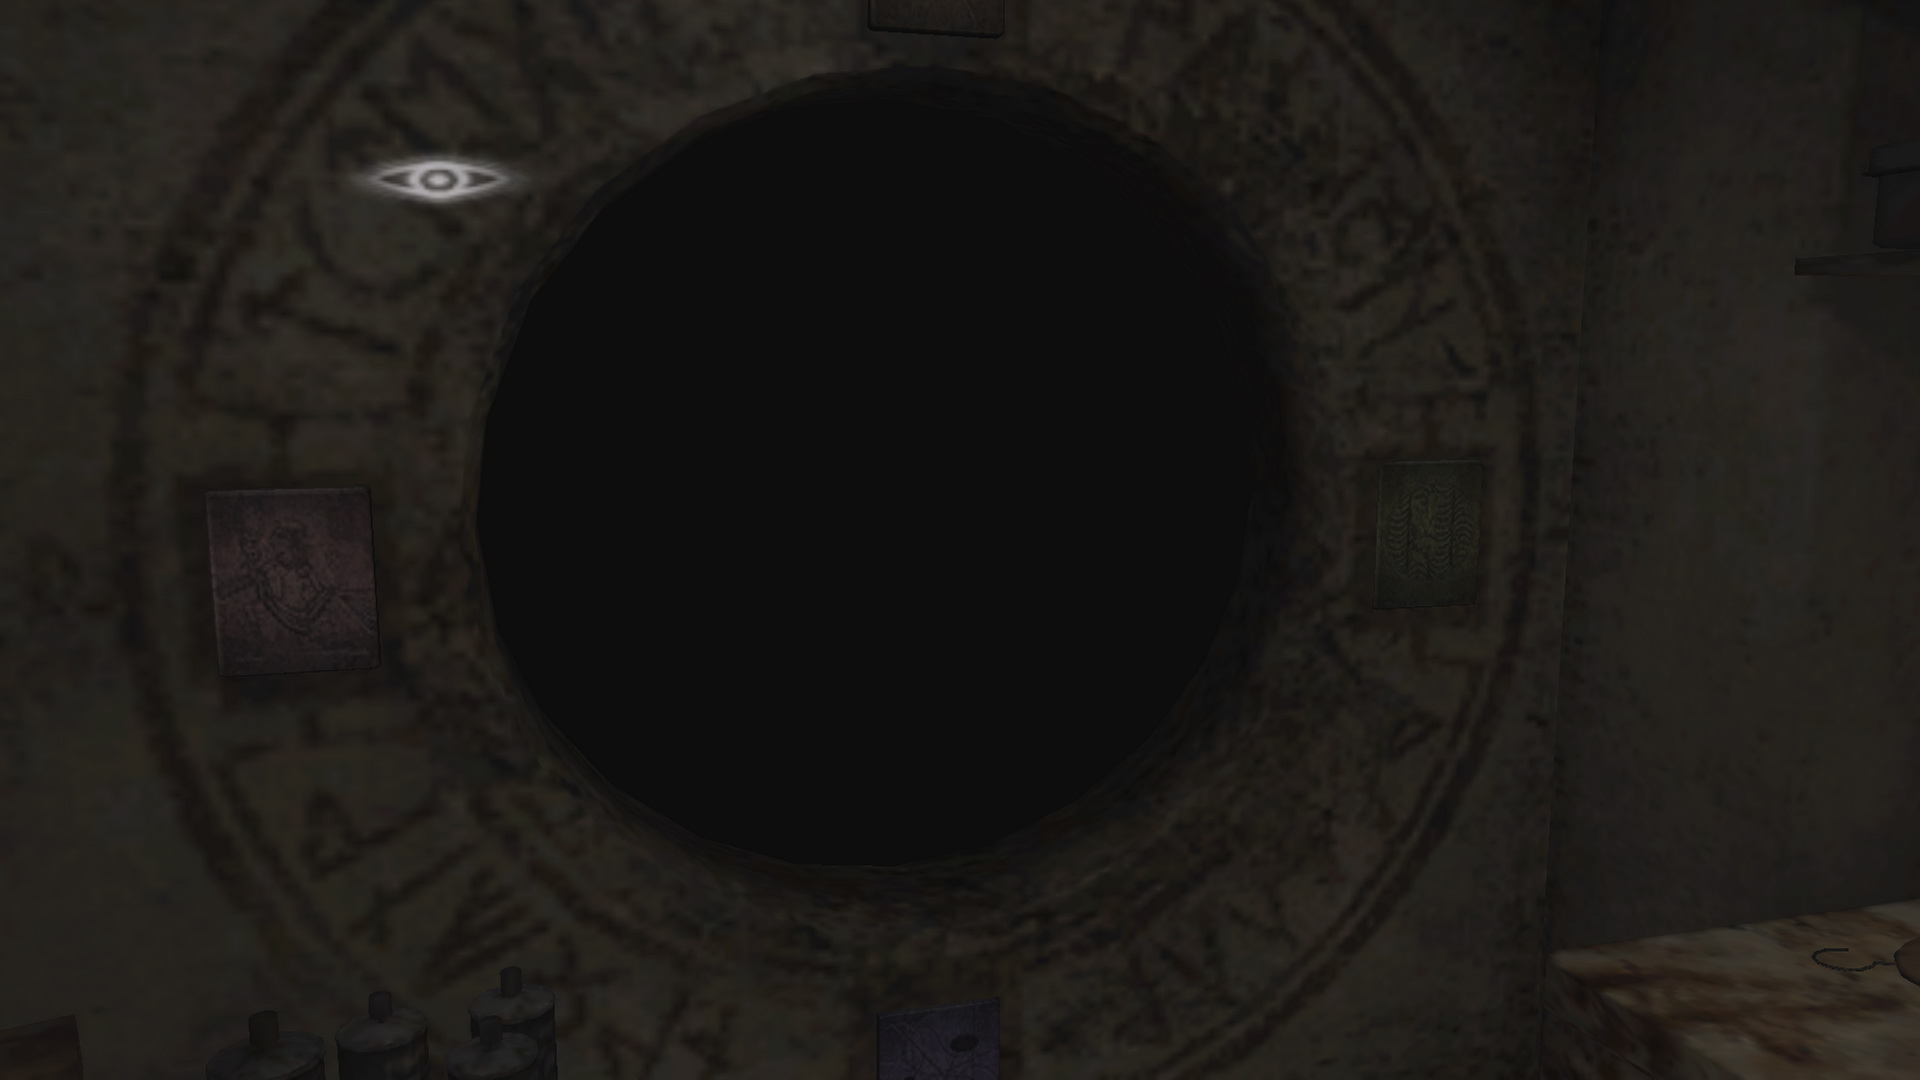
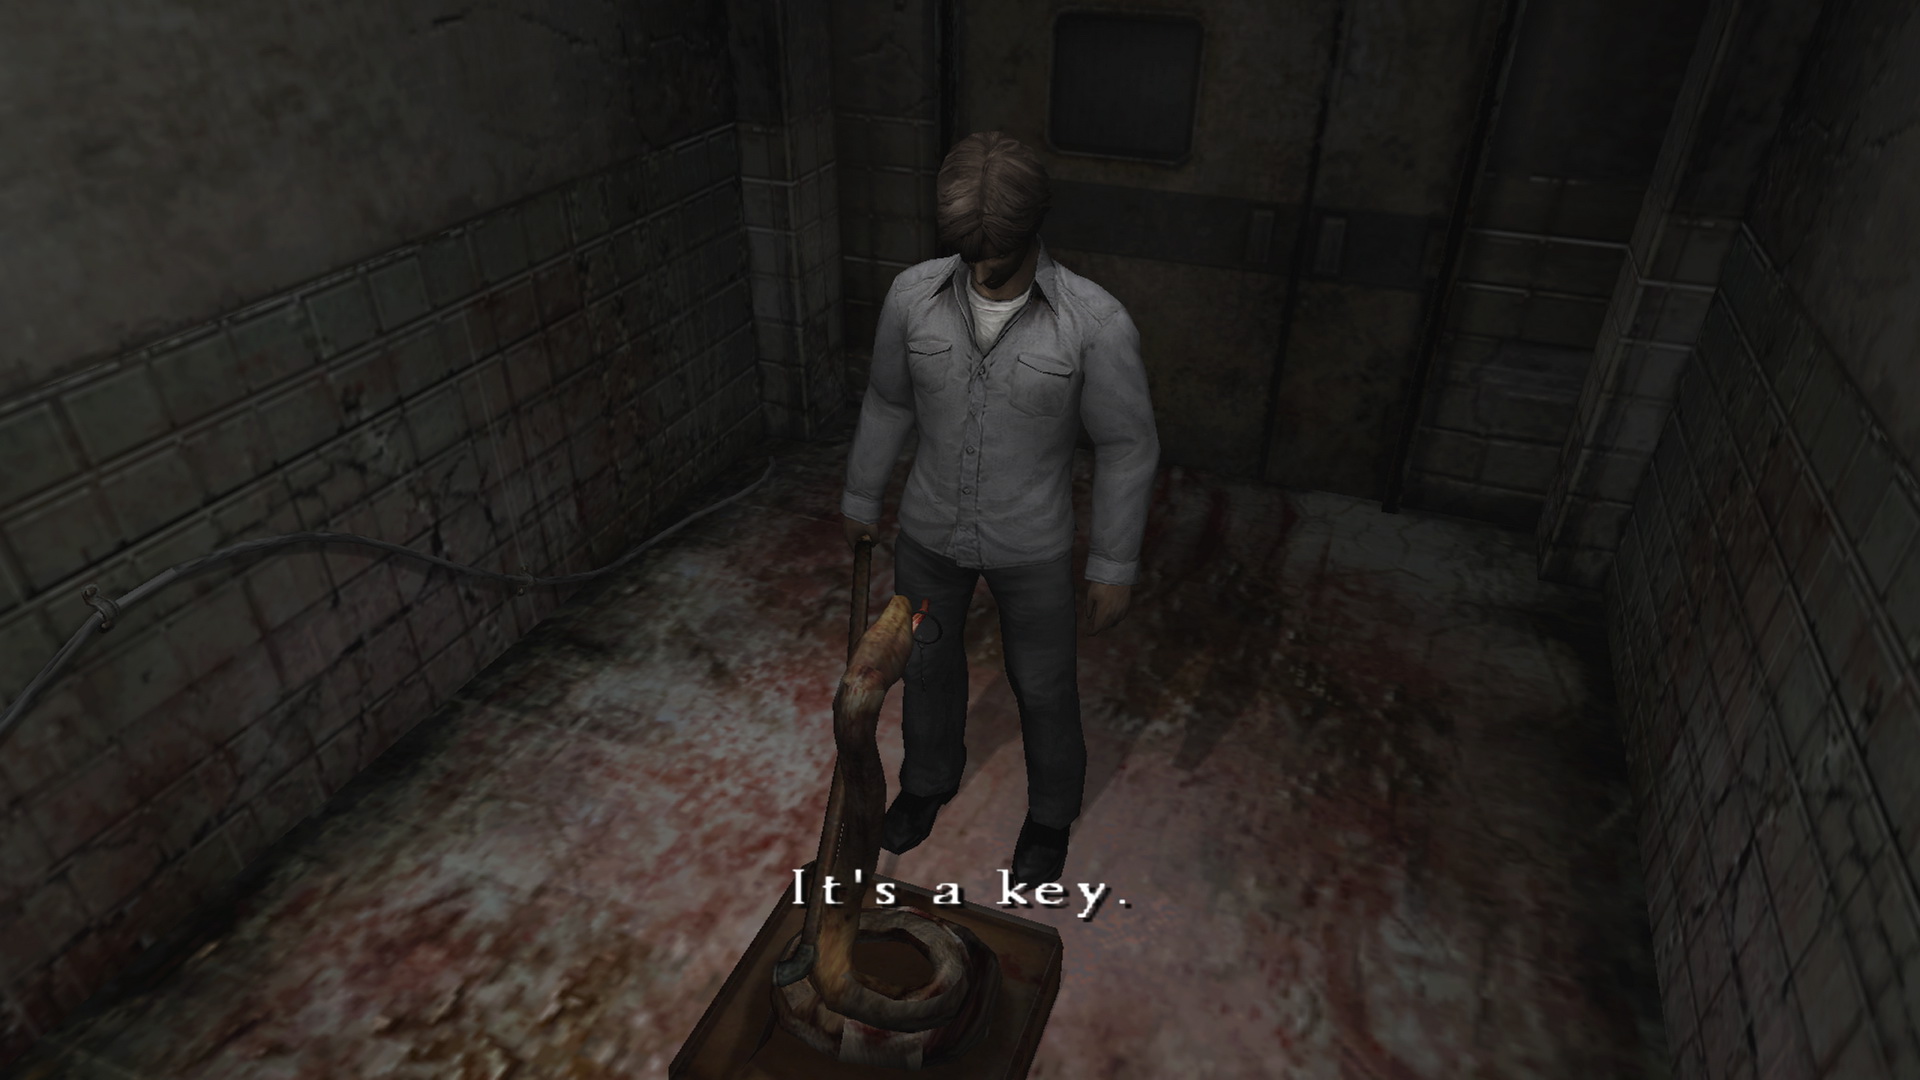
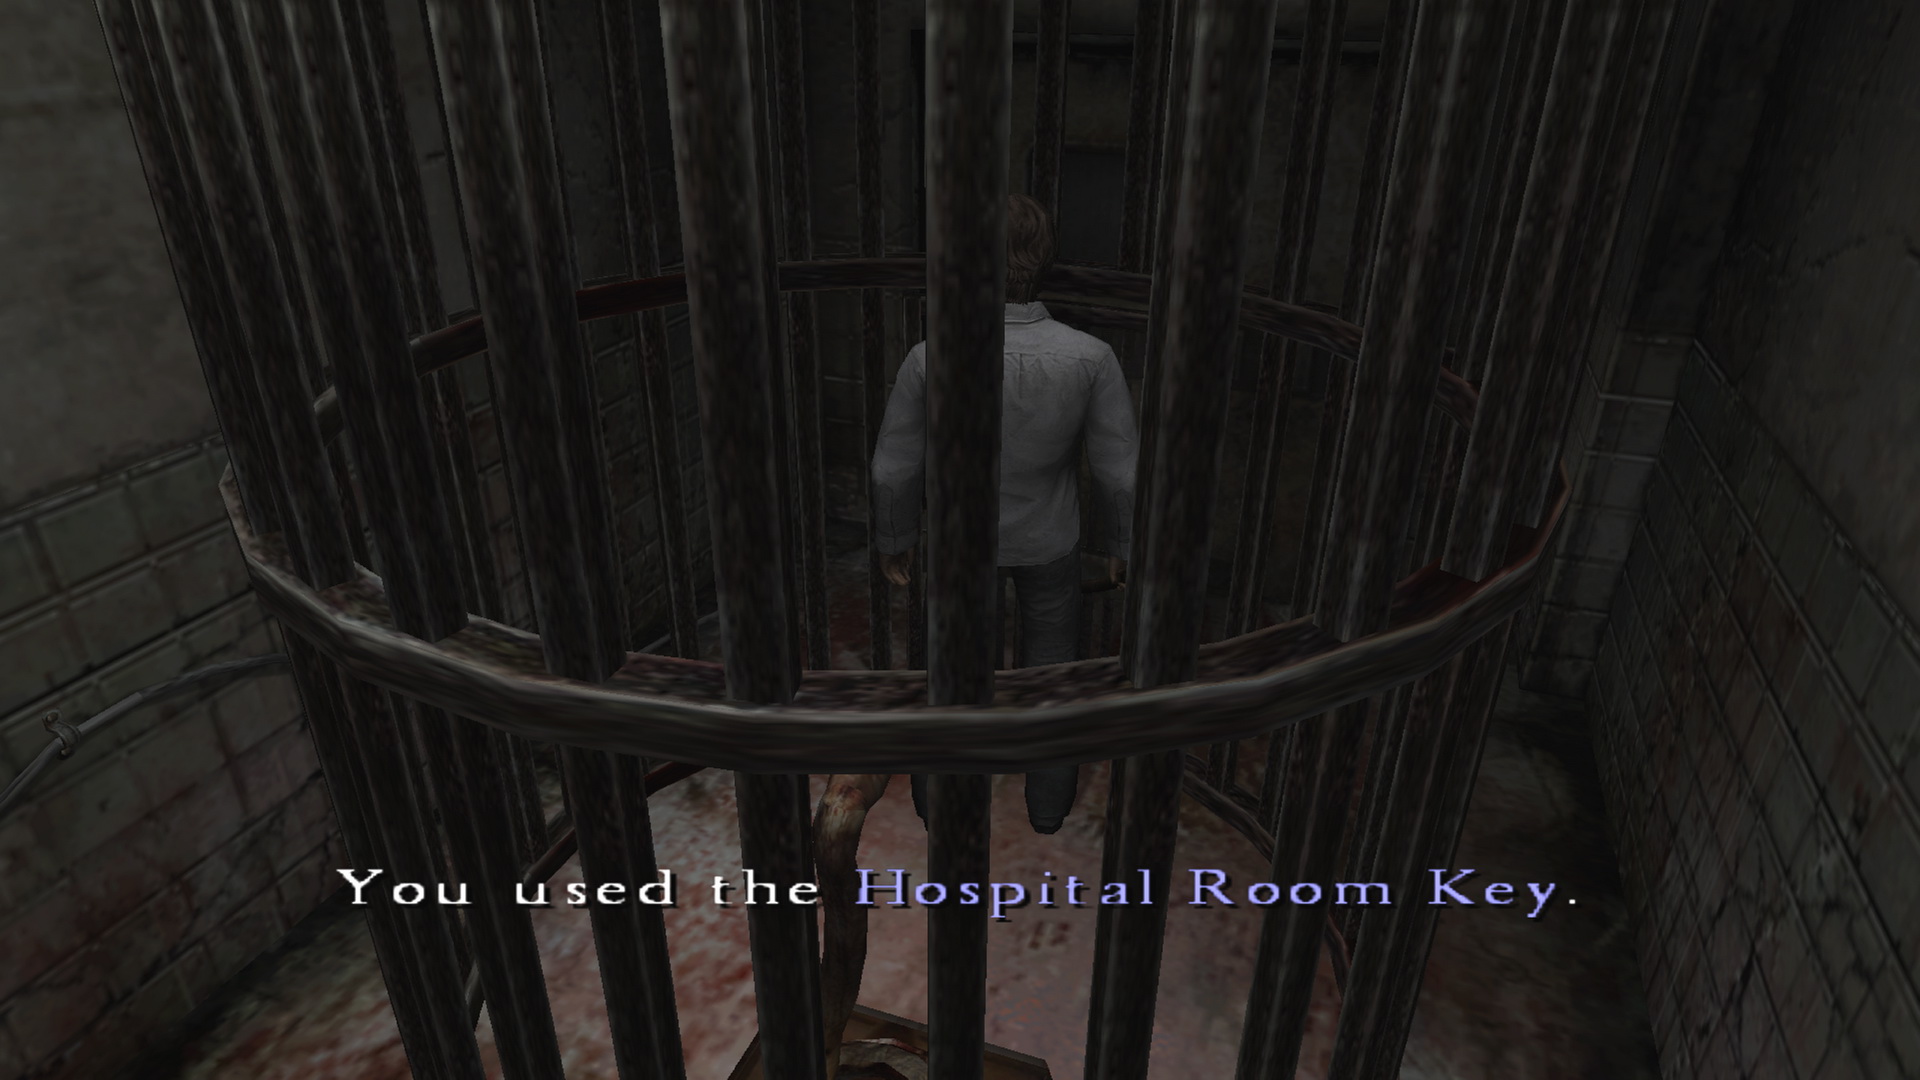
09. Finding Eileen In The Hospital (Hospital World)Location: 2F Wing, Hospital World
Upon arriving on the second floor of the Hospital World, you'll find a long wing full of rooms. From the exterior it always looks the same but the arrangement of which rooms appear through which doors is random every run. Your goal is ultimately to find Eileen in her hospital room which is the only locked room in this hall. To unlock it, you must first find the room with a snake statue on the floor. Examine it to get the Hospital Room Key. A cage will immediately fall and cover you. Turn around and use the Hospital Room Key to escape the cage while facing the door. Leave the room and now locate Eileen's locked hospital room – check your map if it's already been found, or keep looking. Enter her room with the Hospital Room Key. |
10. Escaping The Hospital (Hospital World)Location: First Floor, Hospital World
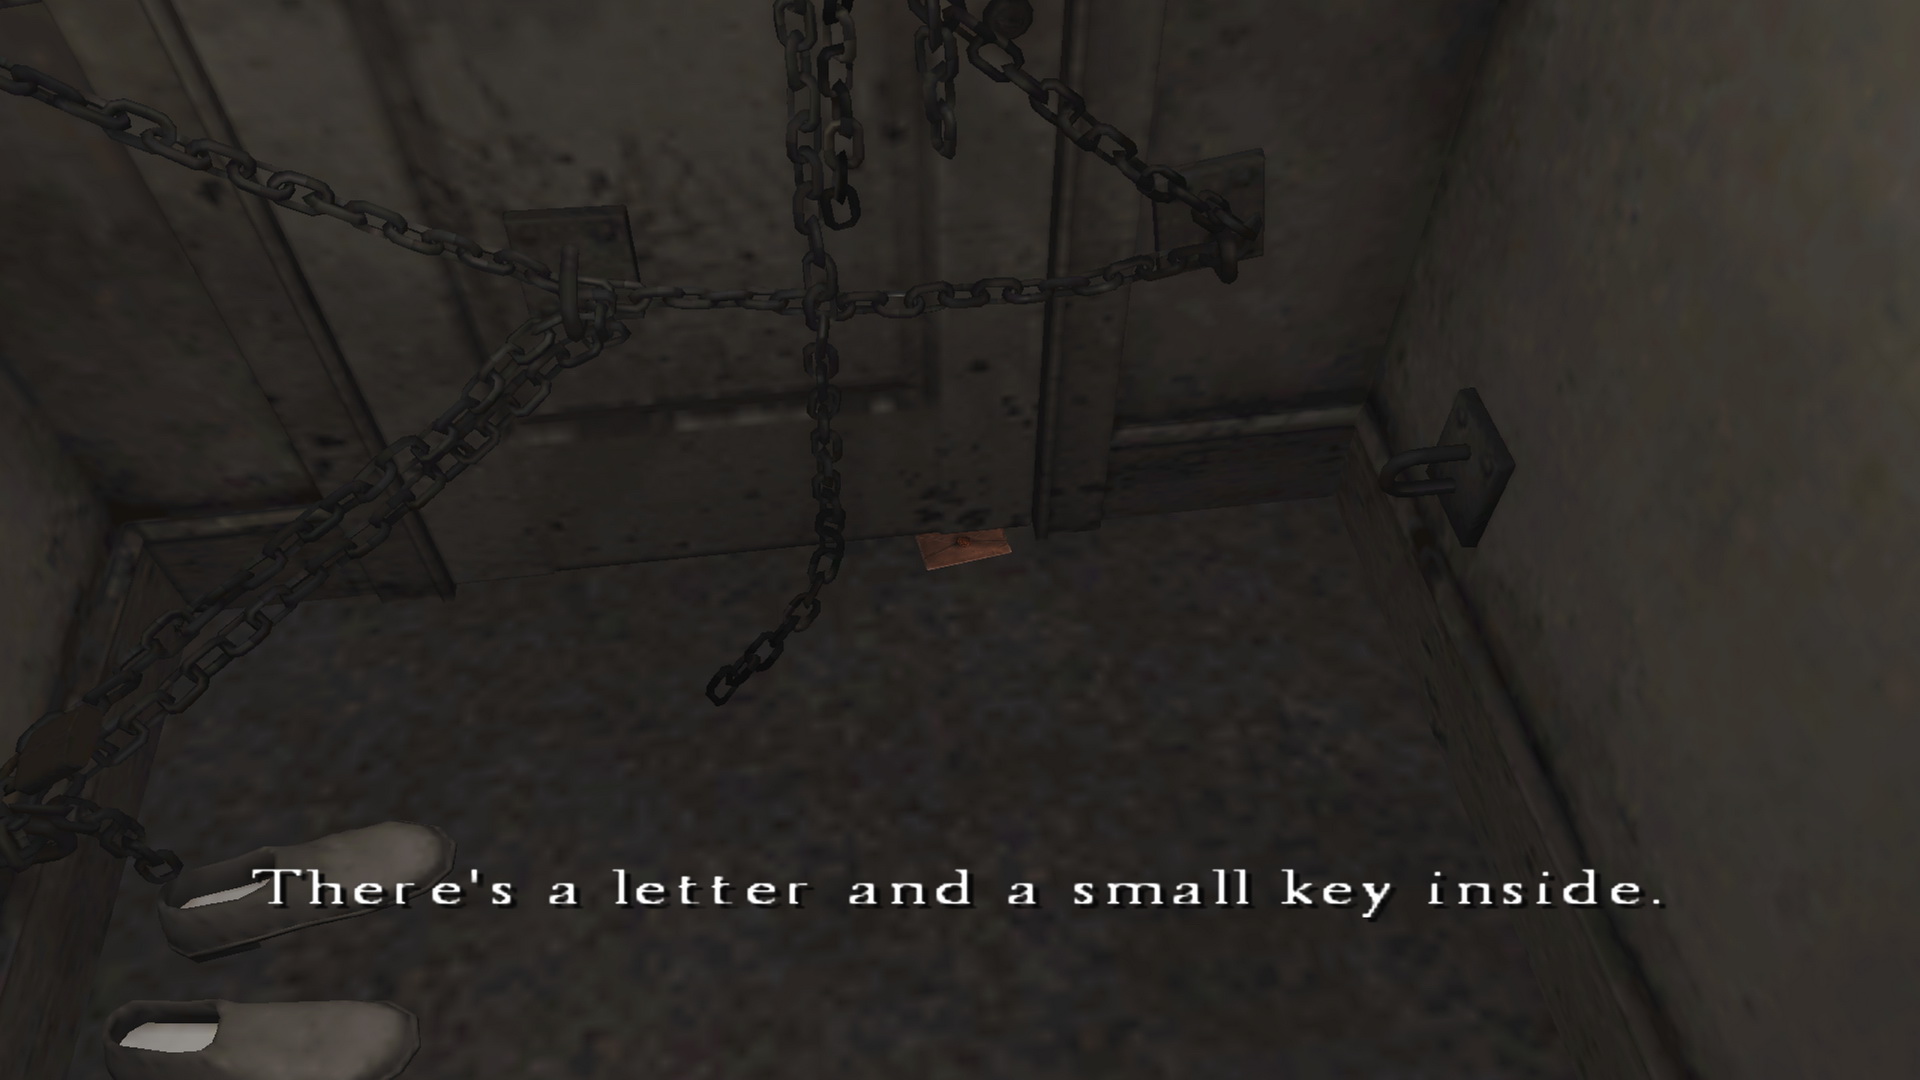
After guiding Eileen back to the 1F portal in the hospital, you'll find the Red Diary - July 20 and a Small Key at your front door, which Joseph believes will help you. Upon returning to Eileen, you are tasked with escaping the hospital with her, but how? You may notice the doors to the elevator shaft just outside in the hall are actually missing, and what you're seeing is the elevator unit itself. You cannot enter it as is so head up to the second floor to try there. Upstairs, use the button to call the elevator. If you enter it you'll only find a Patient waiting to smack you. So what gives? Well, remember the shaft doors were missing on 1F? Return and you'll find the shaft now empty since the elevator has moved. Inside the shaft is a locked gate which is opened with the Small Key. Now you can proceed with Eileen. |
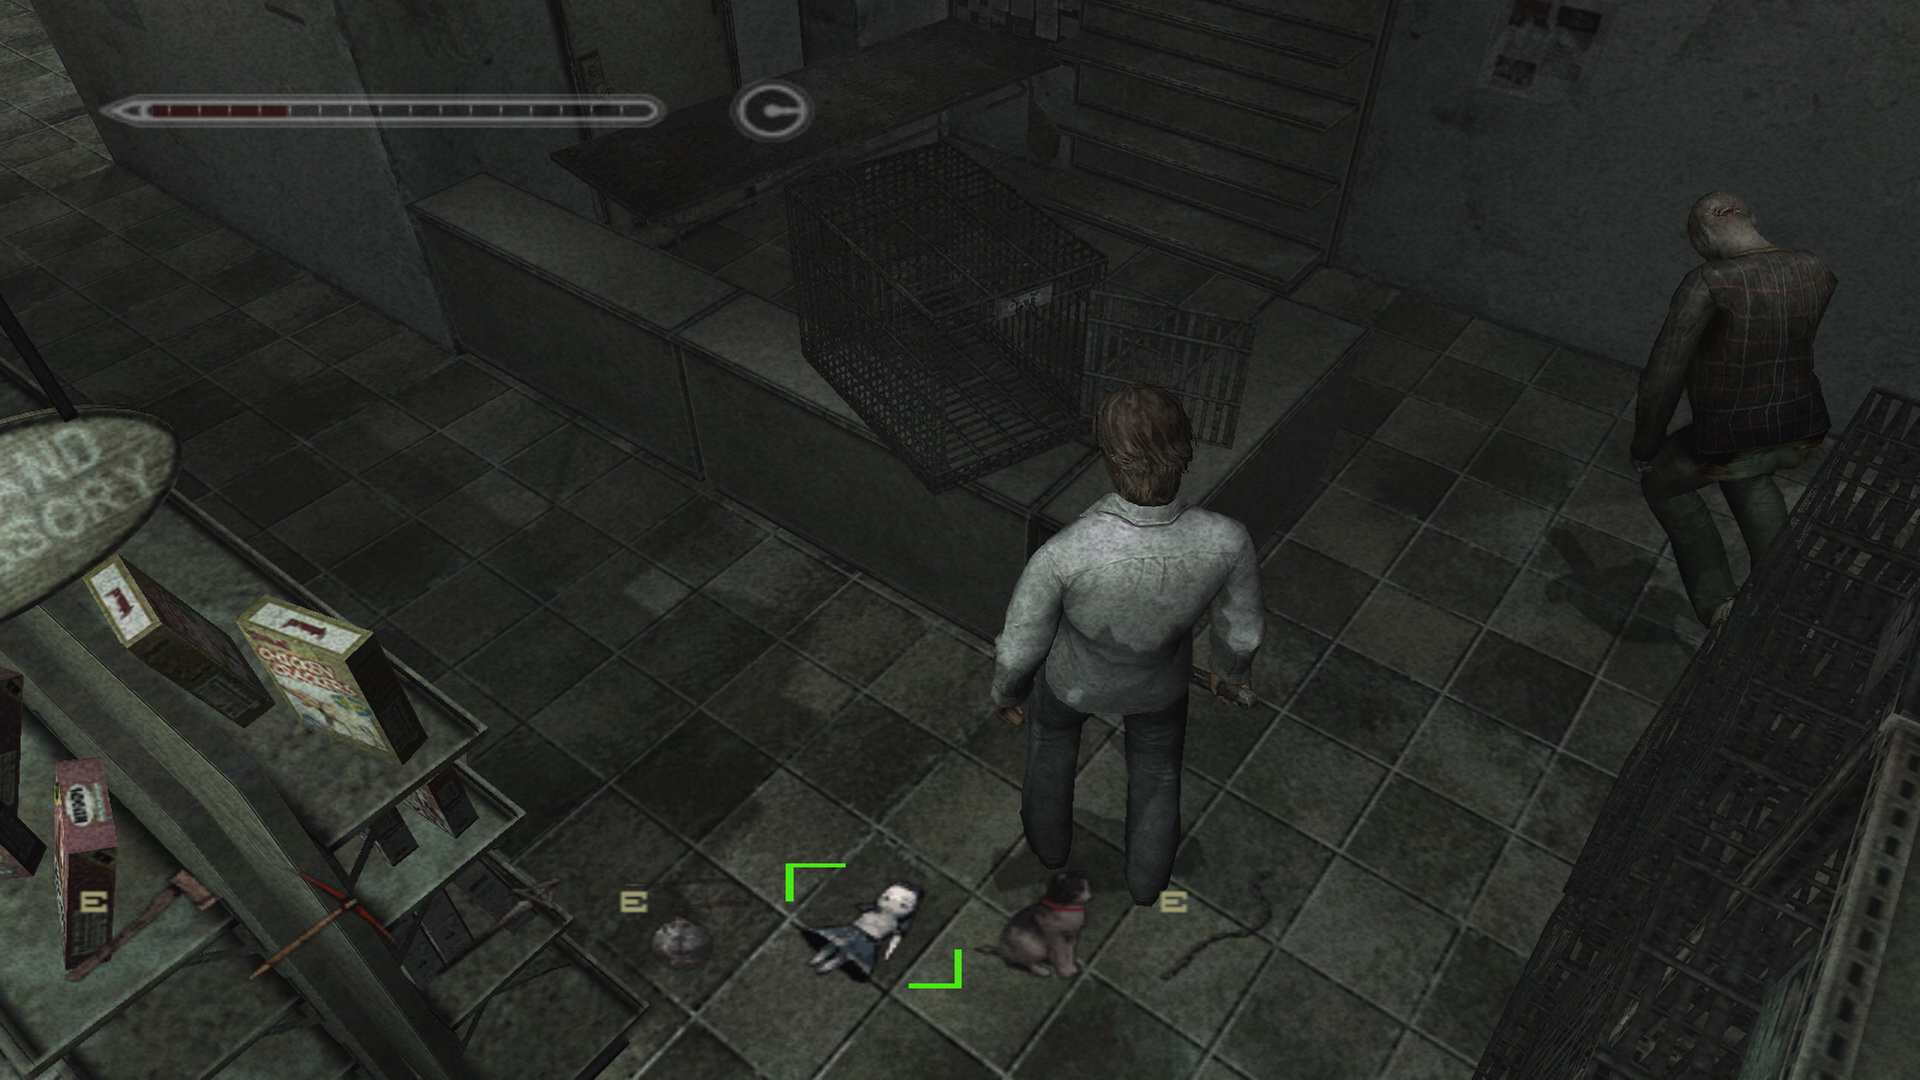
11. Toy Box, Coin And Vending Machine (Subway World 2nd Time)Requires:
During your first return Room 302 after arriving at the subway with Eileen, you'll find the Kid's Letter and Toy Key at your front door:
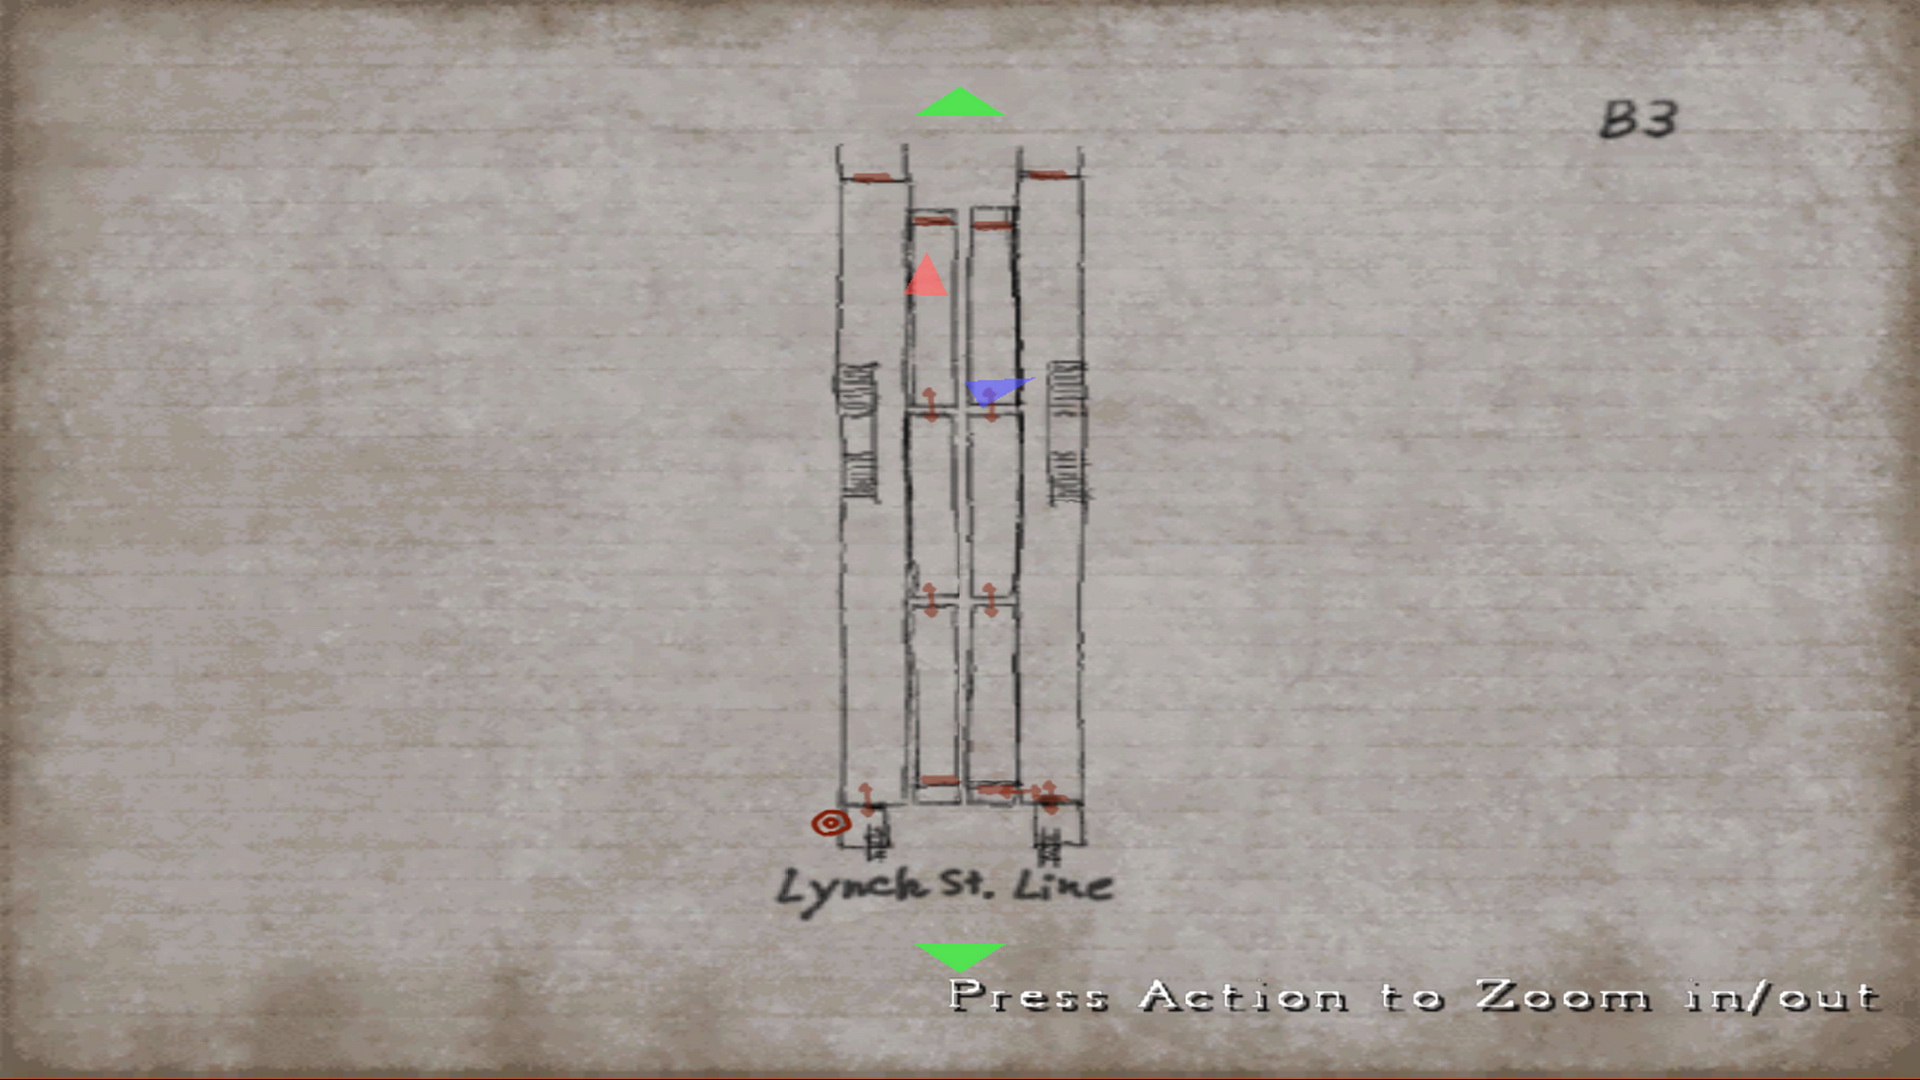
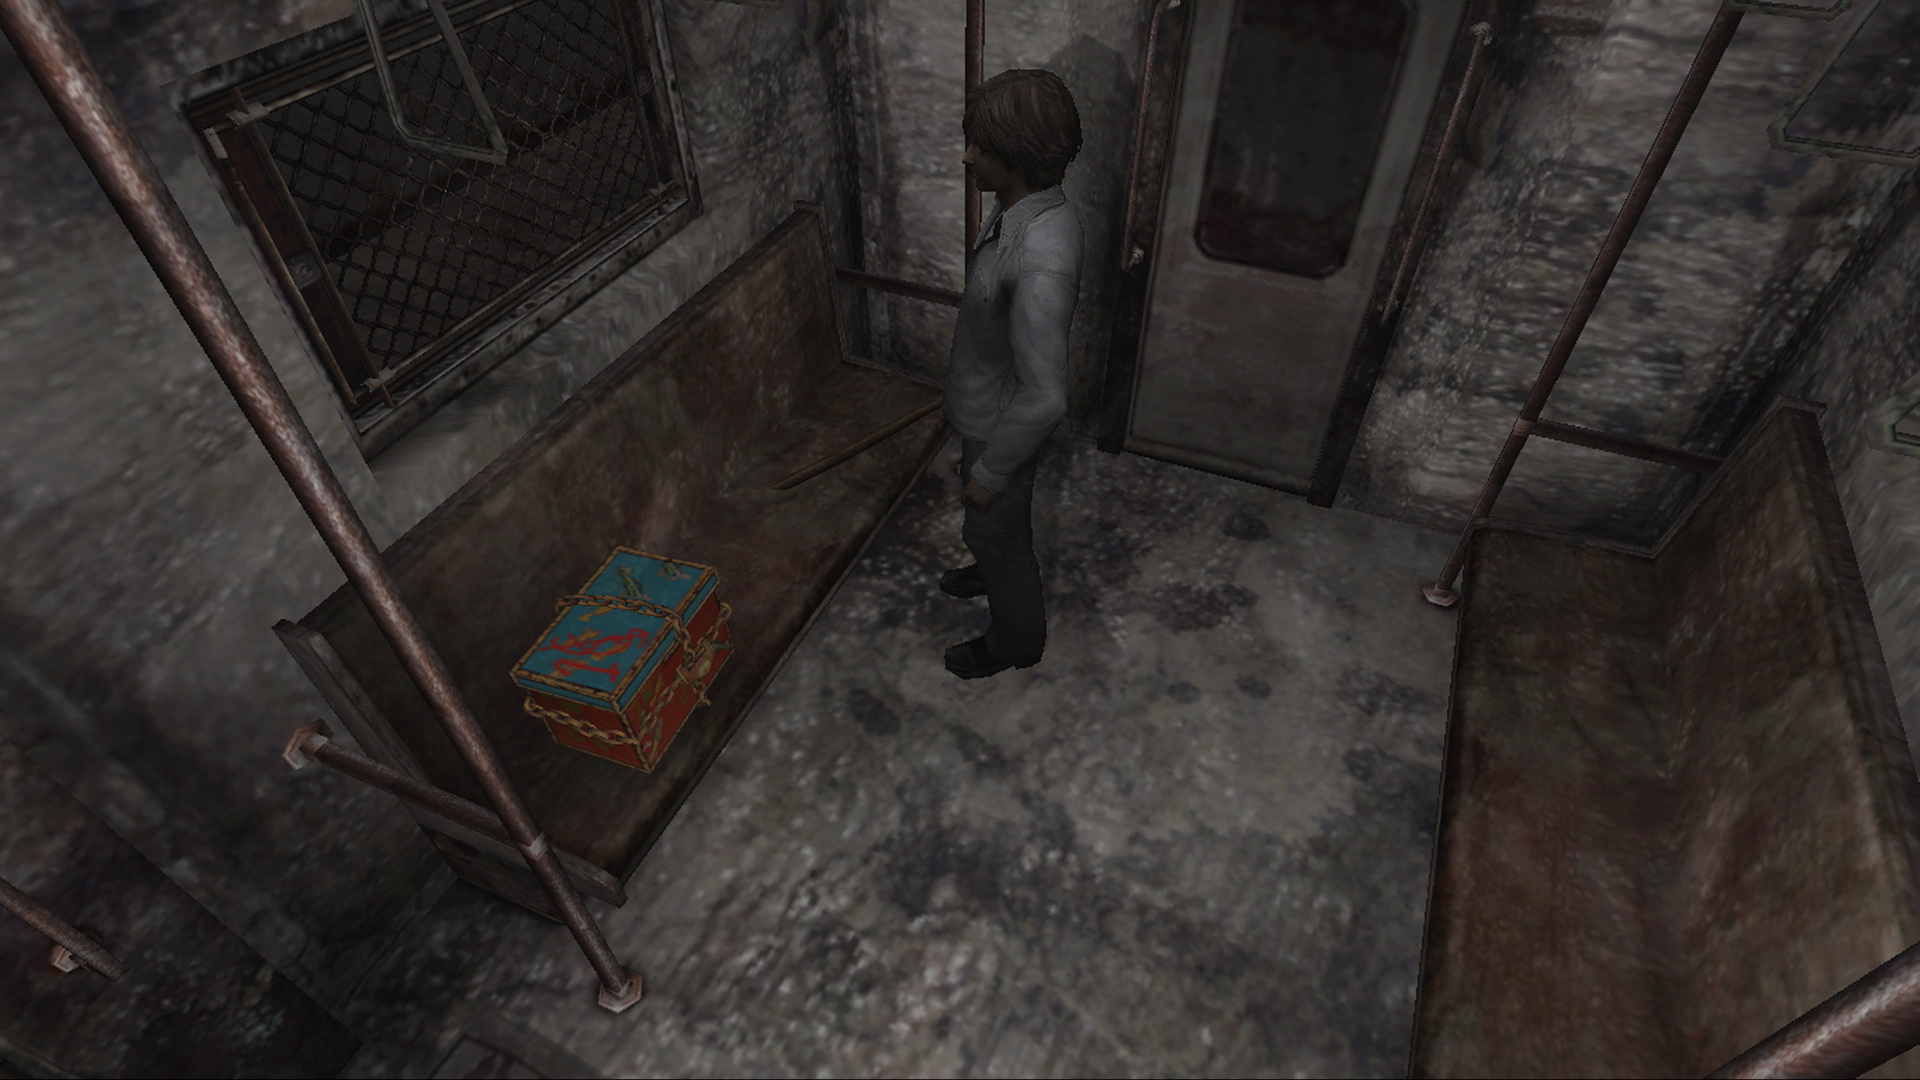
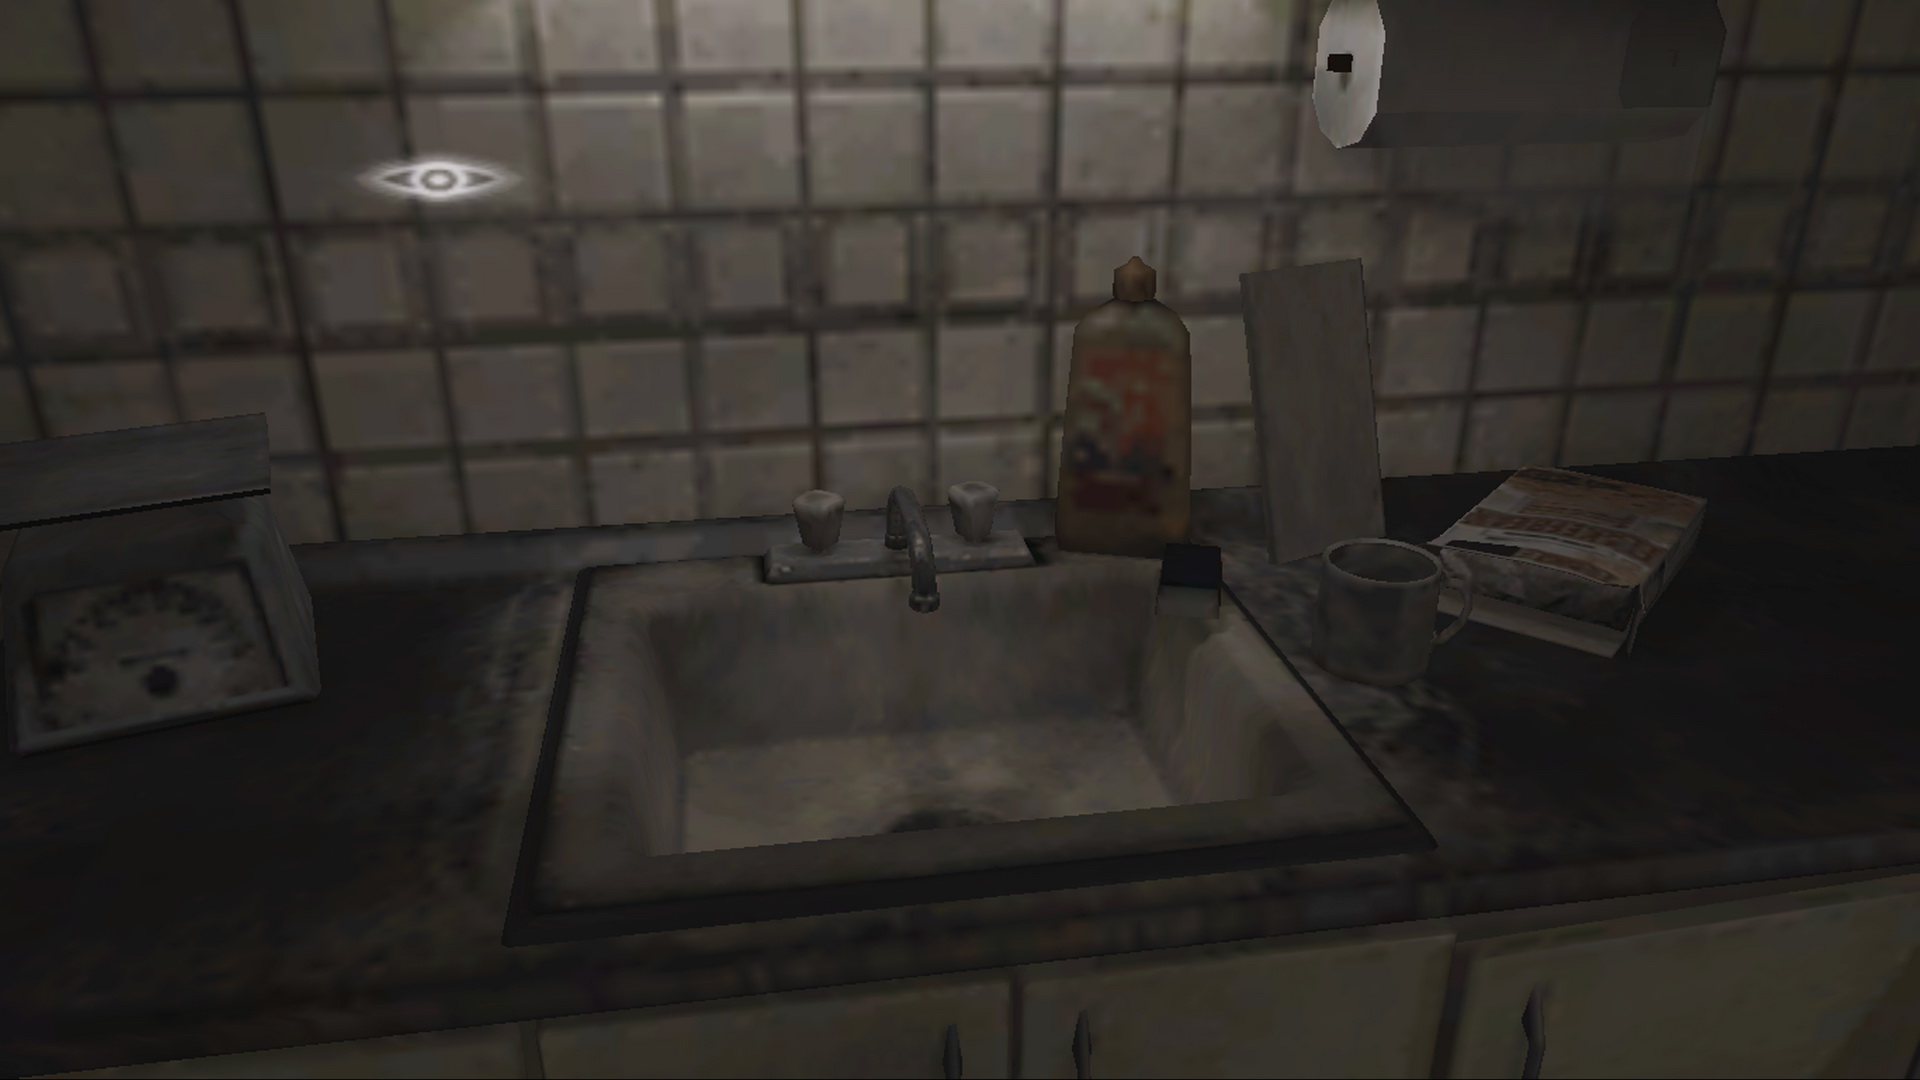
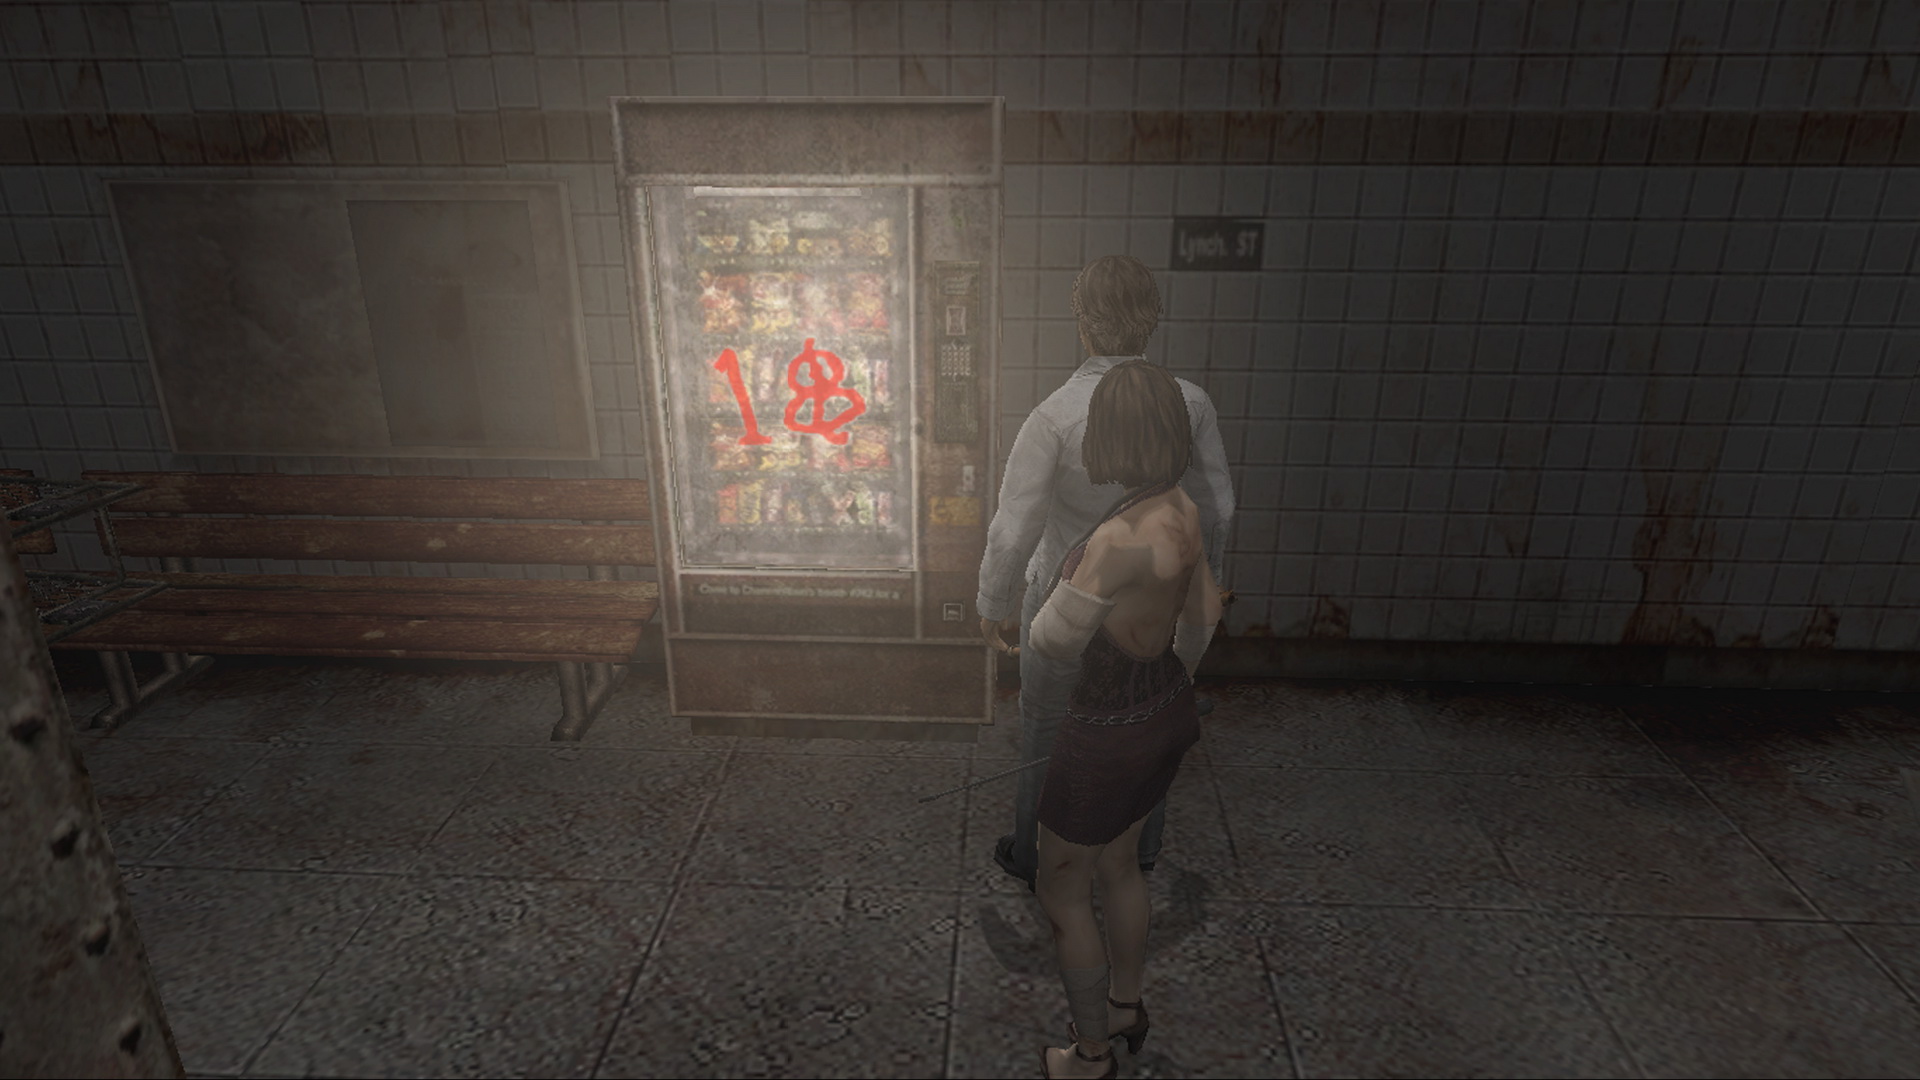
Toy train eh? You may remember a box in the stopped subway train on the Lynch Street Line platform. Be sure to claim your Lynch Street Line Coin from your item chest and use it to slip through the north turnstiles and reach the platform. Enter the open subway train in the northeast and use the center column to reach the southern part of the car where there's a large toy box. Use the Toy Key to open it and claim the Filthy Coin. Caked with dirt and grime, Henry thinks he can clean it in his kitchen sink. The best Portal to use is the one in the southwest maintenance room. If you unlocked the southeast maintenance room door from the inside on your first trip, enter it, descend the ladder and ascend the other one to use the portal. If you didn't unlock that door, move through the train maze to the west platform and enter from there. Inside 302, use the Filthy Coin at your kitchen sink to clean it and acquire the 1$ Coin. You may have remembered seeing a similar marking on a vending machine on the Lynch line. Return to the subway. Now make your way back to the north of the east platform past the stairs. There lies a vending machine with "1$" written on it in red. Use the 1$ Coin to receive the Murder Scene Key. Now you can proceed with your escape. |
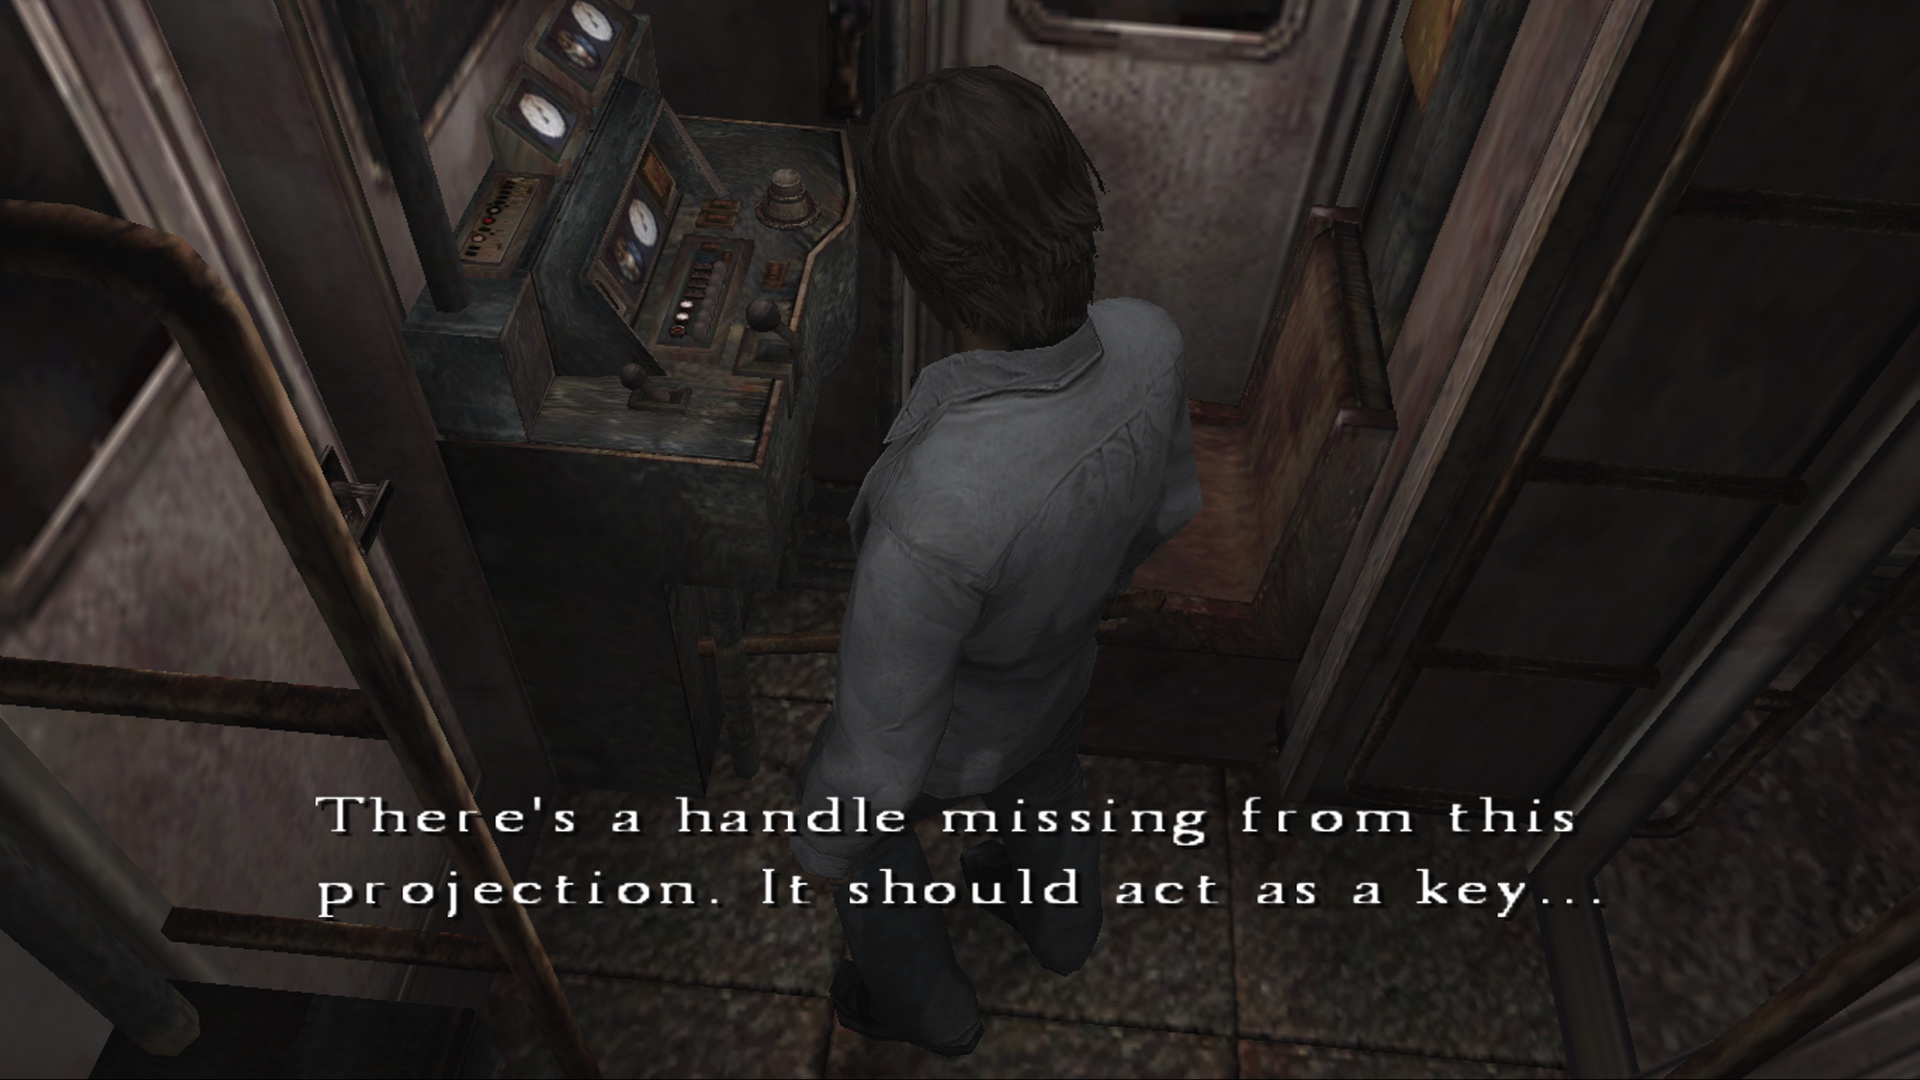
12. Moving The Train (Subway World 2nd Time)Location: King Line, Subway World 2nd TimeRequires:
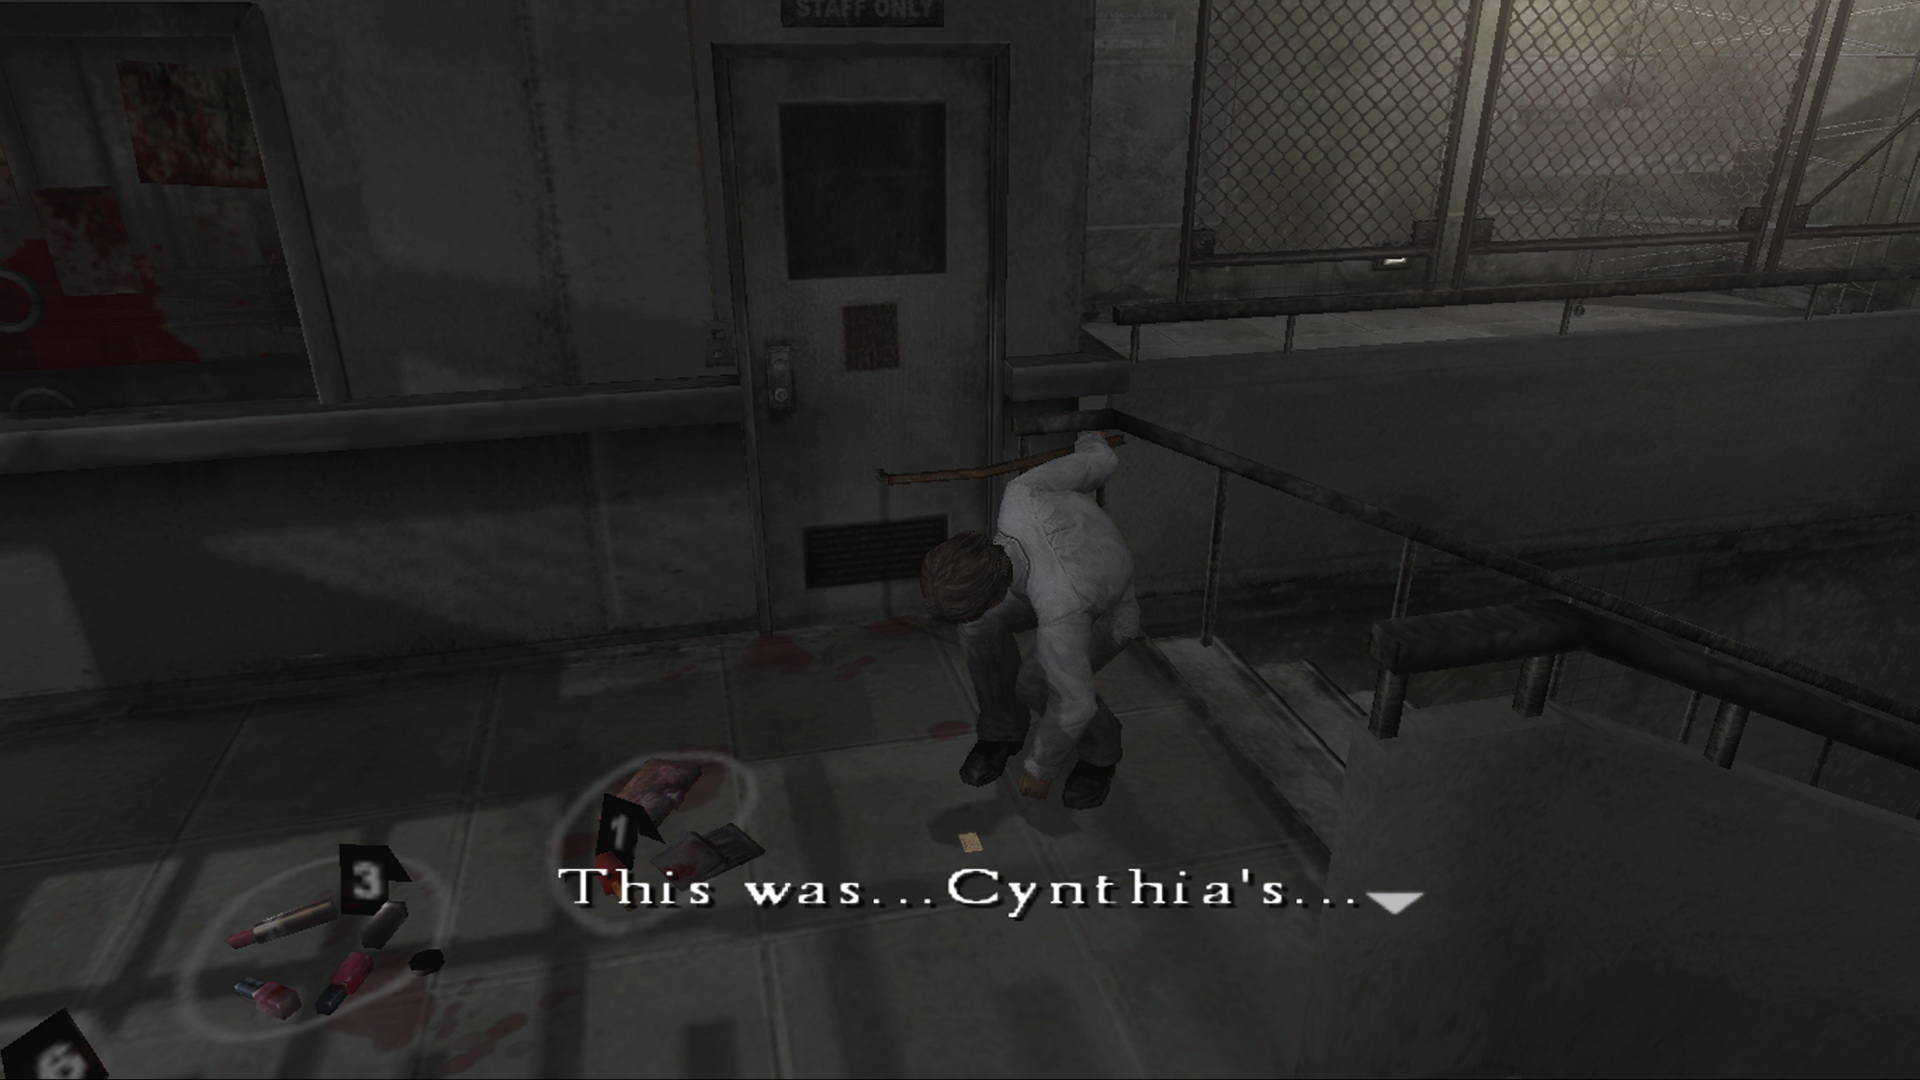
After making your way to the King line from underneath the Lynch line, you'll come across an empty train with a missing handle at its front controls. You may also notice an opening to potentially escape the subway. To move the train, you must find the Train Handle inside the ticket booth within the King line turnstile. To reach there you must proceed from the train up the escalators full of Wall Men. To unlock the door you'll need the Murder Scene Key listed above. It is obtained by completing the previous puzzle. Note that you'll need Cynthia's Commuter Ticket to retrieve Eileen and escape the subway with her. Use it to enter/exit both the King and Lynch line turnstiles, making the Lynch line coin now useless. Once you've reconnected with Eileen, take her back through the Lynch and King line turnstiles with Cynthia's Commuter Ticket and down the escalators to the King platform. Now use the Train Handle at the front of the train to move it up a few meters, allowing you to escape through the nearby open doors. |

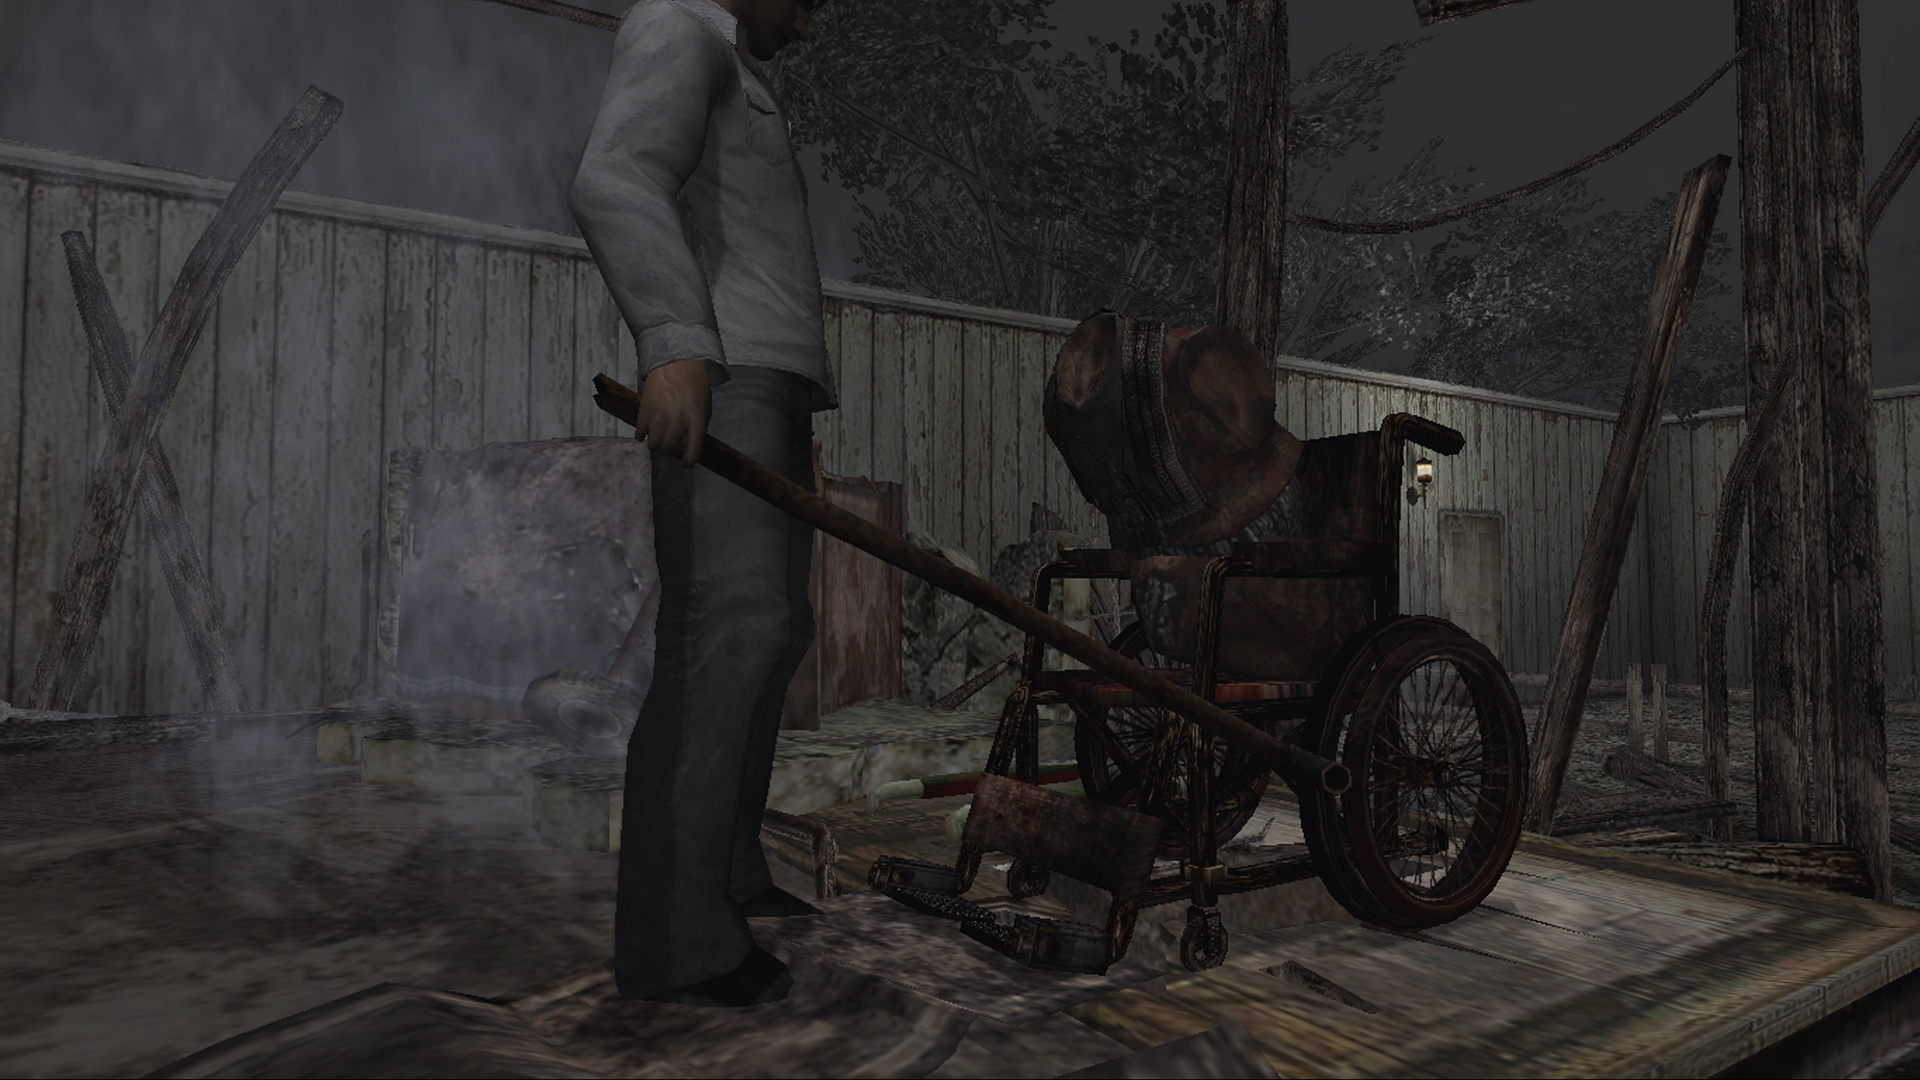
13. Wheelchair Doll Parts (Forest World 2nd Time)Requires:
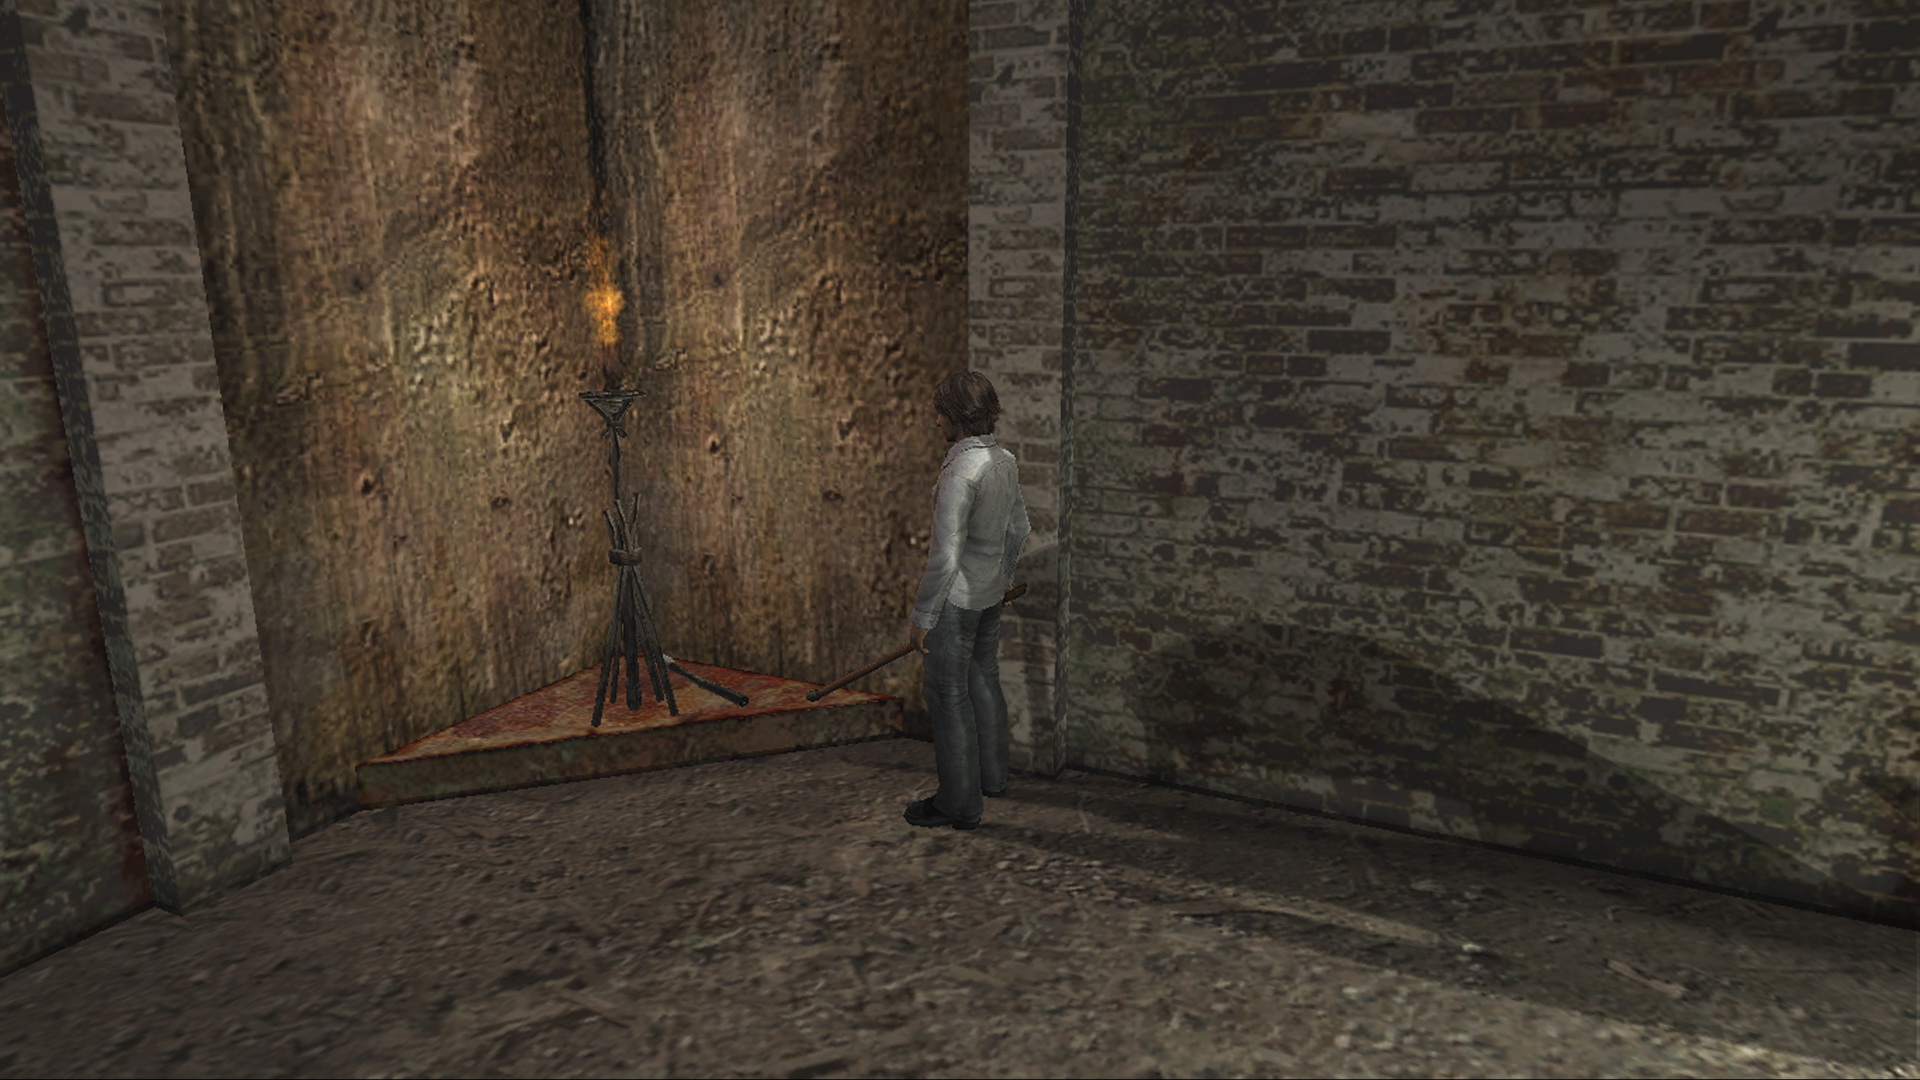
All parts require the Torch to be equipped and lit to be found.
After coming across the burned remains of Wish House, you'll find a wheelchair with the torso of a human-sized doll in it. Examine it to read the Wheelchair Doll Text:
So five pieces of this doll (currently just a torso) have been hidden in the darkness. What is the darkness? The nearby Jasper's Burned Memo on the grass gives you a strong hint:
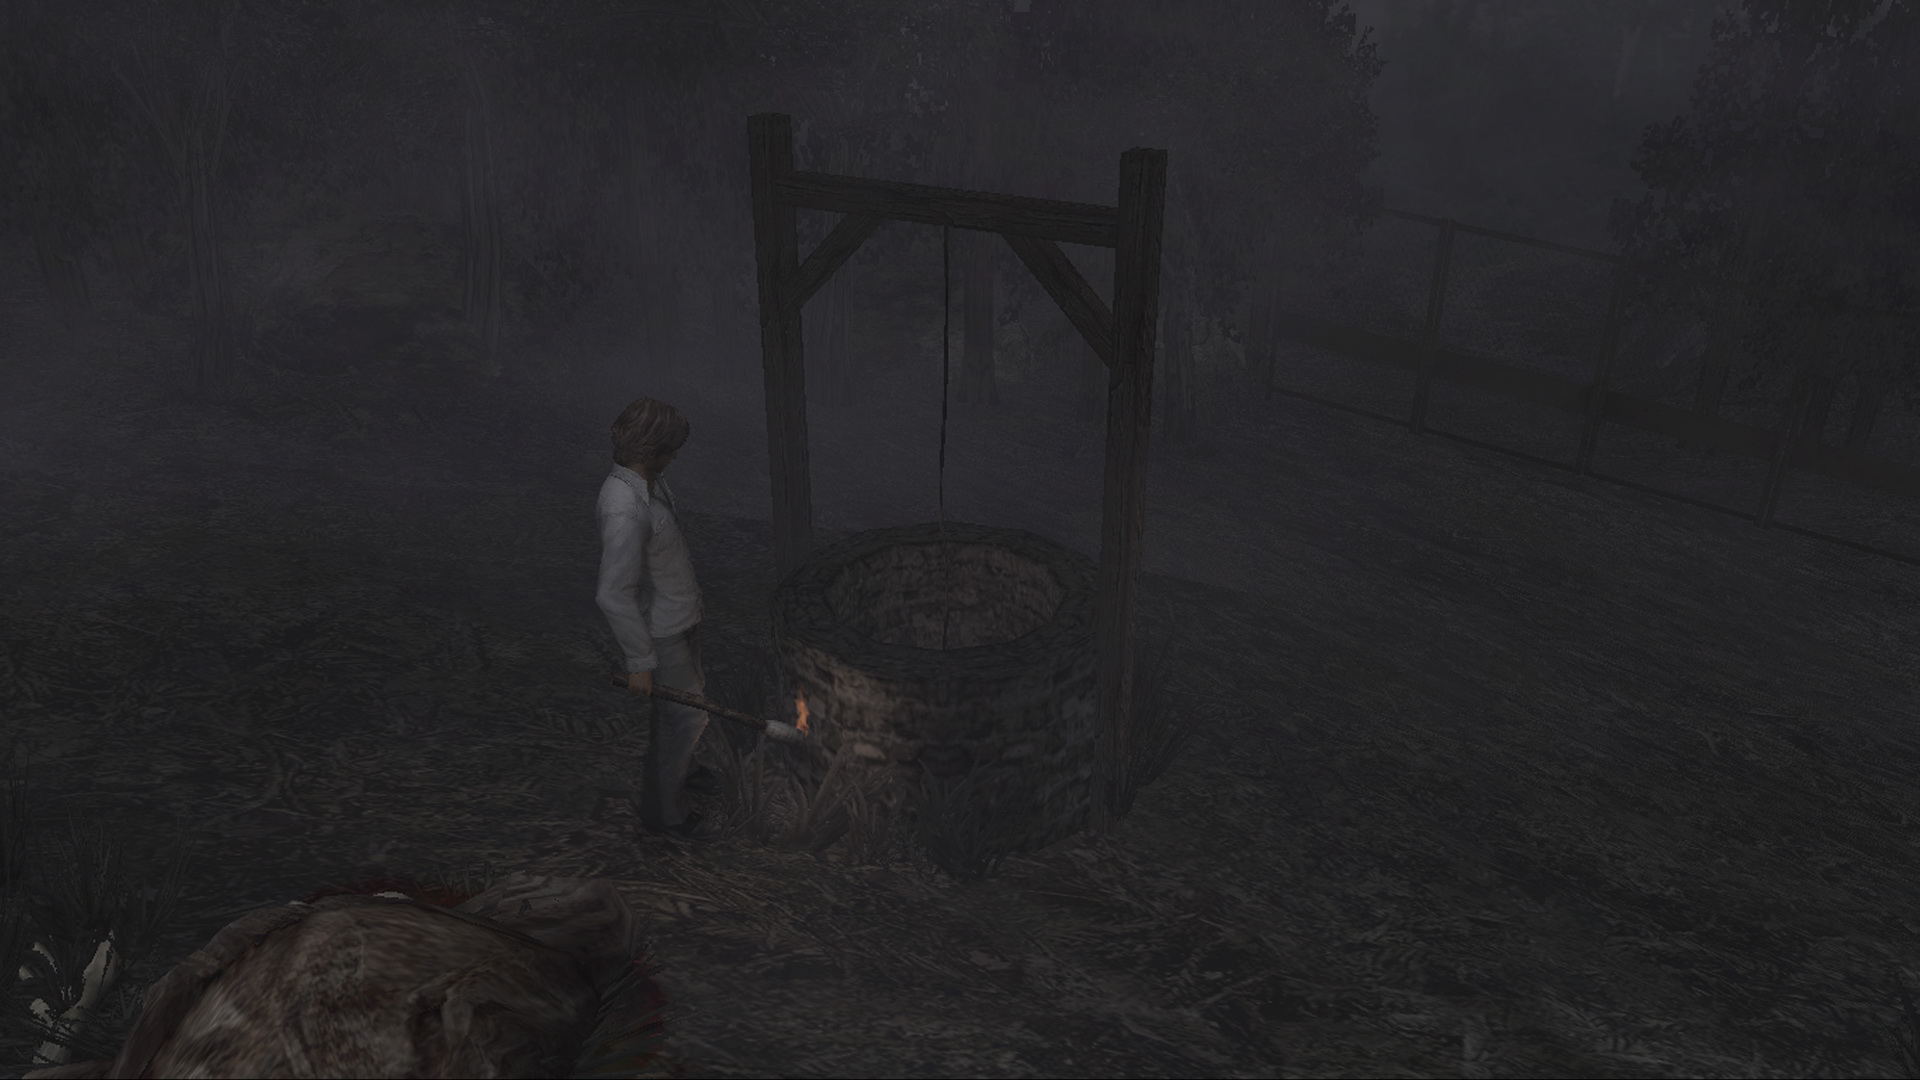
So it seems this doll embodies Jasper... But importantly this memo clues you in to check the wells throughout the forest if you haven't figured it out yet. You'll need to light your Torch with a "Holy Flame" found nearby (sometimes in the same area, others in a previous area) to look into them and collect the doll parts, spread all over the forest. Find all five locations listed above. Once found, place the Doll's Head, Doll's Left Arm, Doll's Right Arm, Doll's Left Leg and Doll's Right Leg on the doll and it'll wheel itself out of the way, revealing an access point to Wish House's basement. Note that it's a good idea to use each part after finding it (or two in the same passage) and returning to the compound, rather than needlessly clogging up your inventory trying to find several of them first. In some cases if your Torch is out upon finding a well, you're probably better off continuing ahead and collecting the part on the way back after finding a flame. Also note that you can return to 302's laundry room and soak the Torch in the blue oil container there to allow it to burn for three full minutes instead of measly 30 seconds each time. Understand that equipping another weapon always puts out the flame. |
14. Escaping Wish House (Forest World 2nd Time)Location: Wish House Compound, Forest World 2nd Time
After moving the wheelchair doll out of the way, you can enter Wish House's basement where you'll find a locked door with a circular depression about 10 inches wide. If you check your Crested Medallion, Henry says it's about 10 inches wide. Insert it to unlock the door and advance. |
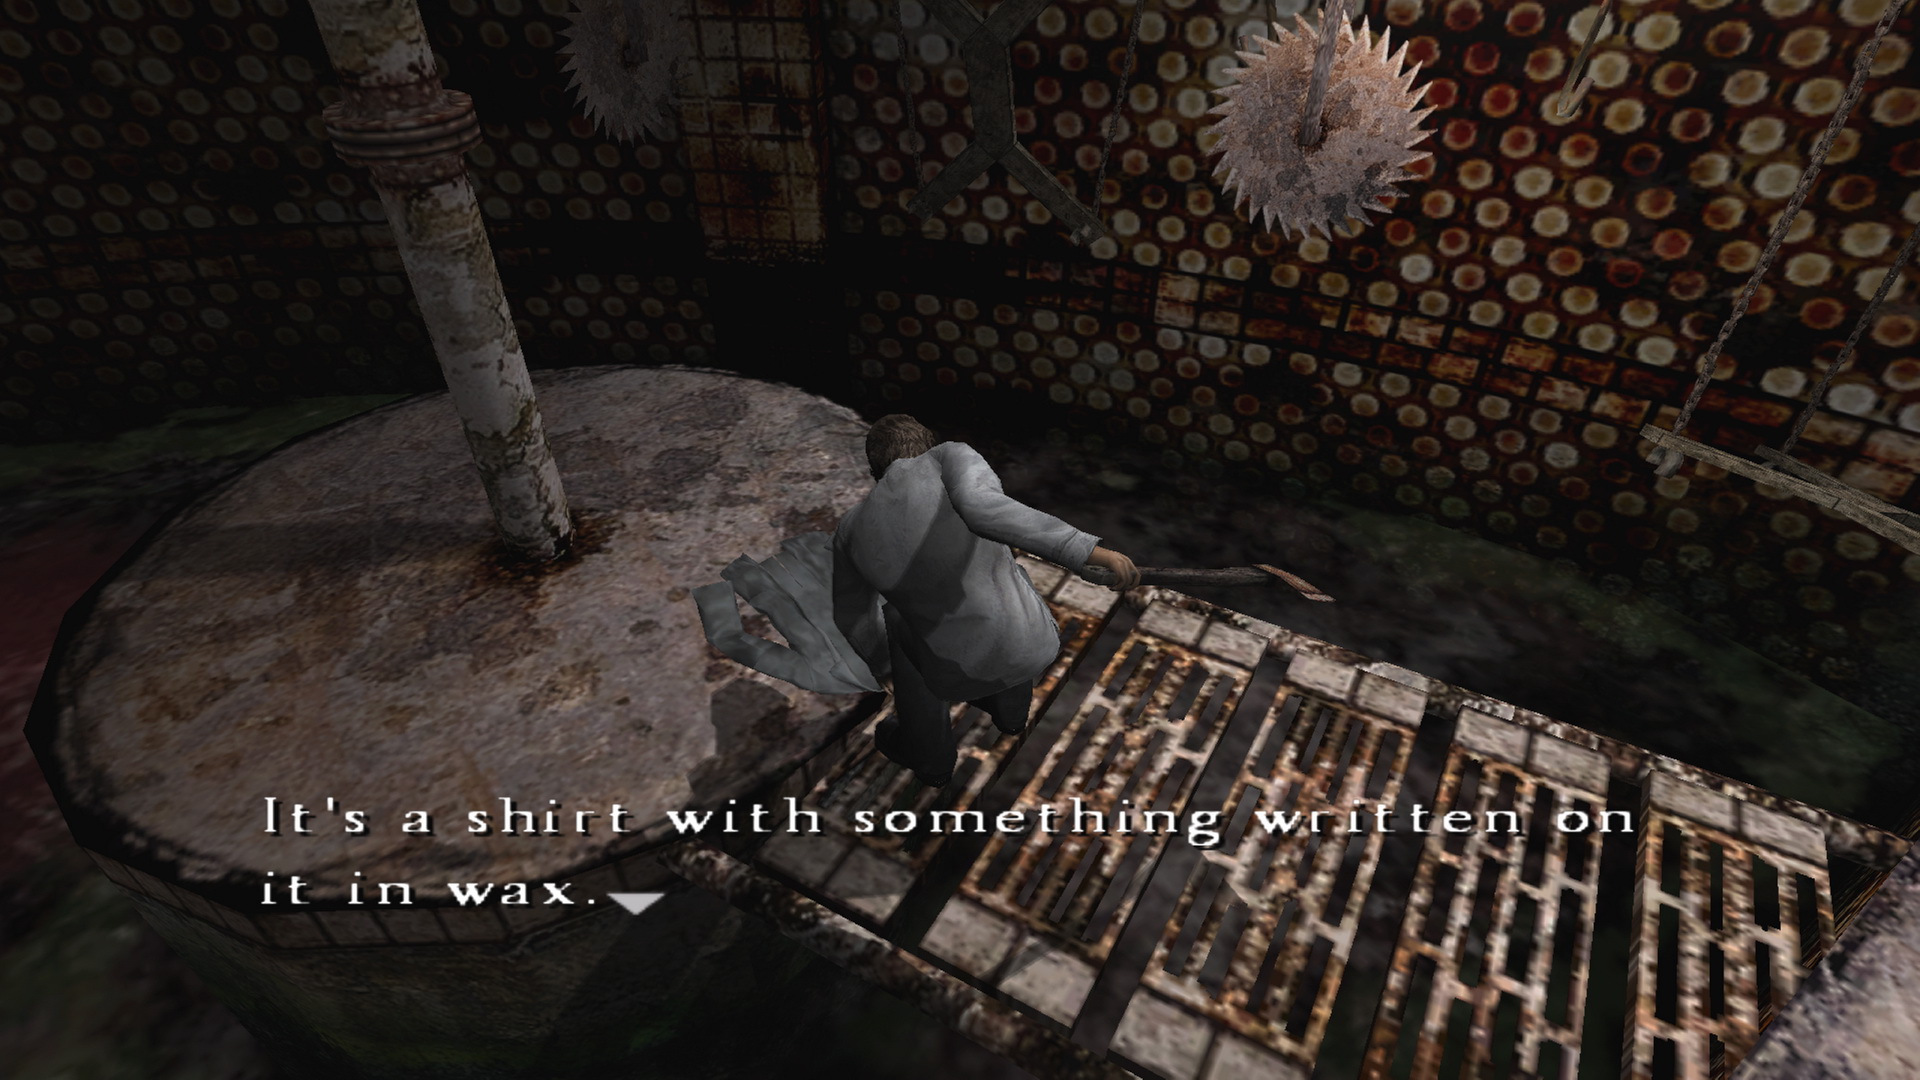
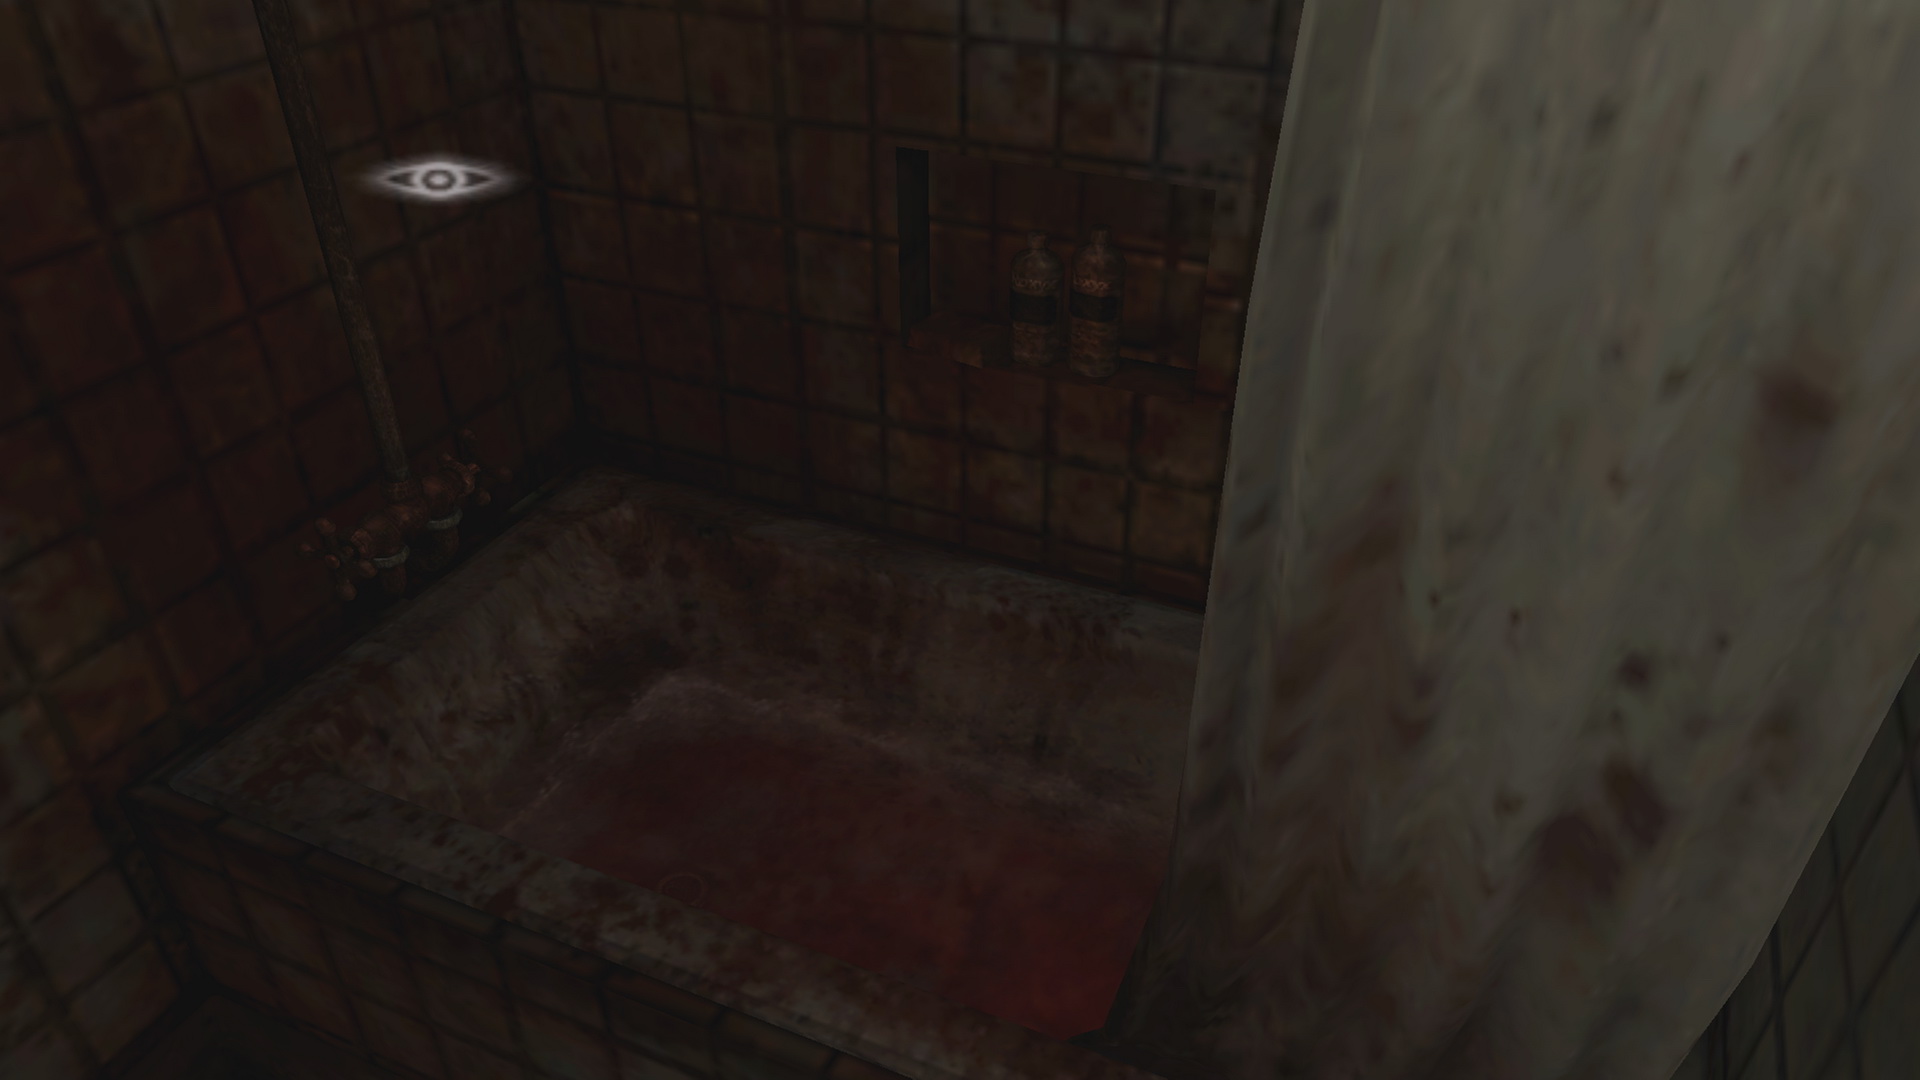
15. Prisoner's Shirt And Exit Key (Water Prison World 2nd Time)Requires:
Upon dropping down the 1 o'clock cell holes to the kitchen this time, you'll find the Prisoner's Shirt on the ground inside the open torture room next door, which Henry notices has something written on it in wax and wonders if he could soak it in a coloured liquid. Remember anything in your apartment? How about the bloody bathtub, which Henry even says smells like the very room the shirt is found in? Return to 302 and use the Prisoner's Shirt in the bathtub to read the Note from the Bloody Prisoner's Shirt:
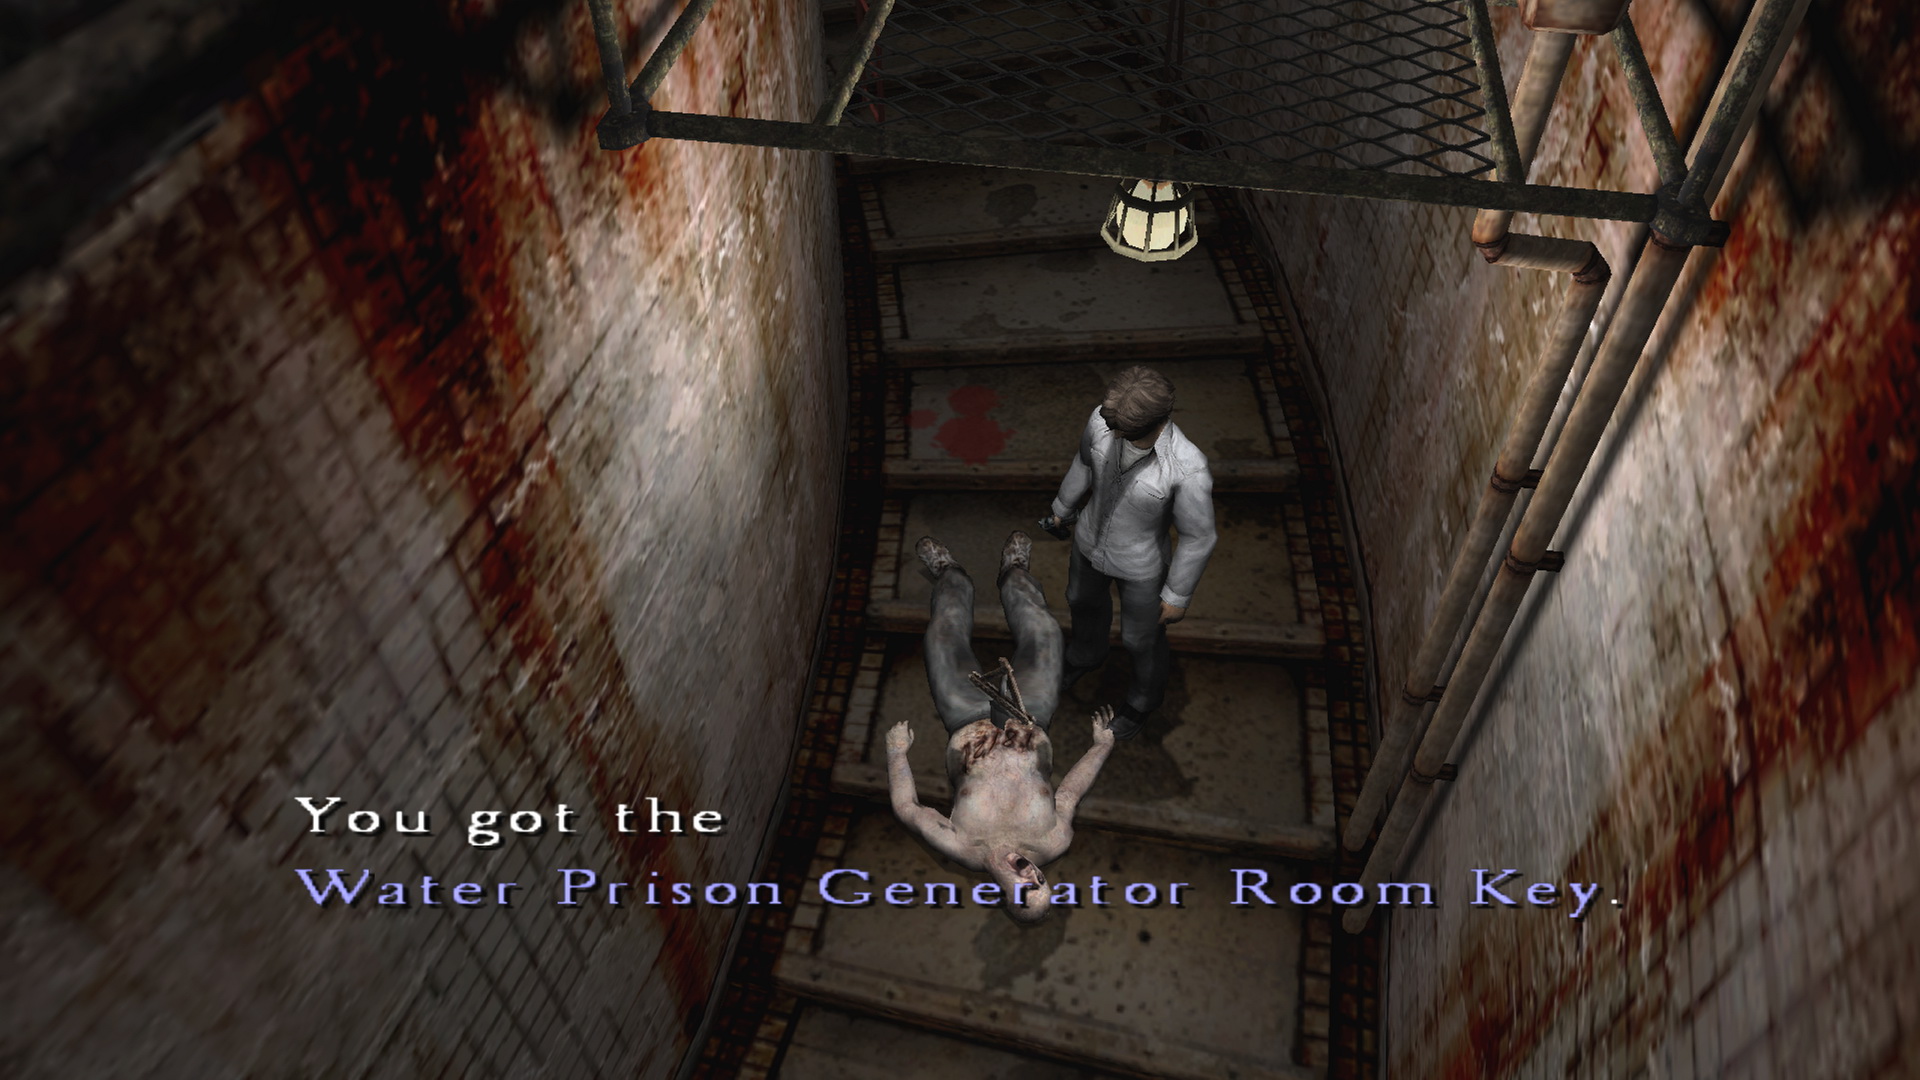
So the key is on the Ghost of Victim 18, Andrew DeSalvo, who will appear in the interior basement staircase after reading this memo. You will need to down him and stab him with a Sword of Obedience to claim the Water Prison Generator Room Key. Note that you can use any sword, but if you do not have one you can find the one mentioned in this memo. The room with "black things" in it is the 7 o'clock cell on 2F. Check under the bed for the Sword of Obedience. To most easily take down DeSalvo, you'll want to use a Silver Bullet loaded into the Pistol. There was one available in each the Subway and Forest World 2nd time trips. If you don't have one, two Holy Candles (there's one in a cell on each floor) when placed at his feet should do the trick if you can keep him over it for long enough (almost the full length of both candles, together or separately). By normal means, just bash him over and over with the Rusty Axe or whatever else you have. He's a super resilient Ghost and must be downed many times with normal weapons before he can be stabbed, but eventually you will get your opportunity. Once he's stabbed and you've got the key, continue to the B2 waterwheel room and use the Water Prison Generator Room Key to leave the Water Prison with Eileen. |
16. Reminisces (Building World 2nd Time)Requires:
After arriving in the Building World for the 2nd time, you'll find the Reminisces memo on the ground in the opening B10 lot. It outlines the puzzle of this world:
The author refers to five specific things, all corresponding to something found in this world:
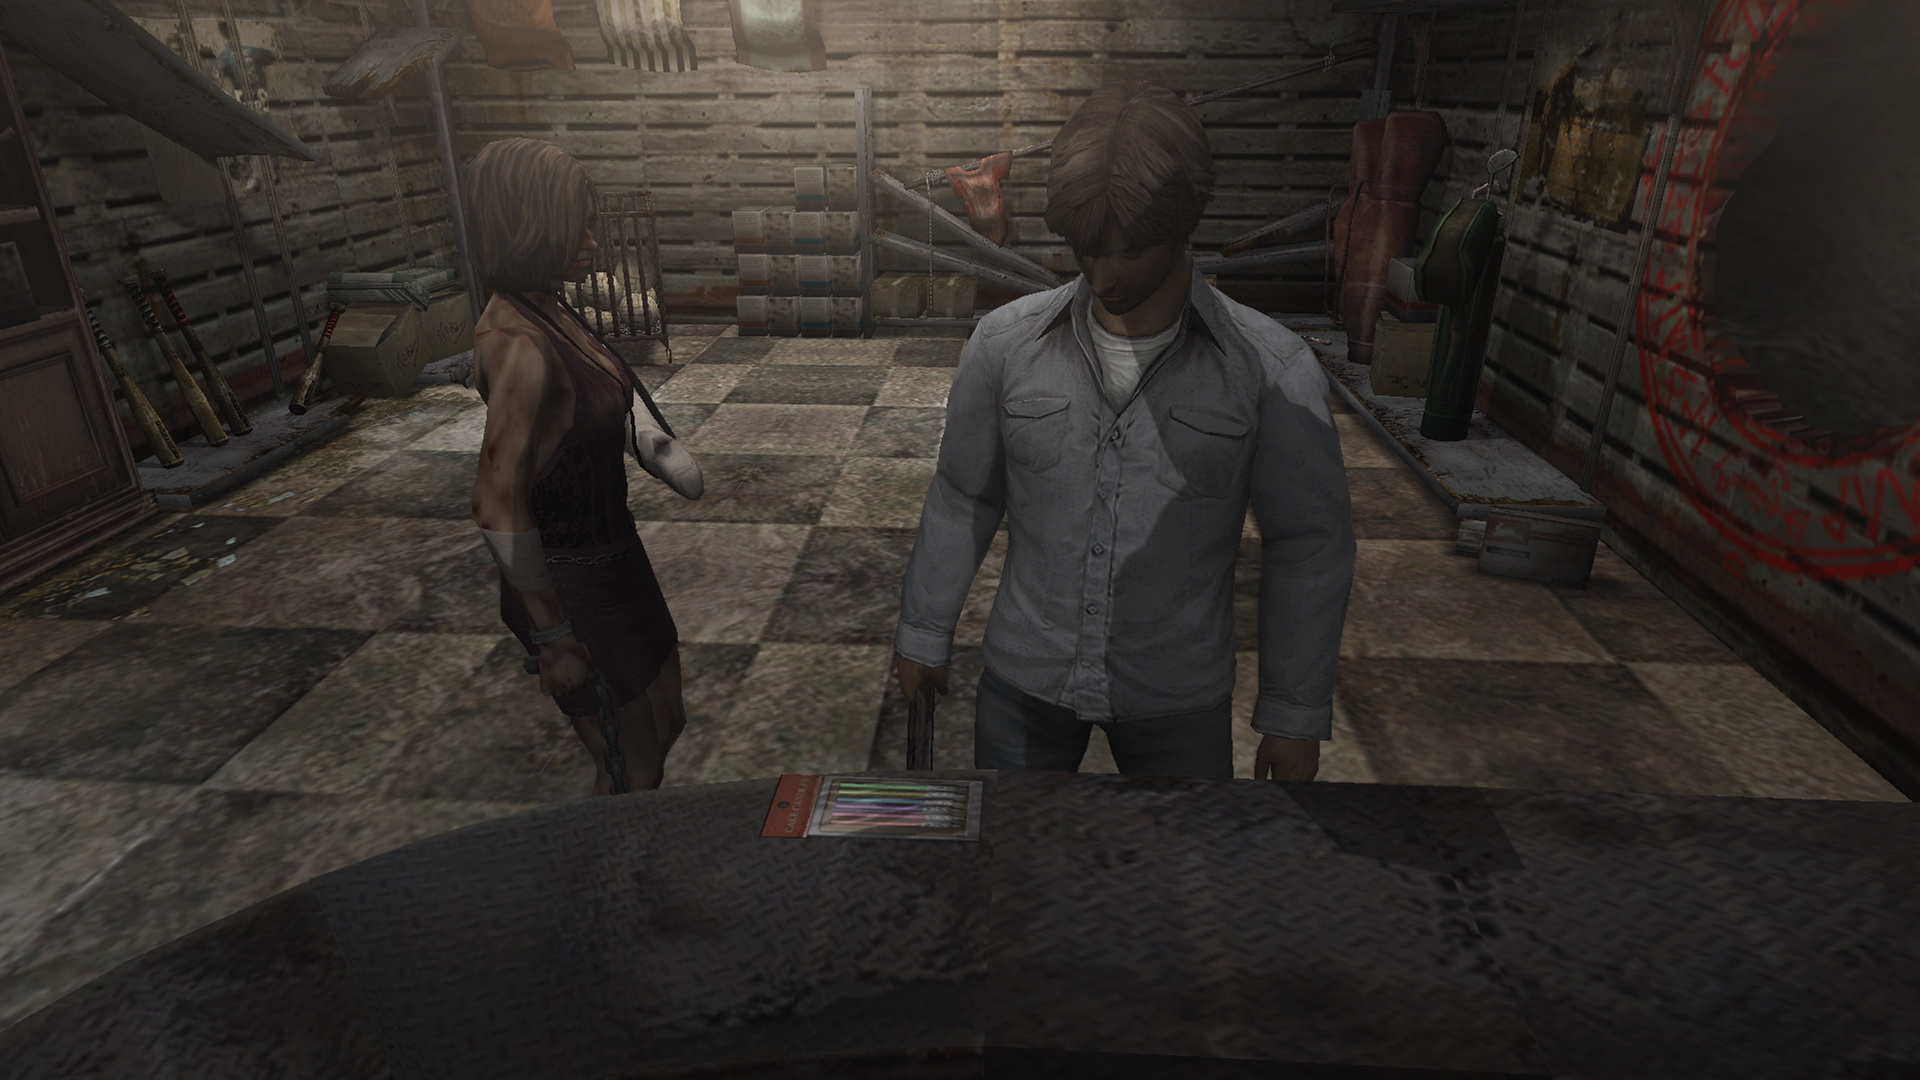
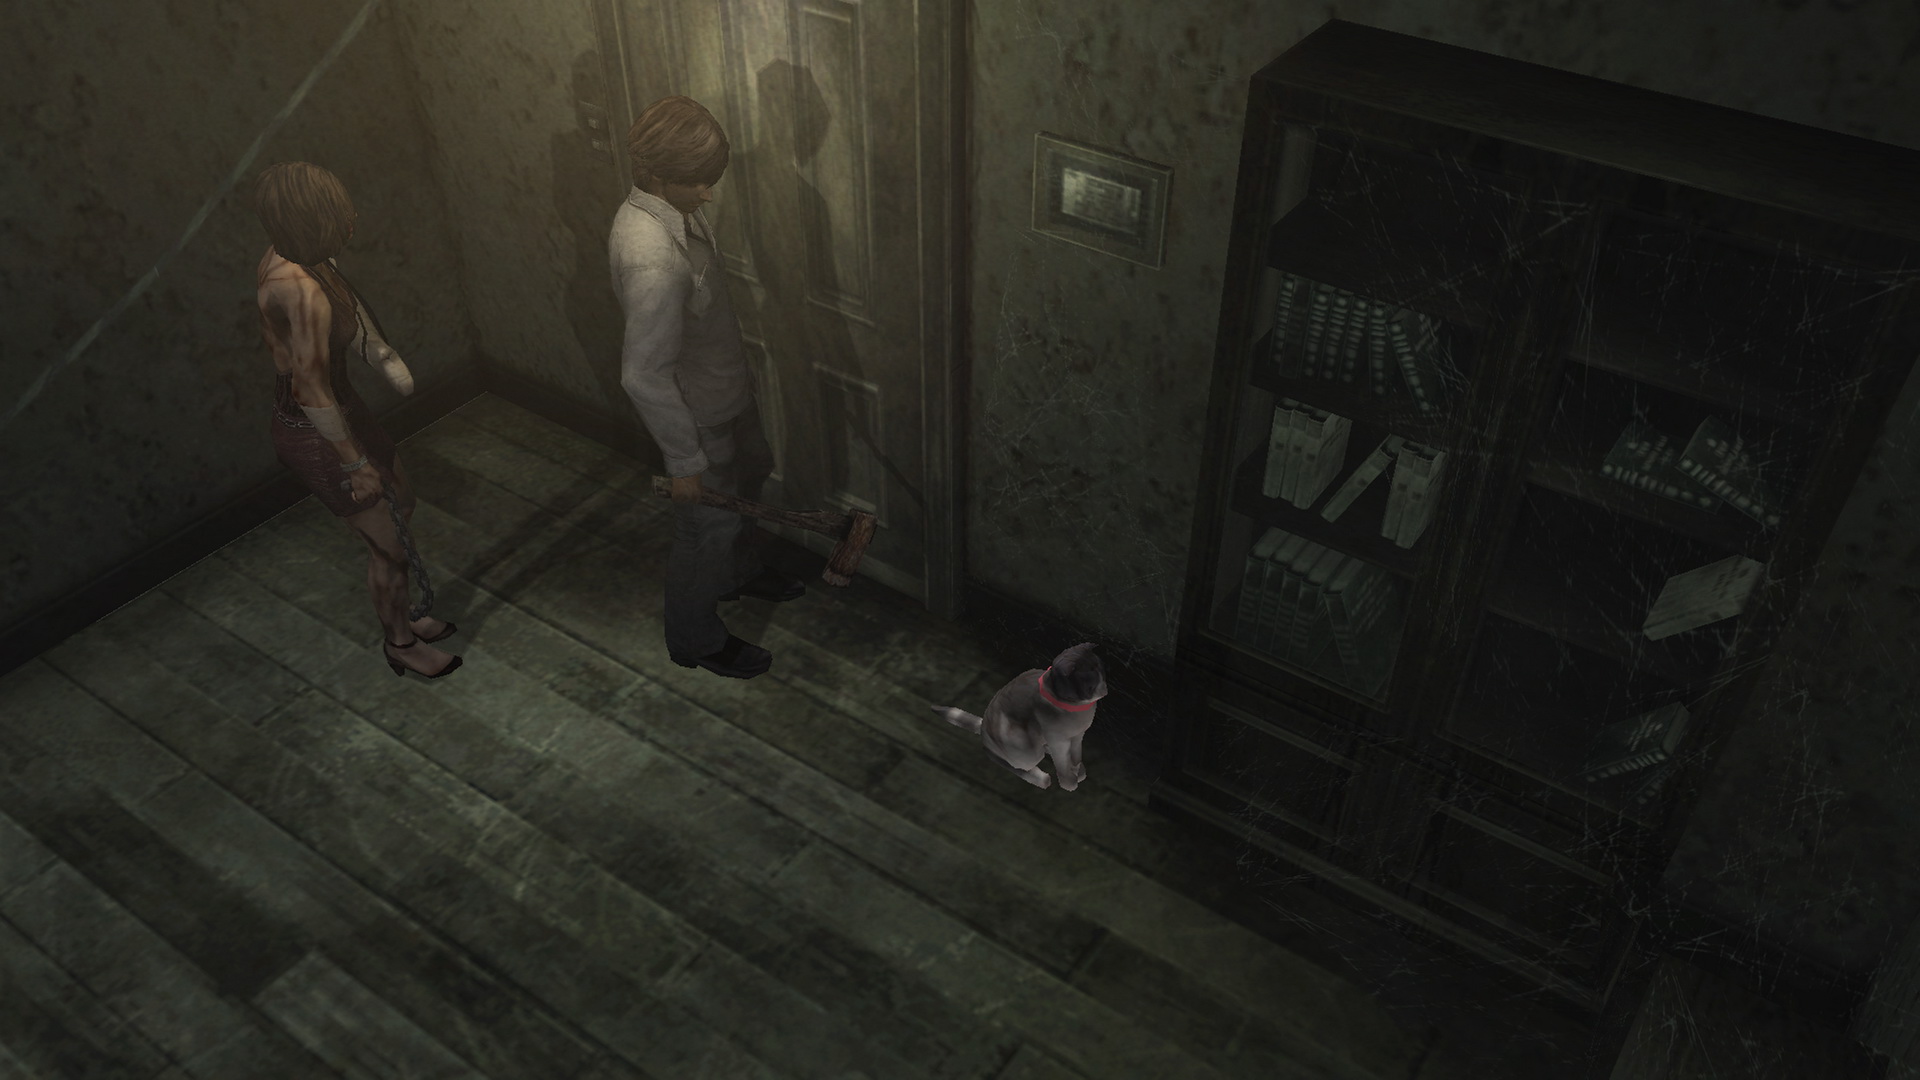
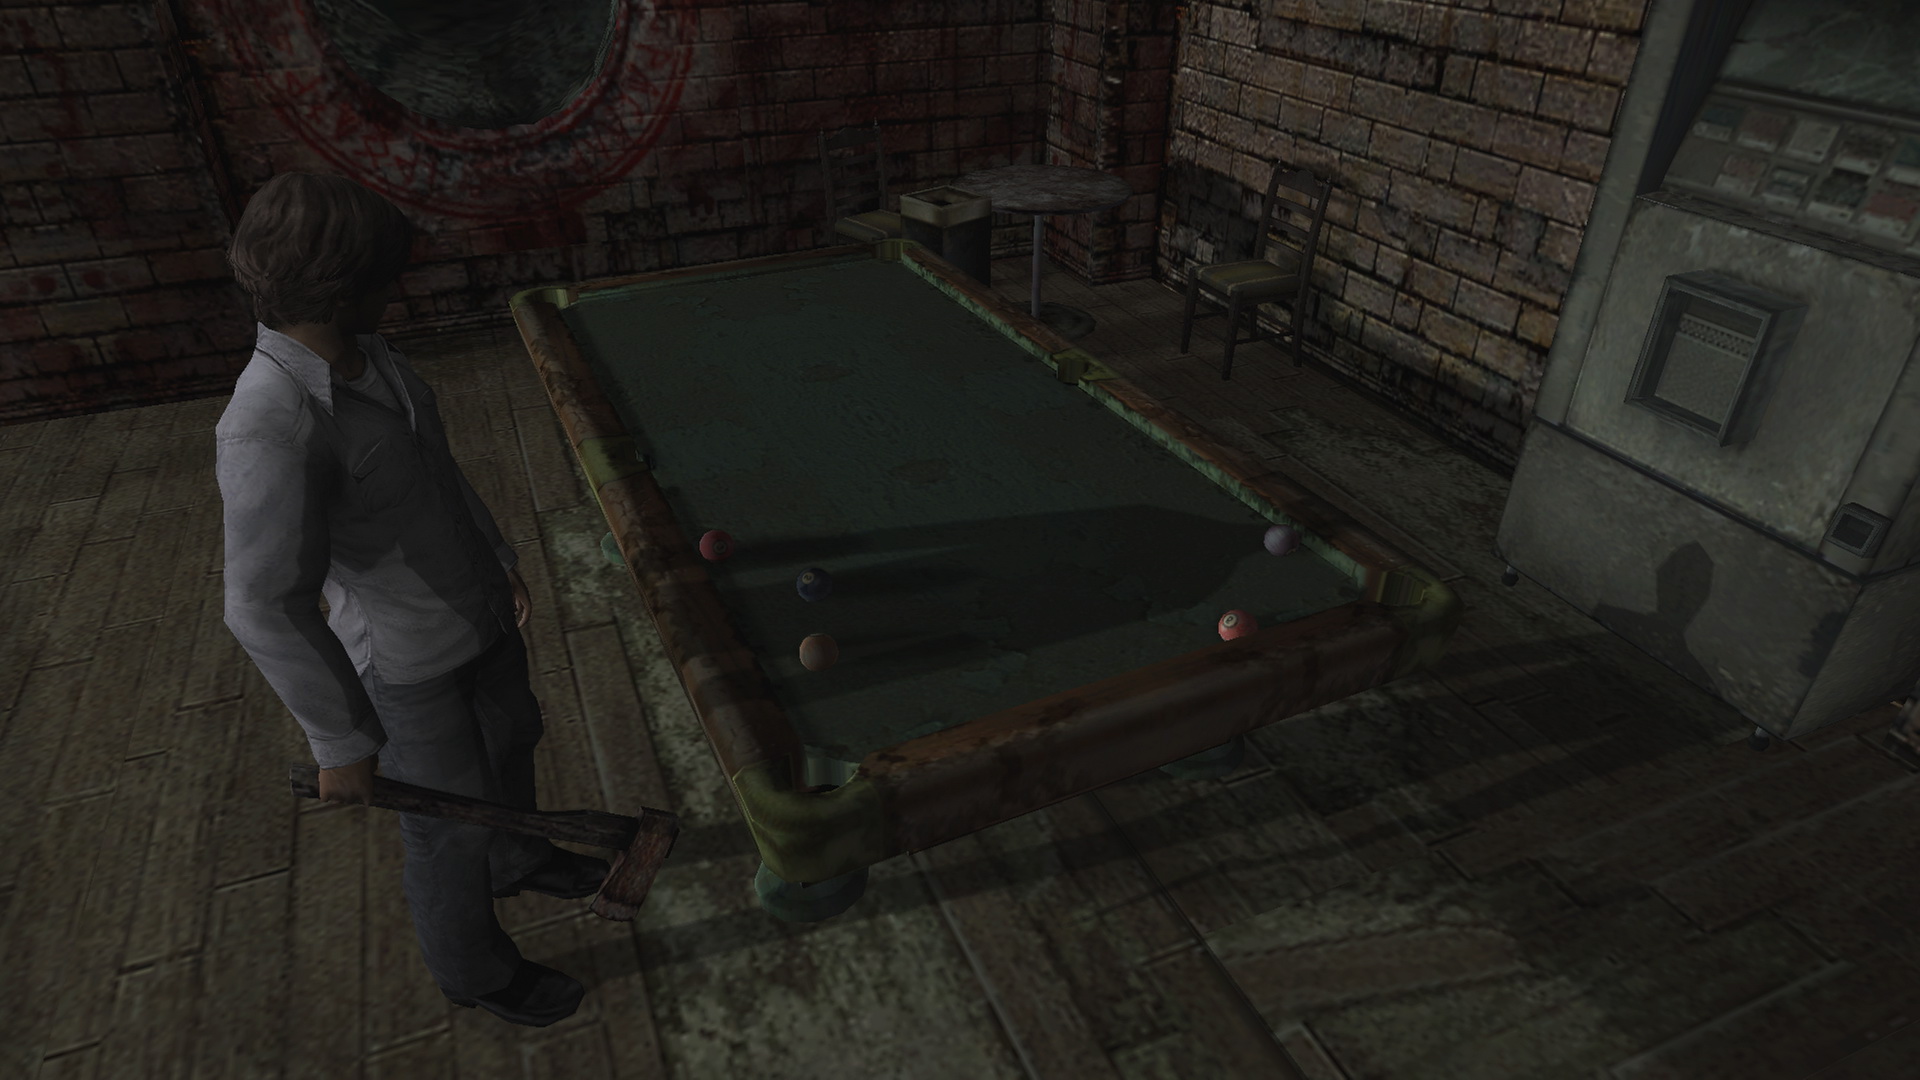
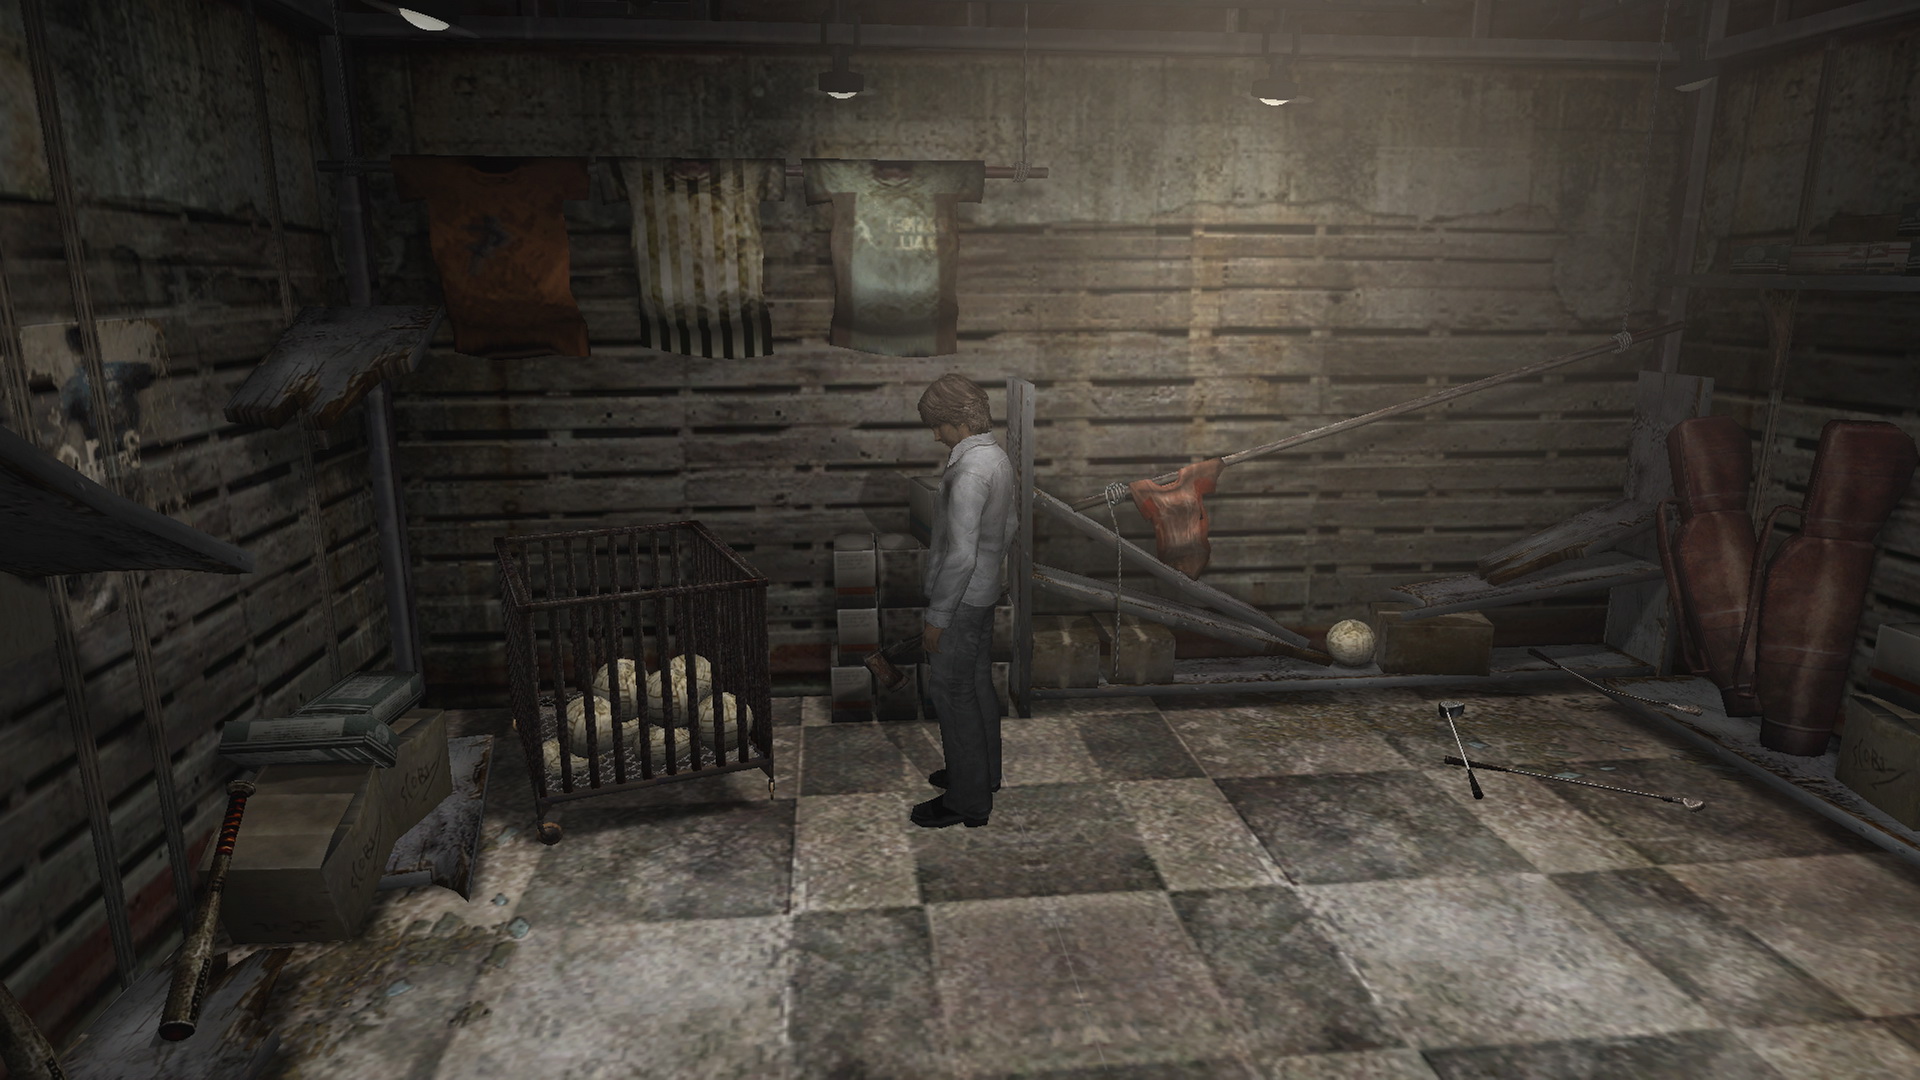
Specifically, the author is recalling four nostalgic times (memories 1-4), implying that the "door of time" (memory 5) will open once they are recreated. Therefore you must find four items and place them in the first four spots mentioned above to unlock the door of time in the fifth spot. Find the locations to all at the top of this puzzle. The most ideal placement order is the Billiard Ball, Volleyball, Cake Candles and Stuffed Cat. Then you'll be right near the unlocked and chiming clock door. Proceed through it to get Eileen to Bar Southfield and beyond. |
17. Bar Southfield Keypad New Code (Building World 2nd Time)
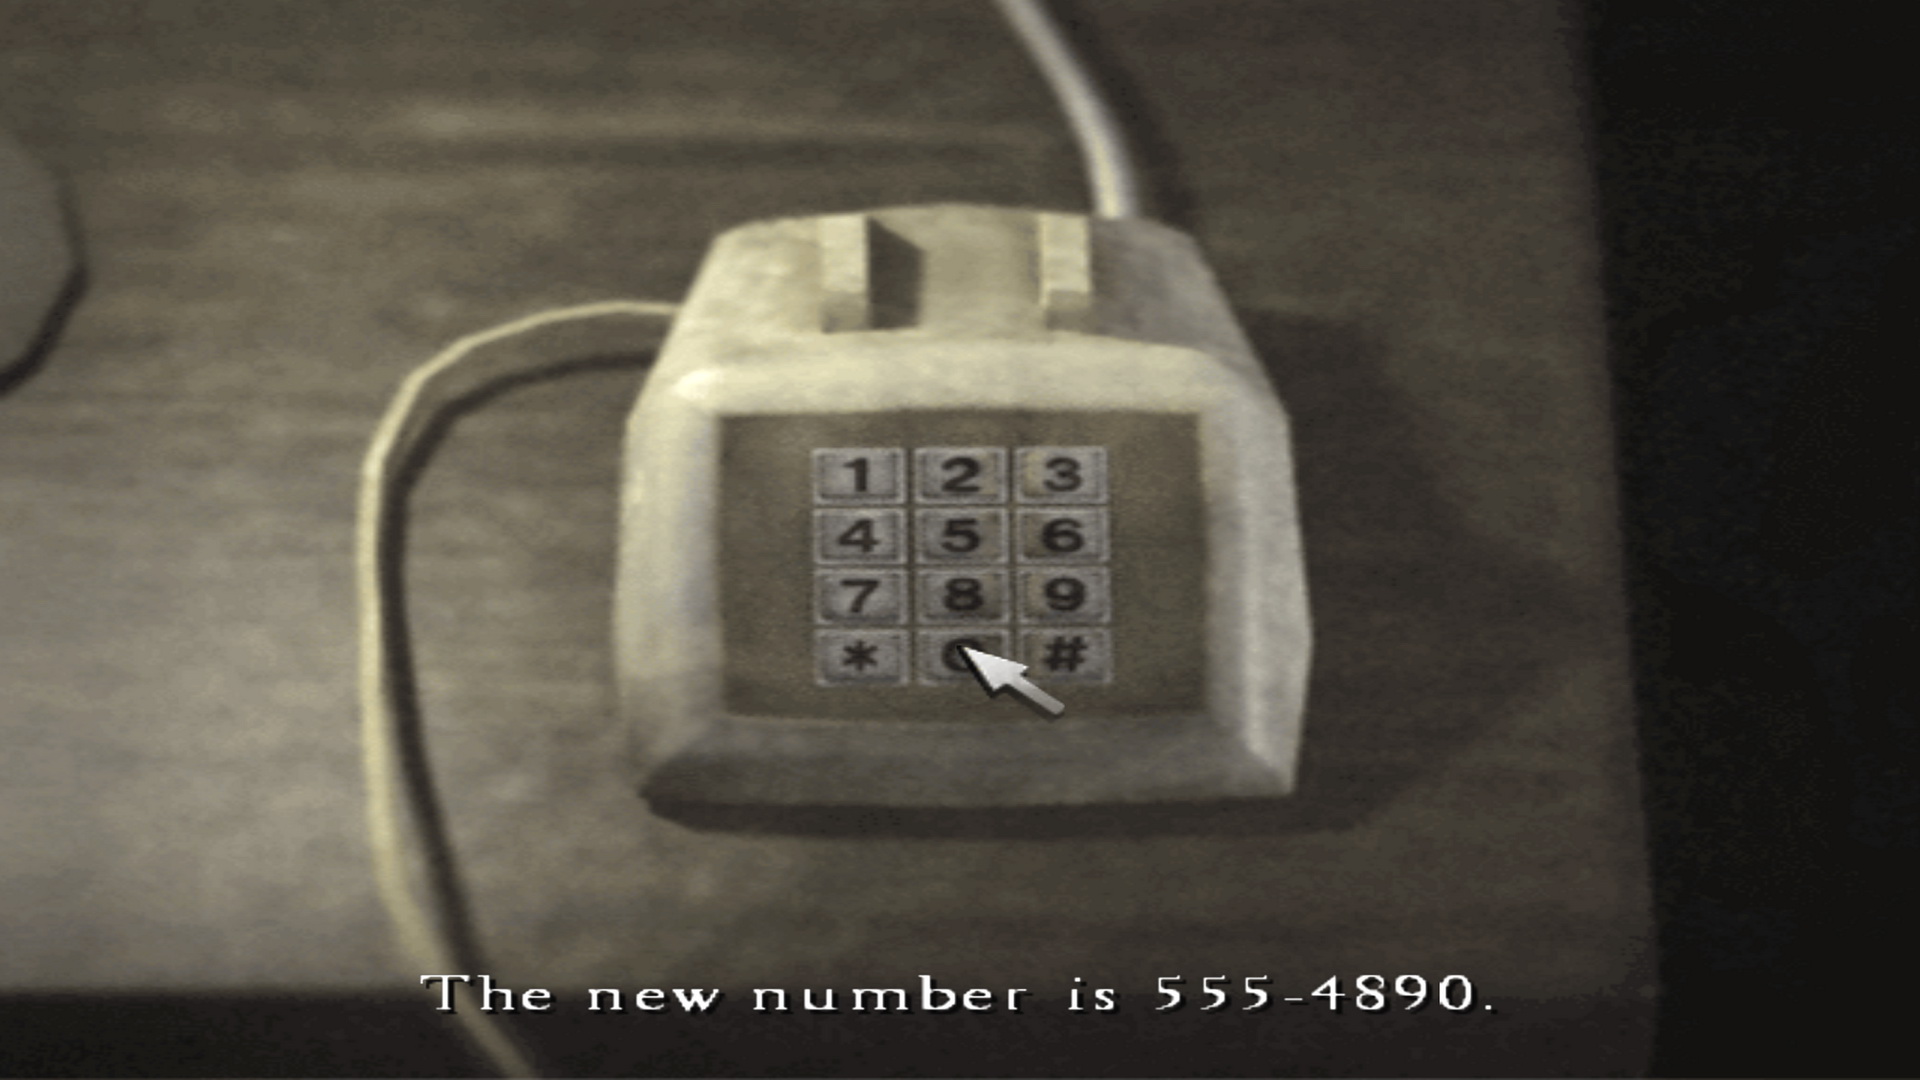
This time arriving at the bar, the old code of 3750 no longer works and you'll find the Later Bartender's Memo on the bar explaining why:
If you actually called the number on the billboard earlier, you may have an idea why people complained about the weird noises and why the number was changed. But with a new number, they'll have to change the billboard. Use the nearby Portal to return to 302. Take a look out your window to find the billboard up and to the left. The sign still has the same number... 555-3750. So the number's been changed, but they haven't gotten around to changing the sign yet. How else could you figure out the new number? What if you called the old number? Use the bedroom phone to ring 555-3750 and hear a message explain that the new phone number is 555-4890. There you go. Return to the bar and use the code 4890 to advance past the door. |
18. The One Truth (Below Building World)
At the bottom of the large staircase following Bar Southfield is a large room filled with 12 Giant Wall Men on sliding platforms. Serving as the first full boss fight, there is also a puzzle to be solved here. Check the door on the other side, which is locked and has this inscription:
To explain, there are 12 Giant Wall Men in this room. 11 of them will flinch normally when hit. But one of them when hit will cause every single Wall Man here to flinch, including itself. This is the master Wall Man or "the One Truth". Your goal is to find and destroy it. What you'll want to do is give each Wall Man a swing or a bullet one at a time and move on to the next one if the others don't react. Run over and quickly swing, or wait down below for one to drop down and smack it, then move on if they're not the right one. Once the One Truth is found, beat it until they all die and the door will unlock. |
19. Pickaxe of Hope and Keys of Liberation (Room 302)Requires:
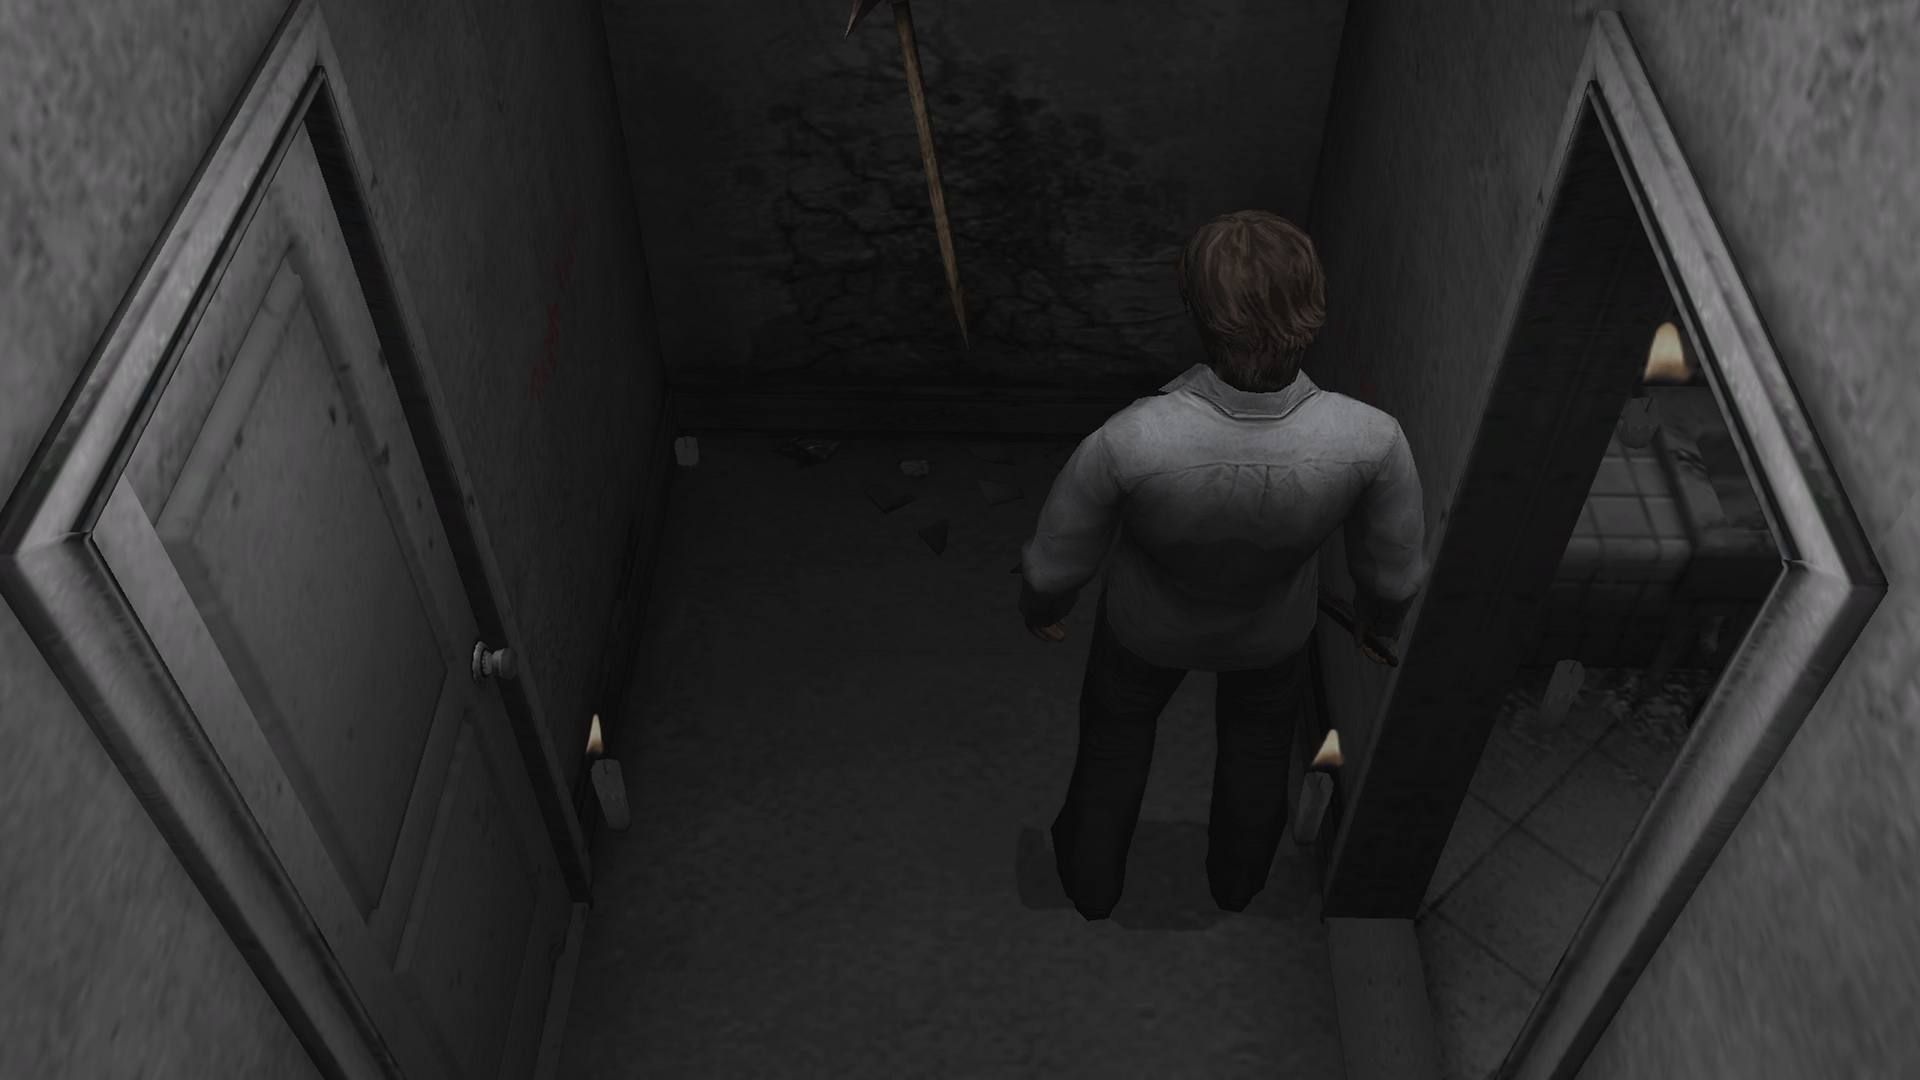
After collecting the six memos in the living room and bedroom of Room 302 of the Past, head to the living room for a cutscene with Joseph Schreiber, the previous tenant of Room 302. He tells you that you must locate and kill Walter Sullivan, who must be somewhere nearby. Grab the Pickaxe of Hope that appears on the end hallway wall. Also take note of the writing on the side walls:
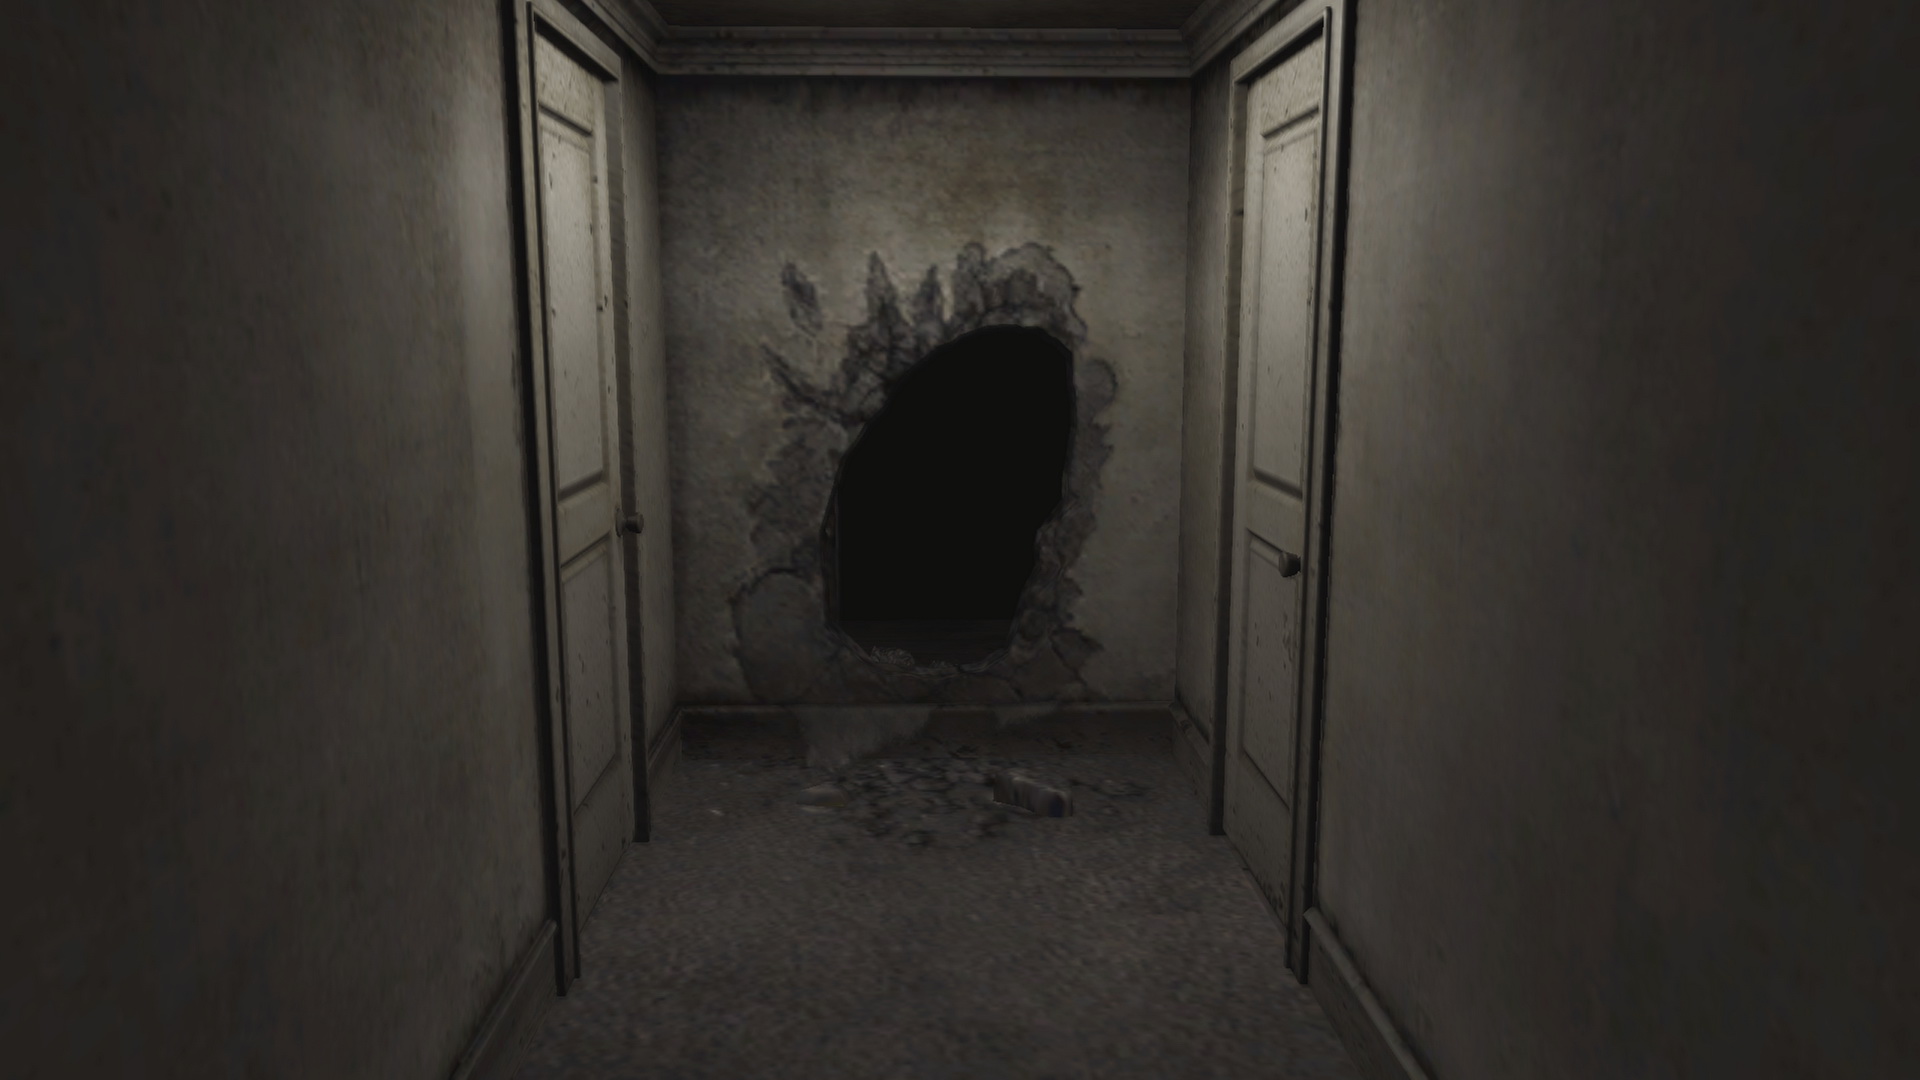
Looks like Joseph tried to break down the wall but couldn't. Henry can't do it either here, but what if you tried in your own 302? Return there via the washroom Portal. There, find the same piece of wall between the bedroom and washroom and use the Pickaxe of Hope to break it down (you'll hear a crash from behind there if you move anywhere else beforehand). Head through the new hole in the wall to find Walter's corpse... It was here all along. Examine his body a couple times to get the Keys of Liberation. As you can imagine, these keys will unlock your front door. But before leaving, check your laundry room to find Joseph's Letter on a low box in front of the portal:
You've already found the location of the ritual in your hidden back room. But the last paragraph outlines your task after leaving 302. You must find part of the mother's flesh in the super's room... The Umbilical Cord mentioned in the super's diary. The super's room 105 is your next destination. Head to your front door and use the Keys of Liberation to escape. |
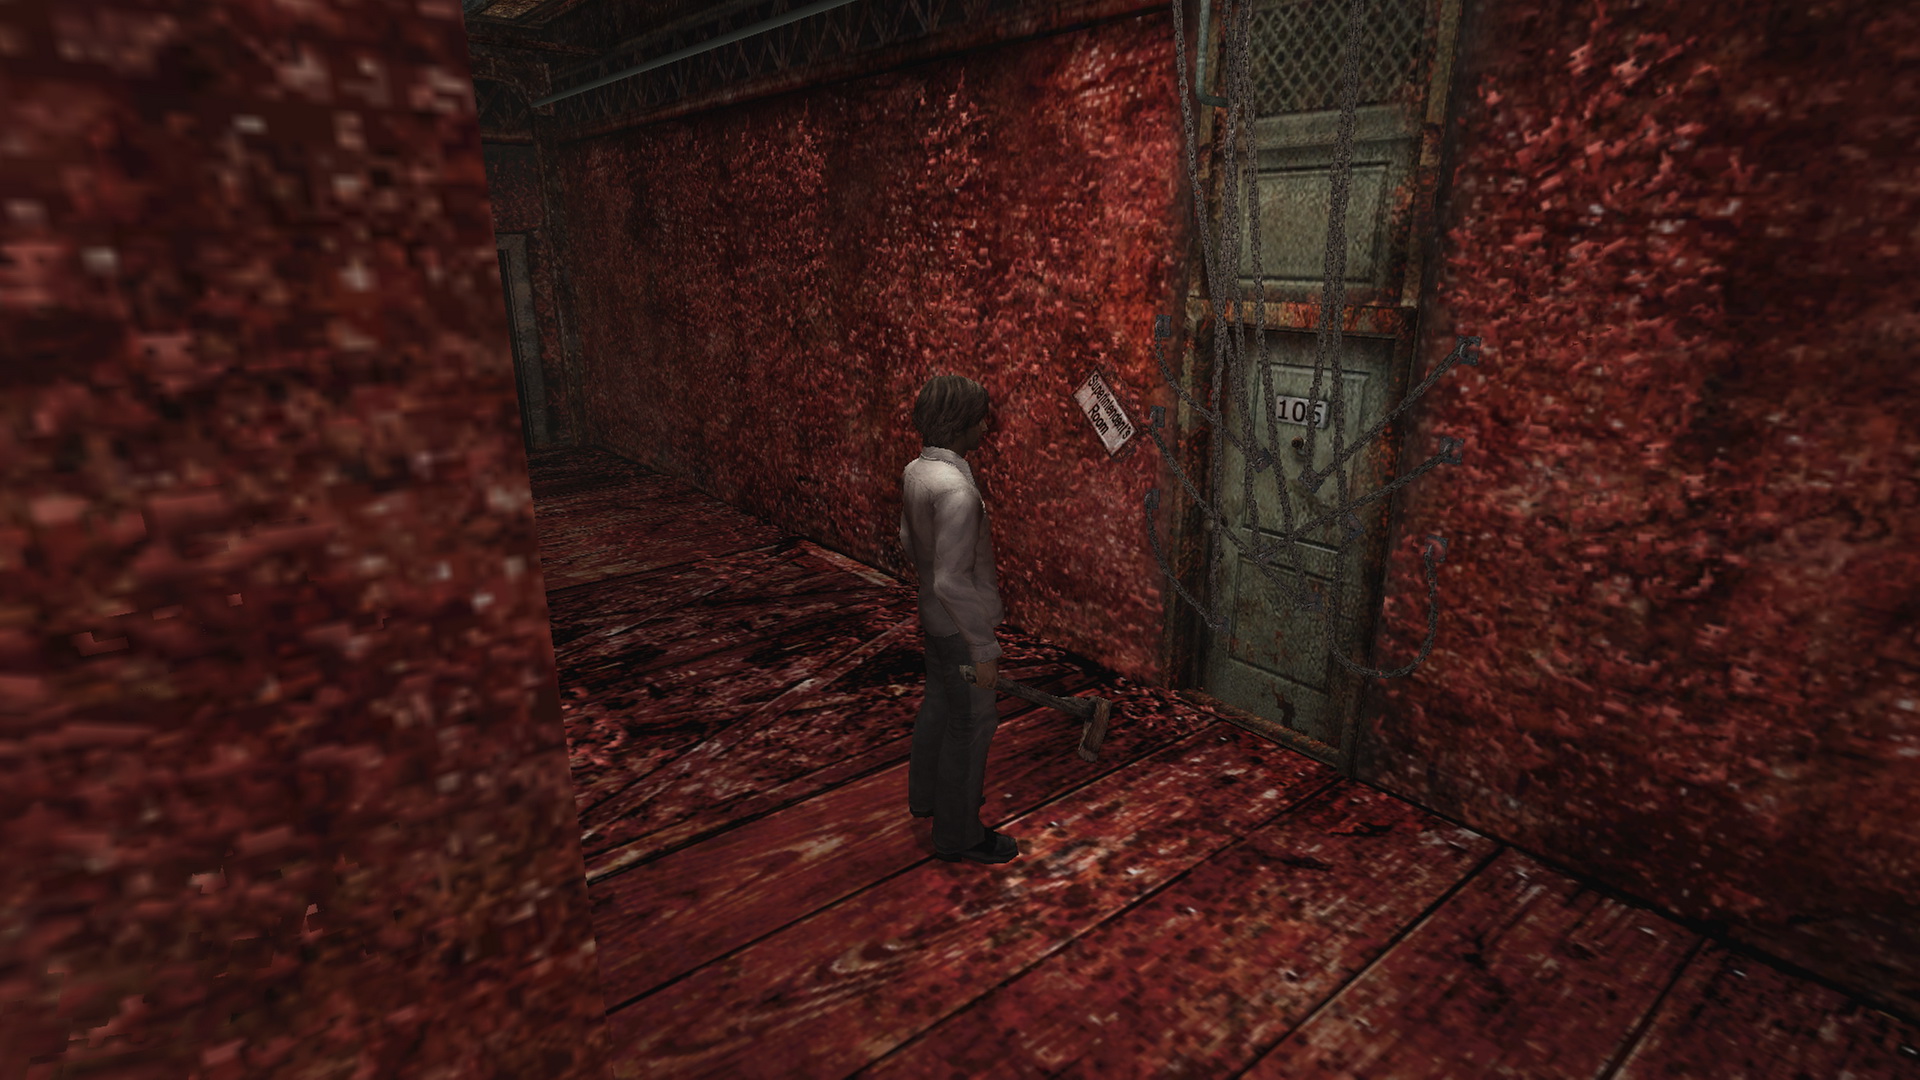
20. Removing Room 105's Chains (Outside Room 302)Location: First Floor, Outside Room 302
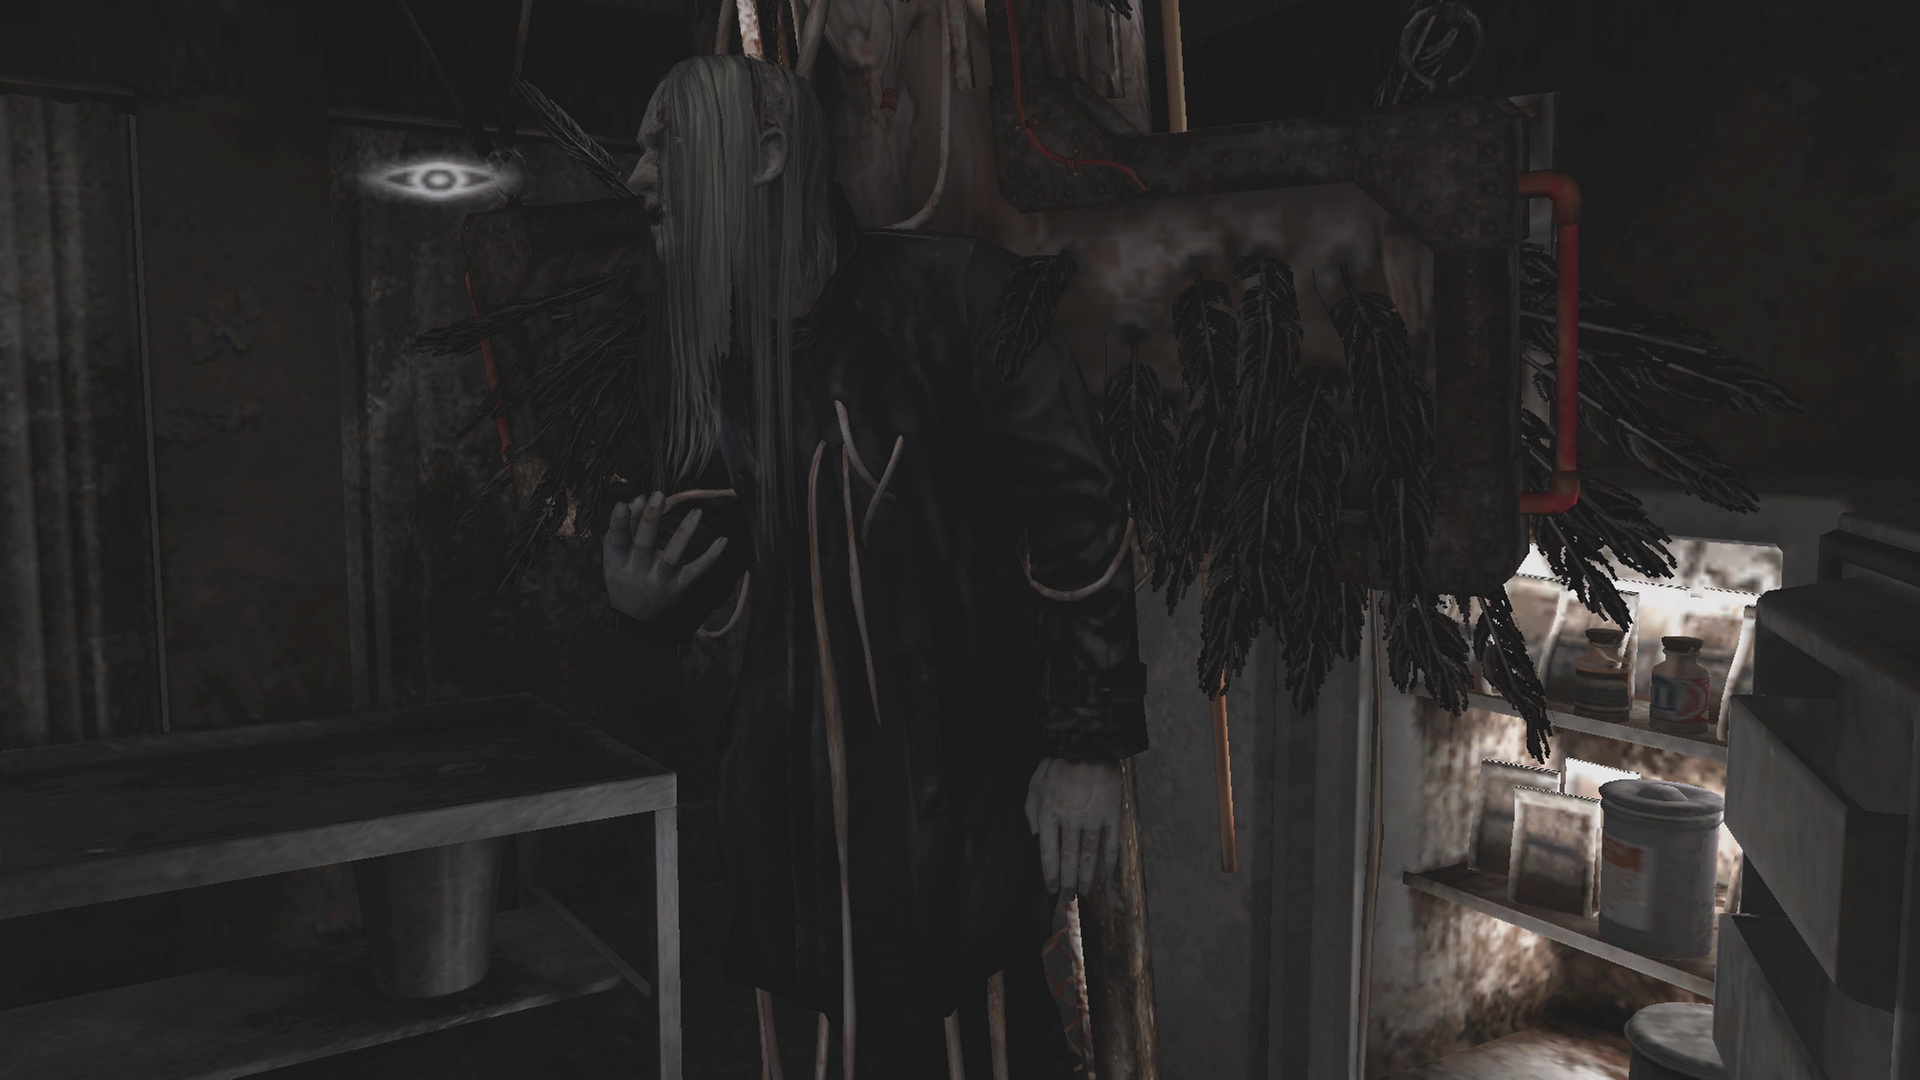
At the super's door you will be greeted by six chains locking it from the outside, not too different from the chains on 302's interior up until now. To remove the chains you will need to find six hanging body statues of Walter in the east wing. When examined, each statue will fade away and remove one chain from 105's door. Find all statues in the following locations:
Find and examine all six statues to make them disappear, removing all the chains from room 105. You'll witness a cutscene with Eileen back in the lobby. Now enter the room with Eileen and claim the Umbilical Cord from the living room shelf. |
21. The Final Sacraments (Below Room 302)Requires: Umbilical Cord: On the living room shelf in room 105 during Outside Room 302.
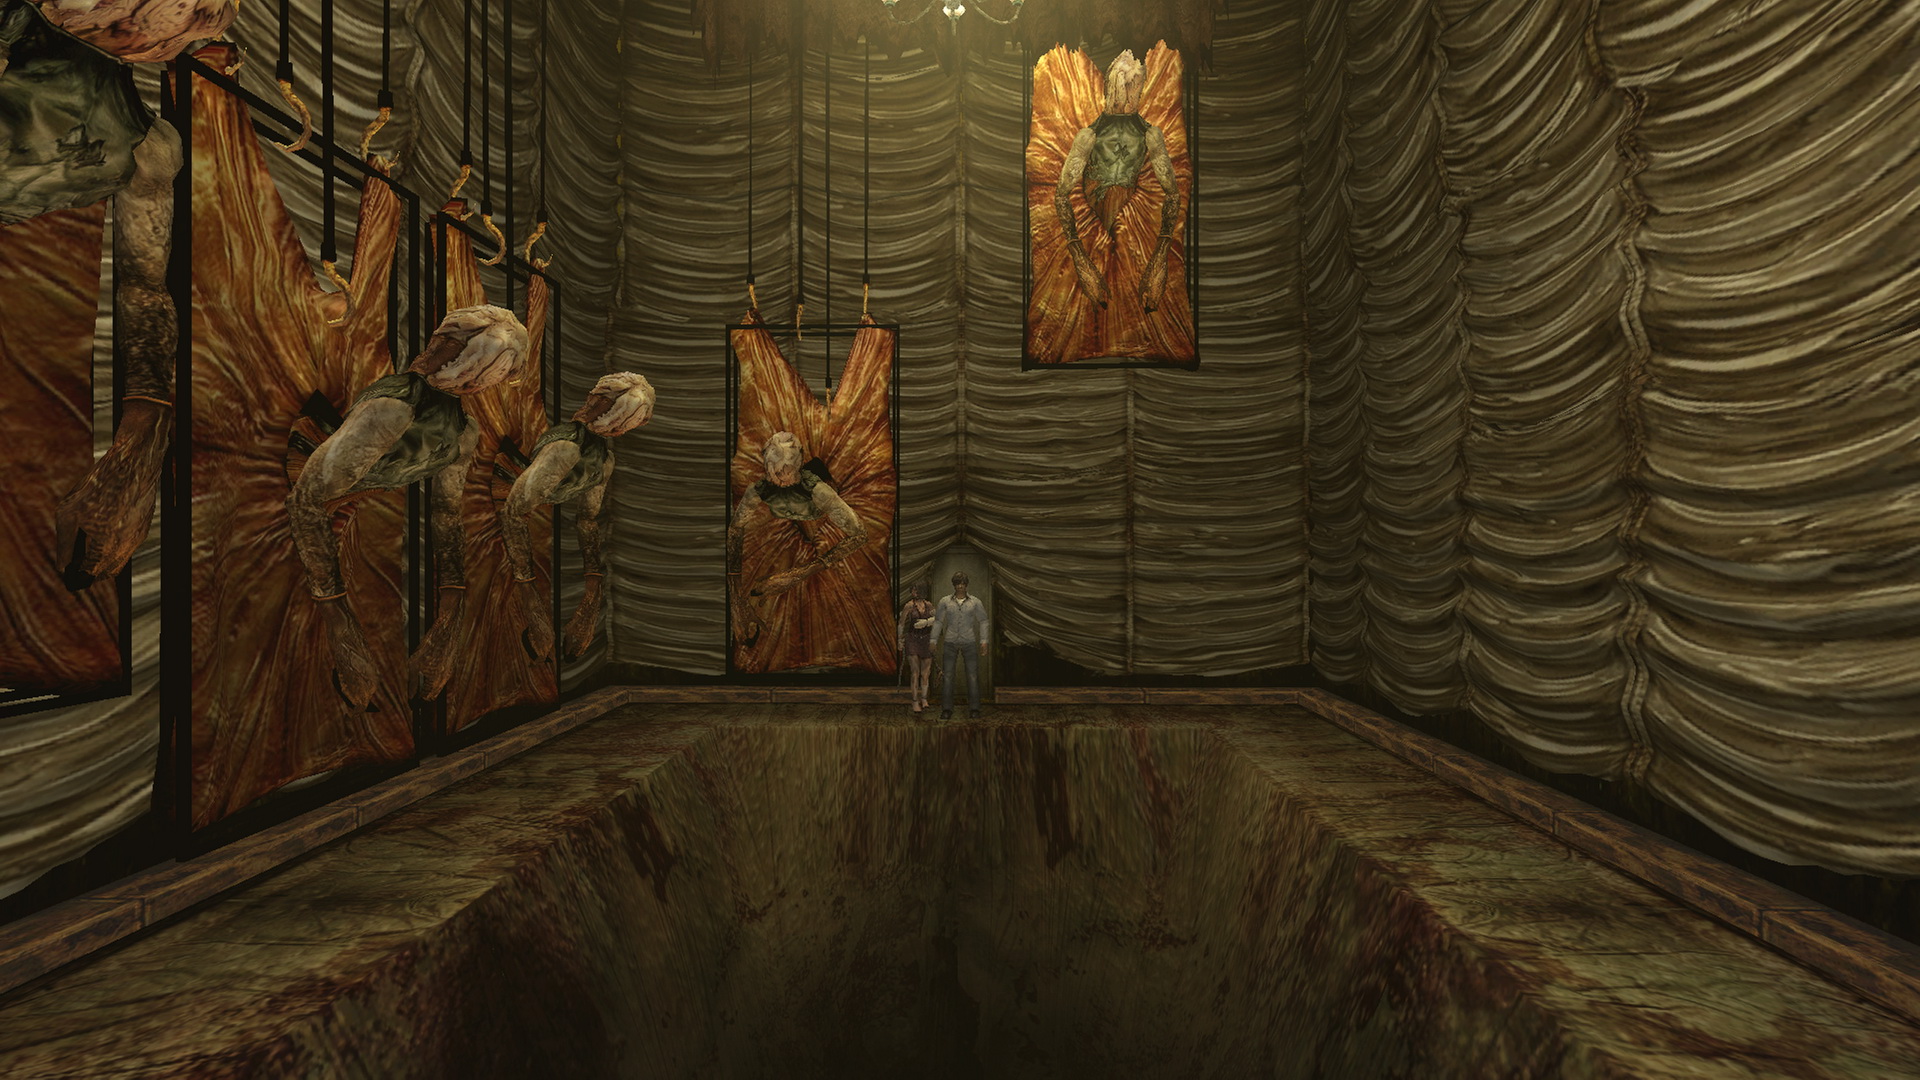
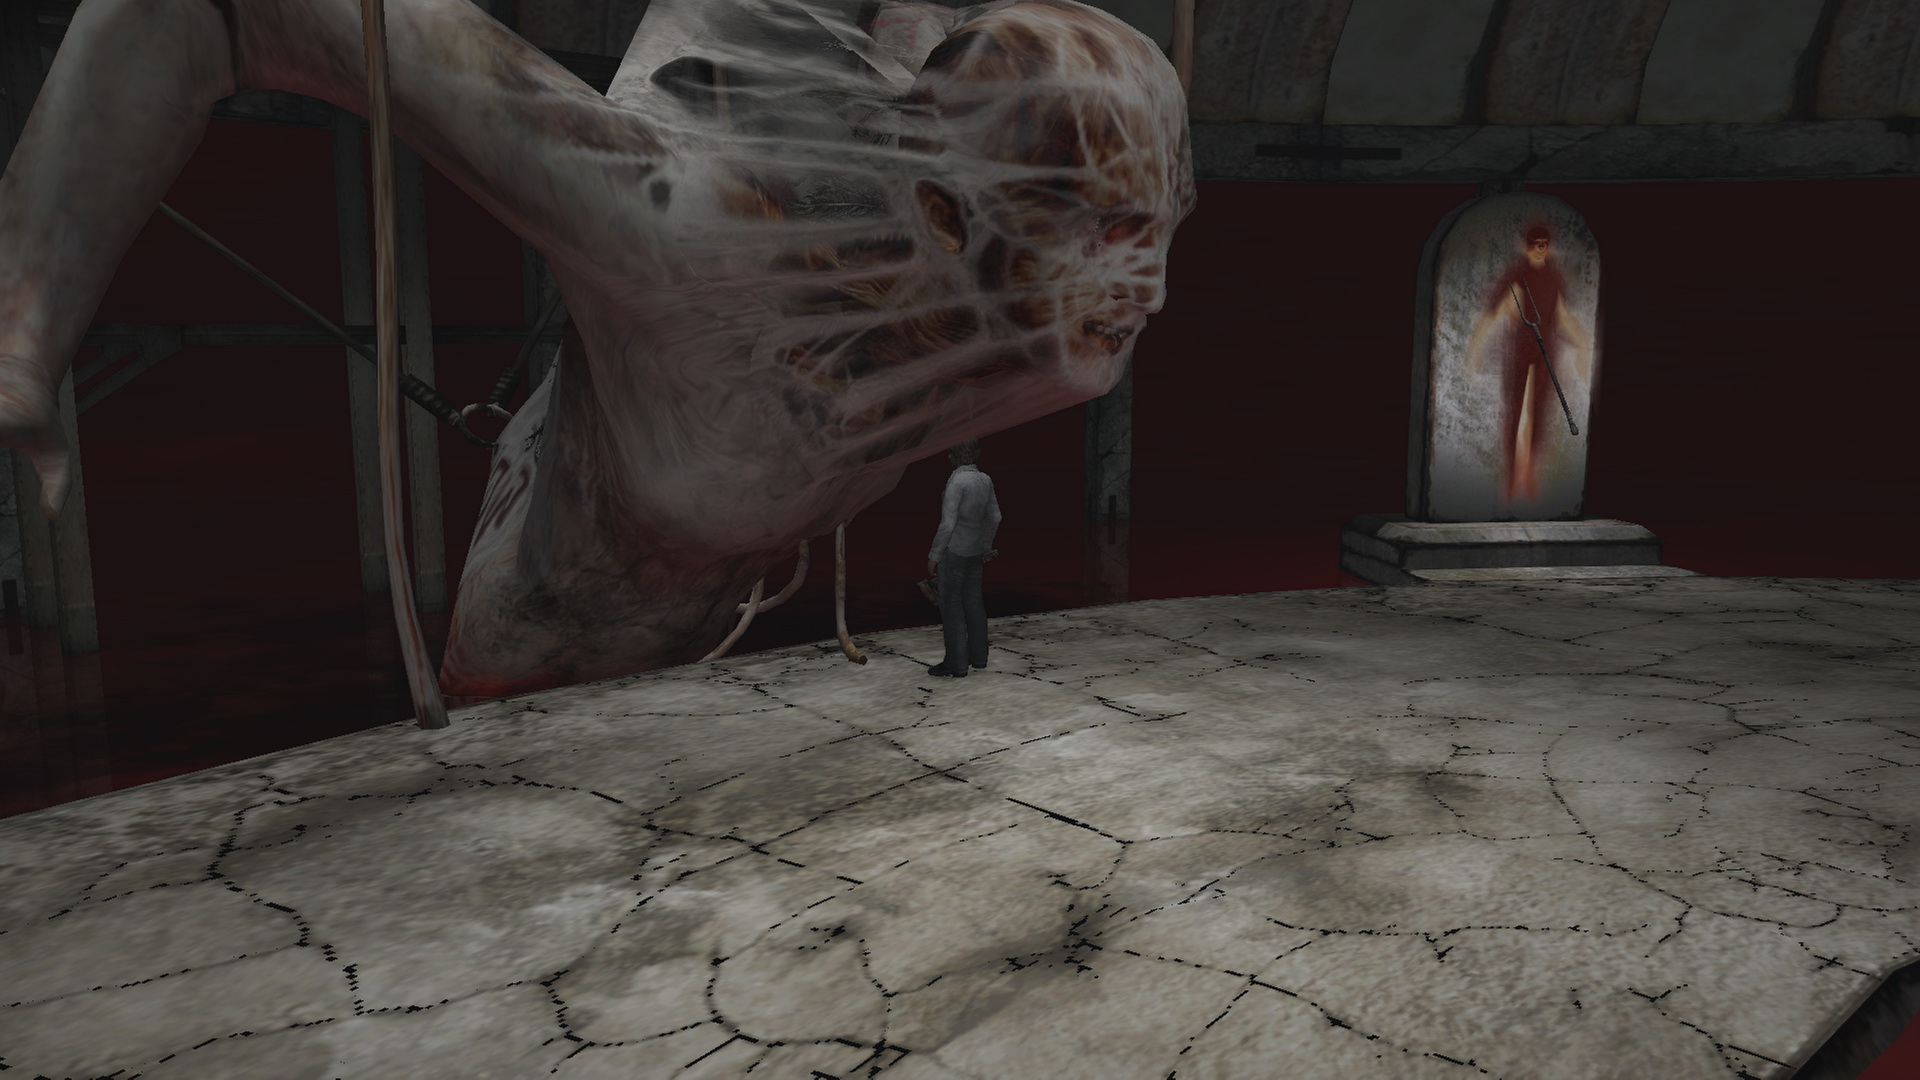
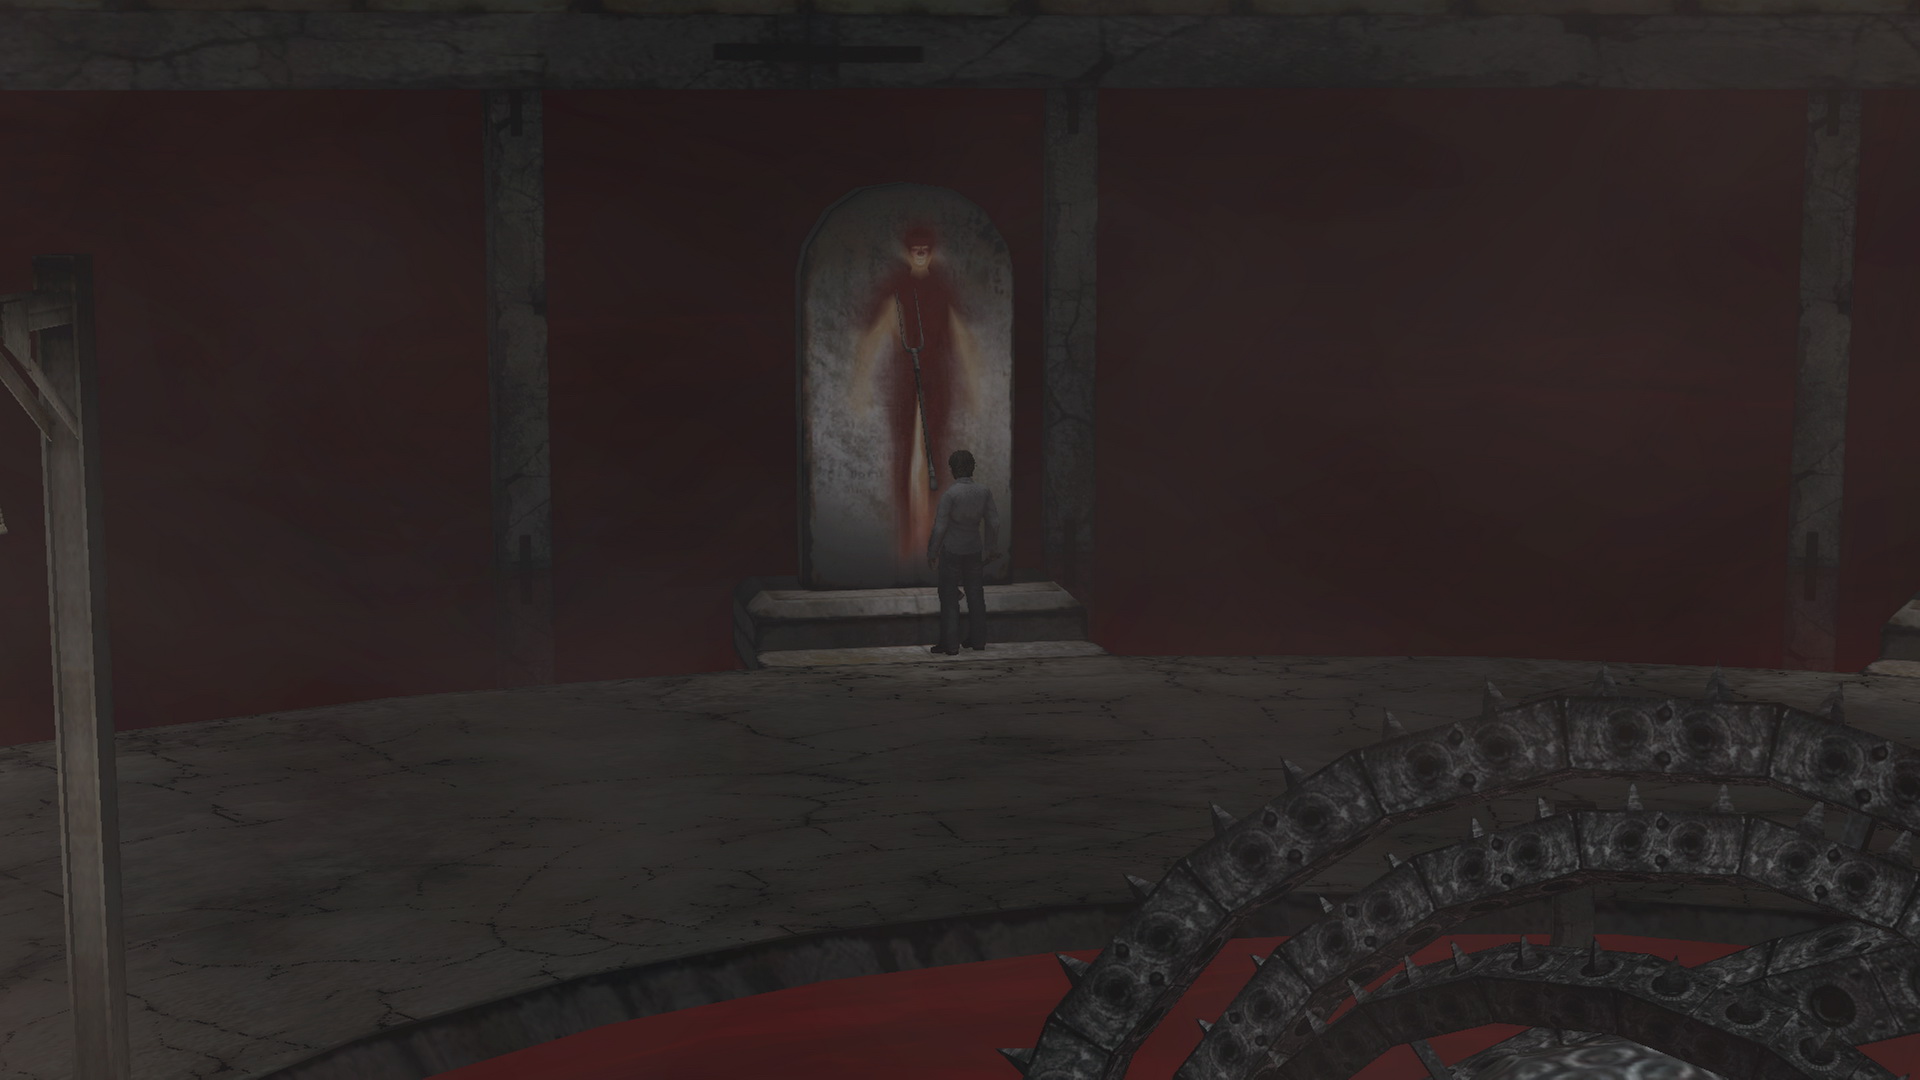
After returning to 302 with the Umbilical Cord, Walter's body will be missing from the back room. Upon checking the depression below where he was, Henry notices it's actually a hole he can jump down. Make sure you have what you need (Umbilical Cord and ideally the Rusty Axe and up to five health items) and jump down to the red room, then jump down again to the final arena. Down there, you'll be in a large area with a shadow form of Walter that cannot be harmed and Eileen under his possession potentially walking to her death inside the blood pool with the spinning machine. You'll also see a huge creature resembling a human, which is the current form of Walter's corpse that was hanging in Room 302's back room. Additionally there are four spears flanking it on each side (eight in total) that are locked in place to start off. To piece it all together, recall Joseph's August 5 Red Diary from Room 302 of the Past:
Joseph's Letter from the laundry room also confirmed the bottom statement, which we can deduce to be the Umbilical Cord that you now hold. The "true body of the Conjurer" is the huge creature in this arena (Walter's true form). Therefore, you must bury the Umbilical Card within the Conjurer's body. Check your inventory and use the Umbilical Cord while standing right under the massive head. If it doesn't work, make a small adjustment and try again. This unlocks the eight spears on the stones as hinted in the cutscene. Now you must grab each Spear of the Holy Mother and stab it into the giant Conjurer. It's best to do this by grabbing all four on one side, stabbing them in, and doing the same with the other four. Once that is done, Walter will lose his shadow ability and can now be harmed. From this point, simply defeat Walter by normal means to finish the game. The Rusty Axe's charge up swing on constant repeat is the best way to do so, while stepping back after landing hits to escape his bodyslam range. After enough damage, he'll drop and the game will be over. |
Quick Reference Solutions
In this section you'll find just the solutions for the key puzzles of the game. Refer to the previous section for full explanations or for all other smaller puzzles. |
Forest Spade and Key
|
Revolving Prison Cells
Don't forget you still need one more turn after the cutscene of DeSalvo being freed. |
Prison Basement KeypadThe code is 0302. |
Bar Southfield KeypadThe code is 3750. |
Wheelchair Doll PartsFind all five Doll Parts from the wells in this order with a lit Torch:
The Crested Medallion is in the northwest end path. Note you can flip the order of 3 and 4 if your Torch is lit, but it's always fine to get 4 on the way back. |
ReminiscesFind and place the four items like so:
Then proceed through the clock door underneath the pet shop. |
Bar Southfield Keypad New CodeThe code is 4890. |
Hanging Walter StatuesFind and examine Walter's hanging body in each location:
|
| by Andrew Haffenden aka Conquerer (Silent Hill 4: The Room - Puzzle Guide) |