Mini-Puzzles
This section covers all the briefer puzzles or mini-events that are more about understanding which items to use or performing some action rather than solving a riddle or uncovering a code.
Contents
Letter from Silent Heaven
- Garbage Chute (Wood Side)
- Shower Drain (Brookhaven)
- Fallen Fridge (Brookhaven)
- Lady of the Door (Brookhaven)
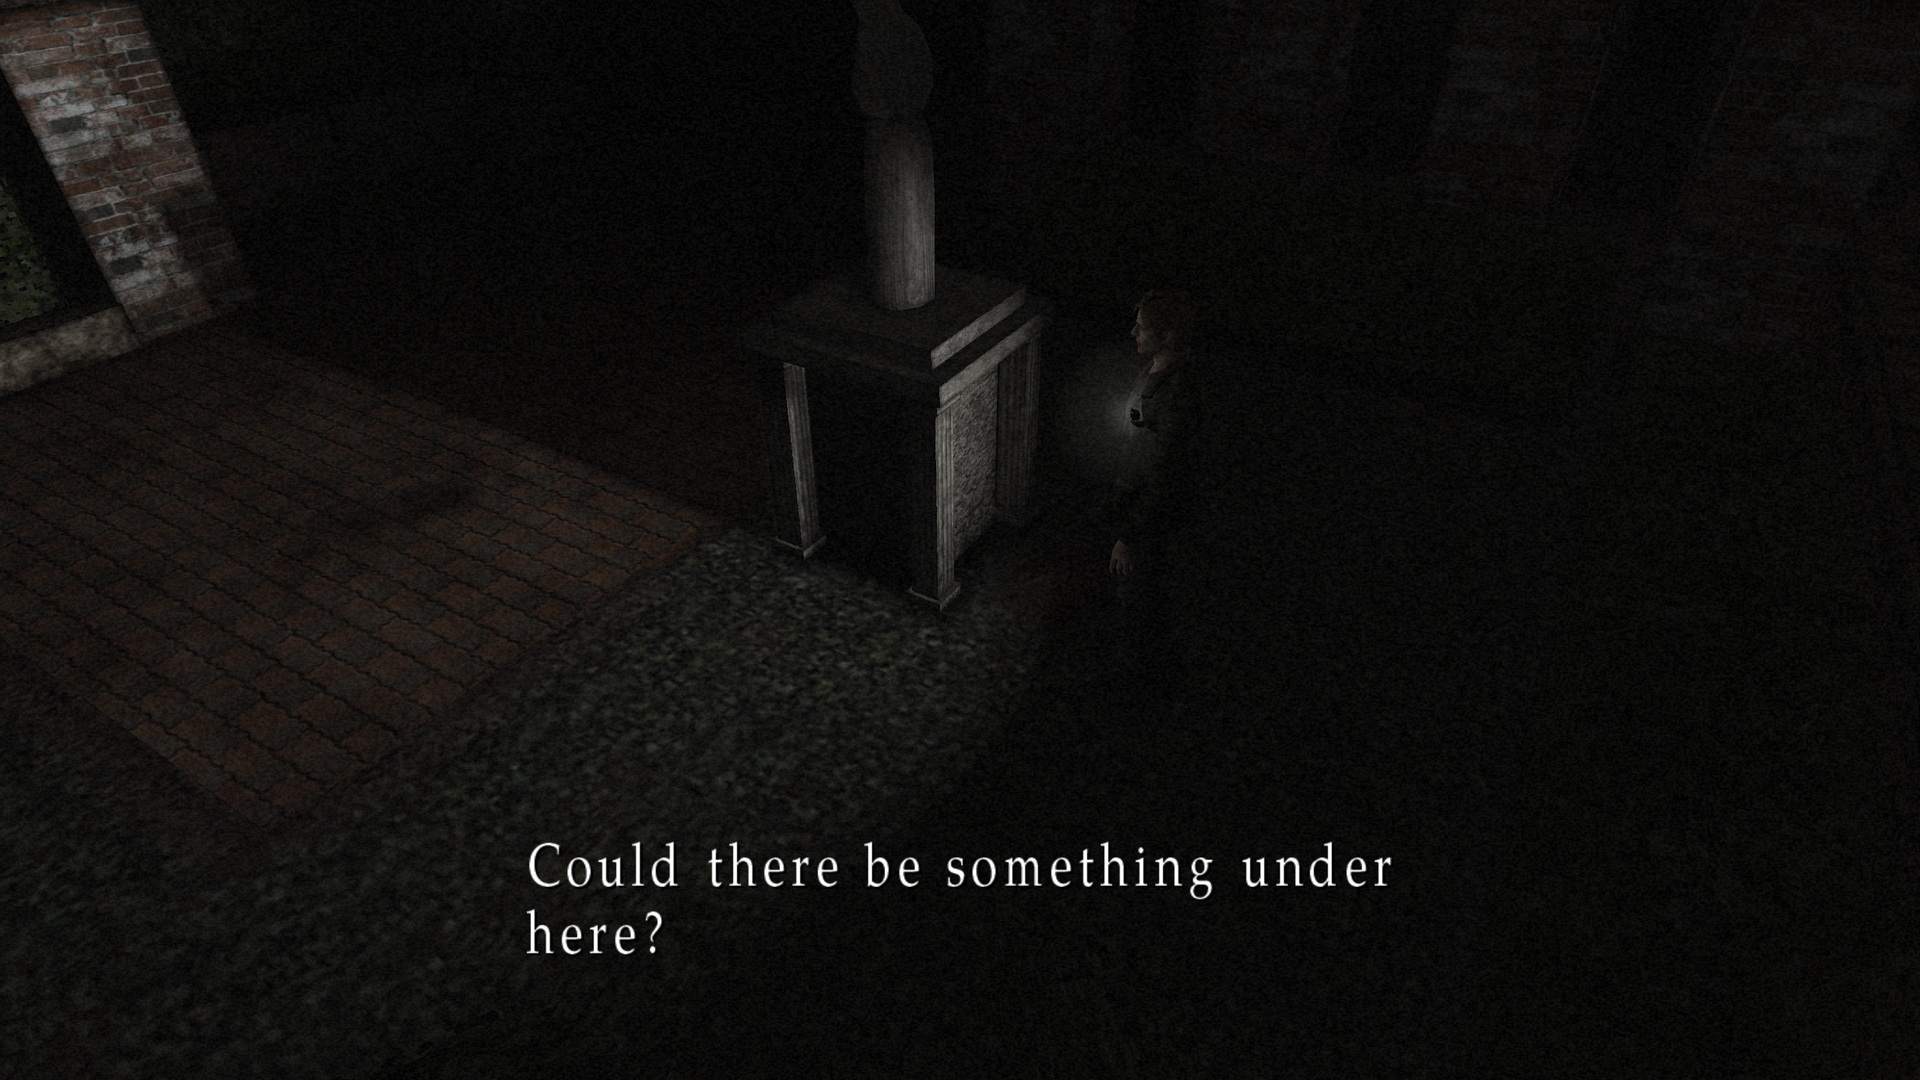
- Praying Woman Statue (Rosewater Park)
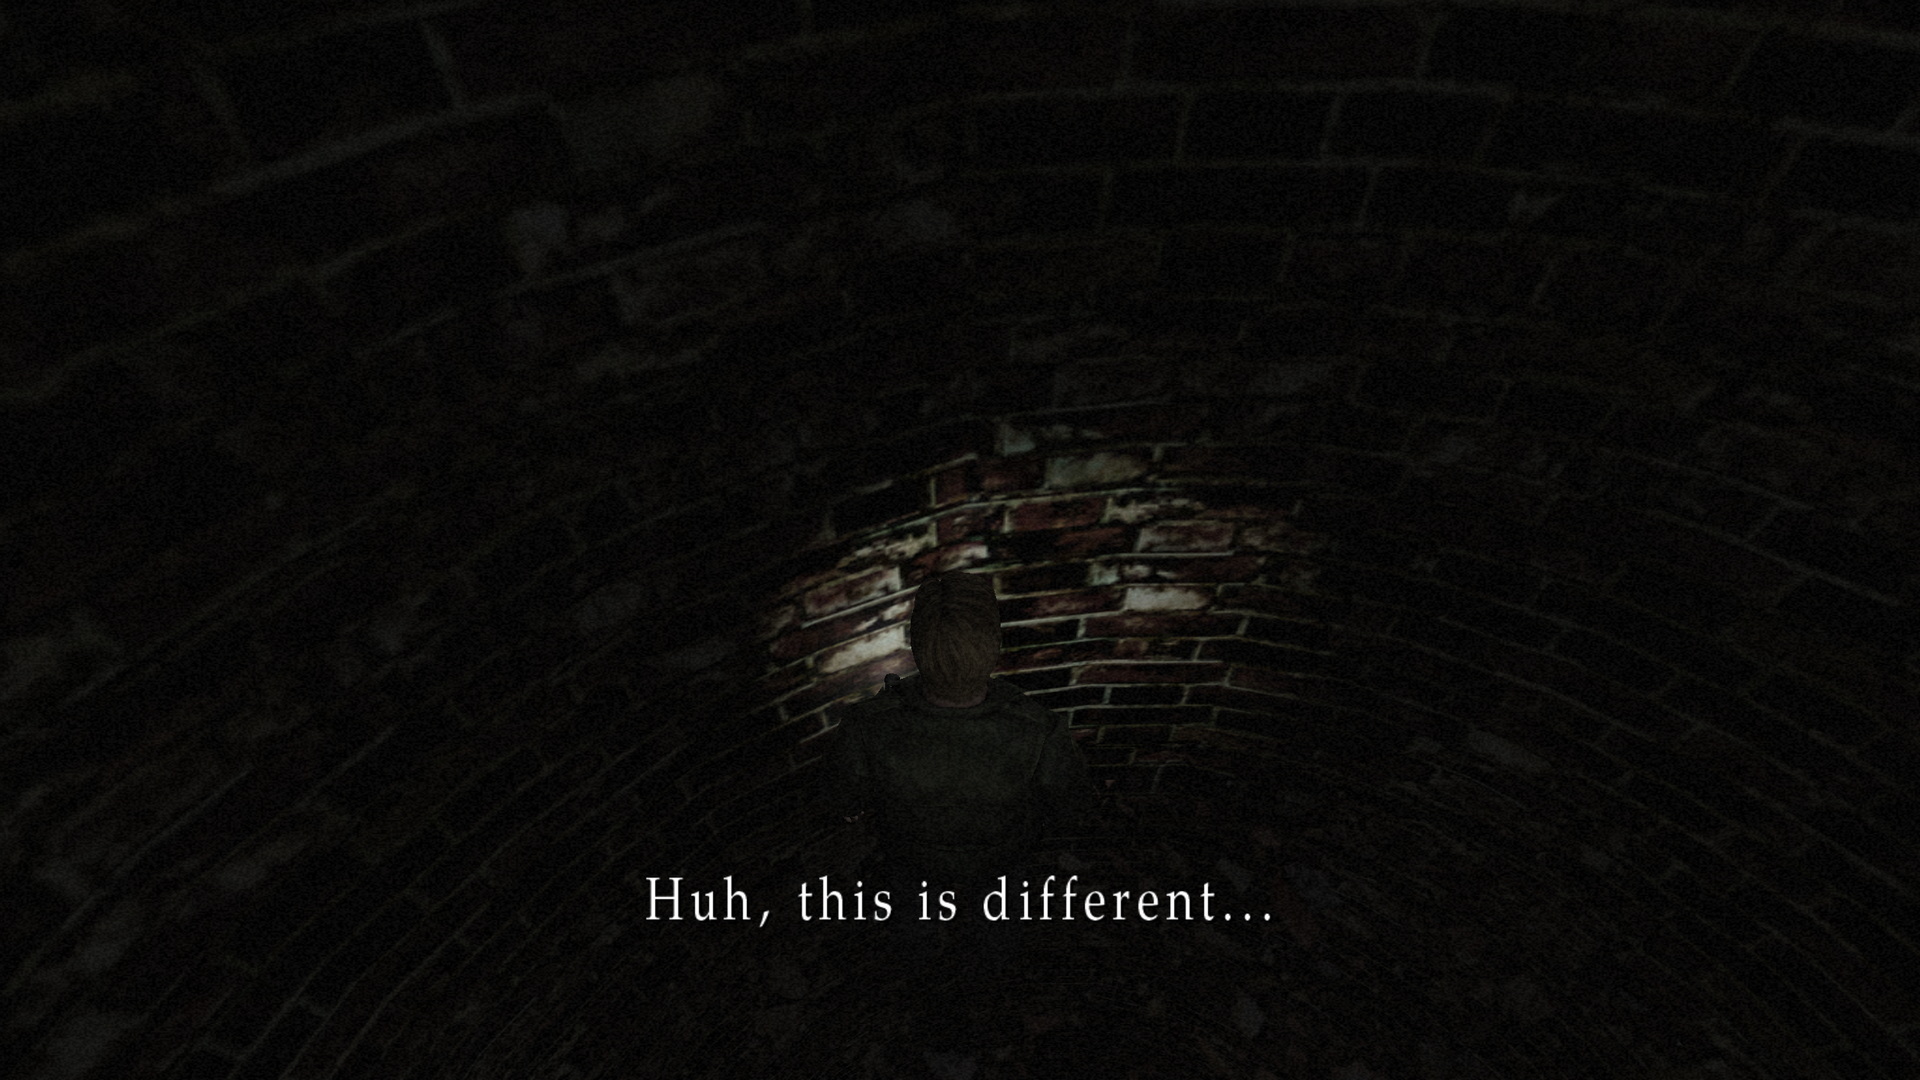
- Stuck in a Well (Historical Society)
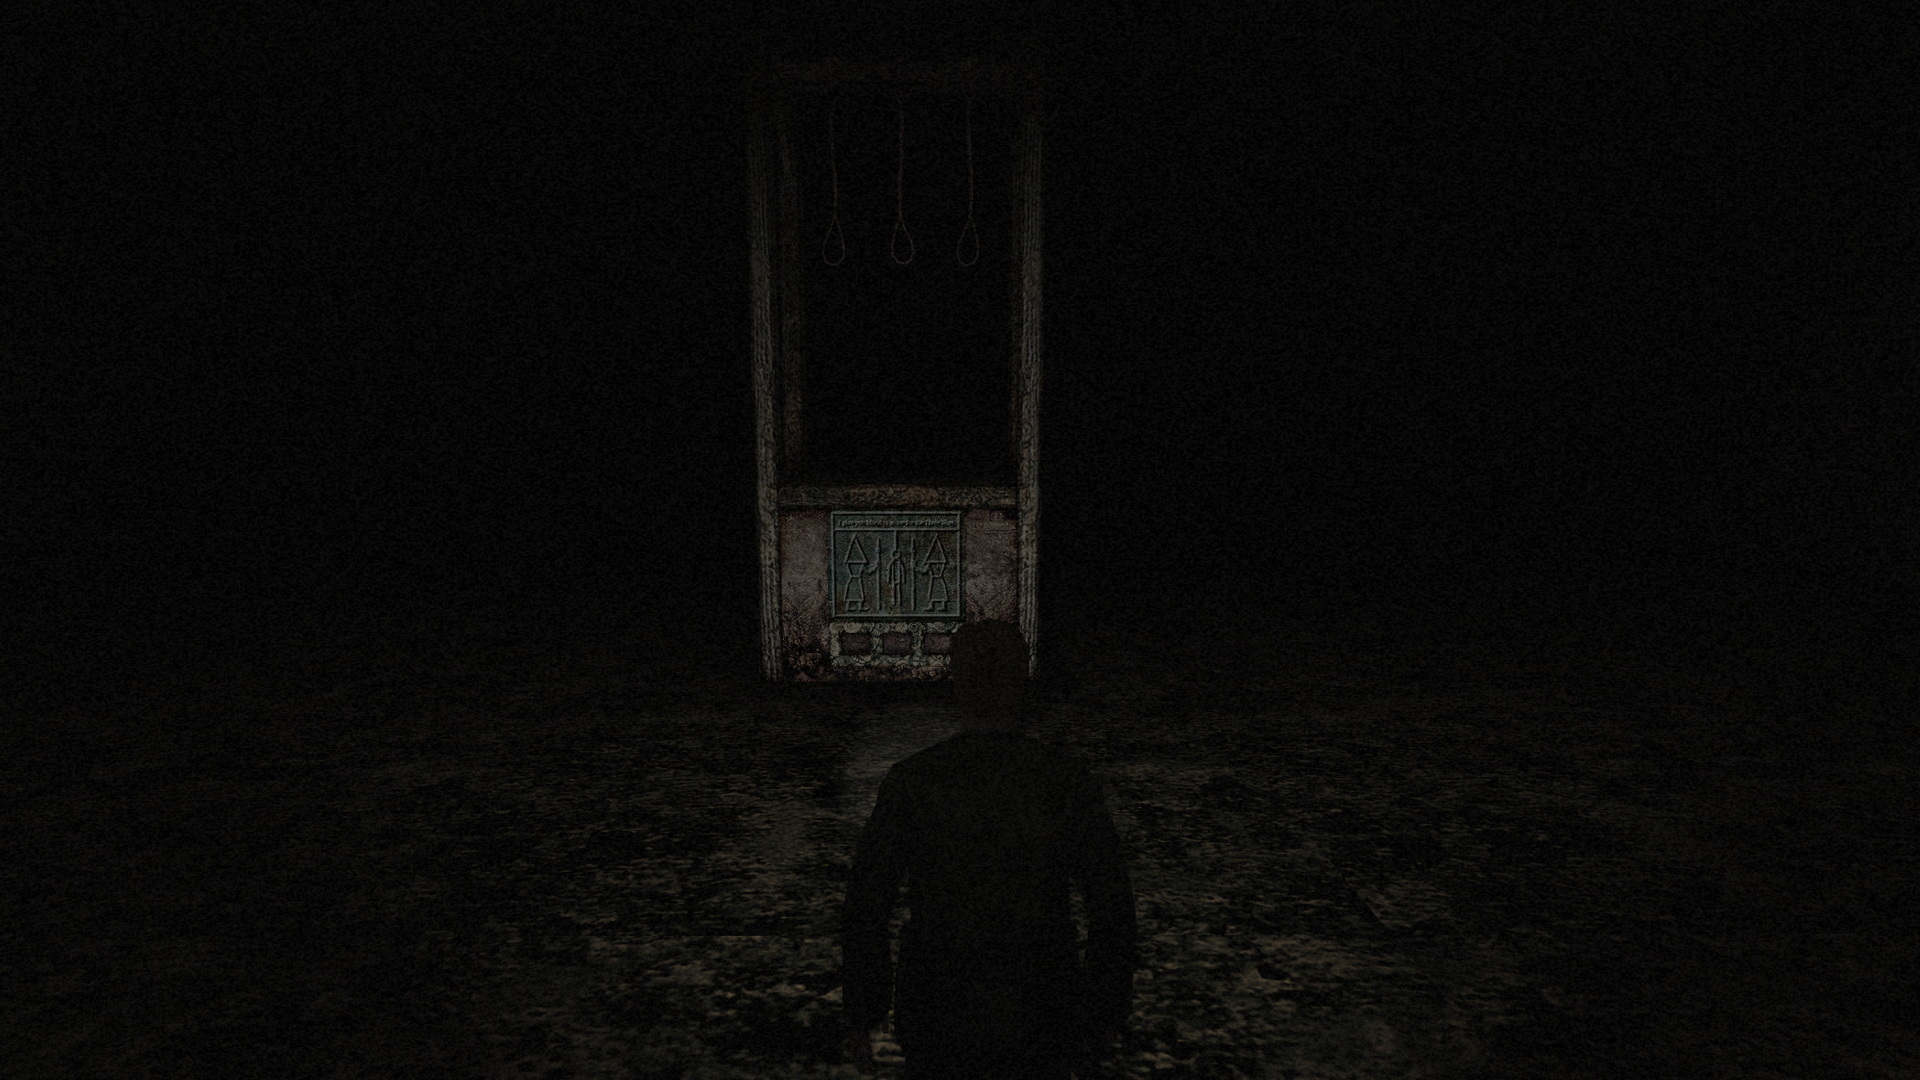
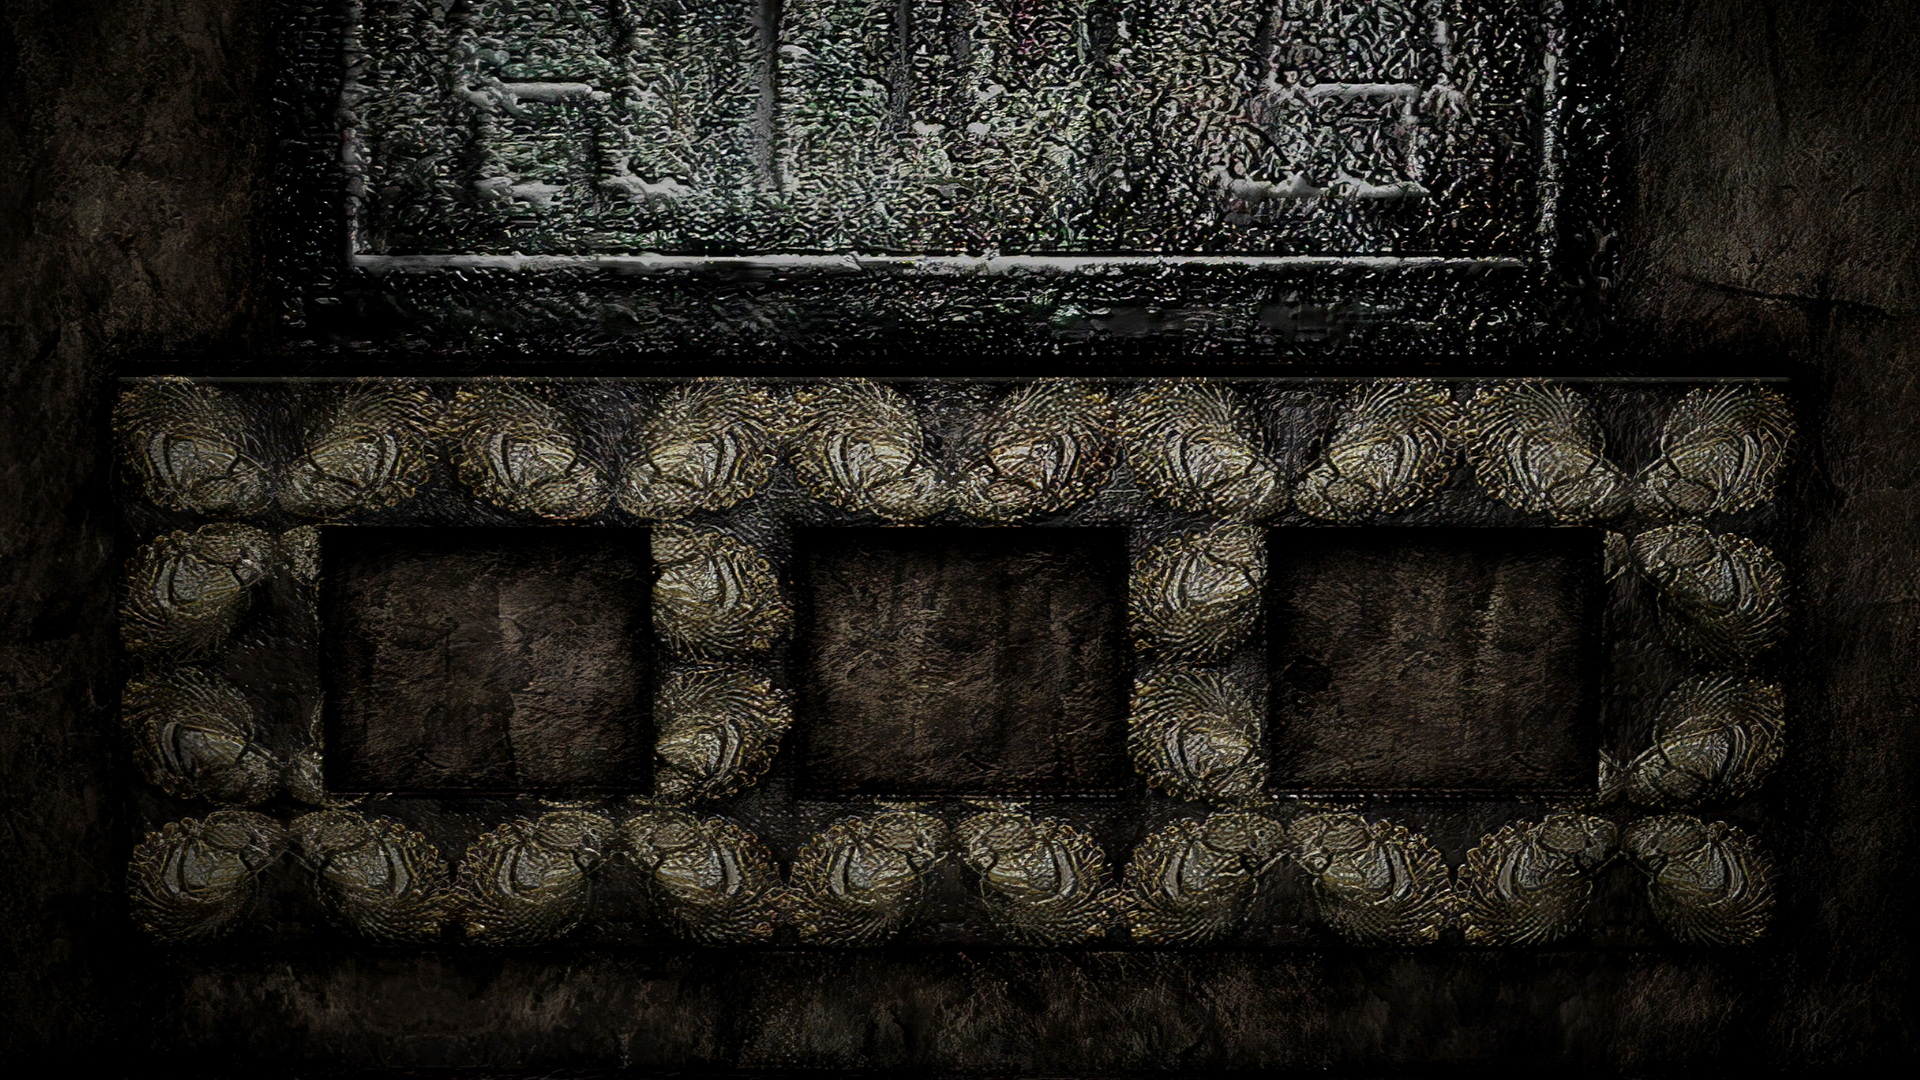
- Tablet Scaffold (Toluca Prison)
- Floor Hatch (Toluca Prison)
- Wire Door (Labyrinth)
- Handcuffed Gate (Labyrinth)
- Cloakroom Briefcase (Lake View)
- Employee Elevator (Lake View)
- Tin Can (Lake View)
- Venus Tears Bar Exit (Lake View)
- Hotel Warp Hallway (Lake View)
- Pyramid Head Eggs (Lake View)
Born from a Wish
Letter from Silent Heaven
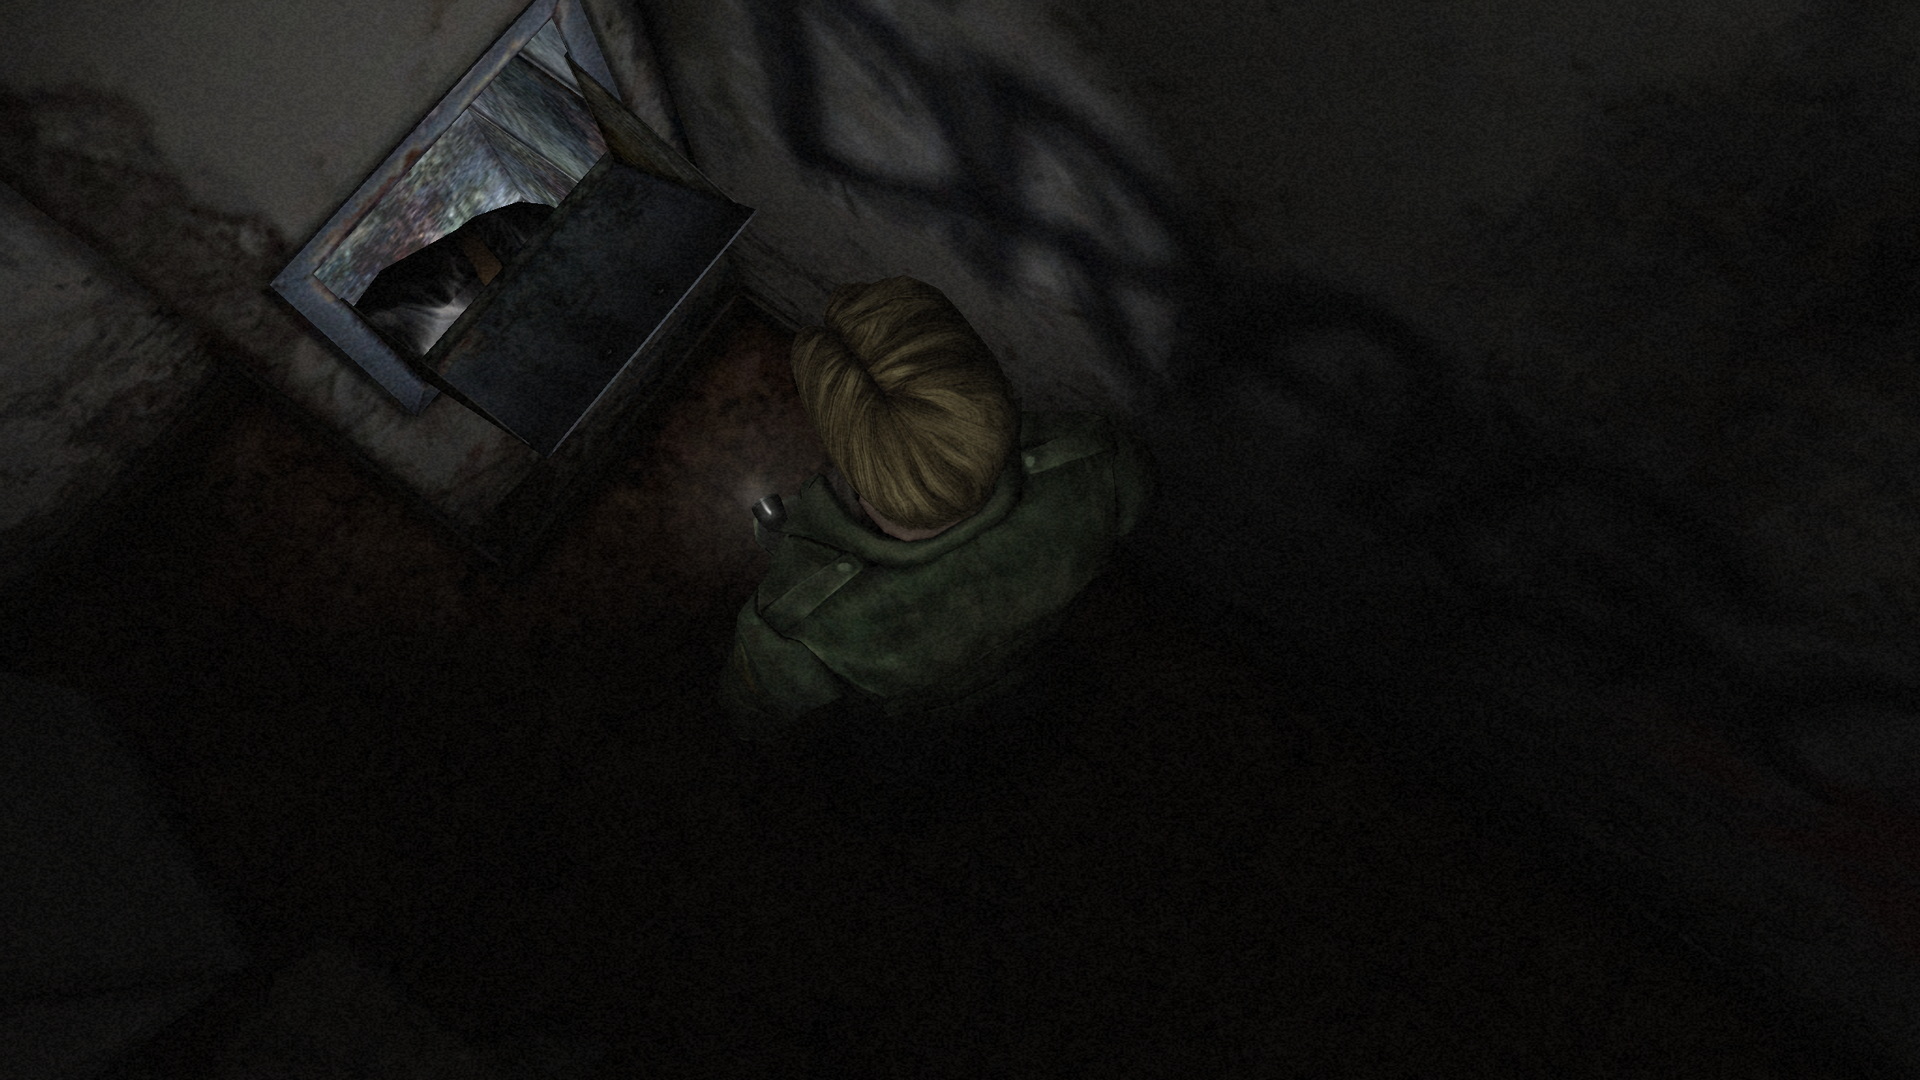
Garbage Chute (Wood Side)Location: Wood Side Apartments, Laundry Room 2F
Approach the garbage chute where the stuck garbage is in the second floor laundry room and use the Canned Juice from your inventory to knock it loose. Return to the stairwell, descend to 1F and leave through the front entrance. Follow James' left around the corner to the bottom of the garbage chute where you'll find the Coin [Old Man] and a newspaper article. |
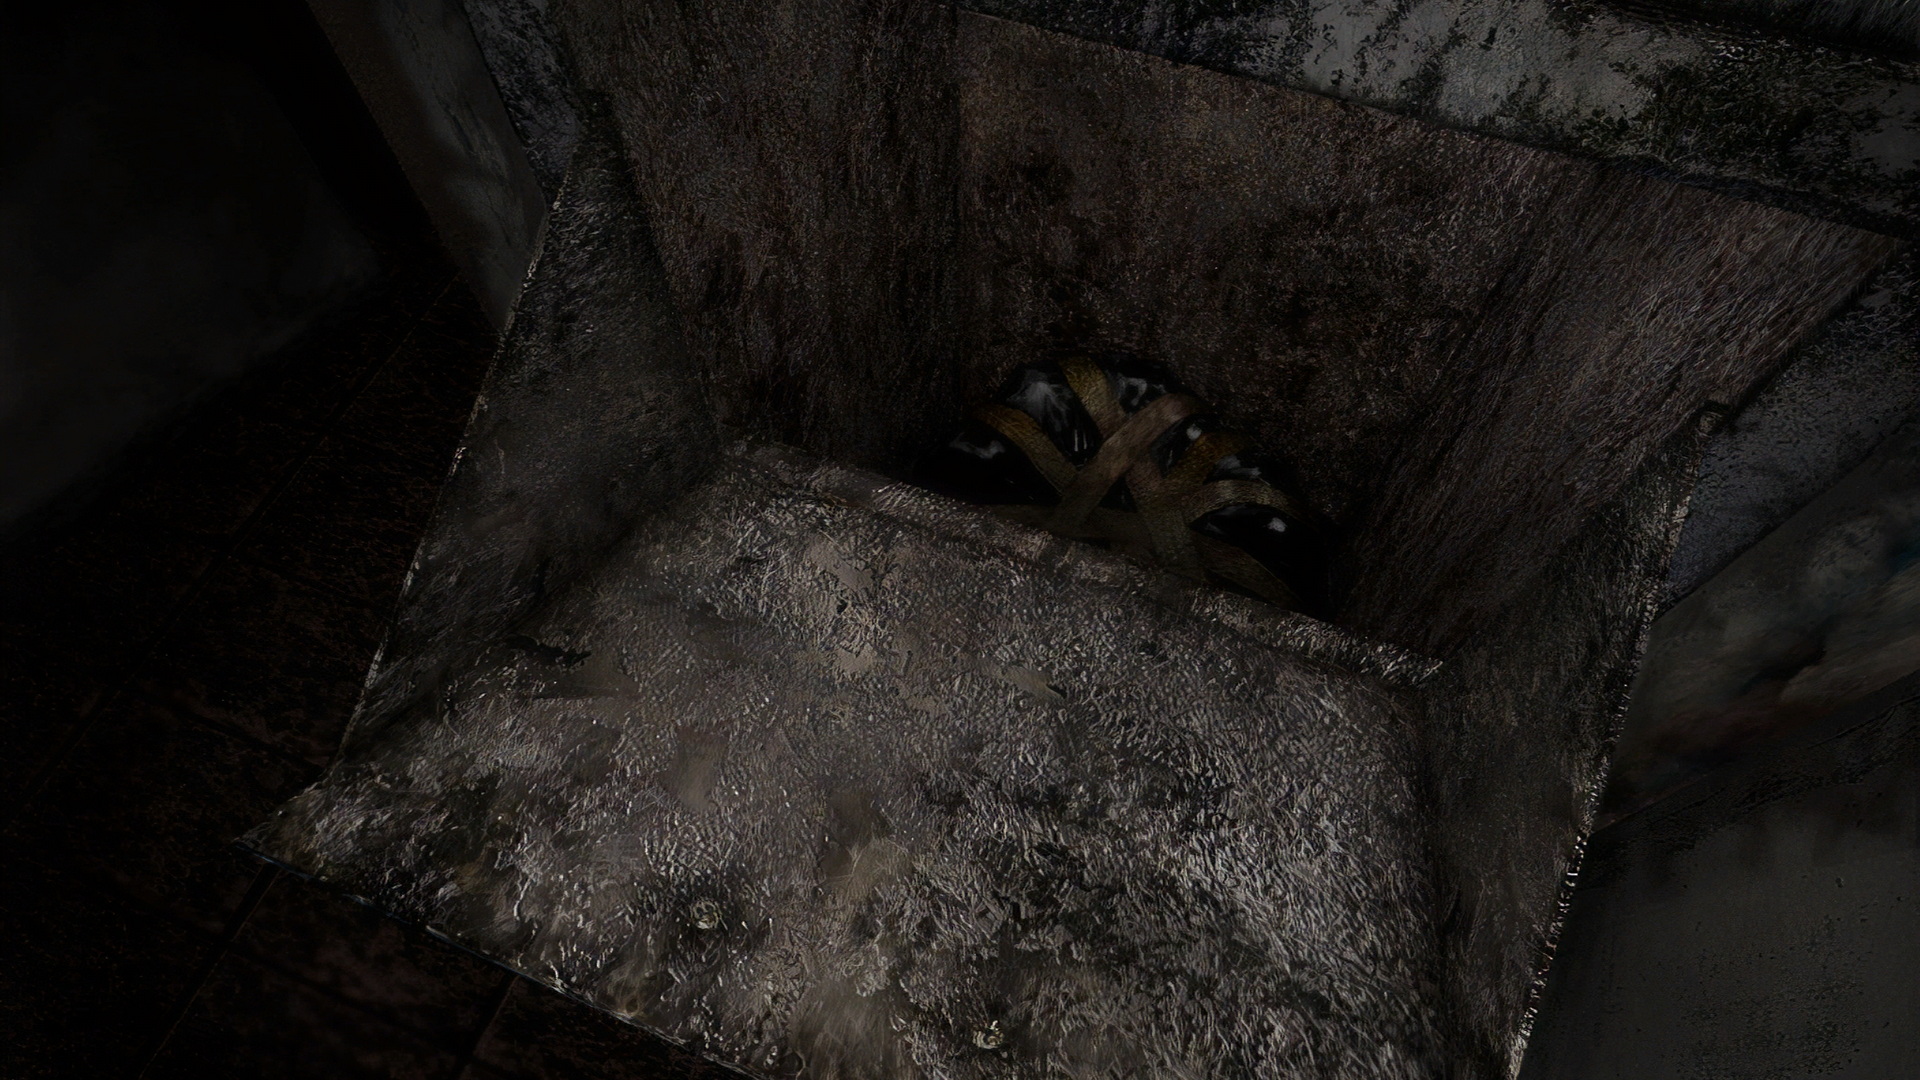
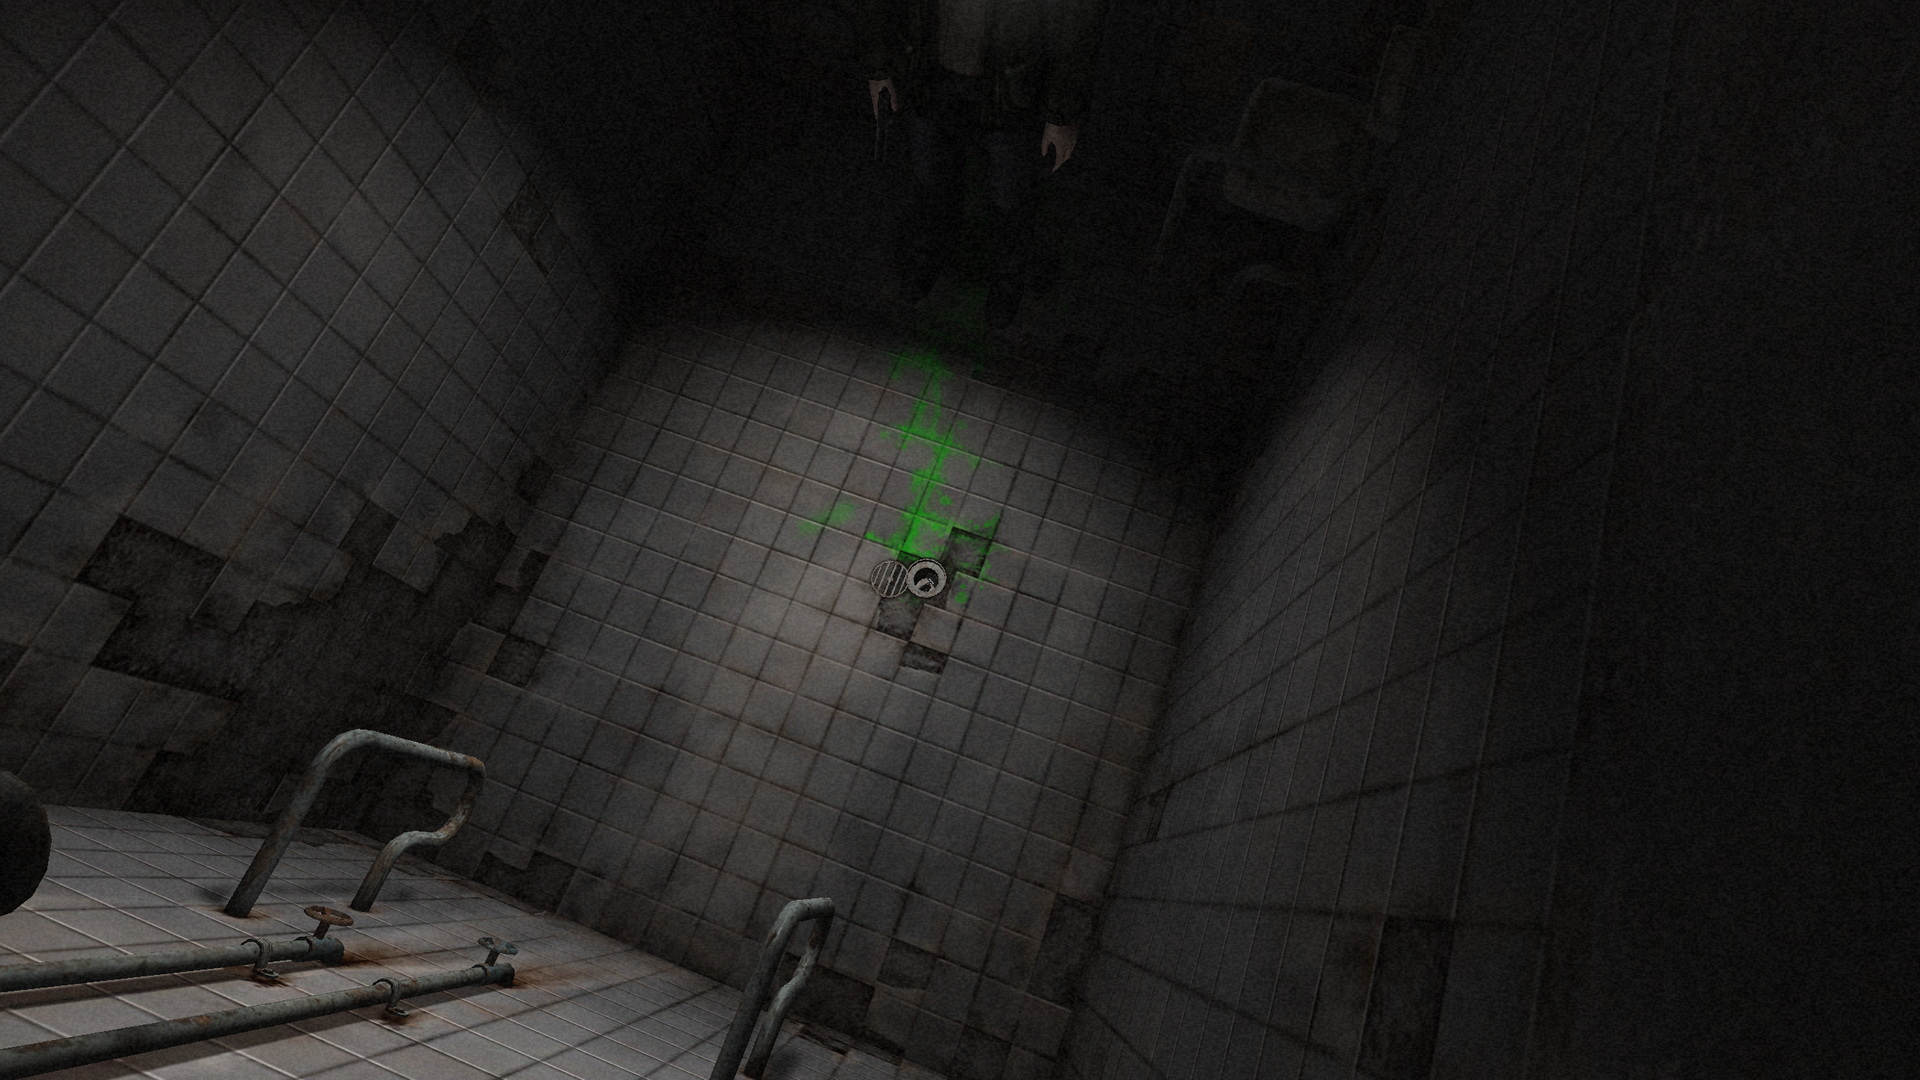
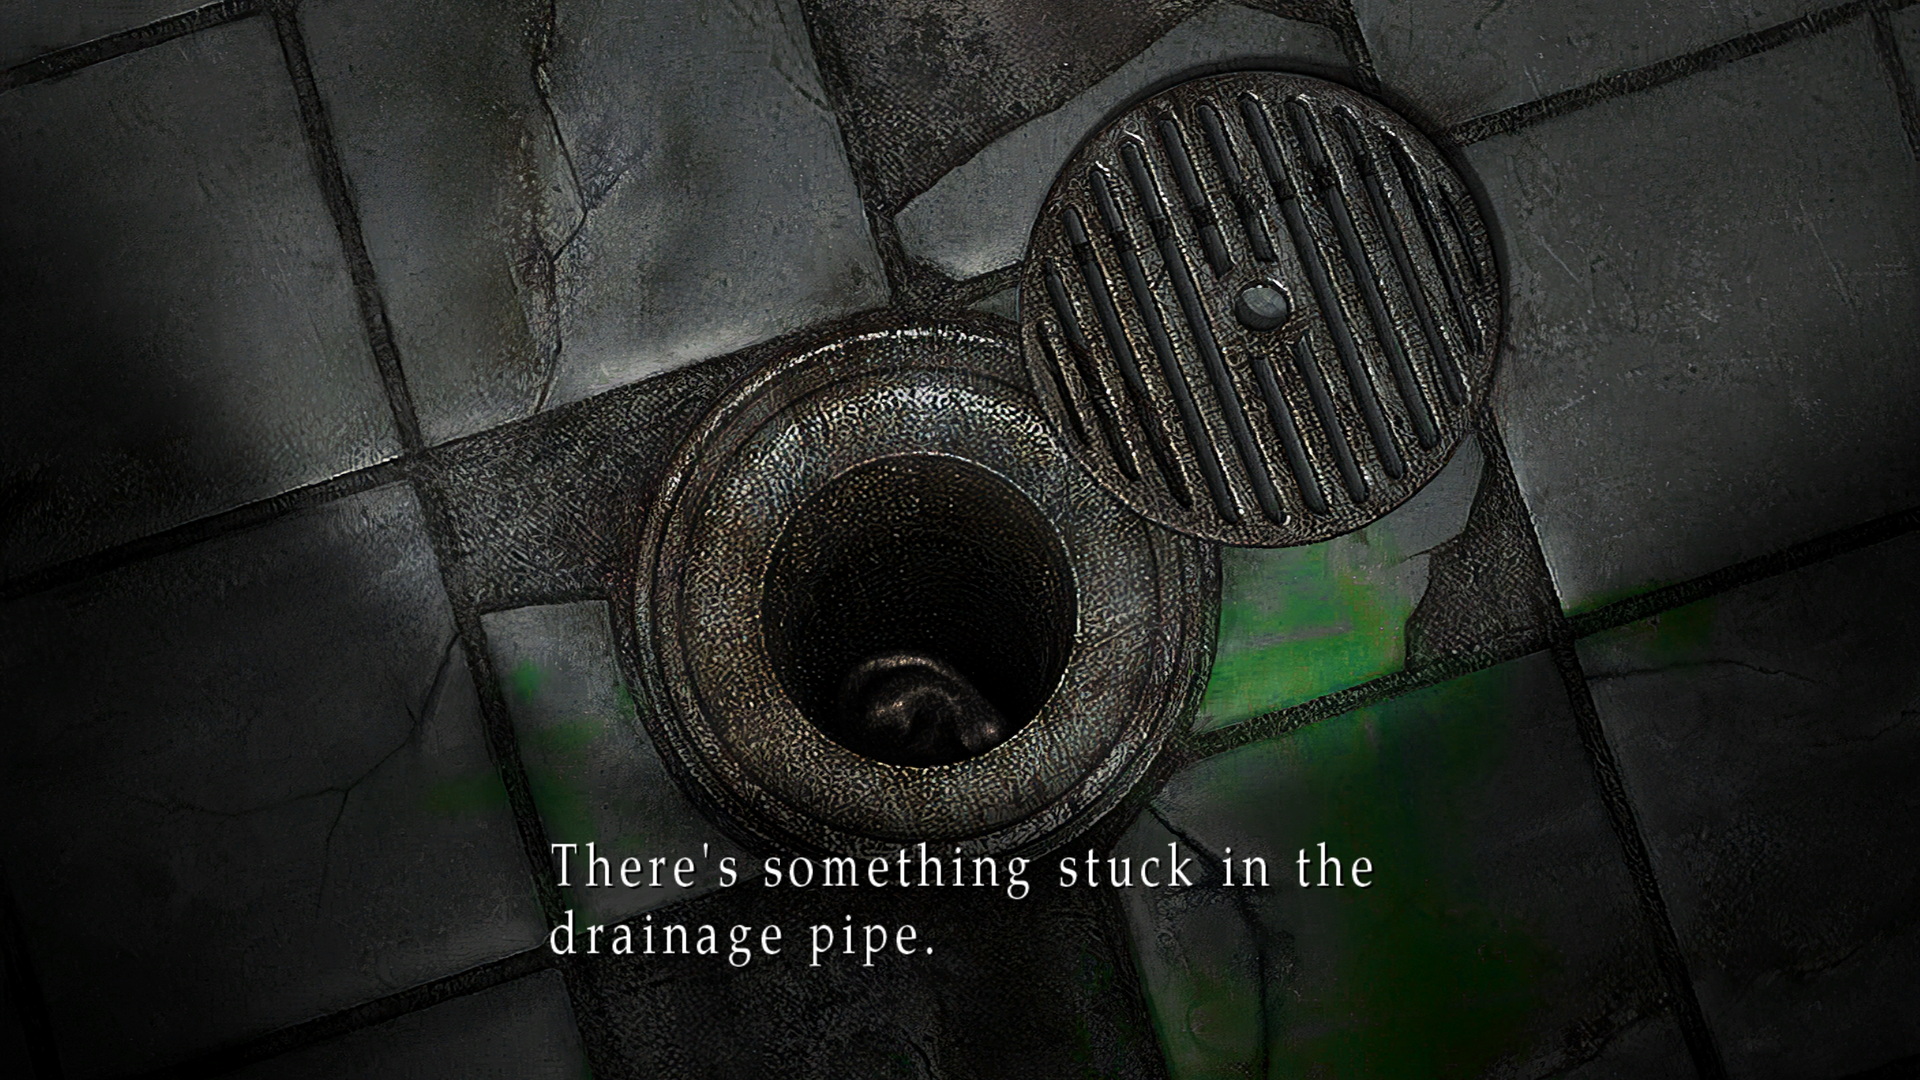
Shower Drain (Brookhaven)Location: Brookhaven Hospital, Shower Room 3F
Standing in front of the drain, combine and use the Bent Needle and Piece of Hair from your inventory to acquire the Elevator Key from the drain. |
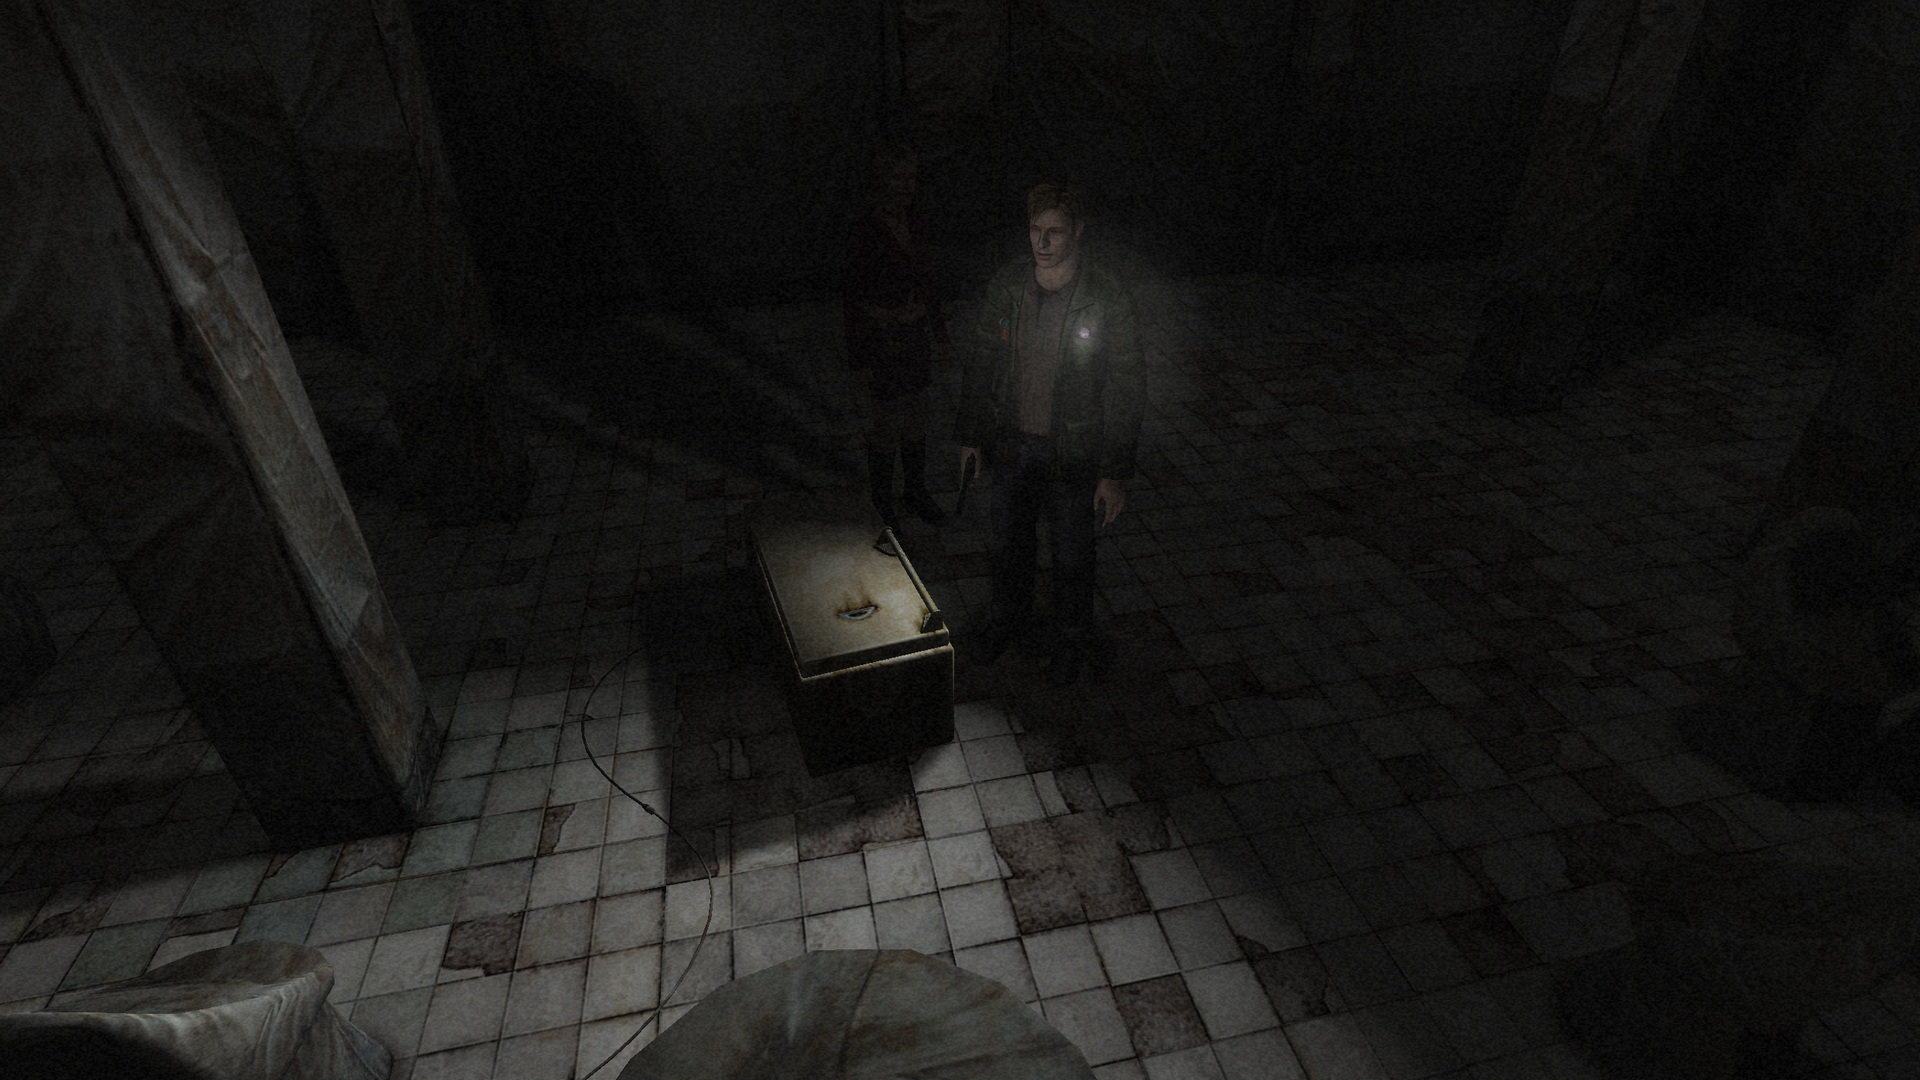
Fallen Fridge (Brookhaven)Location: Brookhaven Hospital, Day Room 2F
|
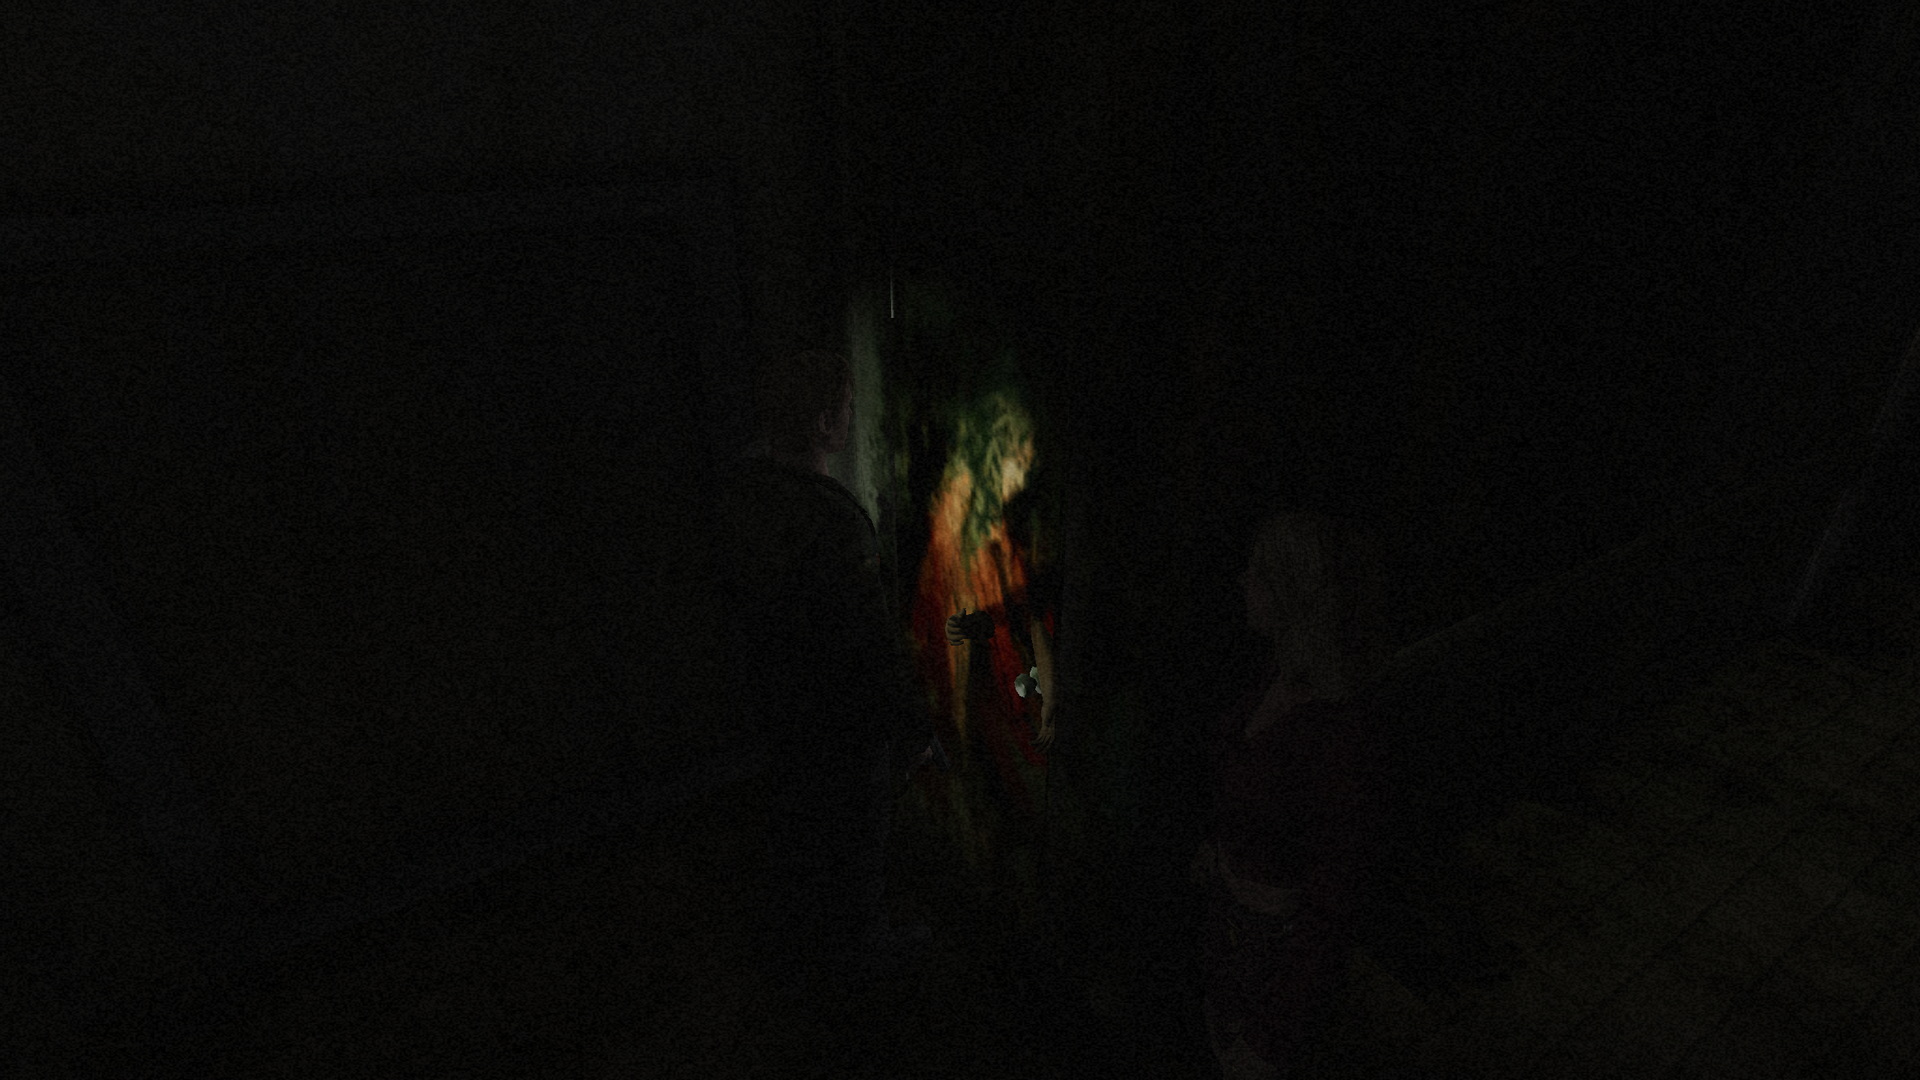
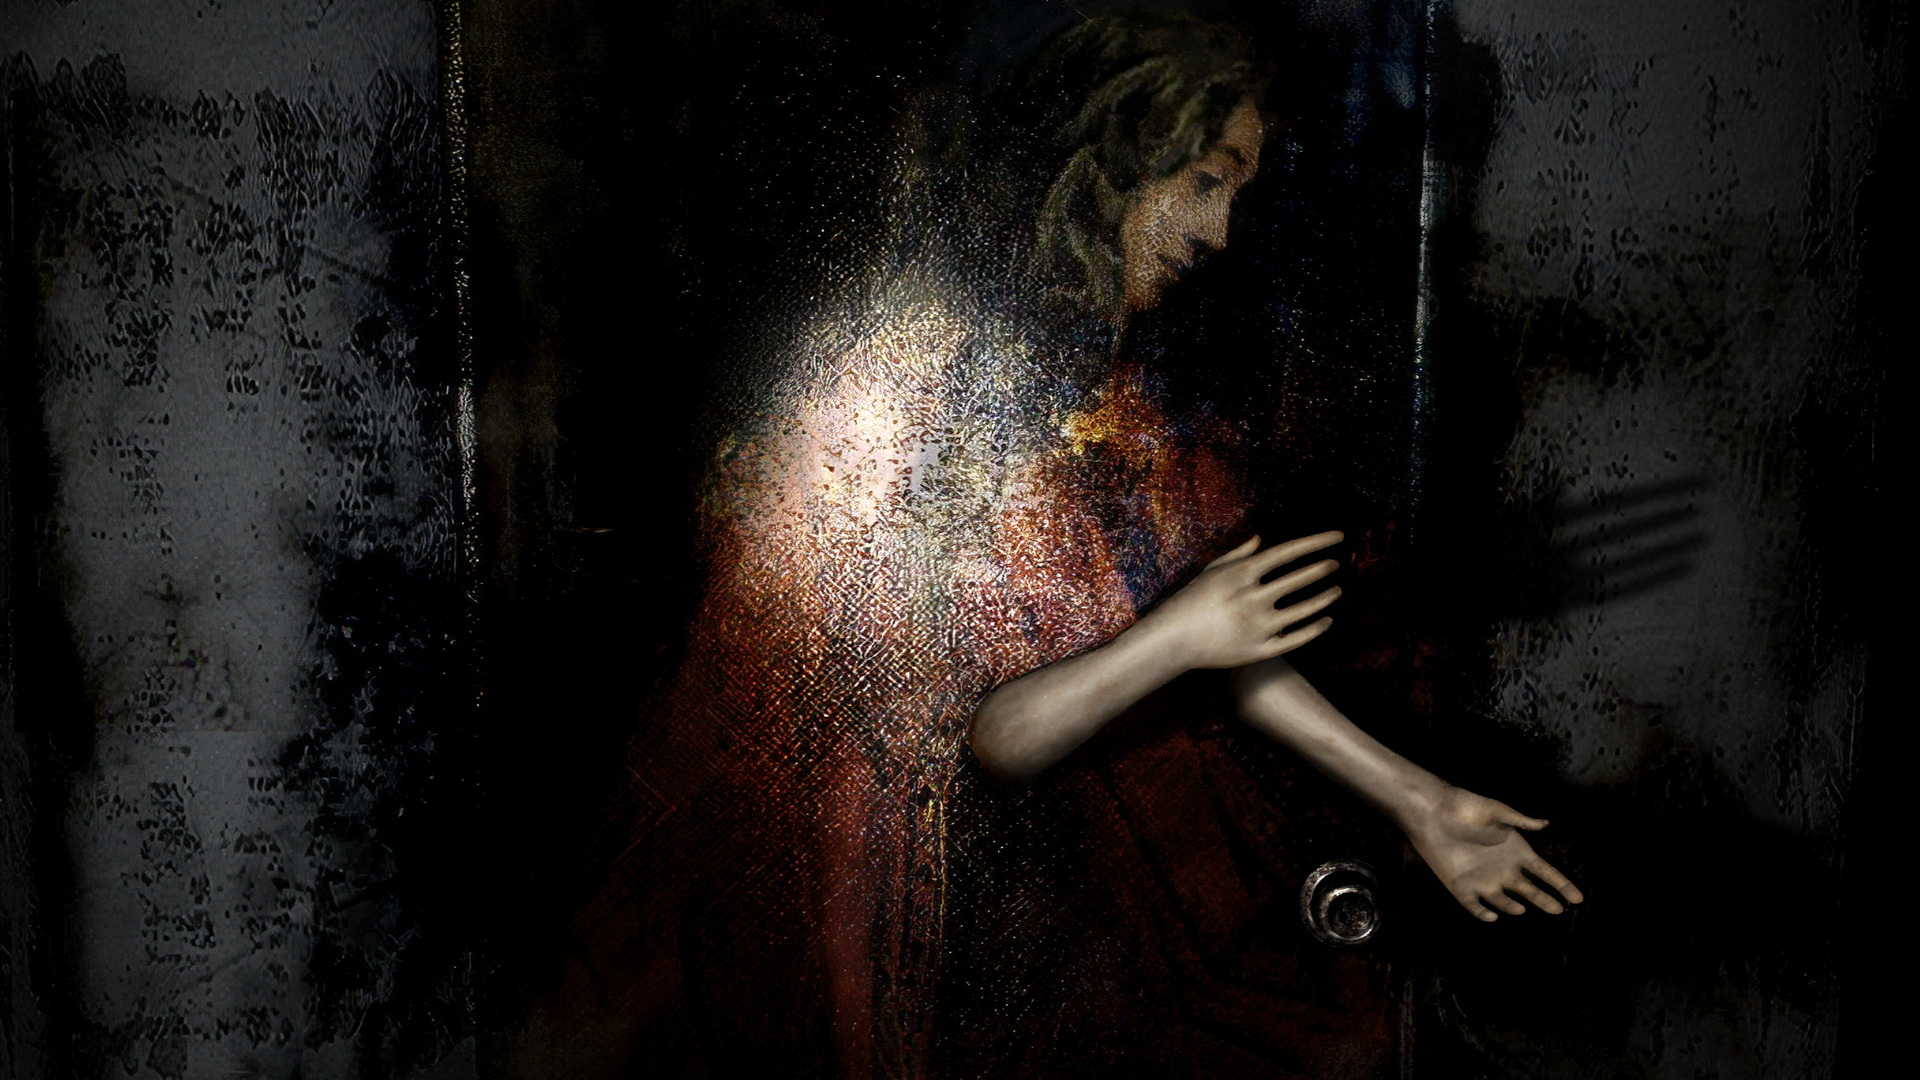
Lady of the Door (Brookhaven)Location: Nightmare Hospital, 3rd Floor
Upon checking the patient wing stairwell door on the third floor, you'll find there's a lady drawn on it who has 3D hands protruding from the door, as if wanting you to use them in some way. Although it's simple enough to just guess what to do here, the only real hint was mentioned in the room S11 memo about the "Lady of the Door", which reads with broken punctuation as follows:
Note the one part, "Like bloated and ugly corpses their sins she devours them". If you examine the two rings you acquired, the lead one has a "disgusting, bloated" face on it while the copper one has a spider, which can also be interpreted as ugly perhaps. And there you go, it's as simple as that. Go ahead and combine and use the Copper Ring and Lead Ring on the door (combining is optional but faster) to unlock it. |
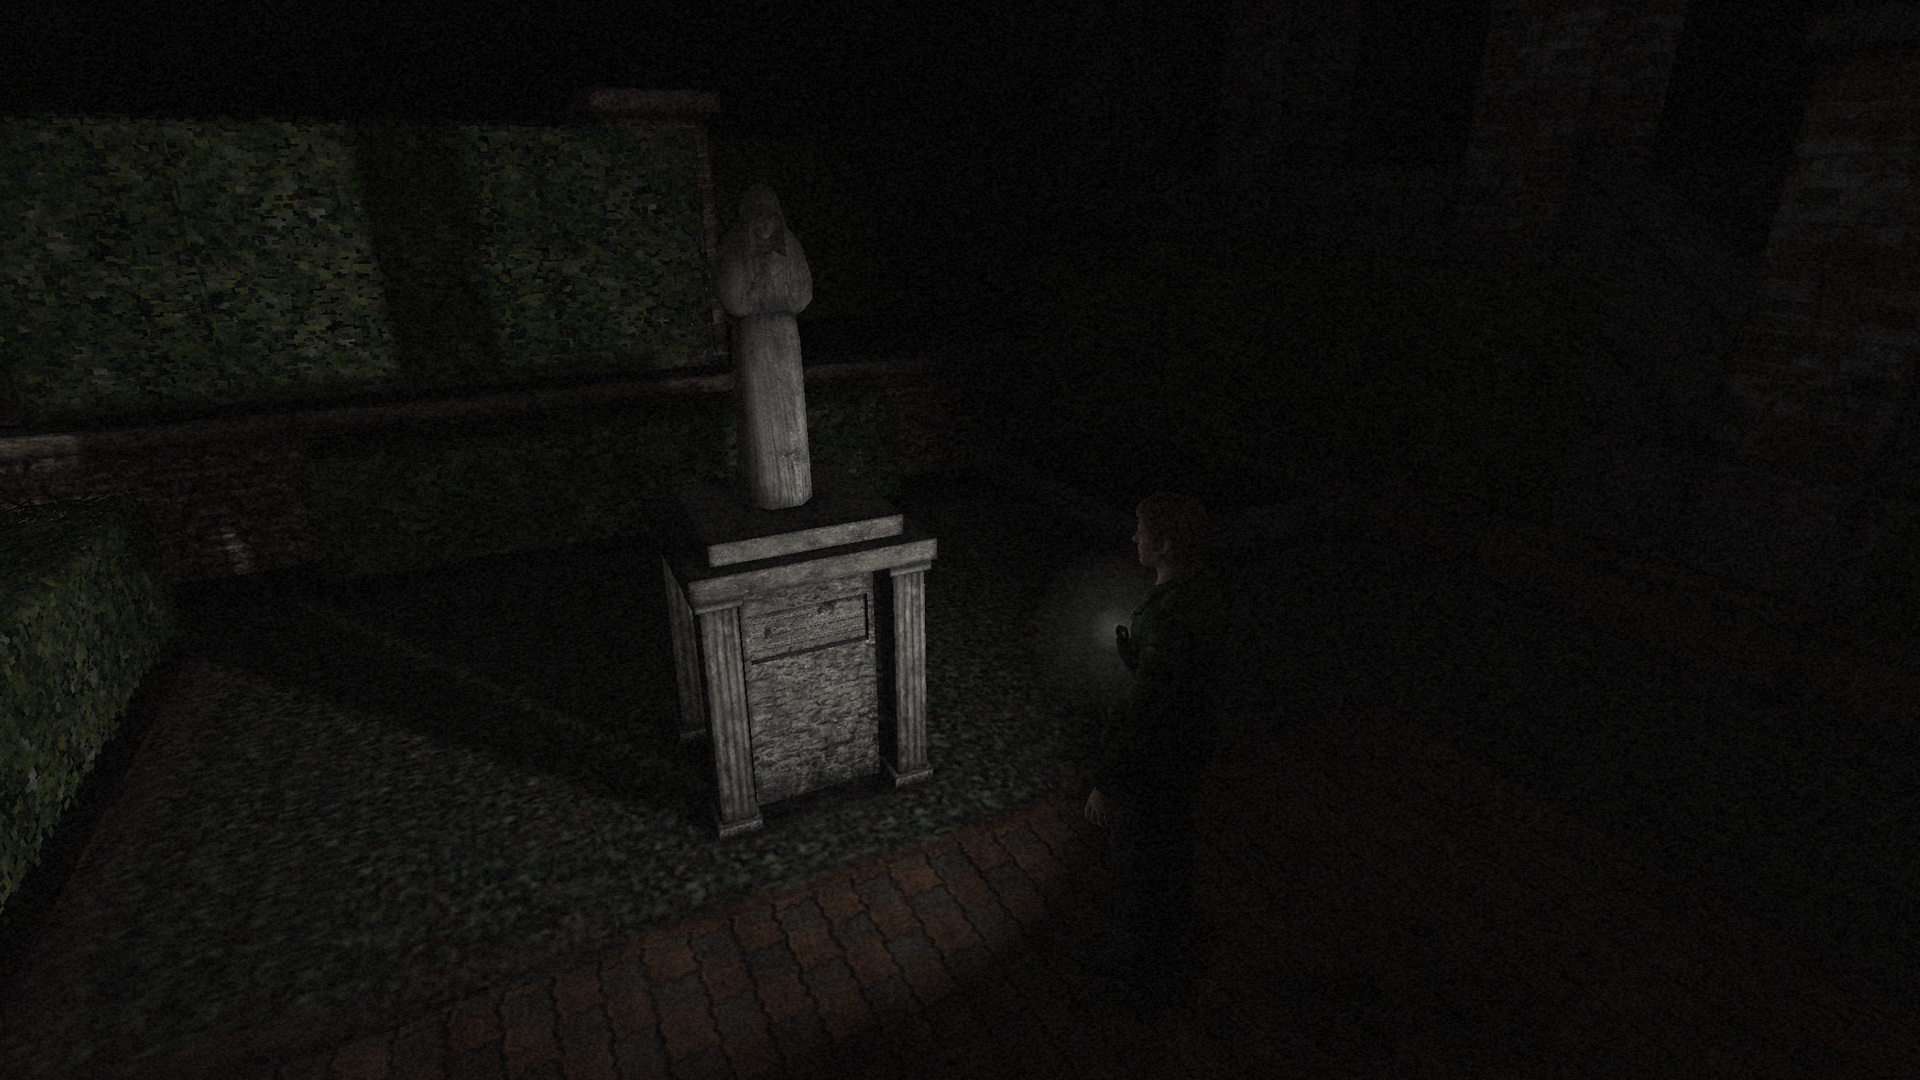
Praying Woman Statue (Rosewater Park)Requires: Wrench: Found on the porch of a house on the west side of Lindsey Street, just north of Gonzale's Mexican Restaurant (during nighttime).
Find the statue at the west side of the park and examine the exposed dirt behind it to dig. Then use the Wrench from your inventory once the tin box has been exposed to acquire the Old Bronze Key inside it. |
Stuck in a Well (Historical Society)
The "different" patch is approximately 135 degrees to the left from the exact spot James faces after standing, or one-quarter turn plus another half-quarter turn. |
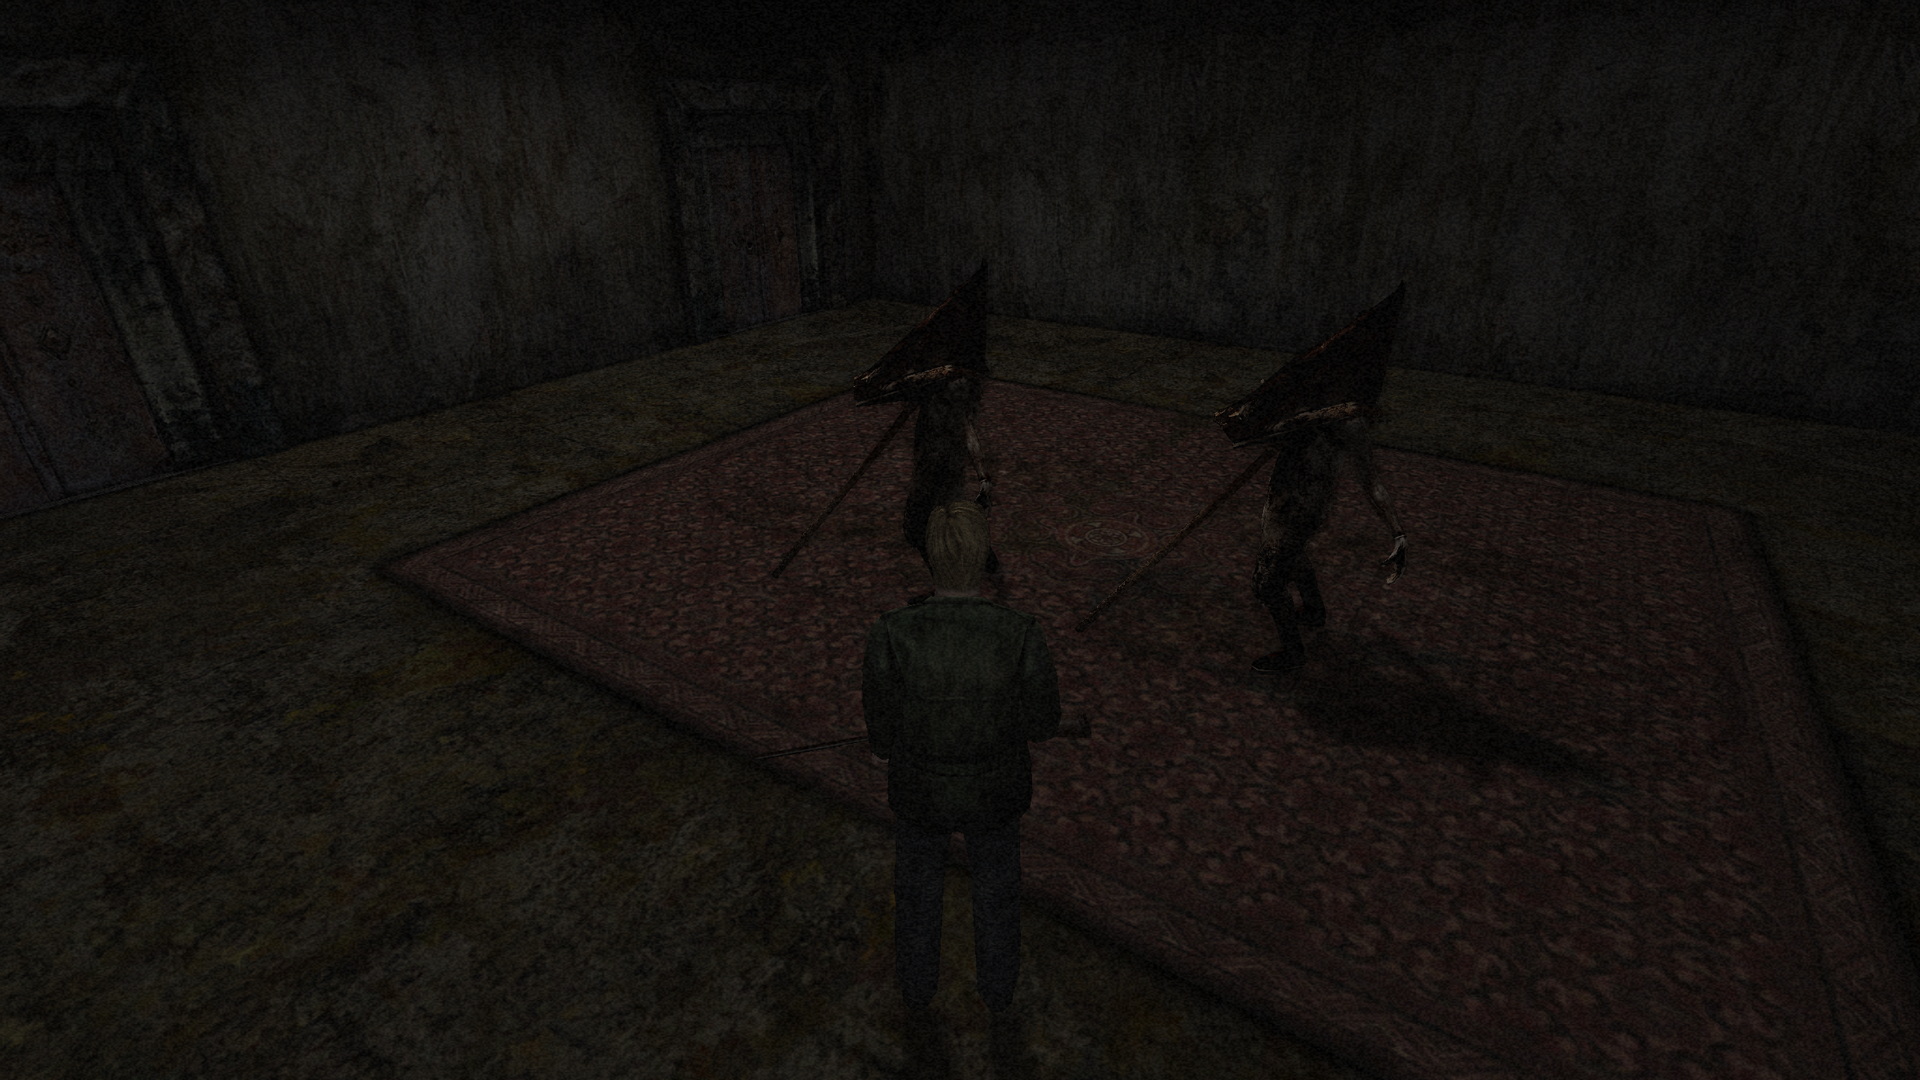
Tablet Scaffold (Toluca Prison)Location: Toluca Prison, Courtyard
In the eerie courtyard you'll find a scaffold with three square depressions and illustrations of two Pyramid Heads involved in an execution. An inscription reads:
Simply put, just insert the three tablets, Tablet of "Gluttonous Pig", Tablet of "The Seductress" and Tablet of "The Opressor", in any order. Combine and use them all at once for the quickest resolution. Once inserted you'll hear a scream. Turn back and you'll find a Horseshoe on the courtyard door handle. |
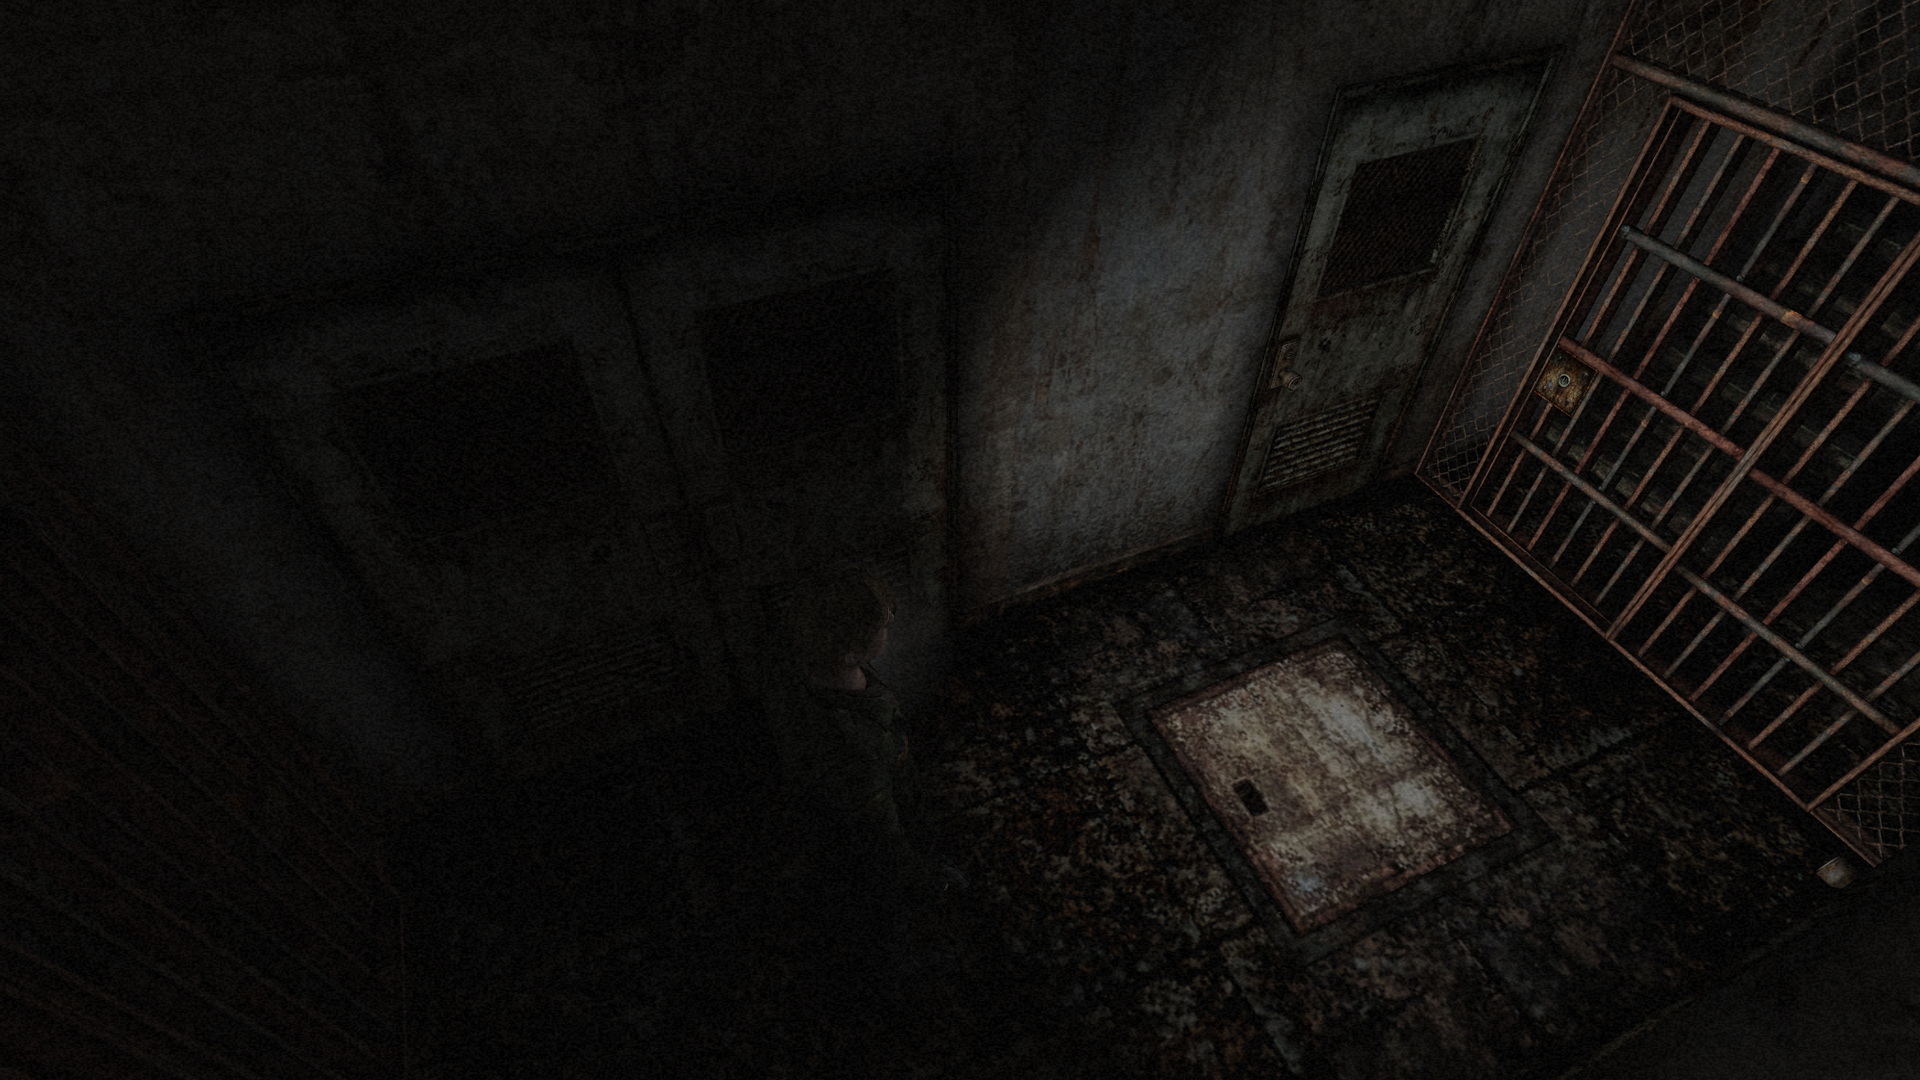
Floor Hatch (Toluca Prison)Location: Toluca Prison, Northwest Corridor
On the other side of the gate in the northwest corridor you'll find a floor hatch with no handle, so you'll need to make your own. To do this, combine and use the Wax Doll, Horseshoe and Lighter. James will place the Horseshoe in the empty slot, then use the Lighter to melt the Wax Doll in that slot and allow it to harden and hold it in place. Now you can access the prison basement through the hatch. |
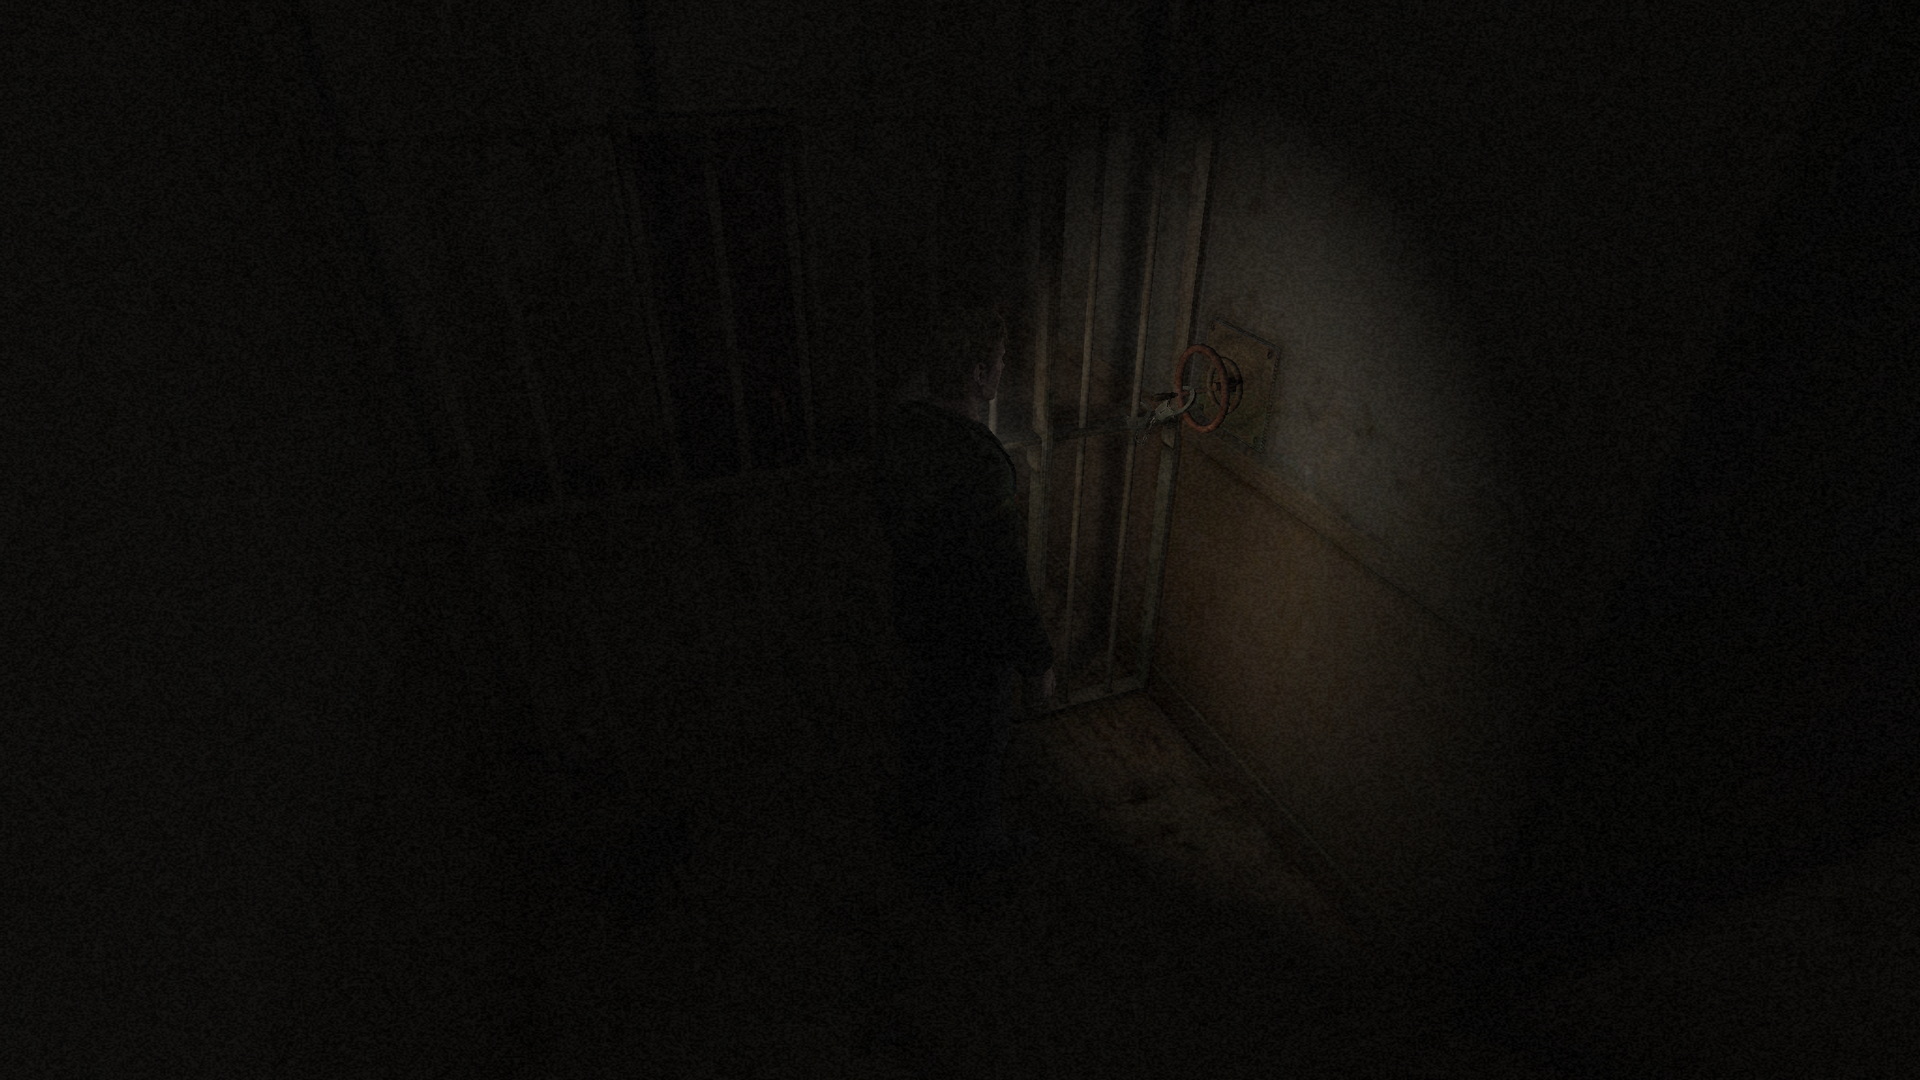
Wire Door (Labyrinth)Location: Labyrinth, Across From Entrance
After entering the Labyrinth you'll find a series of wires blocking the doorway ahead of you. You must simply locate and use the Wire Cutter (above) to cut the wires and pass through. |
Handcuffed Gate (Labyrinth)Requires: Key of the Persecuted: On the floor in the place of the wrongly accused man in the corpse room, after solving the Free the Innocent Man puzzle.
Once you find the handcuffed gate blocking the hallway after the Free the Innocent Man puzzle, simply use the Key of the Persecuted you just acquired to open it. |

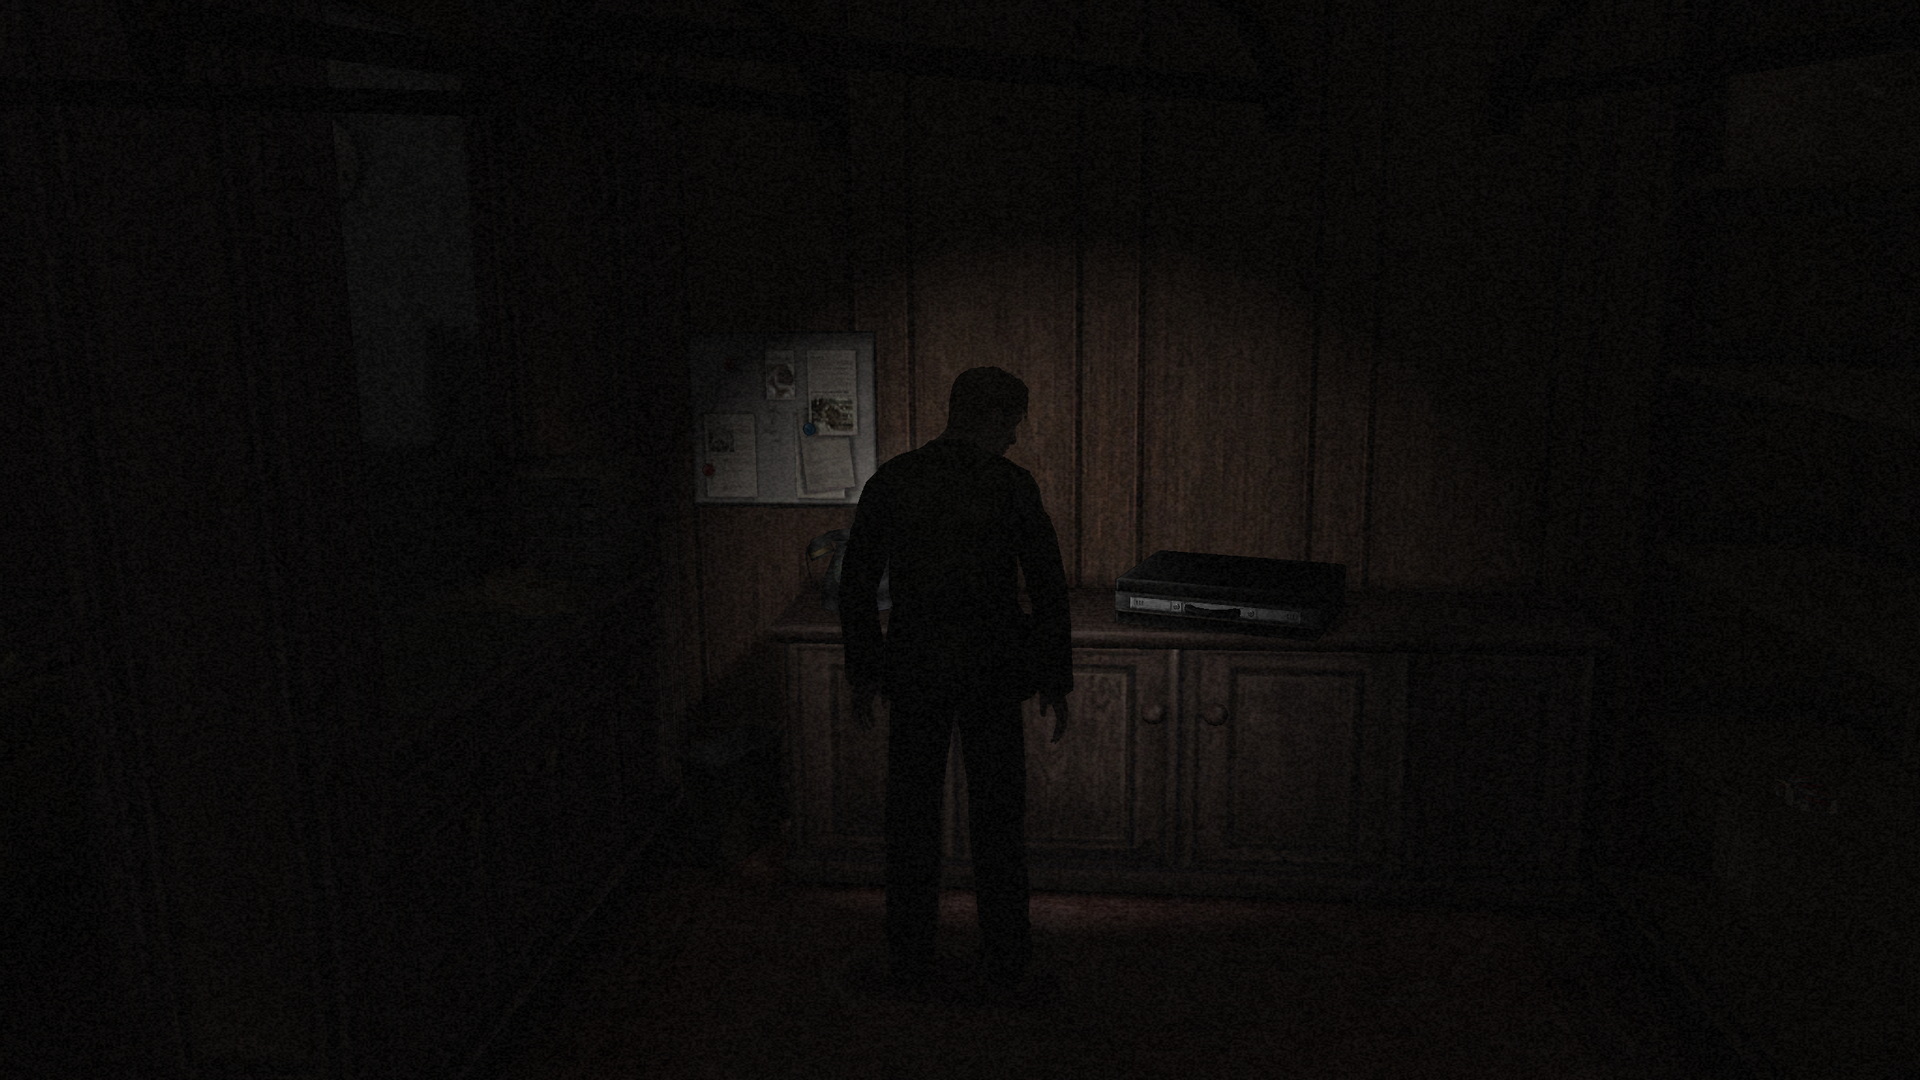
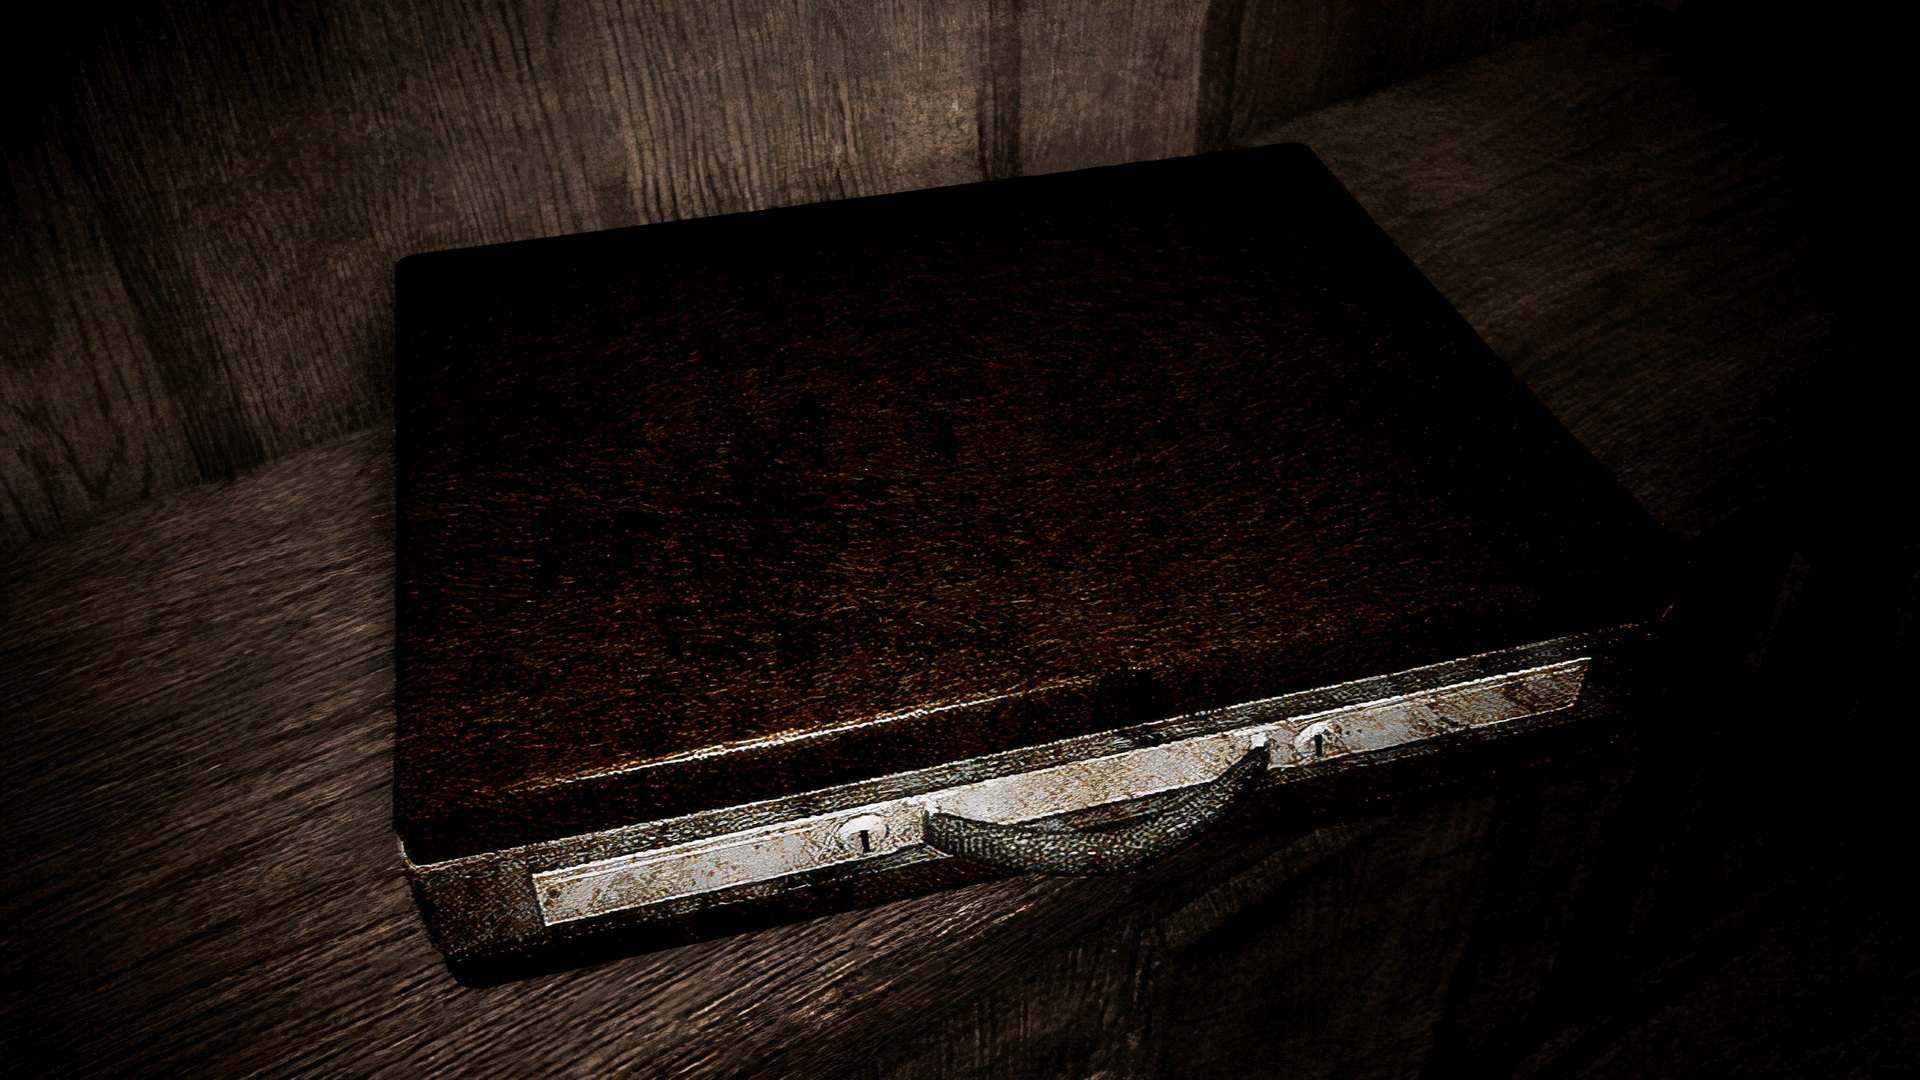
Cloakroom Briefcase (Lake View)Location: Lake View Hotel, Cloakroom 2F
Inside the Cloakroom you will find a locked briefcase on the counter. Simply use the "Fish" Key from your inventory to unlock it and get the Key to Room 204 inside. |
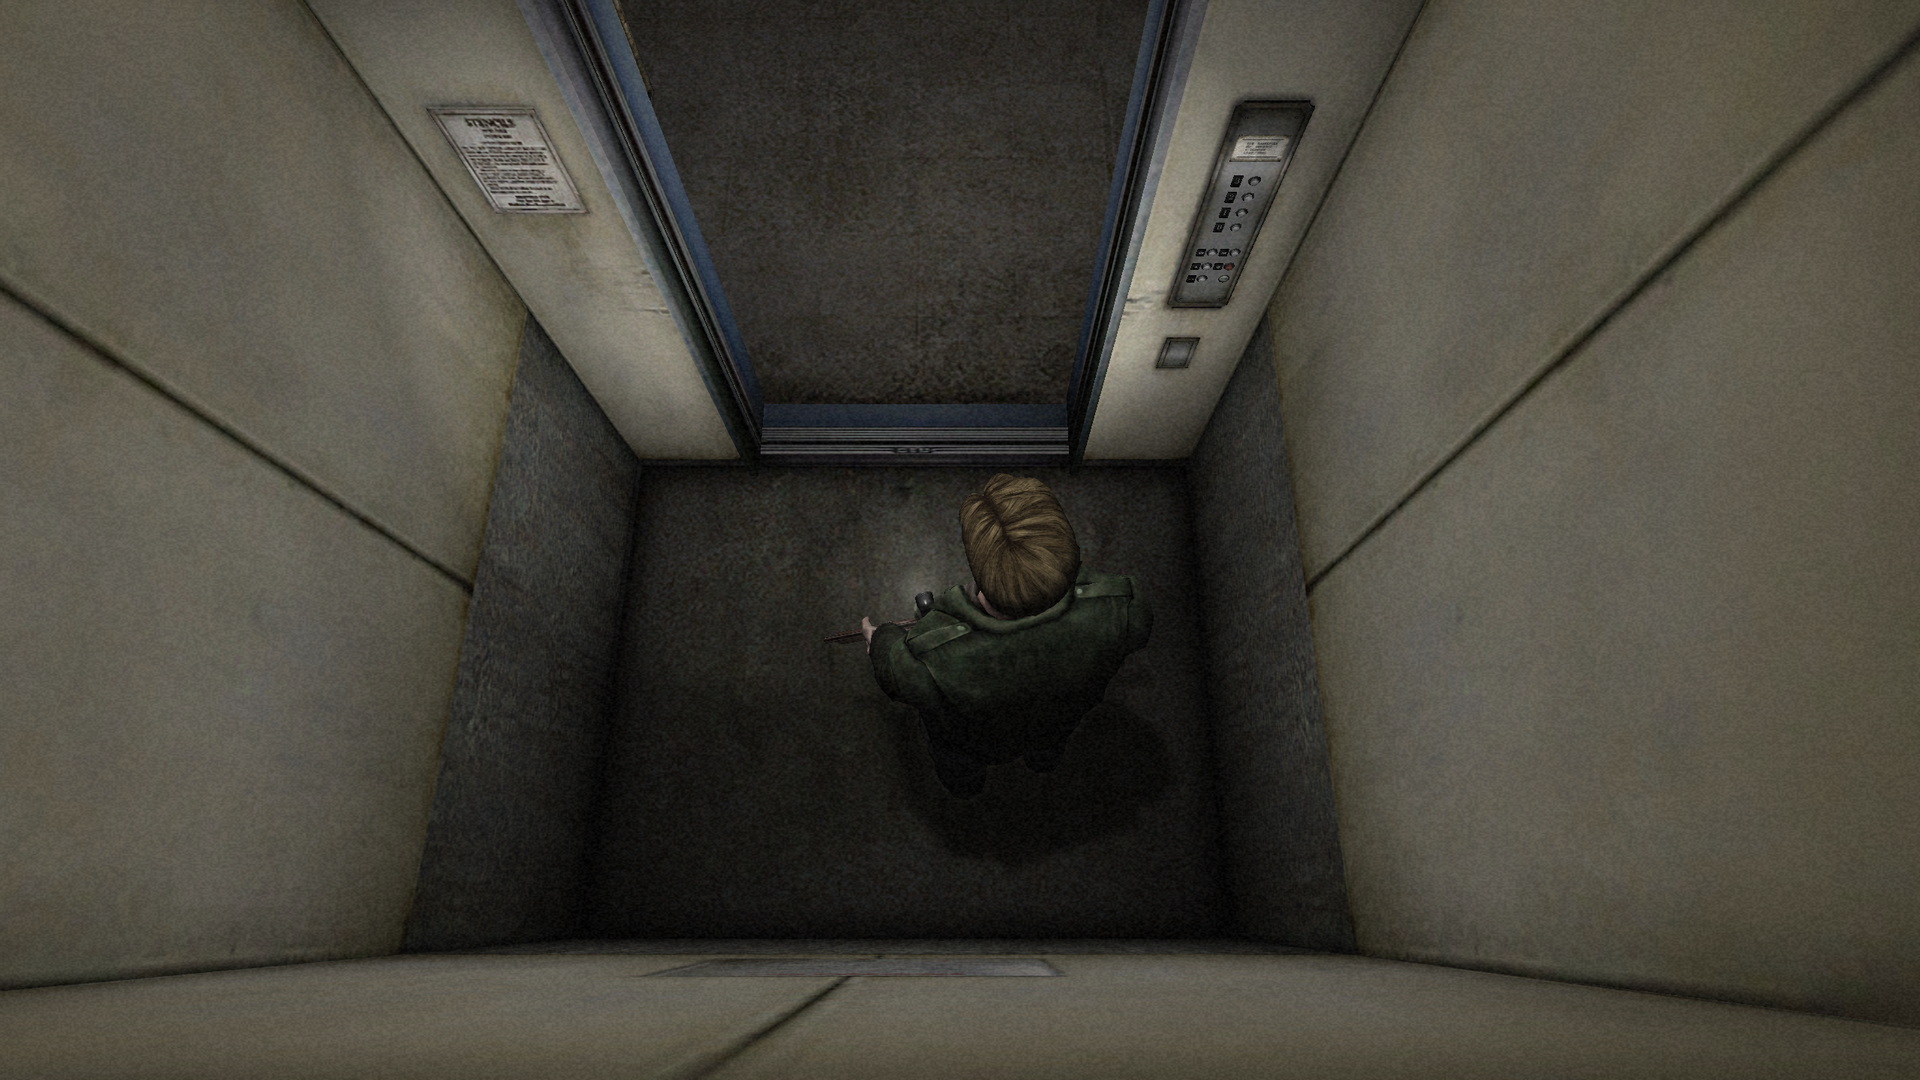
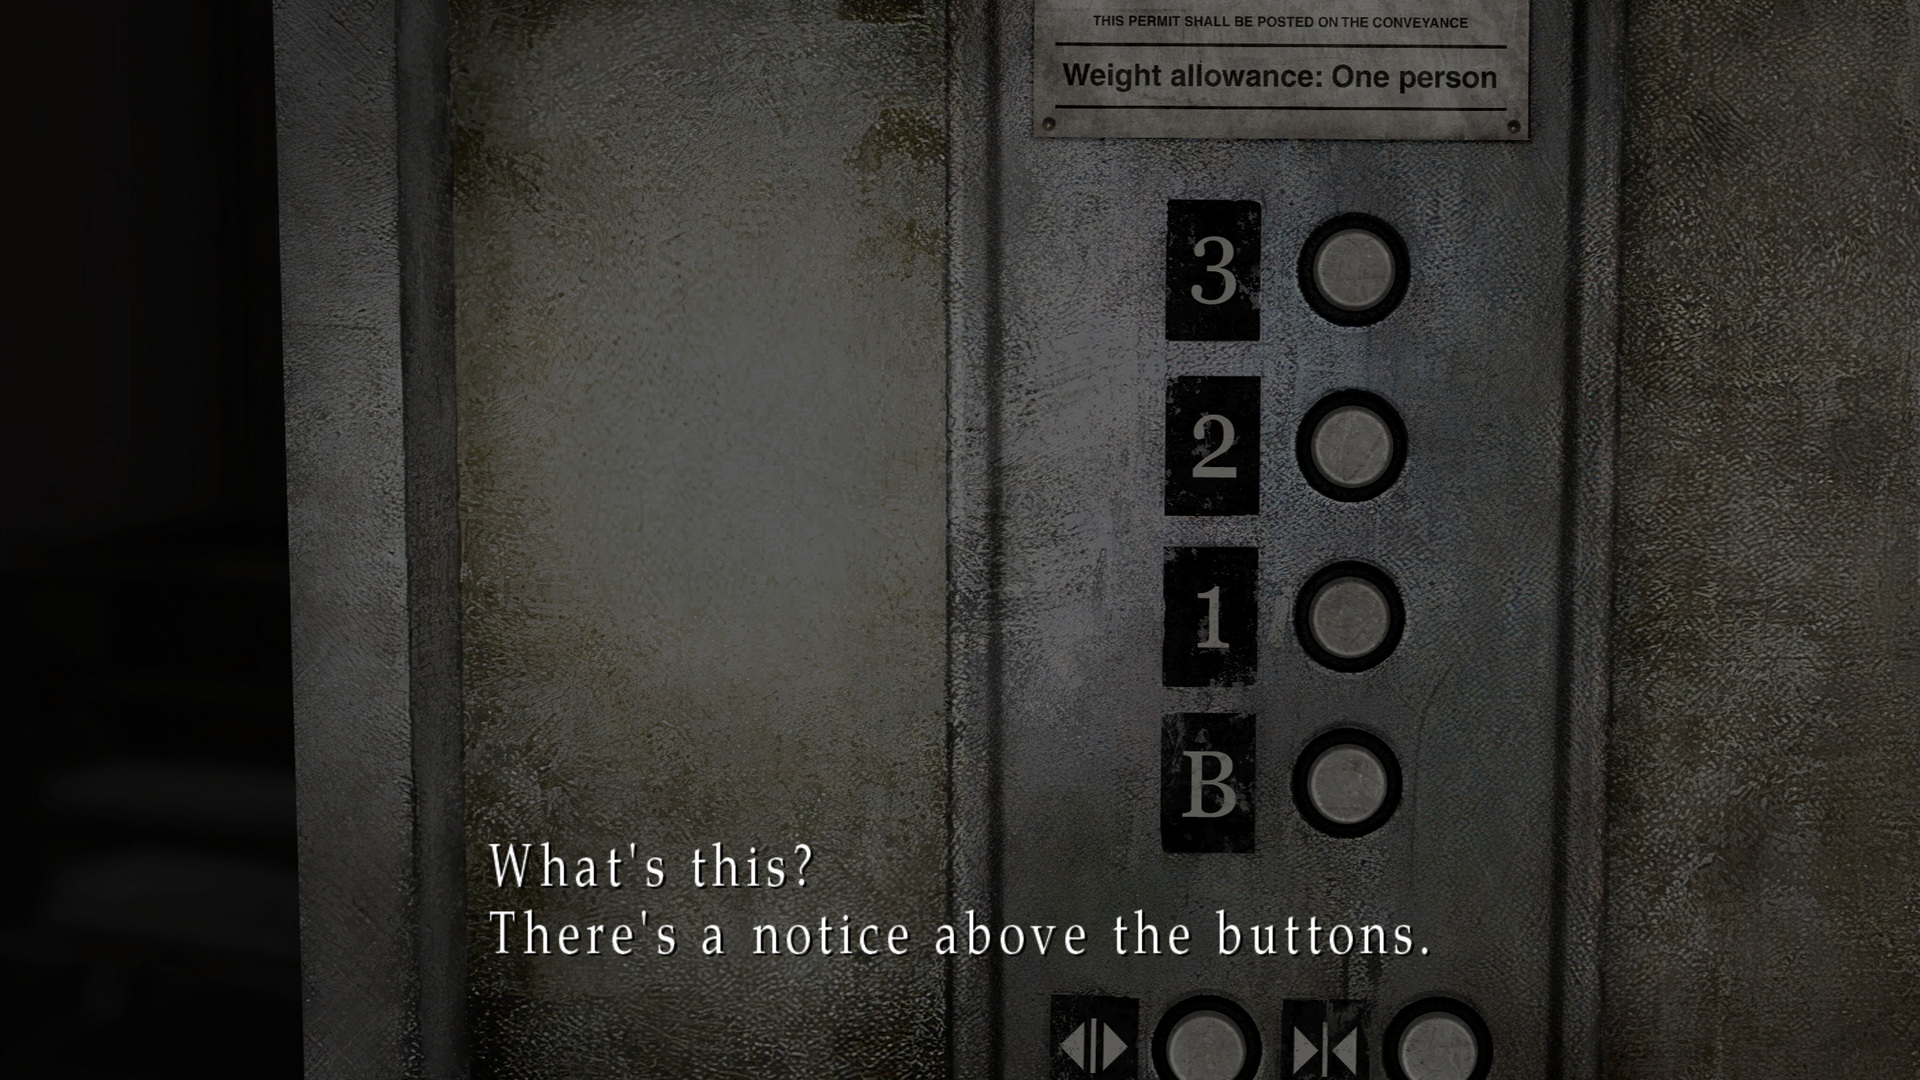
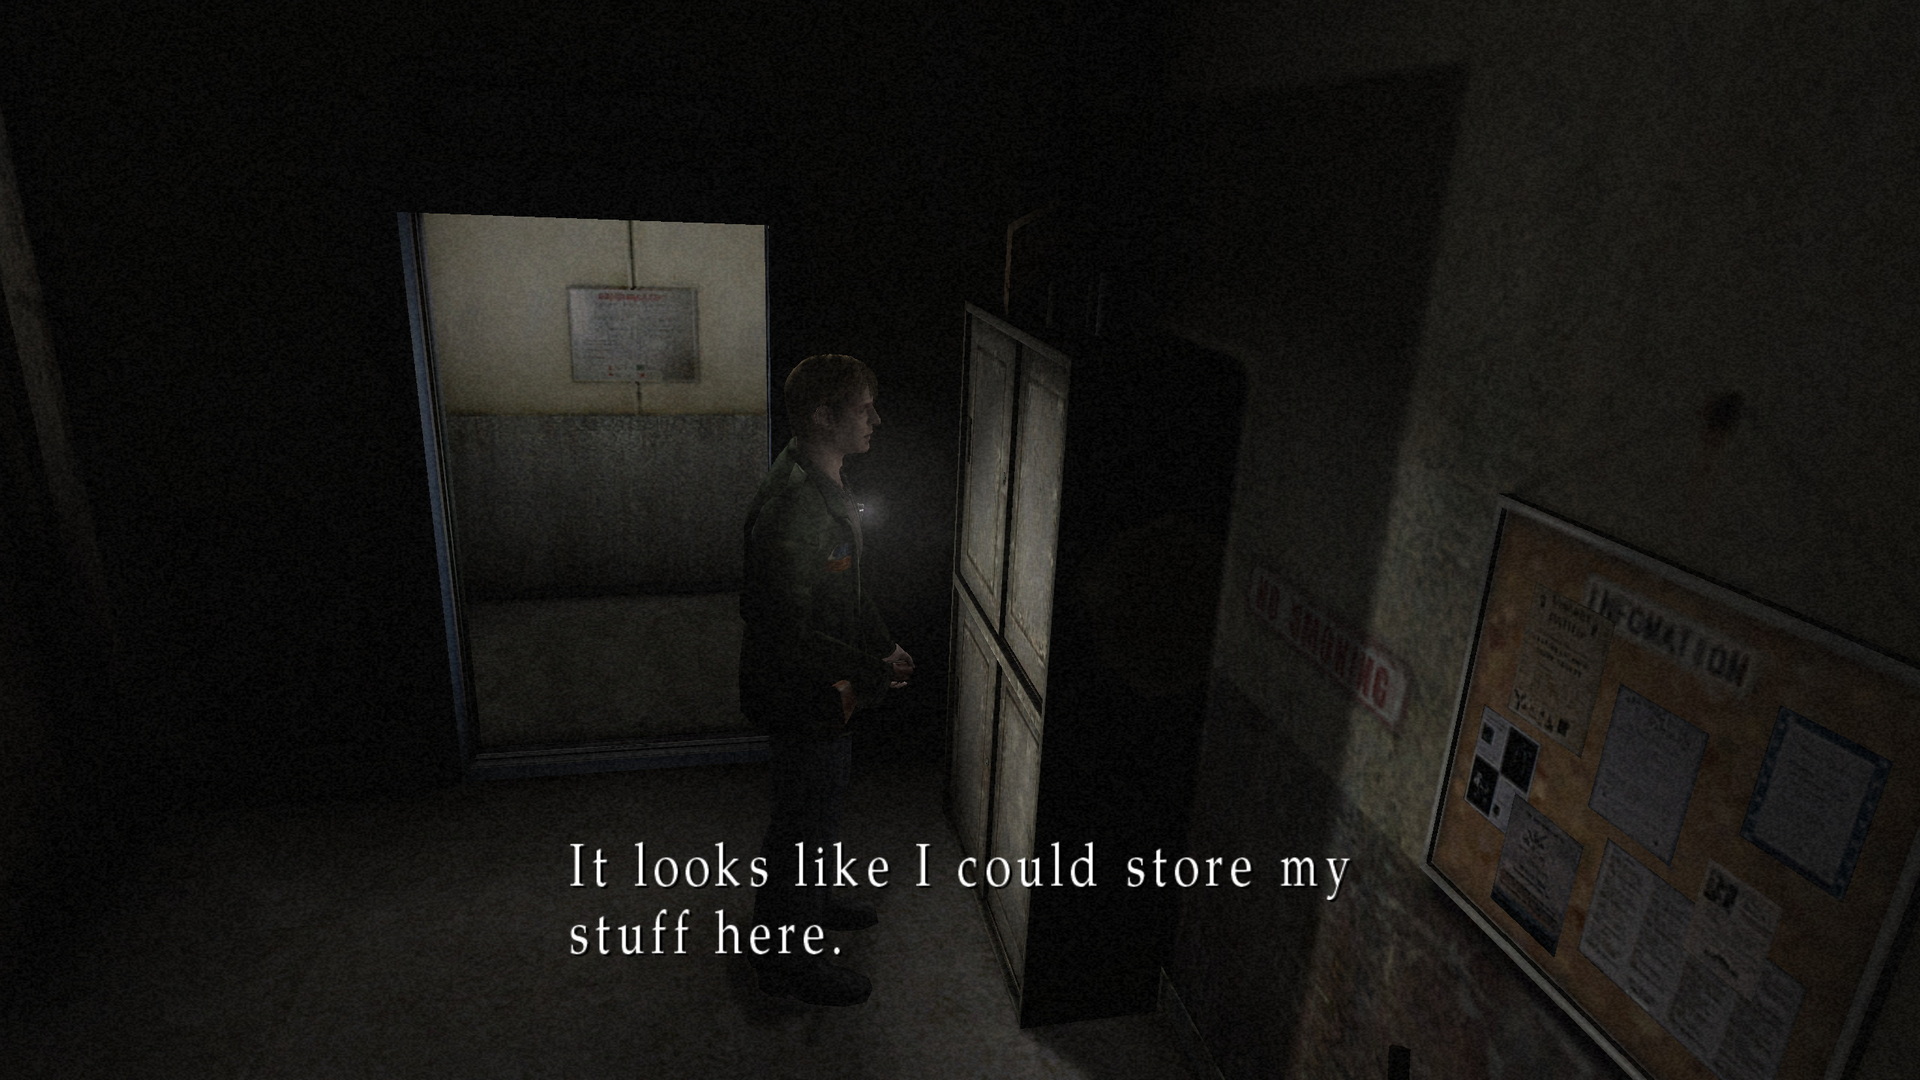
Employee Elevator (Lake View)Location: Lake View Hotel, Employee Elevator Room
Inside the Employee Elevator Room, enter the open elevator and an alarm will sound. Check the panel and James will find a note saying the weight allowance is one person. Now examine the shelf in the room and place all your items on it. Remember, you must read the weight allowance note in the elevator before you can use the shelf. Now re-enter the elevator and use it to descend to the employee-only section of the first floor. |
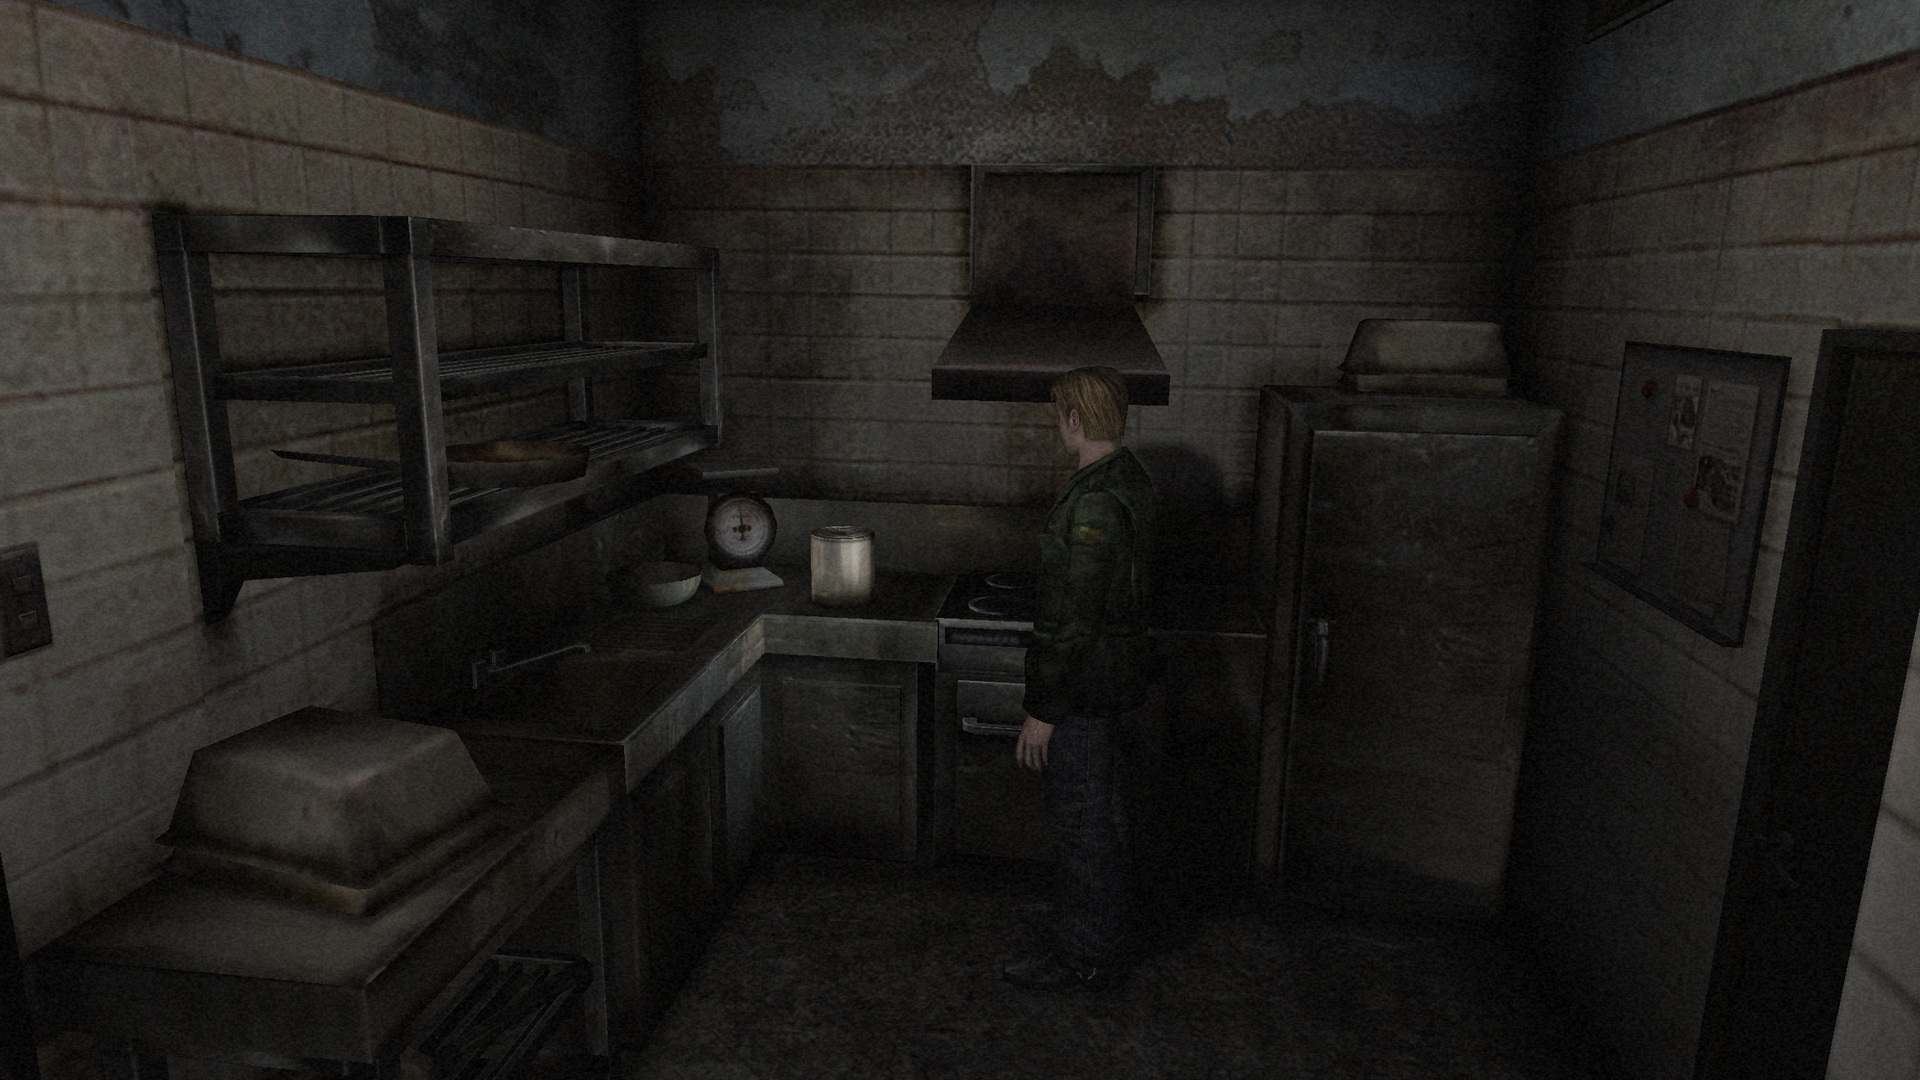
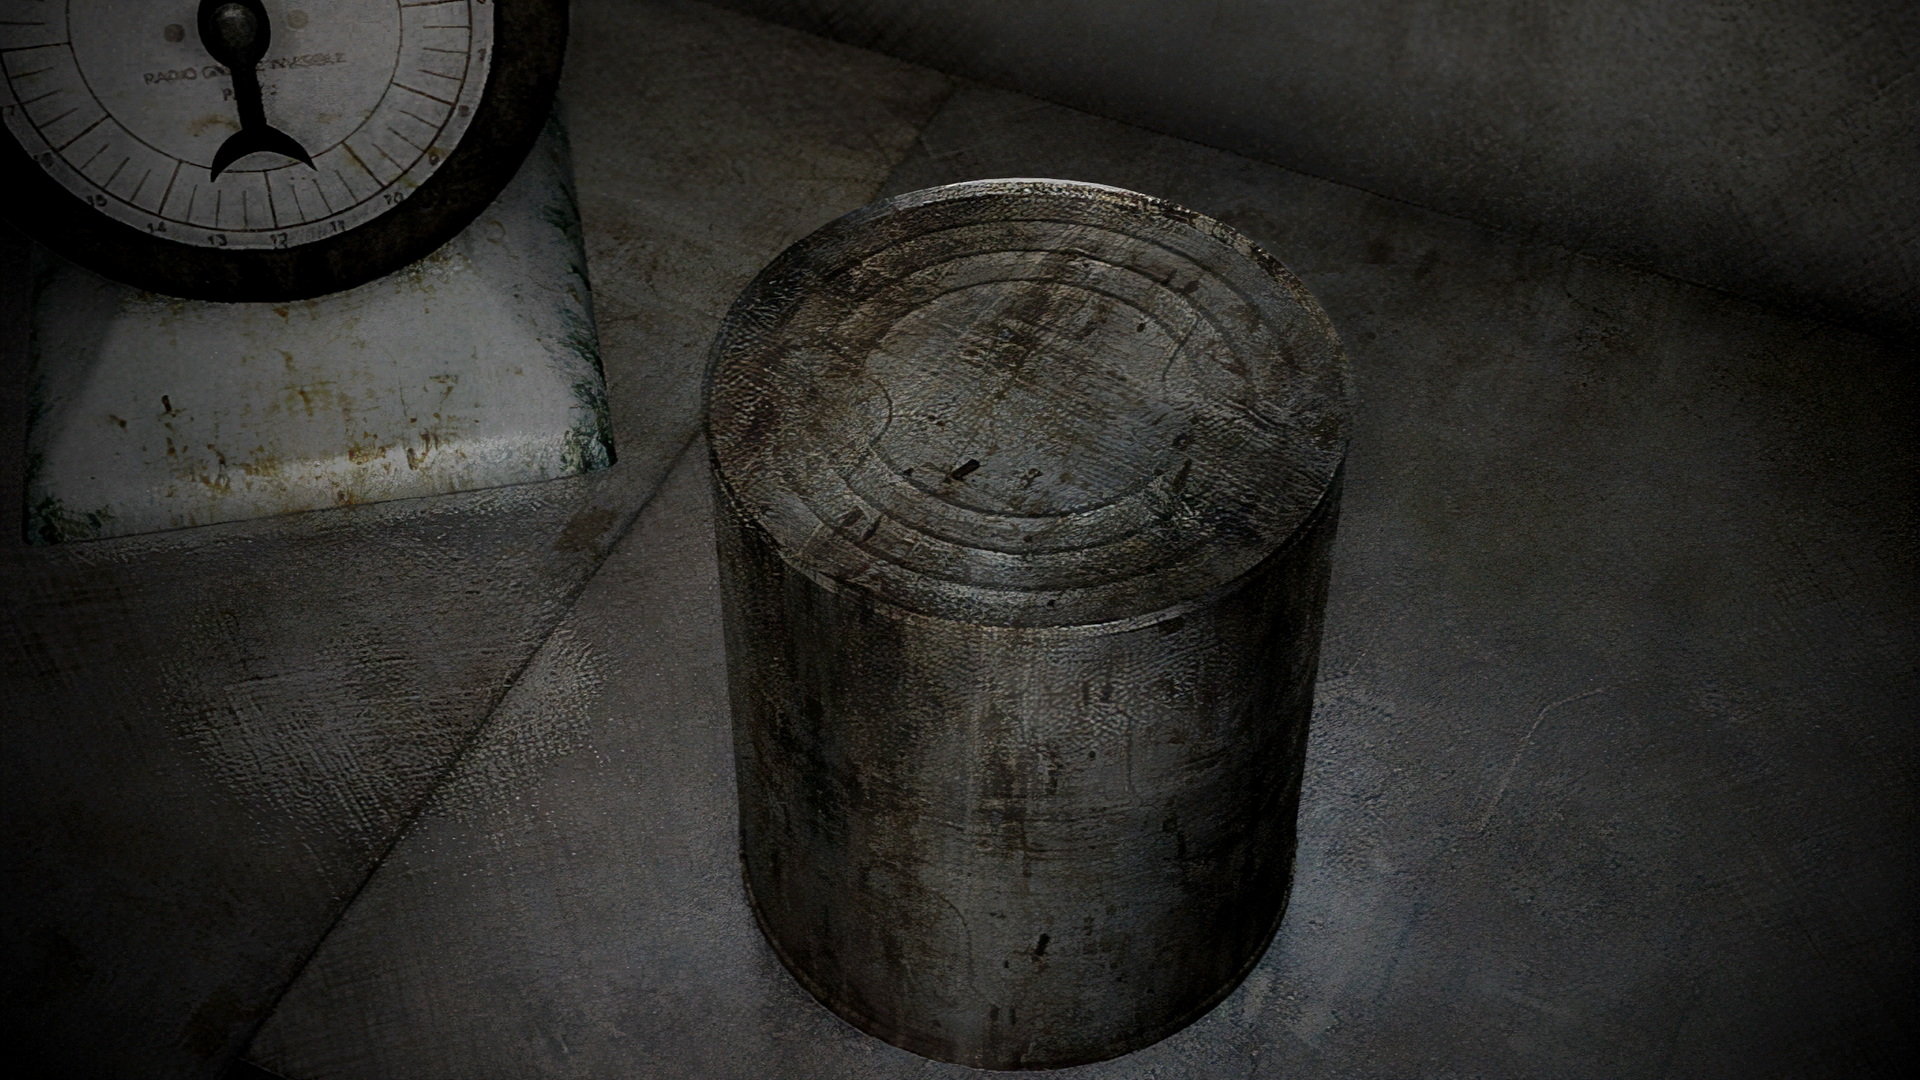
Tin Can (Lake View)Location: Lake View Hotel, Kitchen BF
Inside the basement Kitchen you'll find a large tin can on the counter. Use the Can Opener to open it and take a Light Bulb from inside. |
Venus Tears Bar Exit (Lake View)Location: Lake View Hotel, "Venus Tears" Bar BF
|

Hotel Warp Hallway (Lake View)Location: Nightmare Hotel, 2nd Floor
The idea here is to get to the east corridor of this floor, which is inaccessible through normal methods. The only door that will warp you there from this corridor is 202. So attempt to enter 202 to warp over to the east wing in front of 219. No rooms are actually open here and some will just warp you back, so don't bother with any more room doors. Instead, continue along to the mideast corridor to access the elevator. |
Pyramid Head Eggs (Lake View)Location: Nightmare Hotel, Lobby
|
Born from a Wish
Attic Light Source (Baldwin Mansion)Location: Baldwin Mansion, Attic
|
| by Andrew Haffenden aka Conquerer (Silent Hill 2 Puzzle Guide) |