Memos
During the game you will find several documents and notes of different kinds lying around, which are generally all attributed as "memos". Once found, these memos can be referenced in the Memo section of your inventory.
Keep in mind that you will also find several notes of minor importance which do not appear in that menu. This section contains each and every memo found in the game in addition to all these minor notes, listed below in each category.
This is a list of memos for the original Silent Hill 2. For the Silent Hill 2 Remake (2024) memos, please go to this page.
Contents
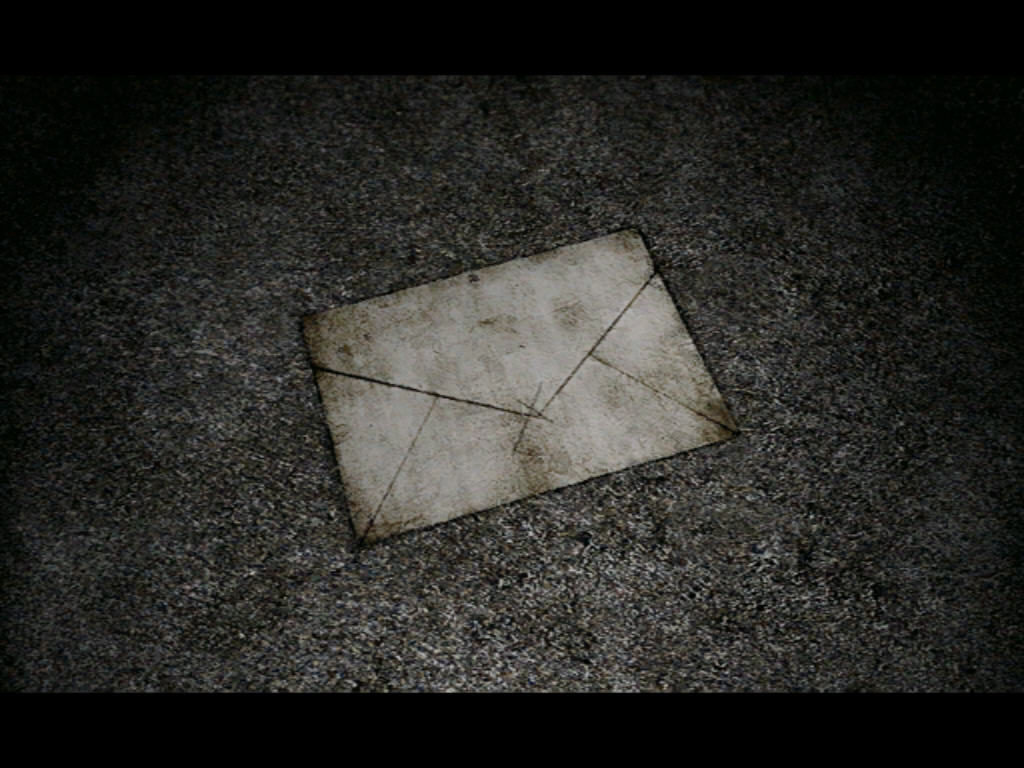
Letter from Silent Heaven
Memos
• Swamp Monument
• Memo next to corpse #1
• Memo next to corpse #2
• Memo next to corpse #3
• Memo next to corpse #4
• Memo next to corpse #5
• Memo next to corpse #6
• Newspaper from shop window
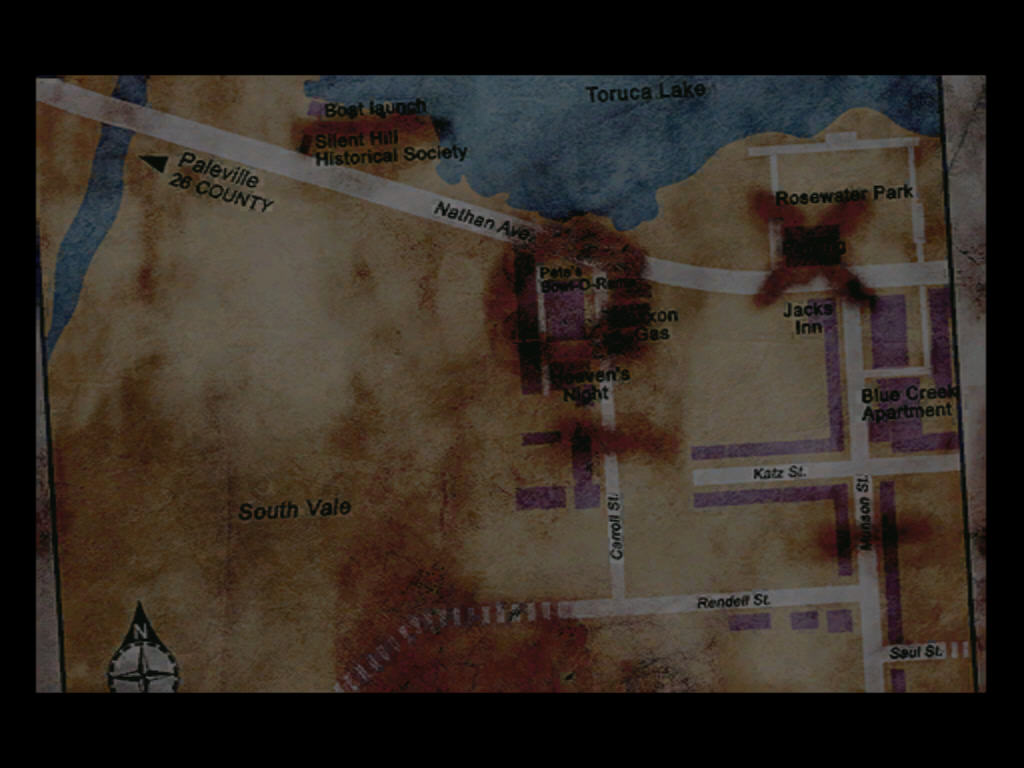
• Map found on bar
• Wall scratches
• "Three different sizes, time on the run."
• "Three needles stand of three different heights."
• Article about murder incident
• Sightseeing brochure
• Wallet in toilet bowl
• "Dear Tim"
• "To the right is the lady."
• "Three bright coins in five holes be"
• "First lies the seat of He"
• "Like coins in the hazy aether tossed"
• Map found near bridge
• Patient record
• Doctor's journal
• Number written on the whiteboard
• Whiteboard graffiti
• Imprint on carbon paper
• "Louise"
• Diary from roof
• "Tern tern tern the numbers"
• "The basement's basement."
• "She is an angel"
• "I took the direckters's key"
• "There's a letter and a wrench."
• "The key is in the park."
• Words written on the wall.
• Pyramid Head painting
• "Waterfront landscape"
• Painting 1, from cell.
• Painting 2, from cell.
• Painting 3, from cell.
• Inscription on gallows
• Legend of the Lake
• Prison guard's diary
• Blood-soaked newspaper
• "Please someone save me"
• "Dead men, dead men "
• Condemned man's diary
• "Death upon the head of the sinner"
• Receptionist memo
• Photos from trunk
Extra Memos
• "The Road to Tomorrow"
• "How to be a Happy Couple"
• "Choosing Death"
Item Memos
• Letter from Mary
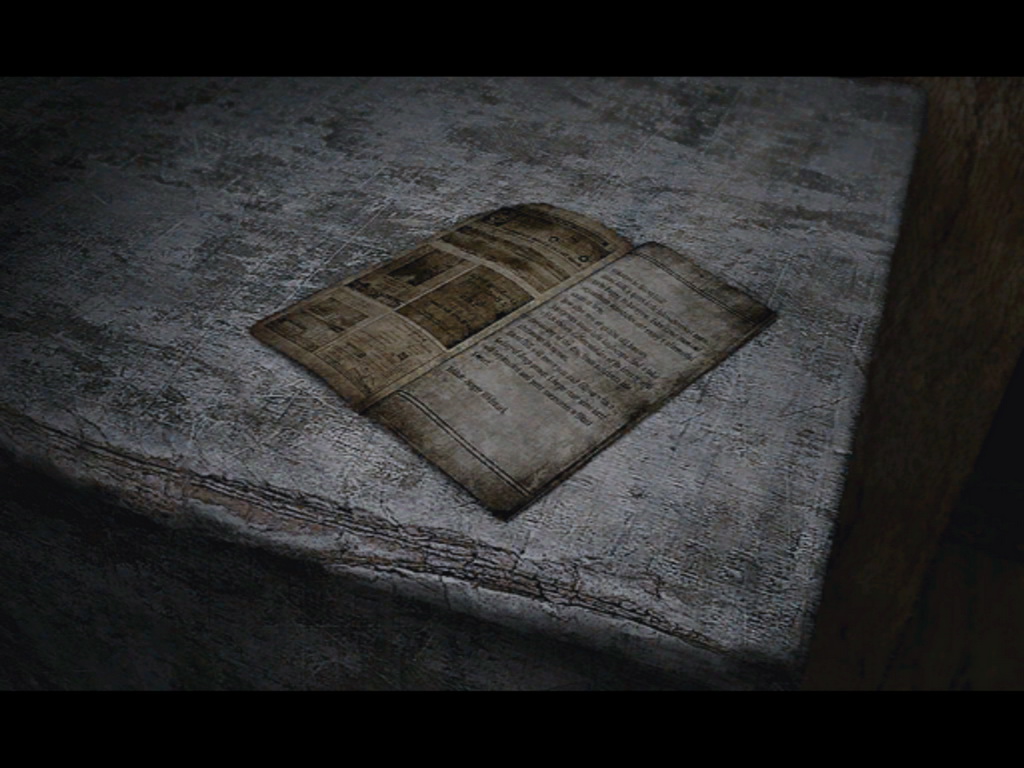
• Book: "Lost Memories"
• Laura's Letter
• Book: "Crimson Ceremony"
• Letter from Mary (full)
Tape Transcripts
• Videotape
Notes
• Bar Neely's
• "The door that wakes in darkness"
• Another Conclusion
• "The scars from the past"
• Rosewater Park stone
• Patrick Chester
• "In memory of the sixty seven who died"
• Jennifer Carroll
• East Lakeview Hotel billboard
• Historical Society billboard
• West Lakeview Hotel billboard
• Heaven's Night billboard
• Jacks Inn billboard
• Pete's Bowl-O-Rama billboard
• Heaven's Night neon sign
• Refrigerator note
• Joseph
• Historical Society plate
• Wiltse Coal Mine
• Brookhaven Hospital
• Prisoner note
• Banquet painting
• Skewering painting
• Toluca Prison Camp painting
• Book titles in prison cell
• Counterfeiter
• Kidnapper
• Thief
• Bodily Injurer
• Arsonist
• Swindler
• Embezzler
• Murderer
• Notice!
• The Felon
• Walter Sullivan's Tombstone
• Miriam K.'s Tombstone
• James' Tombstone
• Angela's Tombstone
• Eddie's Tombstone
• Toluca Lake dock wall
• Hotel Map note
• Venus tears plate
• Weight allowance note
• Heater note
• Music Box puzzle
Born from a Wish
Memos
• Inner Garden Tombstone
• Plant Encyclopedia: Acacia
• "Lost Memories"
Item Memos
• White Board
• Black Board
• Red Board
• Birthday Card
Notes
• Heaven's Night neon sign
• Plate on the floor
• Haunted Mansion Warning
Letter from Silent Heaven
MemosAll of these memos can be found in the Memo menu of your inventory once you've read them. Some contain helpful information pertaining to puzzles while others may just be an interesting read of additional lore. |
Swamp MonumentLocation: On the west sidewalk near the north end of Lindsey Street, East South Vale. |
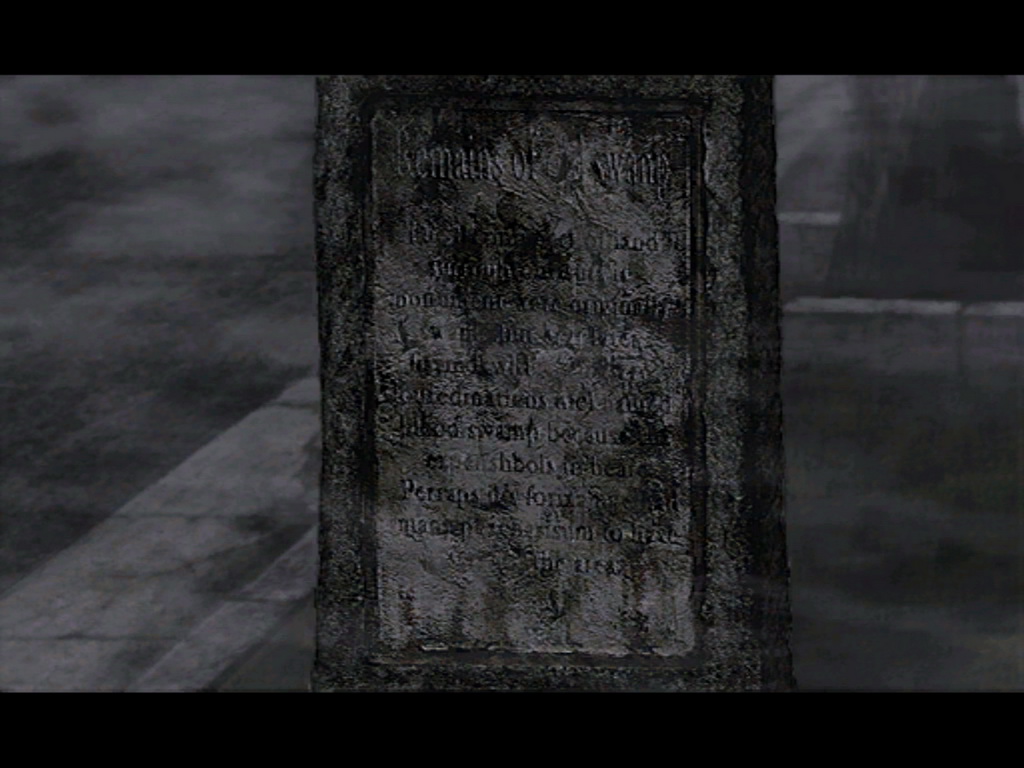 Remains of _____ Swamp The _____ers of land surroun____ Fr_____ng ago, t___________s Perhaps it's fo_______________hat Fully-legible version: Remains of Blood Swamp The x meters of land surrounding From long ago, the swamp was Perhaps it's for that reason that |
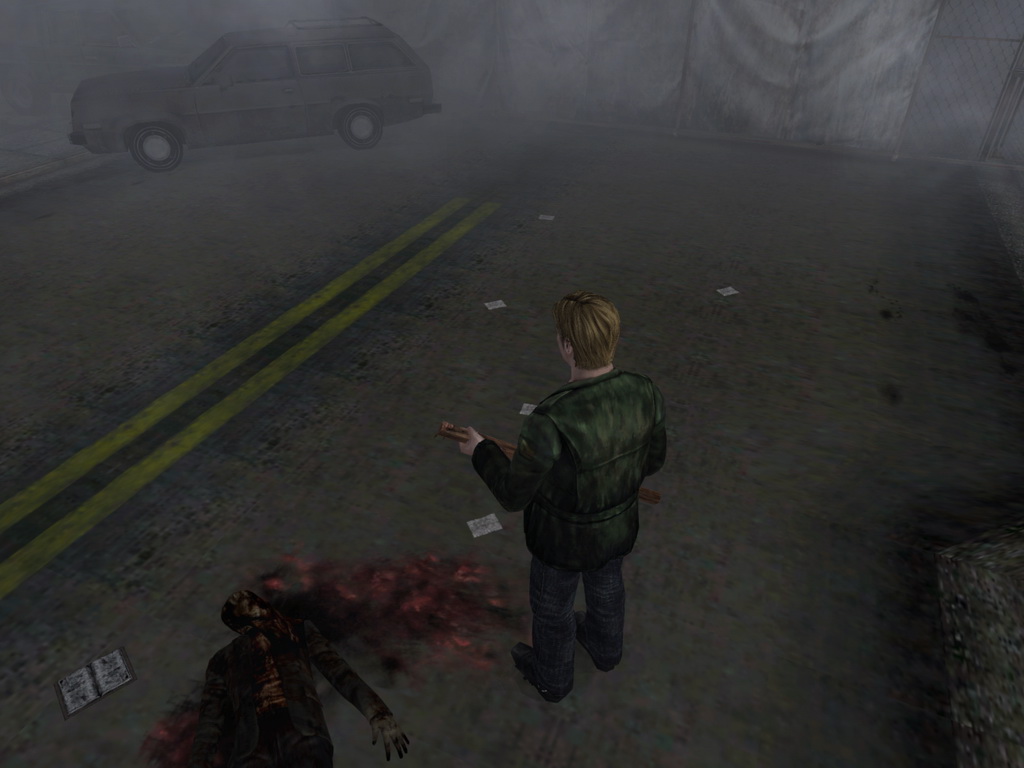
Memo next to corpse #1Location: On the ground by the corpse at the north end of Neely Street, East South Vale. |
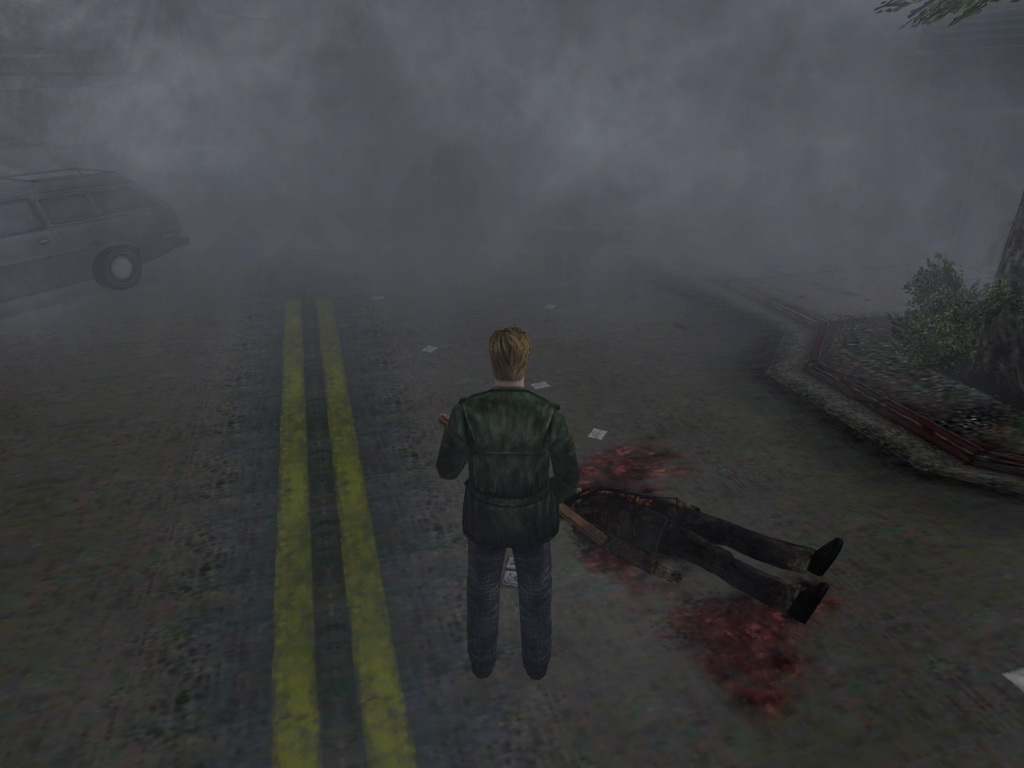 I'm going to write everything that If you're reading this, |
Memo next to corpse #2Location: On the ground by the corpse at the north end of Neely Street, East South Vale. |
 I saw those demons. They were But whether that demon that |
Memo next to corpse #3Location: On the ground by the corpse at the north end of Neely Street, East South Vale. |
 It seems that they're attracted If you want to go on living, |
Memo next to corpse #4Location: On the ground by the corpse at the north end of Neely Street, East South Vale. |
 If you're going to try to fight them, Take good aim, and then squeeze |
Memo next to corpse #5Location: On the ground by the corpse at the north end of Neely Street, East South Vale. |
 Run away. |
Memo next to corpse #6Location: On the ground by the corpse at the north end of Neely Street, East South Vale. |
 Run away! Run away! Run away!
 Run away! Run away! Run away! |
Newspaper from shop windowLocation: On the paper on the inside of the window in Neely's Bar, Neely Street, East South Vale. |
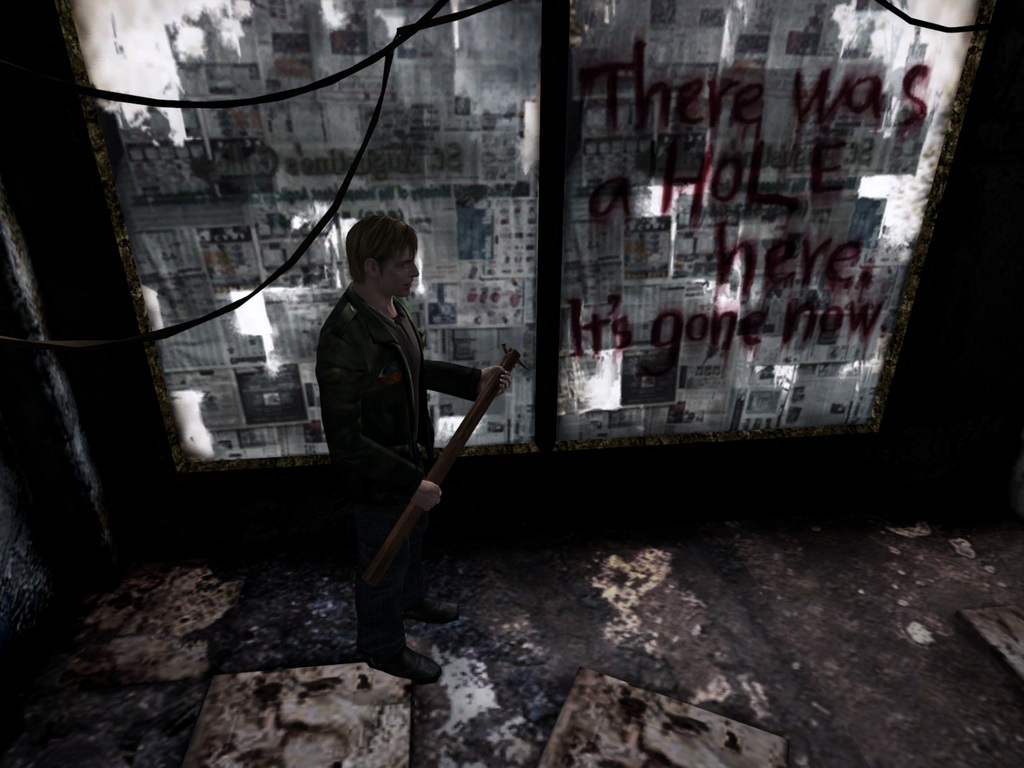 There was a HOLE here.
It's gone now. |
Map found on barLocation: On the bar inside Neely's Bar, Neely Street, East South Vale. |
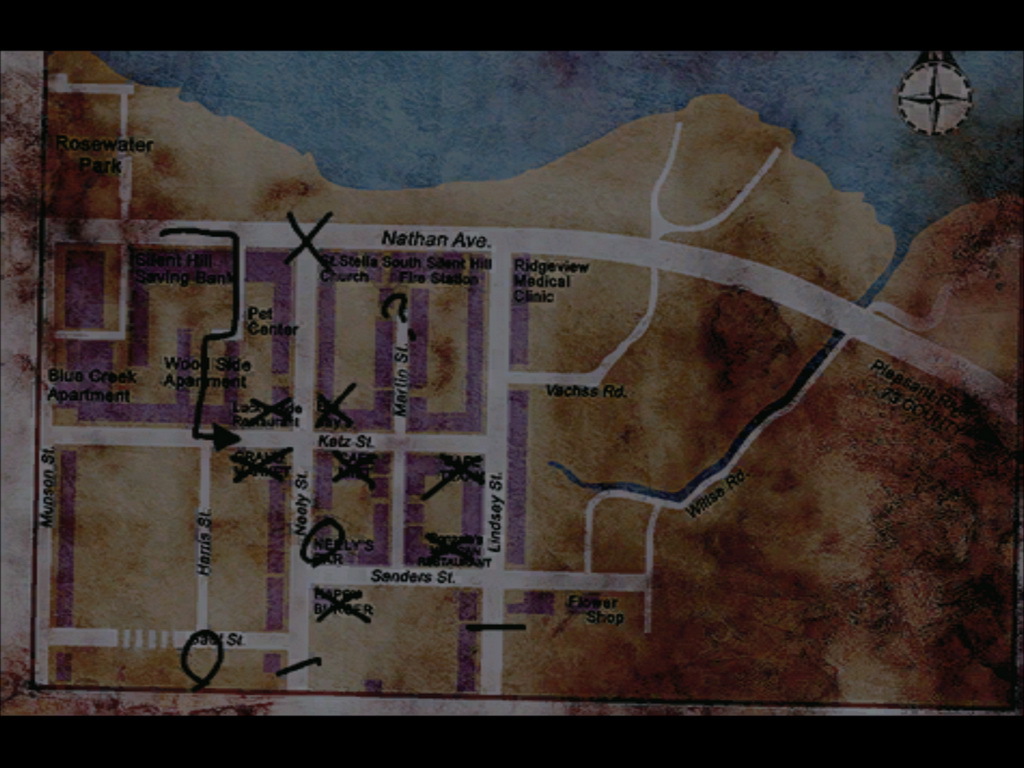 [map with "?" labelled at the top of Martin Street] |
Wall scratchesLocation: On the wall in the clock room of room 208, Wood Side Apartments 2F. |
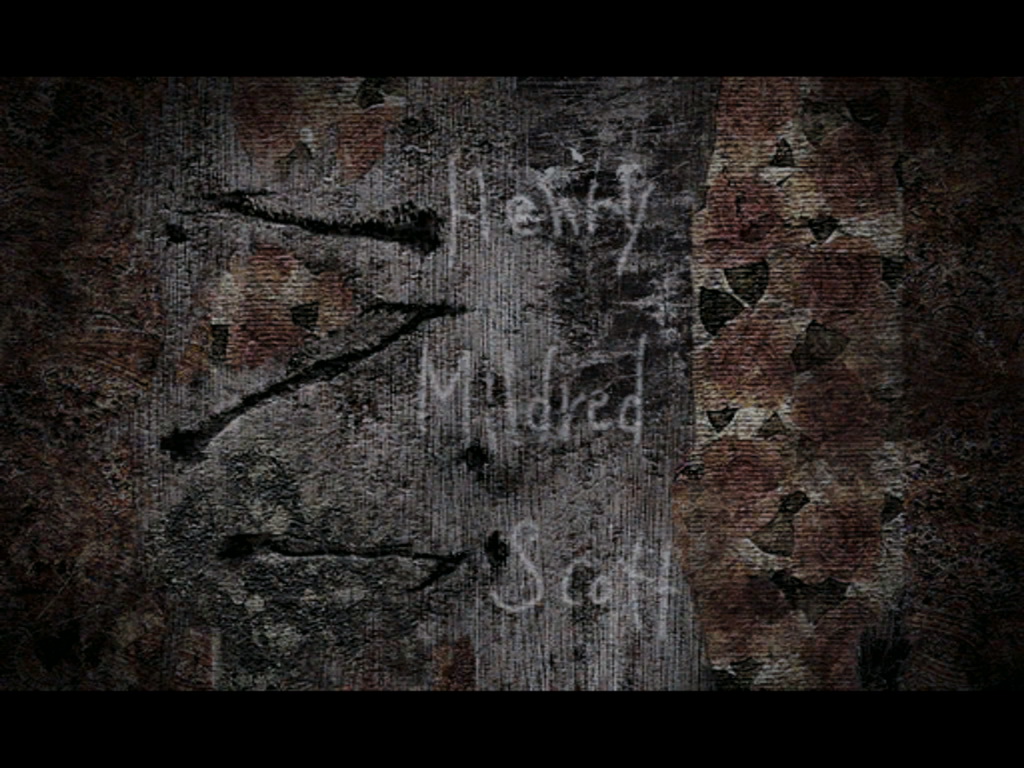 Henry |
"Three different sizes, time on the run."Location: On the living room stand of room 208, Wood Side Apartments 2F (easy riddle level). |
 Three different sizes, |
"Three needles stand of three different heights."Location: On the living room stand of room 208, Wood Side Apartments 2F (normal, hard, extra riddle level). |
Three needles stand of |
Article about murder incidentLocation: At the bottom of the garbage chute just outside Wood Side Apartments, after knocking the garbage loose from 2F. |
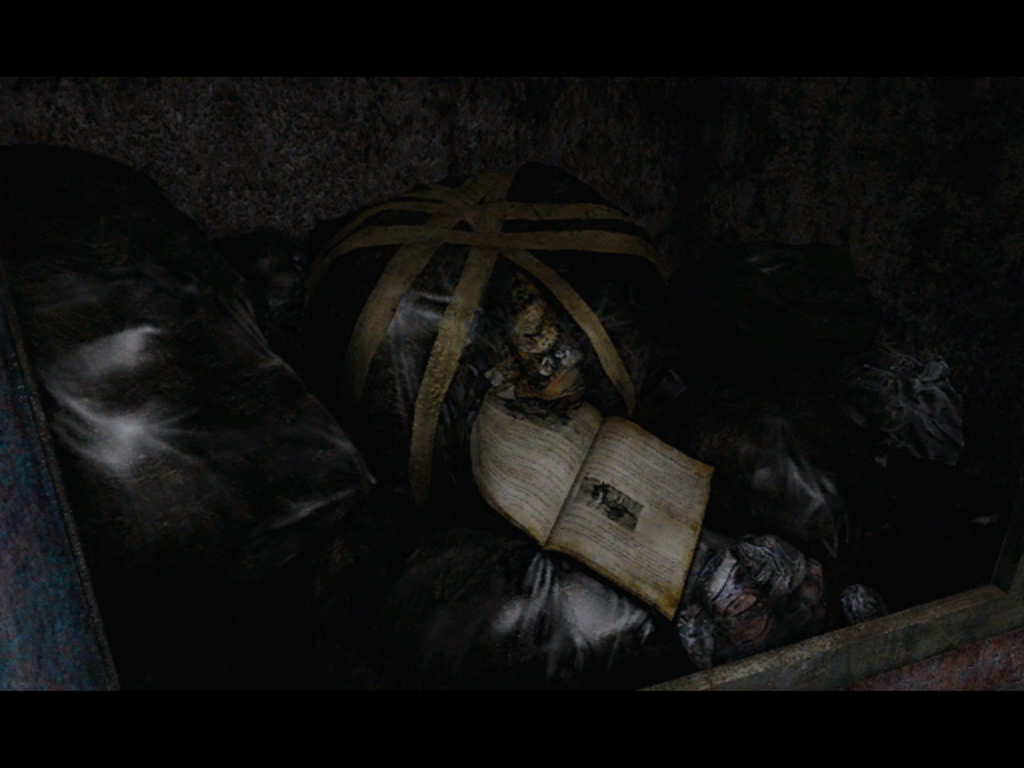 The police announced today that According to the police An old schoolmate of Walter But I do remember that just The schoolmate then added |
Sightseeing brochureLocation: On the cabinet in room 104, Wood Side Apartments 1F. |
 Welcome to Silent Hill! Silent Hill, a quiet little lakeside Row after row of quaint old houses, Silent Hill will move you and fill Editor: Roger Widmark |
Wallet in toilet bowlLocation: Inside the toilet in the washroom of room 203, Blue Creek Apartments 2F. |
 # # >> # # << # # >> # # (# - number, roman numeral or letter, depending on riddle difficulty) |
"Dear Tim"Location: Pinned on the door to room 209, Blue Creek Apartments 2F. |
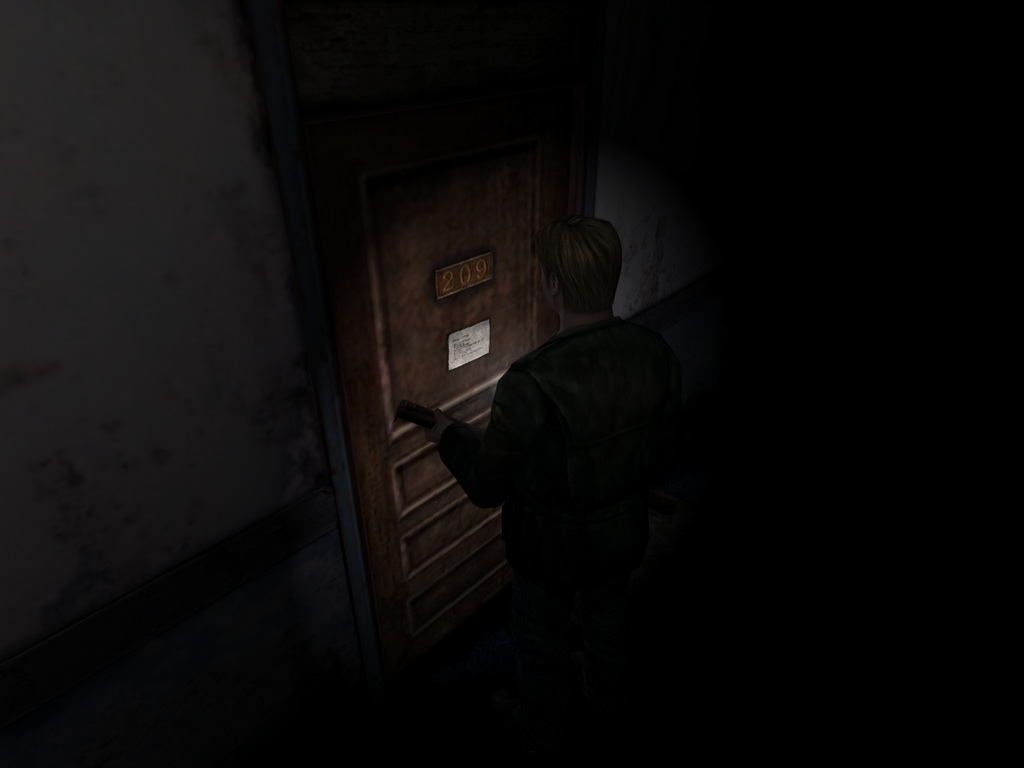 Dear Tim, I left the house key with Uncle |
"To the right is the lady."Location: Engraved in the secretarial desk in room 105, Blue Creek Apartments 1F (easy riddle level). |
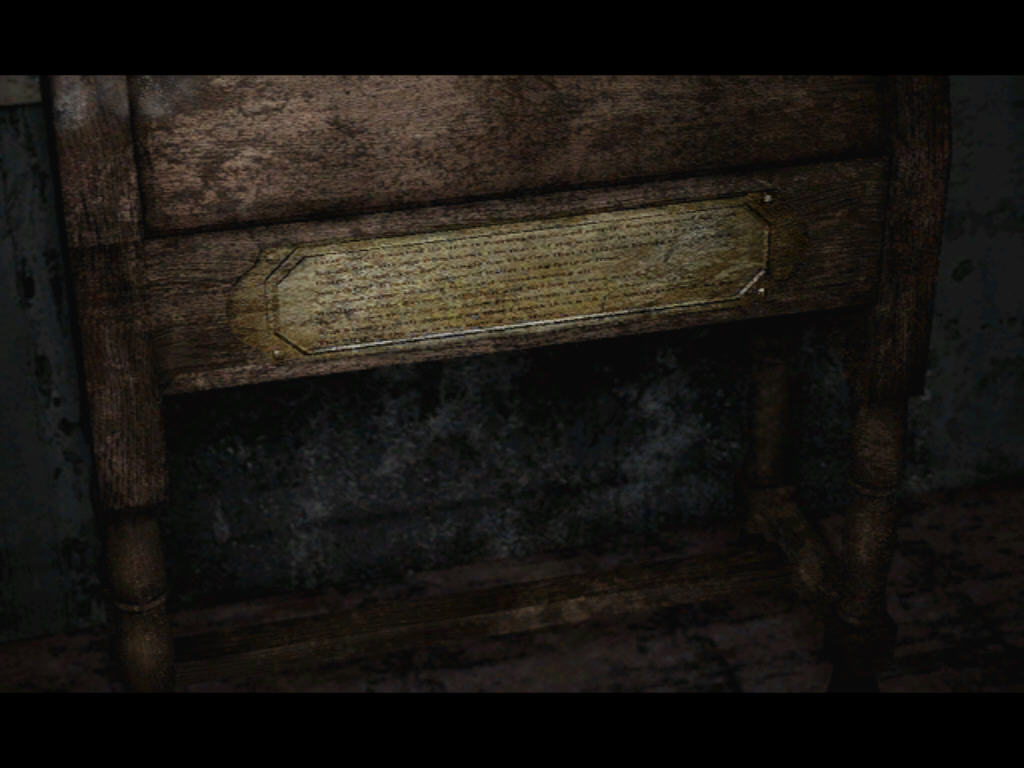 To the right is the lady. In the center crawls the other. Now just two spaces remain, |
"Three bright coins in five holes be"Location: Engraved in the secretarial desk in room 105, Blue Creek Apartments 1F (normal riddle level). |
Three bright coins in five holes be At one end sits The wind from behind The Formless One, The Old One beside Tis to the Prisoner's left |
"First lies the seat of He"Location: Engraved in the secretarial desk in room 105, Blue Creek Apartments 1F (hard riddle level). |
First lies the seat of Dozens of feet, Man and Woman seeing all Silent and Hidden the two may be Return them to whence I speak thus with |
"Like coins in the hazy aether tossed"Location: Engraved in the secretarial desk in room 105, Blue Creek Apartments 1F (extra riddle level). |
Like coins in the hazy To "right" the sins The first note be not by The Bringer of Life and Though coming The Needless One, silent, For the gravest of sinners |
Map found near bridgeLocation: On the ground by the corpse near the bridge at the northwest end of Nathan Avenue, West South Vale. |
 [Map with circle around Pete's-Bowl-O-Rama] |
Patient recordLocation: On the desk in the Reception Office, Brookhaven Hospital 1F. |
 [Jack Davis] He has attempted suicide three [Joseph Barkin] His illness seems to be rooted in [Joshua Lewis] History of hospitalization as well |
Doctor's journalLocation: On the desk in the Document Room, Brookhaven Hospital 1F. |
 The potential for this illness The "other side" perhaps may Some say it isn't even an illness. But sometimes I have to ask So why, I ask myself, why in the (Something else is written by hand.) I got the key from Joseph. |
Number written on the whiteboardLocation: On the whiteboard on the wall in the Doctor's Lounge, Brookhaven Hospital 1F (easy, normal riddle level). |
 3rd floor patient wing hall - 7335 |
Whiteboard graffitiLocation: On the whiteboard on the wall in the Doctor's Lounge, Brookhaven Hospital 1F (hard, extra riddle level). |
The pin number this month is Anyway does the door to the |
Imprint on carbon paperLocation: In the typewriter on the desk in Examining Room 3, Brookhaven Hospital 2F. |
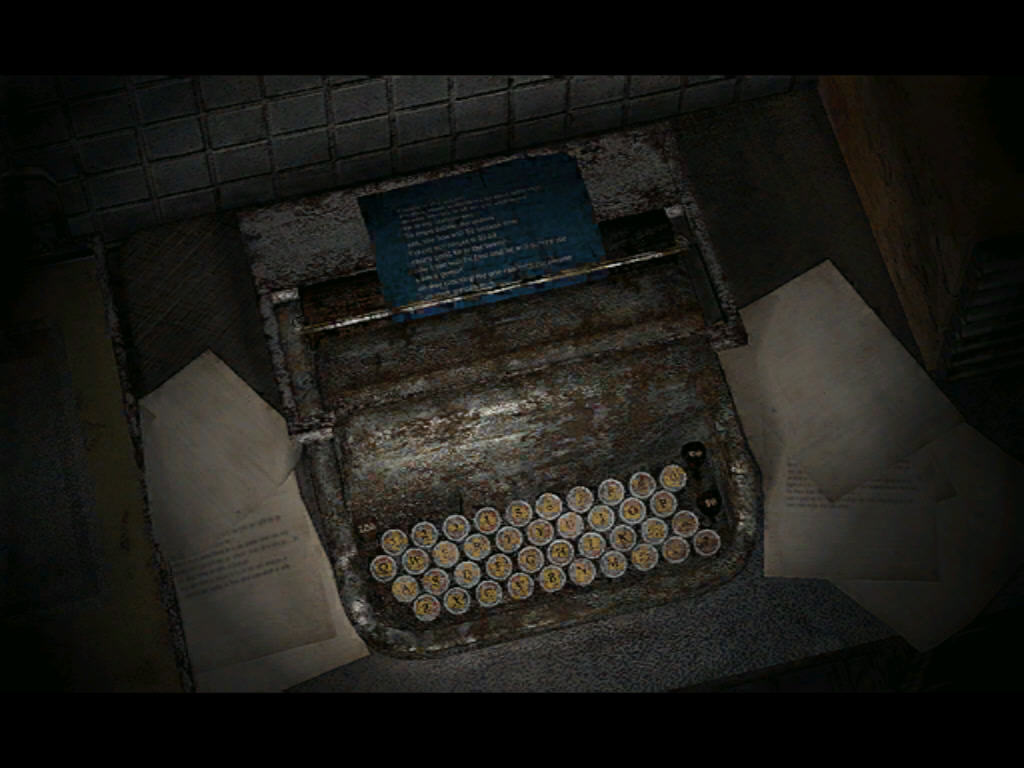 Easy/Normal Riddle Level i know it i know the number of [# - randomized number] Hard/Extra Riddle Level i know it the secret i'll give them now i must not forget it # # # # [# - randomized number] |
"Louise"Location: Written on the wall in room S14, Brookhaven Hospital 3F. |
 Louise |
Diary from roofLocation: On the ground on the roof of Brookhaven Hospital. |
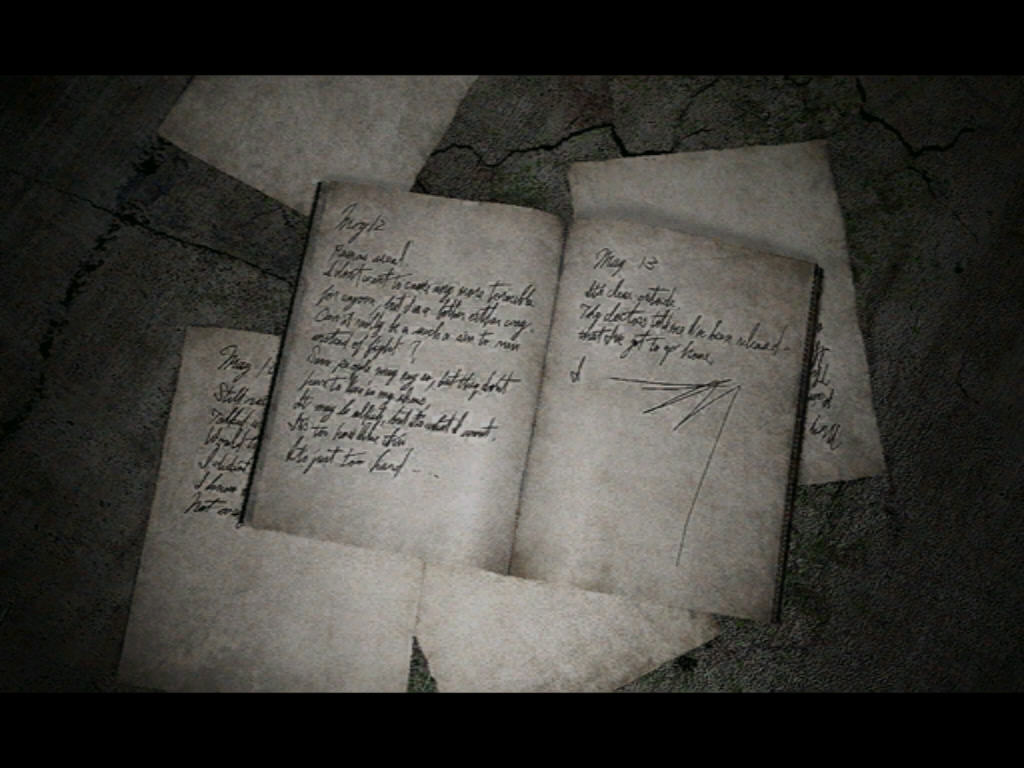 May 9 May 10 May 11 May 12 Some people may say so, but they May 13 |
"Tern tern tern the numbers"Location: On the wall inside the unlocked cell in the Special Treatment Room, Brookhaven Hospital 3F. |
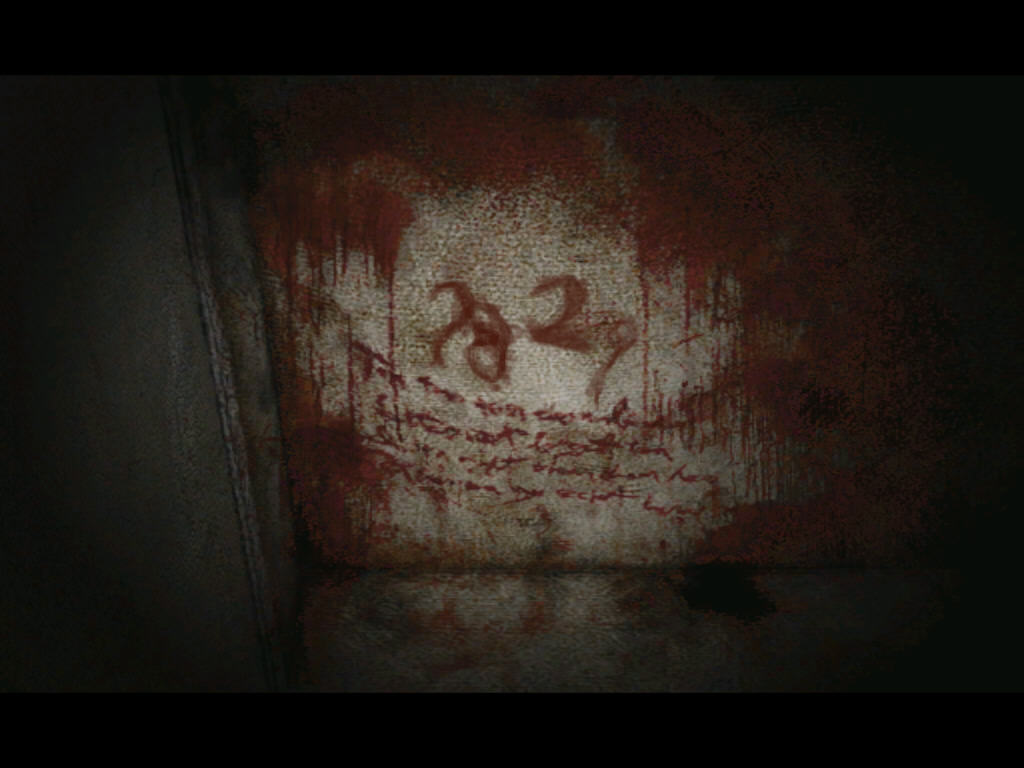 [random four-digit code on wall above writing] Tern tern tern the numbers |
"The basement's basement."Location: On the covered table in room M6, Nightmare Hospital 2F. |
 I was locked up inside |
"She is an angel"Location: On the bed in room S11, Nightmare Hospital 2F. |
 She is an angel no one knows only Like bloated and ugly corpses |
"I took the direckters's key"Location: On the ground in the patient wing stairwell, Nightmare Hospital. |
 I took the direckters's key - the |
"There's a letter and a wrench."Location: On the desk in the Director's Room, Nightmare Hospital 1F. |
 He who is not bold enough The truth can only be learned Follow the map. |
"The key is in the park."Location: On the porch of the second house north from Gonzale's Mexican Restaurant on Lindsey Street, Dark South Vale. |
 Or perhaps you are a fool. A part of that abyss is The key to the society My patient buried it there. I also saw that thing. If you still do not wish to stop, |
Words written on the wall.Location: On the wall in Neely's Bar, Neely Street, Dark South Vale. |
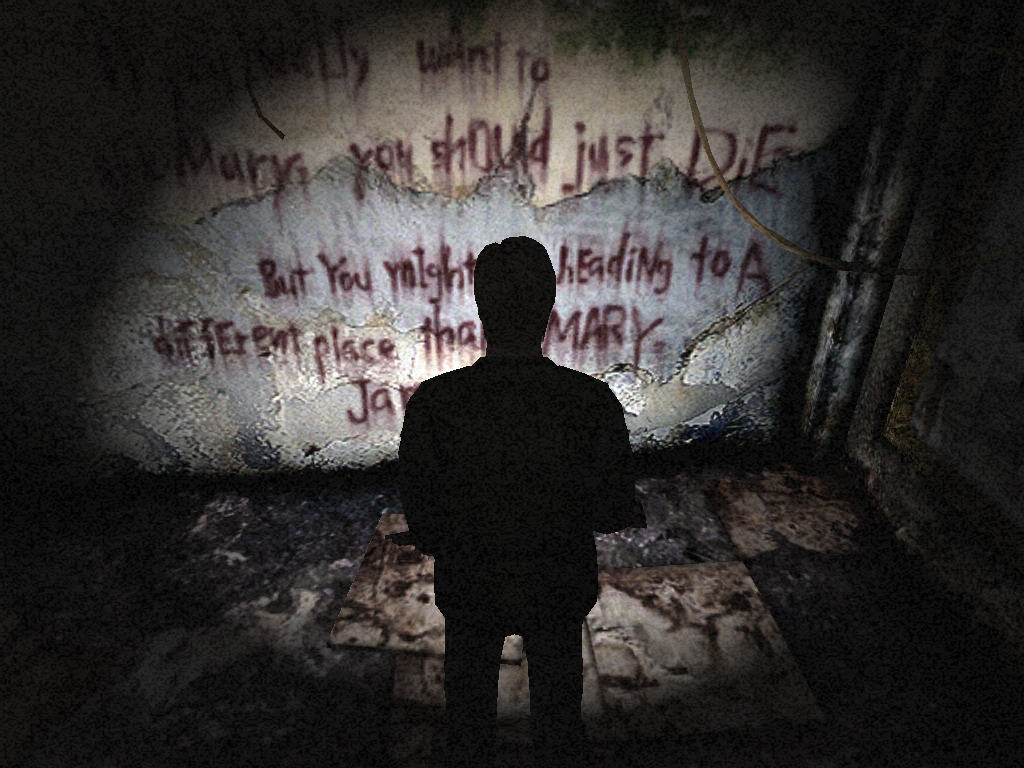 If you really want to see Mary, But you might be heading to Note: the above is what is captioned, however the following is the exact representation of the words on the wall. If you ReaLly want to |
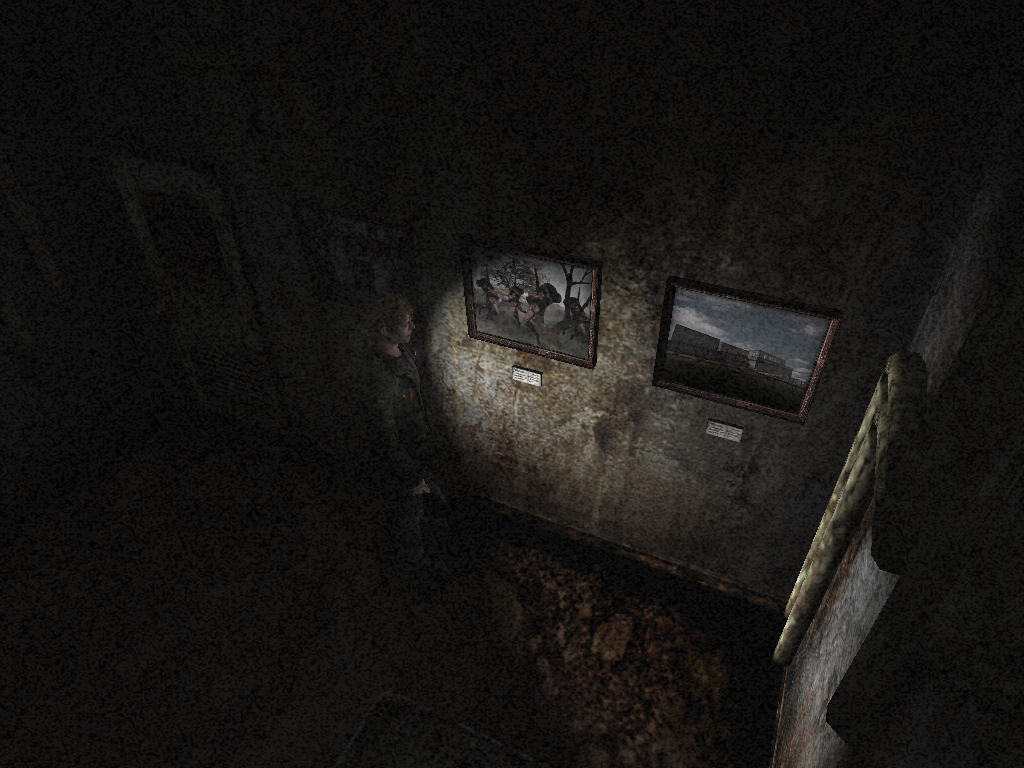
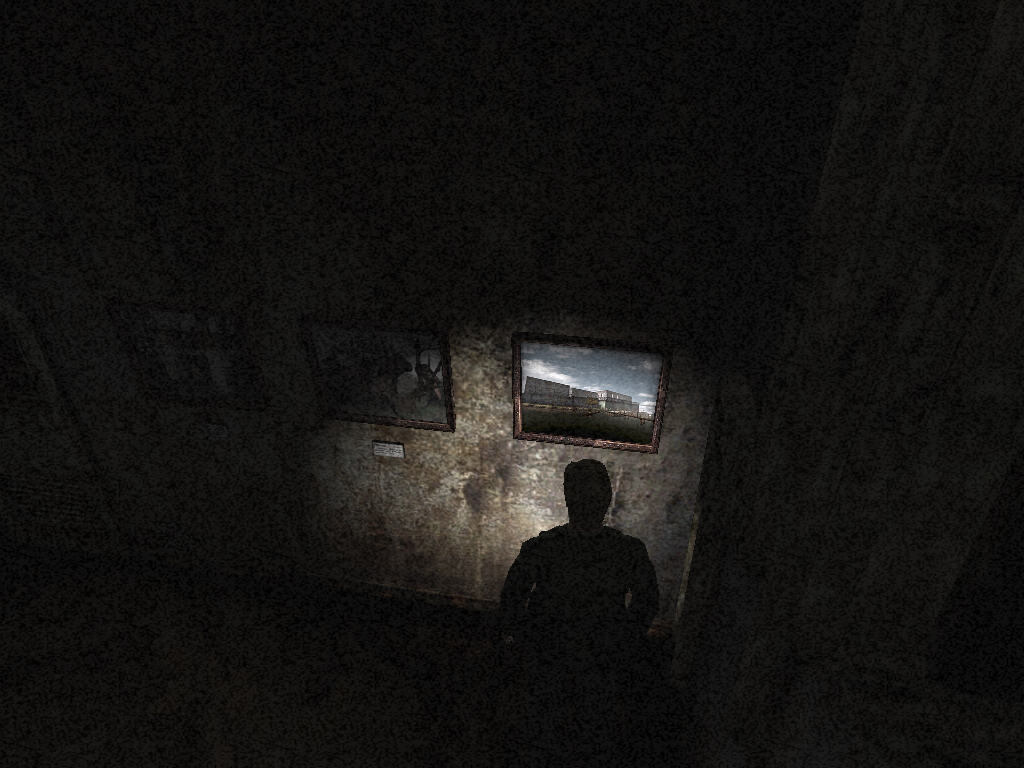
Pyramid Head paintingLocation: On the wall in the first exhibition room, Silent Hill Historical Society. |
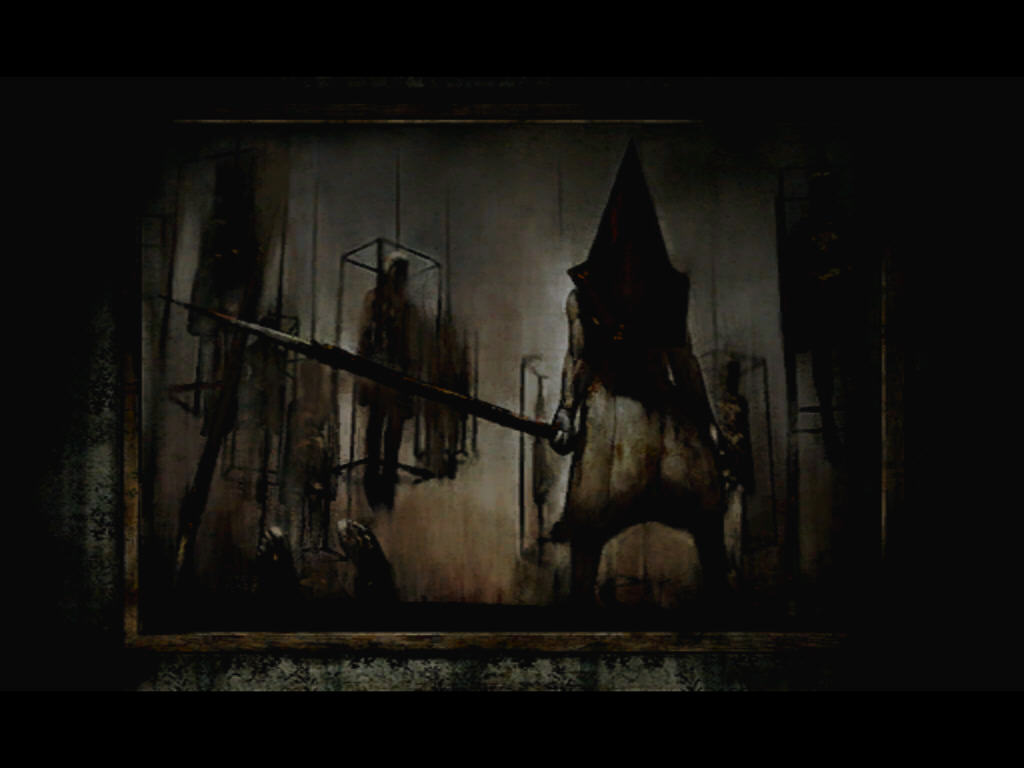 "Misty day, |
"Waterfront landscape"Location: On the wall in the first exhibition room, Silent Hill Historical Society. |
 "Waterfront landscape" Allen Smith (Date of birth and A scene of this area from long ago. There were a lot fewer people then, |
Painting 1, from cell.Location: Inside the first cell from the east in the north cellblock, Toluca Prison 1F. |
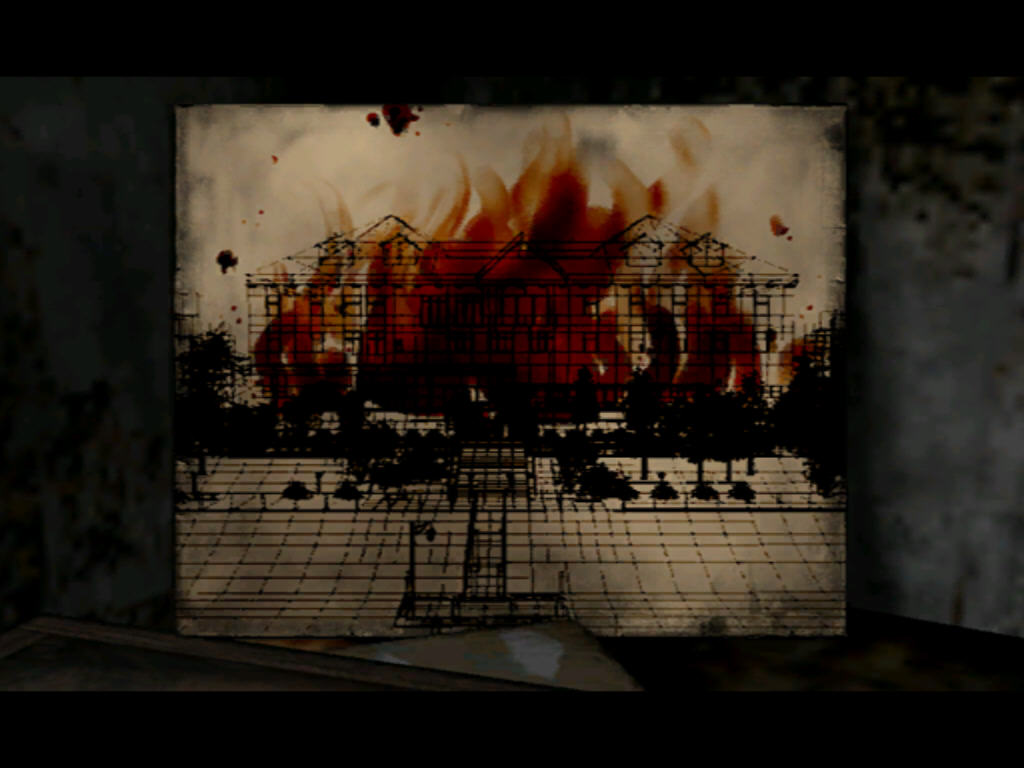 Burning Man |
Painting 2, from cell.Location: Inside the first cell from the east in the north cellblock, Toluca Prison 1F. |
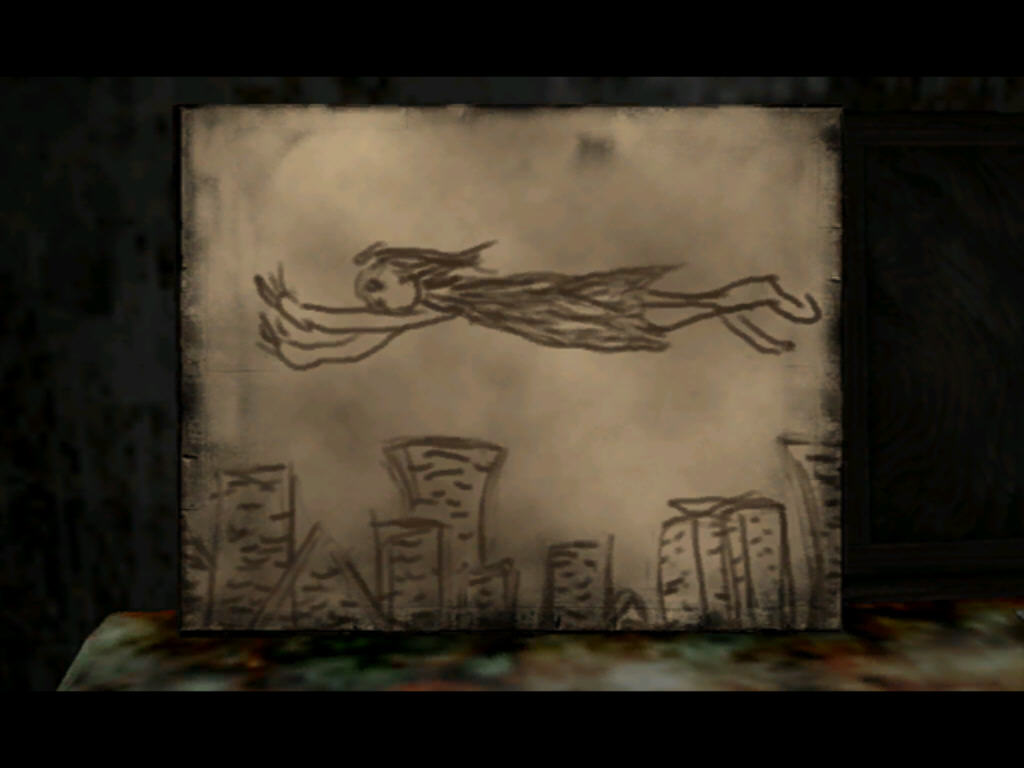 Woman in Flight |
Painting 3, from cell.Location: Inside the first cell from the east in the north cellblock, Toluca Prison 1F. |
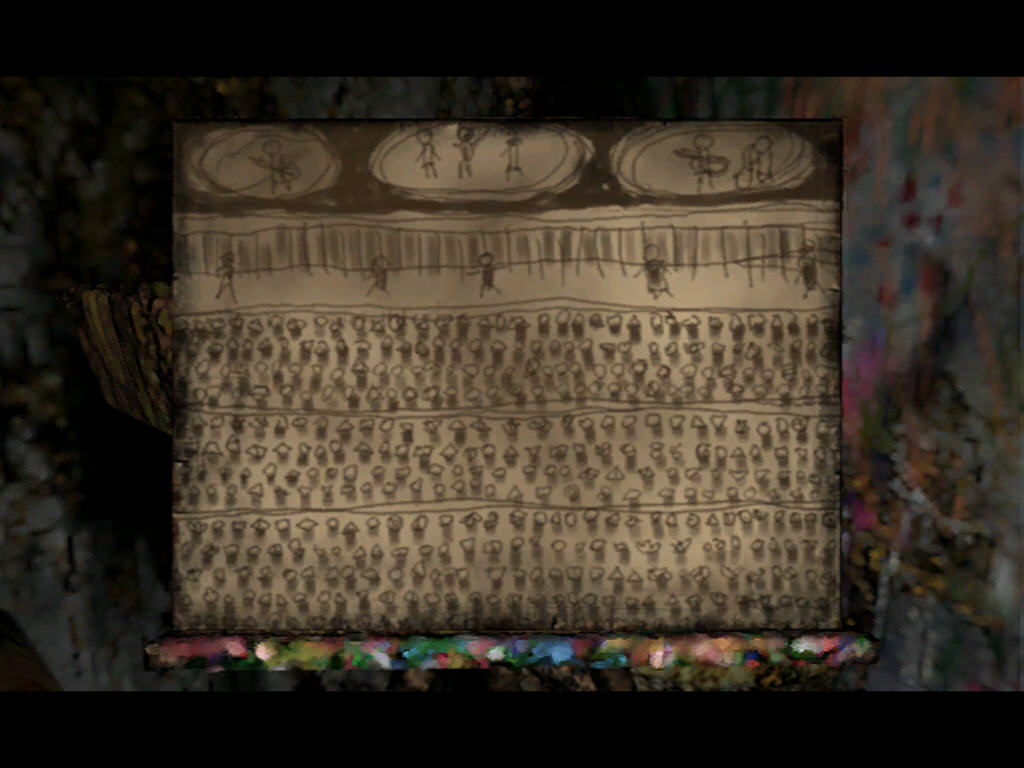 436 People at a Recital |
Inscription on gallowsLocation: On the front of the scaffold in the courtyard of Toluca Prison. |
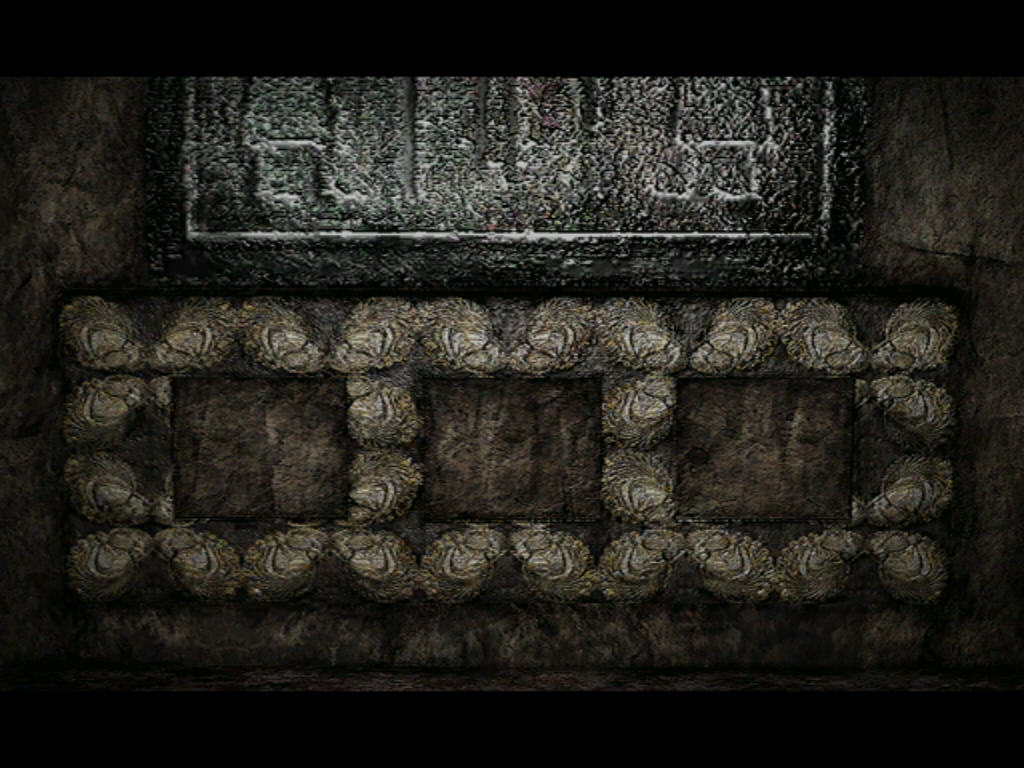 I give you blood to atone |
Legend of the LakeLocation: On the desk in the warden's office, Toluca Prison 1F. |
 Toluca Lake, the town's main It may seem like just a typical On a fog-bound November day in A newspaper article from back In 1939, an even stranger incident (There are many pages torn out.) Many corpses rest at the bottom |
Prison guard's diaryLocation: In the bookshelf to the left of the desk in the warden's office, Toluca Prison 1F. |
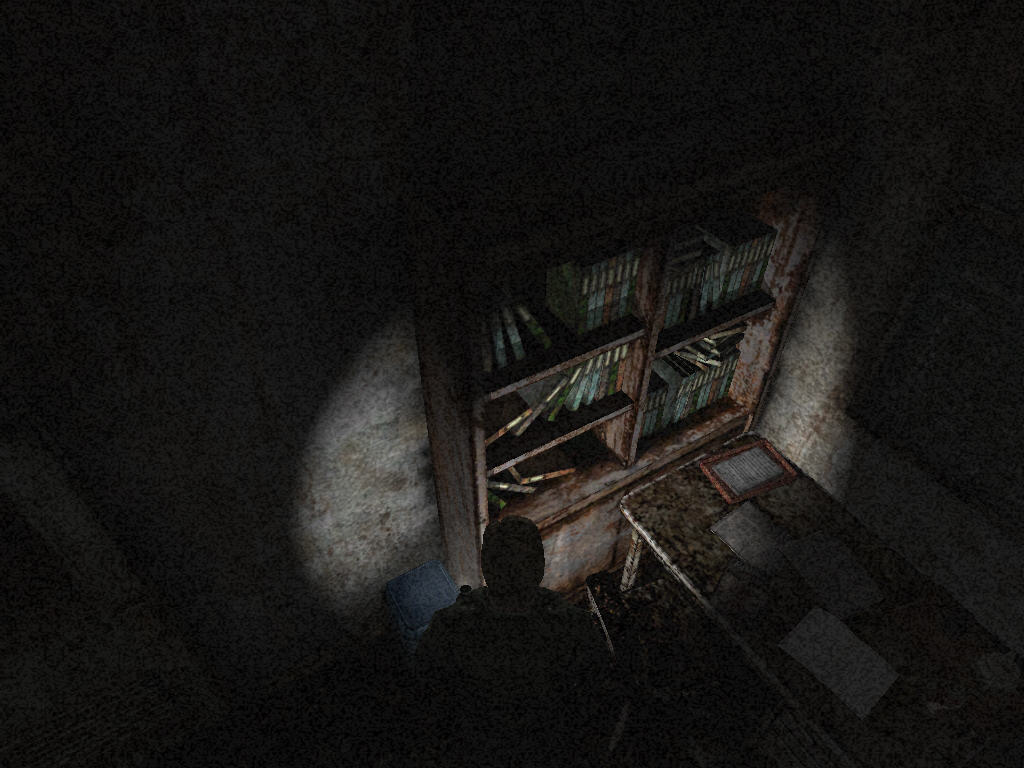 Prisoners do not feel remorse. And such trifling dreams they No matter how foul nor loathsome |
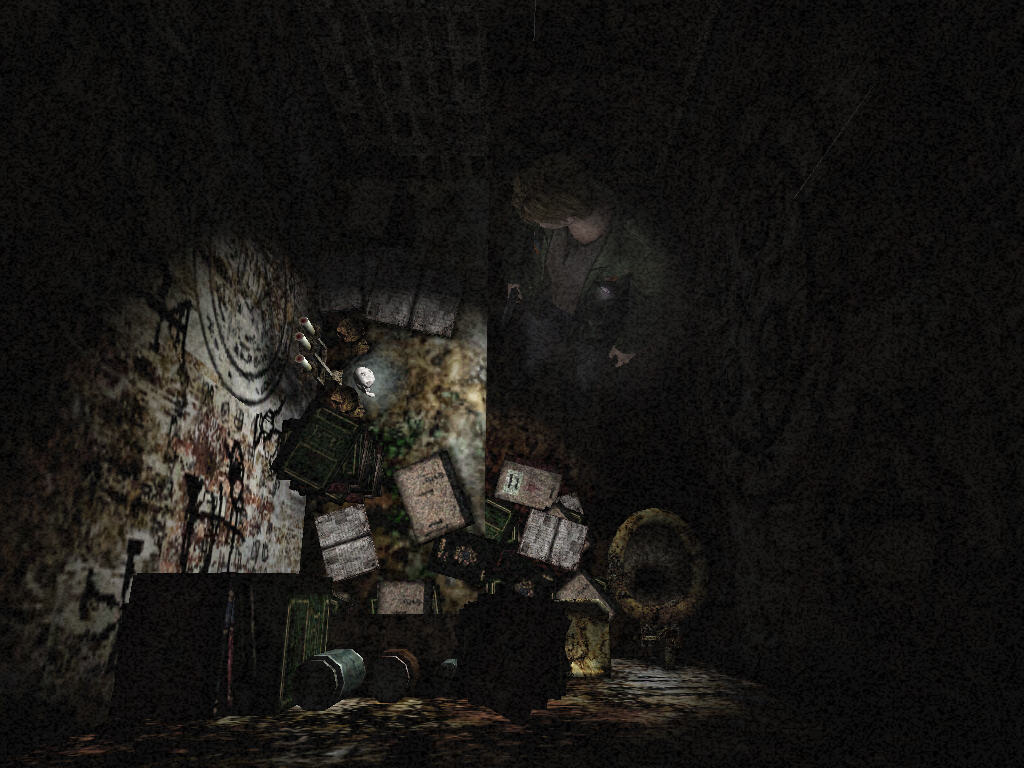
Blood-soaked newspaperLocation: On the floor in the small entryway before the Abstract Daddy boss fight in the Labyrinth. |
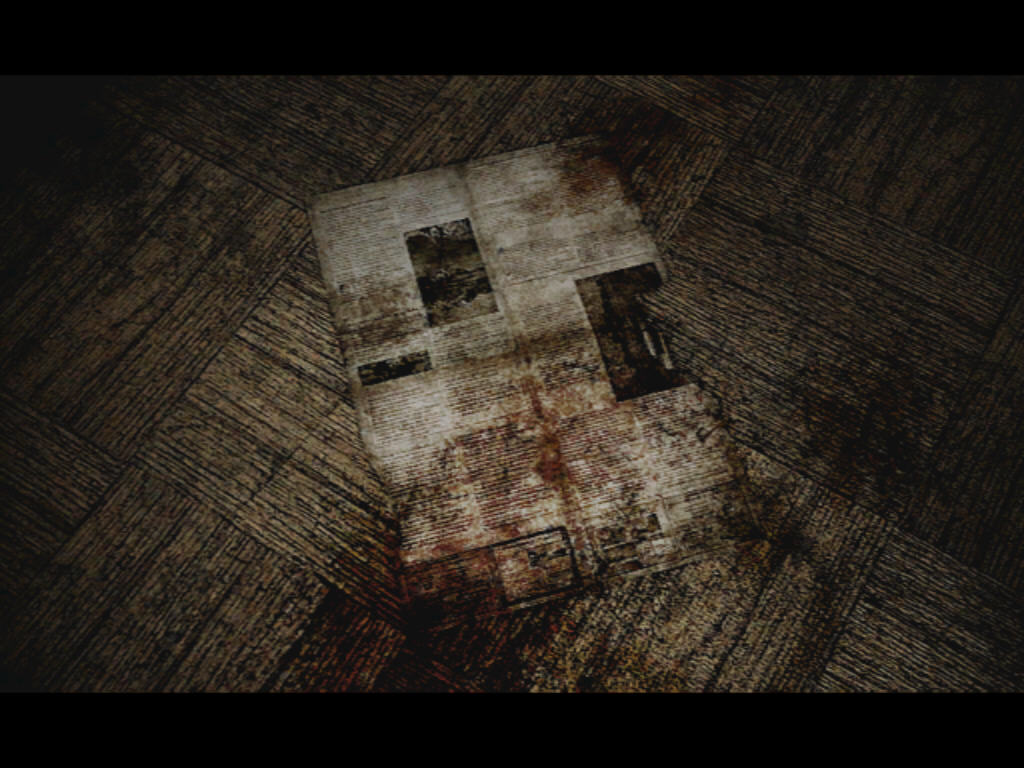 The bo____f a man later identified The probable cause of dea____as Due to signs of struggle in the Furthermore, given the fact that Fully-legible version: The body of a man later identified The probable cause of death was Due to signs of struggle in the Furthermore, given the fact that |
"Please someone save me"Location: On the fence in the room with the six nooses, Labyrinth (easy riddle level). |
 He committed an evil crime. They also committed crimes. Even he cannot be forgiven, And what of him? The missing child was That is all I wish to say. |
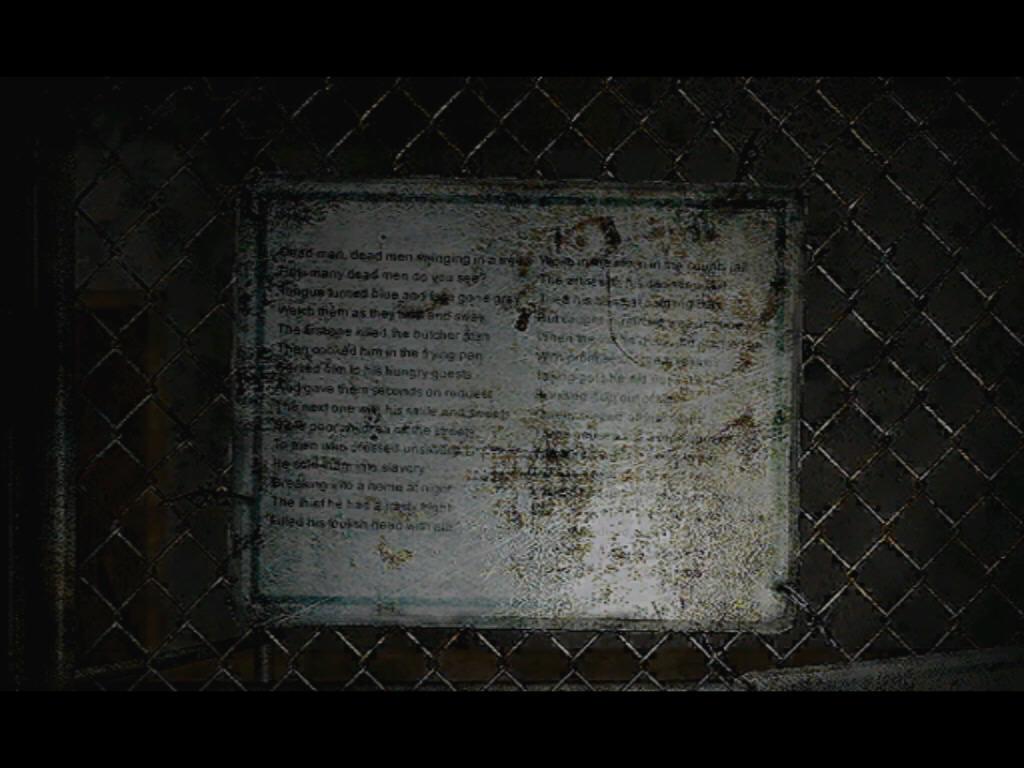
"Dead men, dead men"Location: On the fence in the room with the six nooses, Labyrinth (normal riddle level). |
Dead men, dead men The first one killed The next one with his smile Breaking into a home at night The artist with his daunting skill With promises of great return Three houses into ashes burned Dead men, dead men |
Condemned man's diaryLocation: On the fence in the room with the six nooses, Labyrinth (hard riddle level). |
I do not wish to die. Please someone - answer me, The man who was executed But the man who is to be executed The man who was hung today The man who is always quietly I do not wish to die. Someone save me. This is not |
"Death upon the head of the sinner"Location: On the fence in the room with the six nooses, Labyrinth (extra riddle level). |
We may visit death upon the head In the name of retribution, You, hanging as you do, Five of them committed crimes, Only one of them was innocent, The bloodstains remaining The white bandages stained They are also signs of guilt. But one of them was Spinning alone at the |
Receptionist memoLocation: On the Reception counter in the Lobby, Lake View Hotel 1F. |
 Mr. James Sunderland, |
Photos of trunkLocation: On the bed in room 202, Lake View Hotel 2F. |
 [random four-letter code word] |
Extra MemosThese are secret memos that provide hints on achieving one of the main three endings of the game. Only one can appear at a time in a New Game Plus, corresponding to one of the main endings (or the only one) you have not yet received. Once all main endings have been achieved, none of these memos will ever appear again in your save file. Read more about them in the Unlockables and Secrets section. |
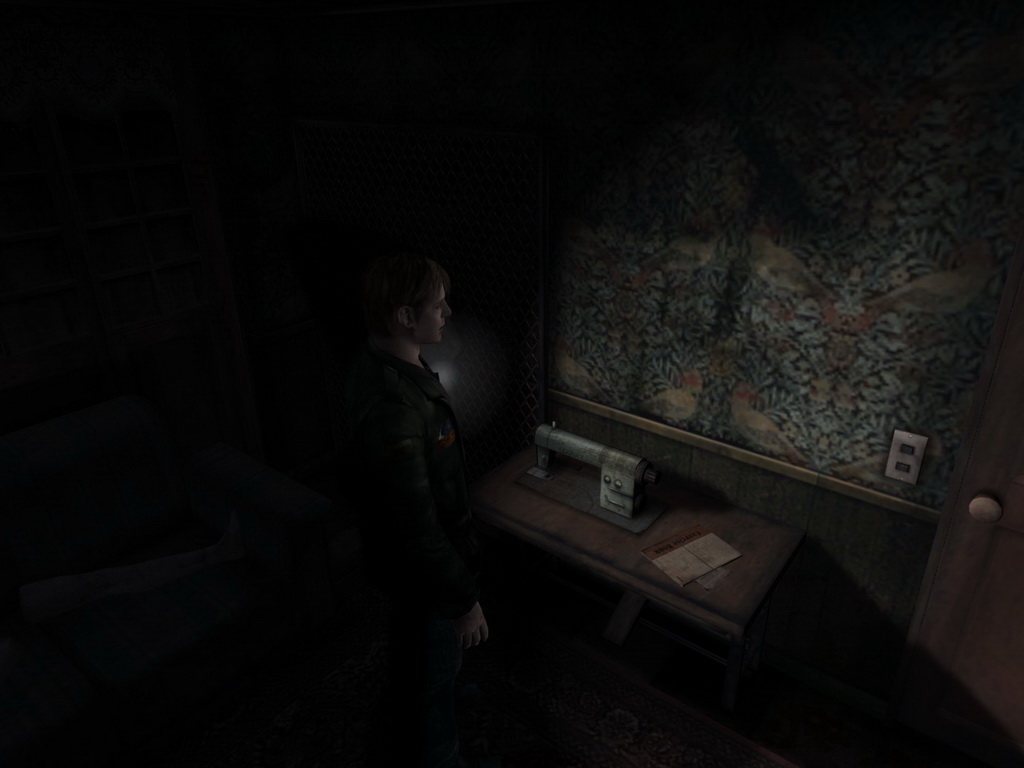
"The Road to Tomorrow"Location: On the sewing machine table in room 205, Wood Side Apartments 2F. |
 "The Road to Tomorrow" The first step to a healthy Also you have to maintain a You've got to get outside and |
"How to be a Happy Couple"Location: On the sewing machine table in room 205, Wood Side Apartments 2F. |
"How to be a Happy Couple" Do you really love her? Whatever happens, don't give up. And if it comes to it, you must Be true to your heart and with |
"Choosing Death"Location: On the sewing machine table in room 205, Wood Side Apartments 2F. |
"Choosing Death" When life is filled with nothing After I made my decision, it I did stupid, dangerous things. |
Item MemosThe memos in this section can be found in your inventory as items once they have been obtained, except for Mary's full letter, which is really the full version of the Letter from Mary that James starts off with. In order to read the content of these memos once they're in your inventory, highlight the item and select "Examine". The locations for the memos below are the locations of the items themselves. Other descriptions of certain memos upon examining or simply viewing in your inventory can be found in the Item List section. |
Letter from MaryLocation: In James's possession from the beginning of the game. |
 In my restless dreams, You promised you'd take me Well I'm alone there now... Waiting for you... |
Book: "Lost Memories"Location: Inside the newspaper stand at the Texxon Gas Station, West South Vale (only in a New Game Plus). |
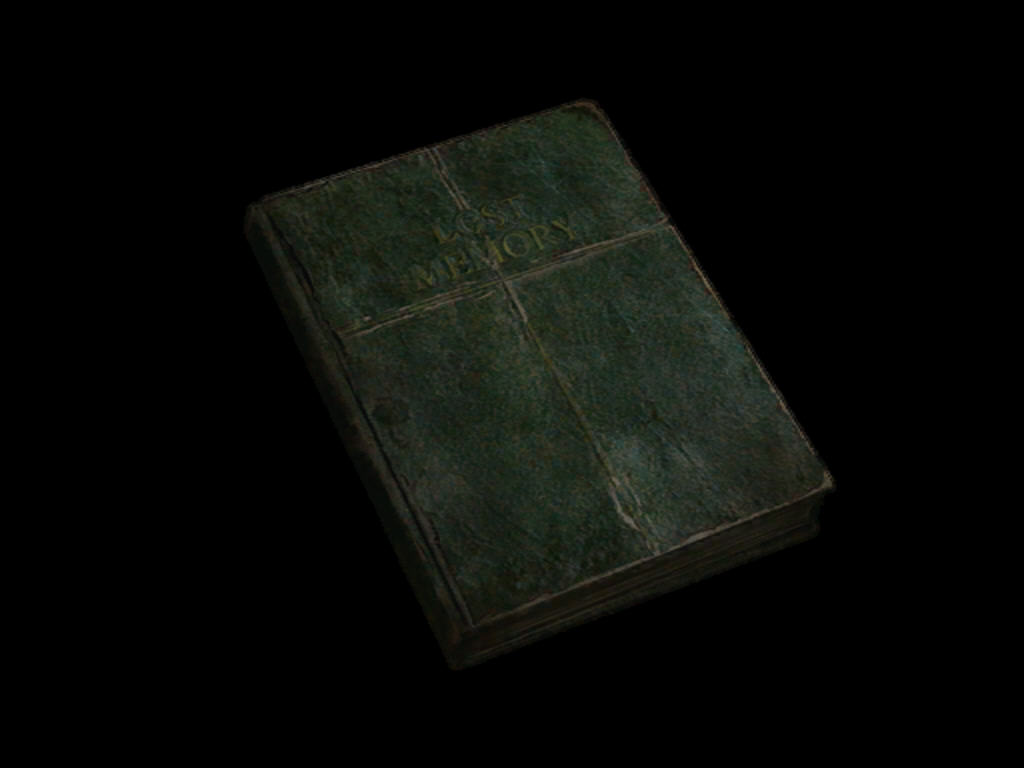 The name comes from the legend They called this place "The Place According to legend, this was But it was not the ancestors of In those days, this town went by All we know is that there was |
Laura's LetterLocation: Acquired from Laura in the Restaurant "Lake Shore", Lake View Hotel 1F. |
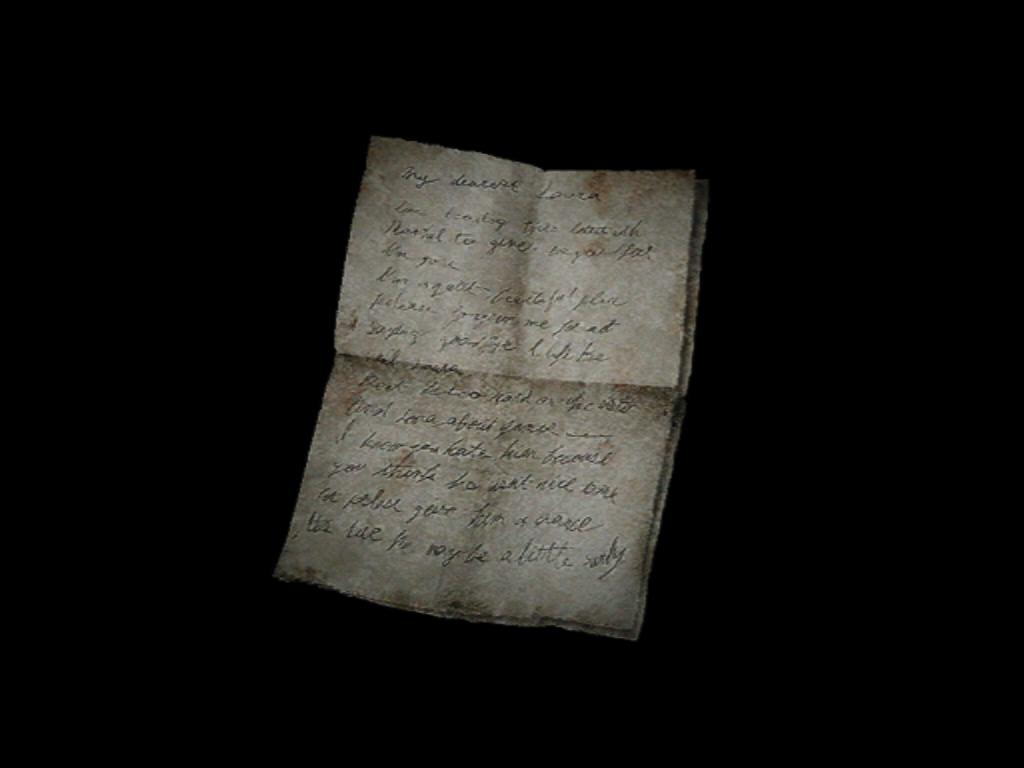 My dearest Laura, I'm leaving this I'm far away now. Please forgive me for not saying Be well, Laura. Don't be too hard on the sisters. And Laura, about James... It's true he may be a little surly Laura... If things had worked out Happy 8th birthday, Laura. Your friend forever, |
Book: "Crimson Ceremony"Location: On the bookshelf behind the desk in the Reading Room, Nightmare Hotel 2F (only in a New Game Plus). |
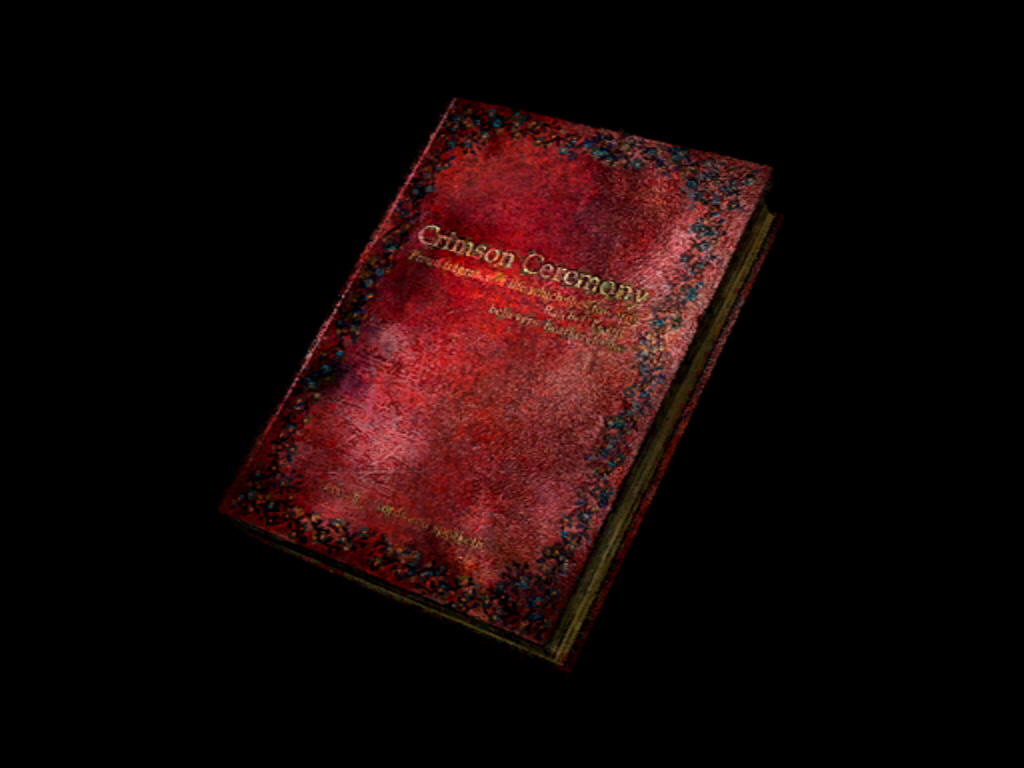 Speak. The lies and the mist are Believers hearken to me! I shall bring down bitter vengeance The beauty of the withering flower Thou shalt ever call upon me and Oh, proud fragrance of life which |
Letter from Mary (full)Location: Acquired from Mary in the ending, after completing the game with one of the three main endings (letter is read by Mary). |
 In my restless dreams, You promised you'd take me Well I'm alone there now... Waiting for you... Waiting for you to But you never do. And so I wait, wrapped in my I know I've done a terrible I wish I could change I feel so pathetic and ugly Every day I stare up at the cracks The doctor came today. It's not that I'm getting better. I think you know what I mean... Even so, I'm glad to be coming But I'm afraid James. Whenever you come see me, I don't know if you I'm sorry about that. When I first learned that I was so angry all the time and I That's why I understand But I want you to I'll always love you. Even though our life together had Well this letter has gone on I told the nurse to give That means that as you read I can't tell you to remember me, These last few years since I You've given me so much and That's why I want you to live James... You made me happy. |
Tape TranscriptsThis section includes material recorded onto tape, although there is only one item, which is James' Videotape from the hotel. The location listed below is the location of the item itself. |
VideotapeLocation: Inside the open safe in the Office, Lake View Hotel 1F. |
 [Once the videotape is inserted into the VCR of room 312 of Lake View Hotel, the following plays] [Mary walks into the frame.] Mary: Are you taping again? [She sits down in a chair by the window and looks outside.] Mary: I don't know why, but I just It's so peaceful. You know what I heard? This whole area used to be a I think I can see why. It's too bad we have to leave... Please promise you'll take me [Mary starts to cough and puts her head down as if she's embarrassed.] [Static erupts over the screen and the video image flickers. After a while we see Mary on her sickbed through the high volume of snow on the screen. It's hard to see through the static, but we see James approach her and lean over the bed for a moment. Suddenly, he snatches her pillow from underneath her head, while the video image flickers back and forth from other parts of the video. James smothers her as she flails about, struggling for her life. After a few moments, she stops moving and the video cuts to only static.] |
NotesThe following are small notes found throughout the game that will not be listed in the Memo menu of your inventory, but they are often provide interesting tidbits of information or lore, and are also captioned with the same blue-tinted font as memos. These notes don't actually have any titles in the game since there is no list to sift through them, but I've added appropriate titles to identify each. |
Bar Neely'sLocation: On the couch inside the camper trailer at the Saul and Harris Street intersection, East South Vale. |
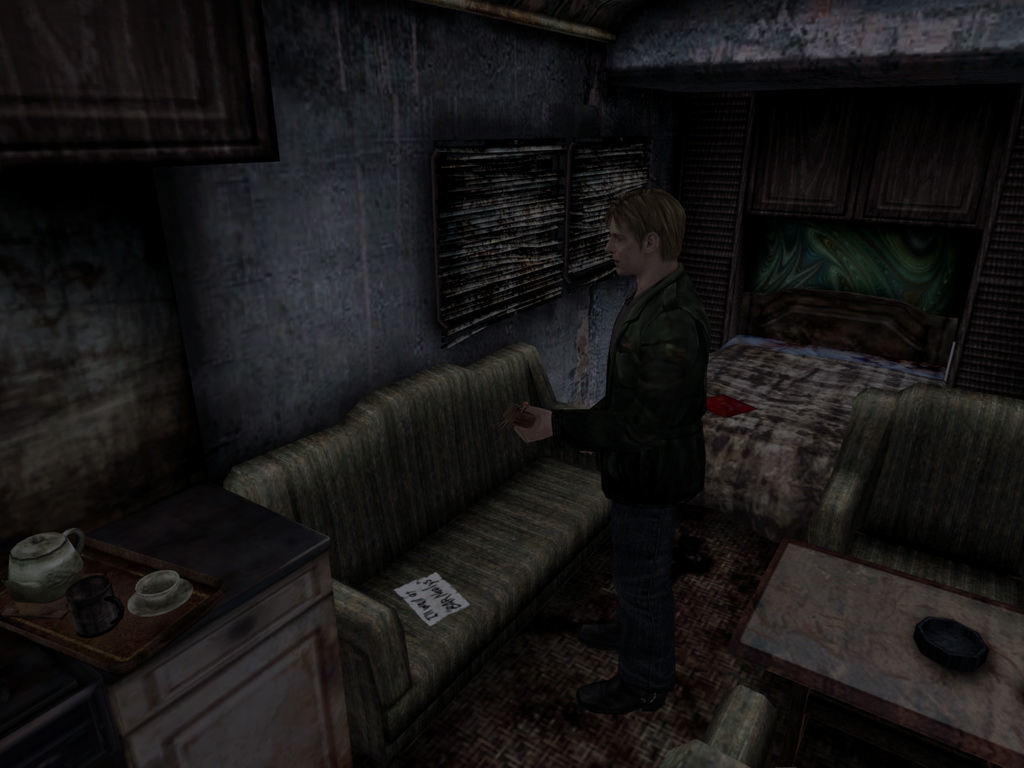 I'll wait at "BAR Neely's" |
"The door that wakes in darkness"Location: Written on the construction sheet wall by the door at the west end of Katz Street, East South Vale. |
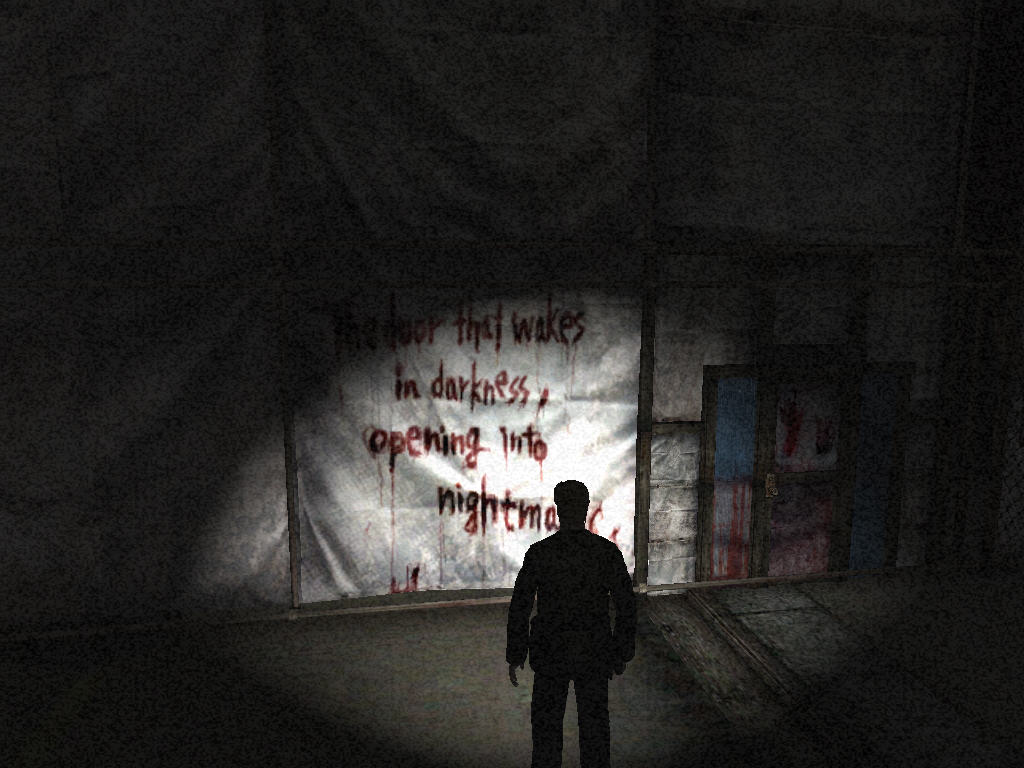 The door that wakes in darkness, |
Another ConclusionLocation: On the sewing machine table in room 205, Wood Side Apartments 2F, along with the other extra memo (only available if not all three main endings have been achieved). |
 "Searching for Another |
"The scars from the past"Location: Written on the right side of the clock in the clock room, room 208, Wood Side Apartments 2F. |
 The scars from the past shall |
Rosewater Park stoneLocation: To the right of the east entrance of Rosewater Park, West South Vale. |
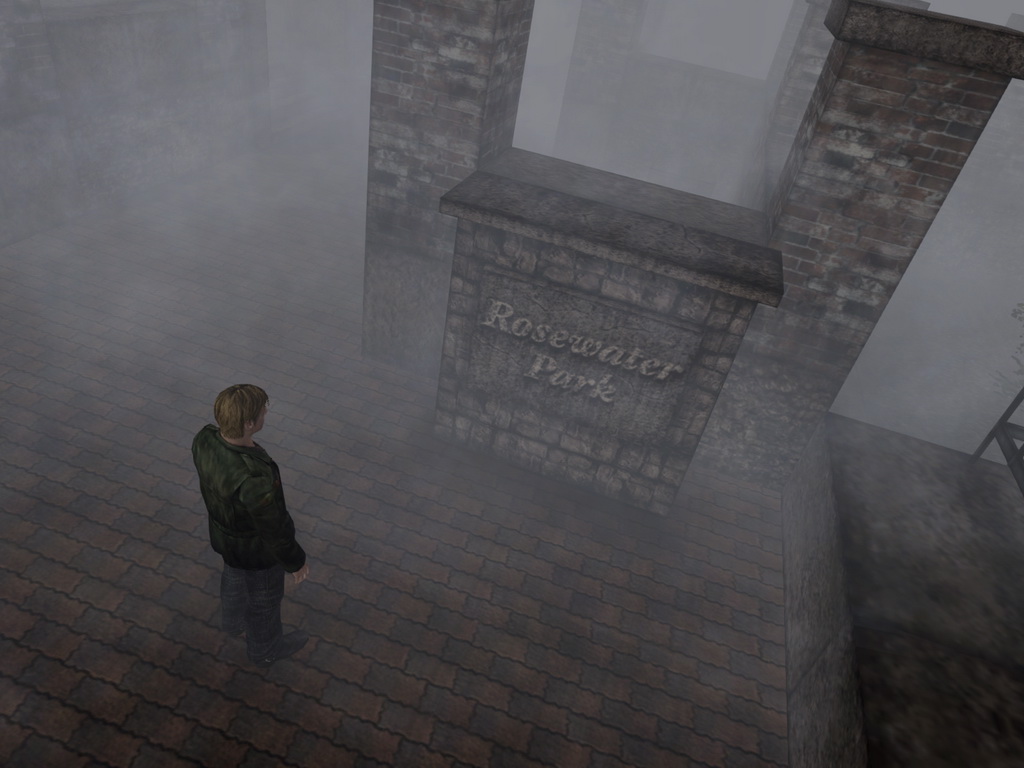 Rosewater Park |
Patrick ChesterLocation: Engraved in a monument on the east side of Rosewater Park, West South Vale. |
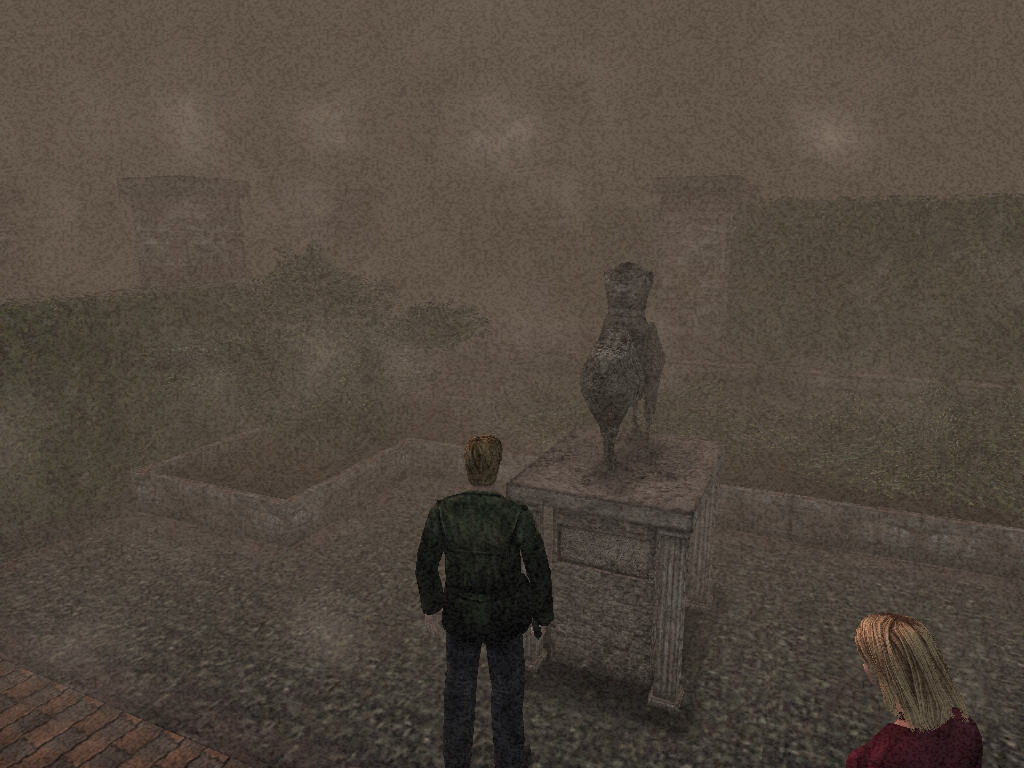 Patrick Chester, son of Edward. |
In memory of the sixty seven who diedLocation: Engraved in a monument along the lakefront of Rosewater Park, West South Vale. |
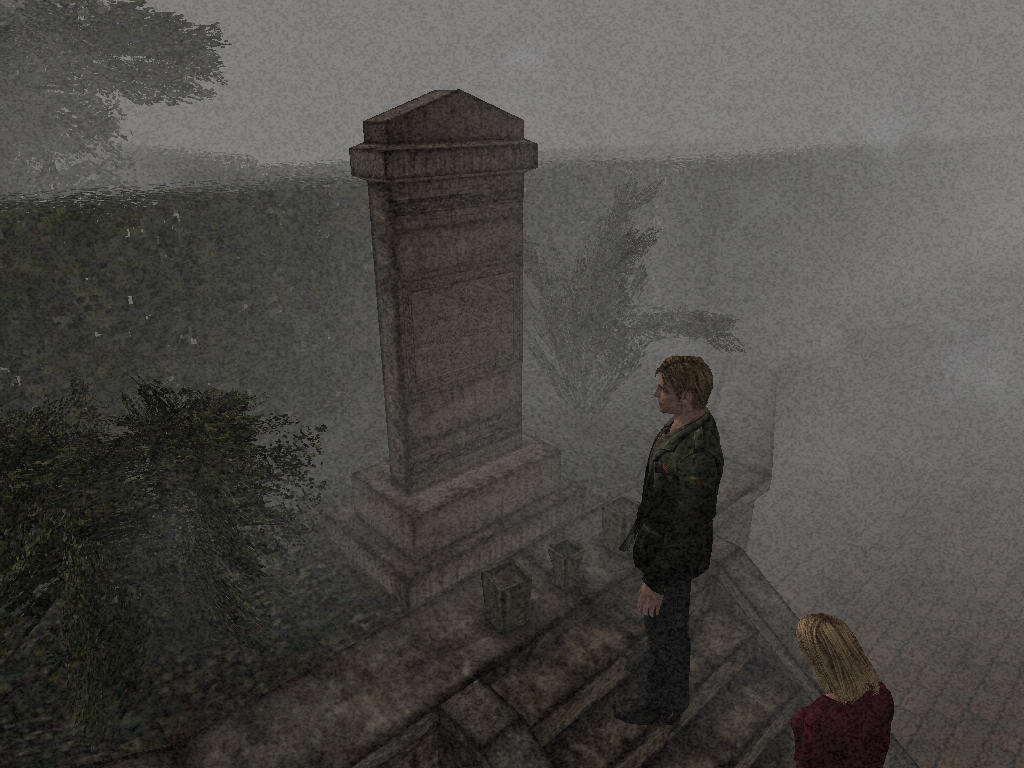 In memory of the sixty seven |
Jennifer CarrollLocation: Engraved in the praying woman monument at the west side of Rosewater Park, West South Vale. |
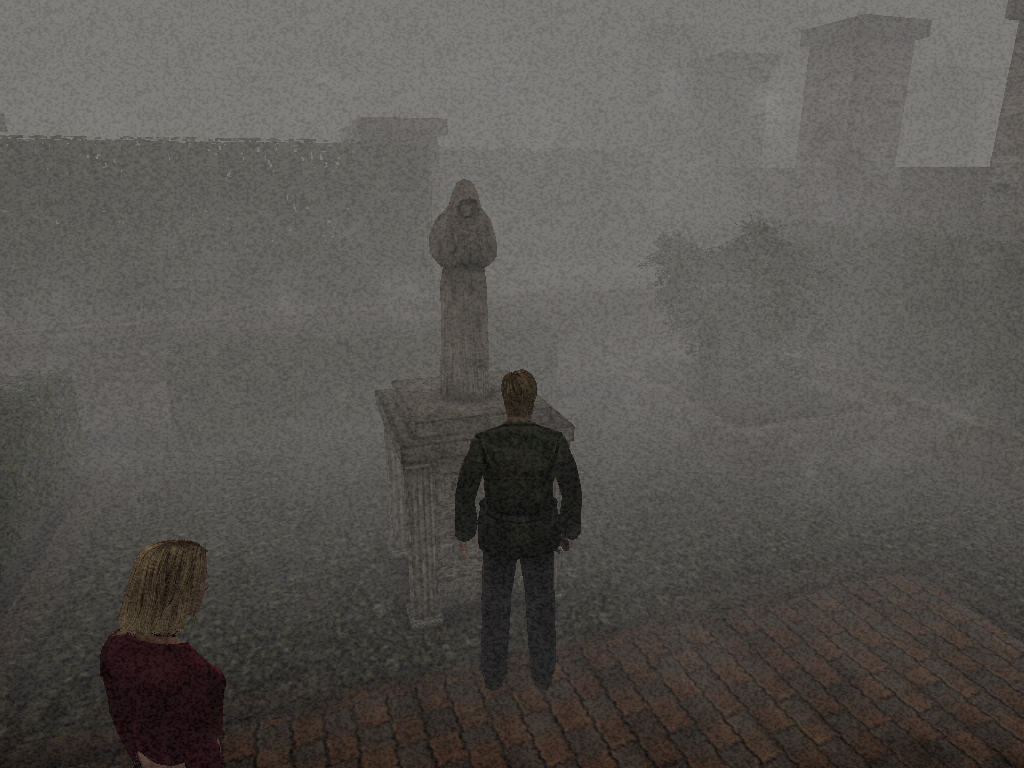 Victim of persecution Fully-legible version: Victim of persecution |
East Lakeview Hotel billboardLocation: Behind the ripped section of fence on the north side of Nathan Avenue near Rosewater Park, West South Vale. |
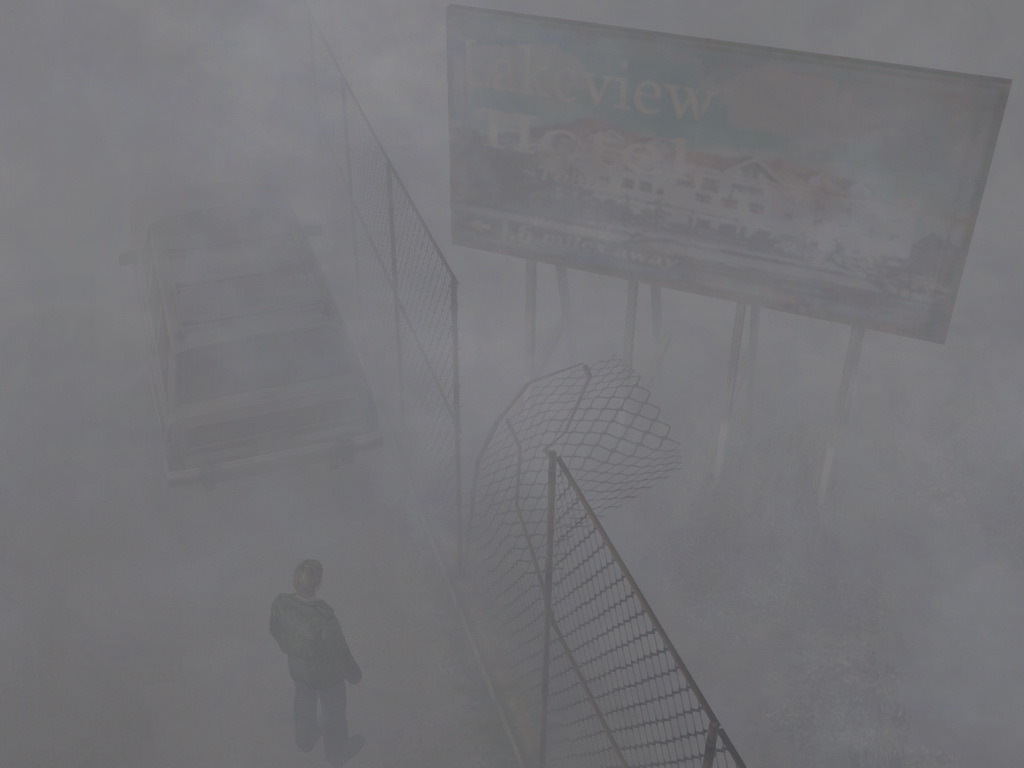 Lakeview Hotel |
Historical Society billboardLocation: Along the north side of Nathan Avenue near Pete's Bowl-O-Rama, West South Vale. |
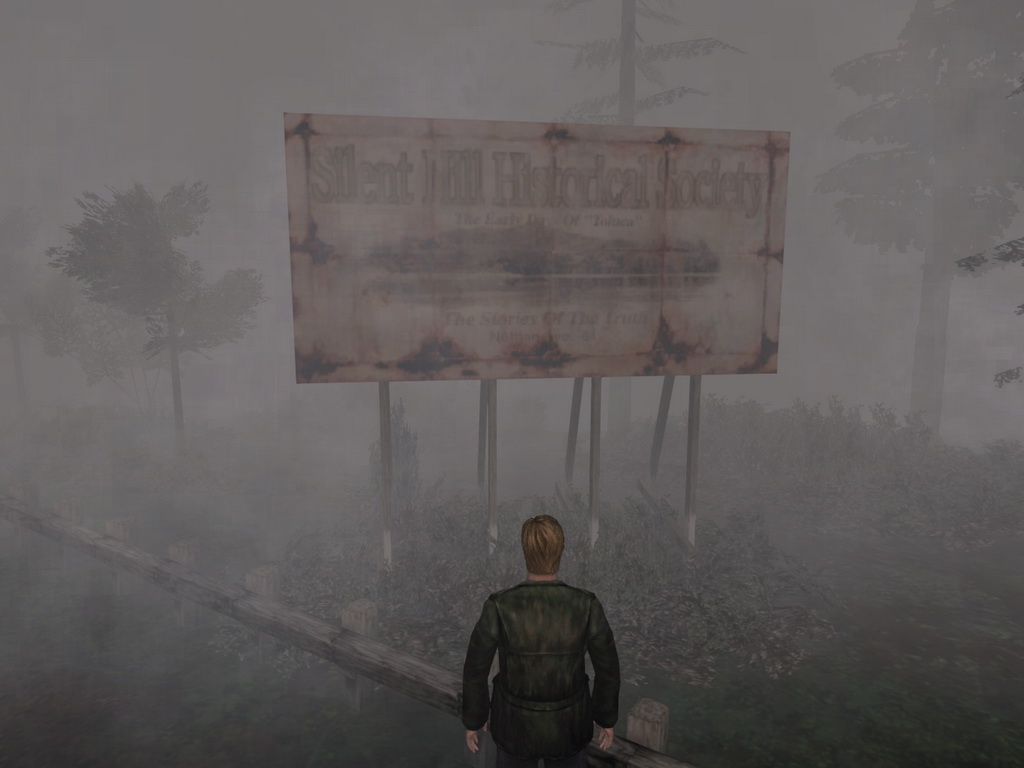 Silent Hill Historical Society |
West Lakeview Hotel billboardLocation: Resting on the ground at the north side of Nathan Avenue near the destroyed bridge, West South Vale. |
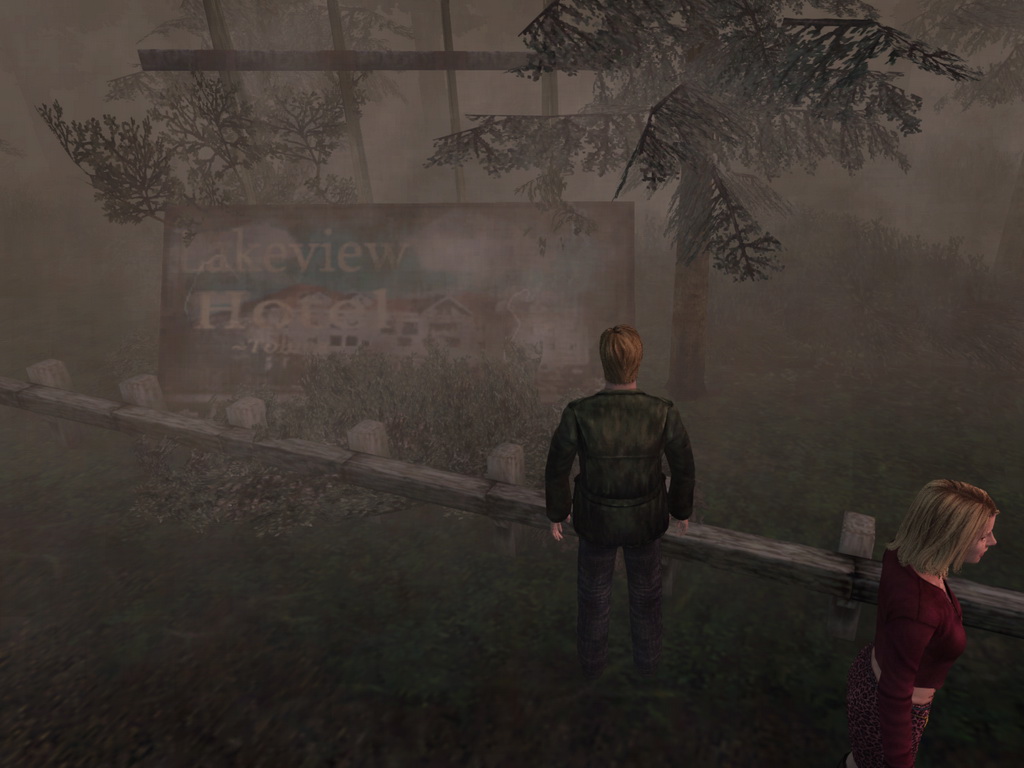 Lakeview Hotel |
Heaven's Night billboardLocation: Along the south side of Nathan Avenue near the destroyed bridge, West South Vale. |
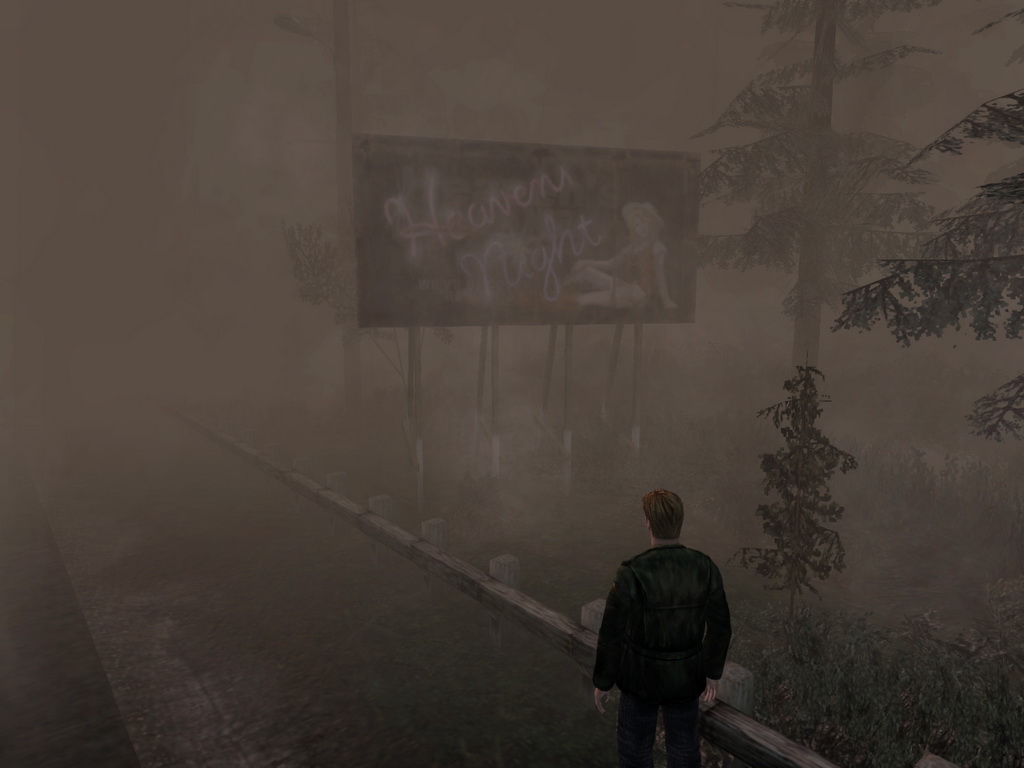 Heaven's Night |
Jacks Inn billboardLocation: Along the south side of Nathan Avenue near the Historical Society, West South Vale. |
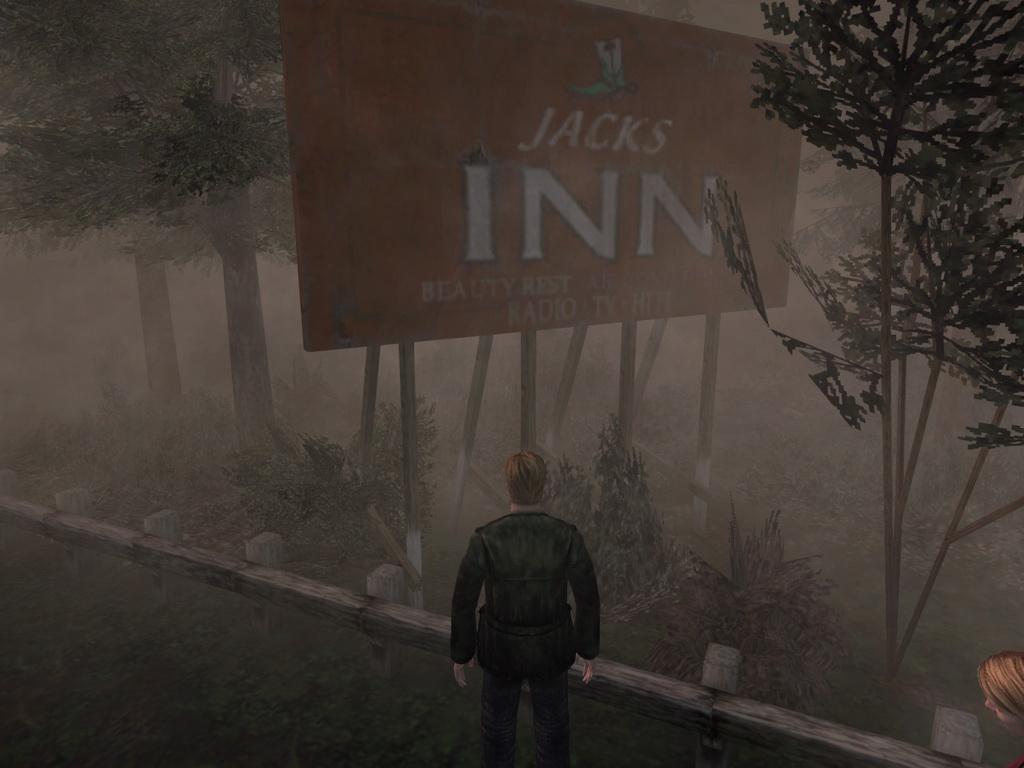 Jacks Inn |
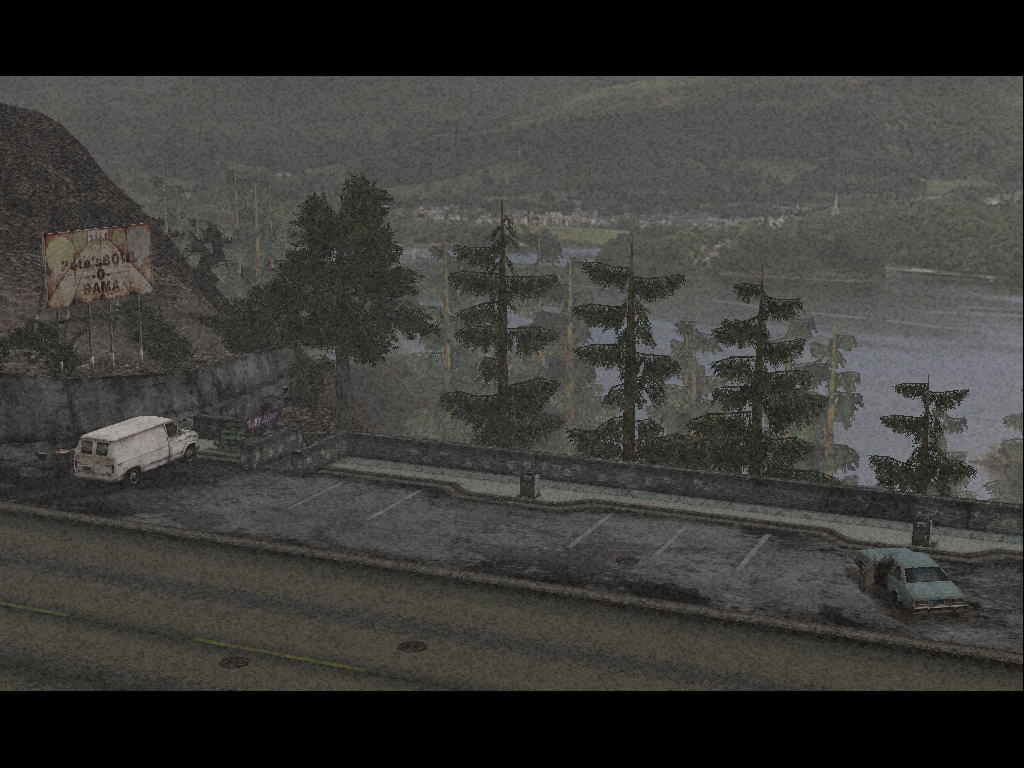
Pete's Bowl-O-Rama billboardLocation: Along the south side of Nathan Avenue near the Historical Society, West South Vale. |
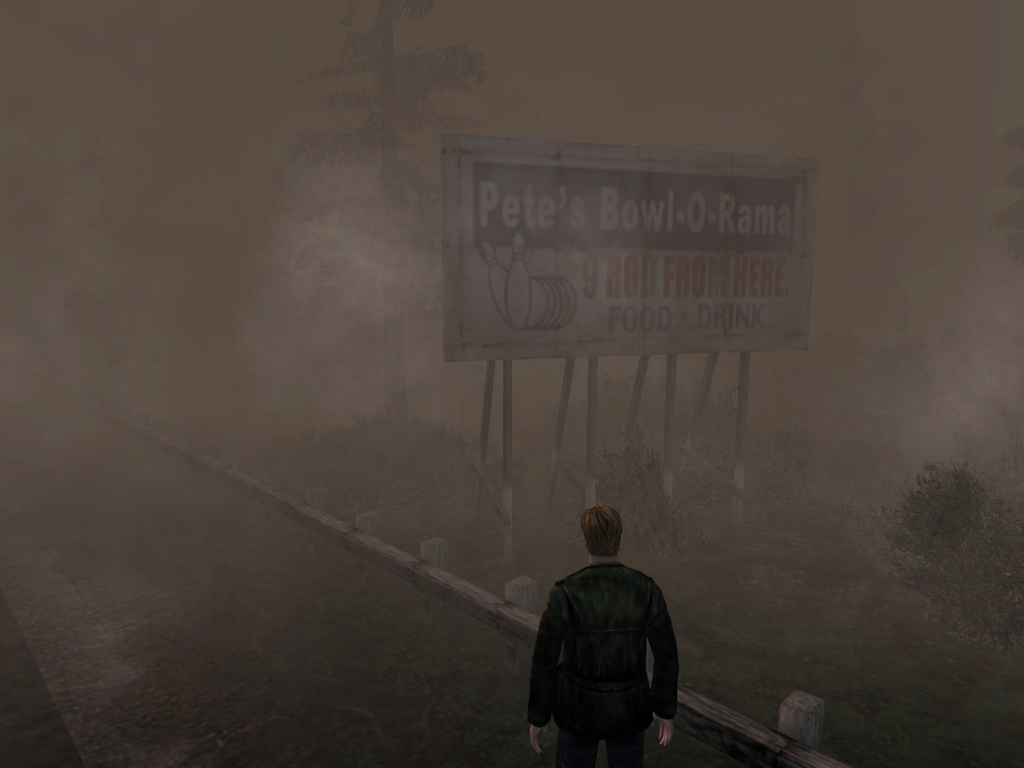 Pete's Bowl-O-Rama |
Heaven's Night neon signLocation: Inside on the wall by the front door to Heaven's Night, West South Vale. |
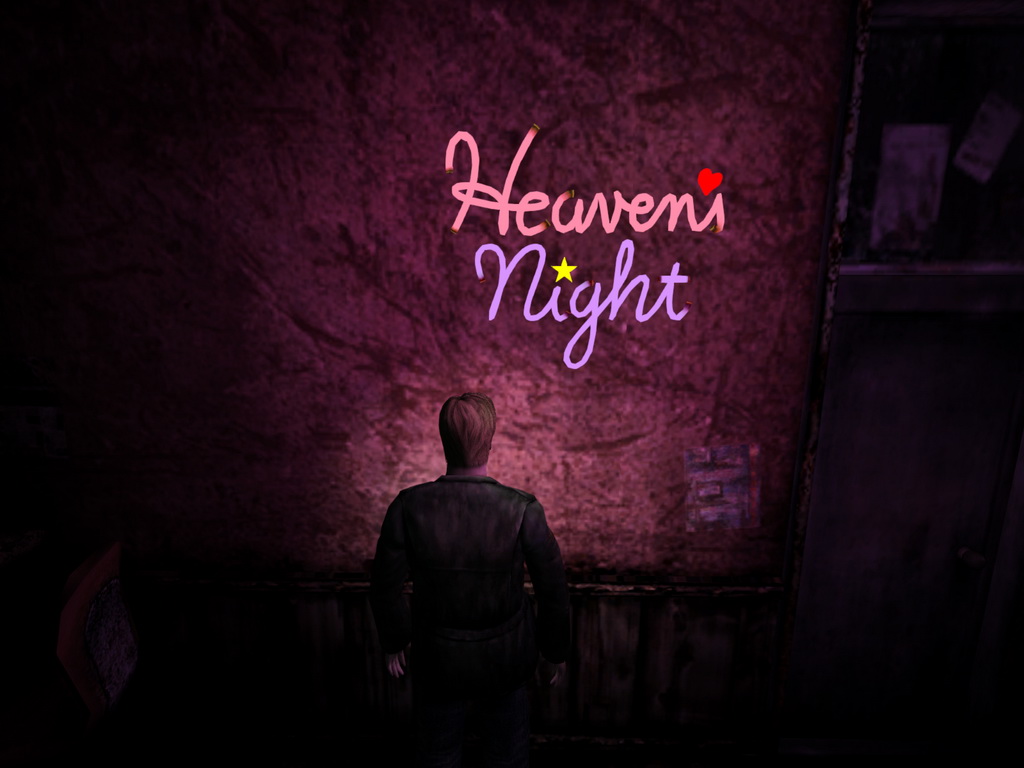 Heaven's Night |
Refrigerator noteLocation: Posted on the mini fridge in the Doctor's Lounge, Brookhaven Hospital 1F. |
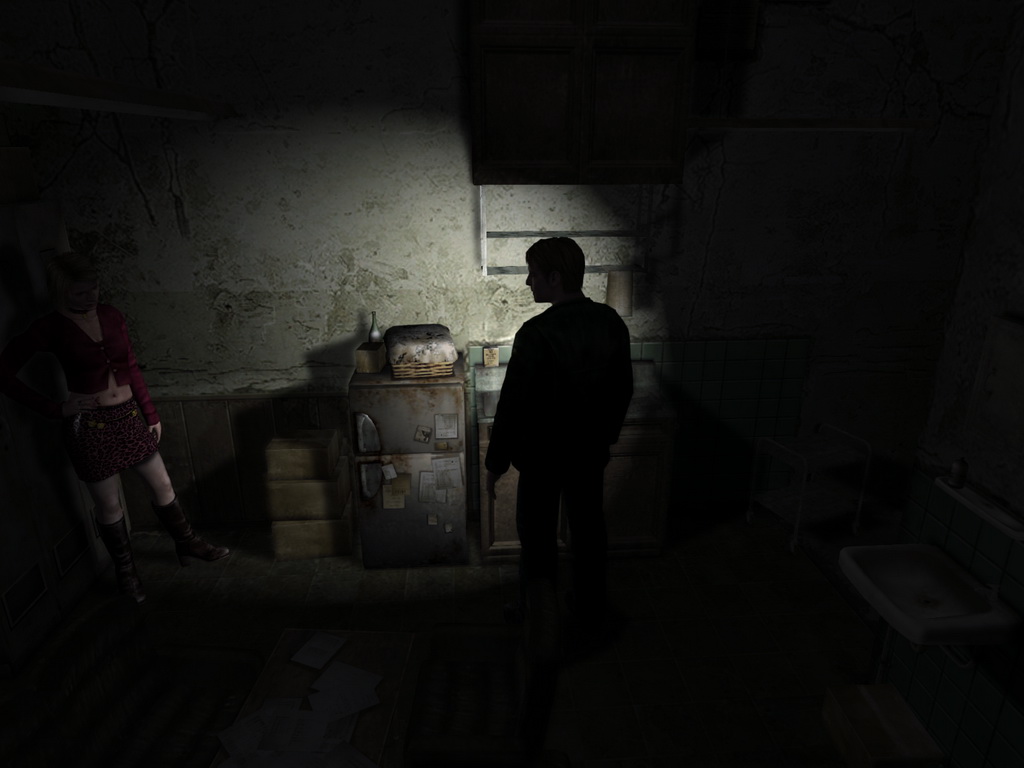 Food only! Do not store drugs! |
JosephLocation: On the wall by the door to the unlocked cell in the Special Treatment Room, Brookhaven Hospital 3F. |
 If Joseph looks calm, he can be |
Historical Society plateLocation: On the wall just outside the entrance to the Silent Hill Historical Society, Dark South Vale. |
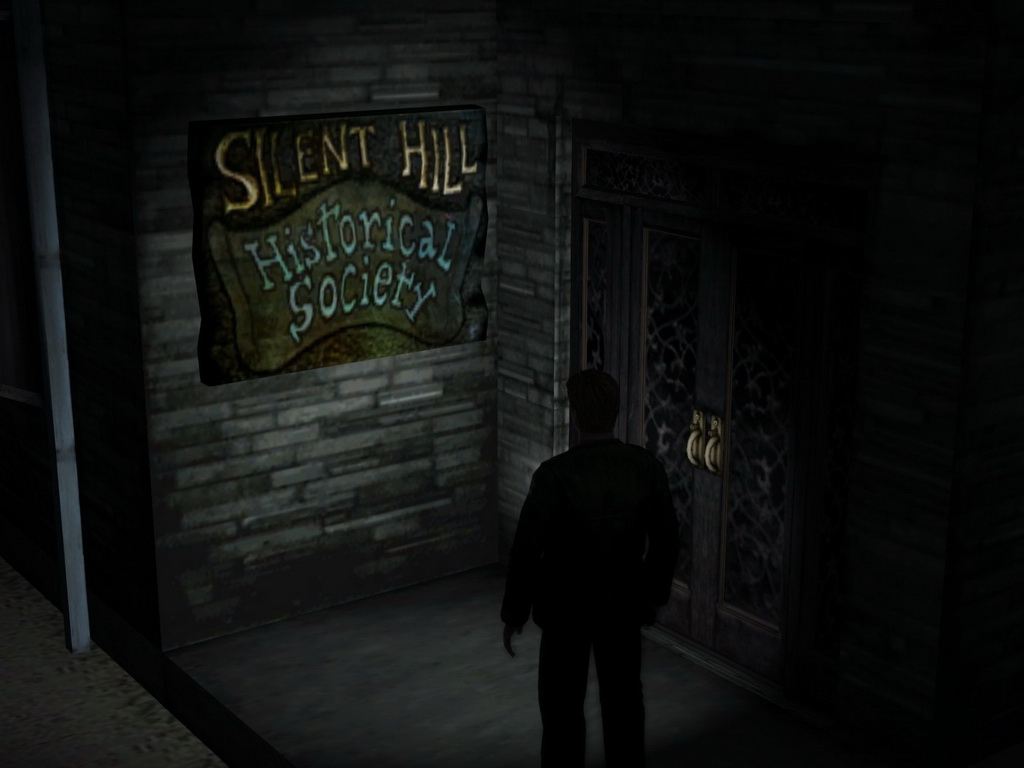 Silent Hill Historical Society |
Wiltse Coal MineLocation: The caption under the photo in the first exhibition room of the Silent Hill Historical Society. |
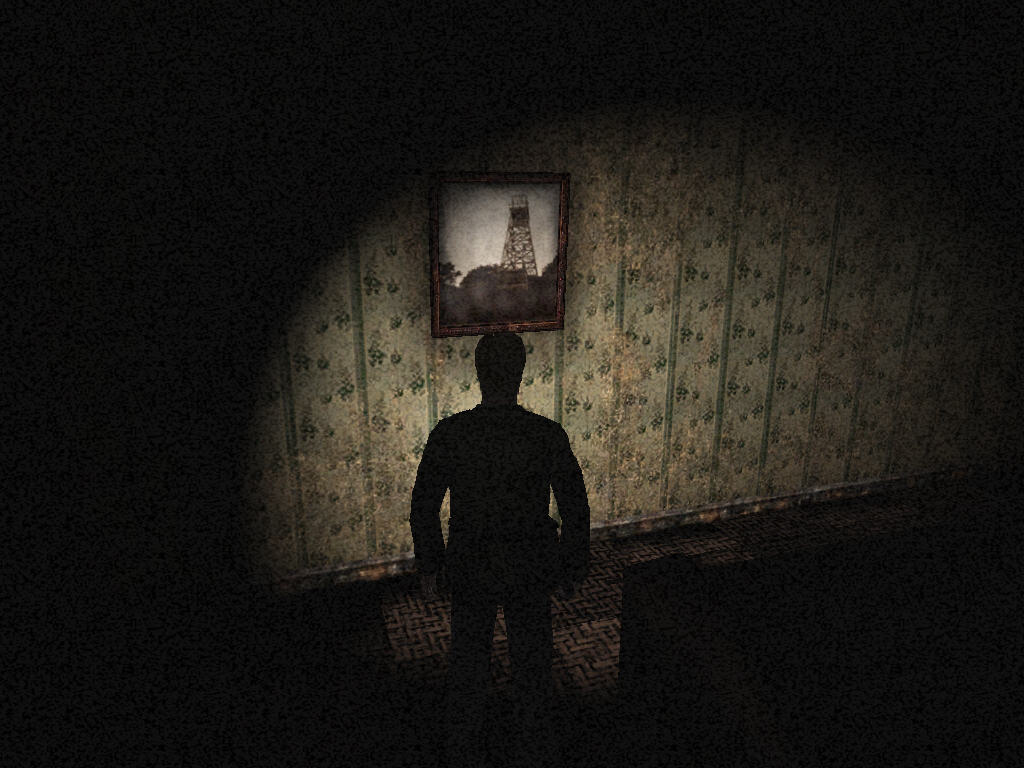 Wiltse Coal Mine |
Brookhaven HospitalLocation: The caption under the painting of the hospital in the second exhibition room of the Silent Hill Historical Society. |
 Brookhaven Hospital (1880) This hospital was built in |
Prisoner noteLocation: On the desk in the room at the bottom of the extremely long, descending hallway in the Silent Hill Historical Society. |
 September 11, 1820 |
Banquet paintingLocation: On the wall in the room in the prison-esque hallway after moving through the room down the very long, descending hallway, beneath the Silent Hill Historical Society. |
 Crimson and White Banquet |
Skewering paintingLocation: On the wall in the room in the prison-esque hallway after moving through the room down the very long, descending hallway, beneath the Silent Hill Historical Society. |
 Death by Skewering An execution at the prison. |
Toluca Prison Camp paintingLocation: On the wall in the room in the prison-esque hallway after moving through the room down the very long descending hallway, beneath the Silent Hill Historical Society. |
 Toluca Prison Camp Built during the Civil War. |
Book titles in prison cellLocation: On the bed and floor in an open cell in the south cellblock of Toluca Prison 1F (different titles at head and foot of bed). |
 "Black Magic from the Abyss" "The Chronicle of Agrippa" "On Sacrifice and the Art of "The Feast of the Succubi" |
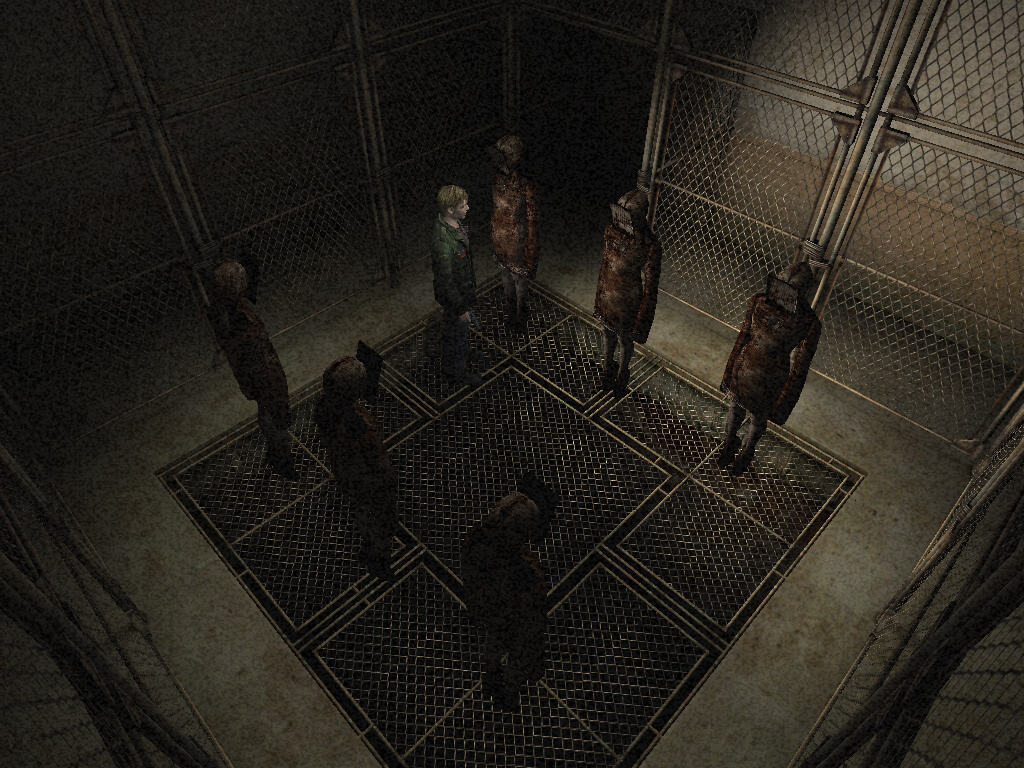
CounterfeiterLocation: The caption over the face of the counterfeiter in the room with the six standing corpses, Labyrinth (if present). |
 This man was hung for the |
KidnapperLocation: The caption over the face of the kidnapper in the room with the six standing corpses, Labyrinth (always present). |
This man was hung for the |
ThiefLocation: The caption over the face of the thief in the room with the six standing corpses, Labyrinth (if present). |
This man was hung for the |
Bodily InjurerLocation: The caption over the face of the bodily injurer in the room with the six standing corpses, Labyrinth (if present). |
This man was hung for the |
ArsonistLocation: The caption over the face of the arsonist in the room with the six standing corpses, Labyrinth (if present). |
This man was hung for the |
SwindlerLocation: The caption over the face of the swindler in the room with the six standing corpses, Labyrinth (if present). |
This man was hung for the |
EmbezzlerLocation: The caption over the face of the embezzler in the room with the six standing corpses, Labyrinth (if present). |
This man was hung for the
crime of embezzlement. Justice and revenge have been served. |
MurdererLocation: The caption over the face of the murderer in the room with the six standing corpses, Labyrinth (if present). |
This man was hung for the
crime of murder. Justice and revenge have been served. |
Notice!Location: On the fence in the room with the six nooses, Labyrinth. |
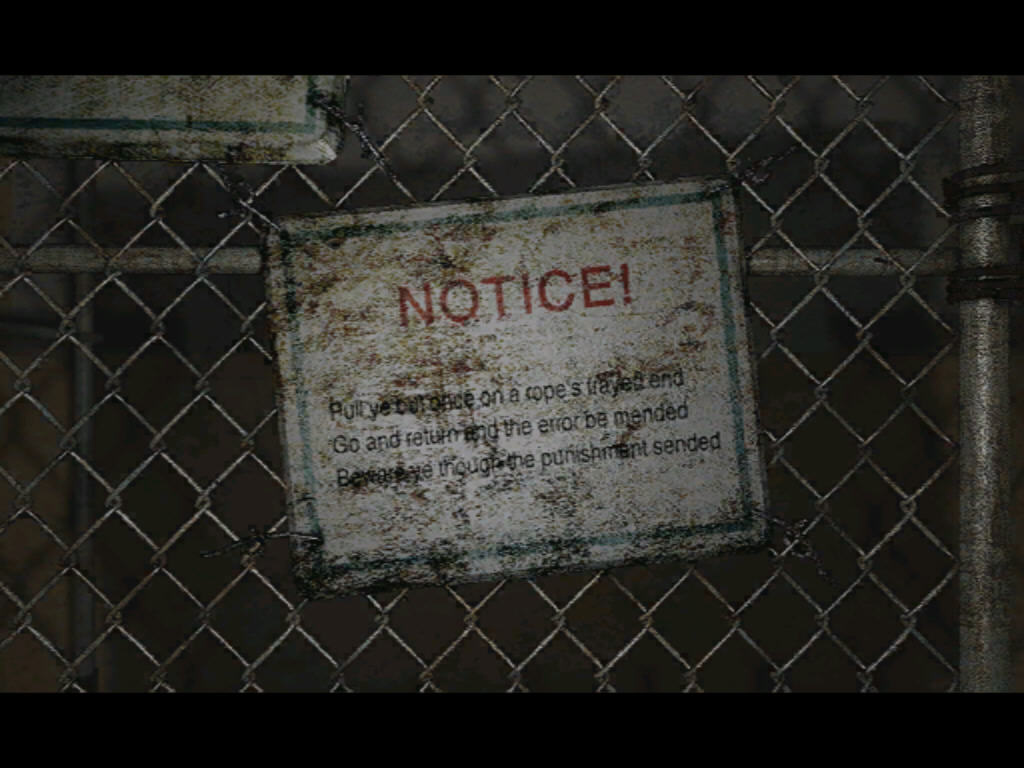 Only the sinless one Note: the above is what is captioned, however the message seen on the sign in the game is completely different. NOTICE! Pull ye but once on a rope's trayed end Note: "trayed" is a typo and should read "strayed" |
The FelonLocation: Inscribed on a tombstone in the catacomb, Labyrinth. |
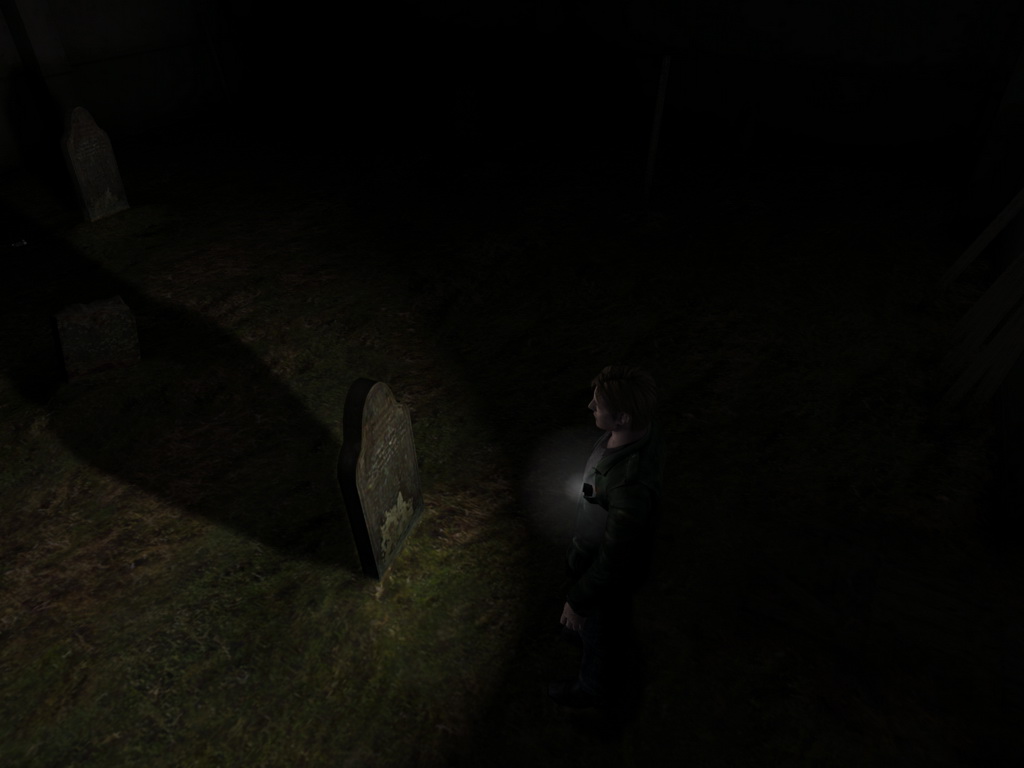 This felon drank one last |
Walter Sullivan's TombstoneLocation: Inscribed on a tombstone in the catacomb, Labyrinth. |
 Walter Sullivan |
Miriam K.'s TombstoneLocation: Inscribed on a tombstone in the catacomb, Labyrinth. |
 Miriam K. -"Traitor" |
James' TombstoneLocation: Inscribed on the tombstone of the open grave in the catacomb, Labyrinth. |
 James Sunderland |
Angela's TombstoneLocation: Inscribed on the tombstone of the left dirt-filled grave in the catacomb, Labyrinth. |
 Angela Orosco |
Eddie's TombstoneLocation: Inscribed on the tombstone of the right dirt-filled grave in the catacomb, Labyrinth. |
 Eddie Dombrowski |
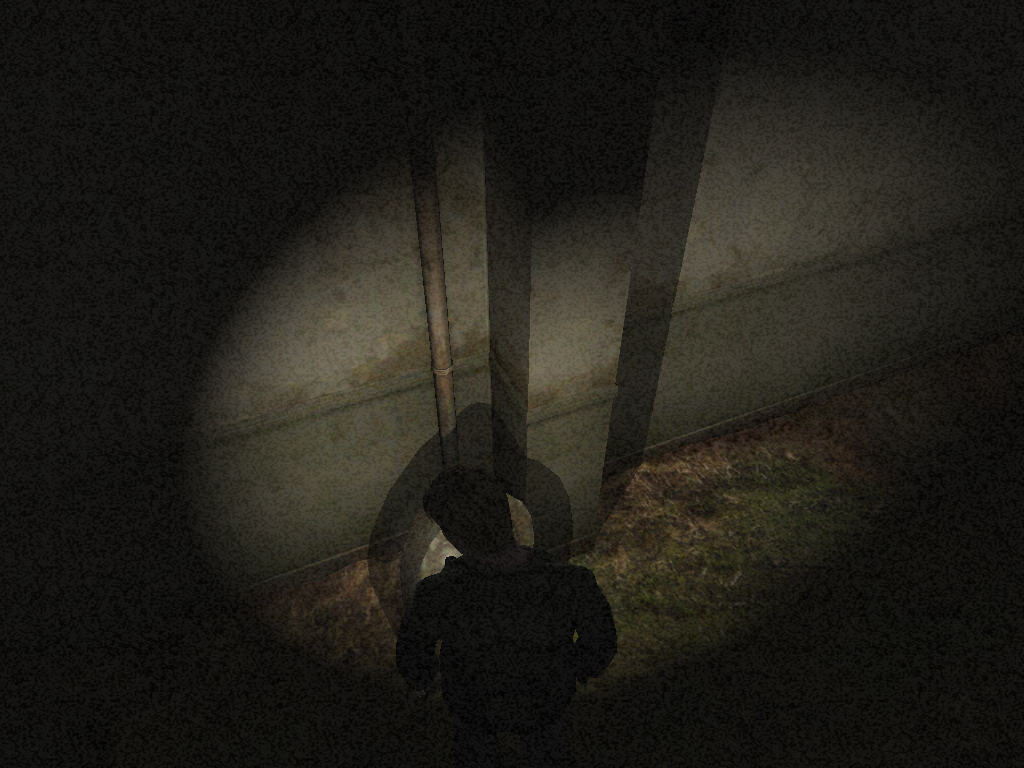
Toluca Lake dock wallLocation: Written in large letters on the Toluca Lake dock wall. |
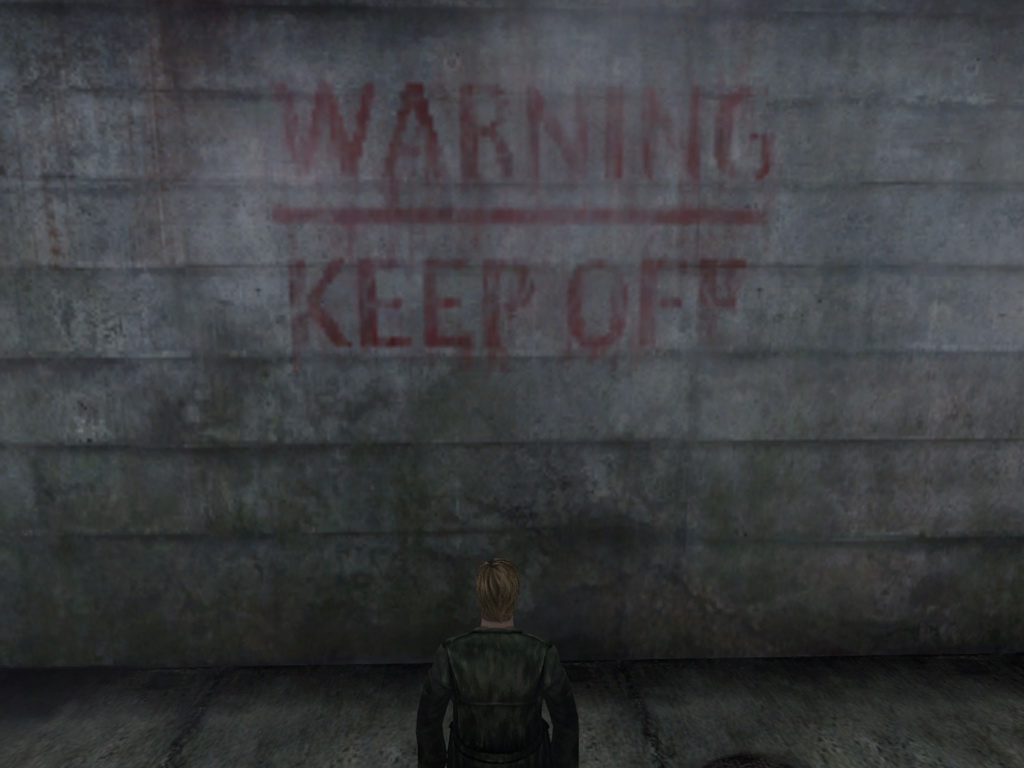 WARNING |
Hotel Map noteLocation: Written on the guest map, found on the noticeboard in the back 1F hallway, just inside Lake View Hotel. |
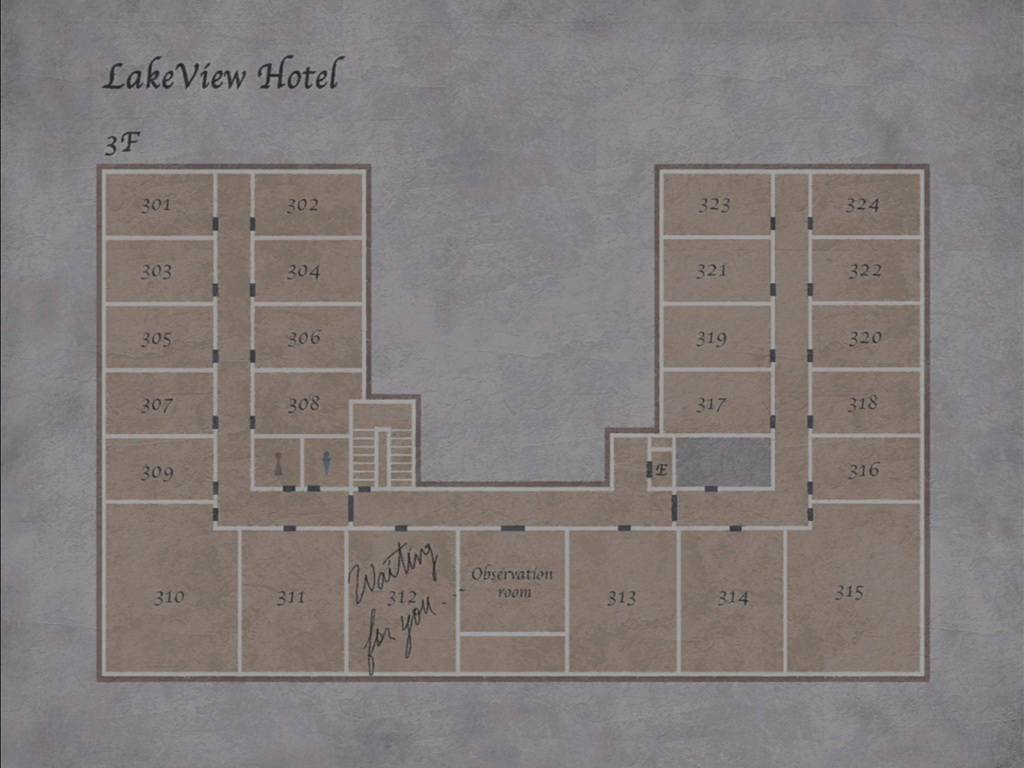 [written in handwriting inside the box of room 312 on the map] Waiting for you... |
Venus tears plateLocation: On the wall by the entrance door of the Venus Tears bar, Lake View Hotel B1F. |
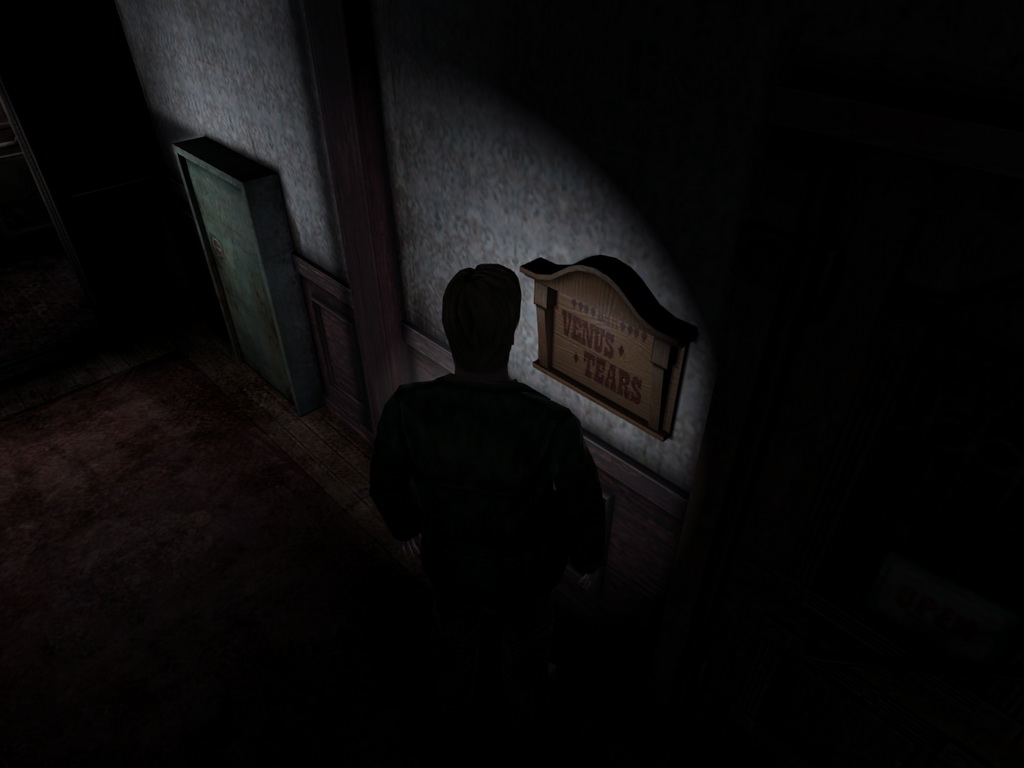 Venus tears |
Weight allowance noteLocation: Posted on the panel inside the elevator in the Employee Elevator Room, Lake View Hotel 2F. |
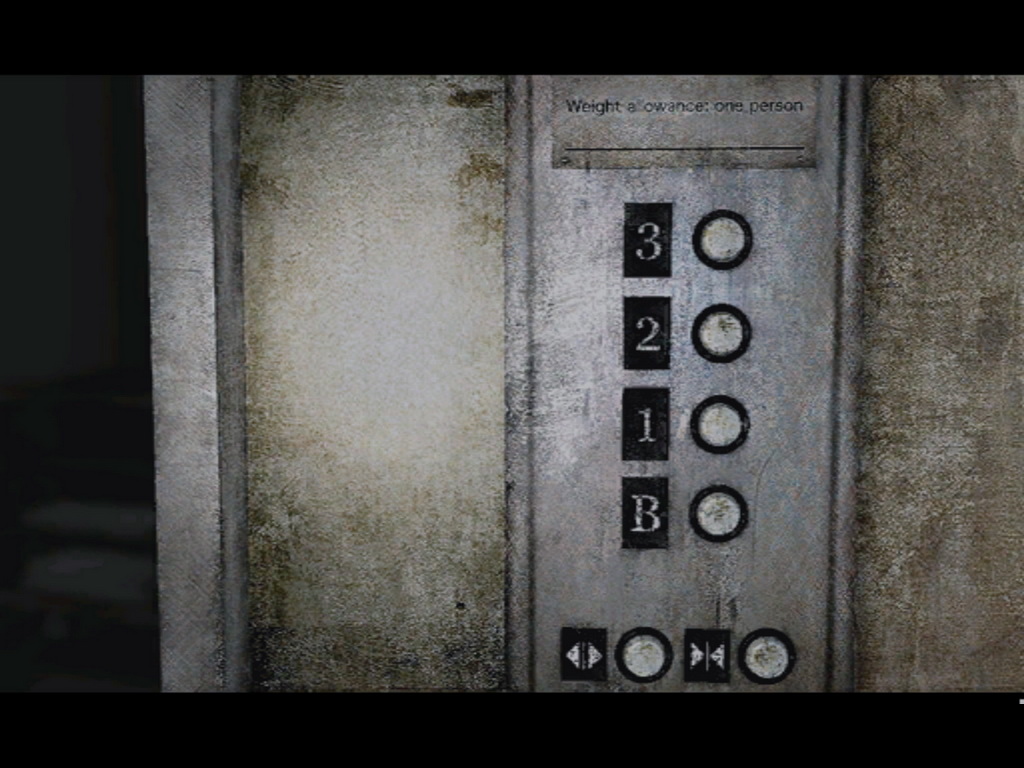 Weight allowance: one person |
Heater noteLocation: On the back of the small circular heater in the Employee Lounge, Lake View Hotel 1F (only viewable with the Flashlight on a second trip to the employee-only wing). |
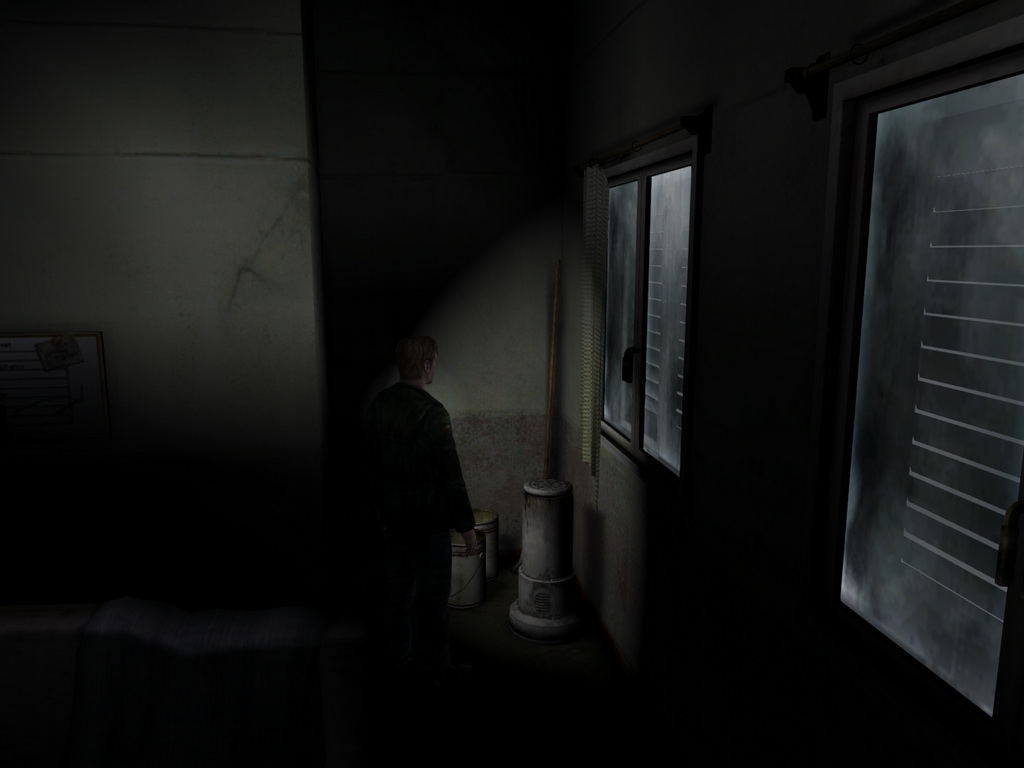 "I'm Johnny, one hot guy." |
Music Box puzzleLocation: Inscribed in the three slots of the large music box player in the Lobby, Lake View Hotel 1F. |
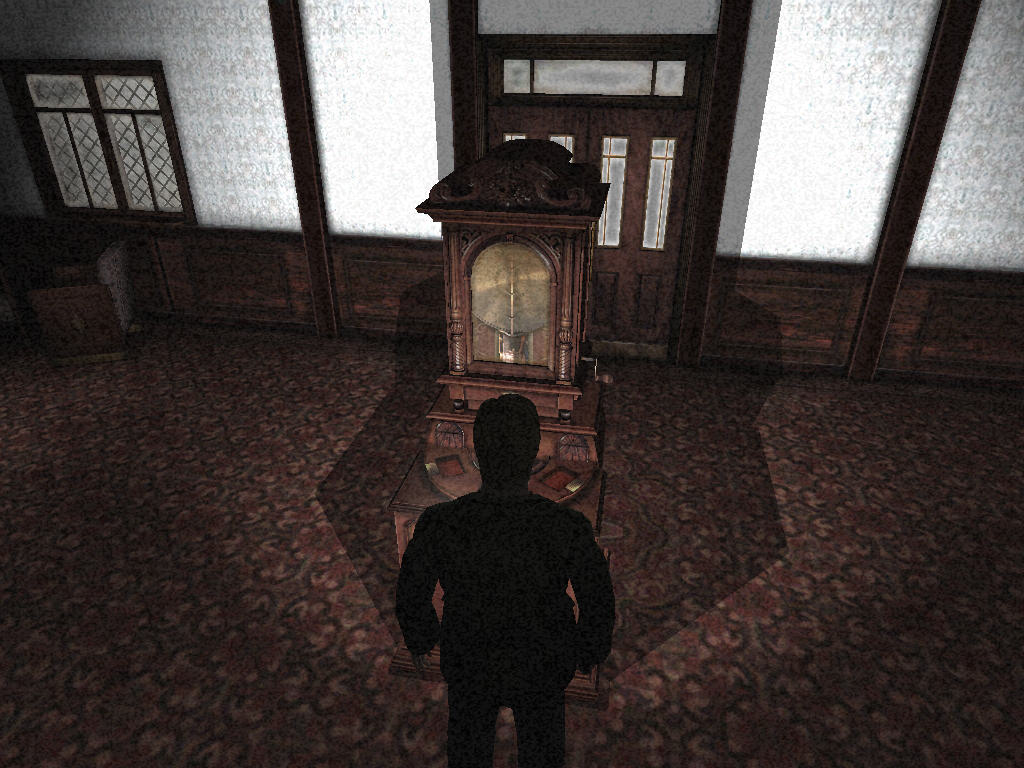 Easy Riddle Level When the Lost One is returned Normal Riddle Level Seat of the Princess Seat of the Princess Seat of the Princess Hard/Extra Riddle Level Twas shameful greed did stain Even so, I still want to believe Beauty - Both a blessing |
Born from a Wish
MemosAll of these memos can be found in the Memo menu of your inventory once you've read them. They usually contain useful information or hints about puzzles. |
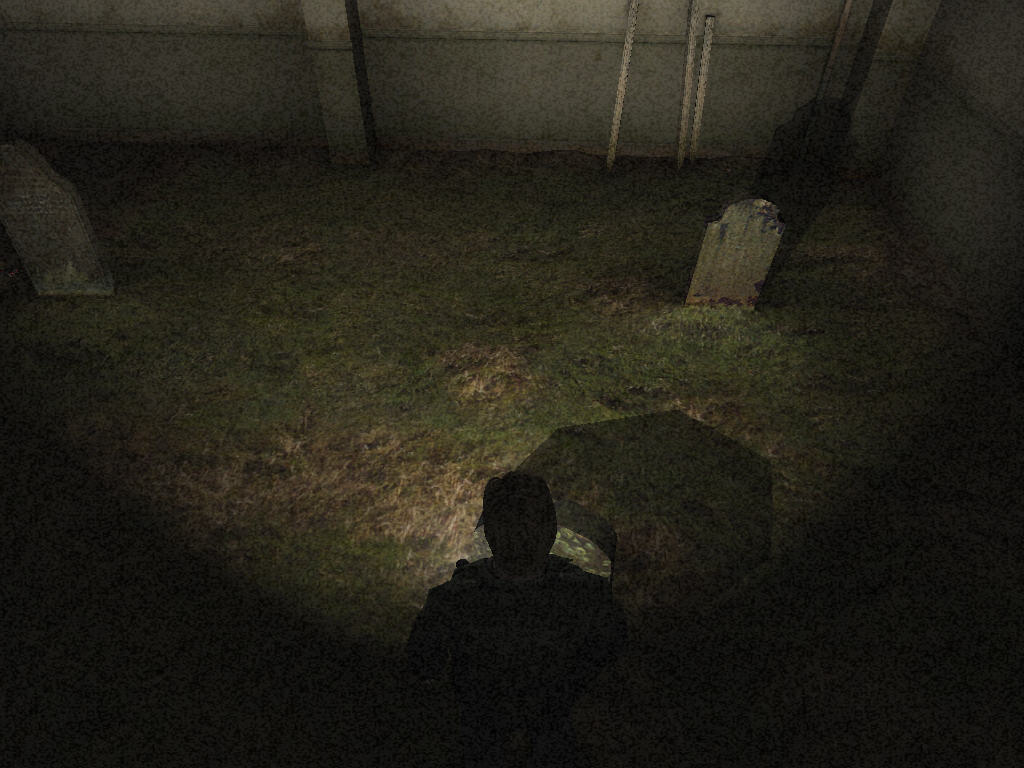
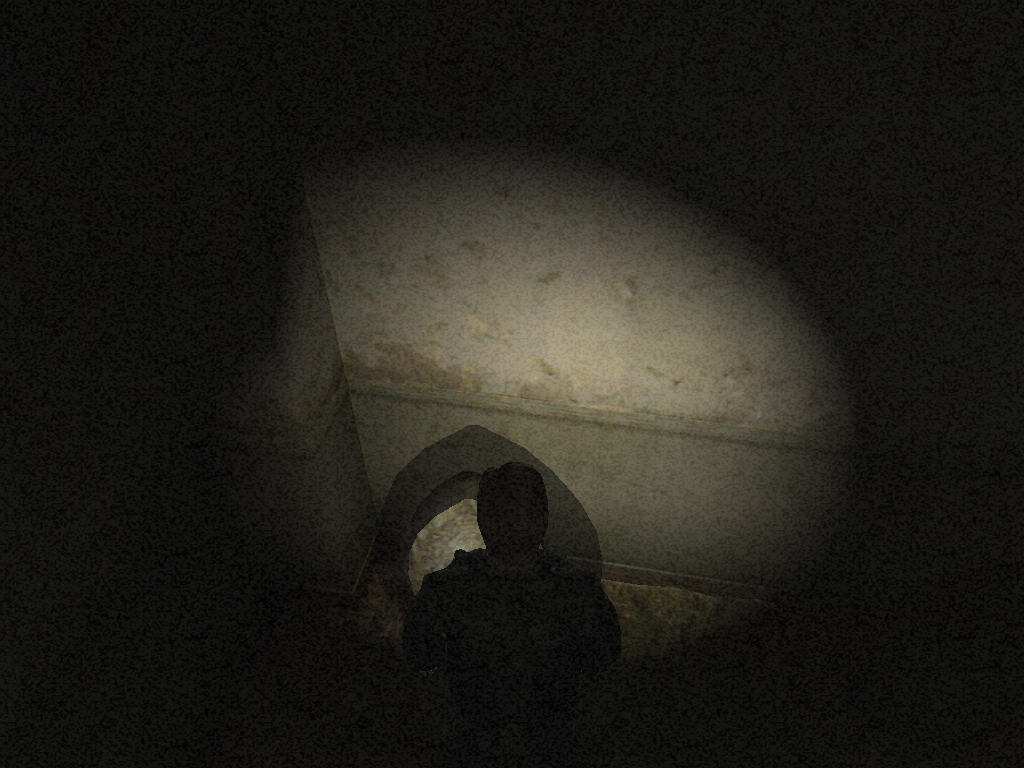
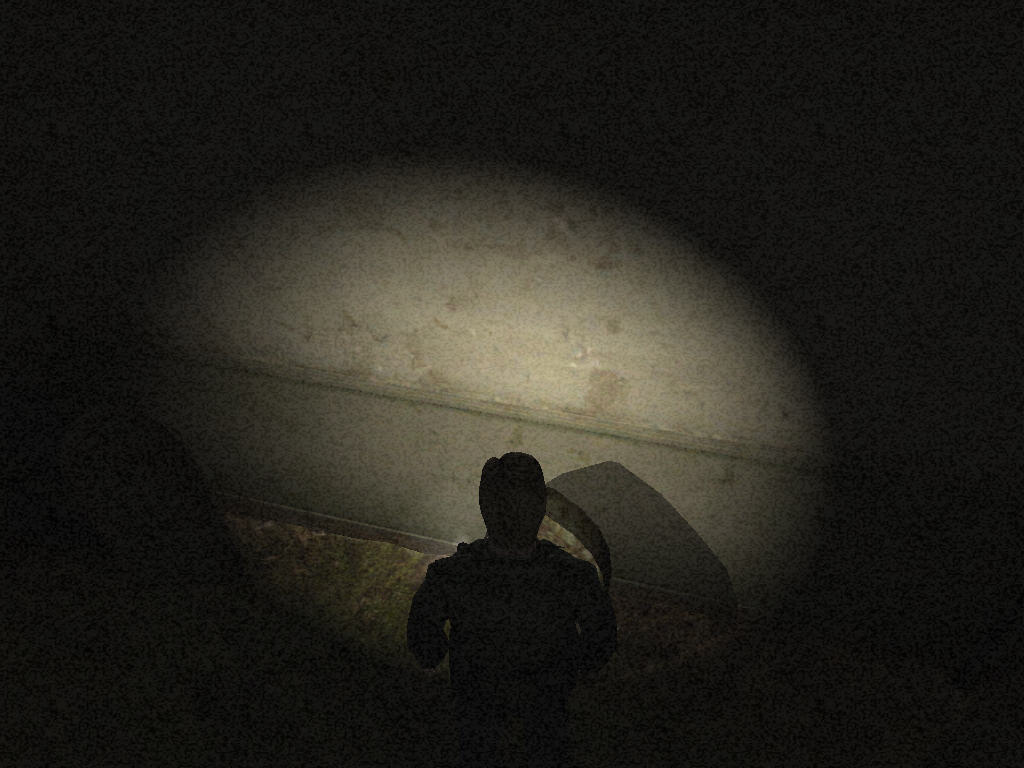
Inner Garden TombstoneLocation: Engraved in the tombstone in the garden, up the ladder from the fireplace in the Living Room, Baldwin Mansion. |
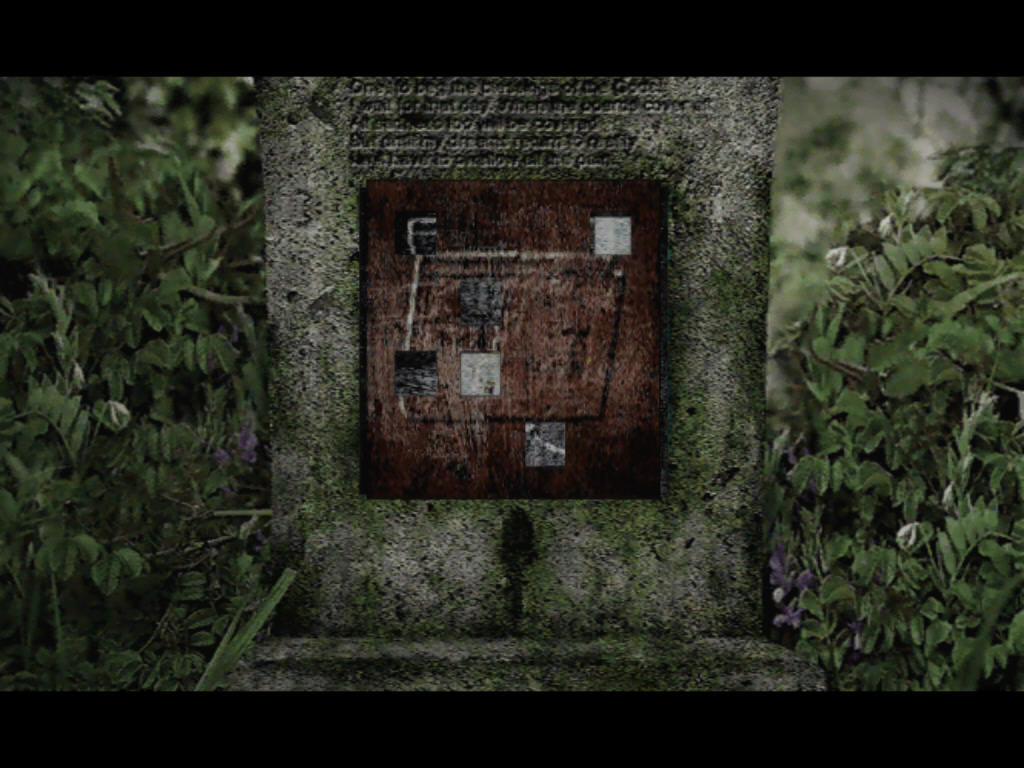 Along with you died joy. But I will never give up. When the boards cover all |
Plant Encyclopedia: AcaciaLocation: On the coffee table inside the Lounge, Baldwin Mansion 2F. |
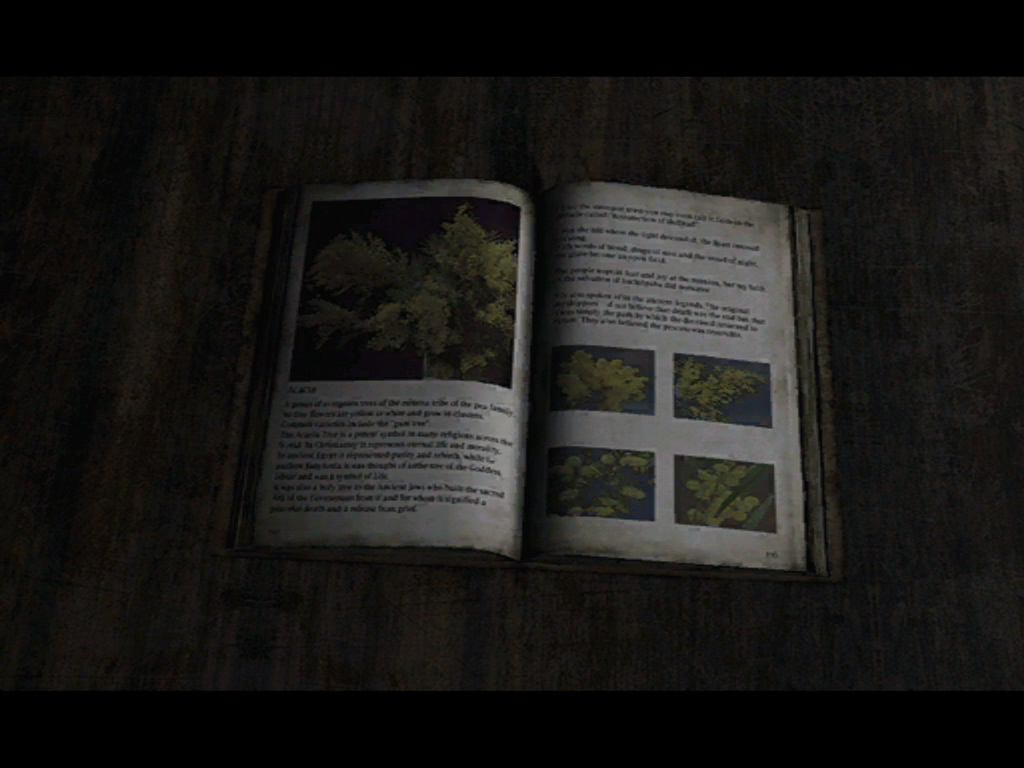 Acacia A genus of evergreen trees of the The Acacia Tree is a potent symbol In ancient Egypt it represented It was also a holy tree to the Note: In the last paragraph, the word "Covenenant" is a spelling error; it should read "Covenant"] |
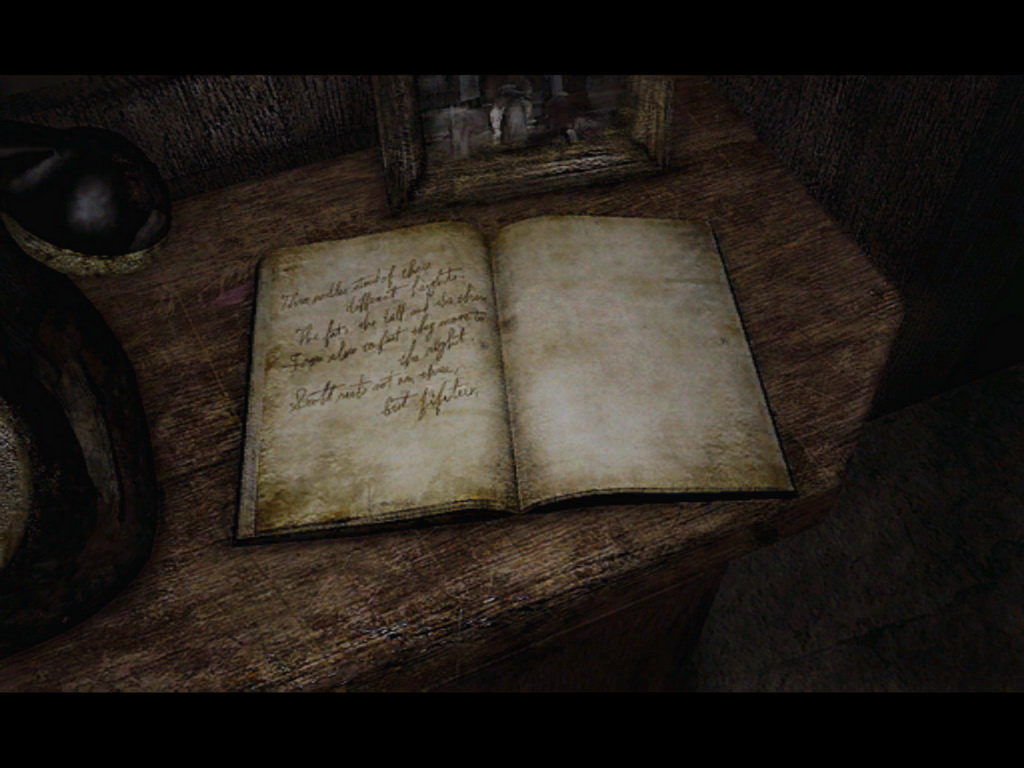
"Lost Memories"Location: On the table in the Study, Baldwin Mansion 1F. |
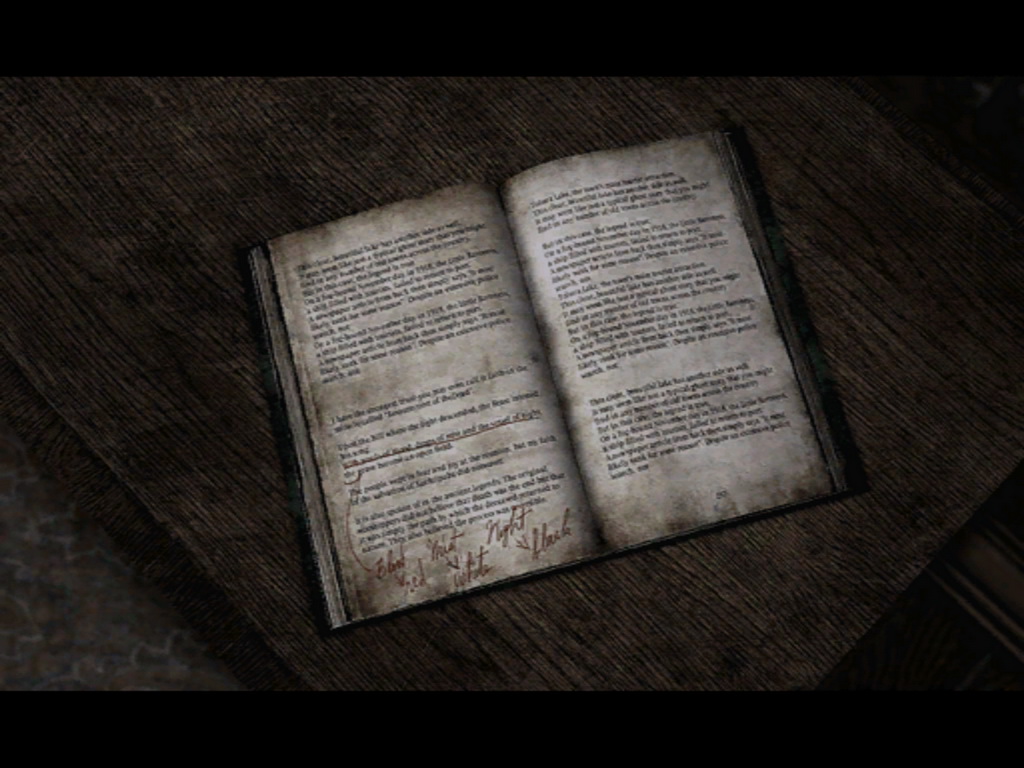 "Lost Memories" I have the strongest trust - you may Upon the hill where The people wept in fear and joy It is also spoken of in the ancient (There's something imprinted Blood = Red, Note: In the first paragraph, the word "Ressurection" is a spelling error; it should read "Resurrection" |
Item MemosThese memos can be read by examining the respective item from your inventory after acquiring it. The locations for the memos below are the locations of the items themselves. |
White BoardLocation: On the floor of the north Entrance Hall balcony, Baldwin Mansion 2F. |
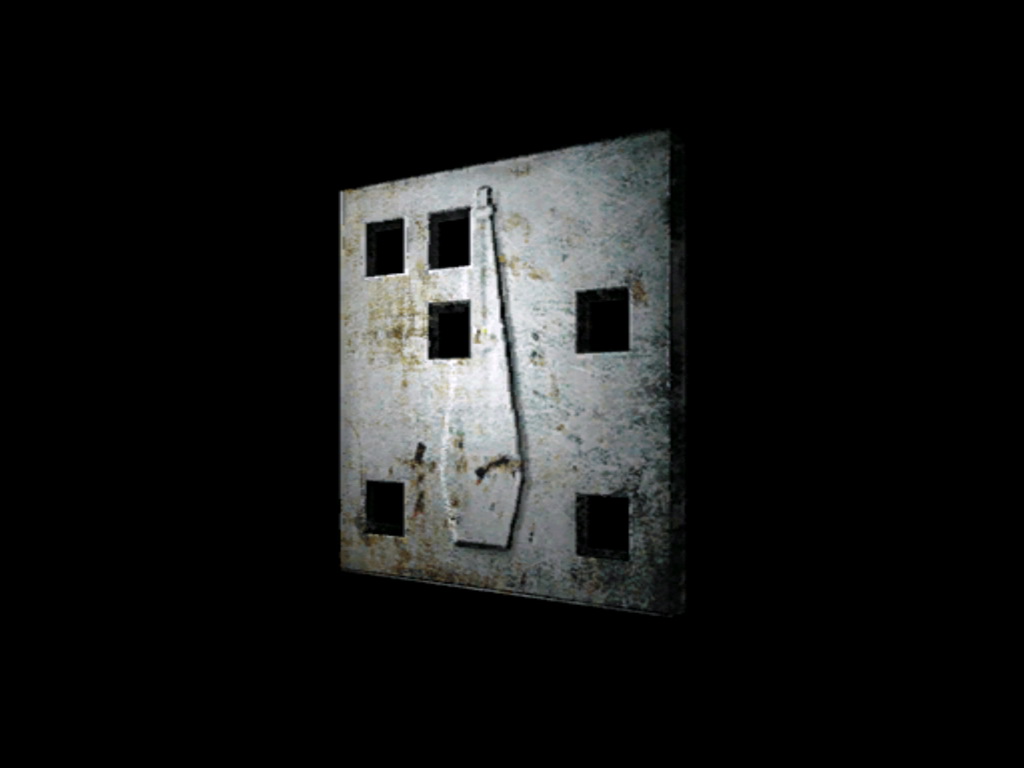 [Written on back of board] When the White Breath is found, |
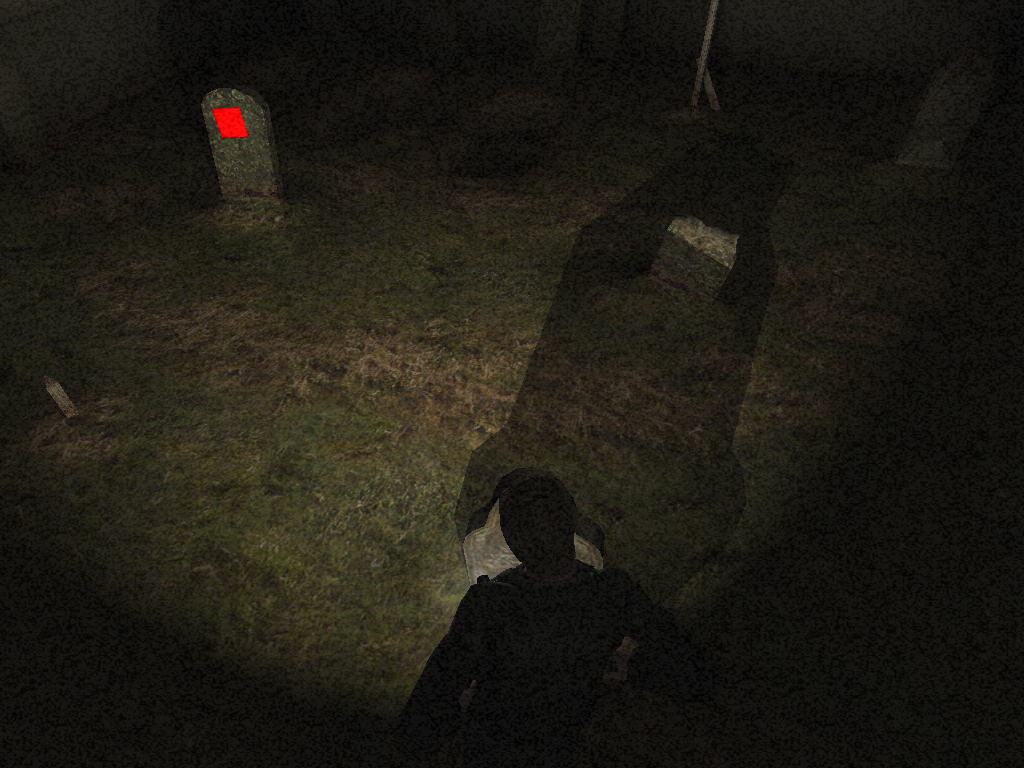
Black BoardLocation: On the ground by the garden gravestone, up the ladder from the fireplace in the Living Room, Baldwin Mansion. |
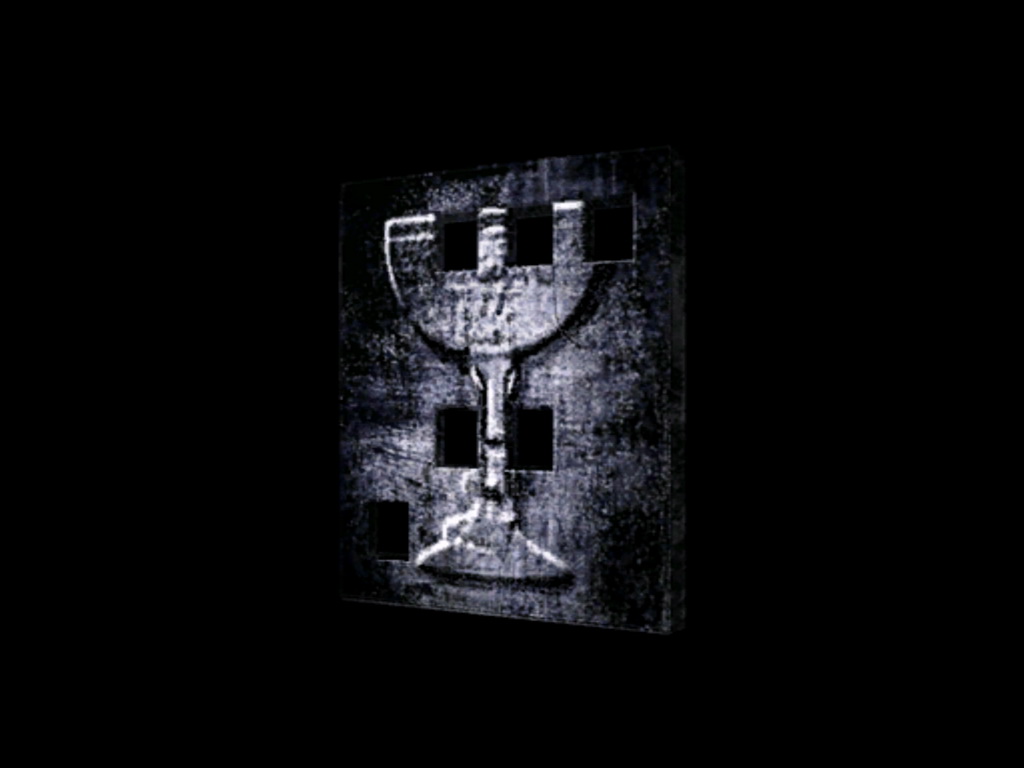 [Written on back of board] When the Dark Grail is found, |
Red BoardLocation: On the ground by the garden gravestone, up the ladder from the fireplace in the Living Room, Baldwin Mansion. |
 [Written on back of board] When the Crimson Words are found, |
Birthday CardLocation: Under the chair in the attic, Baldwin Mansion (the candle must be lit with the Matches to find it). |
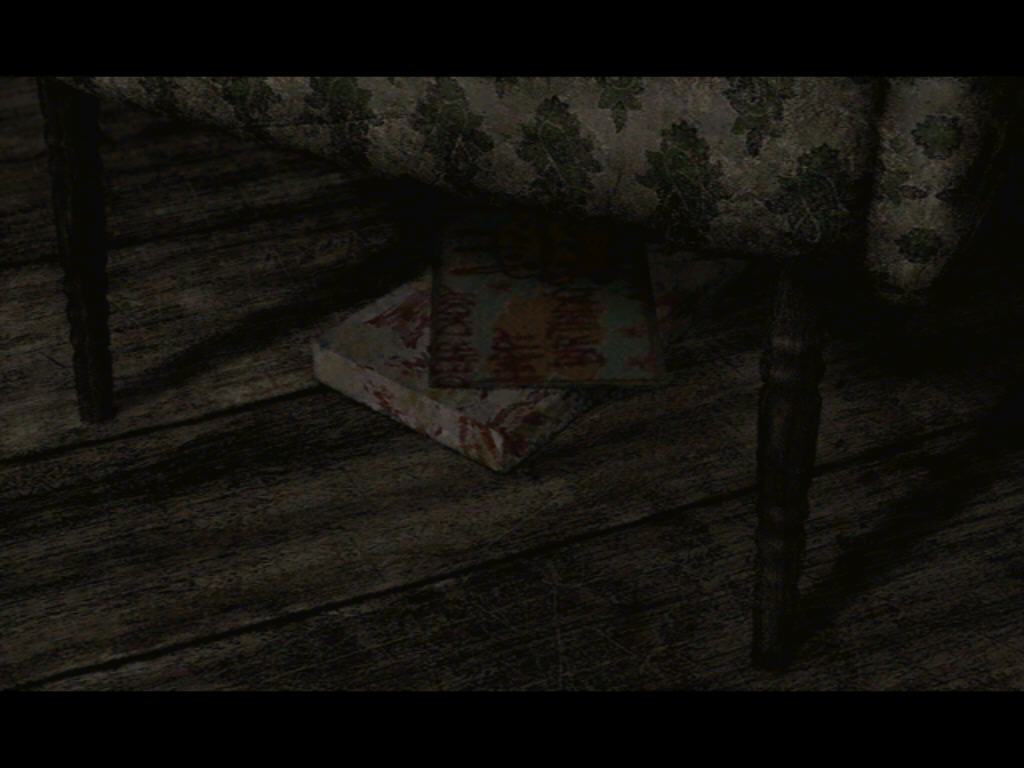 TO MY DEAREST DADDY |
NotesThe following are only small notes that won't be listed in the Memo menu of your inventory upon finding, but they're still fairly interesting notes or pieces of lore, captioned with the same blue tint font as memos. They do not have their own titles, however I've added them here to identify them. |
Heaven's Night neon signLocation: Inside on the wall by the front door to Heaven's Night, West South Vale. |
 Heaven's Night |
Plate on the floorLocation: On the floor in the roach-infested hallway down the 1F southern stairway. |
 Amy Baldwin She was loved too much by God. |
Haunted Mansion WarningLocation: Spray-painted in red on the exterior wall of the Baldwin Mansion, in the yard connecting to Blue Creek Apartments, West South Vale. |
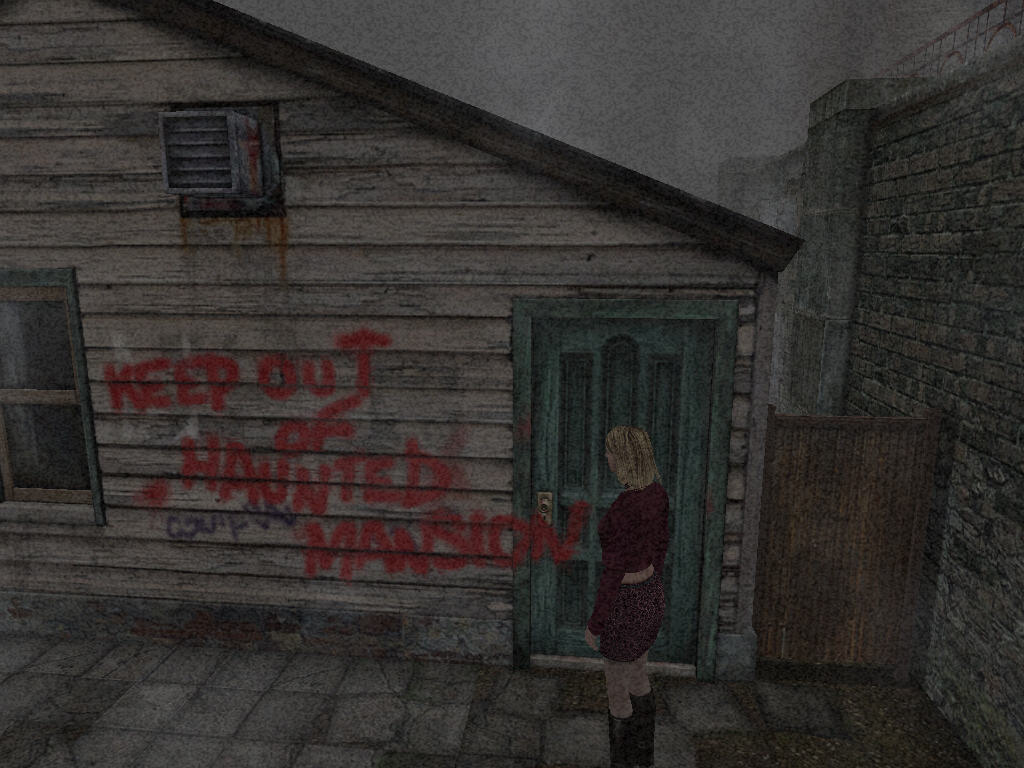 Keep out of Haunted Mansion |
| by Andrew Haffenden aka Conquerer (Silent Hill 2 Memo FAQ) |