Bosses
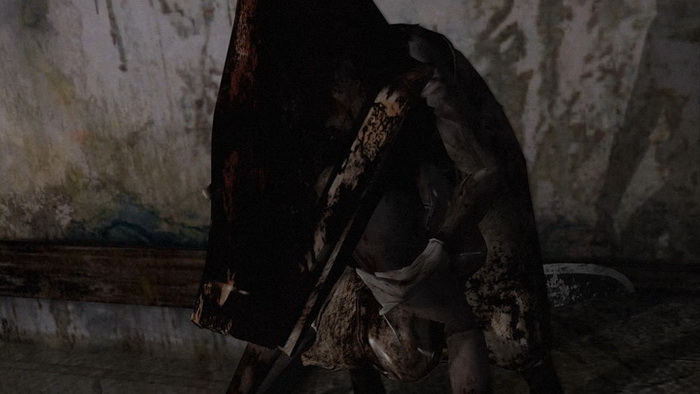
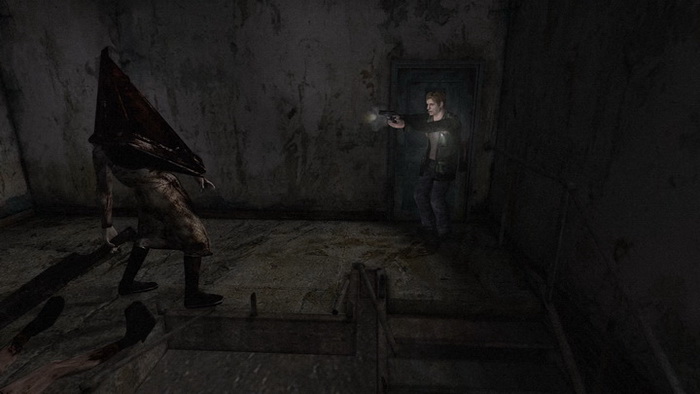
Boss 1: Red Pyramid Thing (Blue Creek Apartments)
Note on using Handgun:
First of all, let me mention that you do not have to fire off a single shot in this boss fight, however it will take noticeably longer if you don't. While bullets don't appear to damage Pyramid Head directly, they do slow him down, making his attacks easier to avoid, and also cause him to leave more quickly. That said, it's an easy fight either way and if you want to save 40 bullets rather than use them, consider the cat and mouse game.
Since Pyramid Head can't be eliminated, the idea here is to avoid his attacks and stay alive until he leaves. Whether using the Handgun or not, you'll accomplish this by running to the opposite corner of the room each time he comes near you. Pyramid Head wields a massive Great Knife which he drags behind him, limiting his speed a fair bit. So long as you move quickly and carefully you should be able to avoid any attack.
So starting off, let Pyramid Head approach you whether firing or not. When he gets close he should stop short with a swing and miss. Use this as an opportunity to run past him to the far end corner opposite the one by the door.
Continue firing away from there as he's out of the shot, or just patiently wait for him to come back this way. This time, Pyramid Head may or may not stop short when he swings, so once he gets a bit close to you, dart along the wall back to the first corner. As you run by, he'll either swing at you (and likely miss), or you'll be too quick and he'll just turn and start following you back.
Soon enough, Pyramid Head will stop trying to swipe at you in each corner and instead he'll try to perform an executioner-style overhead swing, which will indeed kill you on contact. While this attack is more dangerous, it's much easier to avoid since it takes so long to land. You'll notice when Pyramid Head starts to do this attack because he'll stop a decent distance away from you and start winding his knife arm back. When you see him do this, quickly get the hell out of there and go back to the other corner.
Pyramid Head's attacks:
As we've already discussed, the first of Pyramid Head's attacks is a standard swipe, which inflicts moderate damage. This is performed mostly at the beginning and is harder to avoid than the others due to its speed, but still shouldn't be a bother if you're quick. If you ever wish to slow him down, pump him with a few bullets.
His second Great Knife attack is an overhead executioner swing, which as previously mentioned is a one-hit kill. No matter what your health status, you will die if it hits you. It will even kill you if it catches you on the upswing from the floor, so do be careful when running past. That said, since this attack is so slow it's very easy to avoid as long as you run out of the way. However the accuracy of this attack increases at the very end of the battle when the siren sounds, especially on Hard, so always run past as quickly as possible.
Lastly, Pyramid Head can punch you with his free hand if within range, or perform a strangling grapple while lifting James with his hand, but this will only happen if you run directly into or near him. If he does grab you, mash the shoulder and directional buttons to escape more quickly.
Should you be able to survive, the end of the battle will soon be signified by a siren sounding off in the distance, to which Pyramid Head responds by moving down the water-filled staircase and leaving through the exit door. He's got other business to attend to. Do not follow him to the stairs as he will not hesitate to turn around and slay you if within range. No worth risking it with the battle already won.
Do be aware that once the siren sounds, Pyramid Head's accuracy with his executioner swing increases dramatically, especially on Hard. It is just too easy to be caught off guard and killed this way if you're in a bad position as the siren sounds. Do consider firing some bullets into him to slow him down as you sense the end of the battle nearing to combat this, and try to spend a bit more time on the left side so you don't have to run past him once the siren does go off.
If out of ammo or not firing at him however, try to move as quickly as possible to get past him, and if you have lots of space between you and him, do consider moving a bit closer to bait an attack, then get out of the way and use his attack recovery time to get to the other side safely. Additionally, switching to 2D control (free movement) and just running around wildly in a very unpredictable manner (and not in the same spot) can confuse him and cause him to just abort the swing, so consider that.
To sum it up, this fight can contrastingly be somewhat long or very short, depending on if you shoot Pyramid Head or not. On all action levels the battle can end in less than one minute if you shoot Pyramid Head but can last up to five minutes on Hard if you don't, and around three on Normal.
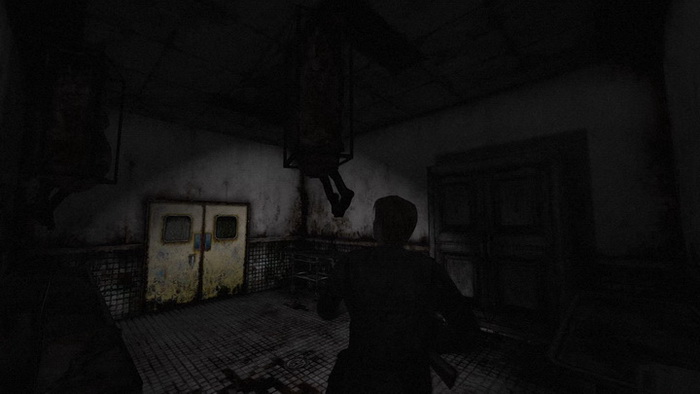
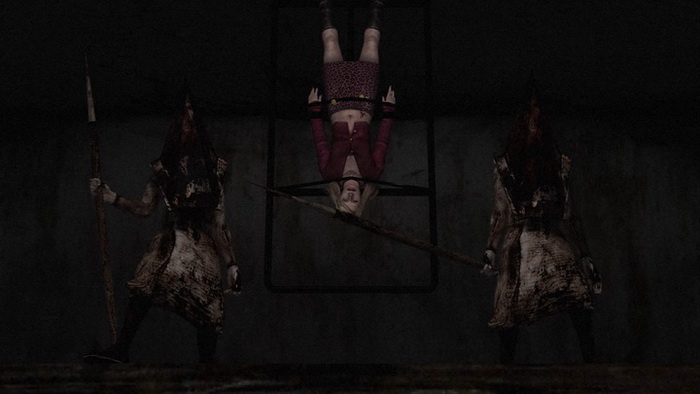
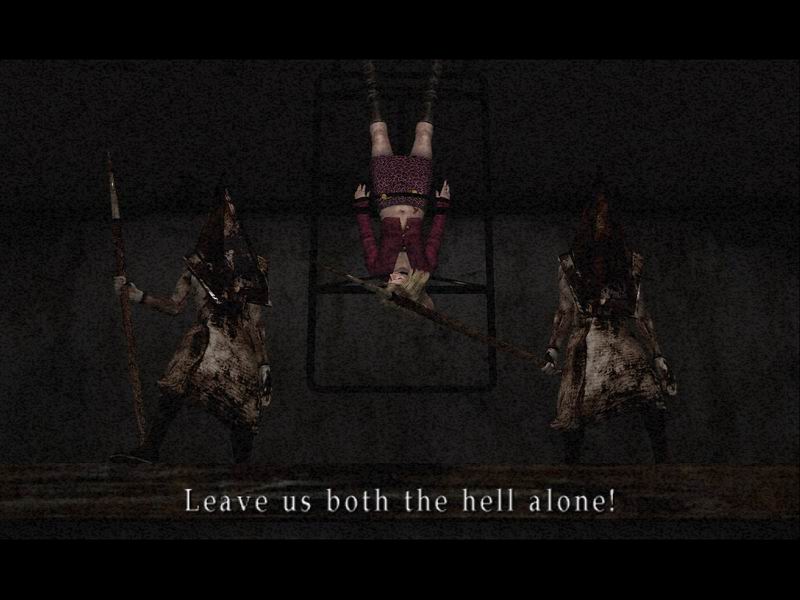
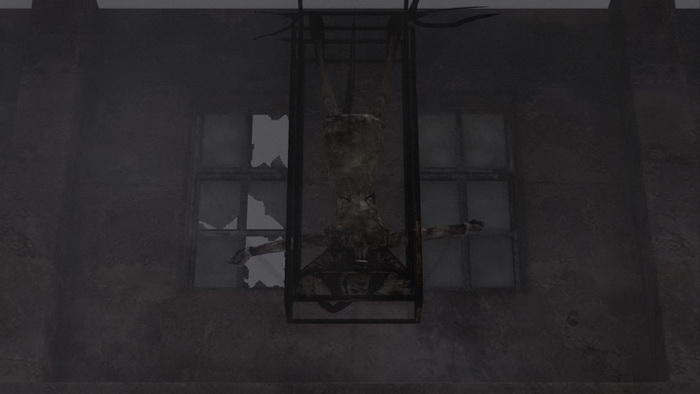
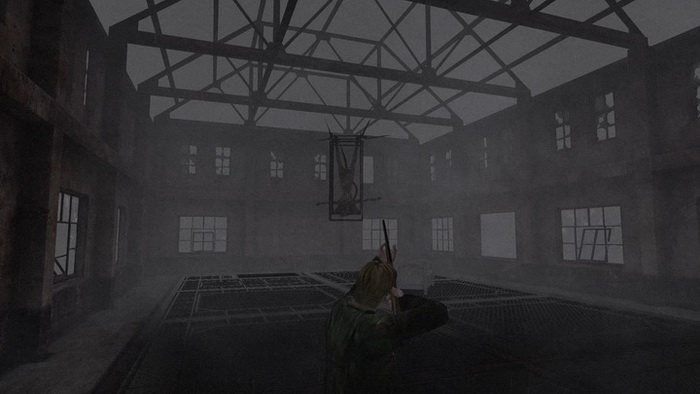
Boss 2: Flesh Lips (Brookhaven Hospital)
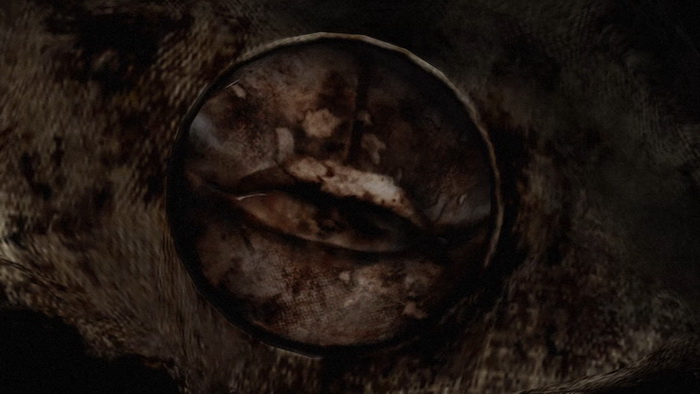
The tricky thing about this boss fight is not only fighting one Flesh Lip, but two at the same time and a total of three by the end. At the start, equip the mighty Shotgun, which you hopefully haven't been using yet and have enough ammo for, and fire once or twice while both Flesh Lips are a distance away. When they come close, run to the other side of the small room and repeat. There's really not much room here to get very far away, so it's important to use the space wisely and always be moving any time one of them is near you.
If you're too slow, accounting for recovery time after shooting, you'll be grabbed by one of the hanging monsters and strangled, but fortunately not to death unless you're very low on health. Additionally, strafing to the side with L1/R1 can be helpful to get away in a pinch rather than running towards the Flesh Lips.
Note that when using the Shotgun, James needs to aim the gun up at the creatures first in order to hit them, which takes a moment. If you quickly ready and fire right away, you won't hit anything. You must account for this after every shot as James lowers the Shotgun to pump it as well. Just wait for him to raise it up and then fire the next shot.
As the battle goes on and you continue to hit the creatures with your Shotgun Shells, one creature will die and it will become easier to kill the other on its own. Once the second Flesh Lip is killed however, a third one will drop from the roof and join the party. If you're low on Shotgun Shells, or even if you want to try something else, switch to the Handgun for the last one. It will take more ammo but it's easy enough to kill a solo Flesh Lip, plus you can sidestep while firing so you don't remain in one place.
Be aware that if you take too long to kill even one Flesh Lip, the third may possibly join in and make things even crazier. So try to take care of business efficiently to avoid this conundrum.
Flesh Lips' Attacks:
The Flesh Lip monsters have two attacks. One is the strangulation attack, whereby one of the creatures will grab and lift you with its feet to do so. Wiggle the shoulder and movement buttons to escape this attack more quickly and prevent further damage.
The other attack is a forward thrusting kick, which is not nearly as dangerous. You may be surprised at the range of this attack, but as long as you're shooting them you should be fine. You will be at risk of a kicking if you perform an in-game reload as you're approached, so be sure to reload in the inventory instead. Sometimes the Flesh Lips can even kick each other, buying you more time to get away and get in a clean shot or two.
Once the third Flesh Lip is killed, the screen will blur and the battle will be over.
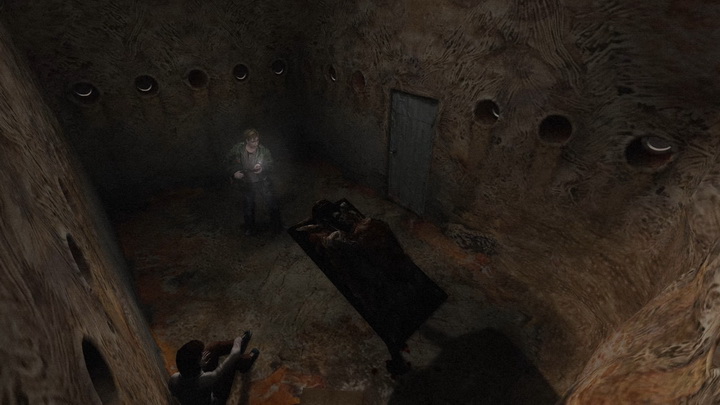
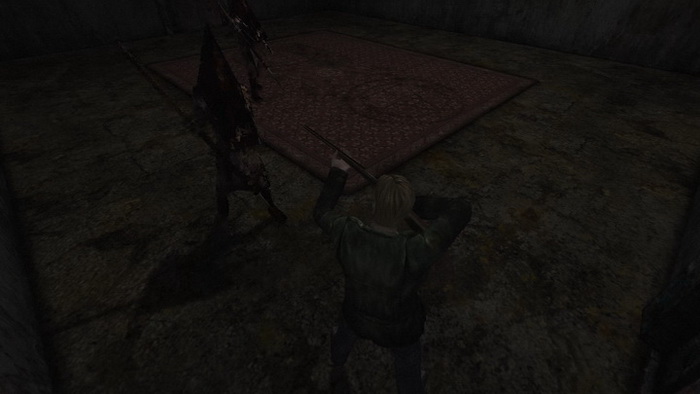
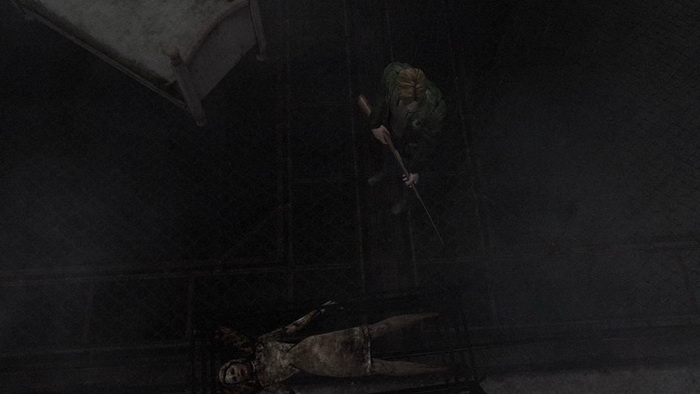
Boss 3: Abstract Daddy (Labyrinth)
First of all, this is a very small room without much space to avoid the enemy, so you might find yourself having trouble manipulating your character efficiently. If using 3D control (tank controls), be sure to utilize the strafe buttons to move side to side and avoid the Abstract Daddy along with regular forward movement. If still having difficulty, feel free to try 2D control to free up your movement in any direction, but it's still very doable with 3D.
Right when the fight starts, quickly run to the far left corner and fire two Shotgun rounds at the creature. It's ideal to actually allow the creature to get somewhat close to you before firing the second shot, which knocks it down. This will give you more space to safely strafe and run along the right wall past it to the other corner.
There, pump two more shots into it asap before it gets too close, and try to escape along the left well after strafing across the boxes and Angela in the corner. If the right side has more space, take that route instead but the left seems to be the safer route most of the time. From here, just repeat the strategy, always allowing the creature to move deep into the far left corner before downing it to offer you as much time and space to get to the other corner and knock it down again there before it gets too close to you, since it's more crowded there.
Don't bother shooting the creature when it's on the ground as it will inflict no damage and just allow it to sneak closer to you. Just repeat the strategy above and the battle will end rather quickly.
Abstract Daddy's attacks:
The Abstract Daddy has one attack, which is lumbering and lifting its bed frame over James' head while mauling him. The range of this attack can be rather surprising, so stay as far away as possible. Even so, this is a very small room so don't be too bothered if he grabs you a couple times, but it is avoidable with the above strategy.
If looking for an alternate strategy on Easy, you can pull out the Great Knife right away and end the battle with one executioner swing (while holding R2, press and hold X firmly to deliver this blow). I wouldn't recommend this on Normal or Hard though, since there just isn't enough room and the creature is very quick.
On Normal, it should take eight Shotgun blasts to defeat the creature, or six on Easy and 9-10 on Hard. So it's not a very difficult boss fight, although it can be hard to avoid getting hit since it's such a small room. But anyway, a cutscene will play when the monster is defeated.
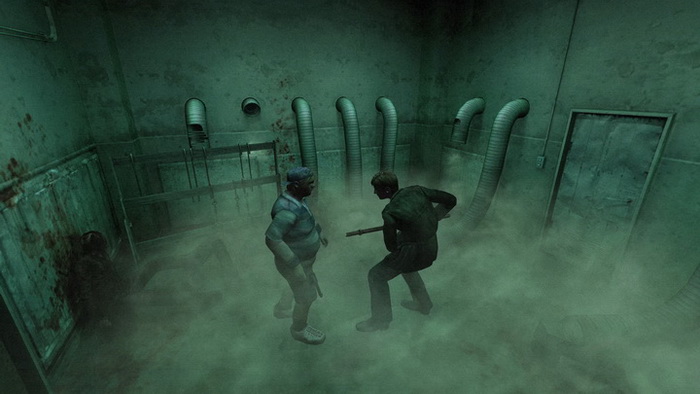
Boss 4: Eddie (Labyrinth)

Unfortunately, Eddie has gone mad and you'll have to deal with him rather than running away. It's kill or be killed, so get started. This battle consists of fights in two rooms, first this small entryway and then it will progress into the larger main freezer.
First Room
There are a number of good weapons you can use in this first room, including the Shotgun and Hunting Rifle with their power, however on Normal and Hard the best method is clearly the Steel Pipe, which allows you to avoid being hit at all by Eddie if done right.
With the Steel Pipe, use R2 and hold X tightly (to perform the overhead downward swing) right from the beginning to continuously bash Eddie over the head as he begins to rush you. He may look like he's about to hit you, but if done right he'll never get a chance as you'll be smacking him before he does so. This strategy is perfect for a no-hit performance on Normal and Hard, although Eddie moves slowly enough on Easy and Beginner that it throws off the timing a bit and you'll have to adjust your attack patterns.
The other recommend strategy is the Great Knife because of its ultra power, requiring only one to three hits depending on your difficulty level. You can also perform just a single overhead executioner swing to send him to the next room in one hit (it may require an additional swipe on Hard).
If on Beginner or Easy, go for a quick swipe finish him in this room, but try the overhead swing on Normal. I don't recommend this method on Hard since it's easy to get shot due to the weapon's slowness – go with the pipe.
Although melee weapons are honestly the way to go in this room, firearms can still be effective as well. The thing is though, Eddie will likely shoot you a few times due to his behaviour and the slow nature of the more powerful guns, along with the lower power of the Handgun. So do be ready to get in your heals in this case.
With the Hunting Rifle, just start blasting him right away and you may be able to send him to the next room with a full clip or so. Always try to keep a distance away from him since the Rifle is very slow to use. With the Shotgun, getting a bit closer to Eddie to narrow the blast and maximize its power can be helpful. Eddie will also be more likely to punch you at this range rather than shoot you, but that's a good thing since it inflicts much less damage and sets you up for another good shot.
Eddie's attacks:
Eddie is a simple man and will either shoot you with his revolver, inflicting a lot of damage, or he will punch you at close range, doing minimal damage. The shots take around a quarter of your health away and are very powerful, while the punches really aren't that bad and only take a tenth or eighth of your health. So if you can position yourself near him so he attacks you that way rather than lethal shots, it's not a bad strategy.
Again, I recommend the melee weapon strategies for Normal and above, but go ahead and try firearms for Beginner and Easy.
Once Eddie takes enough damage, he will end the draw and run into the next room. Once he leaves, be sure to get the Rifle Shells and Shotgun Shells on the ground in this room. Reload all of your weapons if you need to and make sure your health status is strong. Then proceed to the second room.
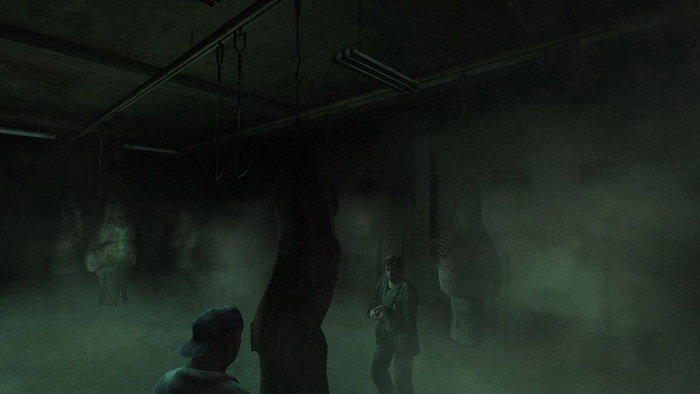
Second Room
Now in the main section of the meat freezer, this room will start with another cutscene, delving deeper into Eddie's mindset. Then he will approach you and start the fight again. Note that there are large racks of meat hanging from the roof in this larger room, so be sure to utilize them strategically to block potential shots from Eddie. Eddie will also behave the same way and use the same attacks in this room, but perhaps the more open space and cover allow for differing strategies.
In this room, the Shotgun seems to work best. The Hunting Rifle can be effective with its longer range, but it's also very slow and Eddie will be more likely to shoot you while so far away. Instead, try to get all close and personal with Eddie and blast him with the Shotgun to deliver the most power. This way he will also try to punch you rather than use his revolver. You may need to find a balance where you shoot him from a bit farther so that you can still escape, but still close enough so that he tries to go for a punch rather than a more lethal shot.
After getting in a blast up close, try to quickly strafe away after so that he can't punch you, and if done right he'll swing and miss a lot of the time. Take the opportunity to blast him again, and whenever Eddie runs after you, keep using the strafing buttons to your advantage for an easier escape. Be sure to hide behind the meat racks and blast him when he comes near, or hide behind them to safely get away and then come back out and blast him if he's hanging around. Continue using this strategy.
Another strategy that works fairly well is sneaking. Use some stealth and try to come up on Eddie from behind. Simply hide behind the meat racks so that Eddie loses track of you, then locate him through the racks and fire away.
Alternately, if you do have the Great Knife it works quite well in this room too. You may take some hits due to its slow nature, but it's so powerful that it'll only take three swings to end the battle on Normal, or up to six on Hard. Using the first meat rack as cover, slice him through it on his initial approach. Track him as he keeps moving around after and get ready to swing early once he comes back. Feel free to reset on the other side of the meat rack or another one if it makes more sense due to his positioning. But either way, stand close enough to it so that he may punch the piece of meat instead of you from the other side.
When Eddie starts hiding behind the meat racks, the fight is almost over and he knows it. At this point, one or two more good Shotgun blasts should kill him. The Shotgun is a little slow so this may make it difficult to hit him in this stage, so consider switching to the Handgun to finish him off with its faster firing speed and nimble handling. Find where he's hiding behind a rack of meat, let him run out and start firing away as you follow him from behind. Repeat this process until he dies.
After taking enough damage, Eddie will fall to the ground and the fight will be over. But hey, he had it comin'!
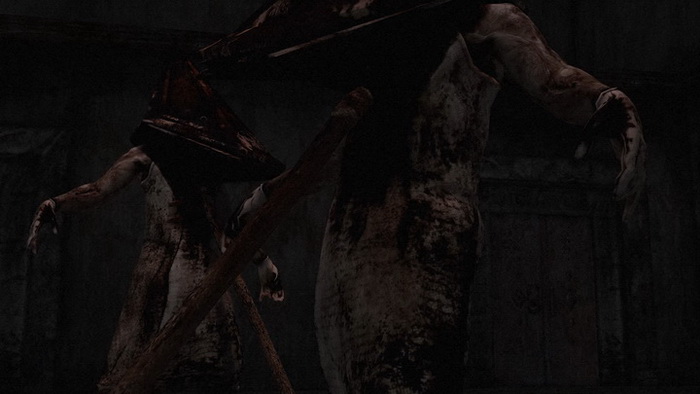
Boss 5: Pyramid Head Duo (Lakeview Hotel)
You've already fought one Pyramid Head, but two of them is a whole new story. It's perhaps not as difficult as it may seem, especially since you have a lot of space this time in the hotel Lobby, plus many more weapons to choose from. And do keep in mind that although there are technically two Pyramid Heads, they share the same health bar.
Your first move is to dash to a corner, preferably the one farthest away from the duo. From there, use the Hunting Rifle to fire off one to four shots (depending on your action level) at whichever Pyramid Head James targets, but don't get greedy. Once they near you, strafe out of the way with L1 or R1 and continue to the next farthest corner and repeat. The best strategy for movement most of the time is strafing, while using the left stick only for minor adjustments while running sideways.
Always hold L2 while firing at the Pyramid Heads to focus the camera on them and see how close they are. The Rifle is very slow to raise, fire and put down, so do take this into account to avoid attacks from the approaching Pyramid Heads, and always reload in your inventory.
On Normal, you should be able to get off two or three shots in each corner most of the time before the Pyramid Heads reach you, and sometimes four. On the other hand, sometimes your positioning or spacing of the Pyramid Heads makes it difficult and you may only be able to get off one or two. Just make sure you're always on top of where they are at all times with L2 and how much time you have in each corner – don't take a shot if you can't escape afterwards.
Hard seems to be a mixed bag with the Pyramid Heads faster by default, limiting you to only one or two shots in each corner for the most part, but on PC Hard they are super fast to the point that it's difficult and sometimes impossible to get off even one shot in each corner without taking a hit. If this is happening to you, I'd advise switching to the Handgun and firing 4-5 shots each time while backing in a corner, but keep the same strafing strategy between setups. Do note that sometimes the Pyramid Heads do slow up and you can get in more shots, including three or four with the Rifle, especially as the fight approaches its end.
Note that when firing at one Pyramid Head, you'll get no reaction from your first Rifle shot, but the second shot will cause him to flinch backwards on Normal (third shot on Hard). While the other Pyramid Head will continue walking, this should buy you time to escape from the one you were shooting at. Thus, try to focus your aim at the Pyramid Head closer to you rather than the farther one (alternatively you can go for the other if he's closer to where you're trying to escape from). You may notice both Pyramid Heads flinch from attacking just one as you near the end of the battle.
You can also trick the Pyramid Heads and bait their attacks. If one is close and you strafe towards him, he may try to stab you as you quickly strafe away and out of range. This is great for buying time to safely escape and thus acquiring more time in the next corner.
If you ever run out of ammo or want to try something else, switch to the Handgun rather than the Shotgun, which is too slow and more suited for close quarters. The Handgun lacks power but fires very quickly and has effective handling, so you'll be able to get off a lot more shots in each corner. You can even sidestep while firing, which also primes you for an escape. Do be patient if using the Handgun, as it can take up to 300 bullets on Hard, and always reload in your inventory.
Another potential strategy for Hard, that I only recommend for skilled players or those patient enough to try it out, involves the Great Knife. Buy yourself enough time by running around and then head into a far corner and equip the Great Knife. Then as the Pyramid Heads approach, deliver a standard swing so that it hits one or both of them and then bounces off the wall to James' left and comes back to hit them again.
This buys you enough time to repeat the attack again and again, although it can only be done on Hard since weapons do not bounce off walls on lower difficulties. It can take some practice to get right, but mastering it offers a quick and "easy" way to end the battle with little or no damage taken. Also note you can sometimes start it off with an executioner swing if one Pyramid Head is a bit closer than the other, which will slow the closer one up and allow you to perform a regular swing and hit them both together right after, locking them into the repeated hit cycle. Do understand that it can be frustrating to get this right, but you may just feel it's worth the reward if you do.
Pyramid Head duo's attacks:
Both Pyramid Heads have two attacks, using their spears in different ways. The more common one is the standard spear thrust, while the other is a more occasional attack where a Pyramid Head will extend the spear on its right side and then rotate its body to swing from right to left in front of it, usually when you try to run past it. Both of these attacks inflict heavy damage, requiring you to manage your health carefully. Don't underestimate the range of the standard thrust attack either. Always leave adequate time and space to escape via strafing before one of them gets close enough to poke you, even if it means aborting your next shot.
After around 23-25 Rifle shots on Normal and up to around 50 on Hard, the Pyramid Heads will stop in their tracks, then turn and head to the center of the room. There in a brief cutscene, they'll flip up their spears and stab the undersides of their heads to finish themselves off. This is because they have always had one purpose in the game and have finally accomplished it, as James hints just before the battle. Read more in the Plot Analysis section if interested, after finishing the game.
Final Boss: Mary/Maria (Lakeview Hotel)
This boss is actually a bit similar to the Flesh Lips in the hospital, but it moves much more quickly and has a much wider and more lethal array of attacks. The most effective weapon to use here will be the Hunting Rifle from a distance, offering a lot of damage from safety.
Immediately turn around at the start and run into a far corner. Use the long range of the Rifle to call your shots as Mary/Maria draws closer, holding L2 to focus the camera on her. Sometimes you may be able to take three or four shots before she approaches or attacks, or maybe just one or two in other cases, so act quickly and don't get greedy. And do pay attention to Mary/Maria at all times since she will almost constantly unleash a moth-swarming attack that will get you if you're not running away from it early enough.
In order to defeat Mary/Maria, stay far away from her and use the Hunting Rifle's long range to hit her. If you can only get off two shots before she nears you or sends the moth swarm, that's fine. Take your two shots and get out of dodge. Also be sure to reload in the inventory to save time and avoid being open to attack. Additionally, be sure to watch out for the bed and the gap in the floor where the stairs were when strafing and running away from her attacks. Keep following the strategy above until she succumbs. It should take about 20 Rifle Shells on Normal and up to 40-50 on Hard, depending on your accuracy.
If you run out of Rifle Shells or wish to try an alternate strategy, switch over to the Handgun with its high versatility. It'll be weaker and you may have to stand closer to get your shots in, but conveniently you can walk backwards as you fire or even sidestep to prime your escape. You may find the Handgun to be even better as an overall strategy than the Rifle on Hard due to its mobility, but it will take around 200 bullets to end the battle on the highest level (although the same amount of time or perhaps less due to firing more frequently). The Shotgun can also work okay on all difficulties because of its power but it's also slow, so it may be difficult to get in close without taking serious damage.
Mary/Maria's attacks:
Mary/Maria has two different attacks. Her most common attack that she unleashes almost constantly is a cloud of black moths, telegraphed by a high-pitched screech. When this happens, a swarm of moths will zoom over and maul James in a stun-locked animation. To avoid this, as soon as you hear the screech, haul ass. The most effective way to do this is usually to strafe to one side since the swarm will be coming from in front of you.
After a few seconds, the moths will disperse and you can relax, but this attack will happen on near repeat, sometimes within seconds, so stay alert. It's pretty simple to avoid the attack this way if you react to the screech, but if it does ever land, wiggle the shoulder and directional buttons to escape the moths more quickly. Fortunately, it doesn't do too much damage but do try your best to avoid it to get your chance to shoot.
The other attack happens at close range. While hovering above, Mary/Maria will snatch James with a long black tail and attempt to strangle him. This attack can be very lethal and happen very suddenly, so try not to stay close enough to her to avoid it entirely if you can. If you notice her getting close, immediately strafe to the side to escape and head into another corner. Again, if you do get caught, wiggle the directional and shoulder buttons to escape more quickly.
Once you shoot up Mary/Maria enough times, she'll fall to the ground in her frame. Move up to the helpless Mary/Maria and don't let that soft, sweet voice get to you – it's time to finish her off and end this nightmare. Choose your weapon of choice and deliver the final blow. For dramatic effect I recommend the Great Knife's executioner swing.
by Andrew Haffenden aka Conquerer (Silent Hill 2 FAQ/Walkthrough) |