Lakeside Amusement Park
Welcome to the thirteenth chapter of the complete walkthrough guide for Silent Hill 3 (2003, PS2, PC), covering Lakeside Amusement Park. This guide provides a comprehensive walkthrough with all item locations, detailed puzzle solutions, and boss strategies.
Color legend
Tongs - items
Handgun - weapons
Health Drink - supplies
Shopping Mall Map - maps
Save Point - save points
Contents
- Walkthrough
Walkthrough
"A paradise for castrated sheep, maybe. Sounds pretty boring."
Entrance
And so we're back... to the place of Heather's nightmare that started the game. But this time she won't be waking up if she dies... Remember what happened last time and make an effort to do something different.
Proceed through the large left doors to the souvenir shop semi-circle.
Souvenir Shop Pathway
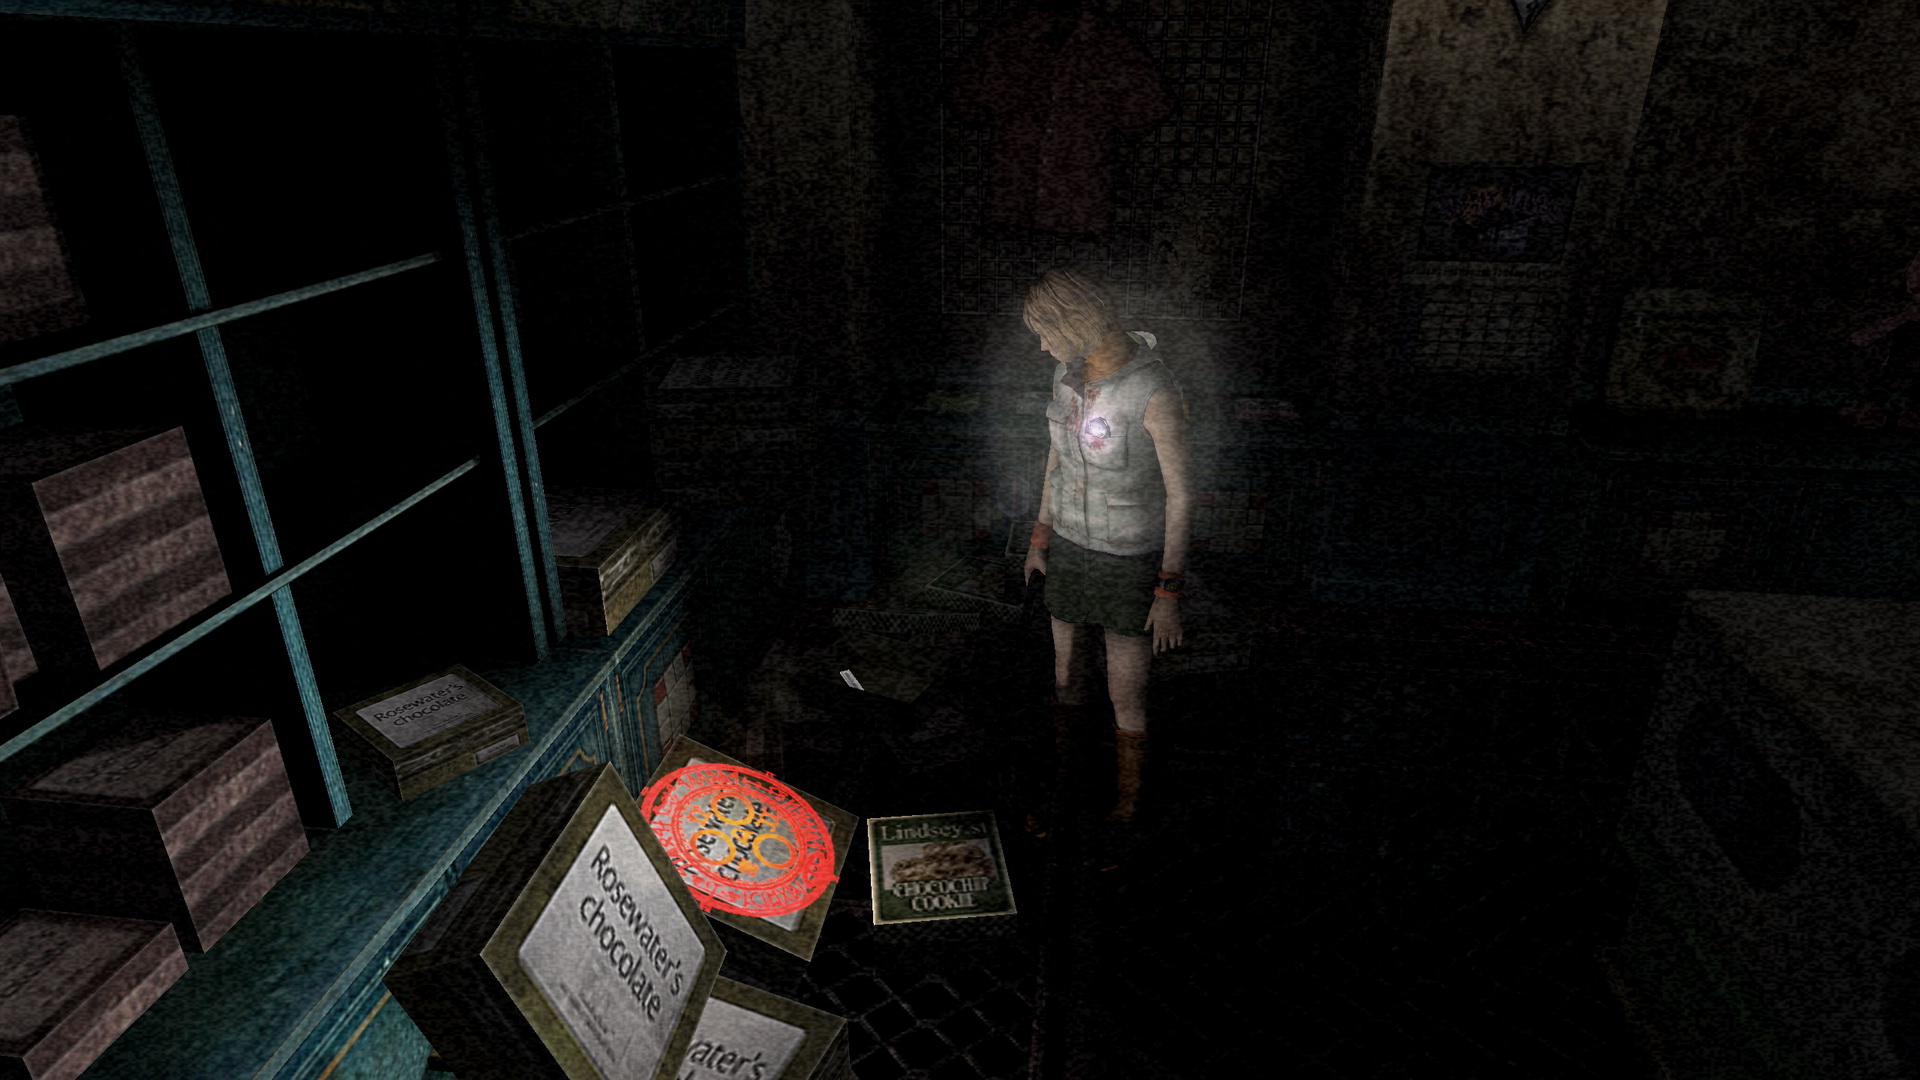
Continue past the Closer and enter the gift shop by the pathway sign, the same place that was open in your nightmare. Find the Beef Jerky on the counter and First-Aid Kit on the round table with merchandise. Head to the back left of the room to find nothing else there, but when you head away from that spot you'll hear a crash.
Investigate the noise to find a Save Point and the 40 Roller Coaster Key inside some tin boxes that fell.
This should help you change things this time around... Leave the shop and head past the other Closer to slip through the small brown door at the end.
To the Mountain Coaster
Ignore the Double Heads and Pendulums and follow the familiar pathway to the left and up the staircase to the top of the Mountain Coaster.
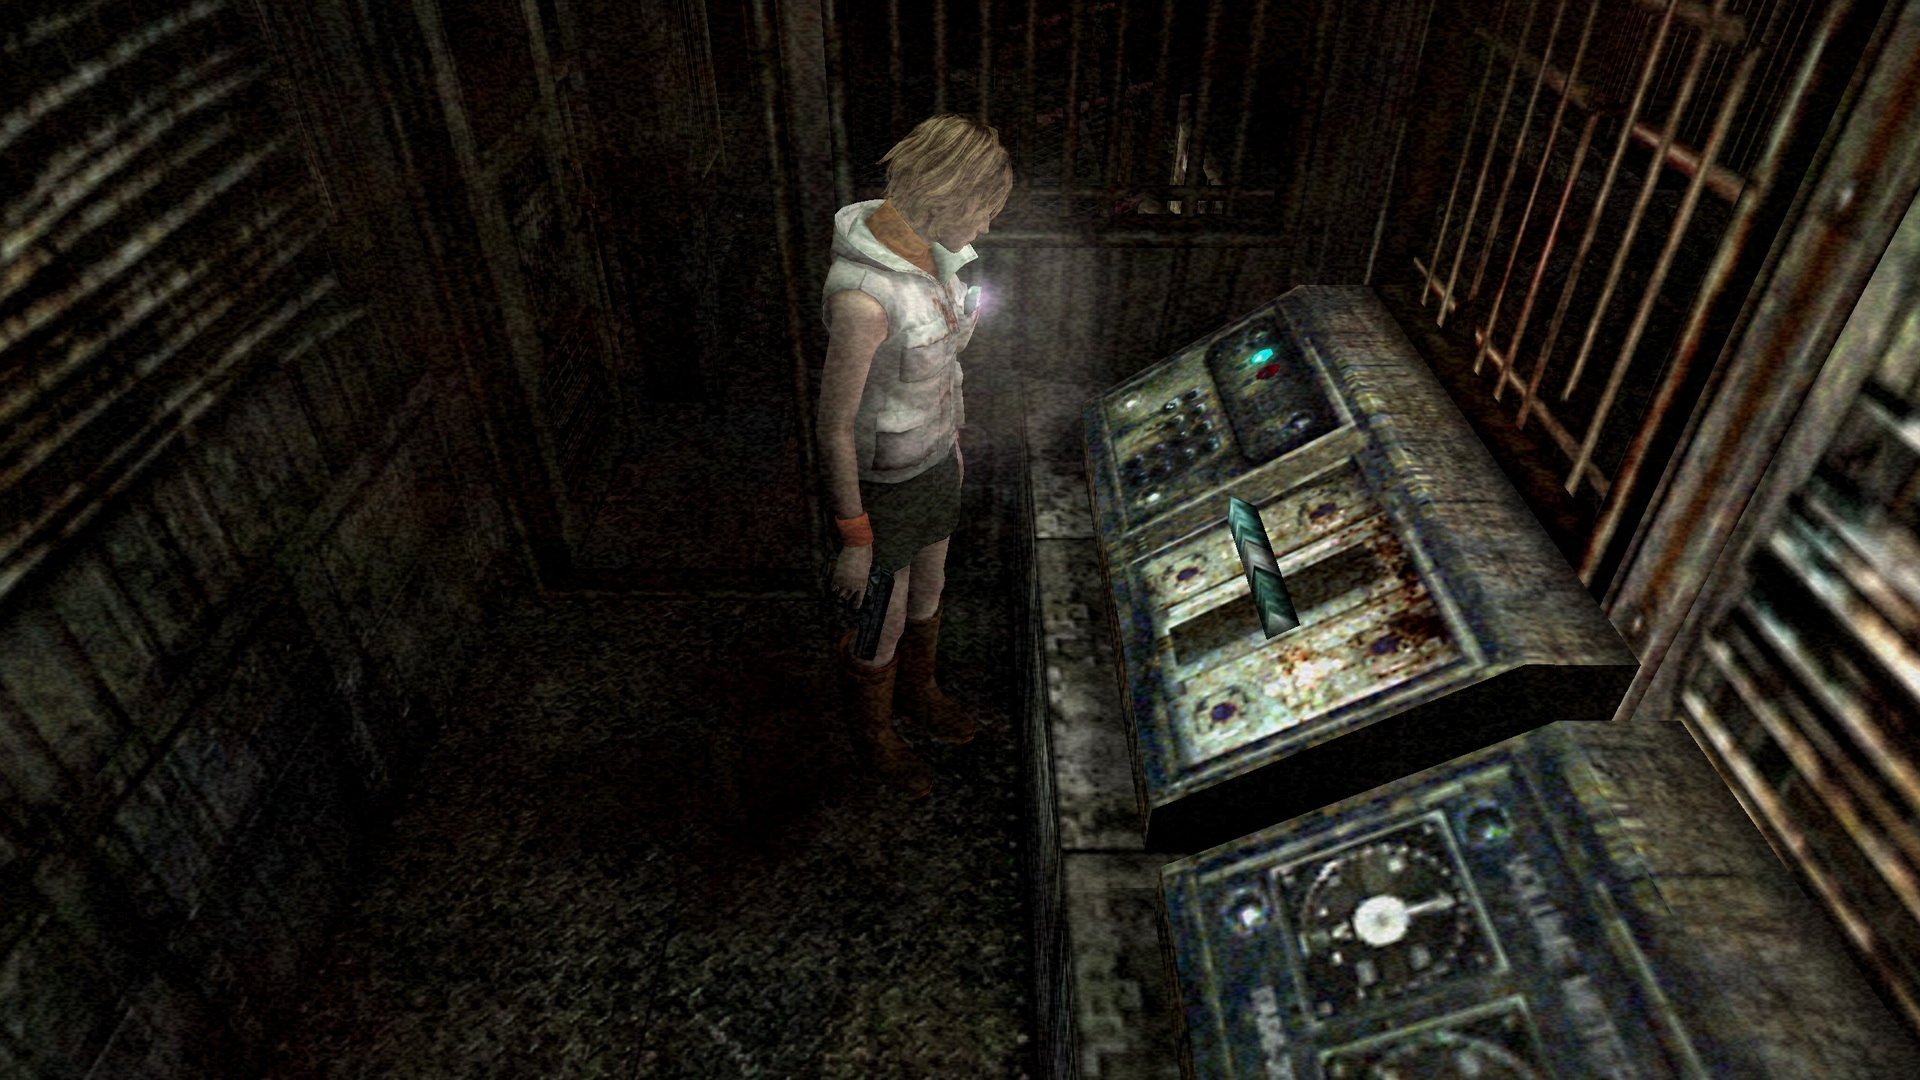
At the top, enter the control room with the Roller Coaster Key and grab the two Health Drinks on the counter by the microphone. Then examine the control panel and switch off the ride right near the door. That should ensure you don't get run over this time.
Now step out onto the tracks and follow them until a cutscene plays. The roller coaster turns itself back on but Heather manages to jump off just in time. Note that even though it turns back on anyway, if you don't turn it off in the first place you will get run over and die. Perhaps it is just those few extra seconds that buy her enough time to jump.
After Mountain Coaster
After the cutscene, Heather steps off the ticket booth she landed on. Turn around and head through the large door on your left. Follow the path to a Save Point on the ticket booth, then continue and enter the Haunted Mansion. This should be fun...
Borley Haunted Mansion
An announcer will welcome you to the mansion, after which you can proceed through the next door. Enjoy the next room and pass through the next door when done.
Approach the door near the person in the rocking chair. The body blocks the path so turn around and pass through the small door. As you move through the next hallway, the camera will shift to reveal a spiky roof just before it falls above you. On Easy and Normal Action Level you'll be fine as it'll stop just short enough, but on Hard you must hold R2 to ready your weapon and lower your stance to avoid death here. Continue through the exit door when ready.
And so the announcer has tricked you again... That wasn't the exit, and you will be chased by mysterious red glow in a semi-maze hallway. The glow will quickly drain your health and kill you if it catches up so be quick on your feet. This can be difficult on Hard because of Heather's clumsiness and the glow moving even faster. Follow the map below as a guide to get to the end.
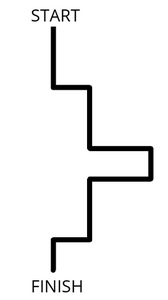
In written form that's a left, right, left (when the wall moves), right, a quick right, left, right and then a quick left (ignore the first door just before the end). Pass through the door and you'll have to escape another red glow hallway. This hallway works the exact same way, minus the moving wall, and the same directions apply. Exit the mansion through the end door.
Back Outside
Avoid the two Closers and pass through the open pathway to the left. Dodge the Double Head, run past a Closer and take a left through the gate. Run past the Closer and Pendulum, then through the next short gate.
Small Outside Theatre
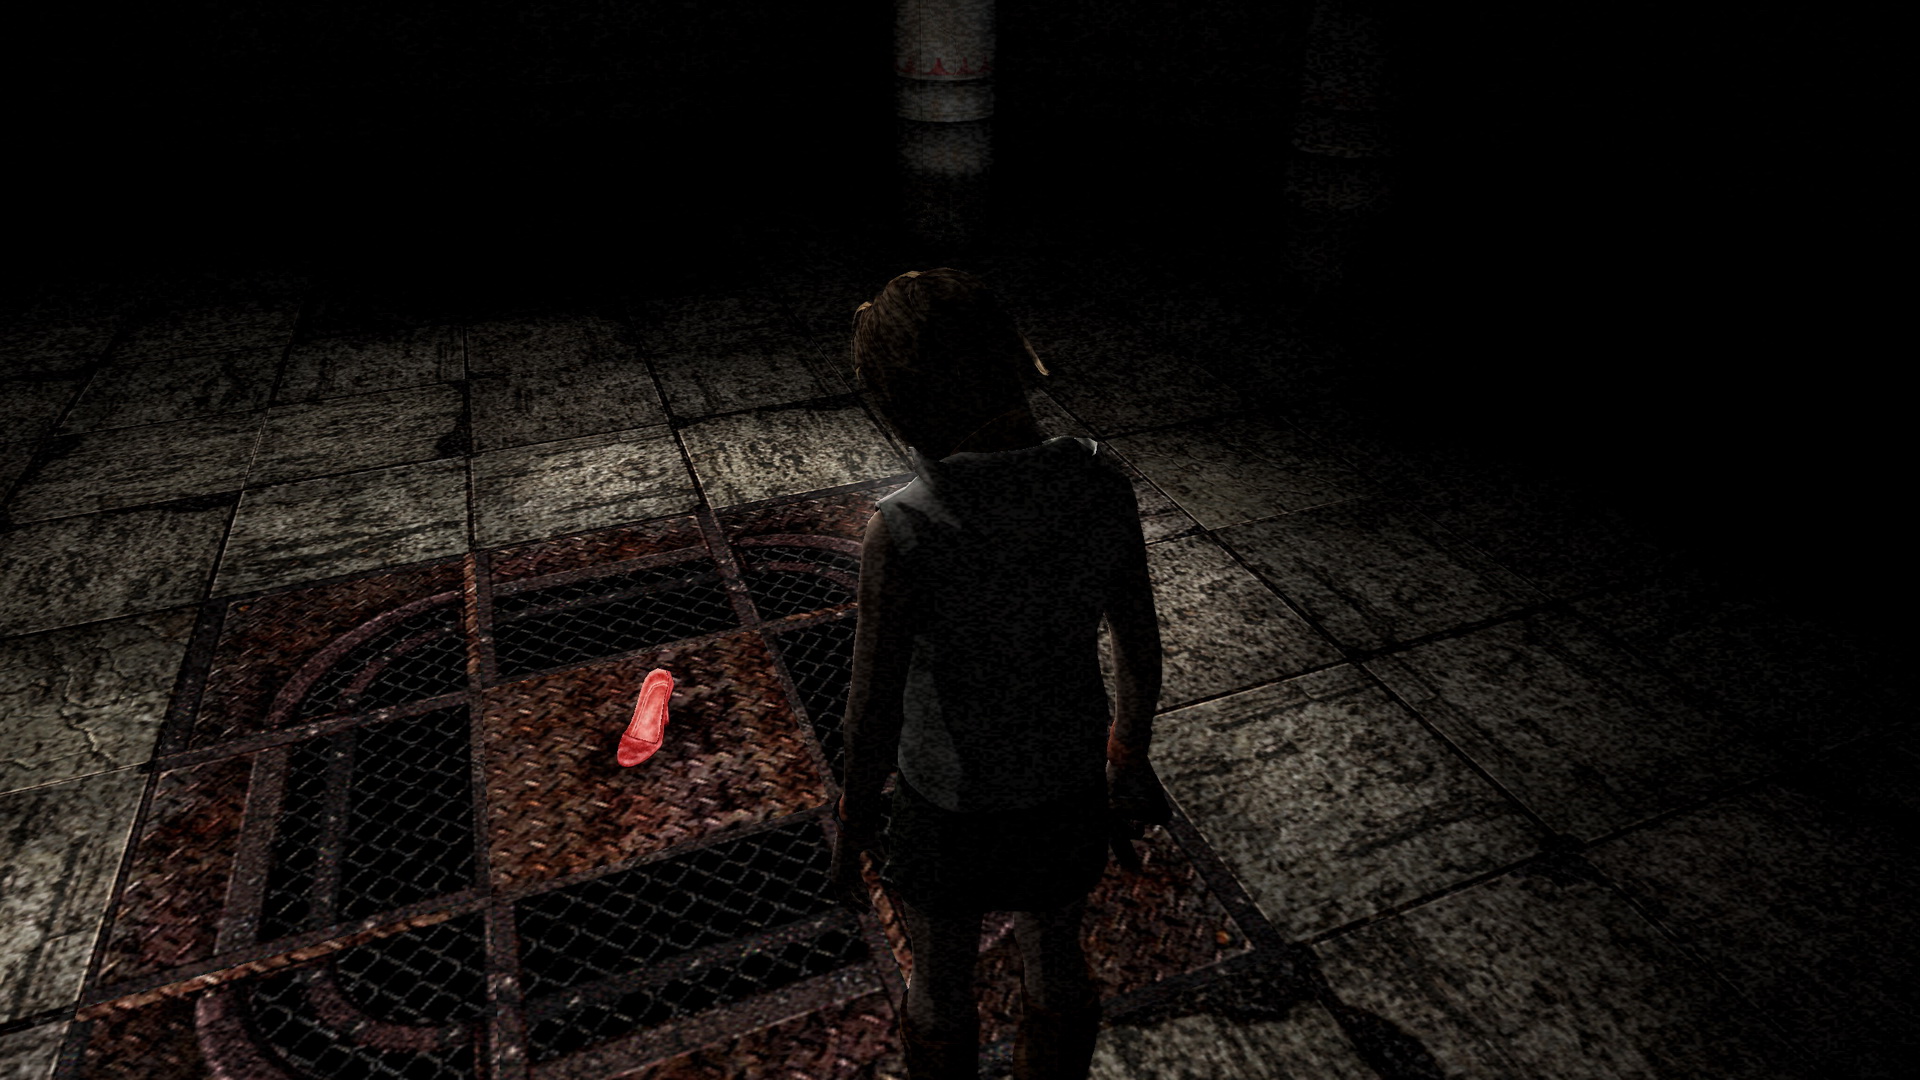
Take the Health Drink and Shotgun Shells on the left bench. Continue along the wall and bleachers and make your way up onto the small stage. Get the 41 Red Shoe from the middle of the stage and head down the other steps on the right side.
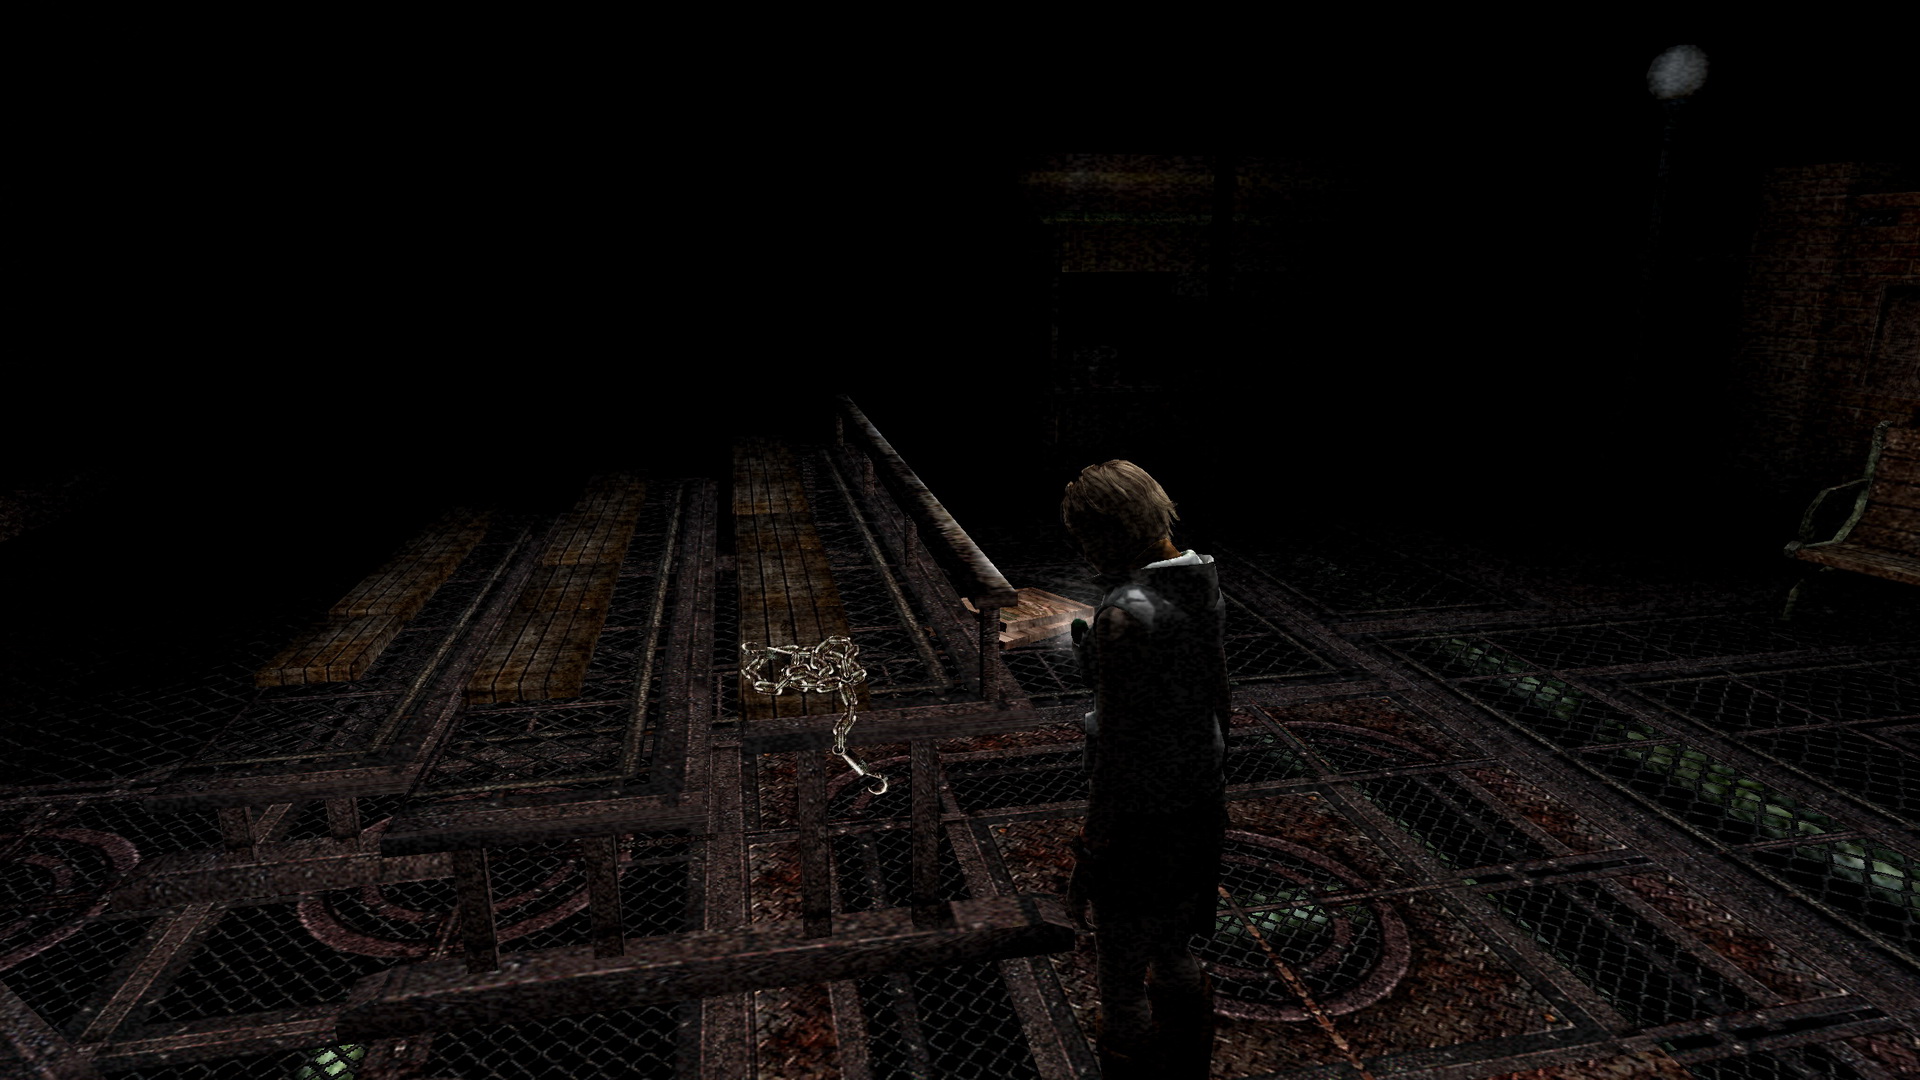
Here, find the 42 Chain on the left bleachers and leave through the same gate you came in. Run past any enemies and through the other gate.
Swing Rocket Ride
Move straight ahead towards the large ride called Swing Rocket. You'll find a gate door on the left that's rusted shut, but Heather thinks there may be a way to open it. You may have also noticed that the Chain you recently acquired has hooks on both ends...
Attach the Chain to the gate and look for another place to attach it. If you turn around and walk up onto the ride, you'll find a metal bar attached to the center column. Attach the other side of the Chain (still in your inventory) to wrap it around it. If Heather says it cannot be used here and you've already attached the other side, you're simply just a few inches off so adjust accordingly.
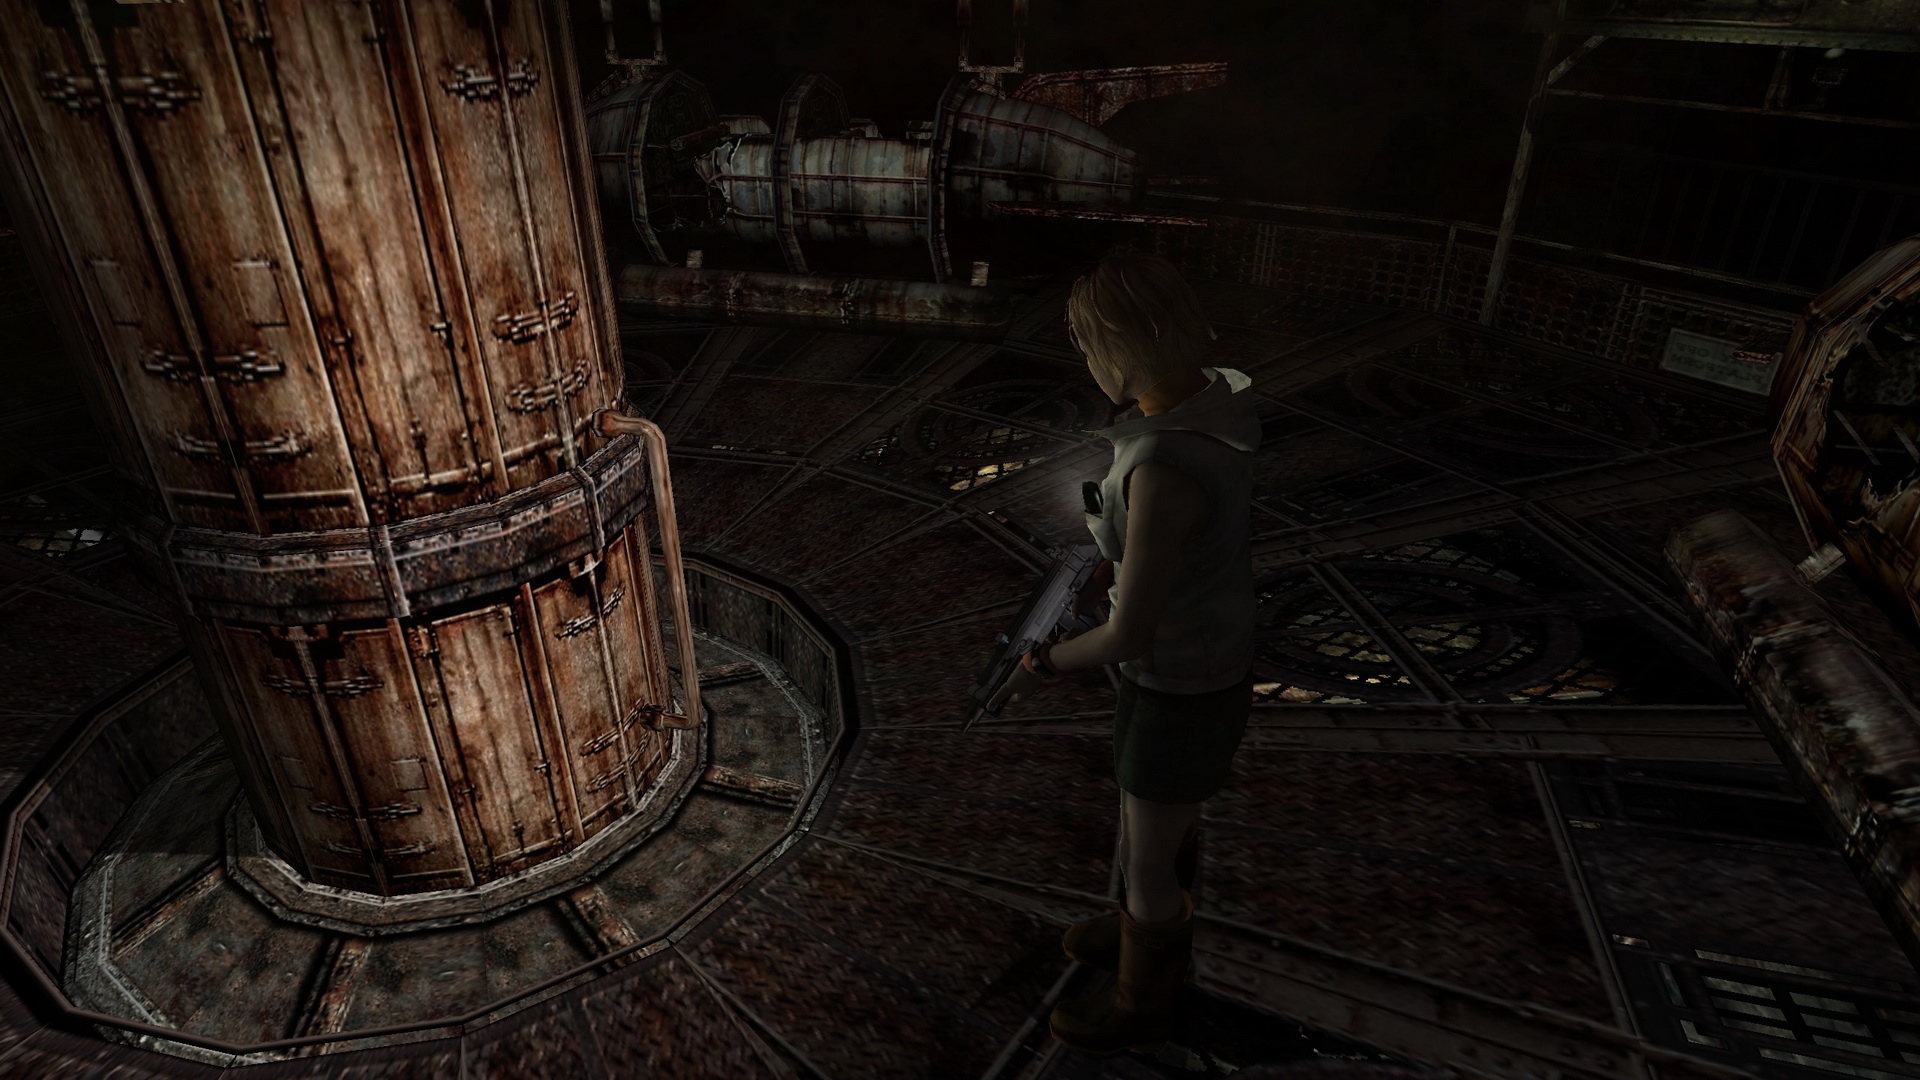
Now head into the open control room beside the ride and turn it on. The ride will start and it'll bust the door open as it twists the chain. Grab the Handgun Bullets on the counter before leaving, then pass through the gate.
After reacquainting with Douglas, leave him to rest and pass through the gate in front of you.
Fortune Teller
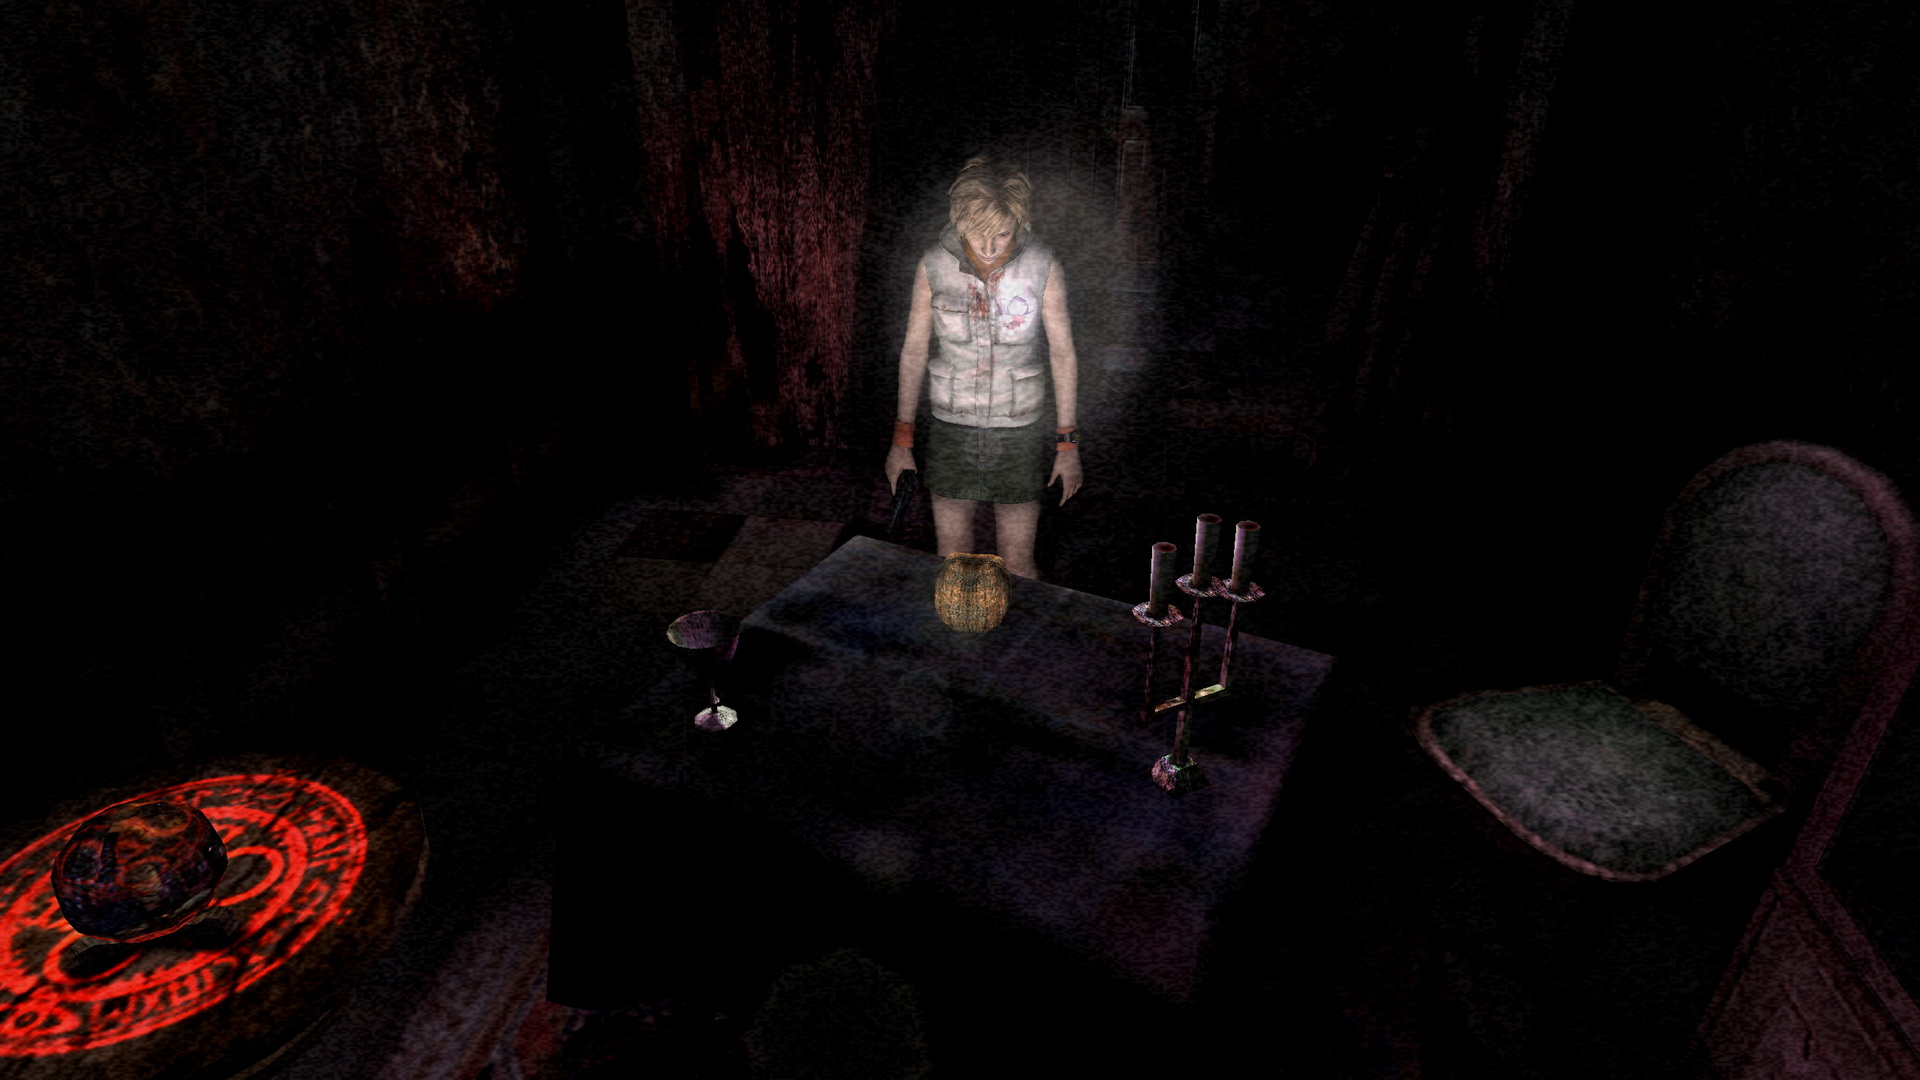
In the next area, enter the Fortune Teller building on your right to read and take 43 Douglas's Notebook from the chair. Examine it from your inventory to read its full contents, which includes a few more pages. You can't give the notebook back to Douglas just yet so hold onto it for now.
Deeper into the room you'll find an Ampoule on the chair, a 44 Doll Head on the table and a Save Point on a circular table with a crystal ball.
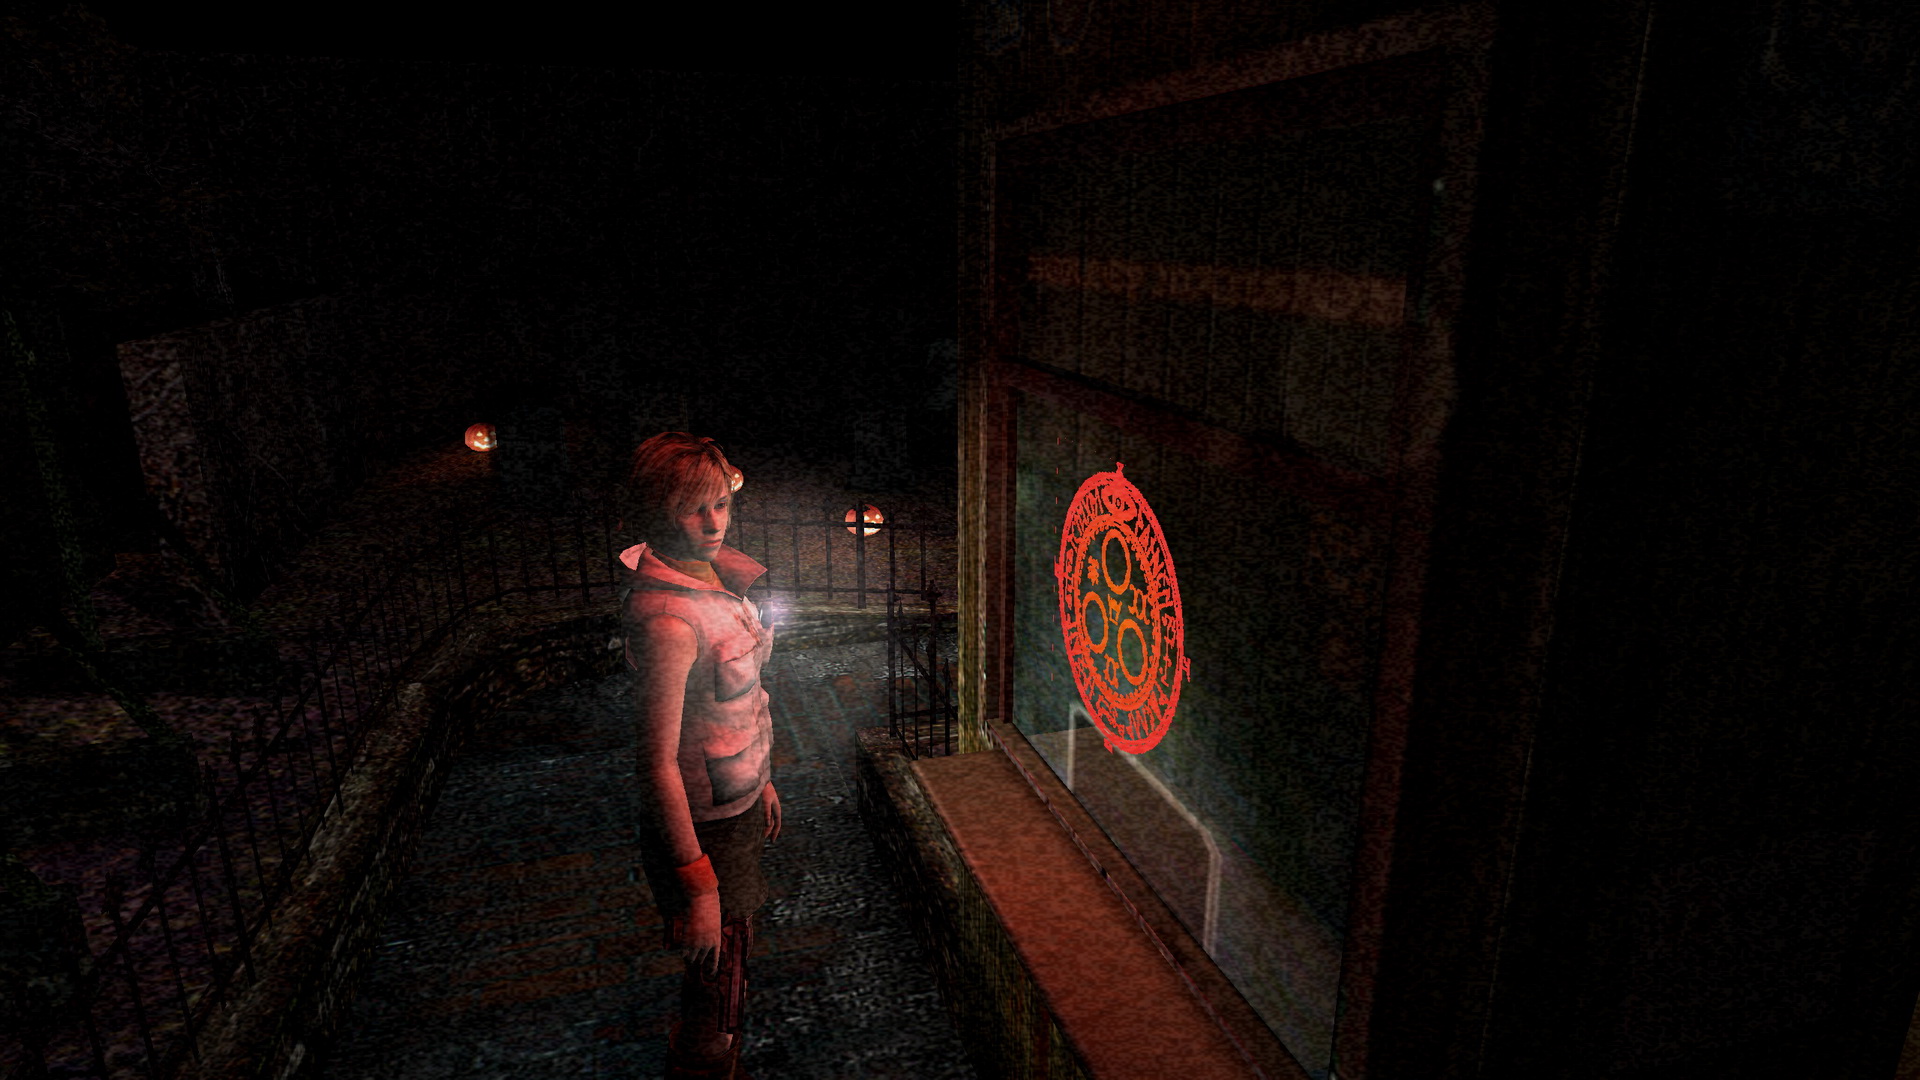
Leave the building and pass through the next door on the right to a place called Marchen Travel.
Marchen Travel: Life-Sized Dolls
In here you'll find two life-sized dolls of Snow White and Cinderella on either side of the pathway. It's time to solve a very easy mini-puzzle.
Just past the two large dolls you'll find two photographs on the tracks. They appear to be taken from over both statues' shoulders as they include their shadows casting over the ground. One reveals the shadow of a high-heel shoe and the other reveals the other statue holding something in its hand.

Taking a look at your inventory you should have two items suitable to use here. Following the lead of the photos, place the Red Shoe on the plate in front of the Cinderella statue to the right and place the Doll Head in Snow White's hand on the left. This will unlock the door at the left end of the path ahead.
After inserting the two pieces, take a left past the statues and move through the door there. Exit the area through the green door on the left.
Ice Cream Stand Pathway
Dodge the Double Head and head to the path to the right where you'll find another Double Head and a Pendulum. On the counter of the ice cream stand to the right you can find a memo written by Harry 17 years ago. You might even recognize the stand itself directly from the first Silent Hill, which appropriately contained a notepad save point for Harry.
Continue down the path to the left and go through the gate on the left side.
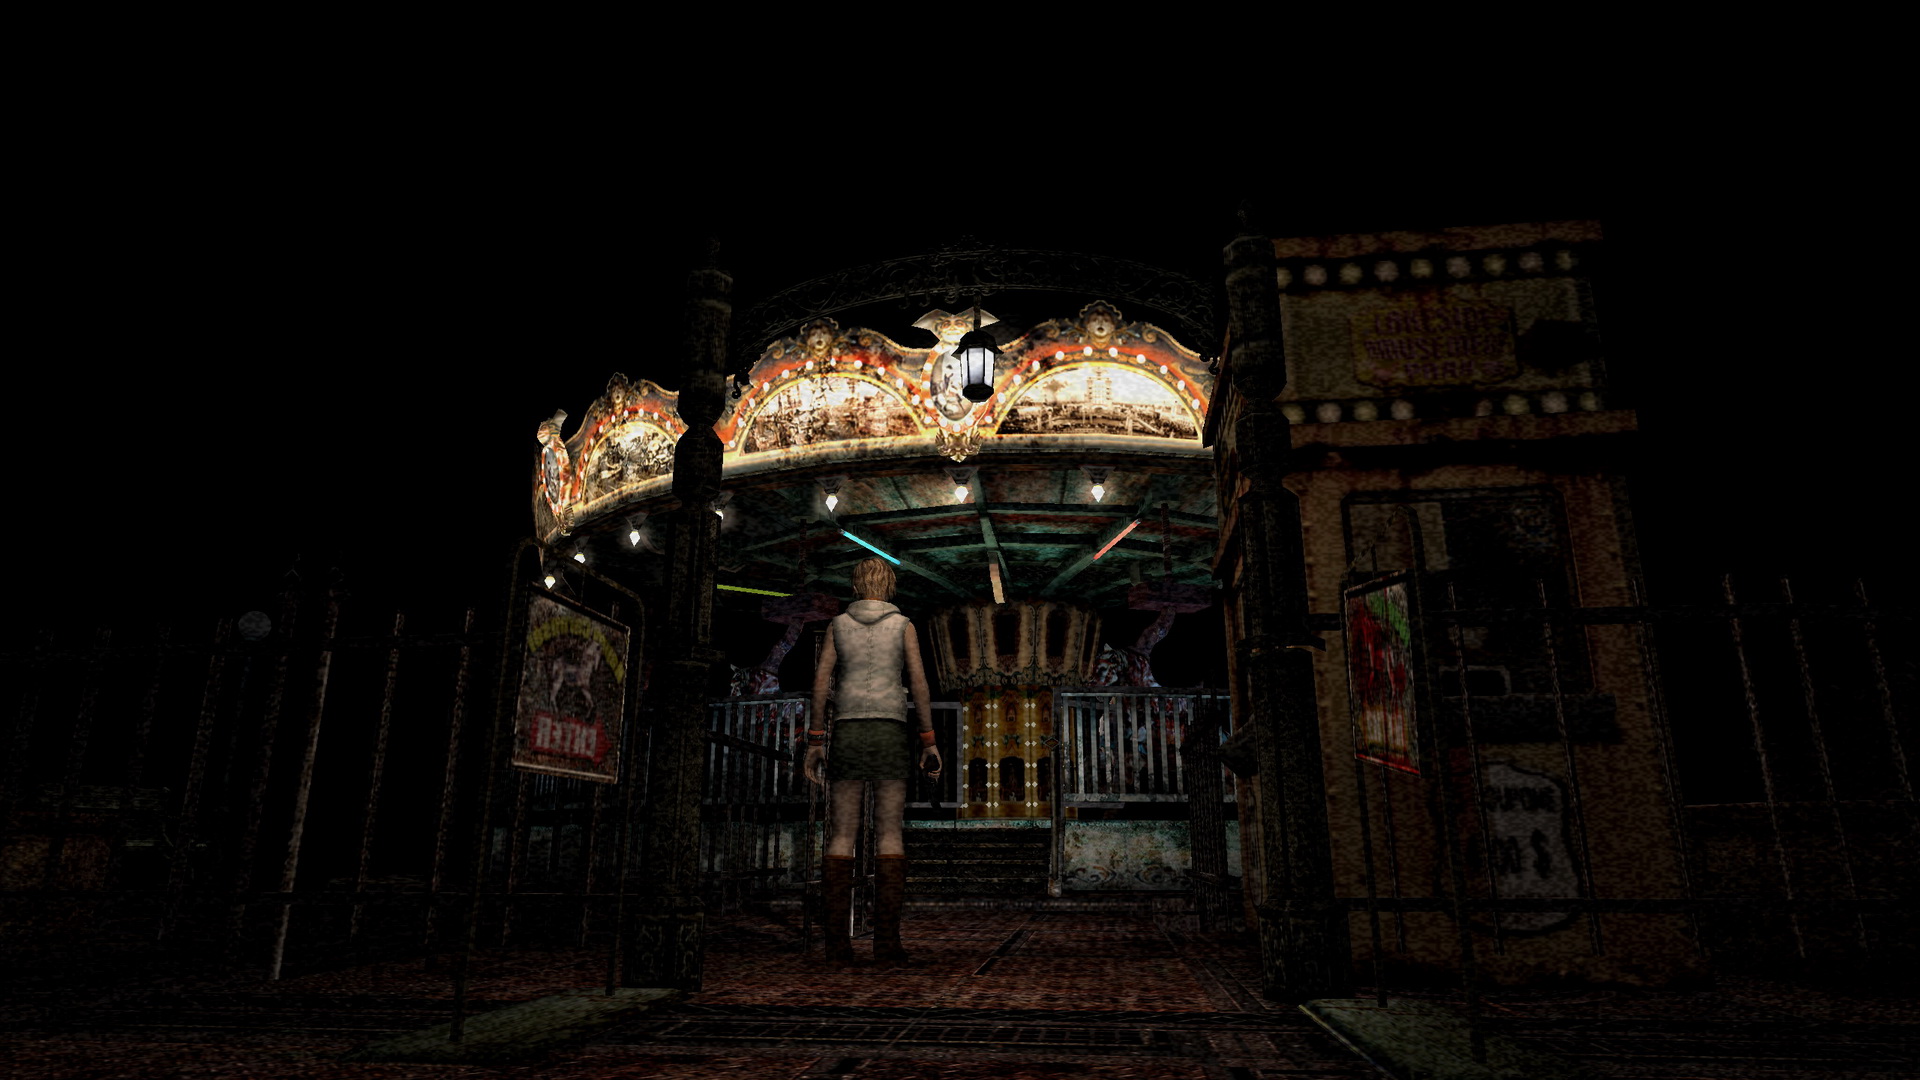
Happy Carousel: Figuring out the Riddle
Find the First-Aid Kit on the left bench ahead and take a right at the garden towards the carousel. You may remember there was a carousel near the ice cream stand in the first Silent Hill as well, right about here...
Once aboard the carousel it'll start to spin and play music as the horsies move up and down. Find the beaten up one on the inside that isn't moving to read a riddle pinned on it:
When 13 turns count 4,
you will die from their curse.If you wish to escape,
there is but one way out.To kill before you are killed:
you will be saved by the 12th death.

What this means is that when the carousel spins 52 times (13x4), you will die. But there is a way out... "you will be saved by the 12th death." But 12th death of what? Take a look around – can you find 12 of anything here? What about the horses...
There are exactly 12 of them and one appears to already be dead with the memo pinned to it. So what you need to do is kill the remaining 11 horses and you will solve the mini-puzzle and survive.
Pull out your Katana (or the Steel Pipe if you missed it) and start swinging away at the horses, using the overhead downward swing (hold X) for quickest results. You can use firearms but it's a complete waste of ammo. You'll hear horse noises after every hit and then a very distinct death sound, upon which the horse will shortly stop moving. Move onto the next one.
Also note that each horse spits out a type of gas from its mouth that will hurt you if you're not careful. To best deal with this, kill the horses in a clockwise fashion so you approach from the rear and are never exposed to the gasses.
Once all 12 horses are "dead", some time will pass and they'll all begin moving again but you've solved the riddle.
Once the horses are moving again, more time will pass and then a cutscene will eventually play. The carousel undergoes a familiar nightmare transition and it looks like the form of Alessa has come to say hello. It's time for another boss fight.
Boss: Memory of Alessa (Happy Carousel)
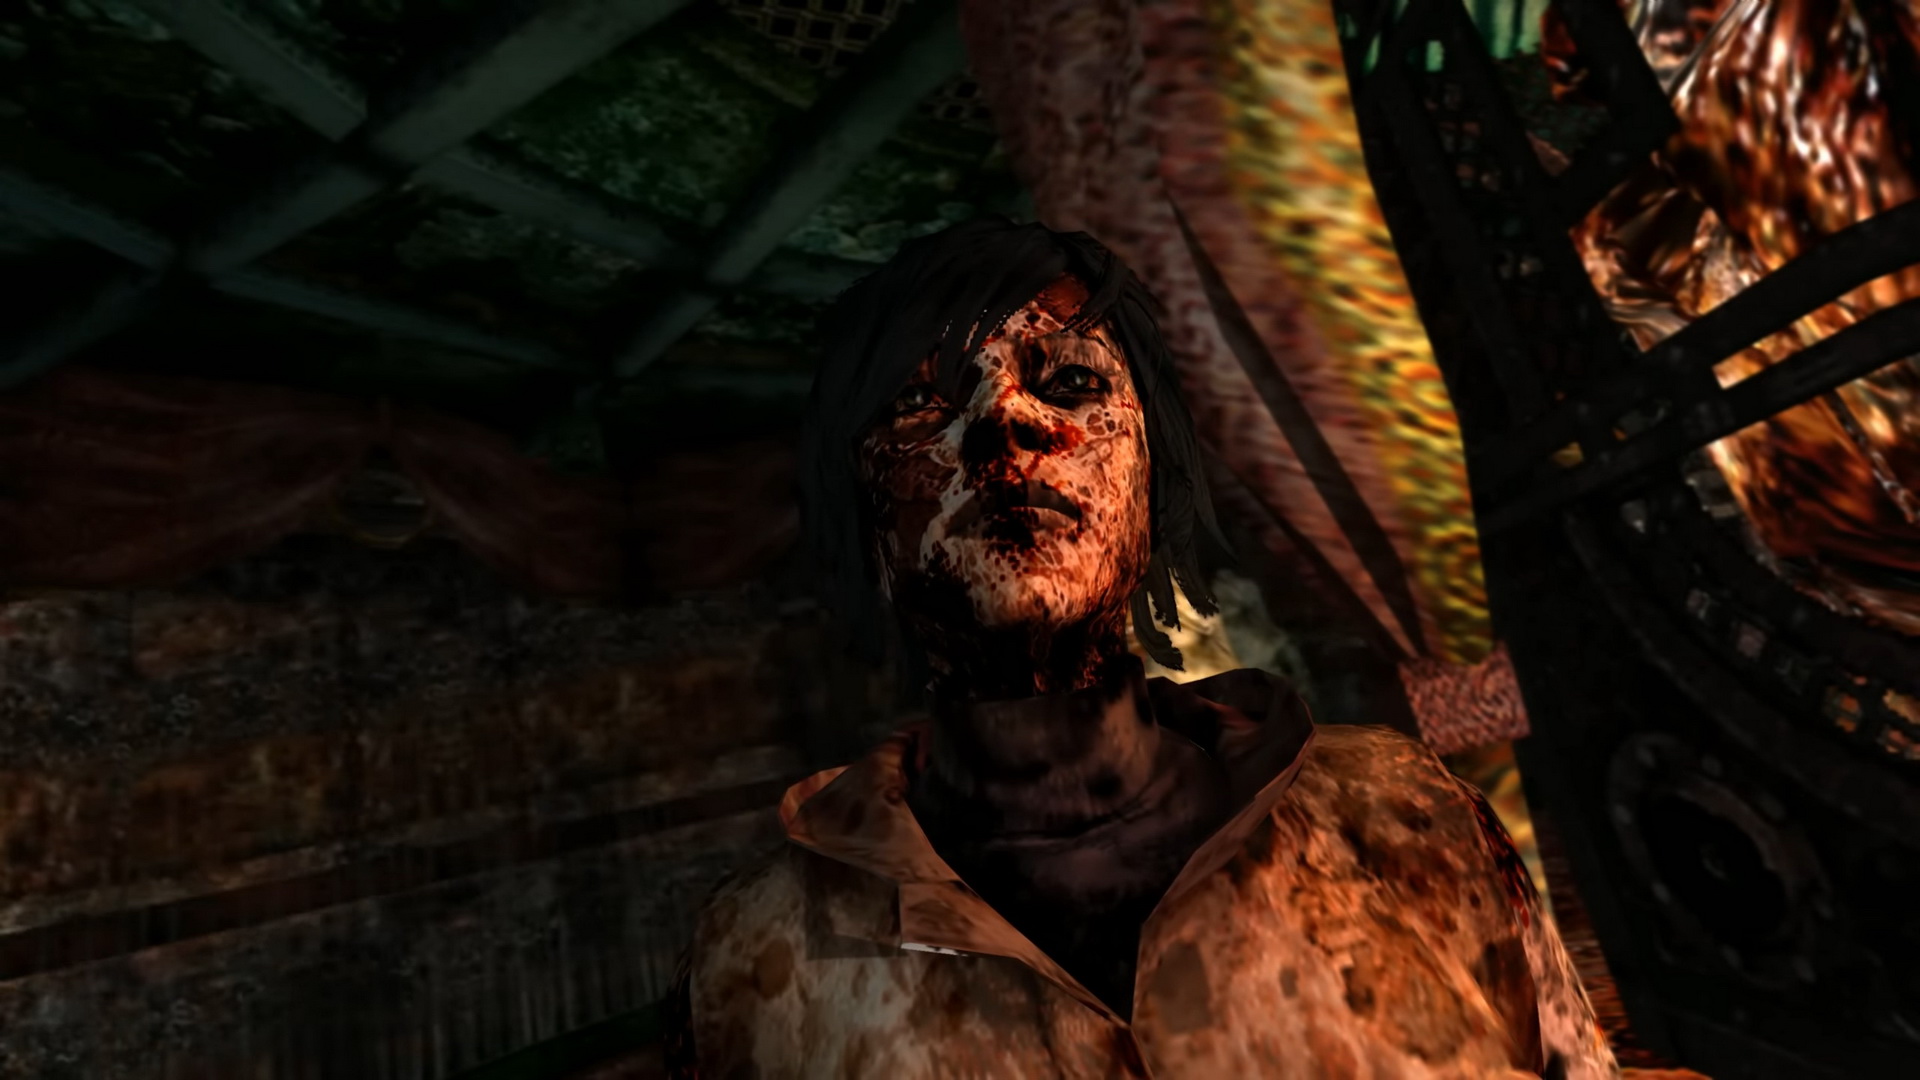
This plays out as a very unique boss fight with four separate forms where Alessa will die and reappear (but gone for good the last time). She can also inflict quite a bit of damage, especially in her Handgun and Submachine Gun forms, so consider equipping the Bulletproof Vest to limit damage. Also be mindful that she gets slightly stronger in each form and you will need to inflict more damage to finish her, especially in her final form.
1st Form
Weapon: Knife
Alessa challenges you by raising her knife in the air. Laugh at her weapon choice and equip a good melee weapon which will be sufficient – the Katana is best, but the Steel Pipe is good too. While you can be fairly careless in this form due to how weak her knife is, just wait for her to try to attack (you'll hear a whipping sound) before quickly retaliating before her attack lands. Or even run past her and get an attack in from the side or behind.
Alternatively you can just bust out the Shotgun, wait for Alessa to attack and shoot just as she does and repeat, but you can save the ammo with the Katana, especially in this form.
Note that Alessa can also block your attacks, limiting your damage output. She stands in a distinct position and your attacks make a distinct sound when this happens, rather than the usual scream of pain. Simply move around to another side of her or bait another attack and then go after her. Note that you can also block by holding Square with R2, which can come in handy, especially later.
Alessa may run away at times so be sure to follow and take advantage of her passiveness by attacking her. Repeat the above strategy and she will soon drop to the floor and disappear.
1st form attacks:
Alessa only has a standard knife swing attack in this form which inflicts very minimal damage. But it should be easy enough to avoid her anyway.
2nd Form
Weapon: Handgun
With the easiest form out of the way, Alessa returns with a Handgun. She'll usually spawn offscreen so you can either wait for her to find you or go hunt her down. Use L2 to focus the camera and assist your search. Always be careful and stay on the move in her firearm forms since you really don't want to be shot from a distance. Use the horses as cover and try to sneak behind her to get in your attacks more safely.
You can be pretty cheap here, but who's watching? The Katana has decent range and if you get too close to Alessa she may pistol whip you. Try to stand just outside of her pistol whip range but not far enough that she tries to shoot you. Keep attacking while holding R2 and you will push Alessa each time (keep tapping X to perform quick three-blow combos). Repeat this and she shouldn't get a chance to attack. Chase her when she runs away and get your attacks in to finish her off in this form. Otherwise you can use the Shotgun if needed, shooting after she initiates her swings or raises her handgun.
2nd form attacks:
Alessa can either shoot you with the Handgun, inflicting a fair amount of damage, or perform a pistol whip, which is more on the lighter side. Be mindful of your health by checking your status often enough, especially if you're shot.
3rd Form
Weapon: Steel Pipe
Interestingly, Alessa downgrades to a pipe here so you can relax a bit knowing you won't be shot from a distance, but she still has quite a bit of range with this weapon while attacking. Keep using the Katana (or Steel Pipe) and consider trying the same method as above so that you swing at Alessa as she approaches you and gets knocked back each time. However, back up every once in a while since her swings may follow through even if you hit her, since she gets stronger in every form. Or you can take the easy route with the Shotgun if you have the ammo.
Alessa may run away but this can work in your favour cause you can just wait for her to come back and you'll be ready to attack while she won't be, allowing you to continue the above strategy. If she doesn't come back right away, it's likely because she doesn't have much health left and her aggression levels have decreased. Run ahead and anticipate her by attacking where she's going. Eventually you'll finish her off.
3rd form attacks:
Her only attack is a regular pipe swing which inflicts noticeably more damage than the knife, but not as much as a Handgun shot. Be careful since her range extends quite far, so try to get behind or beside her before attacking if you can.
4th Form
Weapon: Submachine Gun
This is the final form of Alessa, and don't let the Submachine Gun scare you. It's actually good news because you can do the same strategy as you did for the 2nd Form of Alessa. Try to find her quickly so she doesn't surprise you with a burst of fire. Note that while the Katana three-blow swing and push back strategy still works well, Alessa is at her strongest now and may be able to hit you sometimes if you don't readjust every now and then. But it's still better than getting shot at.
Try to get Alessa just in range so that the tip of the Katana hits her. The further away she is while still getting hit the better, and if you find she's getting too close and may be able to hit you soon, just stop, back up and reset. Alternatively you can play this final form safe by using the Shotgun, blasting her when she swings at you or raises her SMG.
When she runs away, quickly follow her because she will likely try to shoot you if she creates any distance. If she does start shooting, quickly duck behind a horse and let her finish the clip. Once she starts reloading, ambush her. Soon enough she should fall to the ground and disintegrate for the final time, but if still alive get your kicks in while you can.
4th form attacks:
Alessa can fire a burst of bullets at you, inflicting a lot of damage, or whack you with her SMG. Make use of the horses as cover and try to get behind Alessa. Avoid attacking her from longer distances since she will try to shoot you.
After the fight, read the note on the floor behind you. Then circle around the carousel to find the exit along the outside edge. Follow the path and move through the door.
Pathway of Religious Notes
Read the different red notes along the wall as you traverse the hall, and head up the stairs to find the end door with another message on it. Pass through to enter the church.
| 12. Nightmare Hospital | 14. Church |