Central Square Shopping Center
Welcome to the second chapter of the complete walkthrough guide for Silent Hill 3 (2003, PS2, PC), covering Central Square Shopping Center. This guide provides a comprehensive walkthrough with all item locations, detailed puzzle solutions, and boss strategies.
Color legend
Tongs - items
Handgun - weapons
Health Drink - supplies
Shopping Mall Map - maps
Save Point - save points
Contents
Walkthrough
"My daddy always told me not to talk to strangers."
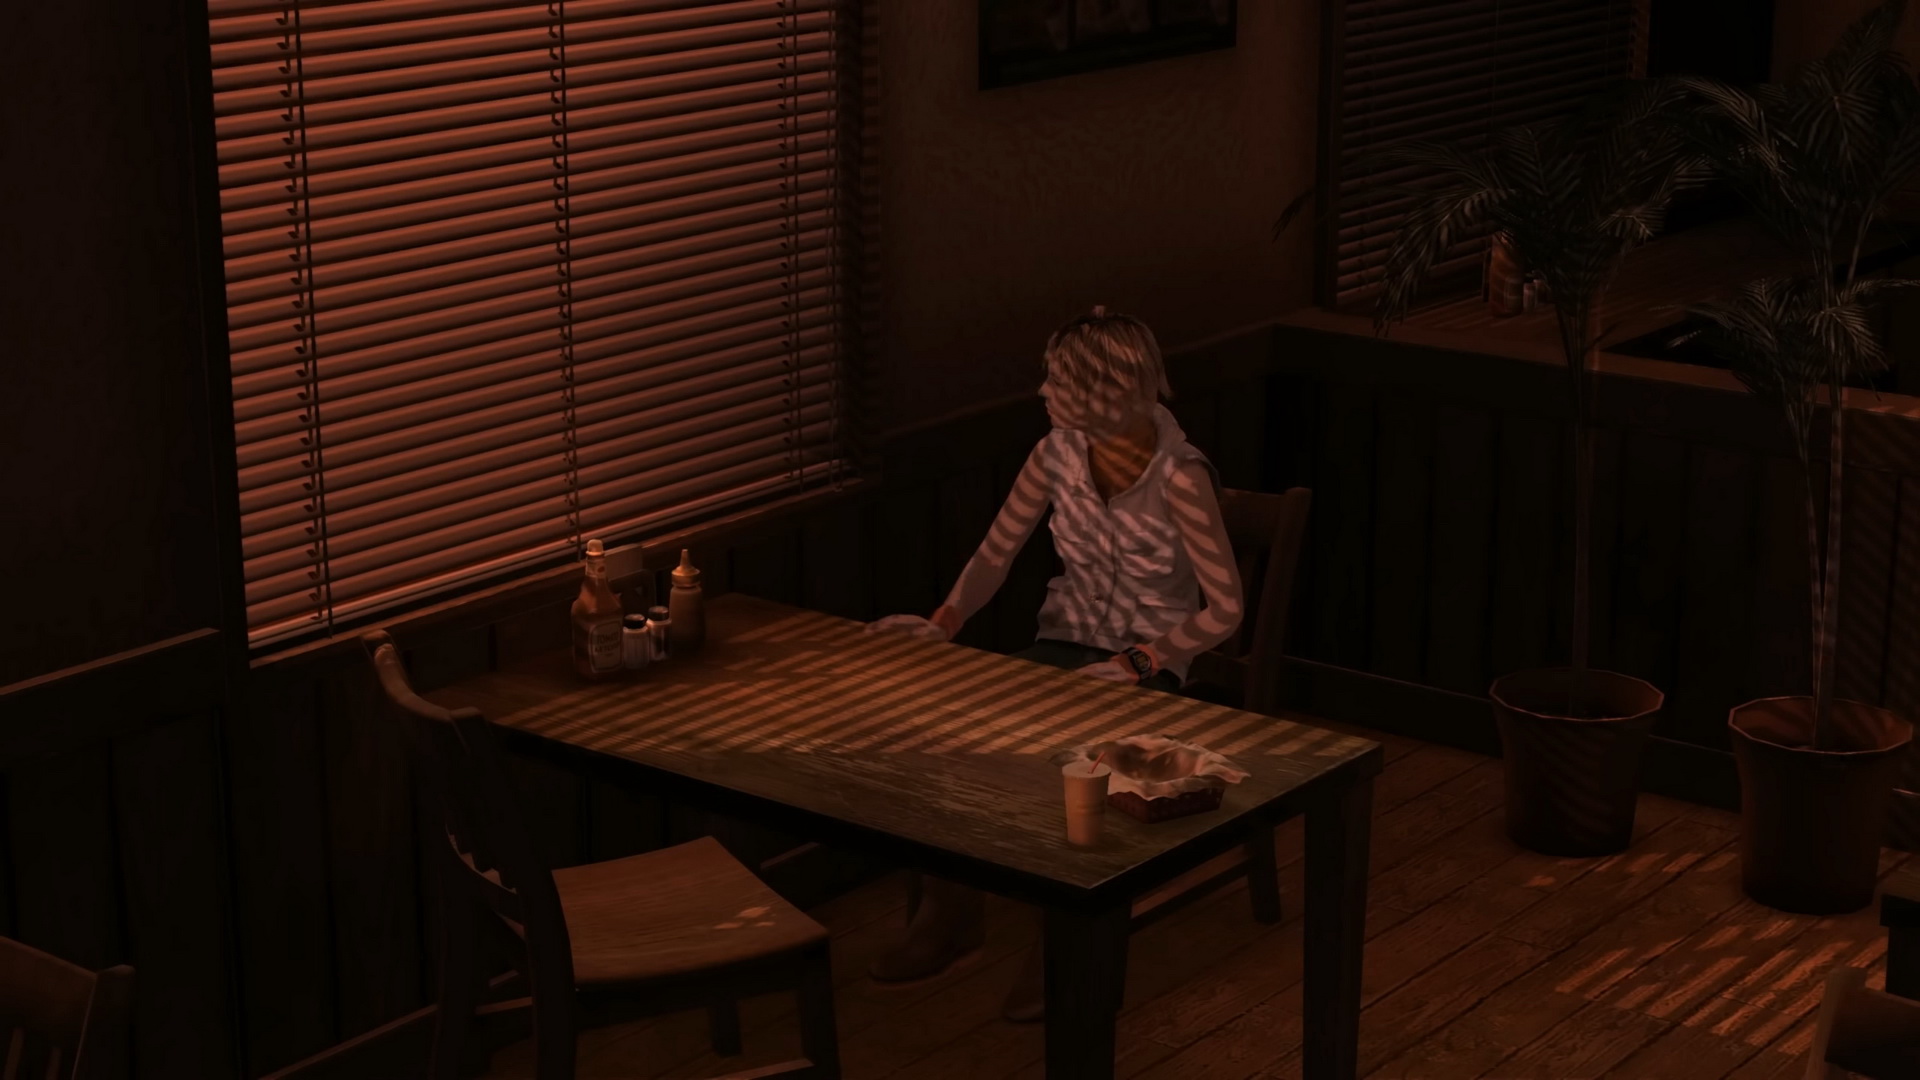
It was all a dream... Heather awakens in Happy Burger. After calling home, she slips into the ladies' room to get away from a detective named Douglas that wants to speak with her.
Ladies' Room
Note the Save Point on the mirror in here, and you may notice in your inventory that Heather carries a House Key, Pendant, and Knife as a weapon. Douglas is still creeping outside so you'll have to find another path. Head through the window into the alley.
Extra New Game Weapon: Heather Beam/Sexy Beam
To unlock it, kill 333 or more enemies across however many runs it takes in your save file and then it will be available in your next Extra New Game. If the Transform Costume is unlocked, it will be in your inventory and can be equipped to turn this weapon into the more powerful Sexy Beam. Read more in the Unlockables and Secrets section. |
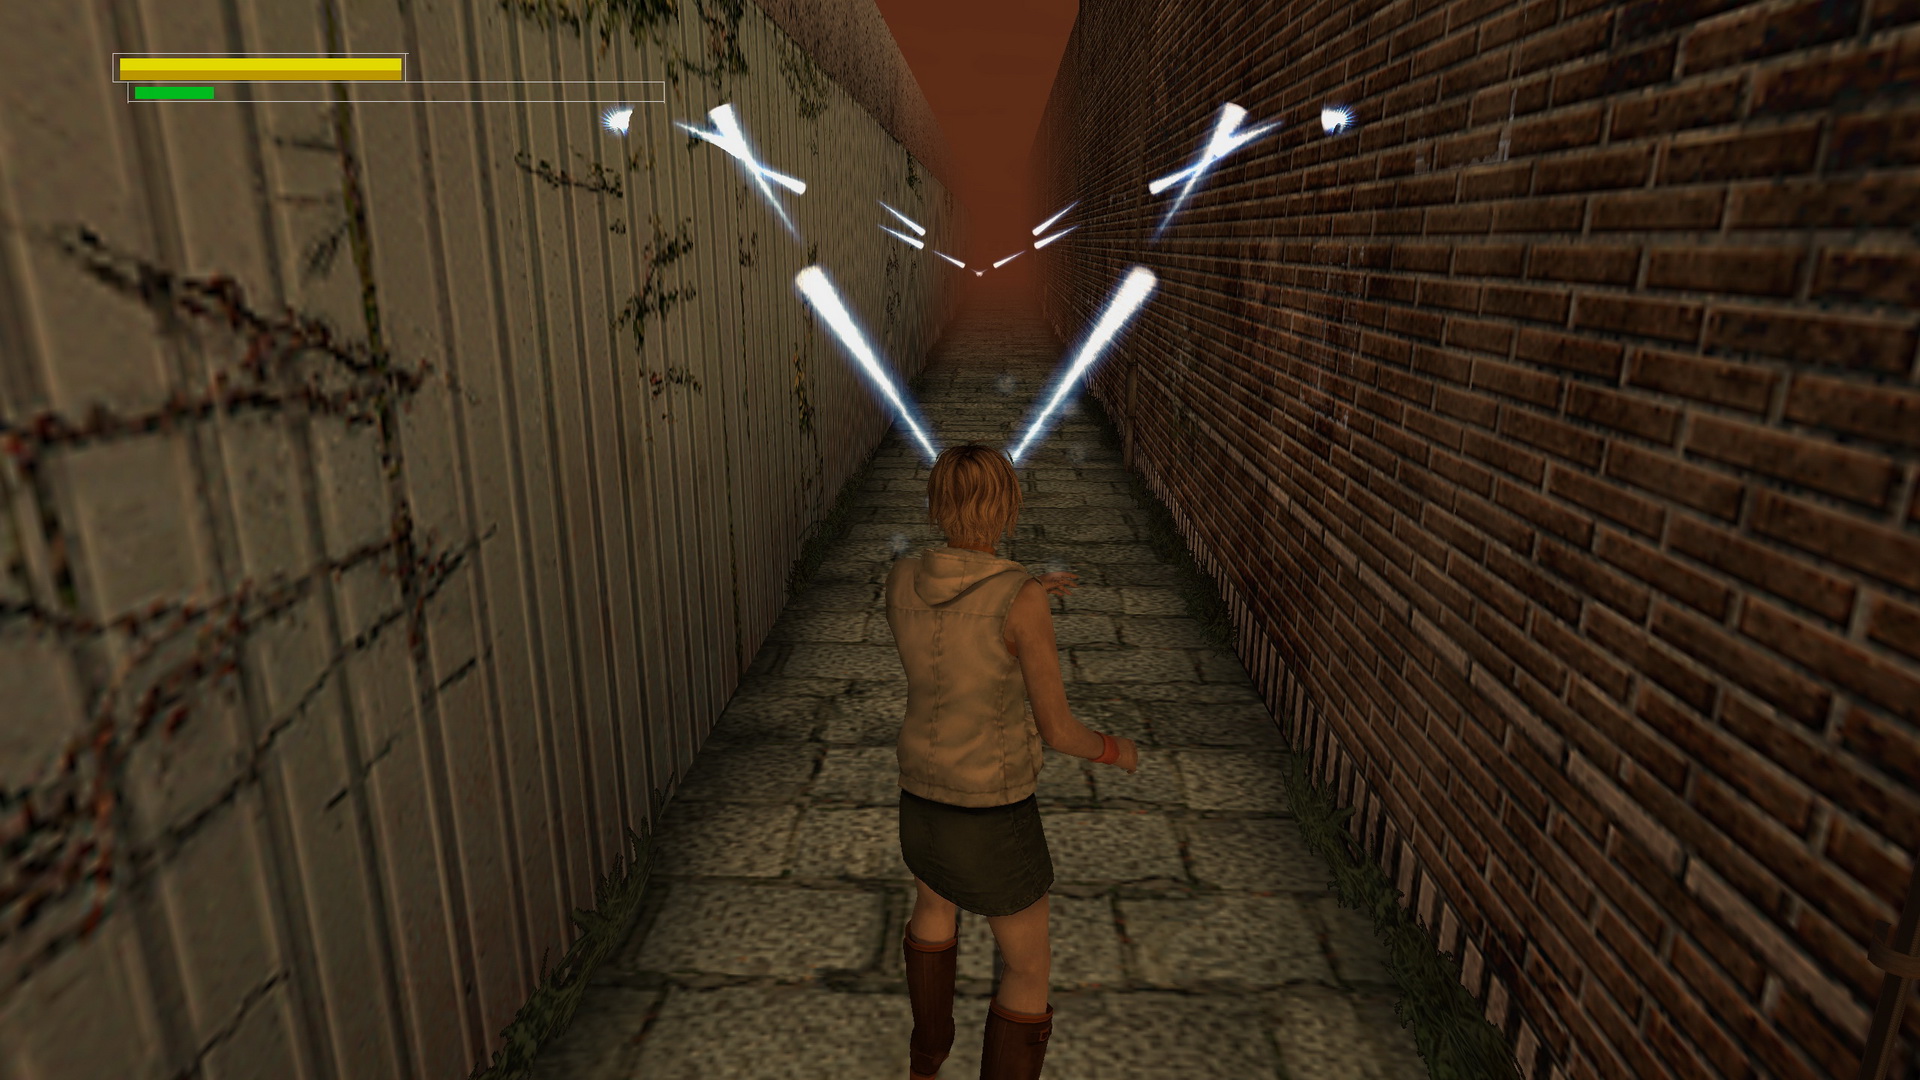
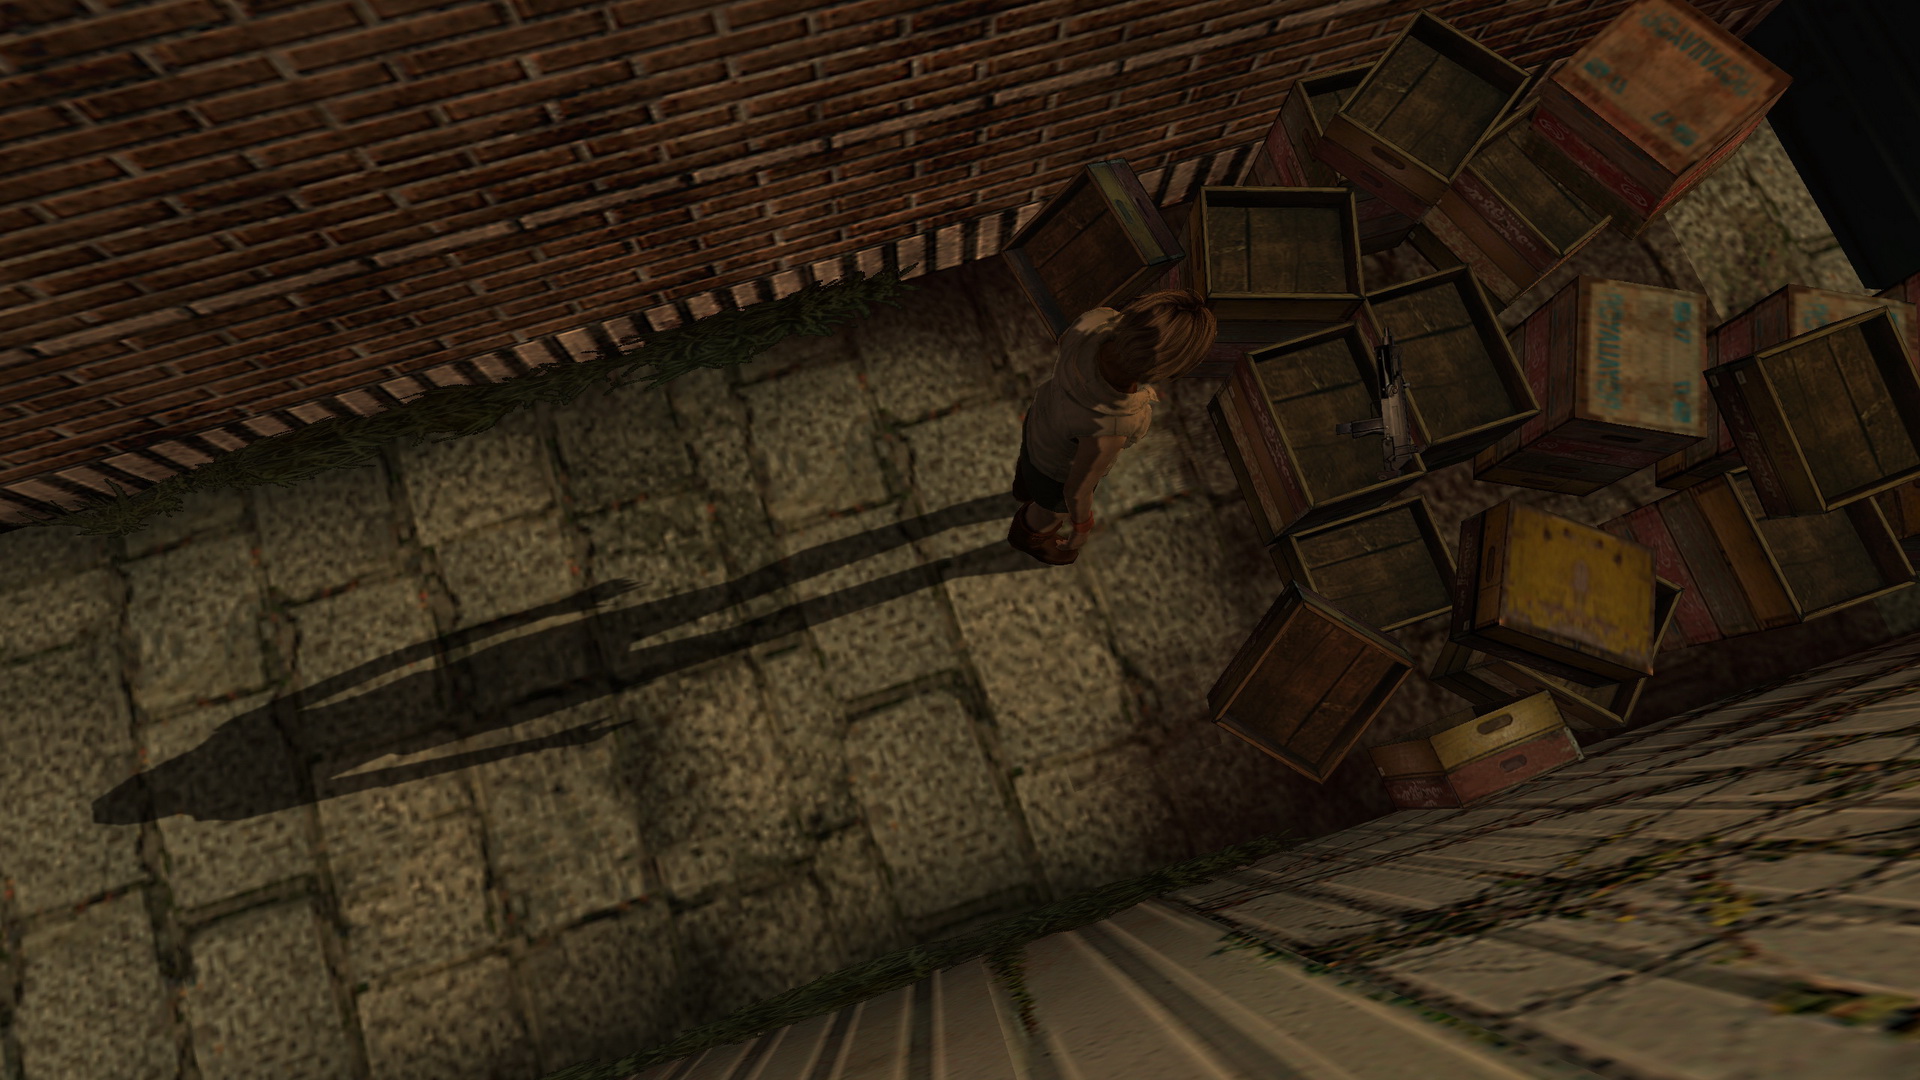
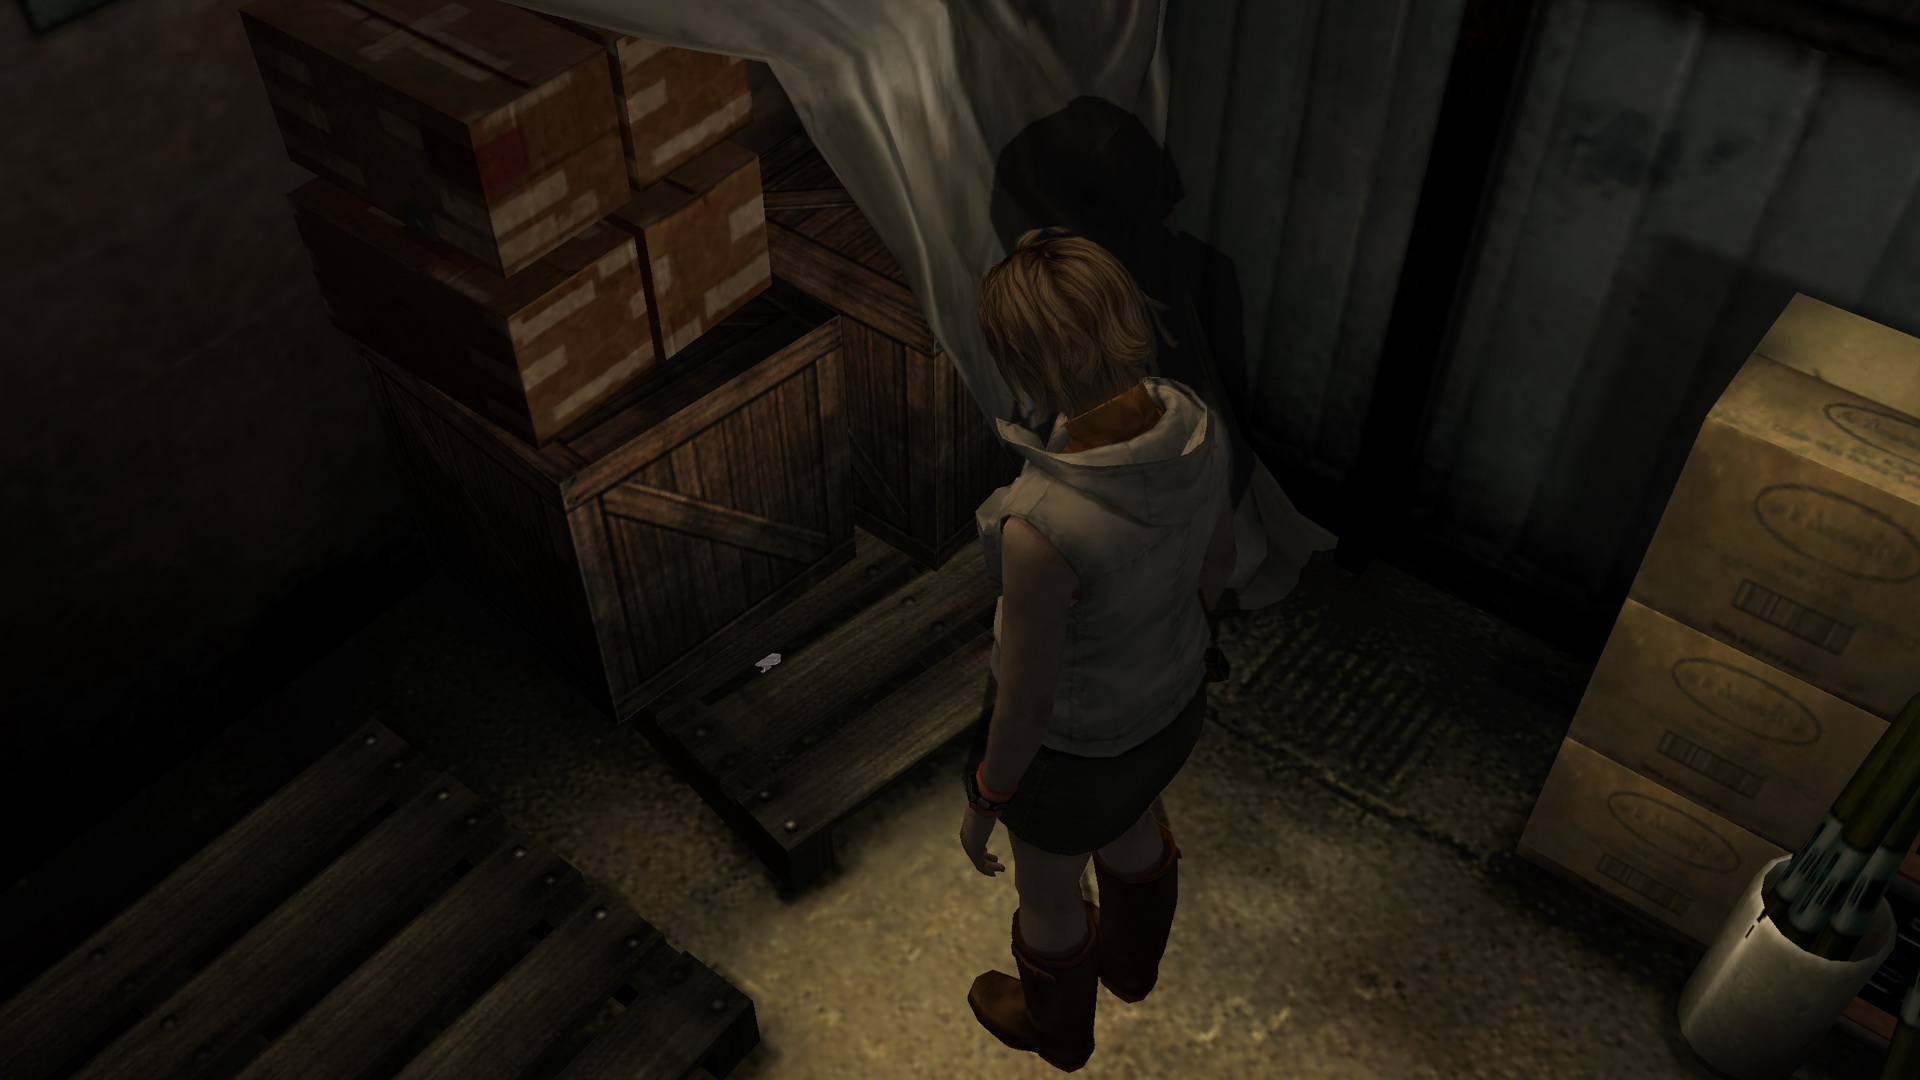
Alleyway
With boxes blocking your left, head the other way down the alley and step through the door there, since a van blocks the alley farther down.
Extra New Game Weapon: Unlimited Submachine Gun
|
Office Hallway
Back inside, follow the pathway to the right, past locked double doors on the left wall, and go through the double doors at the end of the hall.
First Floor Mall Hallway
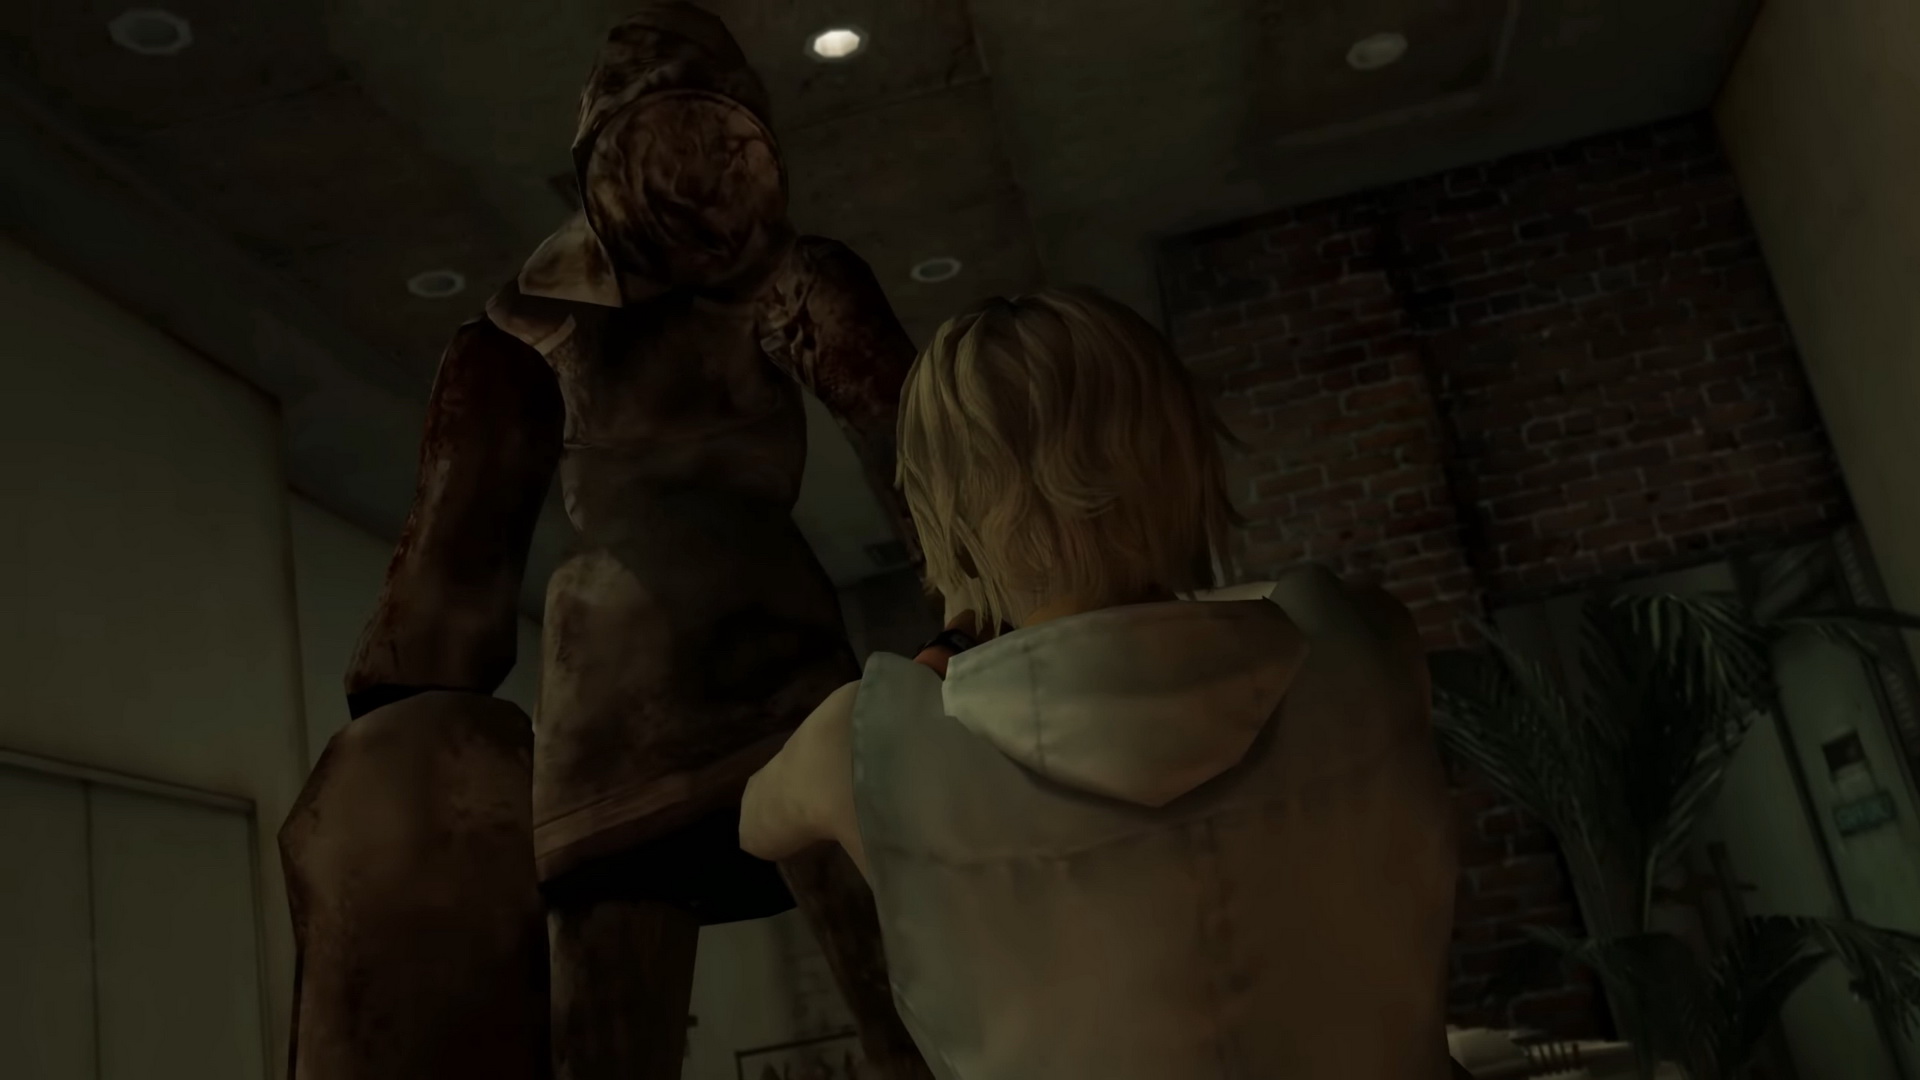
Back in the normal part of the mall, you'll notice a dirty floor and some muffled sounds coming from the nearby shop which has its shutters partly down. Enter the store under the shutters.
Inside the shop, Heather finds a 1 Handgun on the floor and uses it to fend off a nearby Closer, a familiar enemy from her nightmare... Grab the two packs of Handgun Bullets on the green bench and exit through the door behind the counter.
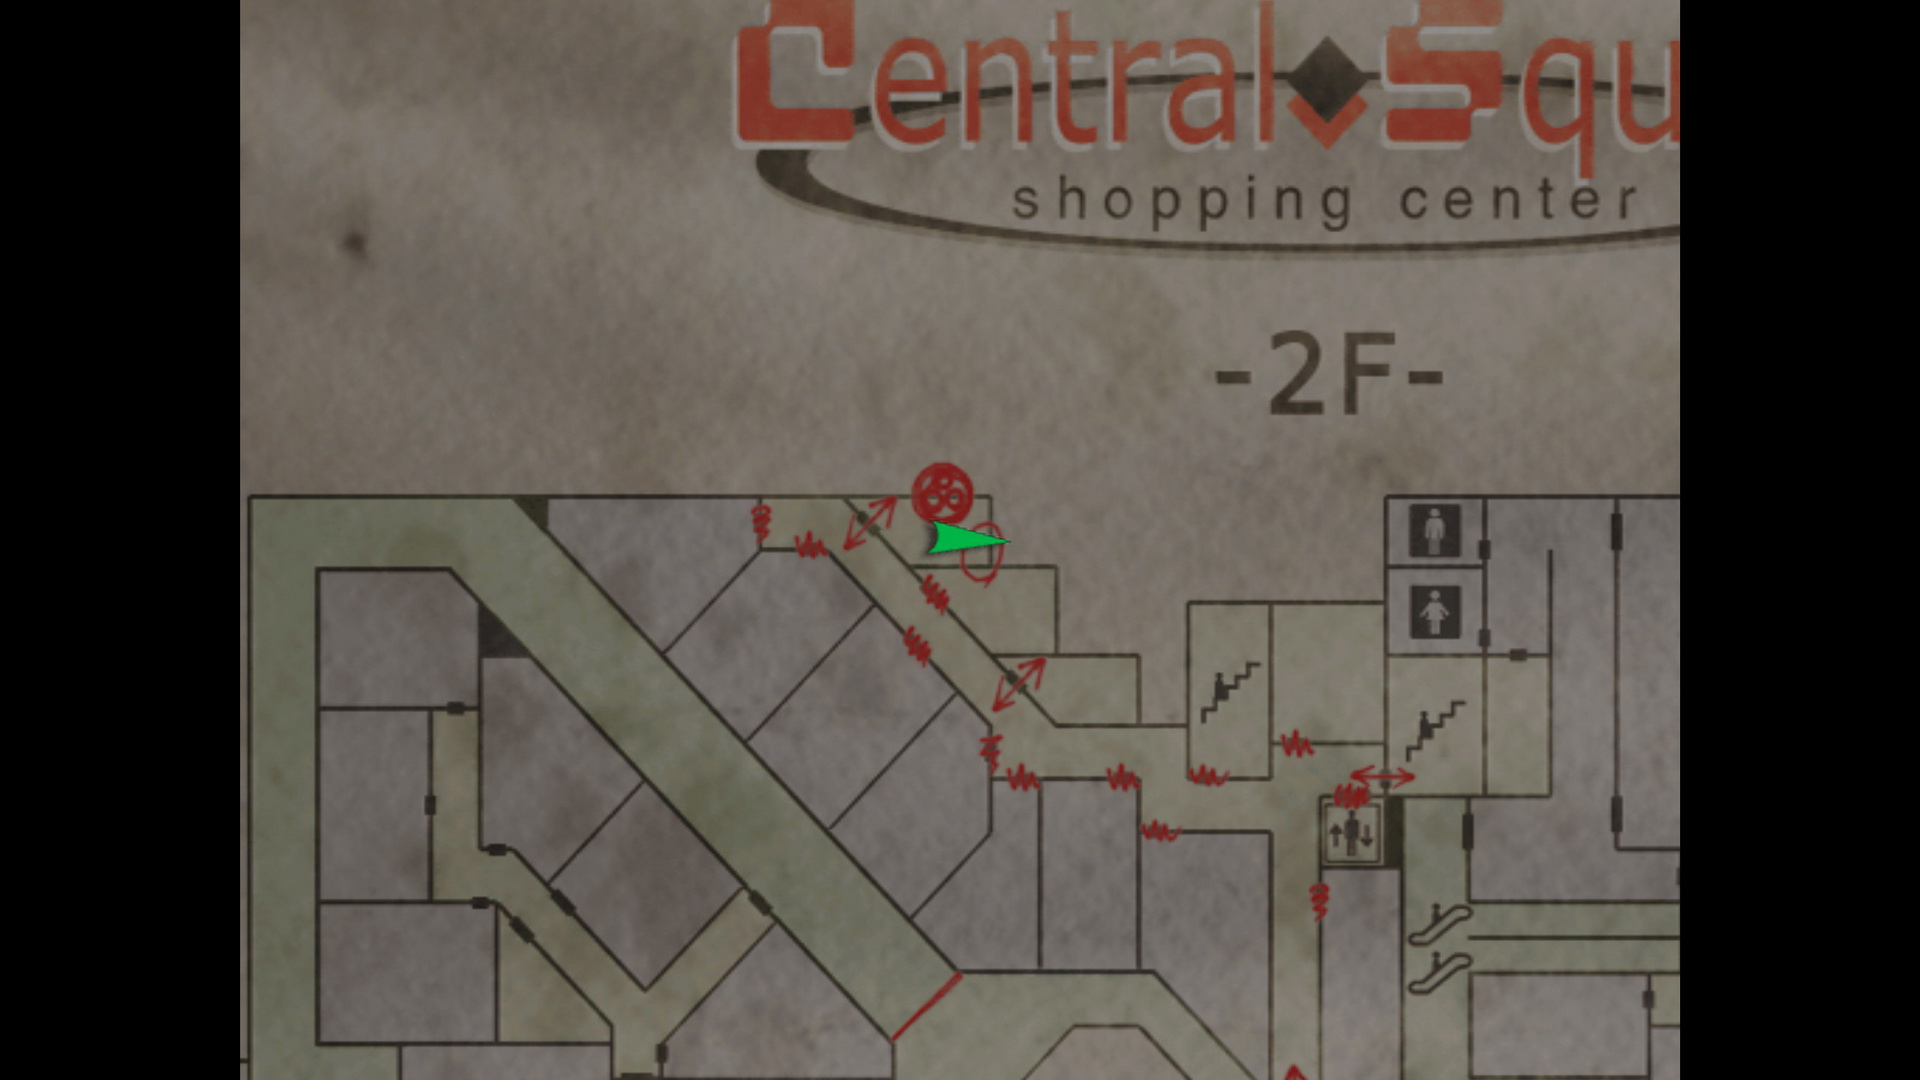
Now back in an office hallway (the other side of the locked double doors from before), head right to find the Shopping Mall Map on the noticeboard by the "EXIT" door. Then move through that door and up the stairwell to the second floor.
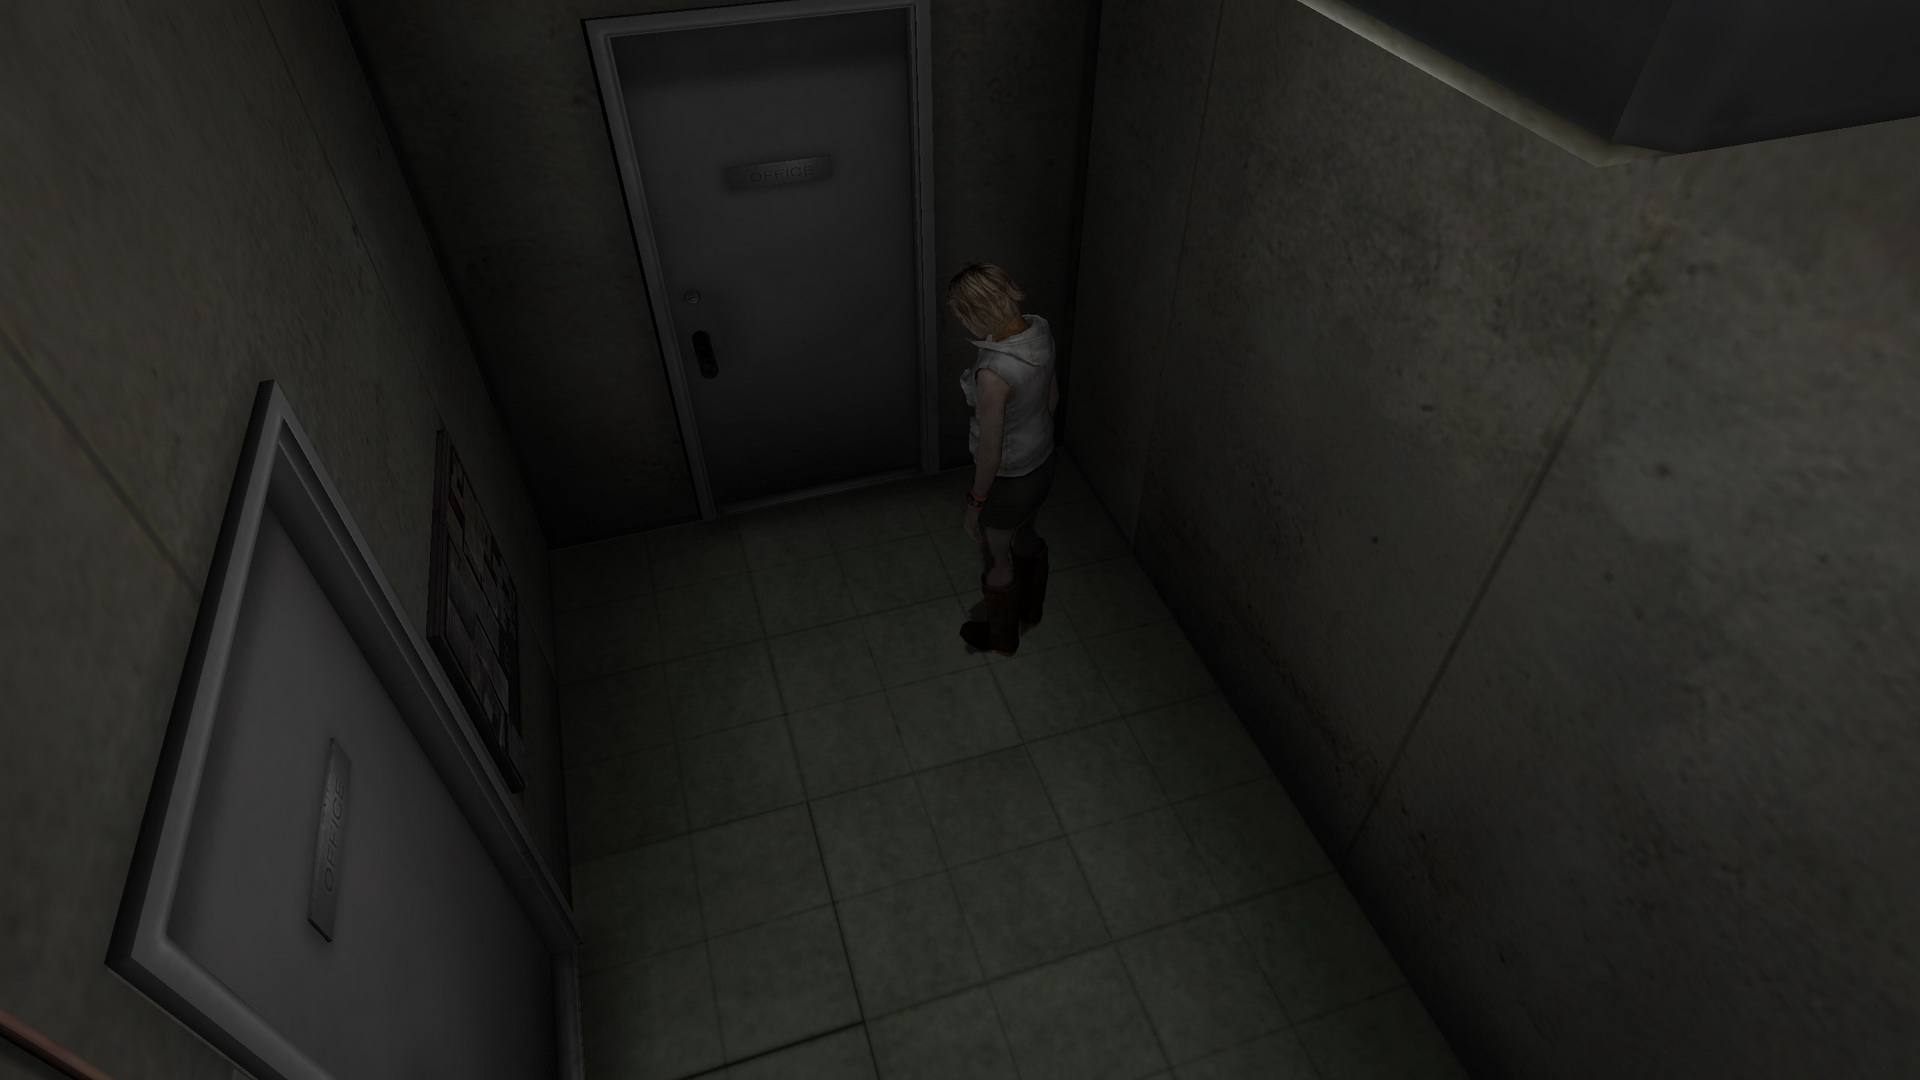
Second Floor Office Hallway
In this hallway you'll hear and encounter a new enemy type called the Numb Body. Save your Handgun ammo for now and consider just running past these guys, or experiment with the rather pathetic knife if you wish.
Ignore the first Numb Body and instead take the right path up to the northwest. Enter the storeroom beside the large bulletin board on the right wall. In here you'll find a Double Head eating something in the corner. On the box beside it is Beef Jerky, which must be what it's eating. Note that you can drop a piece of jerky from your inventory to attract the attention of Double Heads. Exit the room.
In the next open storeroom two doors down on the same side, you'll find two Health Drinks and Handgun Bullets beside a Save Point on the shelf. Deeper towards the camera is a skid of wood with a key underneath it, but it's out of reach for Heather so we'll have to come back later.
 |
 |
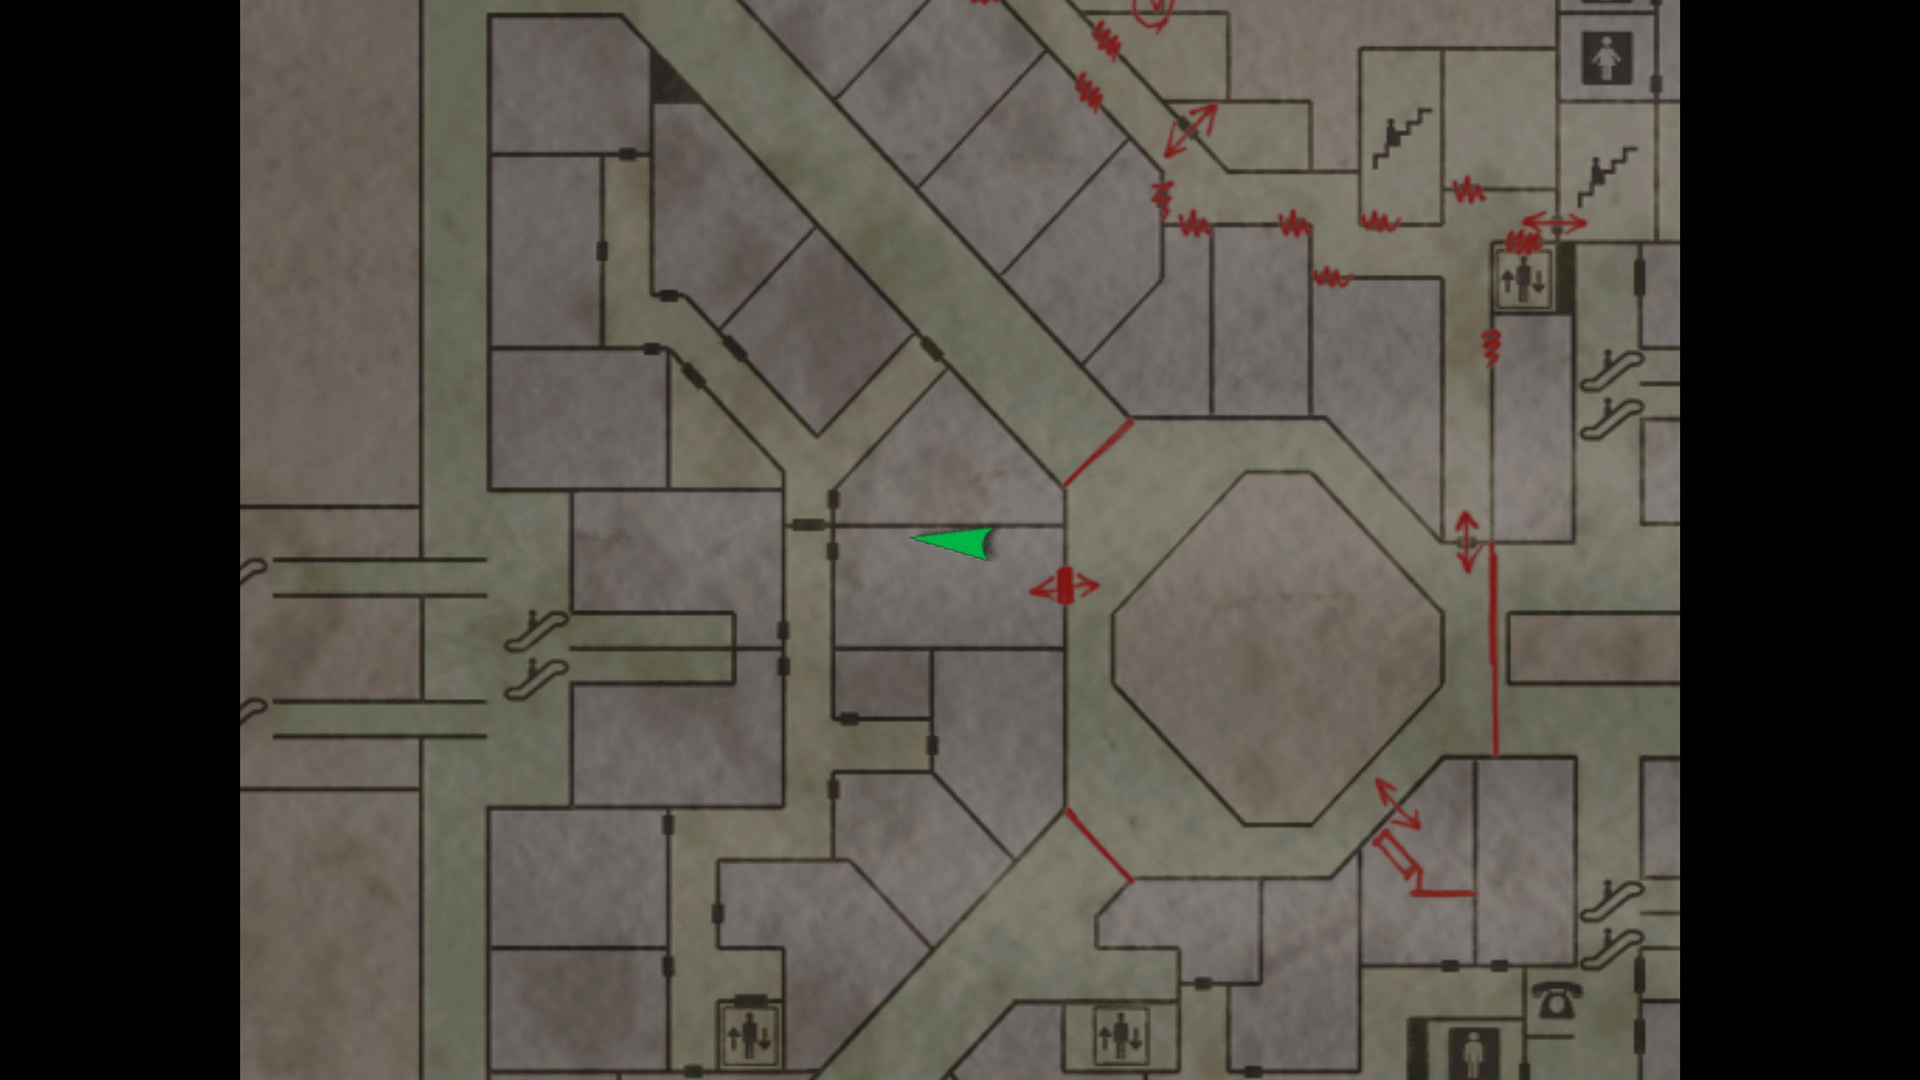
Exit to the hall and head back east, moving through the southernmost door there to the center of the mall.
Extra New Game Weapon: Beam Saber
|
Getting the Key Under the Skid
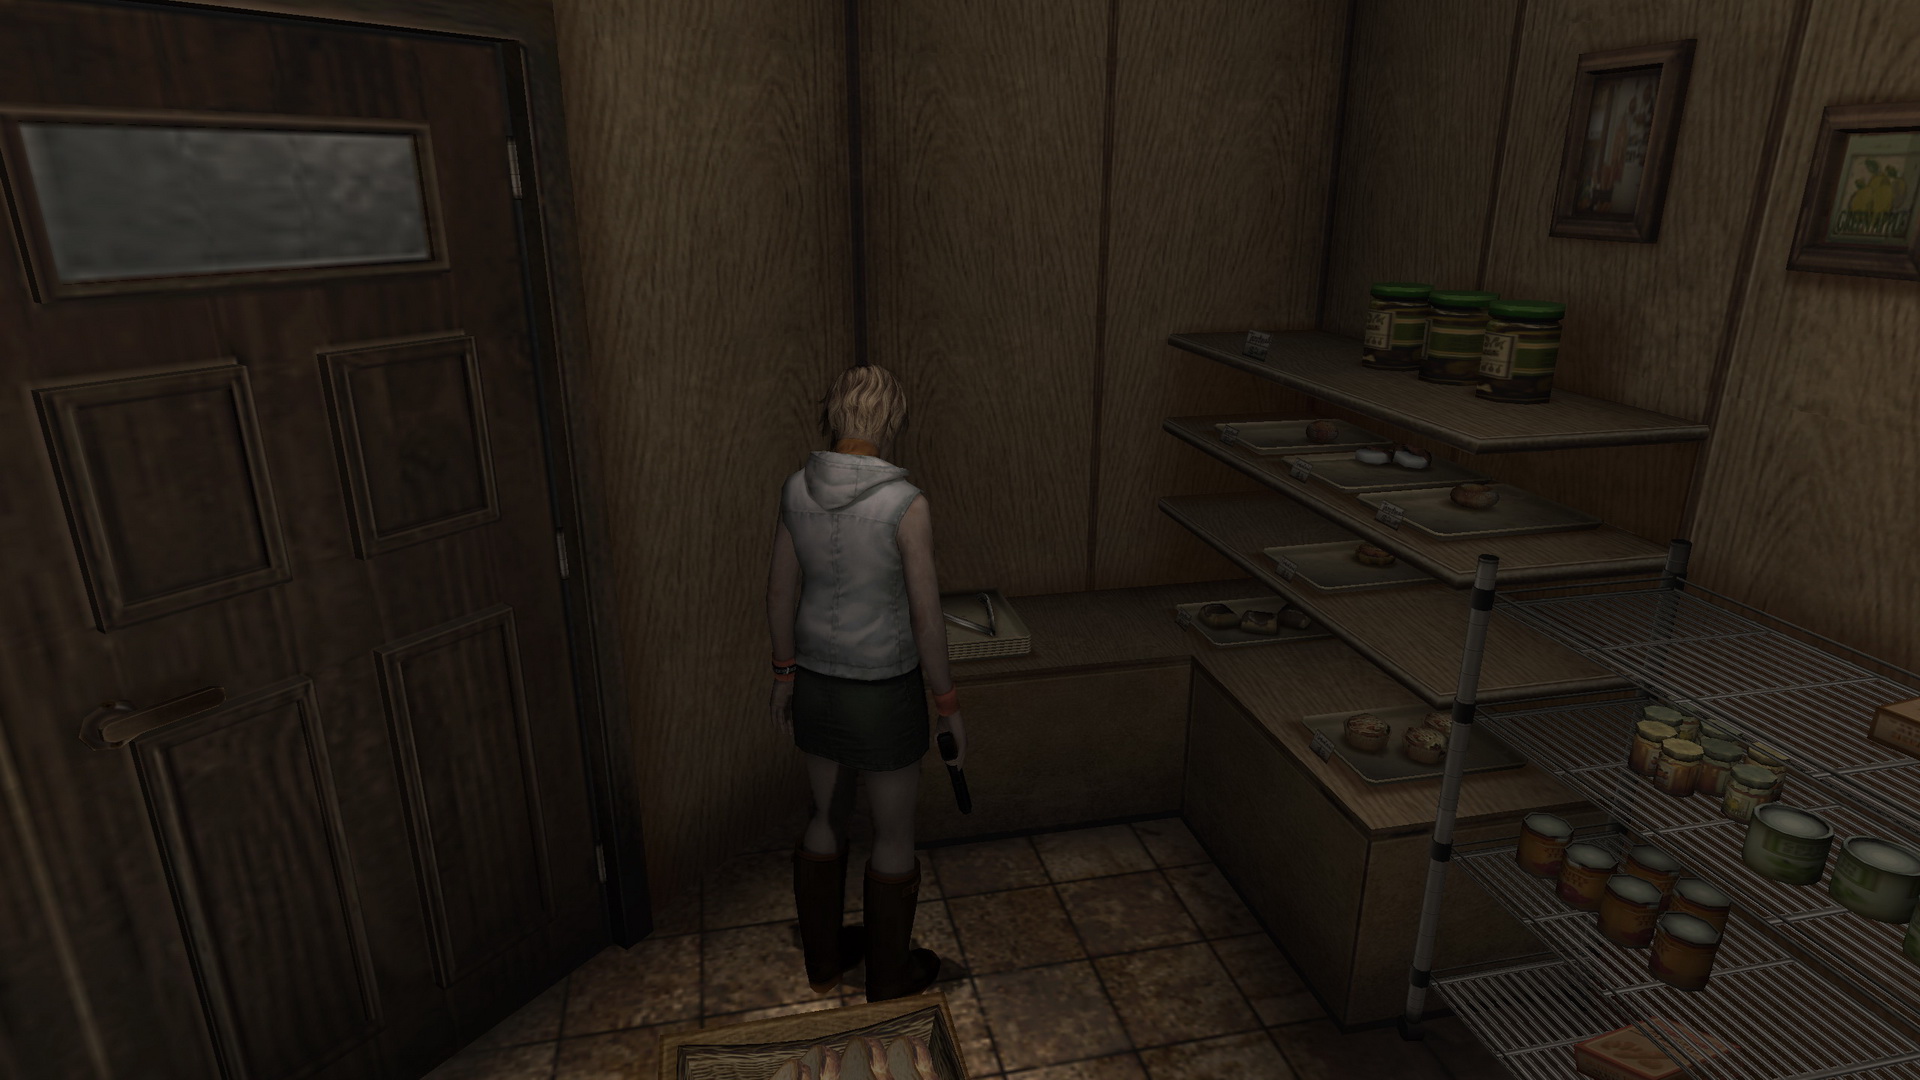
Now back in another regular mall section, run ahead and enter Helen's Bakery. Just through the door you'll find a pair of 2 Tongs on the counter beside some baked goods.
 |
 |
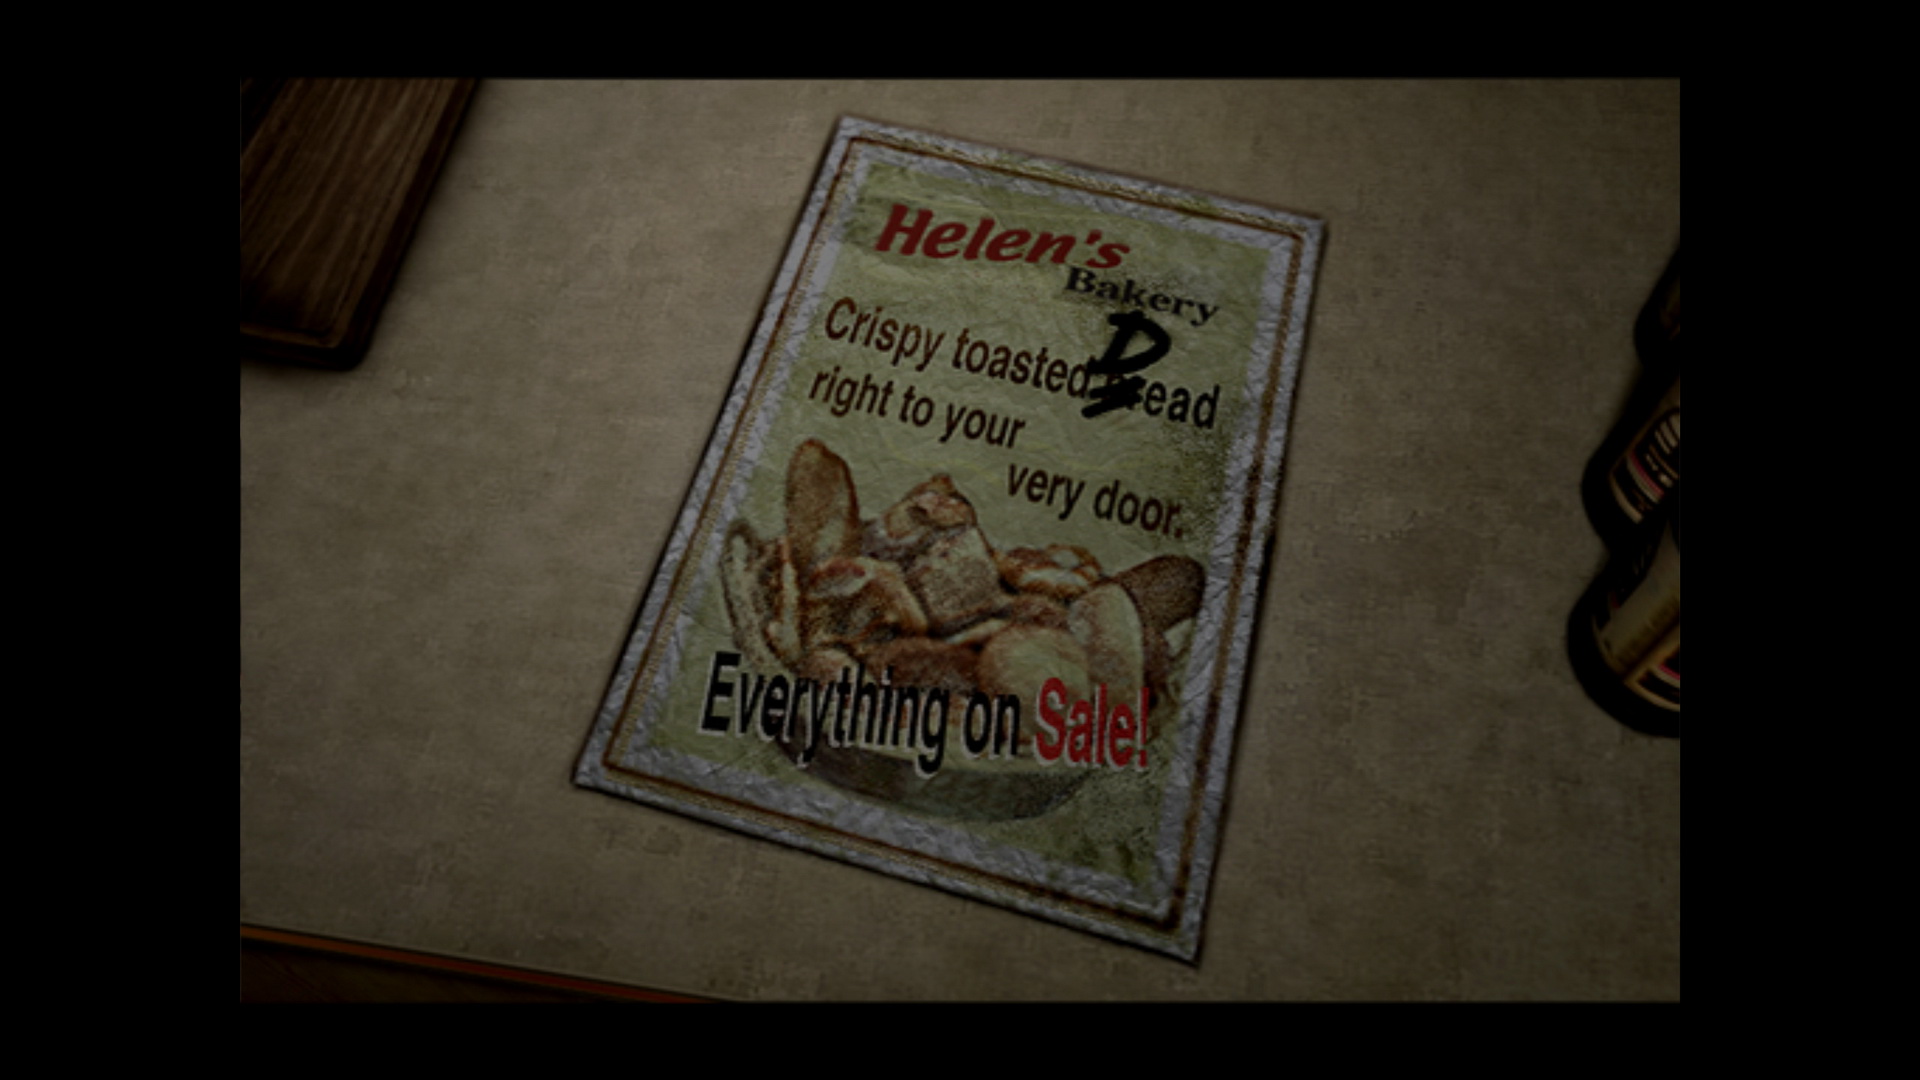
That should work for the hidden key from earlier. Before you leave you can read a flyer on the other counter, but it's not very interesting.
Extra New Game Weapon: FlamethrowerOnce the E3 Flamethrower has been unlocked, it will be lying on the counter of Helen's Bakery, only in an Extra New Game. Finish the game with more shooting than fighting kills to unlock, or just beat the game twice. Additionally you will notice an appropriate adjustment to the flyer on the counter. |

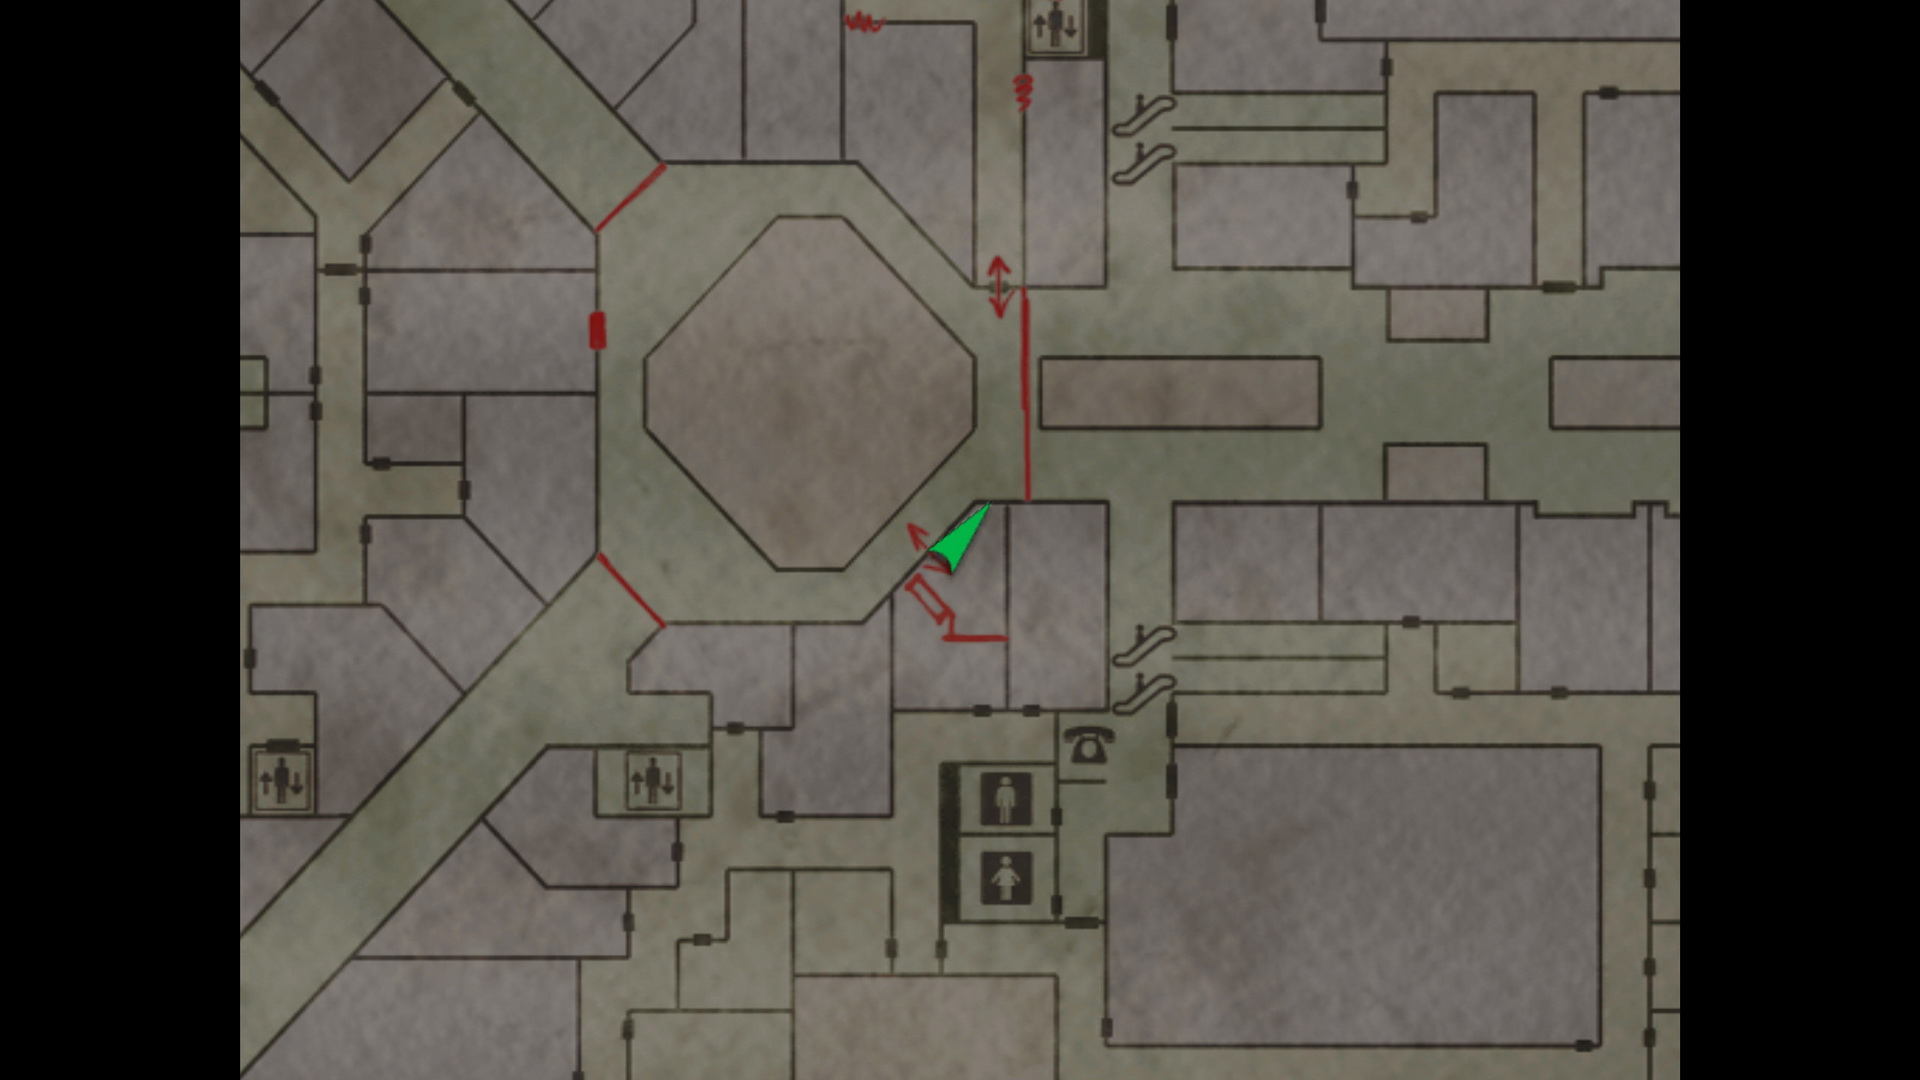
Head back to the north hallway and re-enter the storeroom where the out of reach key was (last door on the right). Use the Tongs to get the 3 Key taken with Tongs from underneath the skid. Since the creative key name provides no hint for its use, examine it to find "My Bestsellers" on the tag, which sounds like a bookstore. Back in the office hall, more Numb Bodies have spawned so make your way past them to the mall section again.
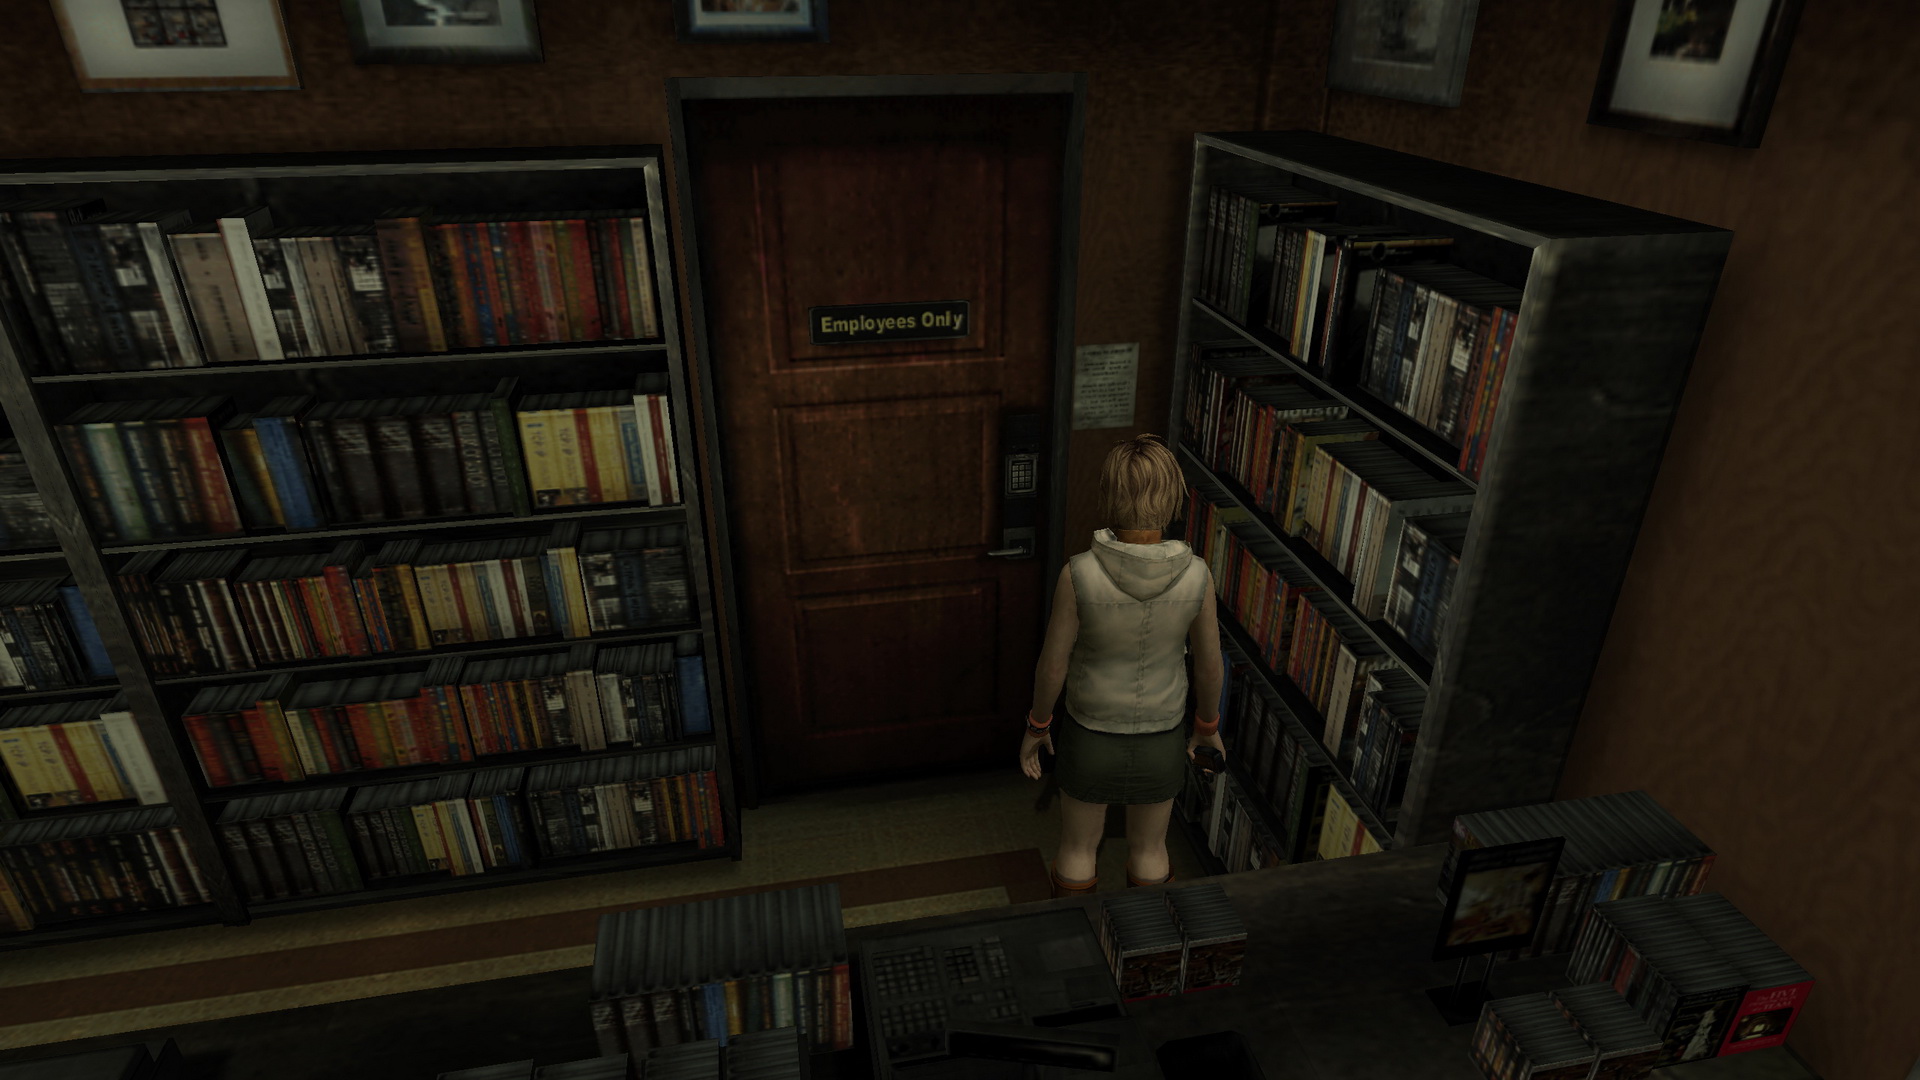
Take a right and run past a Closer to see a "My Bestsellers" sign above what looks like a bookstore. Avoid the other Closer out here and quickly enter the store with the Key taken with Tongs.
My Bestsellers Bookstore
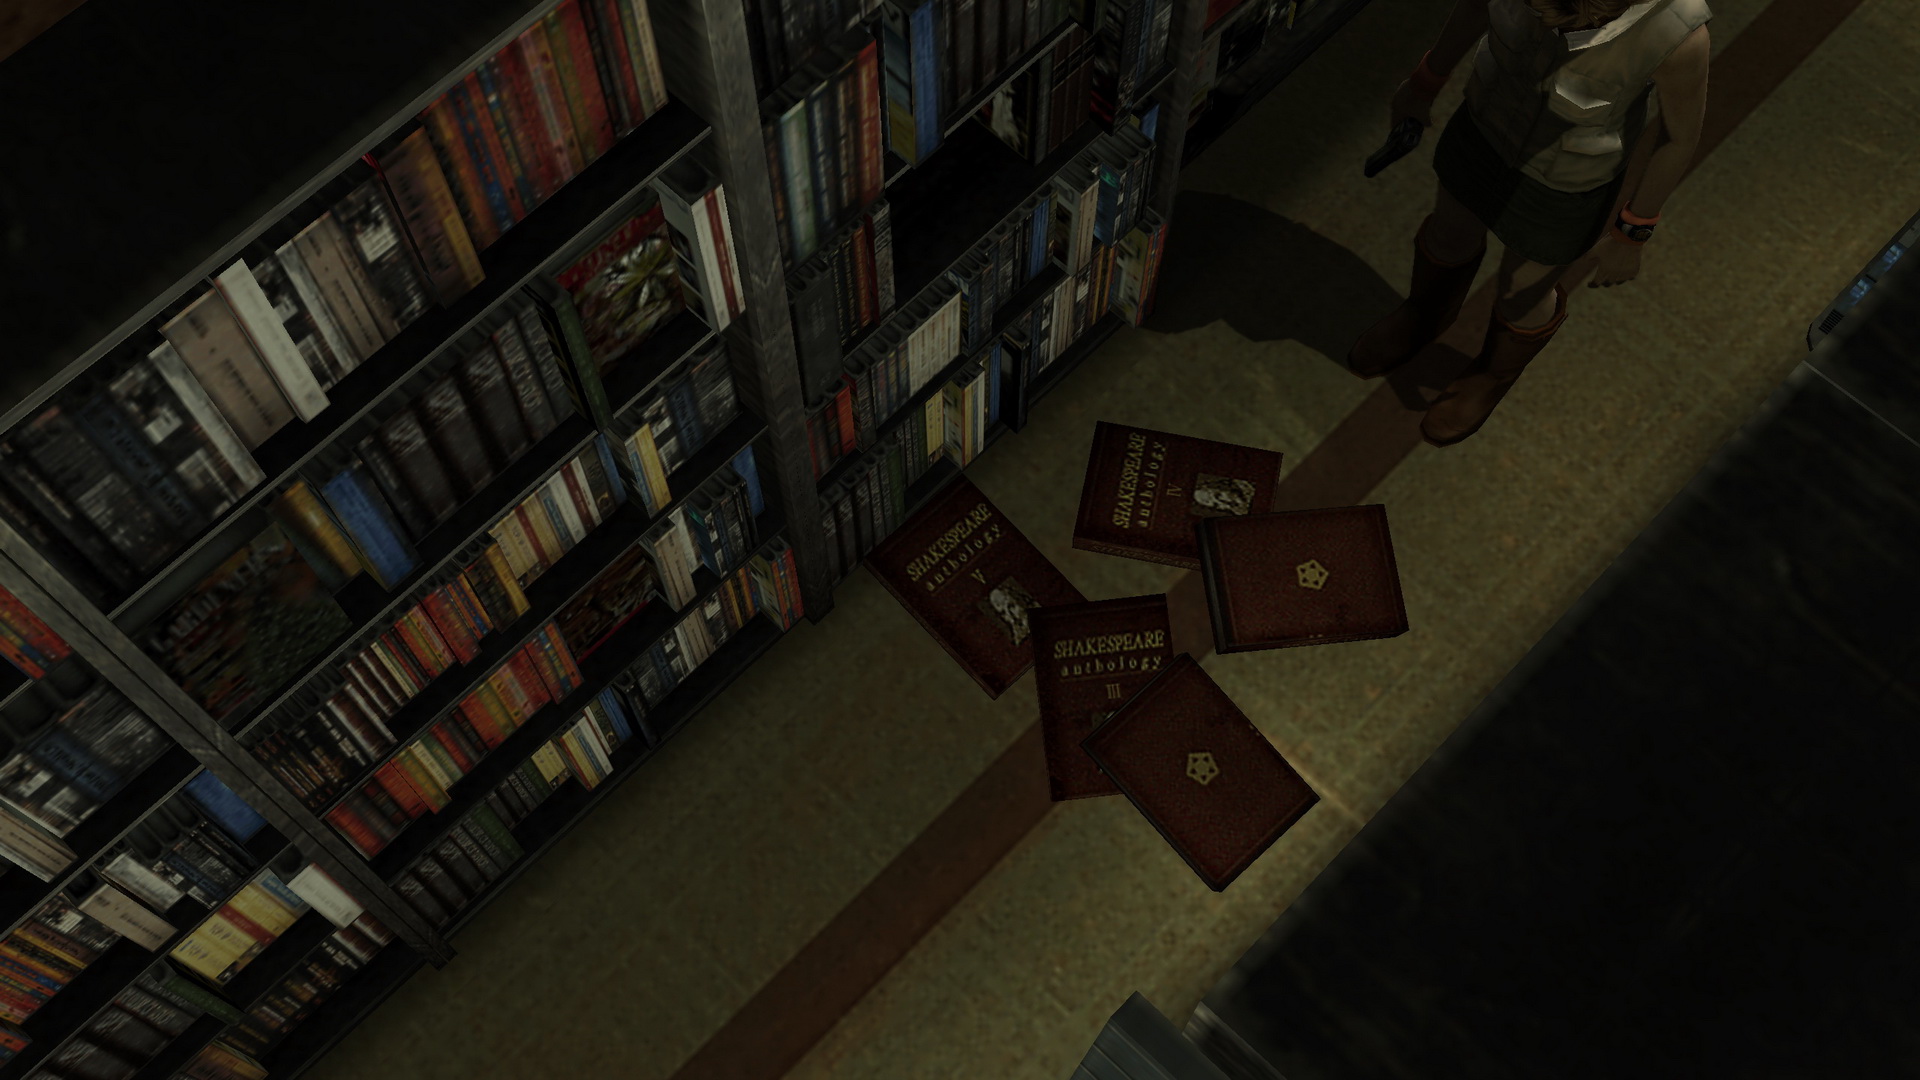
Along the right wall in the bookstore you'll find a bunch of books have fallen off the shelf. On Easy Riddle Level it'll just be two, but on Normal or Hard it'll be five. On Easy, pick up 4 Shakespeare Anthology 1 and 3. On Normal or Hard, collect 4 Shakespeare Anthology 1, 2, 3, 4 and 5.
 |
 |
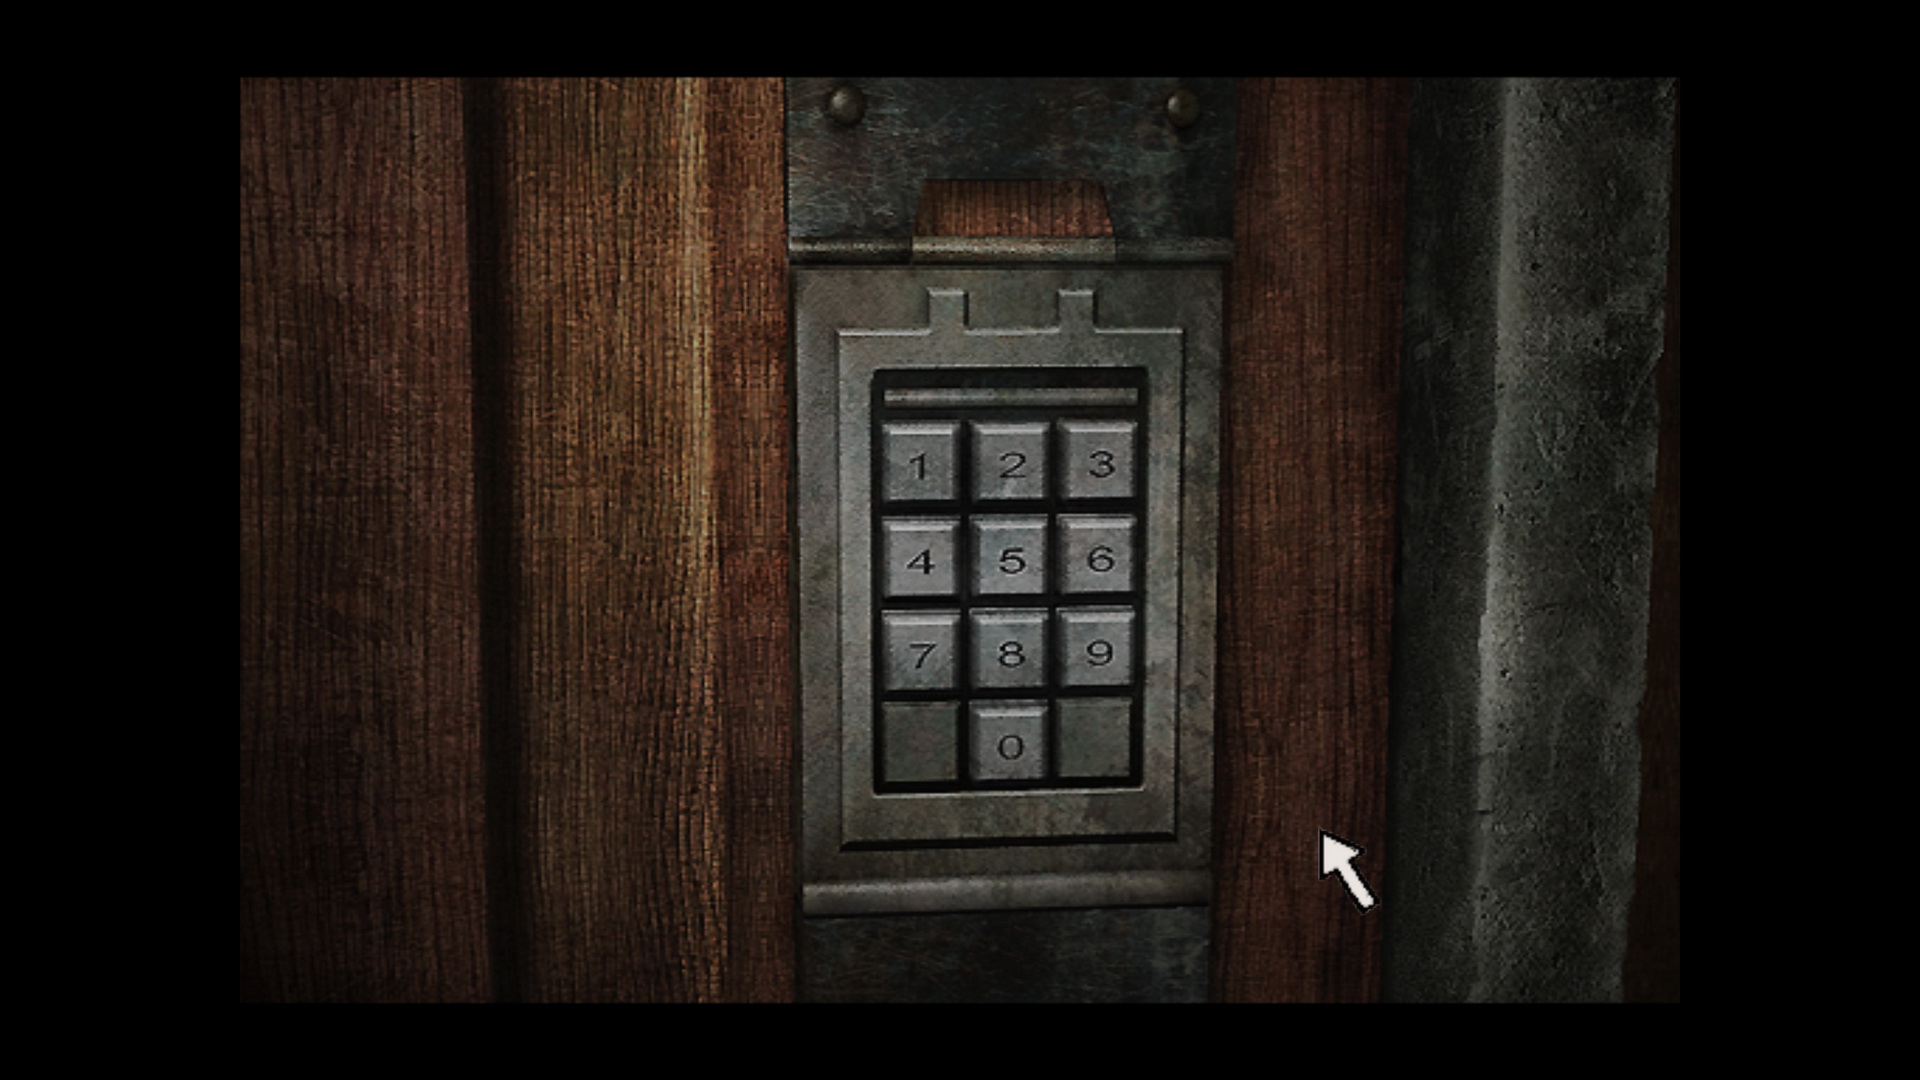
At the back of the room you'll find Handgun Bullets on the counter, plus a locked door with a keypad and potentially a memo beside it, depending on your riddle level. It's time to solve the game's first puzzle.
Puzzle: Shakespeare Anthology (My Bestsellers Bookstore)
|
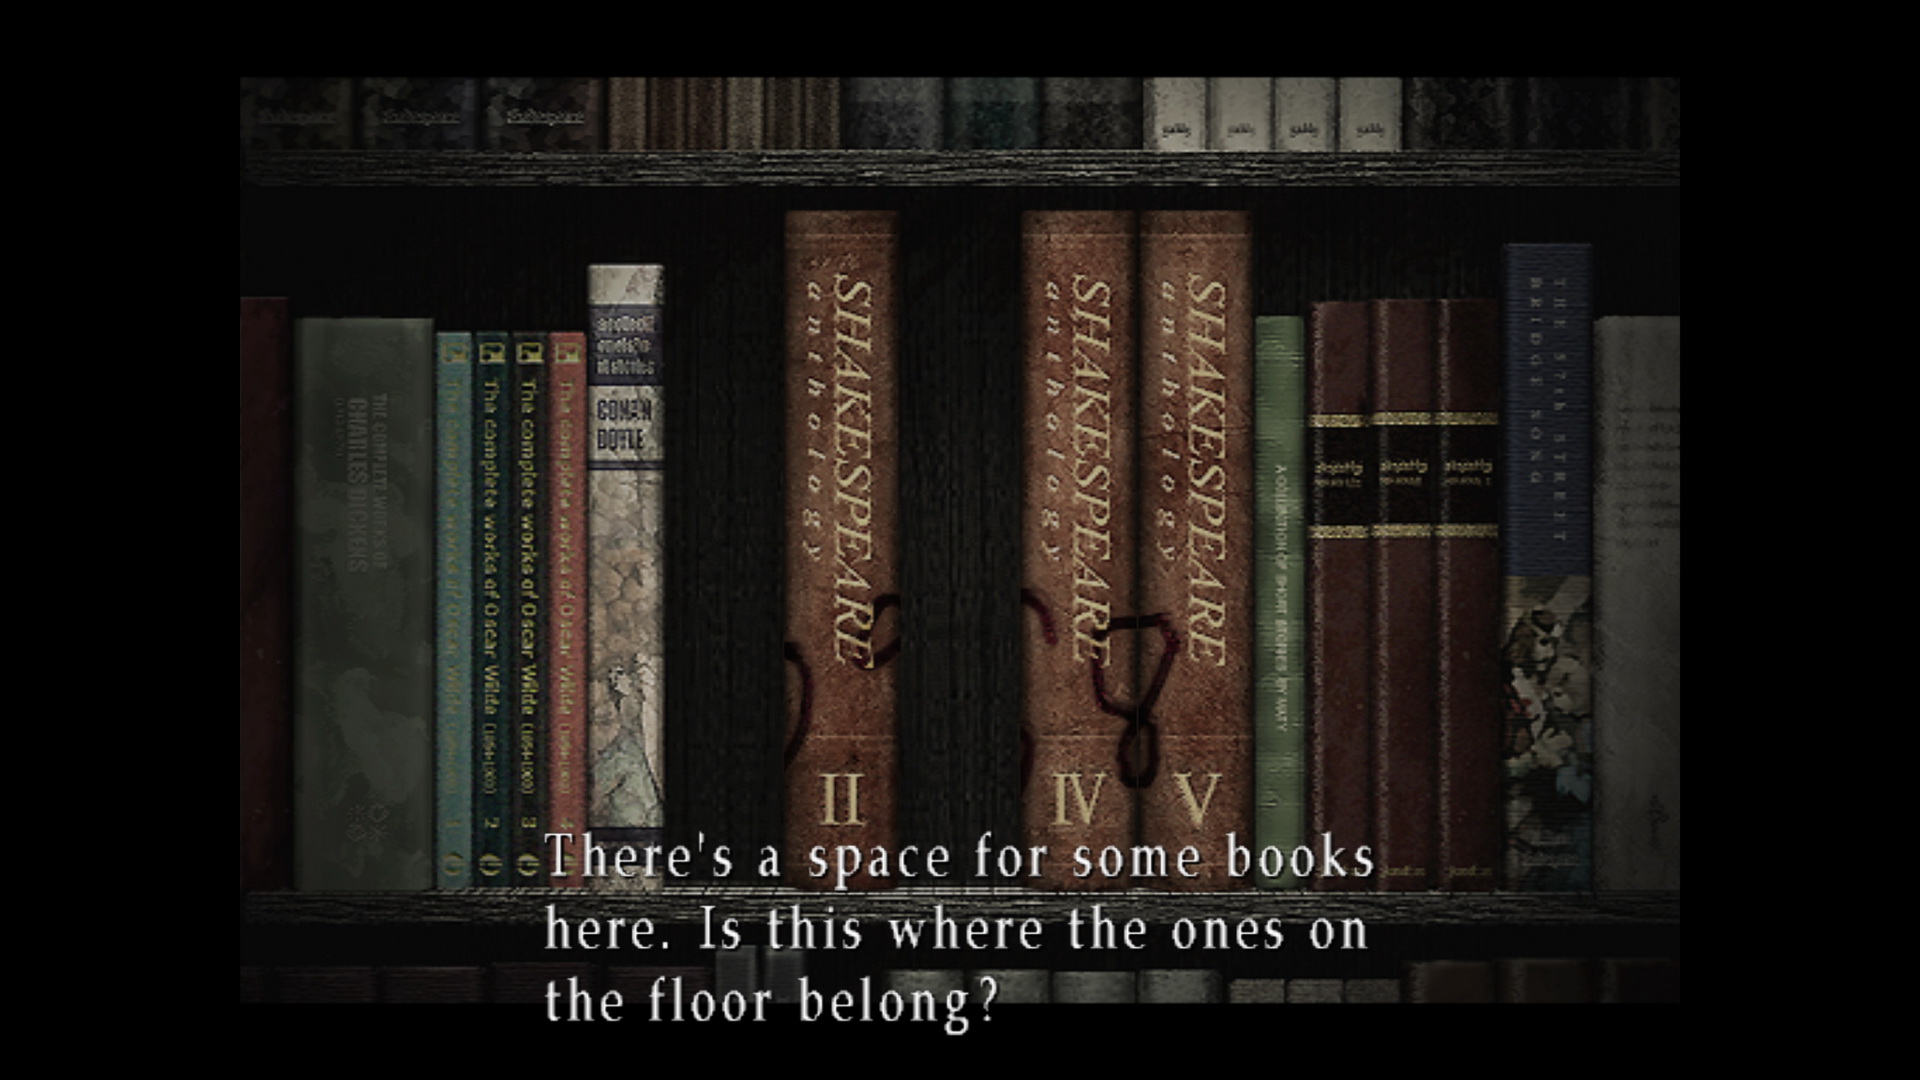
If you examine the shelf where the books fell, Heather wonders if she should align the books in order. Additionally there may be another clue written beside the door depending on your riddle level. Refer to the clues and their solutions below.
Easy
Here there will be no clue by the back door because it's simple enough already. Check the books on the shelf where the two others fell and you'll see numbers drawn on their spines, but of course two are missing. Use the Shakespeare Anthology 1 and put it in the first slot. Then use the cursor and select the next book in the blue box, which is Shakespeare Anthology 3, and put it in the open third slot. This will fully reveal the code, which is random each time.
|
Normal
Fair is foul, and foul is fair.
Put these books out of order.
Going off the memo clue, you'll have to arrange the five books on the shelf out of their numbered order to reveal the code. So do as it says and put Shakespeare Anthology 1 through 5 on the shelf one at a time in a random order to reveal partial numbers written on their spines.
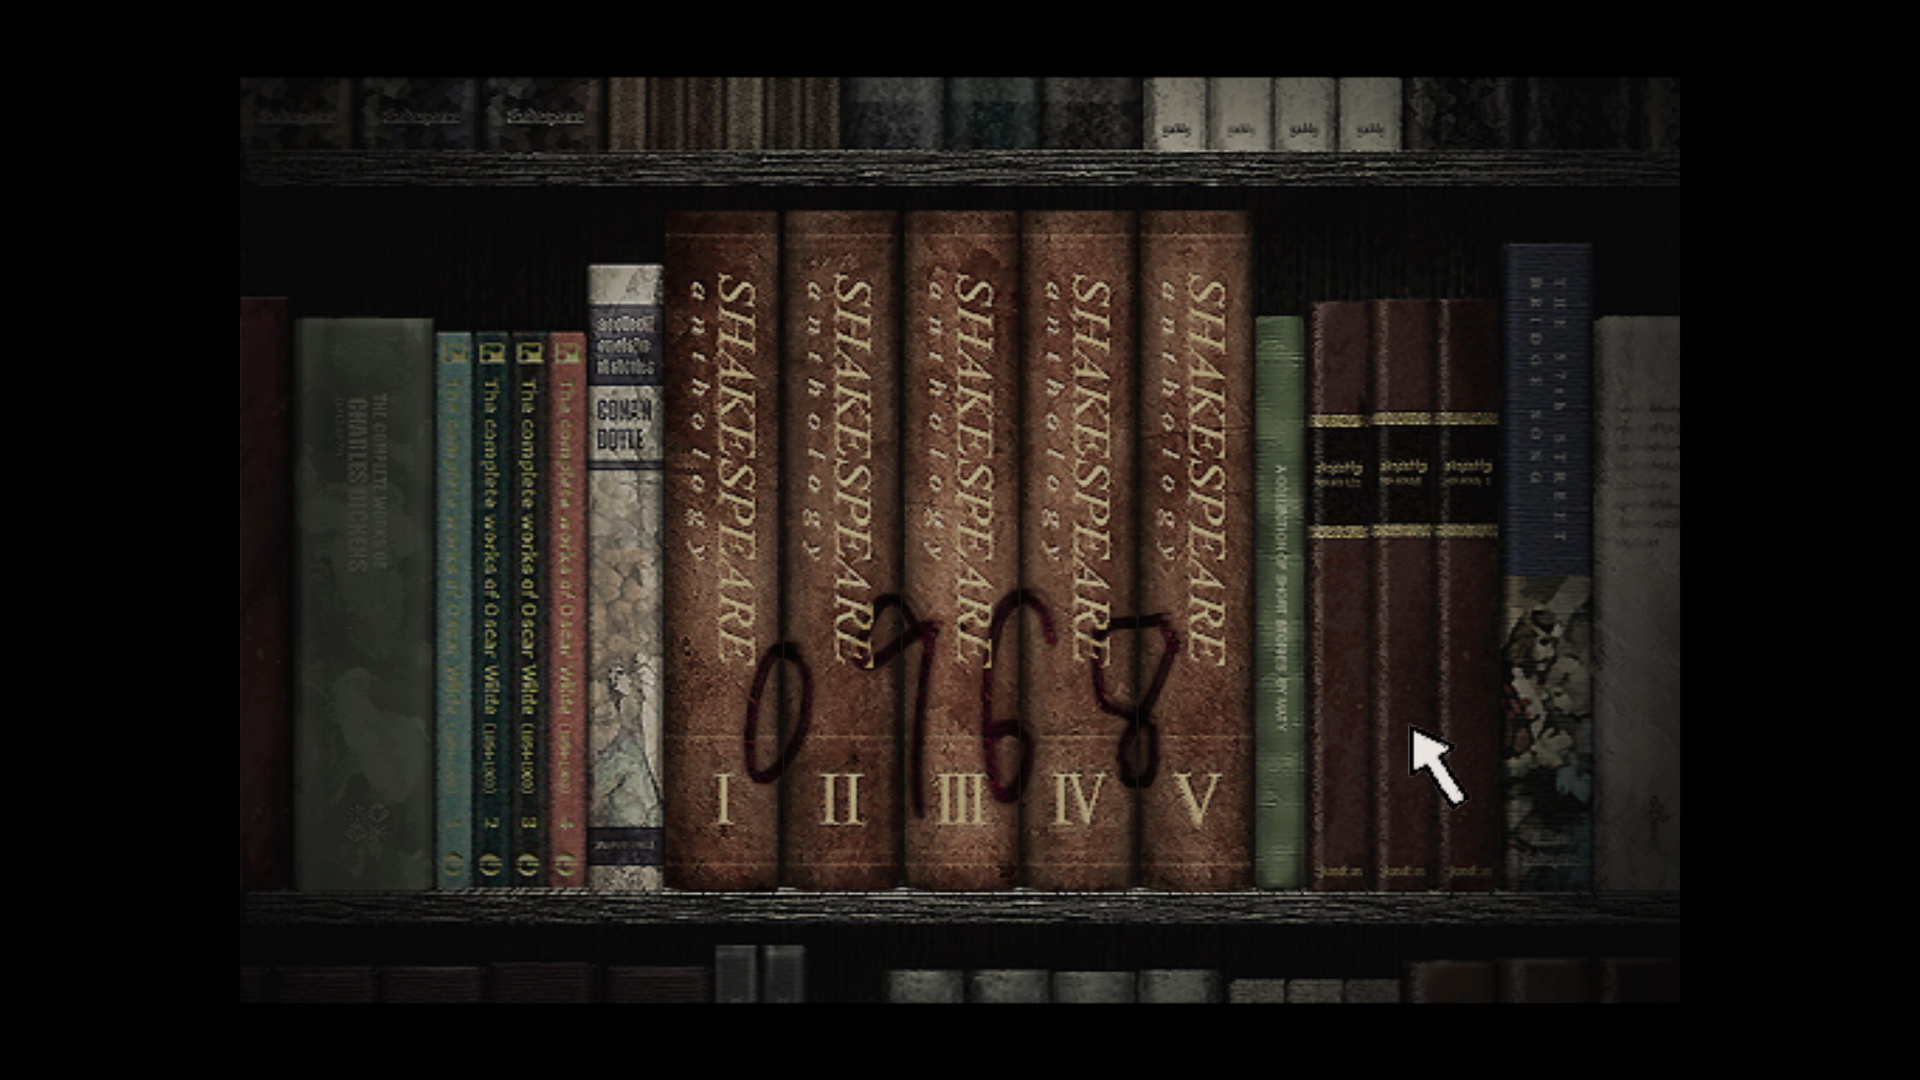
Note where the code on different books potentially lines up and put them beside each other, slowly revealing the code until you can put them all together in the correct order. Click a book to remove it and add it back from the small box in the corner. Once done you'll have the randomized code right in front of you.

|
Hard
In here is a tragedy–-
art thou player or audience?
Be as it may, the end doth remain:
all go on only toward death.The first words at thy left hand:
a false lunacy, a madly dancing man.
Hearing unhearable words, drawn
to a beloved's grave–-and there,
mayhap, true madness at last.As did this one, playing at death,
find true death at the last.
Killing a nameless lover, she
pierced a heart rent by sorrow.Doth lie invite truth?
Doth verity but wear the
mask of falsehood?
Ah, thou pitiful, thou
miserable ones!Still amidst lies, though the end
cometh not, wherefore yearn
for death?
Wilt thou attend to thy beloved?
Truth and lies, life and death:
a game of turning white to black
and black to white.Is not a silence brimming with
love more precious than flattery?
A peaceful slumber preferred to
a throne besmirched with blood.One vengeful man
spilled blood for two;
Two youths shed tears for three;
Three witches disappeared thusly;
And only the four keys remain.Ah, but verily...
In here is a tragedy–-
art thou player or audience?
There is nothing which cannot
become a puppet of fate or an
onlooker, peering into the cage.
It looks like we have quite the Shakespearian riddle to solve here... Unfortunately this riddle genuinely requires some serious outside knowledge to solve, so we're going to have to dive into some of Shakespeare's works.
Which works? Well, only the five books you have. In your inventory you can examine each anthology to learn which Shakespeare work it contains. They are as follows:
- Shakespeare Anthology 1: Romeo and Juliet
- Shakespeare Anthology 2: King Lear
- Shakespeare Anthology 3: Macbeth
- Shakespeare Anthology 4: Hamlet
- Shakespeare Anthology 5: Othello
Since there's no written numbers on the book spines this time, you'll have to use the anthology numbers with the books inserted in the correct order as per the riddle to determine the code. Let's get started.
In here is a tragedy–-
art thou player or audience?
Be as it may, the end doth remain:
all go on only toward death.
This opening verse simply serves as an introduction, reminding us that all these stories are tragedies that lead to death. We continue on.
The first words at thy left hand:
a false lunacy, a madly dancing man.
Hearing unhearable words, drawn
to a beloved's grave–-and there,
mayhap, true madness at last.
"The first words at thy left hand" explains that the books will be placed from left to right as described in the riddle. The rest of the verse explains the plot of our first work, which is Hamlet. "A false lunacy, a madly dancing man" refers to Hamlet faking his descent into madness so no one suspected him as he spied on his uncle Claudius (the new king) and mother to learn if they schemed to kill his father, the old king. Through a ploy of a play, he learns his uncle did kill his father after all.
"Hearing unhearable words" refers to Hamlet's father's ghost demanding he avenge his death. The "beloved's grave" he was drawn to is that of Ophelia, his girlfriend who fell into a genuine spiral of madness and drowned herself.
"And there, mayhap, true madness at last" refers to the "friendly" sword fight arranged by Claudius between Hamlet and Laertes, Ophelia's brother and whose father Hamlet accidentally killed and Laertes wants to avenge. Claudius and Laertes secretly agreed to coat Laertes' sword with poison and also spike Hamlet's wine.
During the fight, Laertes' sword strikes Hamlet, but they both drop their swords which get switched up as Hamlet picks up the poisoned one and strikes Laertes with it. Hamlet denies his mother's offering of the spiked wine, unbeknownst to her, and so she decides to drink it instead.
She dies from the poison, which finally propels Hamlet with the courage to avenge his father and kill Claudius, with Hamlet and Laertes also dropping dead once the poison kicks in and thus, "mayhap, true madness at last." Therefore the book of Hamlet, Shakespeare Anthology 4, gets placed in the first slot on the shelf.
As did this one, playing at death,
find true death at the last.
Killing a nameless lover, she
pierced a heart rent by sorrow.
This describes the plot of Romeo and Juliet, specifically Juliet. As two teenage lovers from two feuding families, Juliet's potential marriage to Romeo required a complicated plan. To avoid an unwanted marriage with another man, Friar Laurence suggests Juliet to drink a poison to put her into deep sleep for 48 hours, fooling her family into thinking she's dead and allowing her to later elope with Romeo, thus "playing at death".
"Killing a nameless lover" refers to Juliet in effect killing Romeo through her deception, since she or Friar Laurence did not inform him of the plan, but he finds out and discovers Juliet's lifeless body and drinks his own lethal poison to kill himself from sorrow. He is referred to as a "nameless lover" because he explains earlier to Juliet that names are artificial and meaningless, and that they are in love with each other and that's all that matters, regardless of any feud.
Upon awakening to Romeo's actual dead body for which she was responsible, Juliet can't bear the sorrow and pierces her heart with a dagger to "find true death at the last." Another tragedy indeed. And so Shakespeare Anthology 1 takes the second slot in the shelf.
Doth lie invite truth?
Doth verity but wear the
mask of falsehood?
Ah, thou pitiful, thou
miserable ones!
This is the vaguest verse of this riddle, speaking of the conflict between lies and truth. This theme is most profound in Macbeth in which the titular character, teased by prophecies from three witches and egged on by his wife, kills the king to succeed the throne. A series of lies and deception follows, including Macbeth and his wife purporting that their servants killed the king while in their home.
Macbeth is further deceived through the same three witches that told him of the earlier prophecies, adding that he won't be killed by a man born of a woman and won't be defeated as king until the nearby forest approaches his castle, leading him to believe he cannot be killed and has no fear of being vanquished.
But alas, Macbeth's castle is approached by an army using the forest's tree leaves as camouflage, and Macduff, who was born of a caesarian section and technically not "of a woman" in this bizzaro world, kills Macbeth. And thus Macbeth receives a taste of his own medicine through the deception. That puts Shakespeare Anthology 3 in the third slot.
This verse can also be interpreted as the lies and deception in Othello, specifically of Captain Iago turning General Othello on his wife amongst several other characters, and while the correct code can still be obtained with that assumption, the next verse is the one that applies to that piece of work as we're about to uncover.
Still amidst lies, though the end
cometh not, wherefore yearn
for death?
Wilt thou attend to thy beloved?
Truth and lies, life and death:
a game of turning white to black
and black to white.
Again with the recurring theme of truth and lies, the key to this verse lies at the end. There is a board game where pieces turn from black to white and white to black. The name of that game is literally "Othello" (originally known as Reversi with slightly different rules), deriving from the play.
Connecting it further and the reason for the derivation, Othello the play retains the recurring themes of black and white, even with its main character General Othello being a black man who marries a white woman named Desdemona, opening up the story into racism albeit transcended by Othello.
Along with the black and white are "Truths and lies, life and death". Captain Iago plants the falsehood that Desdemona is having an affair with Lieutenant Cassio and fabricates it further with deception. Othello believes his dear Desdemona, whom he calls a pearl (a symbol of perfection and purity due to its white colour), has blackened through a supposed affair and deception, furthering the black and white themes. This also leads him to kill his beloved before learning of the truth. But anyway, as we've uncovered it is Shakespeare Anthology 5 carrying Othello that belongs in the fourth slot.
One could possibly interpret this verse as referring to Macbeth or even King Lear and still get the correct code, but the theme of black and white strongly ties it instead to Othello.
Is not a silence brimming with
love more precious than flattery?
A peaceful slumber preferred to
a throne besmirched with blood.
This verse speaks of King Lear, a play about a king who has three daughters named Goneril, Regan and Cordelia. At the beginning Lear announces he will step down and hand the throne to the daughter that declares the most love for him. Goneril and Regan suck up and flatter him, receiving large portions of the kingdom, while Cordelia who actually does genuinely love him unlike her sisters, refuses to play the game of flattery. This explains the first two lines.
Lear then banishes Cordelia, and his remaining two daughters turn on him once they have the power, eventually turning on each other as well. With Cordelia returning in command of the French forces, she reunites with Lear who has now turned crazy, but both are captured.
With Goneril arrested for treason, she poisons her sister Regan and stabs herself, while Cordelia is hung and Lear dies with her in his arms. And thus the story ends with the throne besmirched in blood.
It is possible one may confuse this verse for Macbeth killing his own king to usurp him because of the second part (and you can still end up with the correct code), but the silence and flattery themes clearly point to King Lear. Therefore Shakespeare Anthology 2 belongs in the fifth and final slot on the shelf.

|
With no codes written on the book spines, this instead leaves us with the following order of the anthology books on the shelf: IV, I, III, V, II, or 41352. But we have one number too many for a four-digit code, and we have more to go in the riddle.
One vengeful man
spilled blood for two;
Two youths shed tears for three;
Three witches disappeared thusly;
And only the four keys remain.
This verse explains some modifications we must make to the numbers that we already have. "One vengeful man" refers to Hamlet avenging his father's death. "Spilled blood for two" signifies that we will be doubling the book number of Hamlet. As Anthology 4, that number will bump to 8.
"Two youths shed tears for three" rather clearly explains that Romeo and Juliet's number 1 will be multiplied by 3, making it now 3.
"Three witches disappeared thusly" explains that the 3 representing Macbeth, the book that contains the three witches who told prophecies, will be removed entirely. Thus we remove anthology 3, "And only the four keys remain."
That leaves us with 8352 as the final code, which can be visualized more clearly below.
| 4 (Hamlet) x 2 | = | 8 ("One vengeful man spilled blood for two") |
| 1 (Romeo and Juliet) x 3 | = | 3 ("Two youths shed tears for three") |
| 3 (Macbeth) disappears | = | - ("Three witches disappeared thusly") |
| 5 (Othello) | = | 5 |
| 2 (King Lear) | = | 2 |
Macbeth's number disappears entirely rather than just turning to zero because the quote specifically says the witches "disappeared", and further implies only the four keys remain.
Note that there is still some margin for error or allowance for different interpretation in this riddle. Even if you identify the third work to be Othello, the fourth to be Macbeth or King Lear, or the fifth to be Macbeth, you can still end up with the resulting code of 8352 after removing Macbeth's number 3. That said, the solution we've explained here is the one that makes the most sense for each corresponding work.
Reading the code written on the spines (Easy/Normal) may be difficult because some of the numbers may be partially lost in the cracks, so use your imagination to fill in the rest.
Note that on Hard you really don't need to put the books back on the shelf to determine the code (or Easy/Normal if you can put it together by sight only), but it's still a good idea to clear them out of your inventory so you don't have to scroll through them for the rest of the game.
Once you've determine the code, enter it into the keypad to unlock and pass through the back door.
Back Hallway and Elevator
Out in the hall, Heather meets Claudia in a confusing cutscene. Once she leaves, all you can do is enter the elevator. Oddly you'll find no control panel inside but it'll move on its own. Hearing some familiar static, a 5 Radio will soon fall from the elevator roof. Pick it up and the elevator doors will open.
Note on Radio: The Radio is a helpful tool that emits static when monsters are nearby, warning you of their presence. It can also alert them to your presence, although it's fairly negligible. Adjust the volume or turn it off and on in your inventory.
Step outside into what appears to be another, creepier elevator that will take you to a transformed version of the mall. Well, this is great...
| 01. Nightmare | 03. Nightmare Mall |