Church
Welcome to the fourteenth chapter of the complete walkthrough guide for Silent Hill 3 (2003, PS2, PC), covering the Church. This guide provides a comprehensive walkthrough with all item locations, detailed puzzle solutions, and boss strategies.
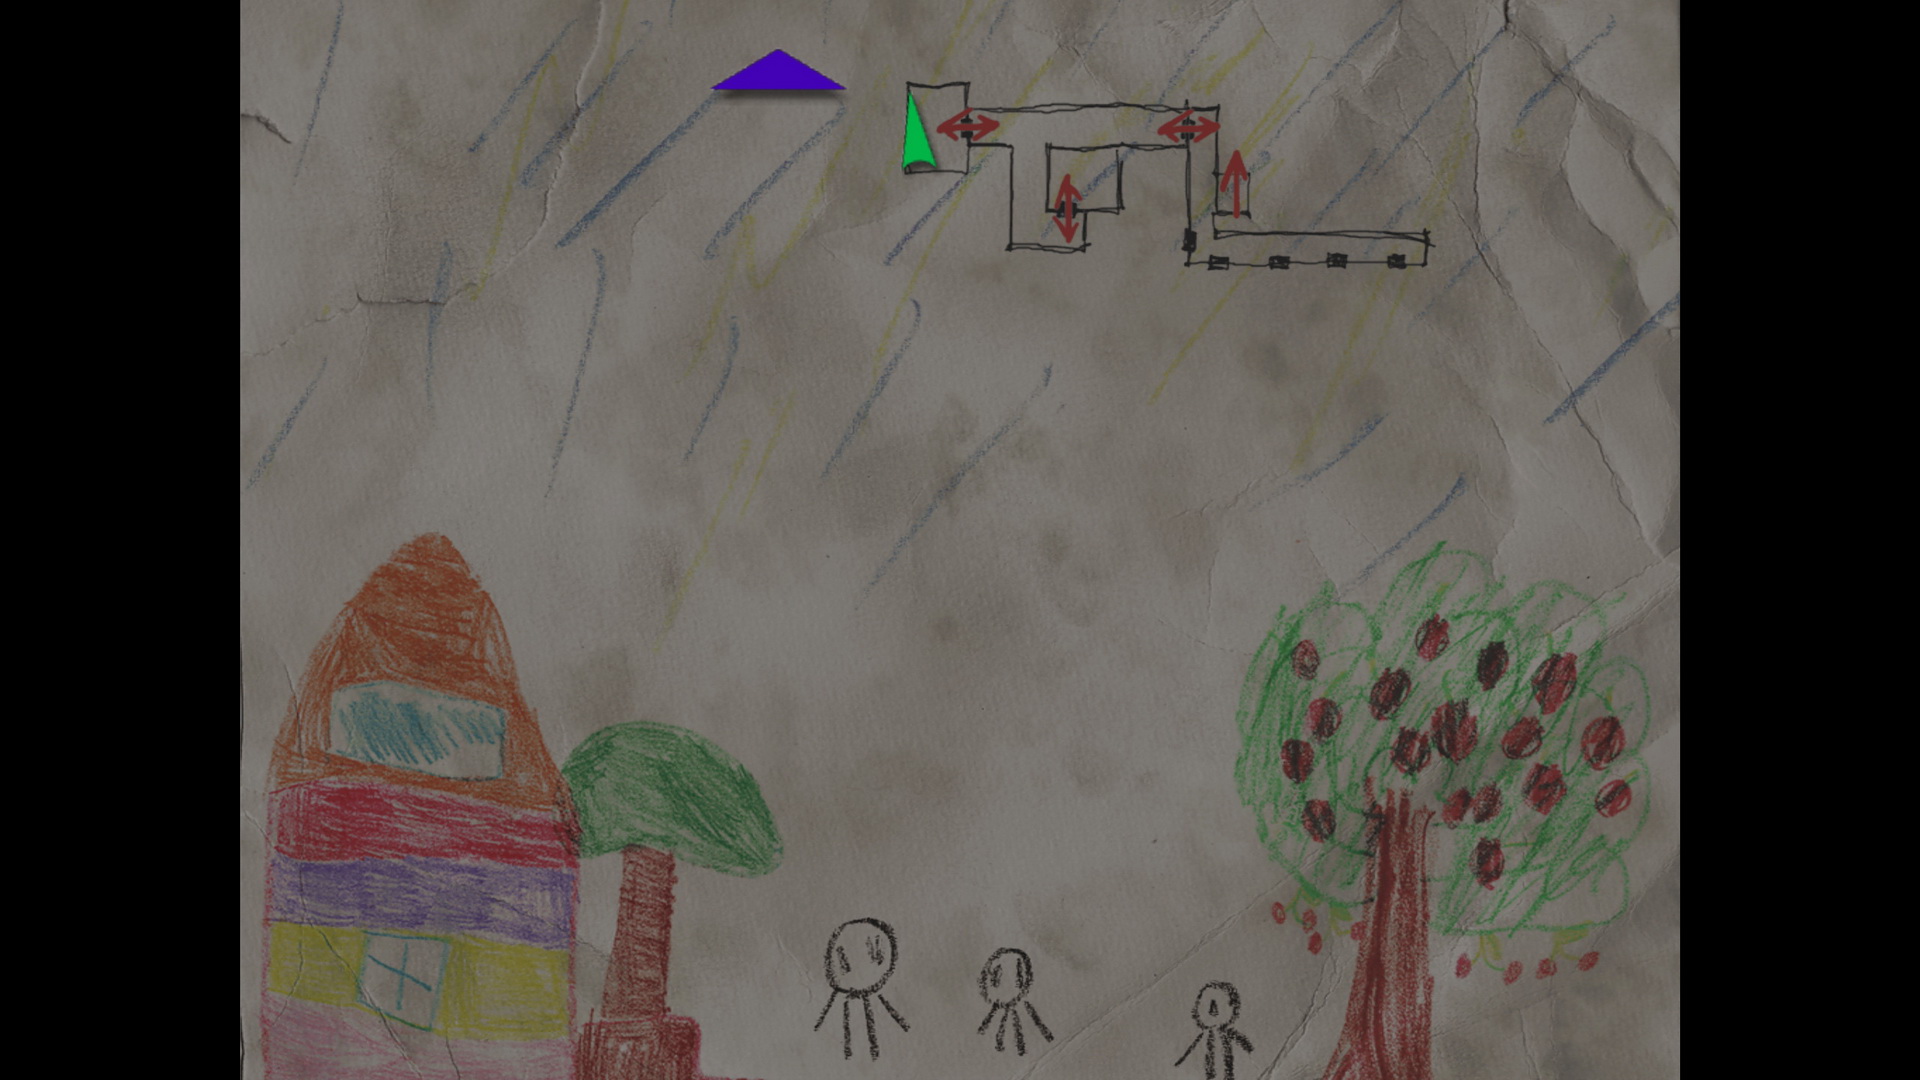
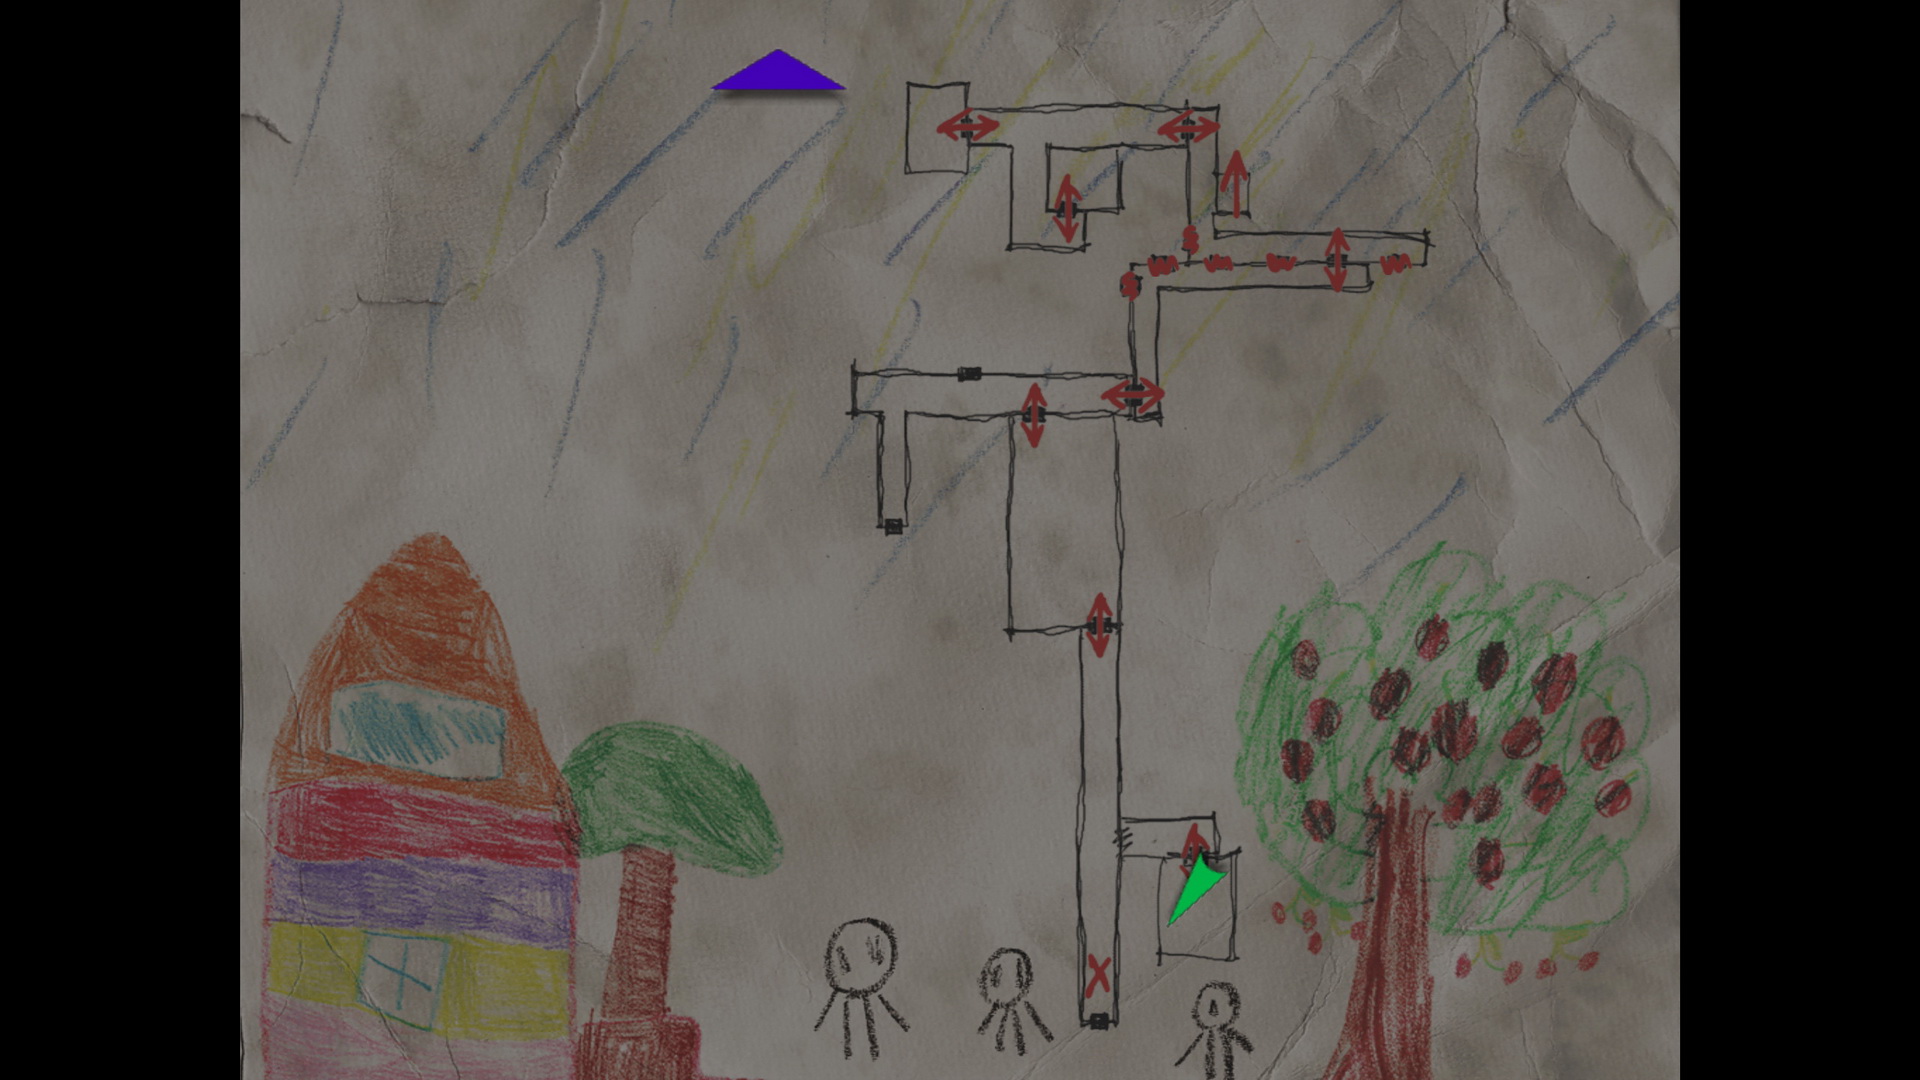
Color legend
Tongs - items
Handgun - weapons
Health Drink - supplies
Shopping Mall Map - maps
Save Point - save points
Contents
Walkthrough
"'God'? Are you sure you don't mean 'Devil'?"
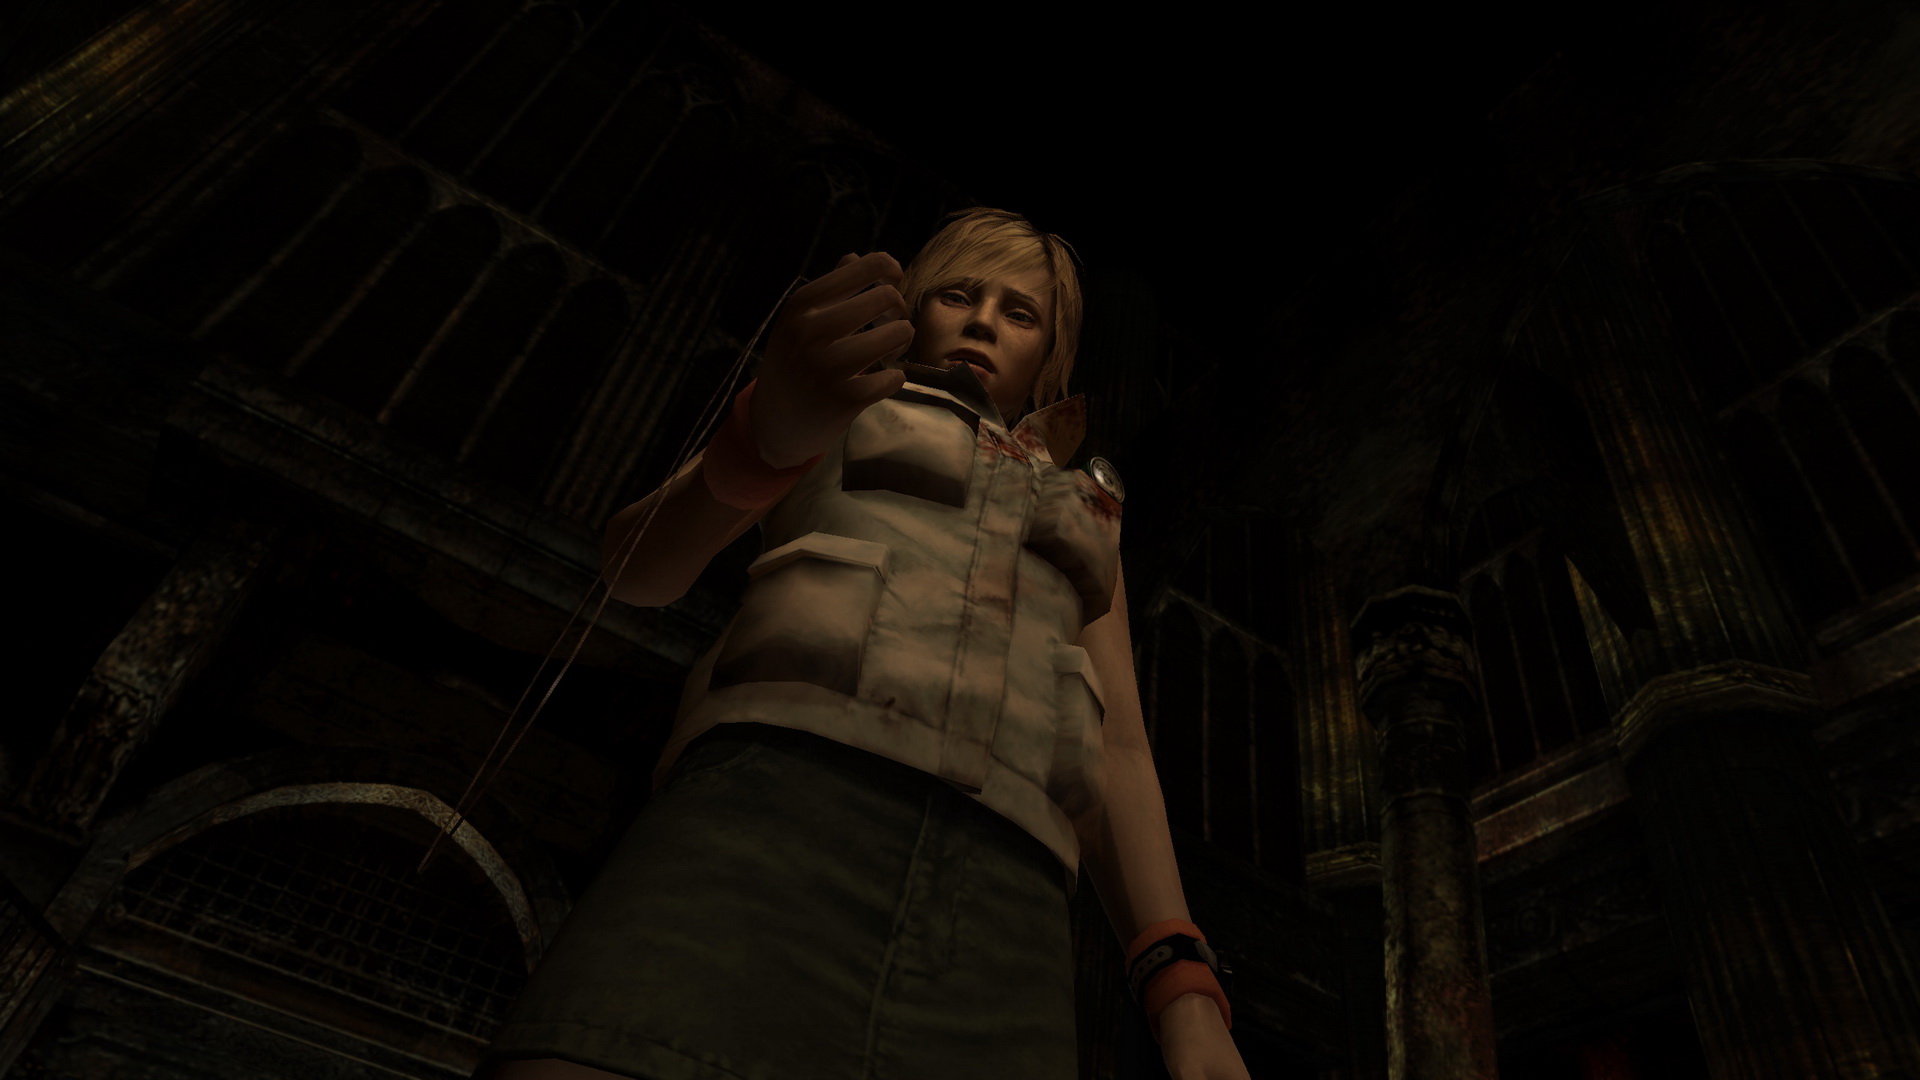
Chapel
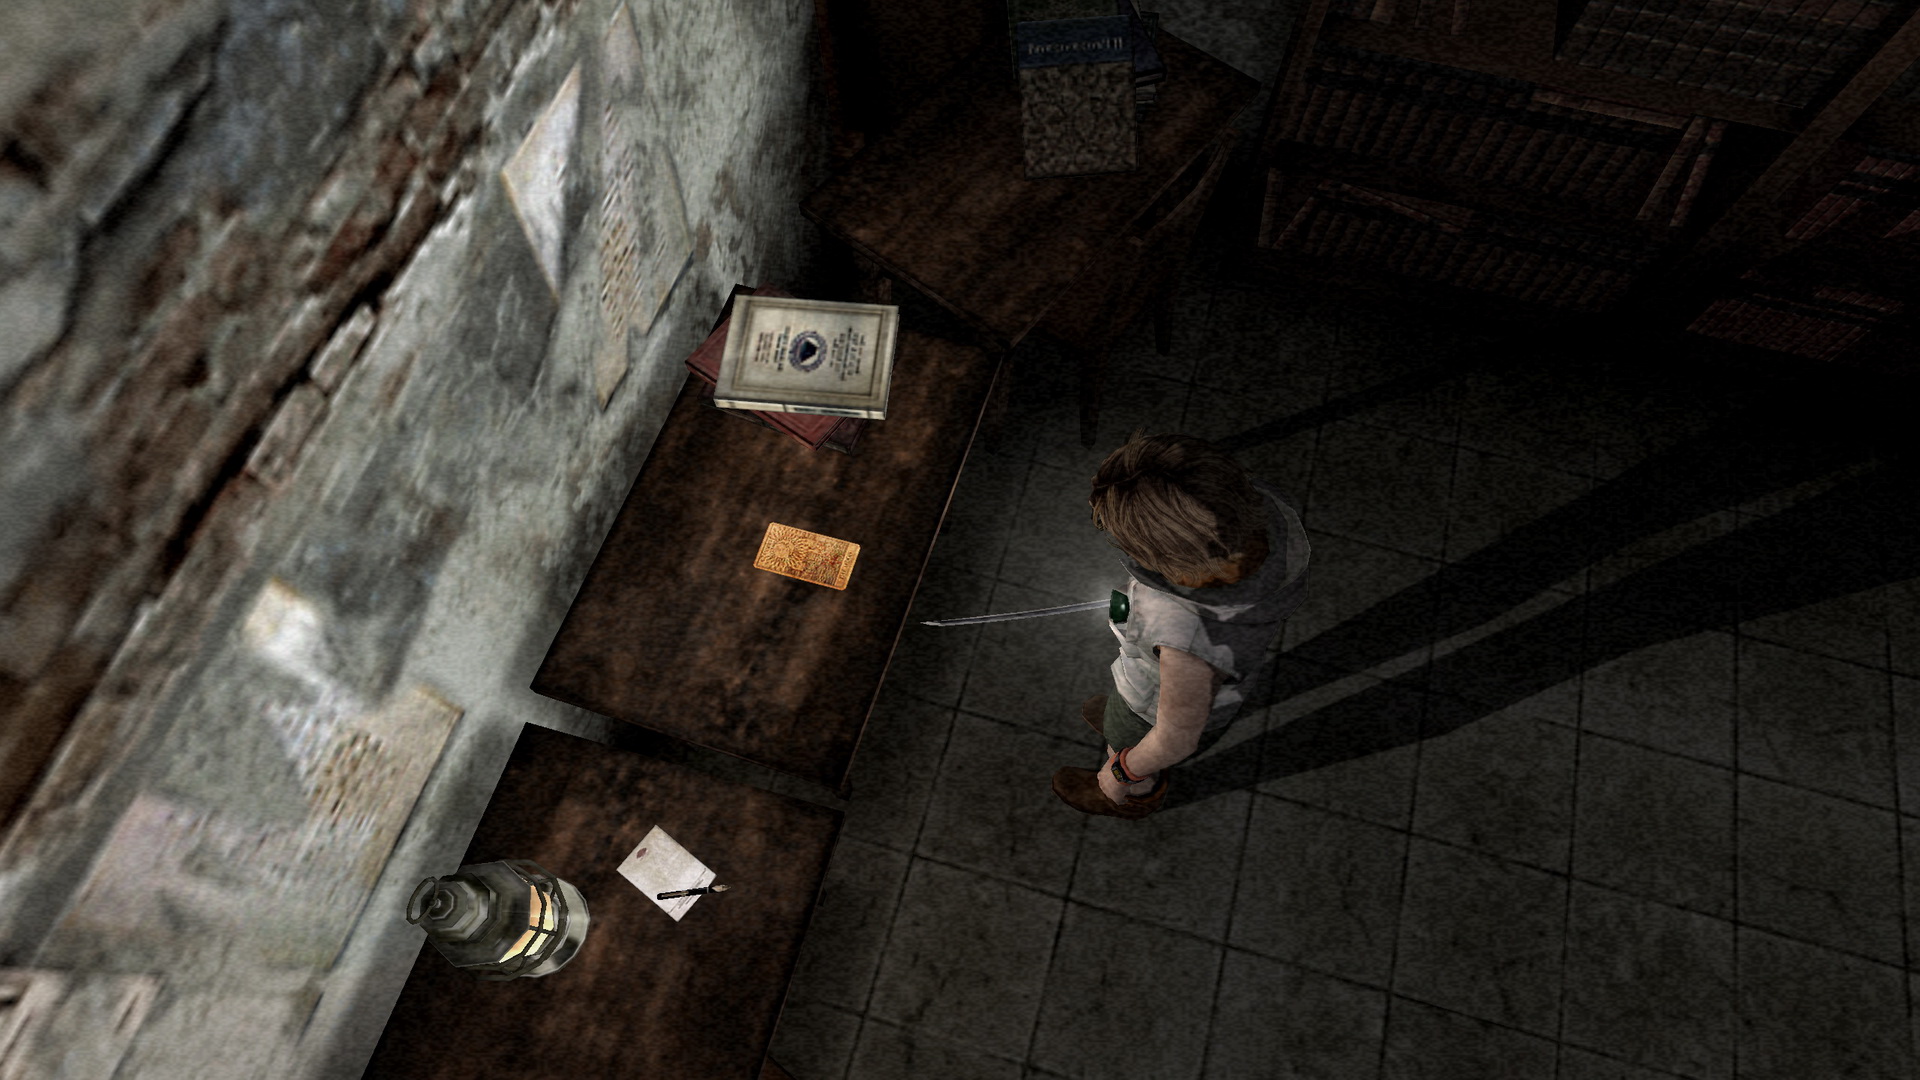
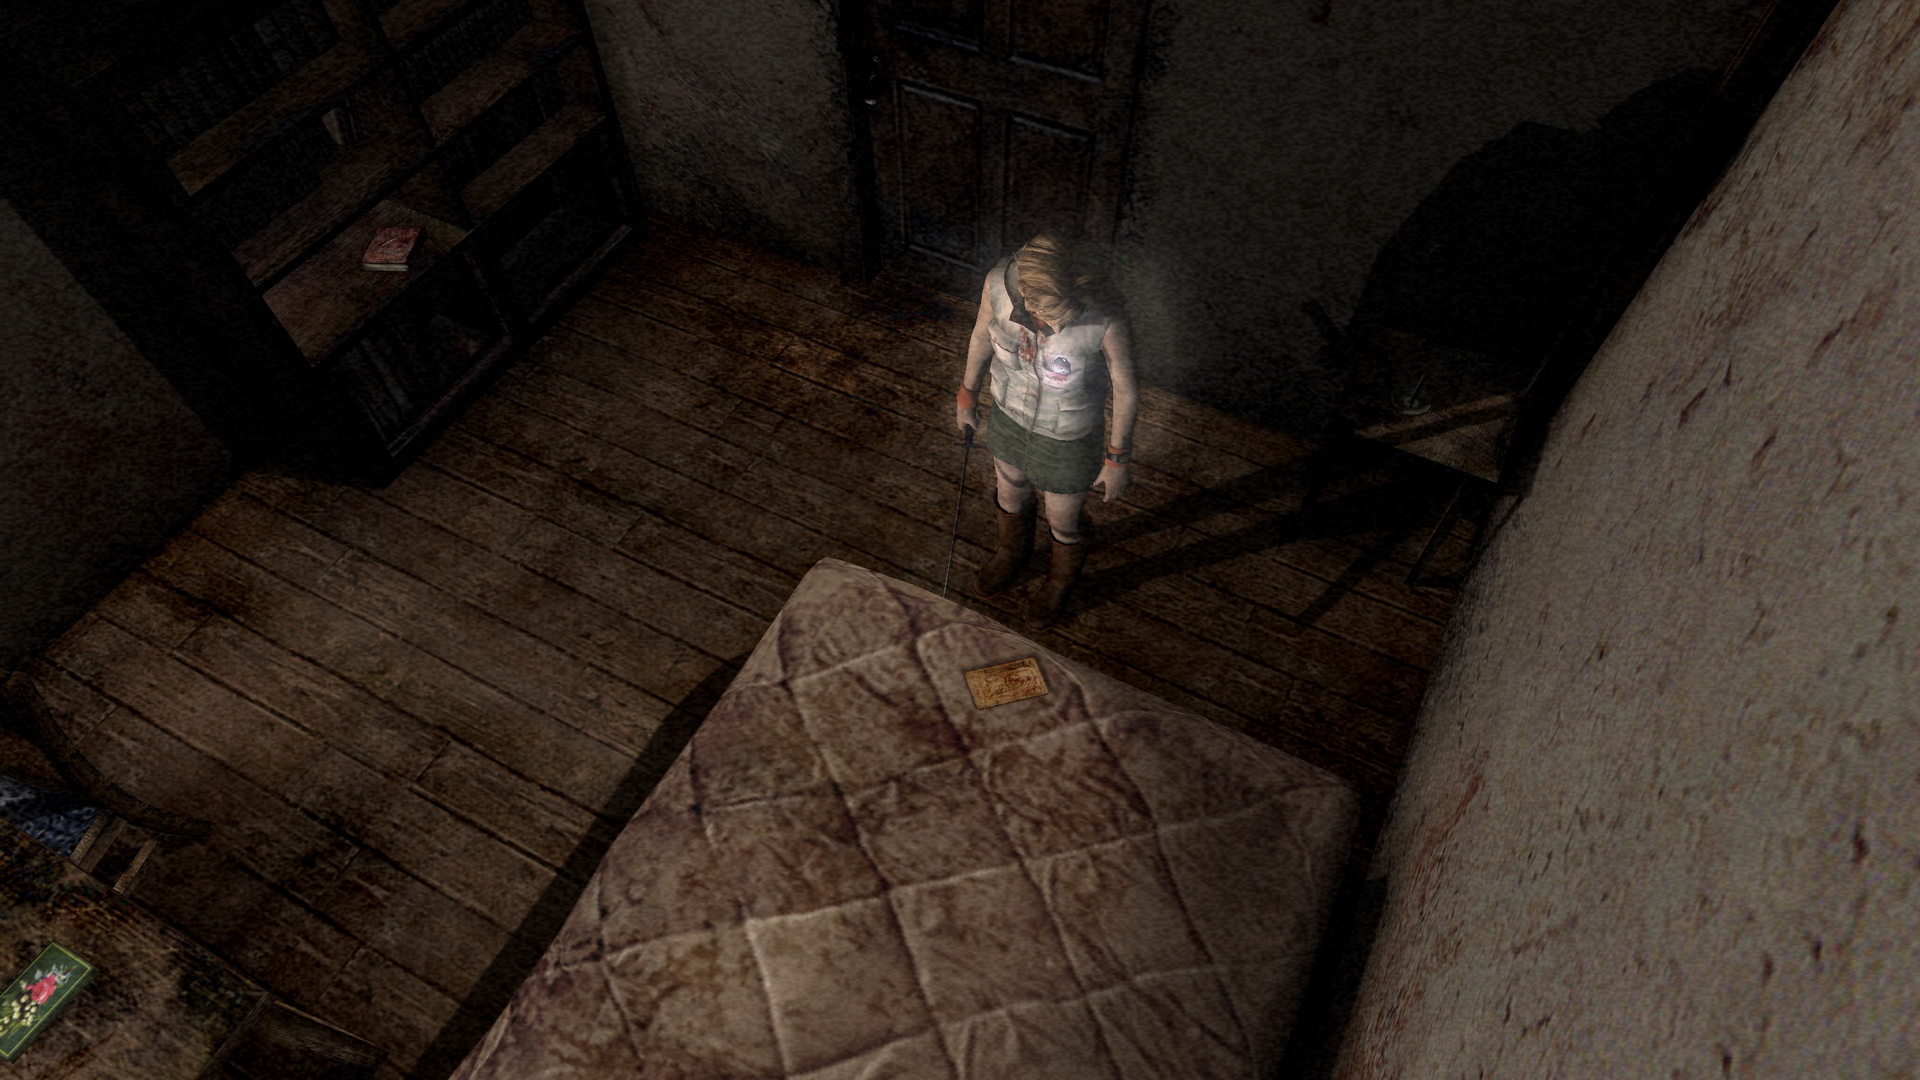
Once Claudia leaves, you'll find a Save Point on the other side of the altar and the 45 "Eye of Night" Tarot Card on the counter under the stained glass.
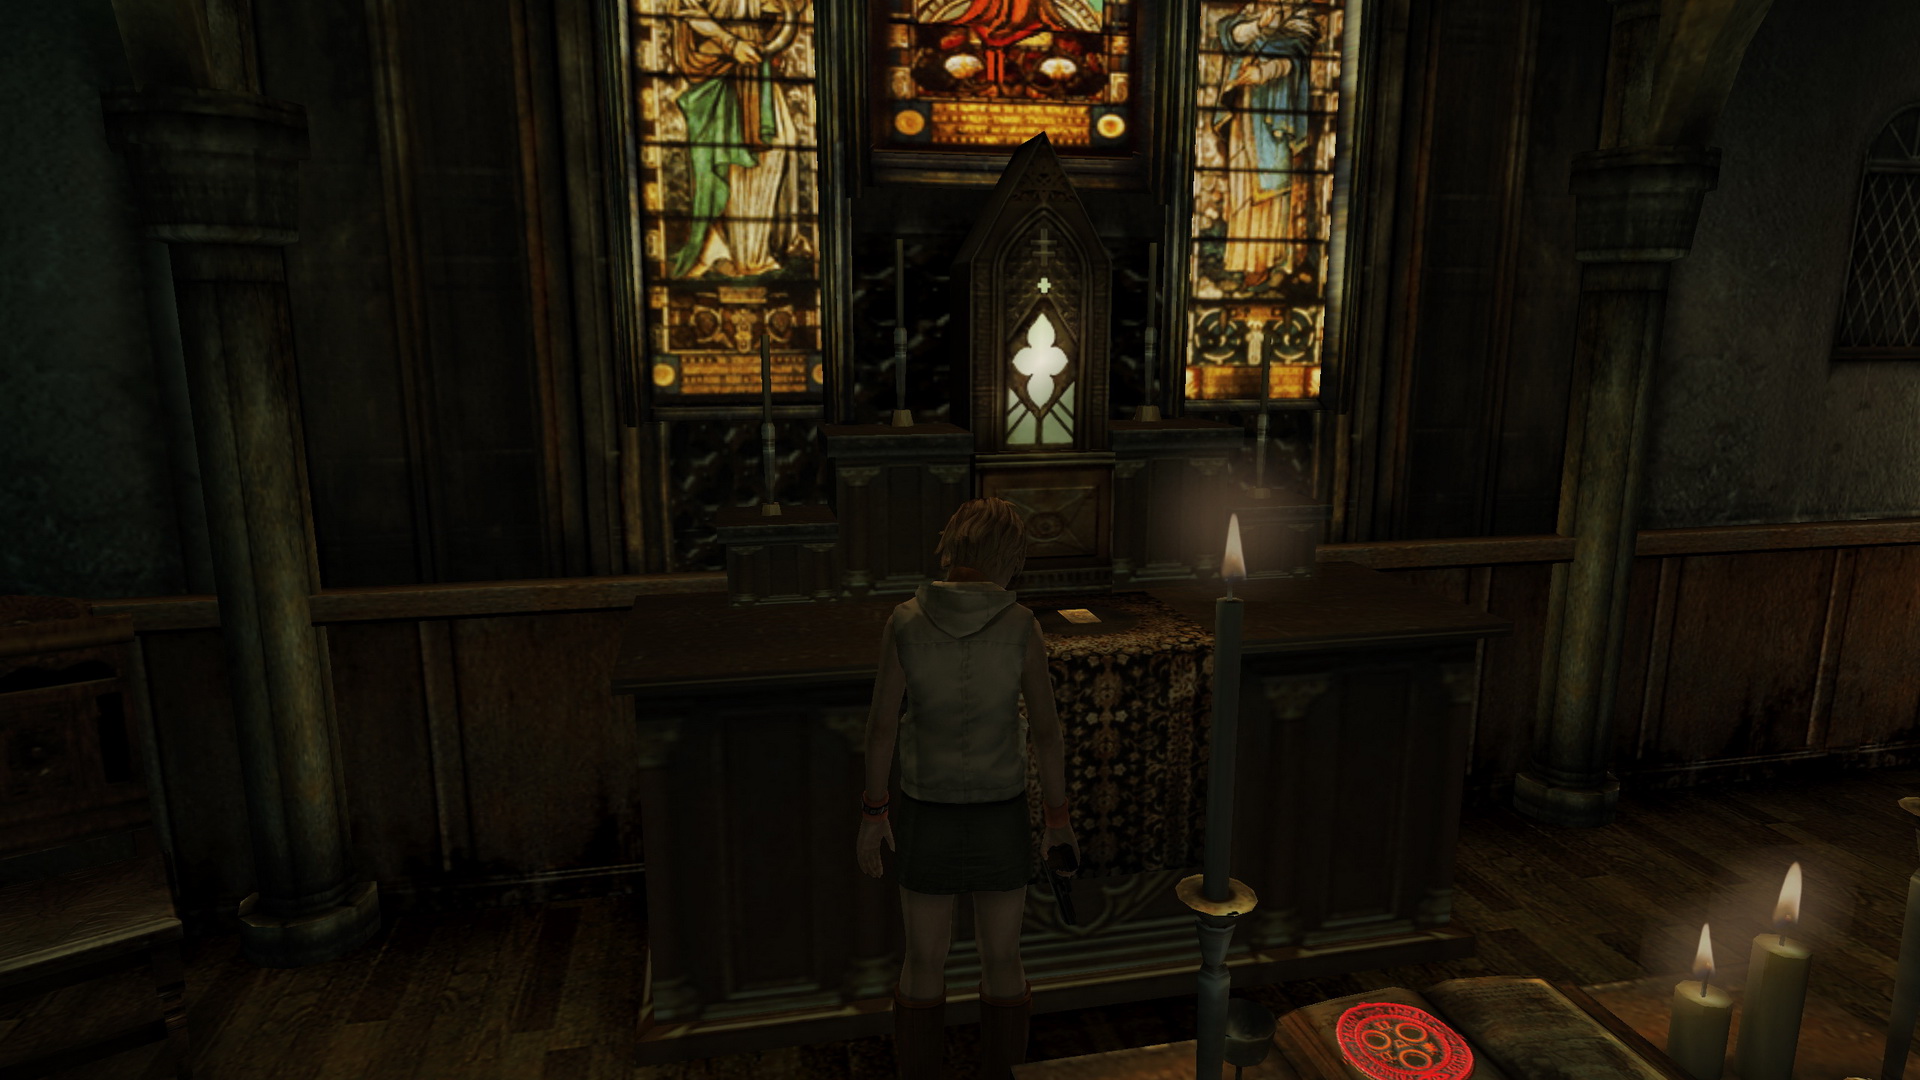
Take a look at the six paintings and memos along the side walls if you wish and advance through the door by the piano.
Confessional Corridor
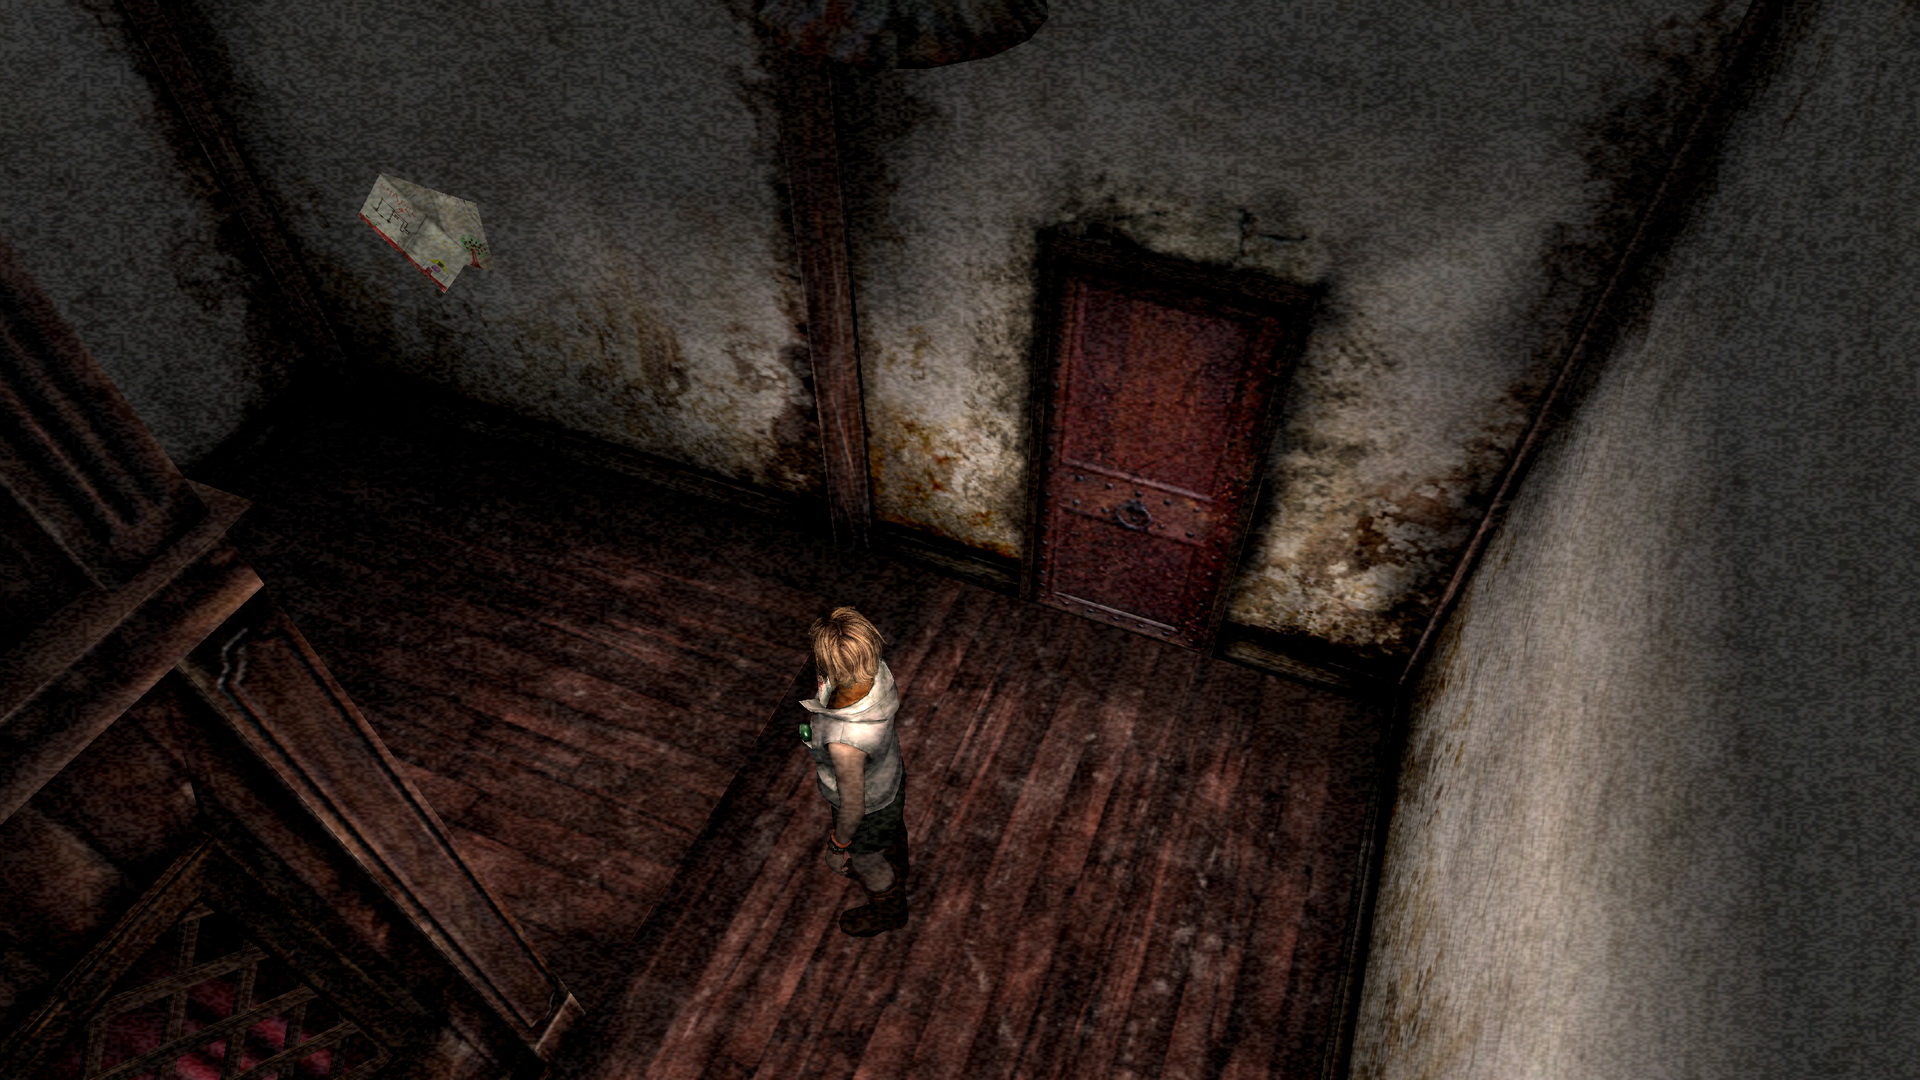
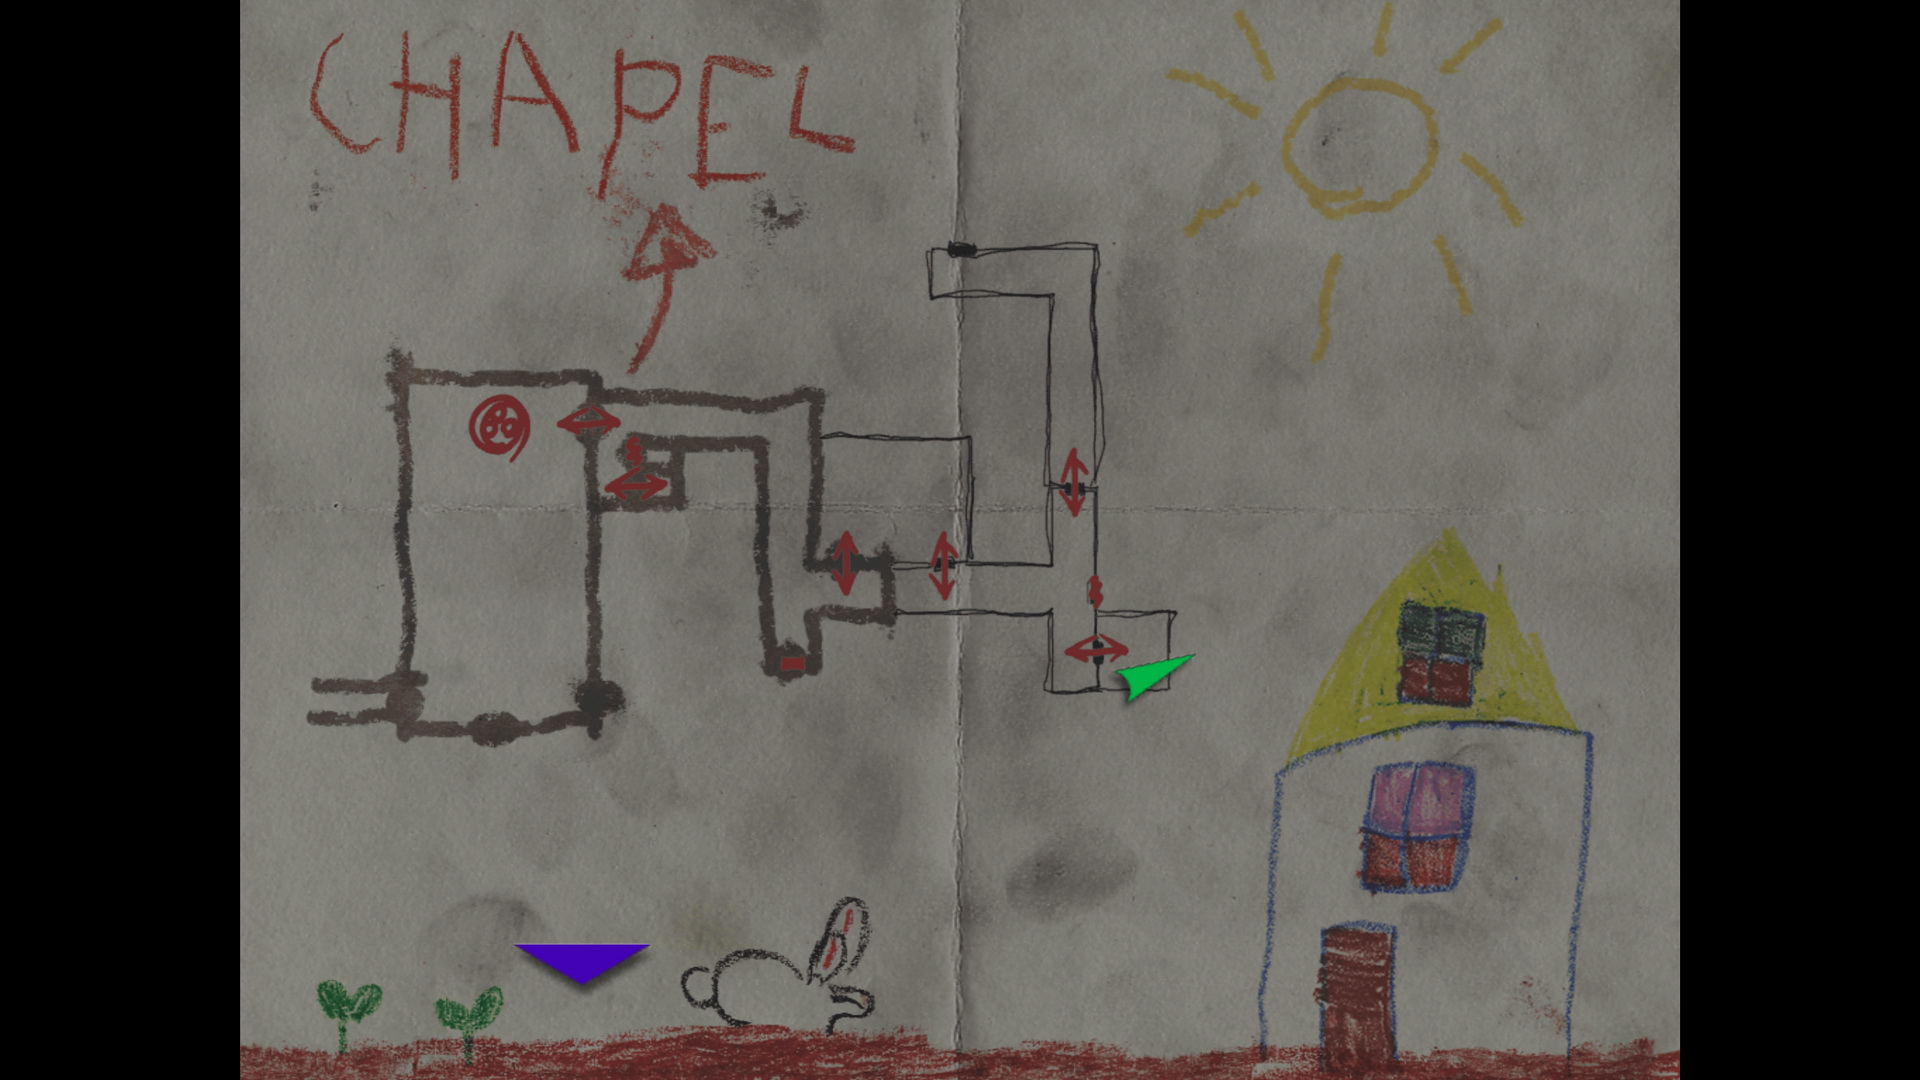
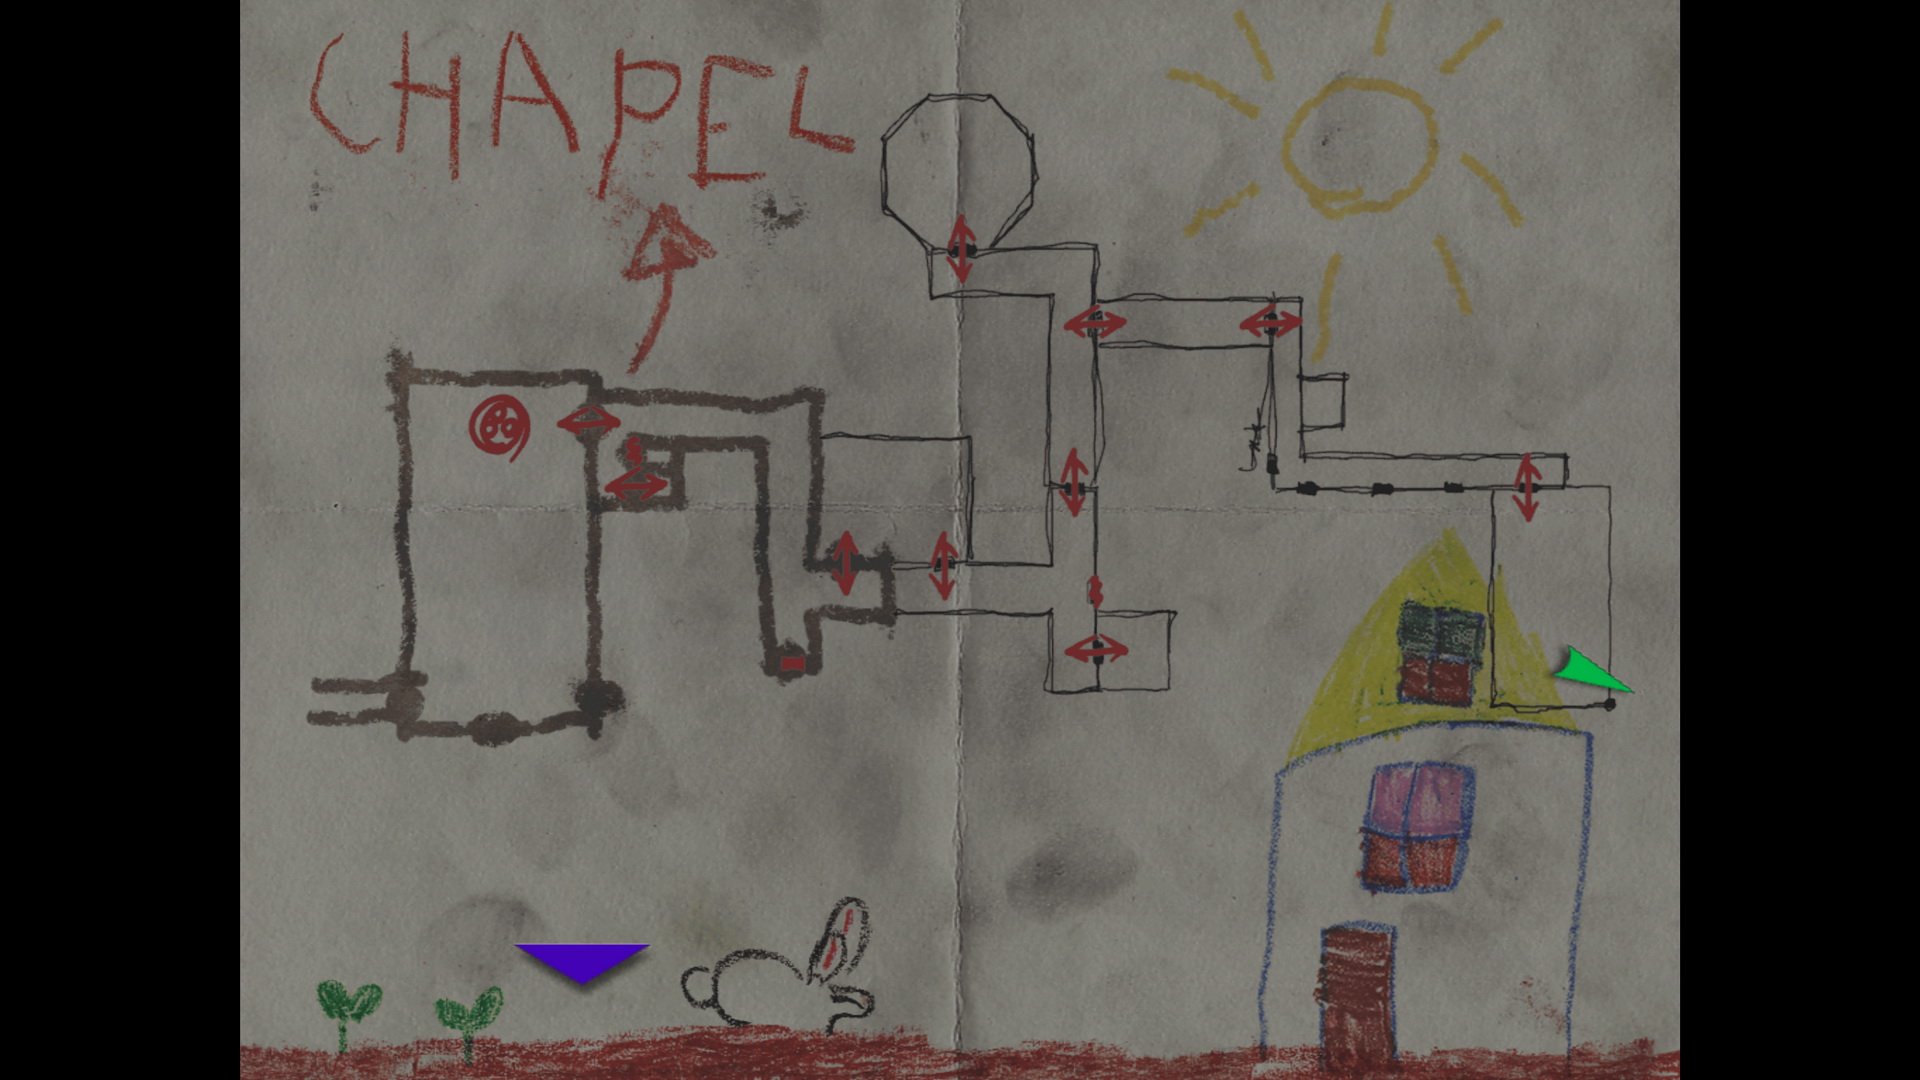
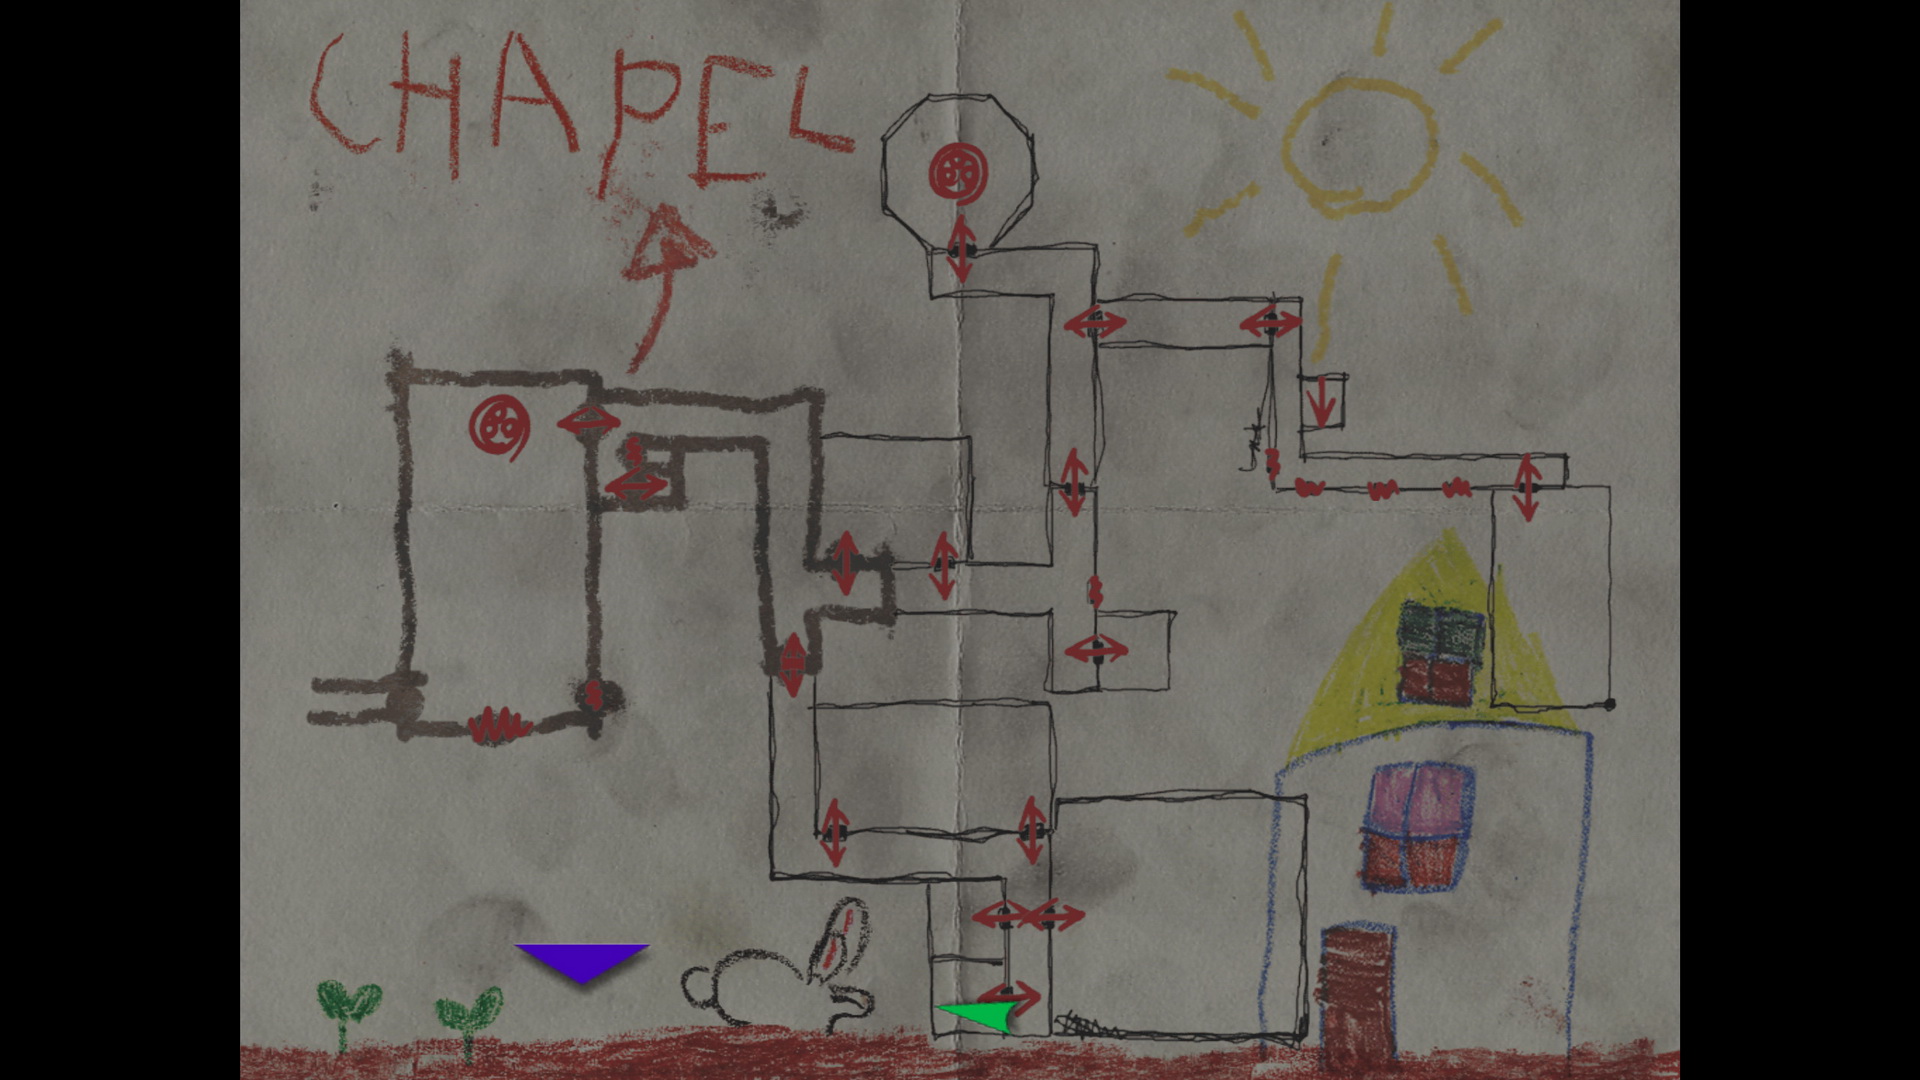
Take the Church Map from the wall (which appears to be the work of a child) and enter the confessional through the right door.
Examine the curtained-window to listen to the crying woman's confession and decide if she deserves forgiveness from your position of authority (this may influence your ending but only in an Extra New Game).
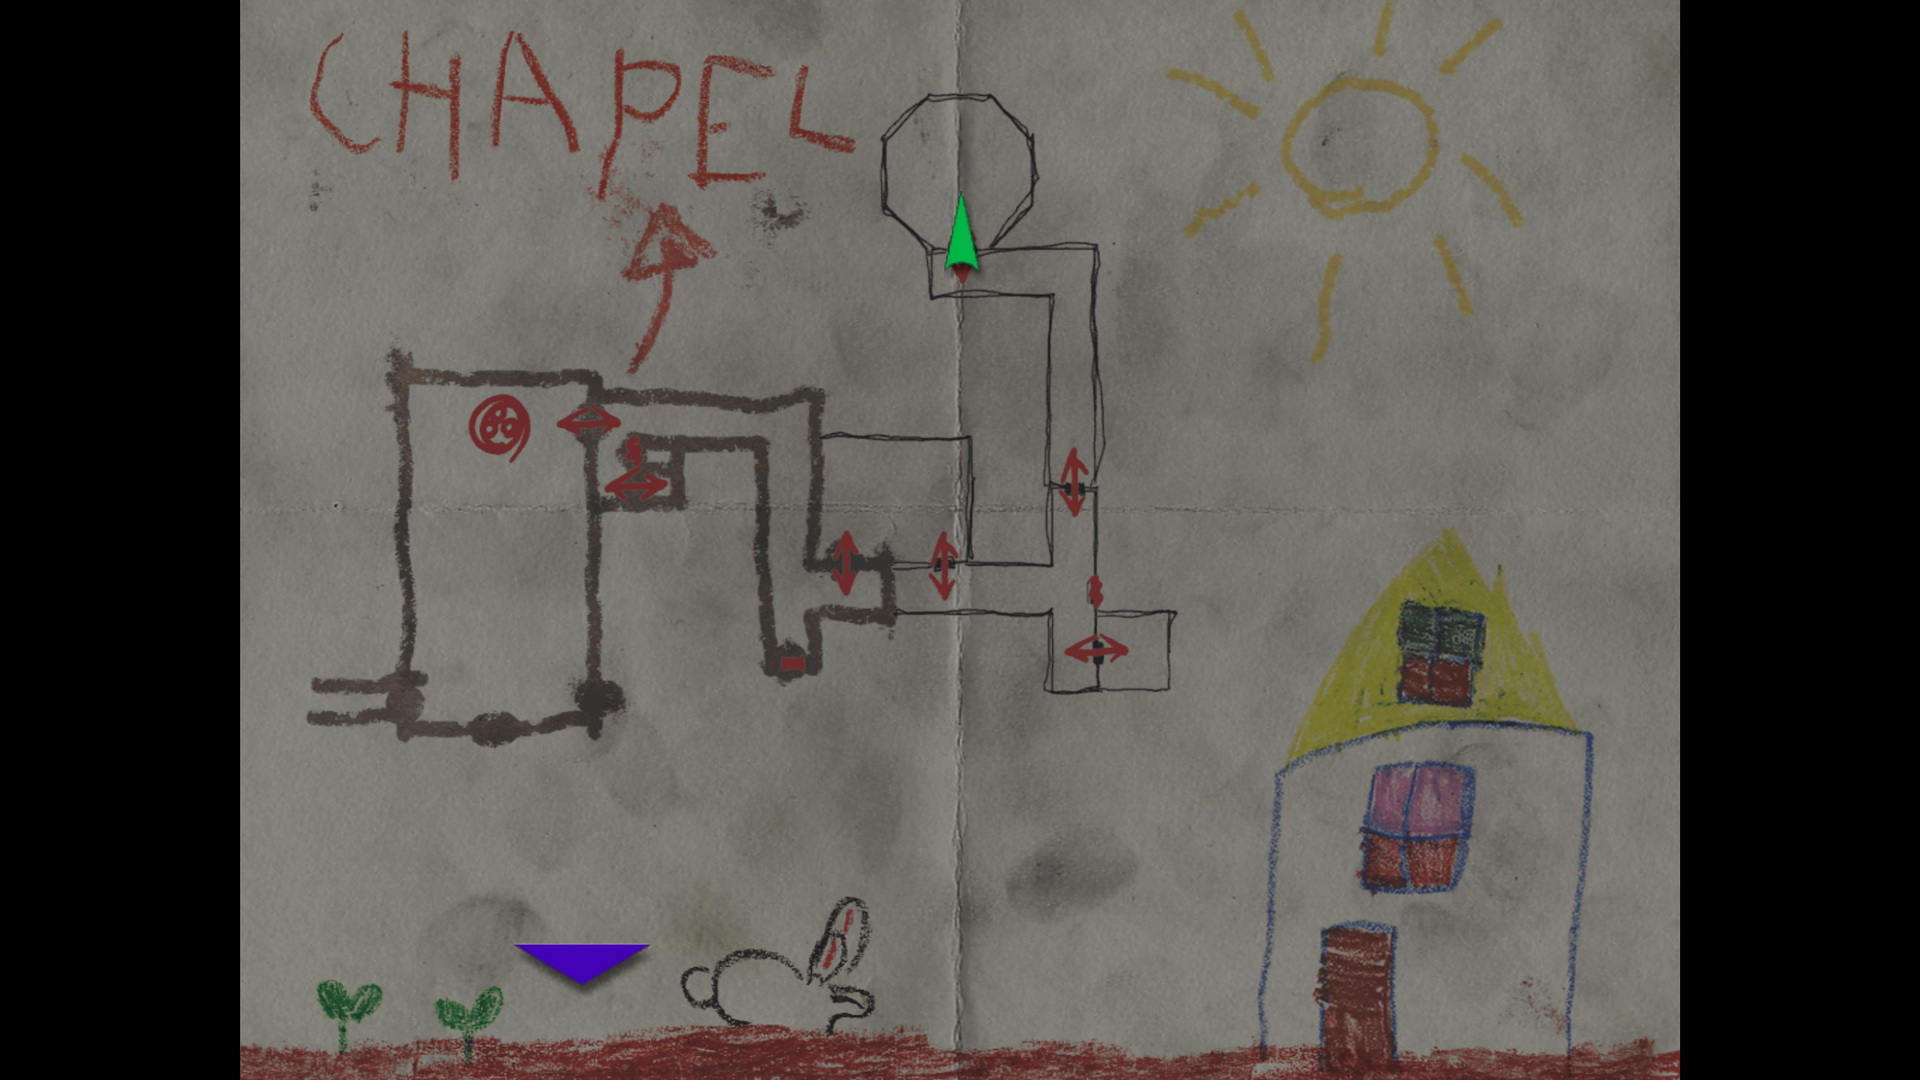
Leave the booth and head down the hall. Hearing radio static, pass through the door on the left since the other one is locked. Note the Closer's slightly different appearance (this form of Closer is also much stronger) and exit through the other door. You may notice that this is the end of the mapped-out church but Heather will continue drawing on the child's map as you go.
Deeper into the Church
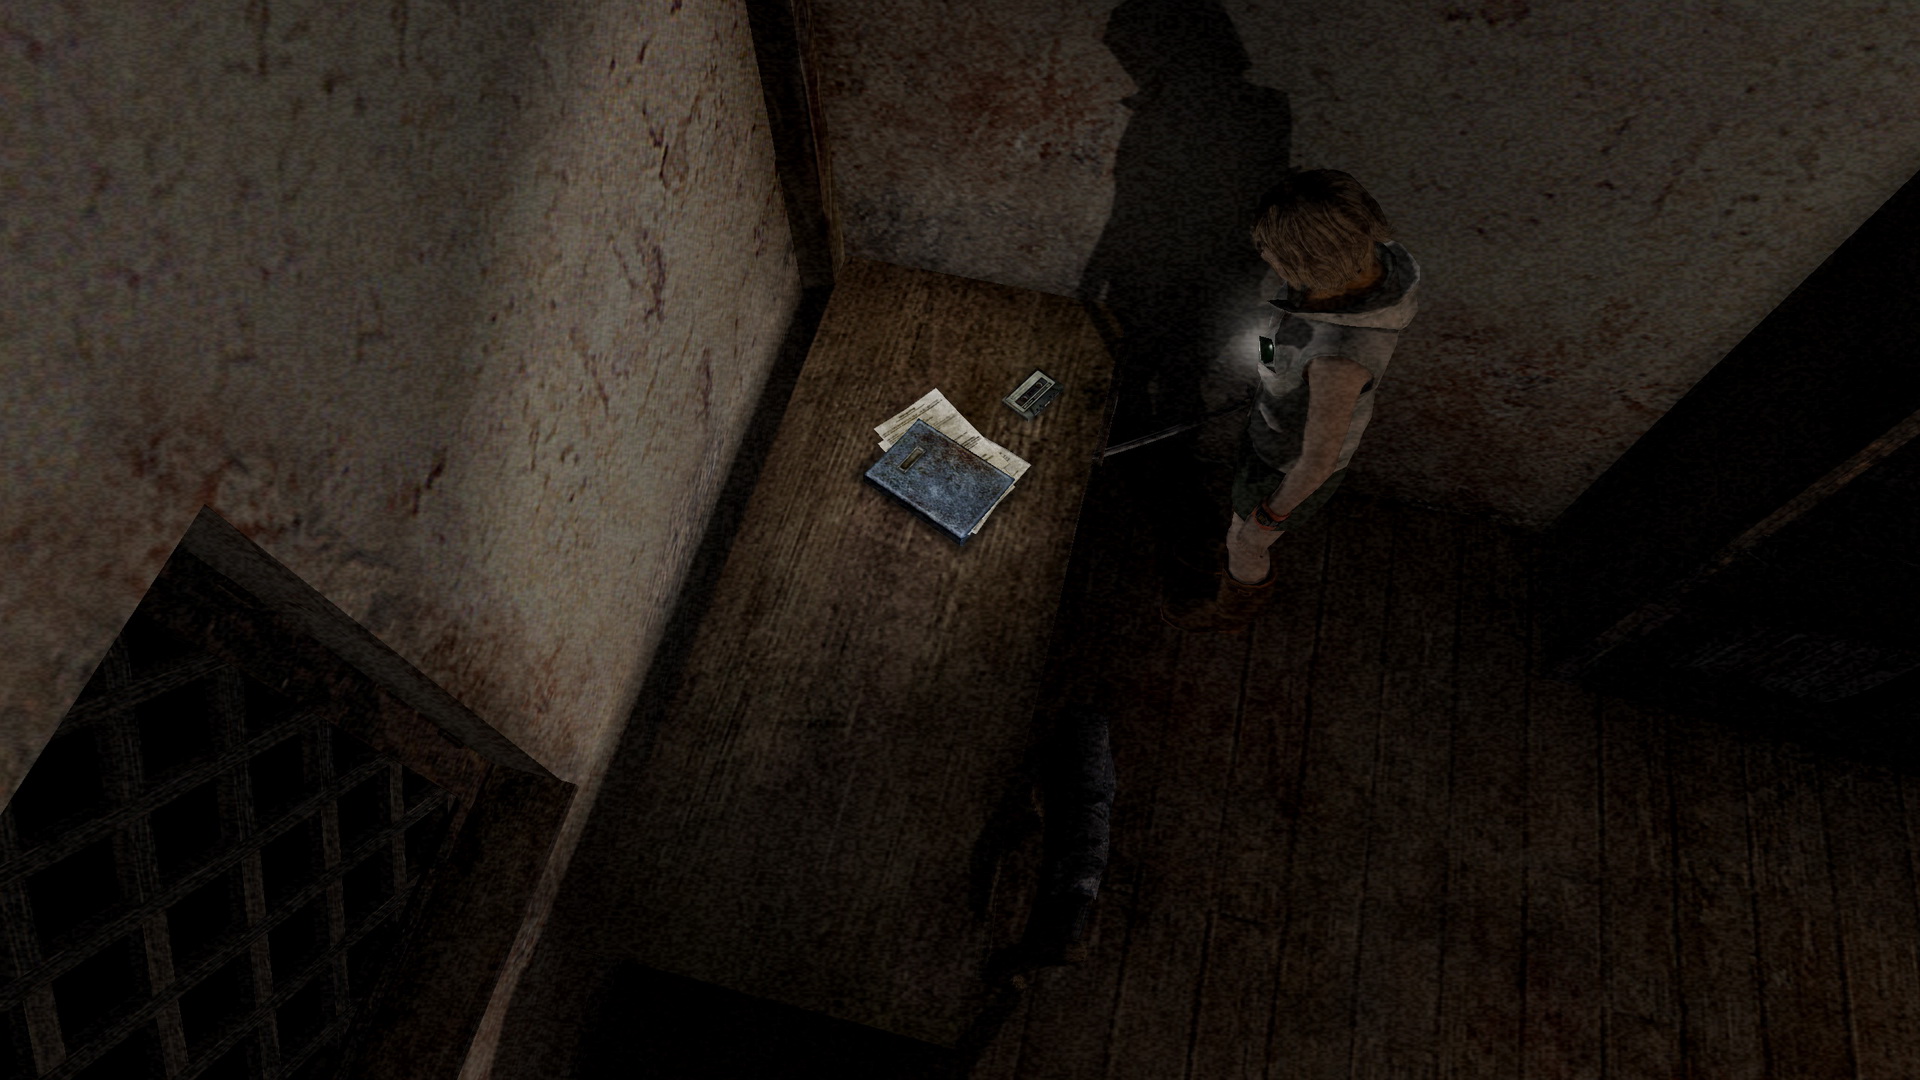
To the east you'll find yourself between two Insane Cancers on either side of the fork. You can kill them effectively with the Stun Gun and some kicks or just run past them. Enter the south room to find two packs of Handgun Bullets on the shelf and a 46 Cassette Tape and memo explaining the save point symbol on the desk. Leave the room and pass through the north door past the other Insane Cancer.
 |
 |
Crying Girl Corridor
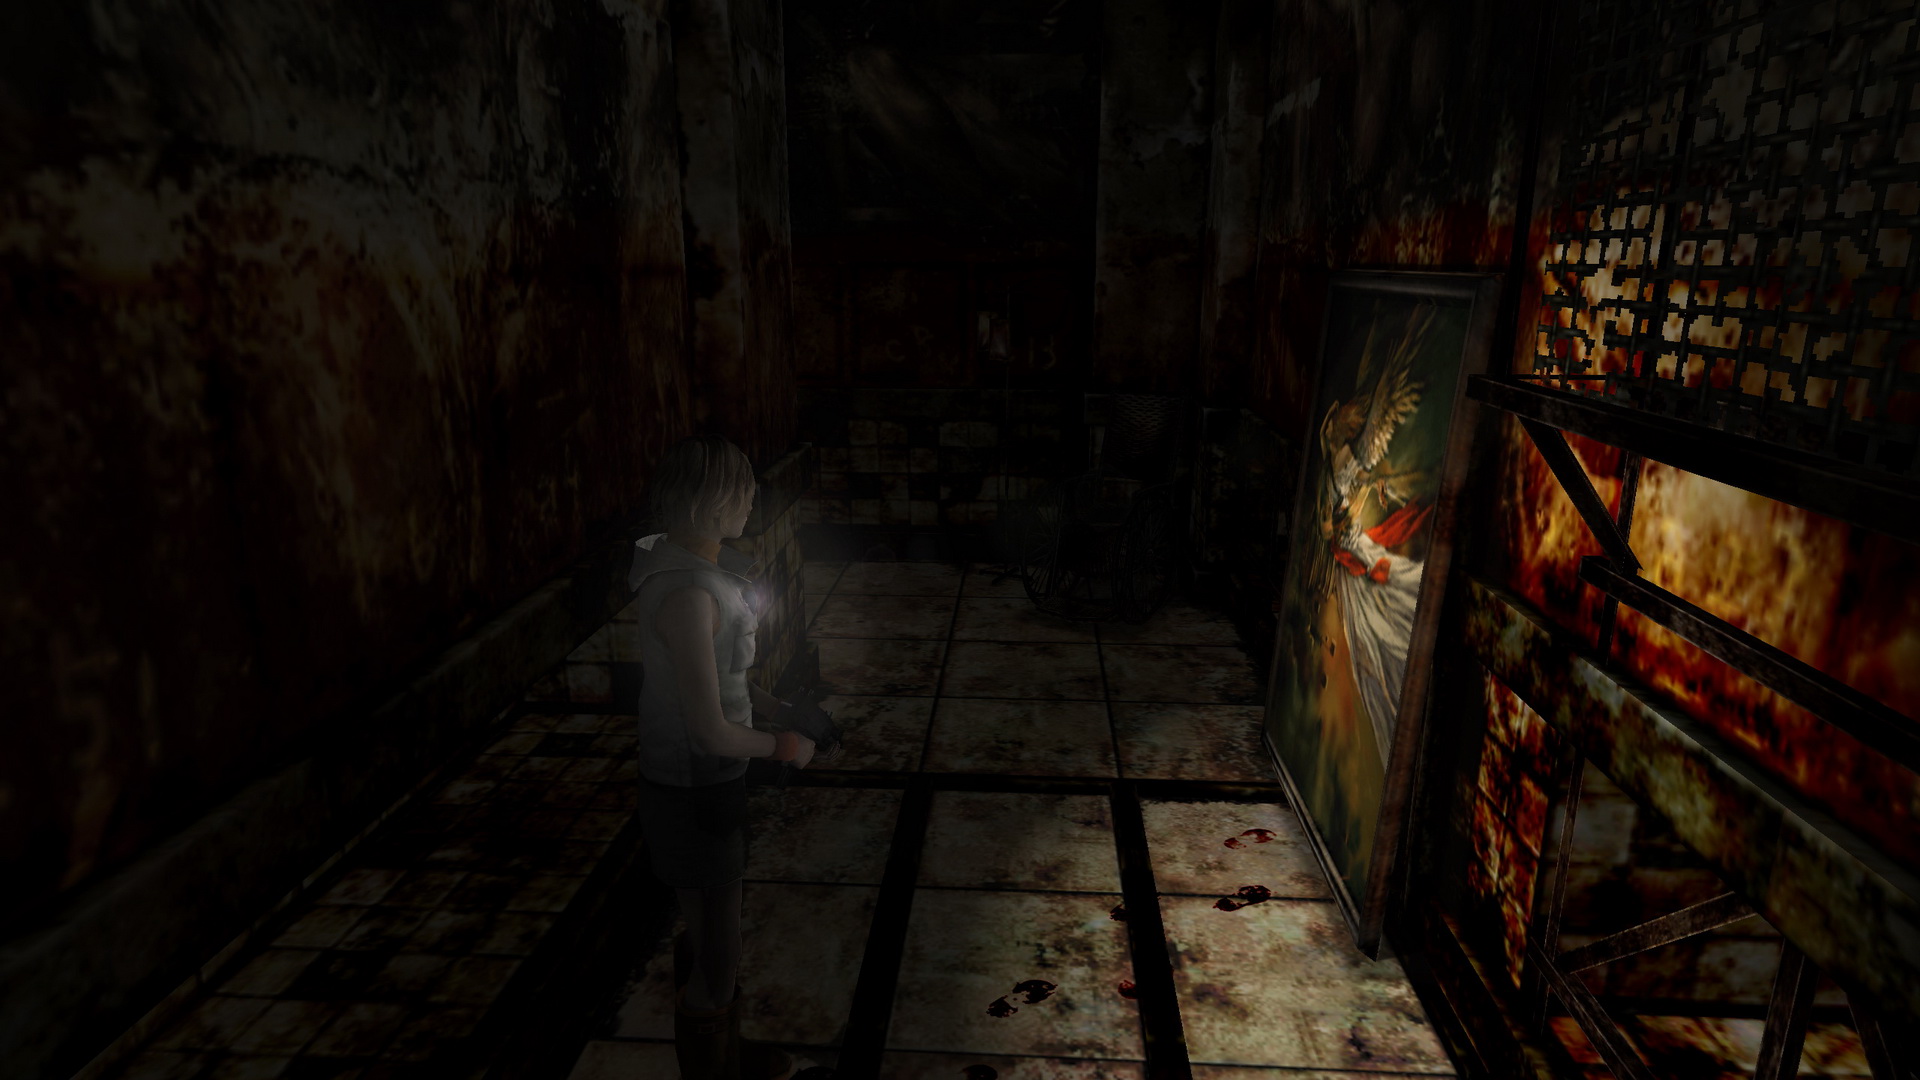
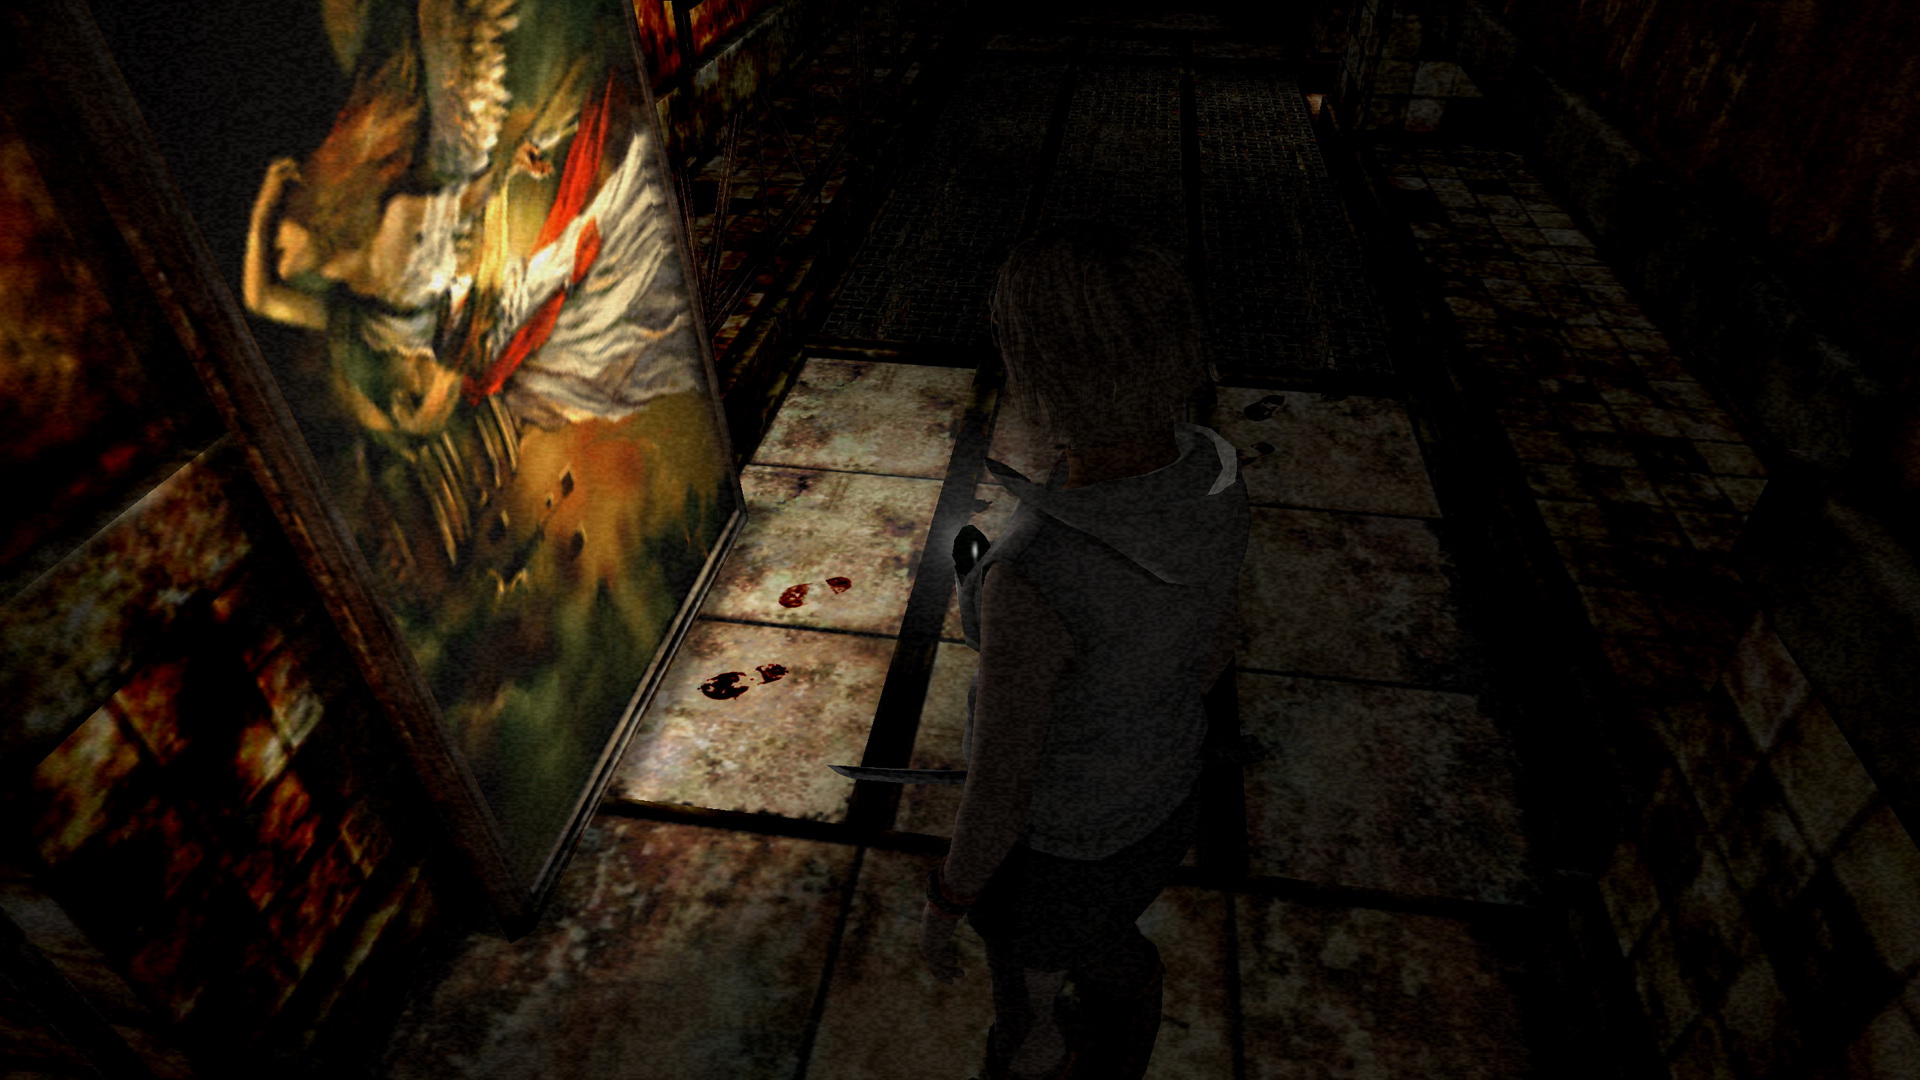
Here you will hear the tears of a young girl accompanied by bloody footsteps that lead behind the painting on the right. Examine the painting once they stop to move it aside, revealing a door.
Before passing through, the room at the end of the corridor contains a large Save Point in the center and three different paintings.
 |
 |
When ready, pass through the door behind the hall painting you moved. Follow the hallway through the next door as well.
Elevator Hall Upper Level
Now on a ledge near an elevator, the only other working door is at the end of the corridor which leads to the library. You'll have to get past a Scraper to get there, which is a much weaker version of the Missionary boss. One Shotgun shell should be enough to kill it.
Head through the end door to the library where you can find a memo about Silent Hill's Ancient Gods on the right shelf and a memo about tarot cards on the left side of the middle aisle, along with the 47 "Moon" Tarot Card at the back left.
 |
 |
Vincent will then enter for a chat, giving Heather the 48 Book: Otherworld Laws before leaving.
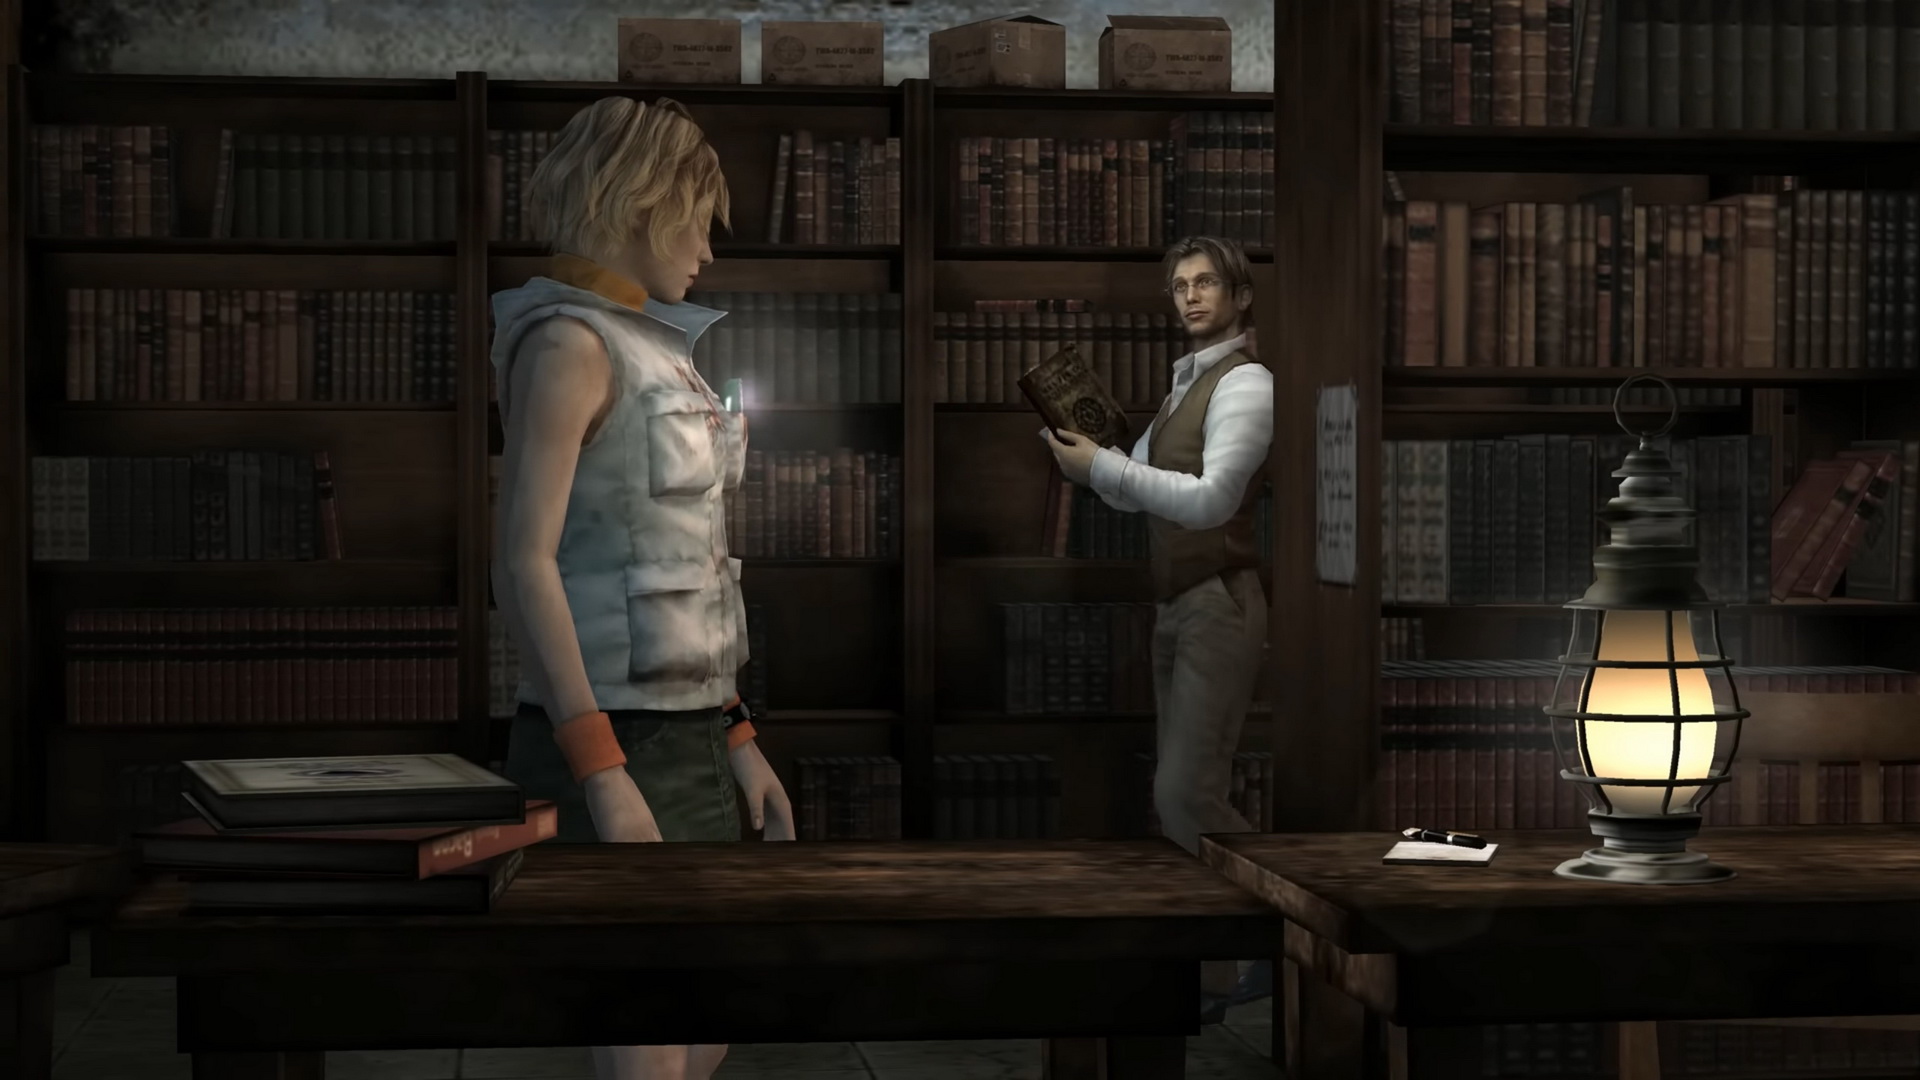
Give the book a read if you wish, then exit back to the elevator hall and descend down to the lower level.
Note on library hidden riddle:
In an Extra New Game on Hard Riddle Level, multiple hidden clue notes can be found at various spots across the shelves in the library. Solving this incredibly vague yet complex riddle will reward you with the code for an extra costume. The full riddle and its solution is entirely covered in the Unlockables and Secrets section.
Elevator Hall Lower Level
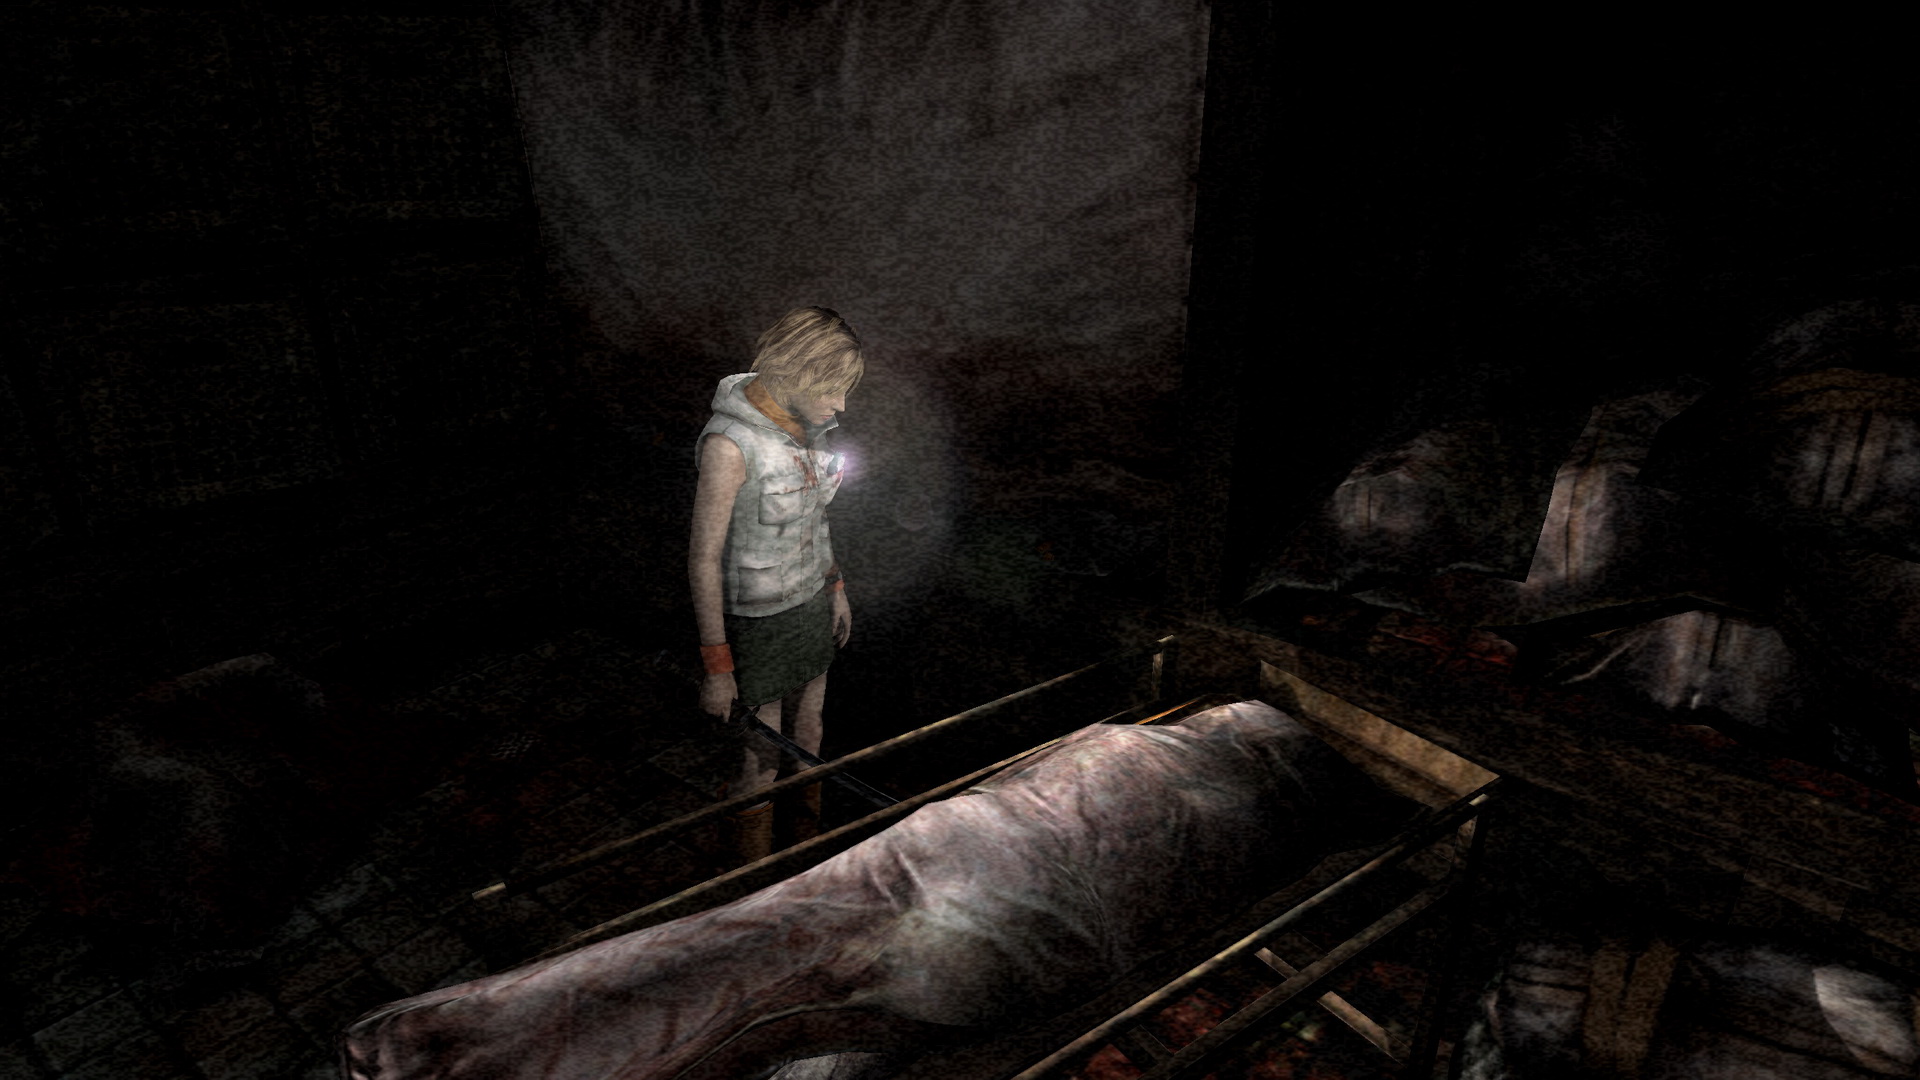
Through the northwest door you'll find a mortuary through the next door straight ahead. Grab the Shotgun Shells on the right body drawer and find the 49 "Hanged Man" Tarot Card on the other side of the corpse stretcher in the middle.
 |
 |
Take a right in the previous corridor to another room that looks suspiciously familiar.
Flip through Harry's diary on the bed and grab the two Stun Gun Batteries on the desk. Be mindful of two Scrapers appearing in the previous hall as you make your way back to the elevator hall.
Head through the second last door on the other side. Ignore the Pendulums along the next ledge walkway and make your way past a Scraper to go through the last door on the other side over there.
Lower Level South
Head through the first door on your left and run past the two stronger Closers in the large room to get to the next hallway. Follow the hall ahead until the camera shifts.
You'll hear and see more crying girl's footsteps lead to the wall, upon which you can examine and push it open. Be sure to take in the interesting scenery of Valtiel and two female bodies at the end of the hall before passing through the hidden doorway you just opened.
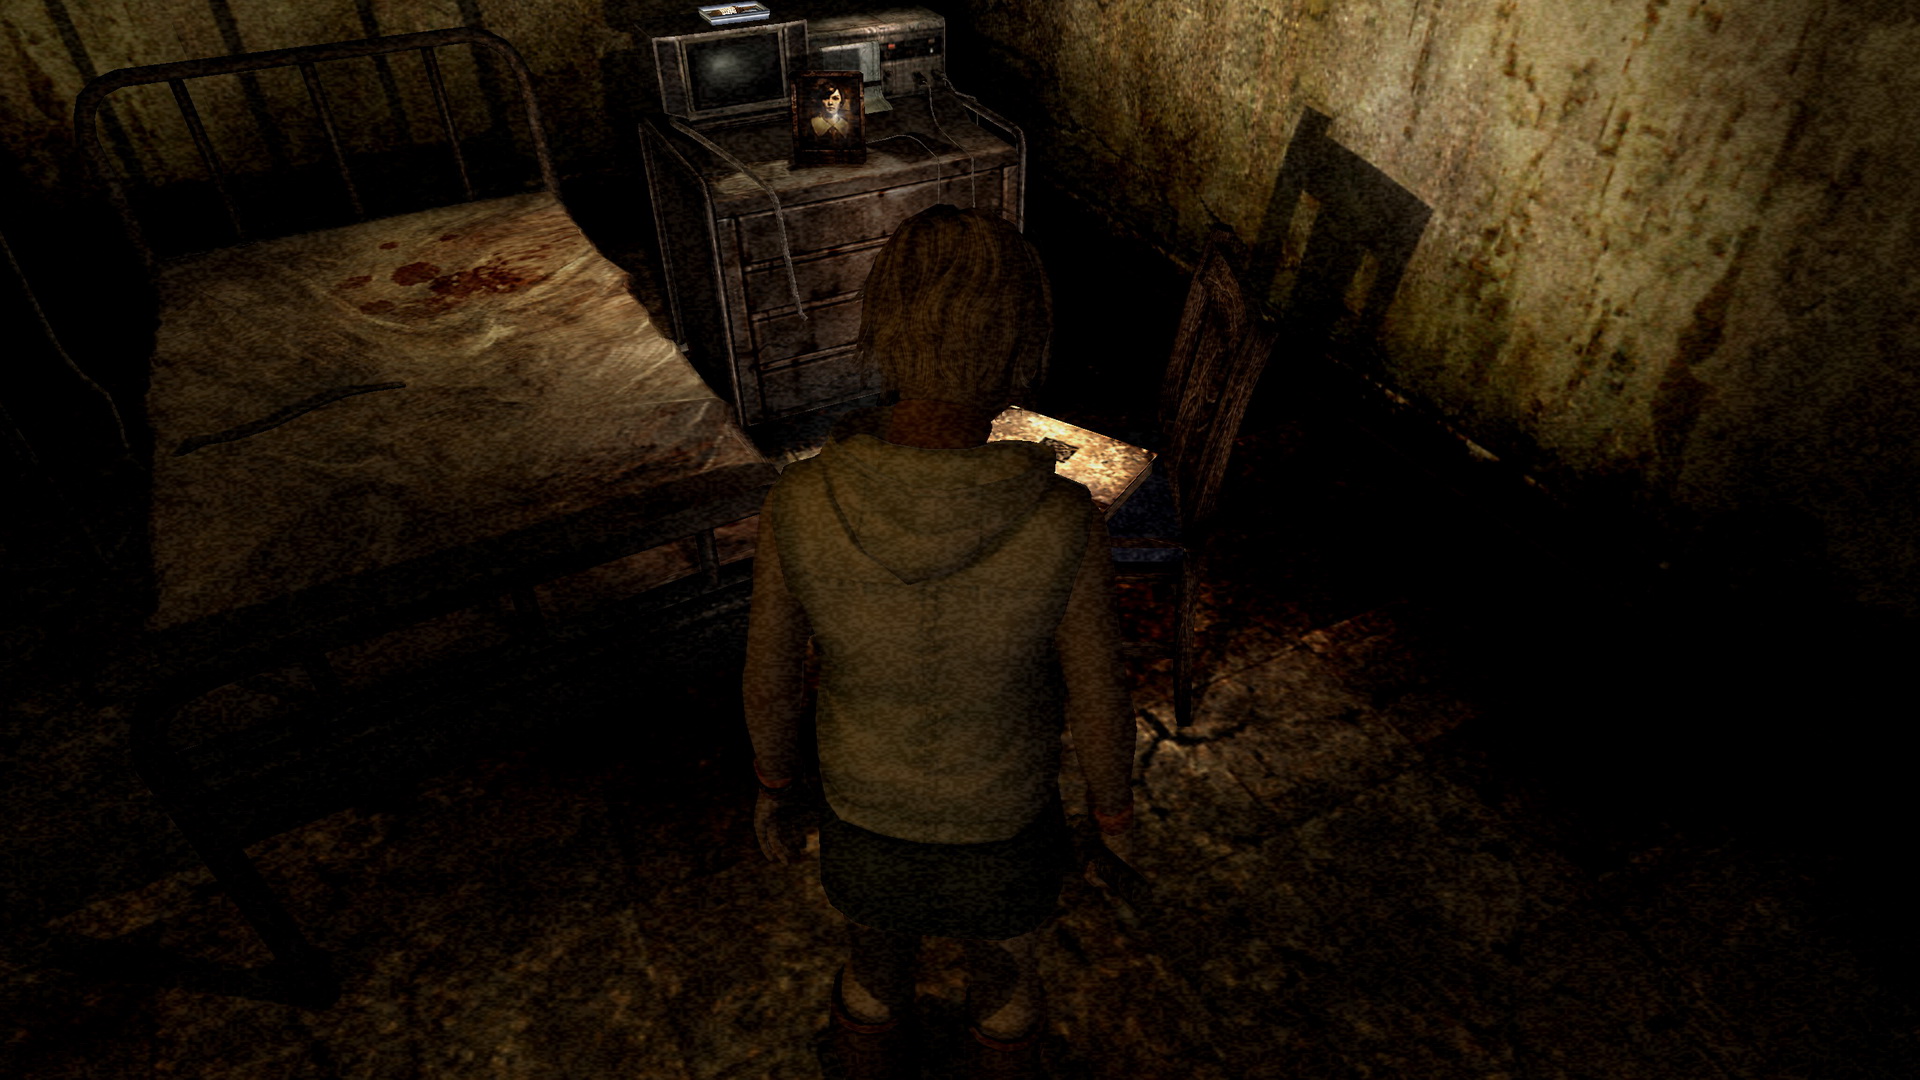
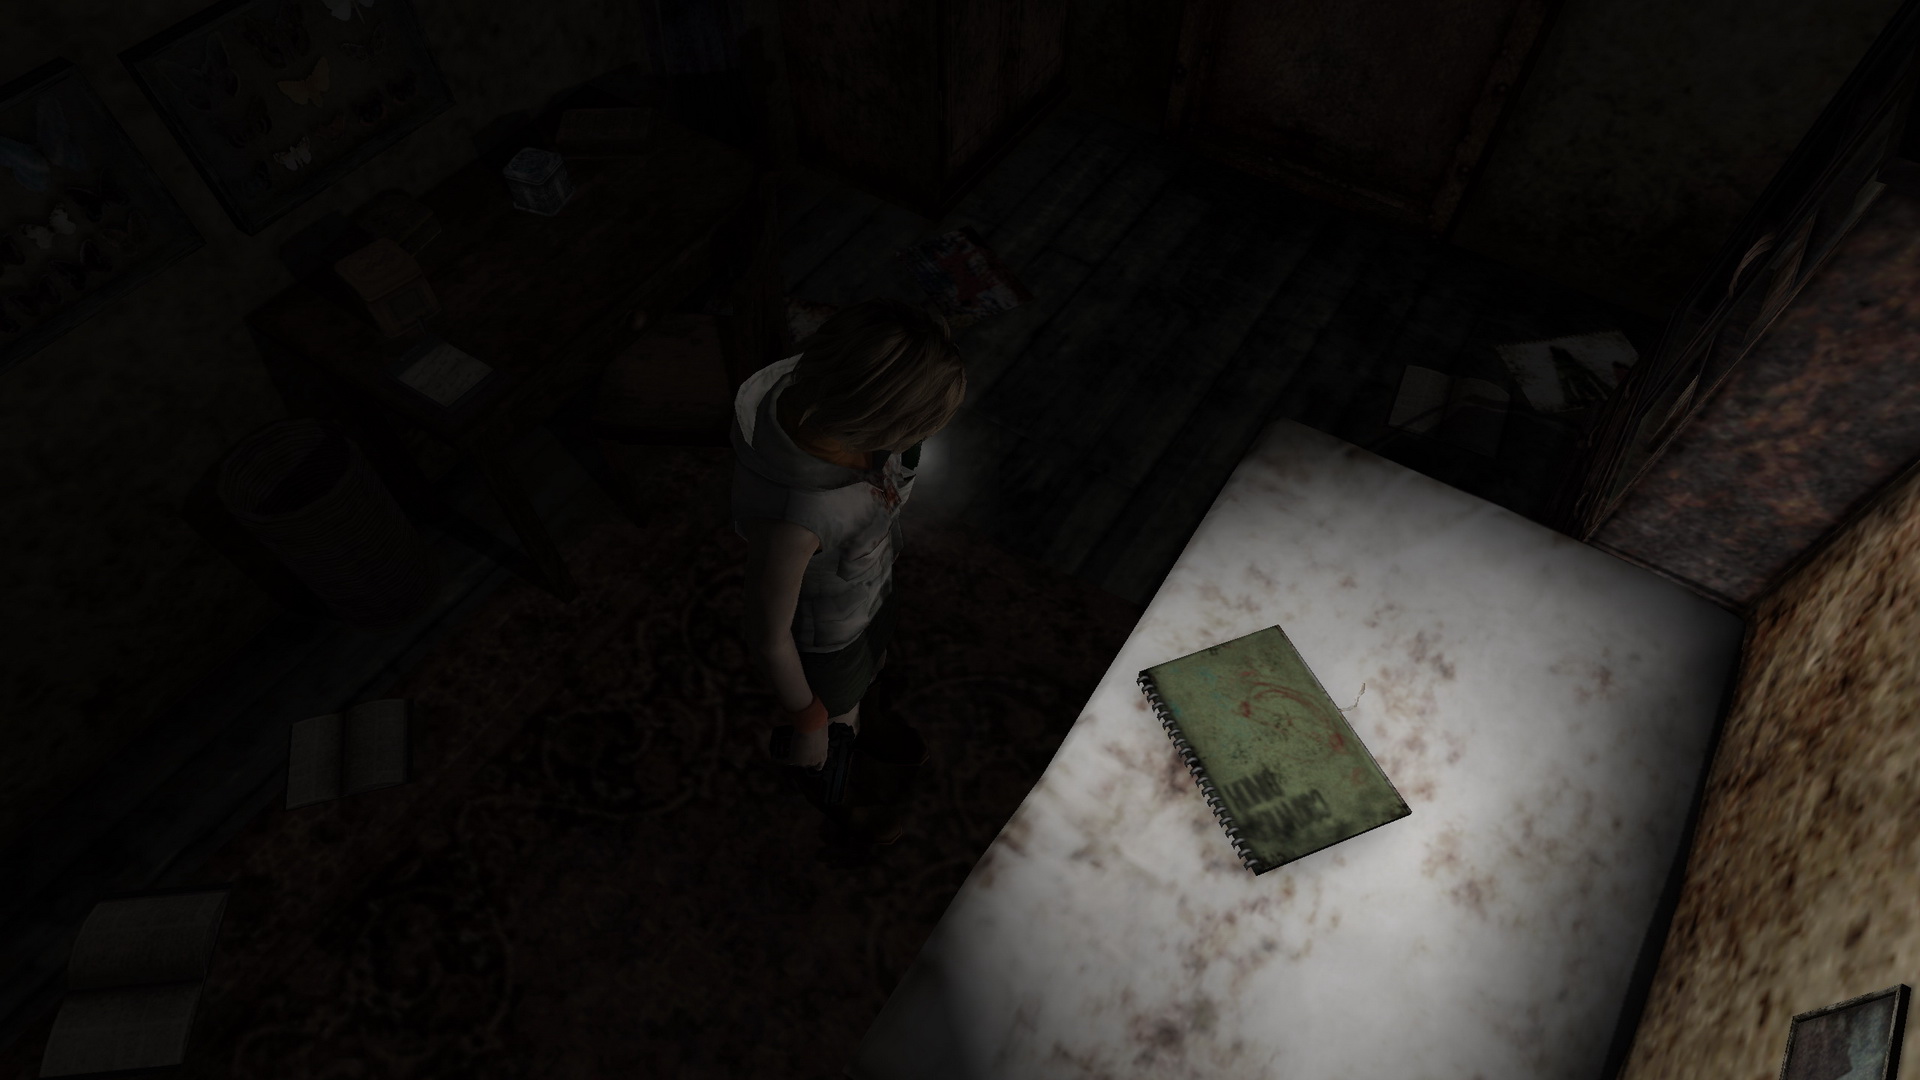
Enter the room in the hidden hallway to Alessa's very familiar hospital room from the first Silent Hill. Read through the Aglaophotis book on the chair to get the 50 "Fool" Tarot Card inside it.
 |
 |
Grab the Handgun Bullets on the right shelf just inside the room, the Ampoule on the back side of the life support unit and examine various parts of the room for some interesting comments from Heather.
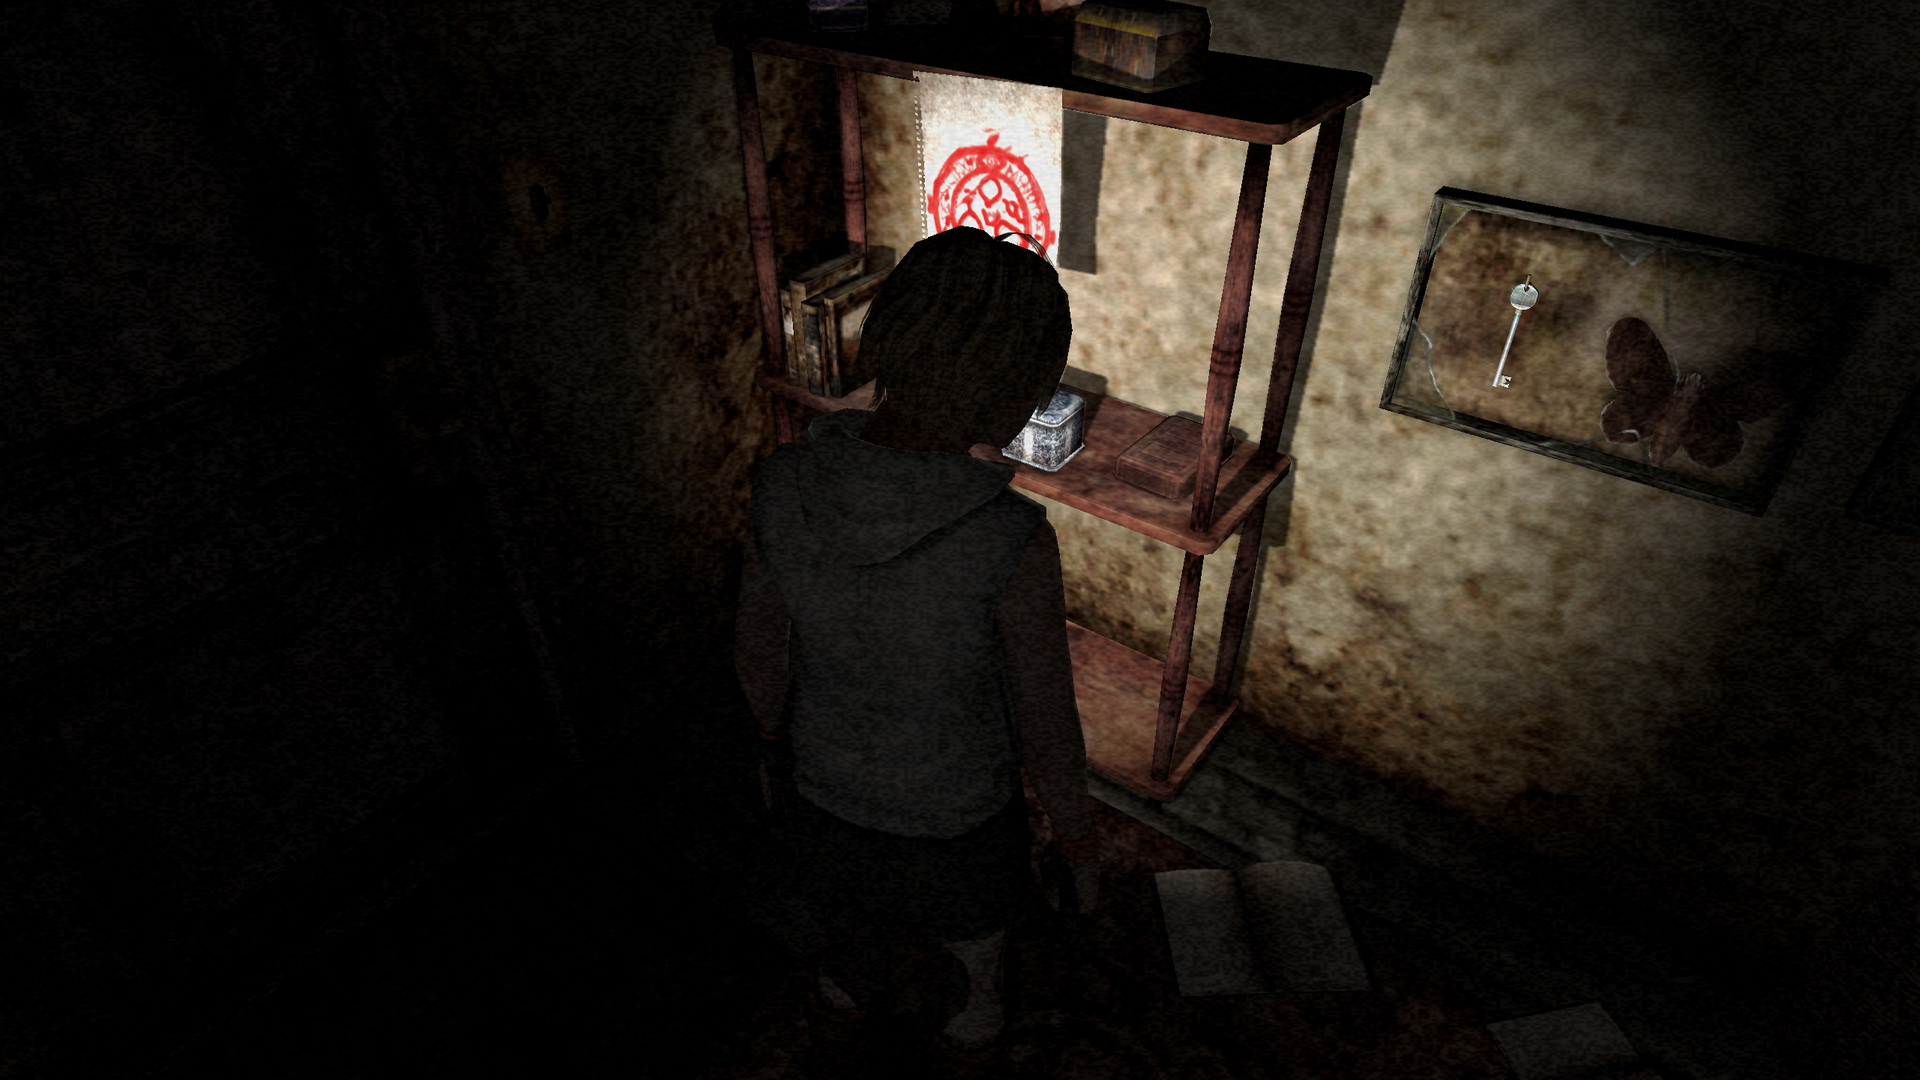
Pass by another Insane Cancer on your way to and back through the large room with (repopulated) strong Closers to the earlier hallway and continue to your left. Take in Valtiel strangling the nurse to your left and you'll find another very familiar room from the first Silent Hill at the end of the hall with a Save Point on the shelf.
Examine the butterfly frame to get the 51 Brass Key and find another of Harry's notepads on the desk, along with the Drawing Block sketchbook from the first game on the bed.
 |
 |
It sounds like a riddle for the other door in here but we still need another card. Feel free to examine things around the room and exit back to the elevator hall in the north.
Back to the Chapel: Beyond the Locked Door
Take the elevator to the upper level and head back to the chapel area of your map. Once in the room with the whiteboard, the room and rest of the chapel will begin to aggressively transform in real-time. Ignore the Scrapers and Slurper and quickly pass through the other door in the left corner.
Find the other door just ahead in the fiery, bloody corridor and pass through it with the Brass Key. Ignore Valtiel crawling in the ducts and go through the first door on the left to a classroom from the first game (a Scraper may come from out of nowhere behind you if you don't or wait long enough).
Read the scratches on the student desk and the memo on the teacher's desk from K. Gordon, whose name you may recognize from the K. Gordon (House) Key in the first game. You may also find two clips of Submachine Gun Bullets on the small extension table attached to the desk if low on ammo. Exit through the other door near the teacher's desk to find an Insane Cancer lying to your right. Ignore it and enter the first room on the right side ahead.
Use the Cassette Tape in the cassette player to hear a recording with Father Vincent discussing the events of the first game. Read the memo on the desk and exit. Enter the next room on the same side to find the 52 "High Priestess" Tarot Card on the bed, which is the last of the cards you need. Read Claudia's diary on the shelf and the birthday card on the desk and leave the room.
 |
 |
The door on the other side of the hall only leads to a large room full of Scrapers ready to slice you up, and you have all five tarot cards now so you can head back to Alessa's bedroom. Follow your map to the elevator hall in the northeast, descend to the lower level and return to the western room in the middle of your map.
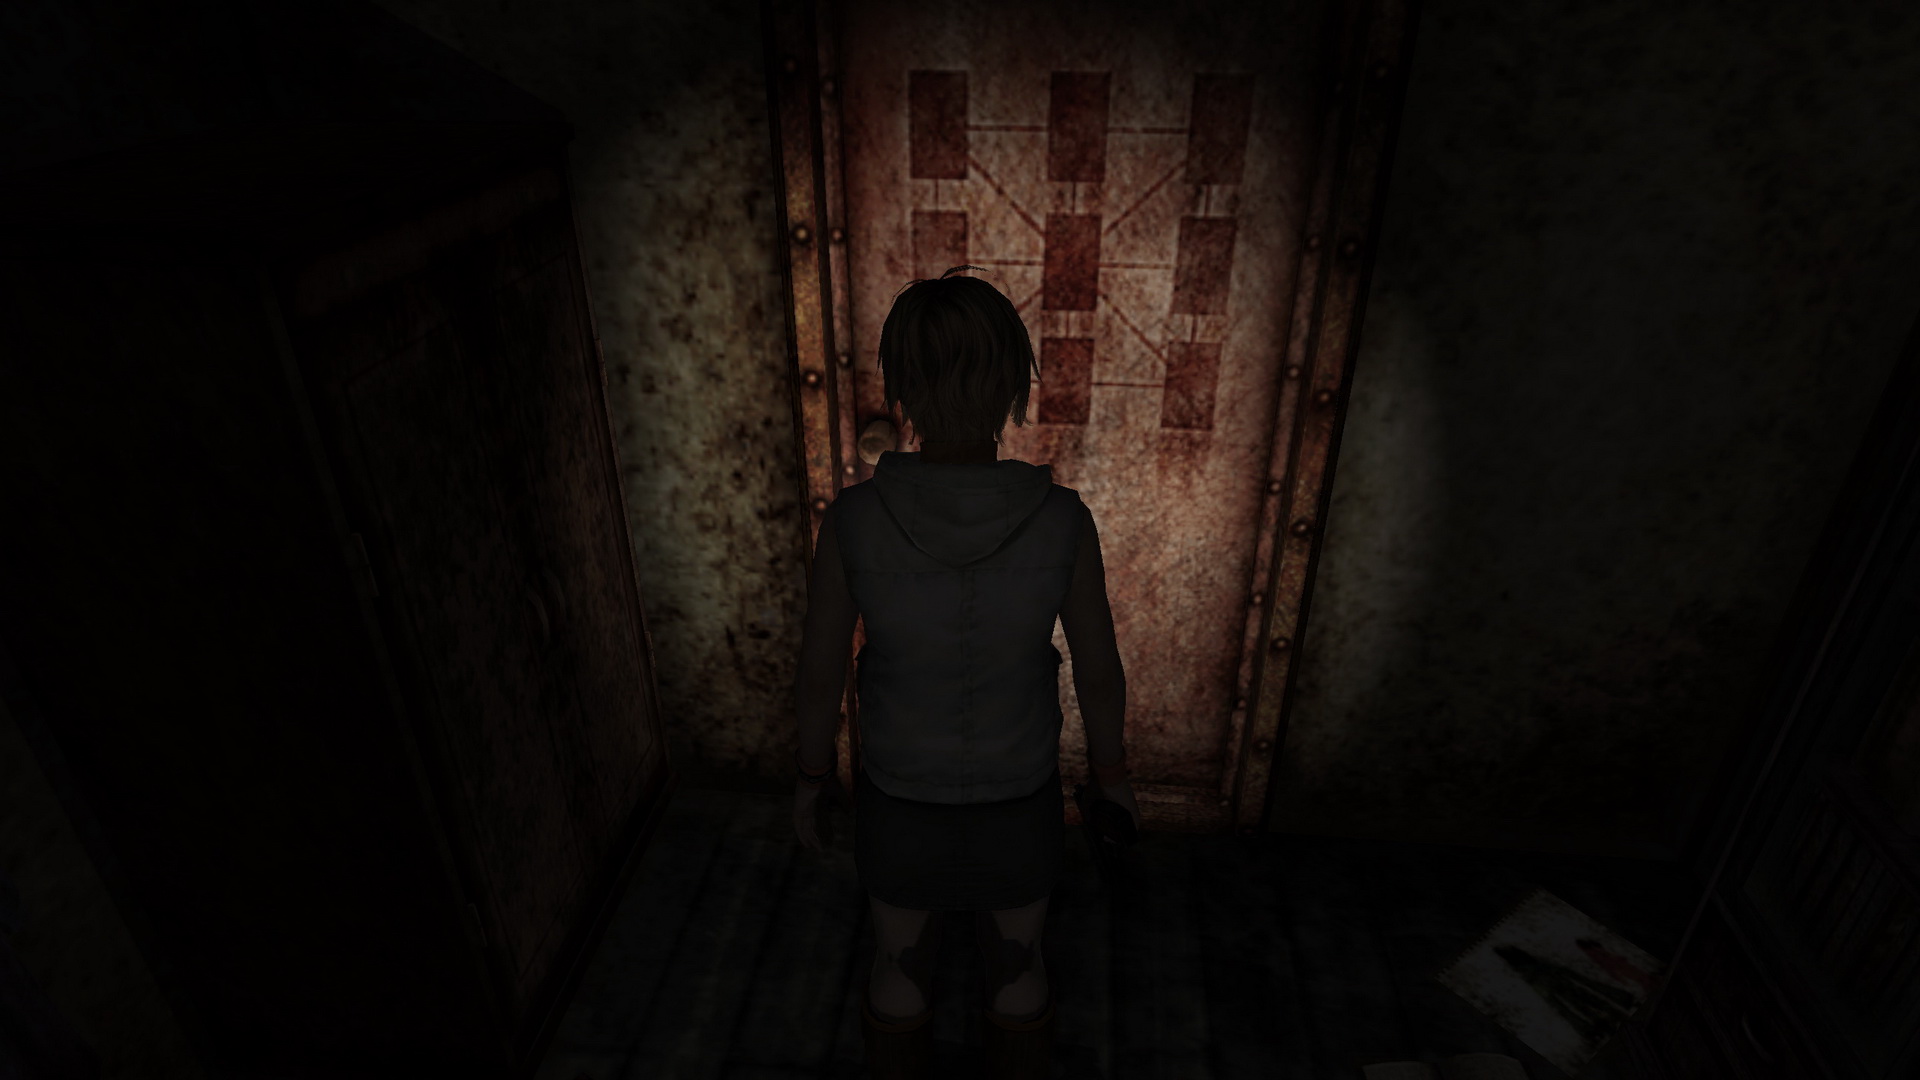
Alessa's Bedroom
Now with all five tarot cards, you're ready to solve the final puzzle.
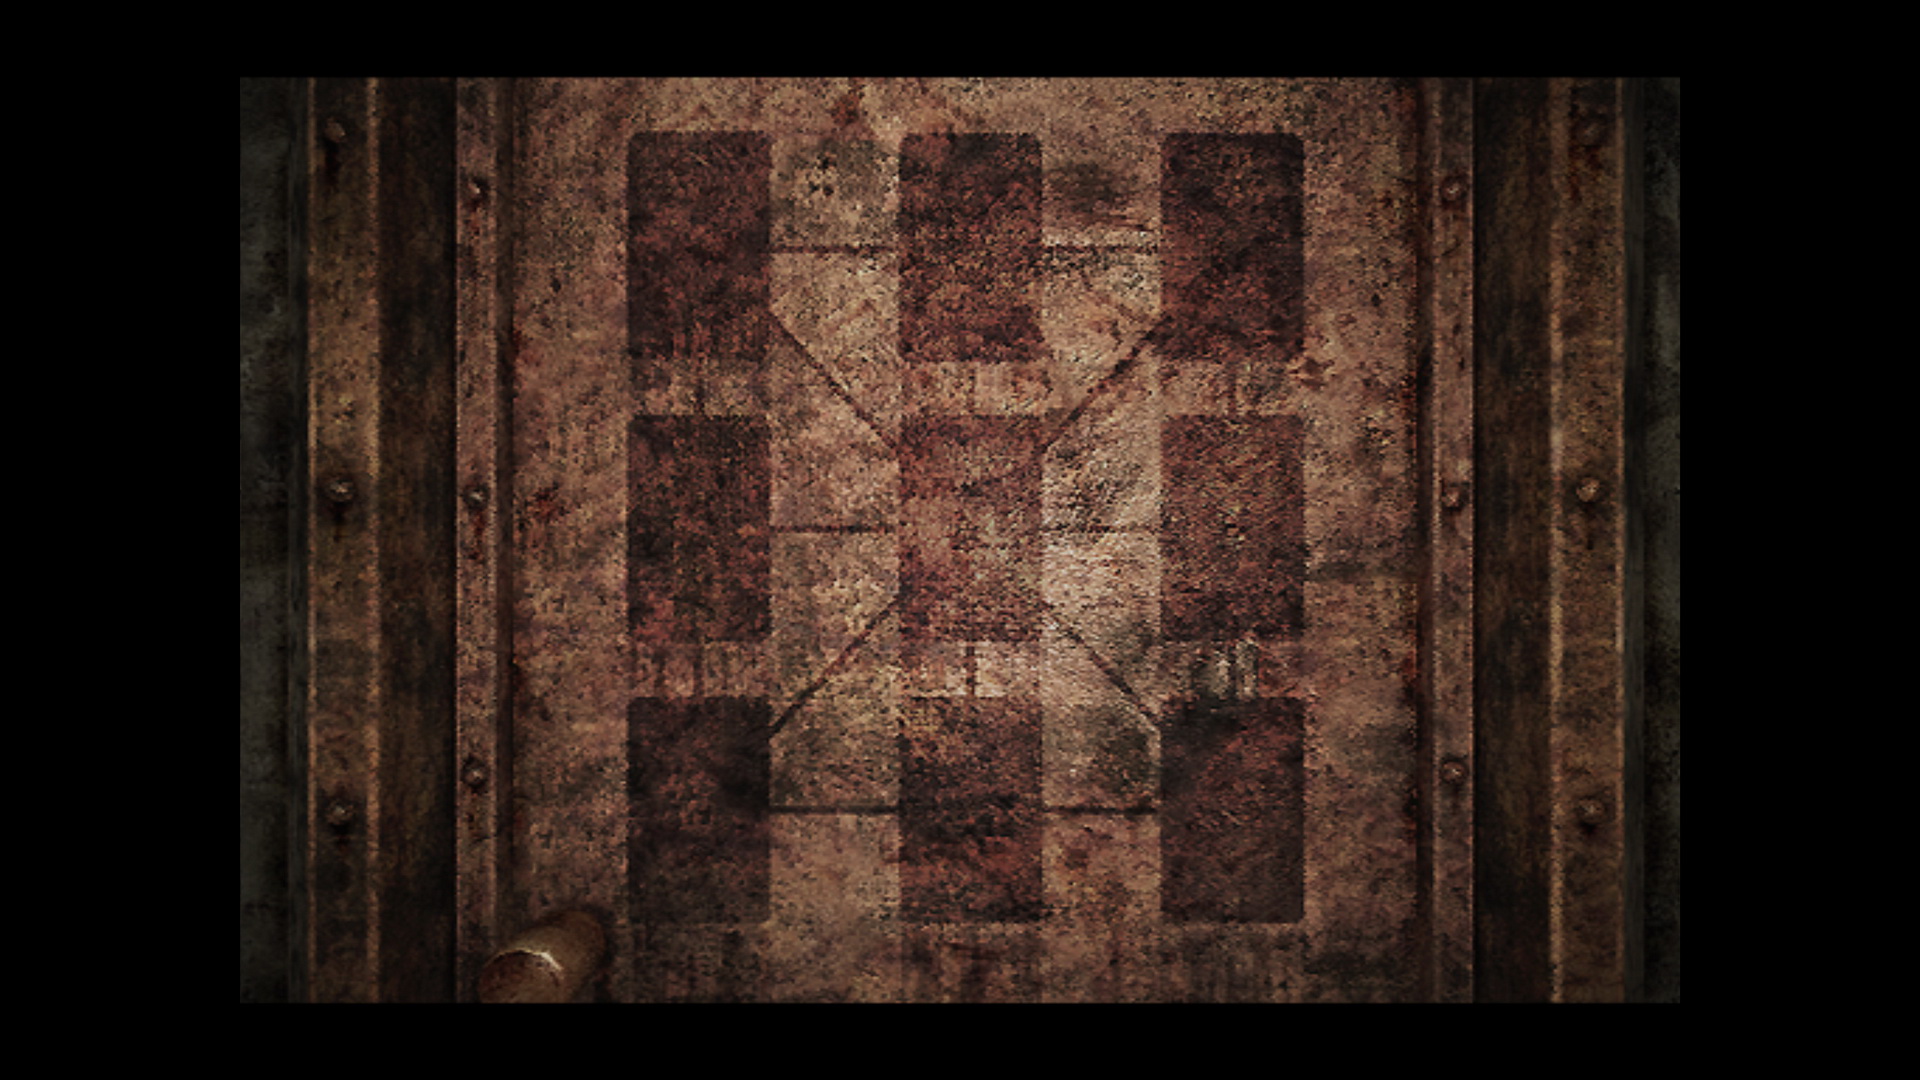
Puzzle: Tarot Card Door (Alessa's Bedroom)
|
The locked door in this room contains nine card slots for you to place your five tarot cards, and the key to this puzzle is the riddle in the sketchbook on the bed. The solution is different per riddle level but it will always be the same on each level. Read through the riddles and their solutions below.
To place the cards, first you must use one from your inventory. Then you can choose in which slot you wish to place it and insert the other cards by clicking on them in the blue corner box and placing them accordingly. Click on the cards in their placed slots if you wish to remove them.
But first, what are tarot cards? Simply put, they are an earlier form of modern playing cards, from which the latter descended. A tarot deck most often contains 78 cards, including four suits of 14 cards (Minor Arcana), comprised of Ace through 10, Page, Knight, Queen and King, in addition to 22 trump cards (Major Arcana) with unique names and numbers from 0-21. All five cards you've collected are trumps, although the Eye of Night is a fictional card created for this game. With that understood, let's look closely at our cards to see what we have:
- High Priestess: A priestess standing between two pillars at the entrance of a temple. Marked with II as the second trump card.
- Hanged Man: A man hanging from one foot on a cross of wood, relaxed as if this position and perspective is of his own choice. Marked with XII as the twelfth trump card.
- Moon: A moon portrayed both in full and crescent form, above a wolf and a dog howling near a crayfish leaving the water. Marked with XVIII as the eighteenth trump card.
- Fool: A vagabond carrying a bindle (blanket stick), accompanied by a small dog. Marked with 0 as an unnumbered trump card (or sometimes serves as the first trump card), it is also known as the Jester in different tarot decks, and further is the origin of the modern Joker playing card.
- Eye of Night: A mysterious eye in the dark sky amongst stars and clouds. Not a real tarot card but instead made-up for the game, it is marked with XXII to serve as the twenty-second and final numbered trump card in this specific deck.
With an understanding of our cards, we can now move on to solving the puzzle as per each riddle difficulty.
Easy
The sketchbook reveals an illustrative diagram with five different images at specific spots of the page.
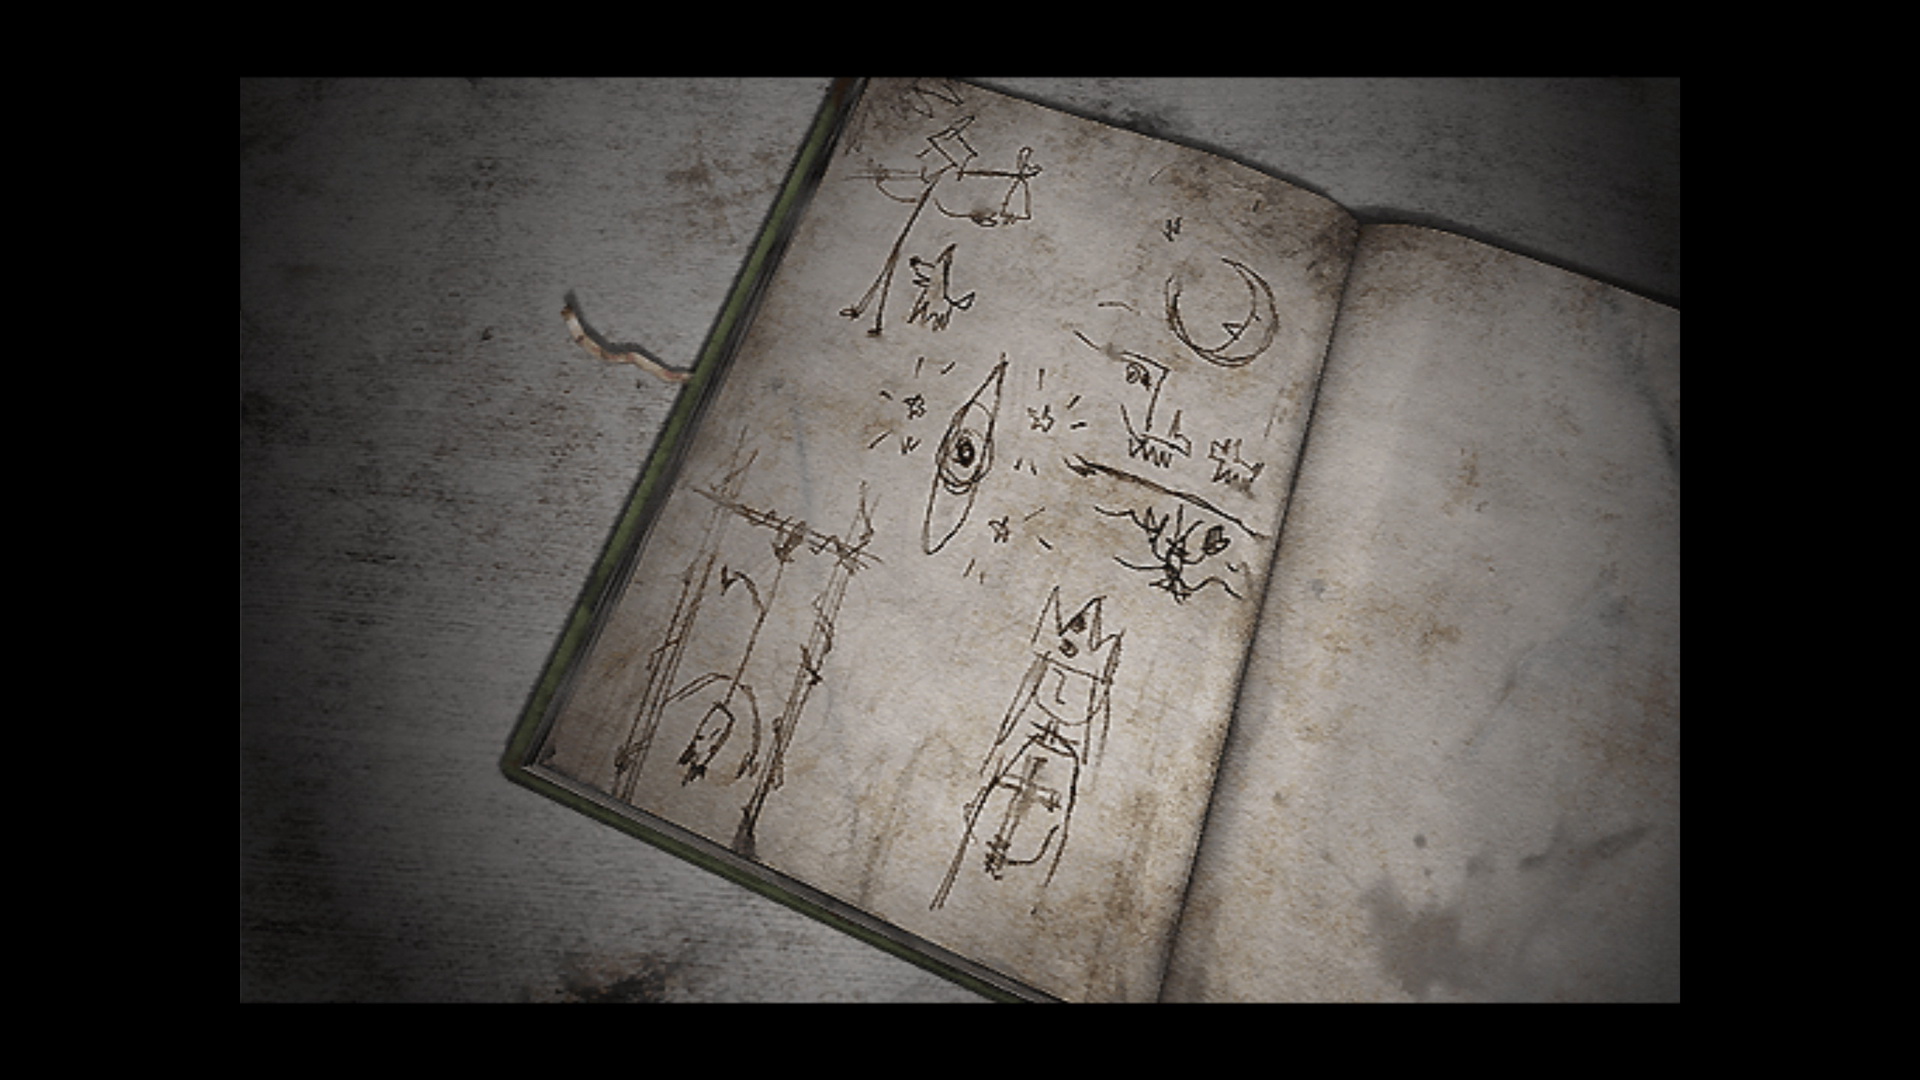
|
This one is real simple. Just open up your inventory to examine each tarot card and you'll find they each look exactly like one of the images in the sketchbook. With the positions on the page representing the card slots on the door, it leaves you with the following solution:
| Fool | Moon | |
| Eye of Night |
||
| Hanged Man |
High Priestess |
Normal
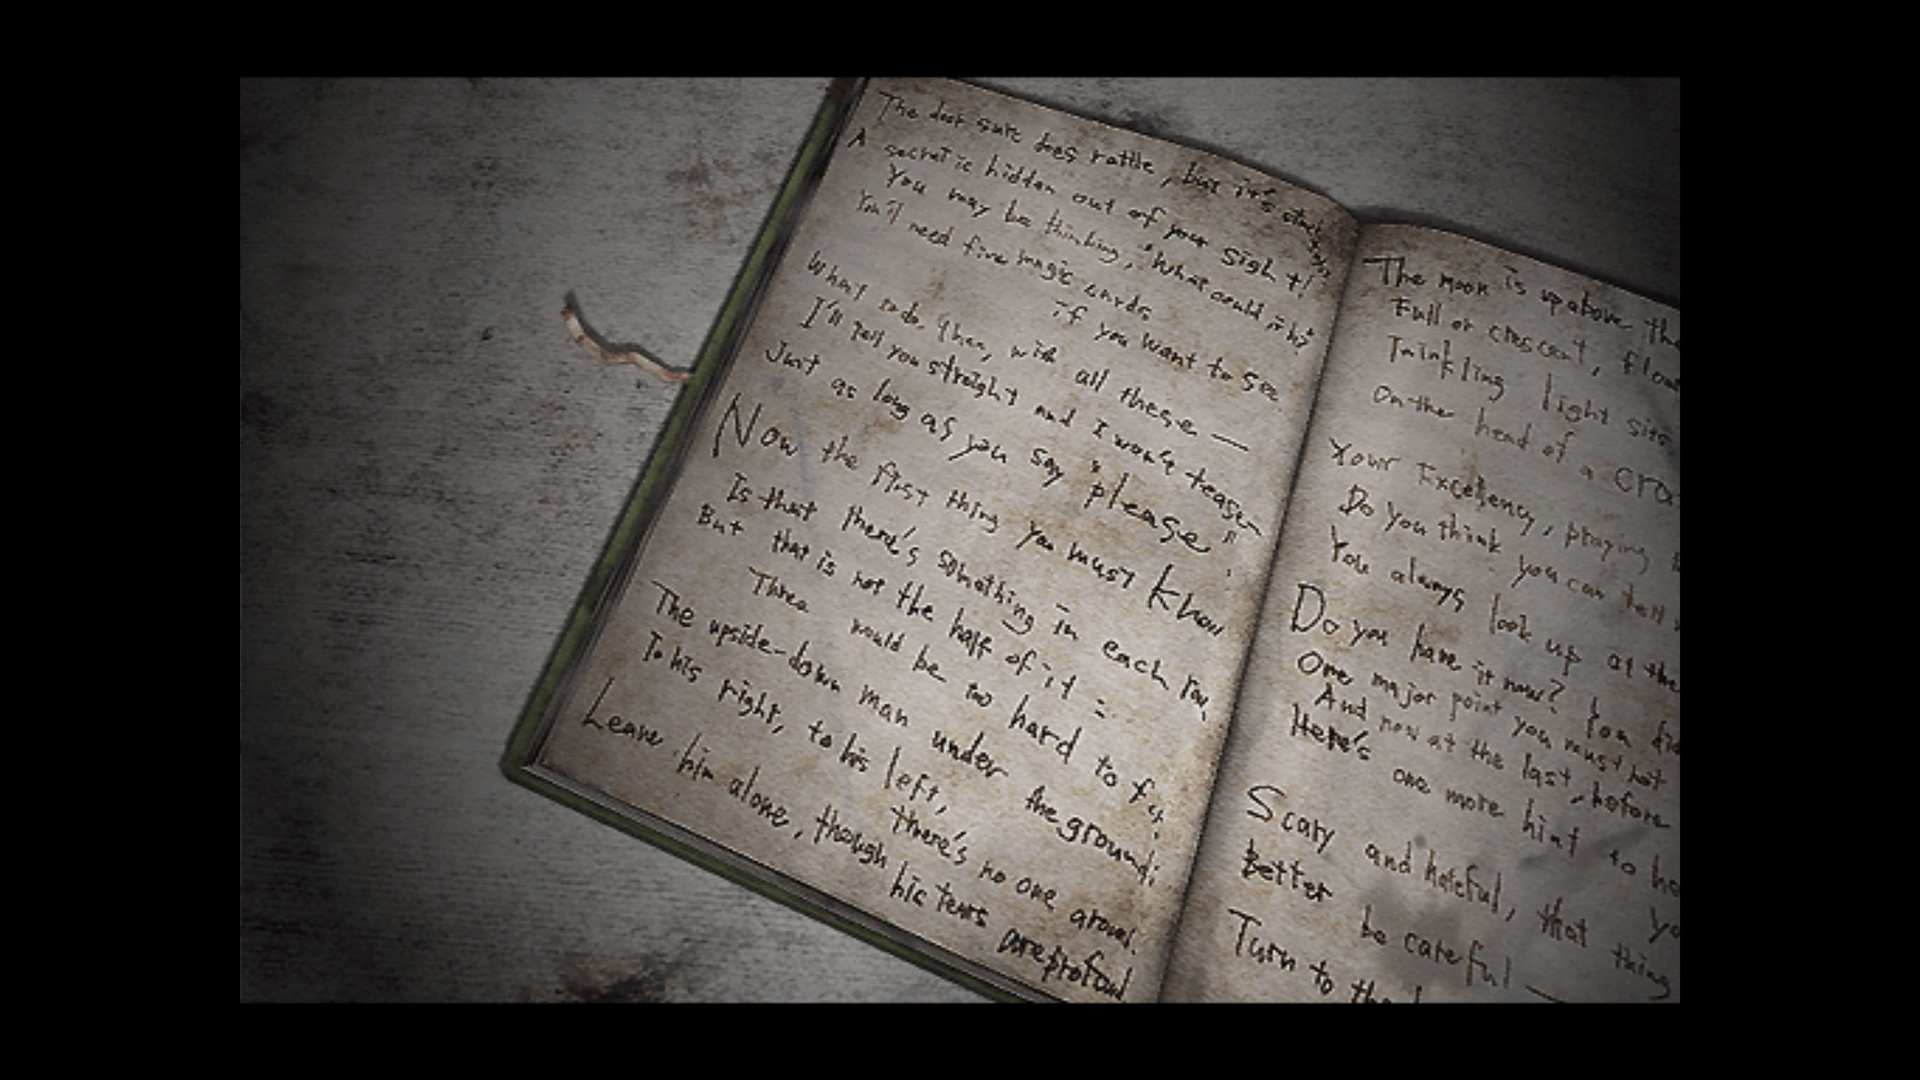
|
The door sure does rattle,
but it's stuck tight.
A secret is hidden out
of your sight!
You may be thinking,
"What could it be?"
You'll need five magic cards
if you want to see.What to do, then,
with all these?
I'll tell you straight
and I won't tease–
Just as long as
you say "please".Now the first thing you must know
Is that there's something
in each row.
But that is not the half of it:
Three would be too hard to fit.The upside-down man
under the ground:
To his right, to his left,
there's no one around.
Leave him alone, though
his tears are profound.The moon is up above the sky,
Full or crescent, floating high.
Twinkling light sits like a crown
On the head of a crazy clown.Your Excellency,
praying to God most high
Do you think you
can tell me why
You always look up
at the night sky?Do you have it now?
You didn't forget?
One major point you
must not omit.
And now at the last,
before you take a whack
Here's one more hint to
help keep you on track.Scary and hateful, that
thing in the night
Better be careful –
it's not on your right!
Turn to the left and
you'll keep it in sight.So you'll open the door?
I'm just sure that there'll
Be nothing beyond it but
frightening peril.
Forget about that!
Just stay and play!
Or else I'll be left
here alone all day.
The first two verses simply explain that you need to insert the five tarot cards into the door to unlock it and that the riddle will tell you where they go if you pay attention. Now onto the first major clue:
Now the first thing you must know
Is that there's something
in each row.
But that is not the half of it:
Three would be too hard to fit.
This means there is at least one card in each row but no row contains three cards. This also extends to columns and means that two rows and columns will hold two cards and one row and column will each hold one, as no other combination will satisfy the above criteria.
The upside-down man
under the ground:
To his right, to his left,
there's no one around.
Leave him alone, though
his tears are profound.
The Hanged Man is hanging upside-down on his card, and thus he is in the middle of the bottom row with no cards beside him. Very clear.
The moon is up above the sky,
Full or crescent, floating high.
Twinkling light sits like a crown
On the head of a crazy clown.
This means the Moon card, portrayed both in crescent and full form simultaneously, is in the top row ("up above the sky"), directly above the Fool card ("like a crown On the head of a crazy clown"). The Fool is known to be a madman in tarot and in some decks is called the Jester (also the origin of the Joker in modern playing cards), making him the "crazy clown". They can't go in the middle row cause that'd be three in a row with the Hanged Man already at the bottom, but we'll have to keep reading to determine if they're on the left or right.
Your Excellency,
praying to God most high
Do you think you
can tell me why
You always look up
at the night sky?
"Your Excellency" refers to the High Priestess and the "God most high" she is praying to, or at least the "night sky" she looks up at, is represented by the Eye of Night (and the only remaining card). So the Eye of Night is in the top row with the High Priestess directly below, but again we'll have to keep reading to determine in which column. The next verse hints that there's one more important clue, given in the following verse.
Scary and hateful, that
thing in the night
Better be careful –
it's not on your right!
Turn to the left and
you'll keep it in sight.
This must be the Eye of Night in the sky, placing it on the left side with the High Priestess directly below it. That means the Moon and Fool cards belong at the right. This leaves you with the follow solution:
| Eye of Night |
Moon | |
| High Priestess |
Fool | |
| Hanged Man |
Hard
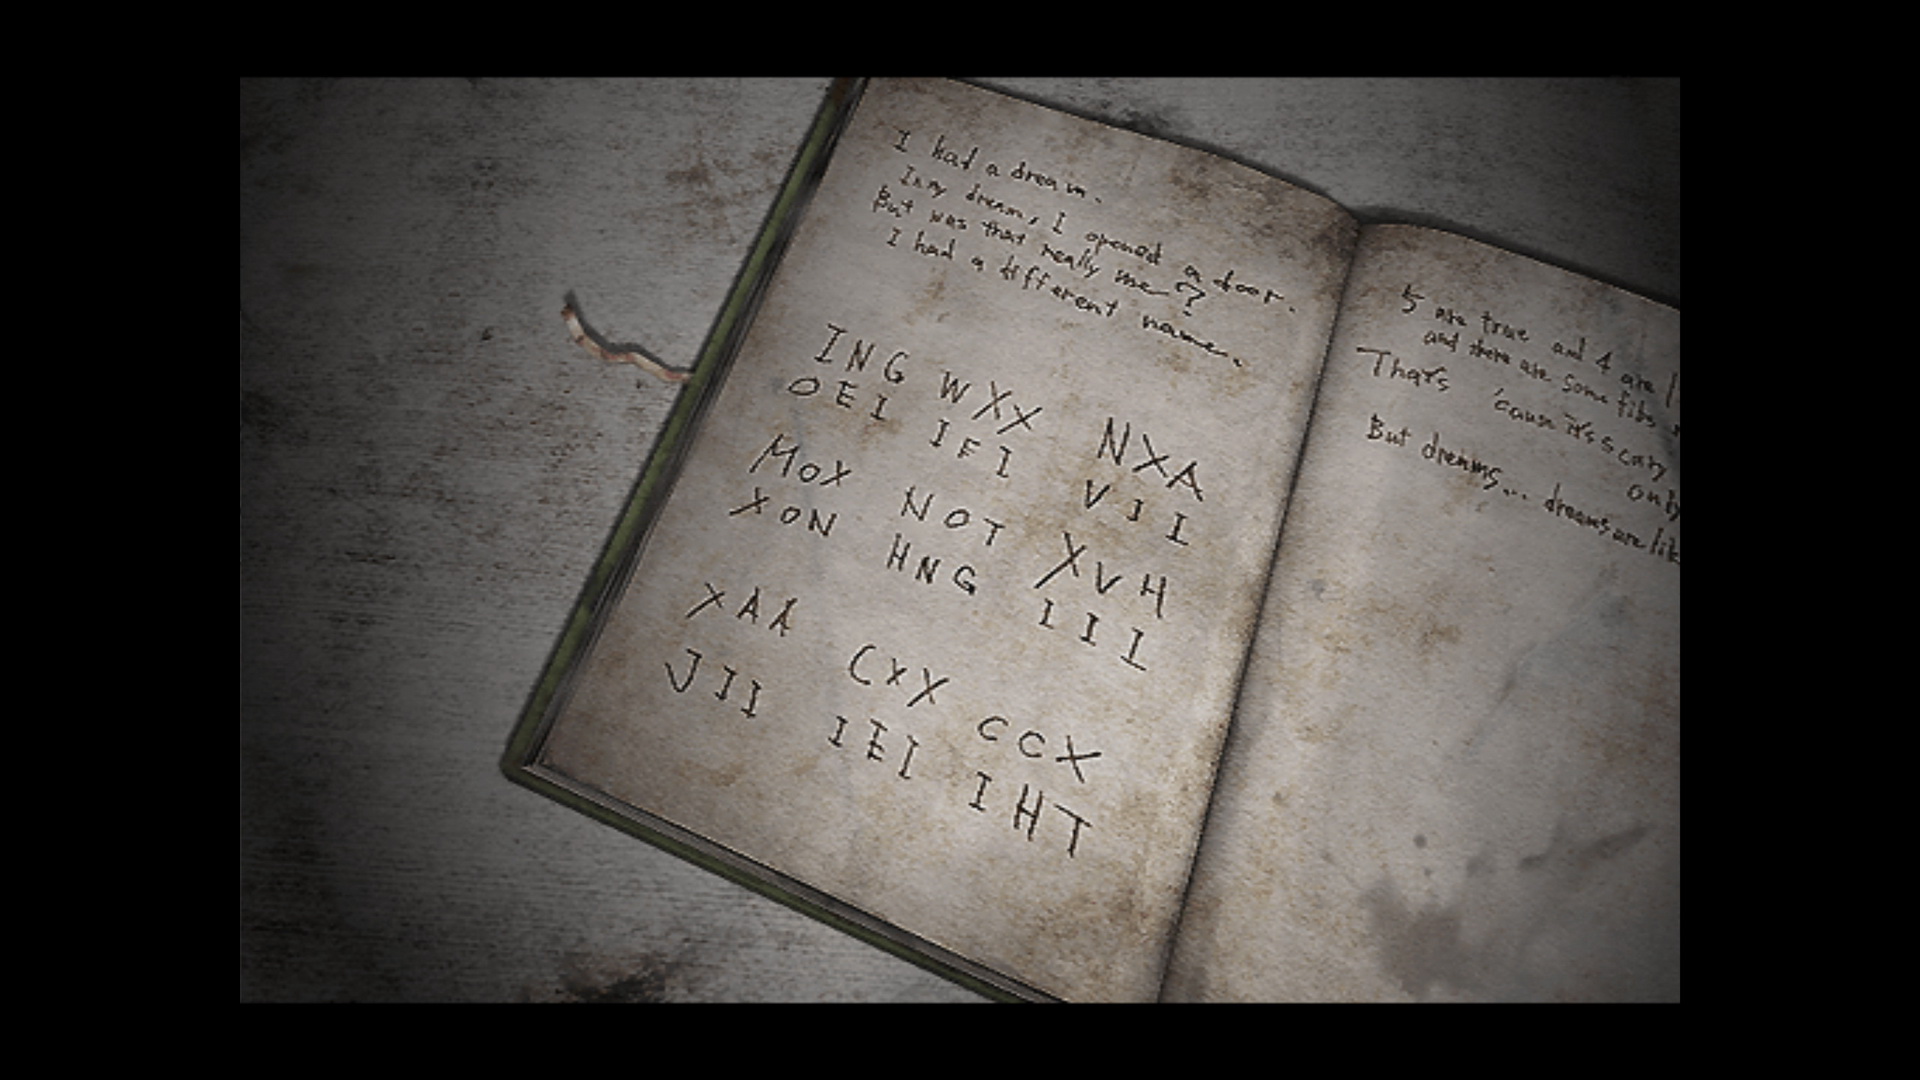
|
I had a dream.
In my dream, I opened a door.
But was that really me?
I had a different name.
ING
OEIWXX
IFINXA
VIIMOX
XONNOT
HNGXVH
IIIXAA
JIICXX
IEICCX
IHT5 are true and 4 are lies–-
and there are some fibs mixed
in with the truth.That's 'cause it's scary to write
only the truth.
But dreams...dreams are like lies,
after all.
The main point of interest here is the chart of nine different sections of letters. What else are there nine of in regards to this puzzle? Nine card slots on the door. So they must represent each slot.
The riddle explains, "5 are true and 4 are lies". What else are there five of? Five cards. So five of these sections represent an individual card while four do not and are simply gibberish. Additionally, "there are some fibs mixed in with the truth." So even the five that represent cards have some trickery mixed into them that we'll have to uncover.
So let's just take a look at the nine-sectioned chart and see what we can learn from it:
ING
OEIWXX
IFINXA
VIIMOX
XONNOT
HNGXVH
IIIXAA
JIICXX
IEICCX
IHT
Anything stand out? You may have noticed roman numerals written on each tarot card, and each slot here (except the middle) also contains roman numerals, albeit with non-numerals mixed in. Those are the "fibs mixed in with the truth." So let's remove any letter that doesn't represent a roman numeral with the following legend as our guide:
|
Legend: I = 1 V = 5 X = 10 L = 50 C = 100 D = 500 M = 1000 |
This is what we're left with. Note that the middle is zero because it doesn't contain any roman numerals. One could argue the O or 0 in that original section remains as the only numeral and thus stands as an absolute zero (while 0 can't be mixed and used with other roman numerals), but there really is no symbol for zero in roman numerals and there's no indication that the original character is 0 instead of the letter O. Instead zero would be the lack of any numerals. But either way, with either method we're left with zero or "nulla" (Latin for "none") for the middle slot.
Now examine your tarot cards in your inventory to similarly find numerals printed on all as listed below. Match each numeral/card up with the chart to identify the corresponding slots for the cards on the door.
|
|
Note that while 0 is not a roman numeral, it is still written on the Fool card and thus matches with the 0 or "nulla" of the middle slot. And what of the four other slots? Remember, "5 are true and 4 are lies". That leaves you with the following solution:
| High Priestess |
Eye of Night |
|
| Fool | Moon | |
| Hanged Man |
After correctly inserting all five cards, the door will unlock.
Beyond the Tarot Door
Pass through the now unlocked door and follow the pathway to and through a set of double doors for a cutscene with Vincent and Claudia. After a series of events, Heather finally gives Claudia some fitting words of wisdom and you'll regain control. It's now up to you to figure out what to do here.
You only have a limited amount of time to act before a potential Game Over with Heather crying out in pain while birthing the God inside her, and if you attack Claudia the same will happen, so there must be another way. Check your inventory to see what you can use.
The Talisman doesn't work and is quite useless as Claudia explains, but what else do you have? Remember reading that book about Aglaophotis in Alessa's hospital room in the church? Remember what that liquid did in the first game? Inside your Pendant is a red tablet that Harry gave to Heather to wear at all times... could it be? Use it to find out.
Things take quite a disturbing turn and Claudia is pulled to the depths below by Valtiel to prepare for the God's birth. All you can do now is jump down the hole and aim to destroy her.
Down below, watch Valtiel assist the God and then it will be time to fight the monstrous creation.
Final Boss: The God (Under Church)
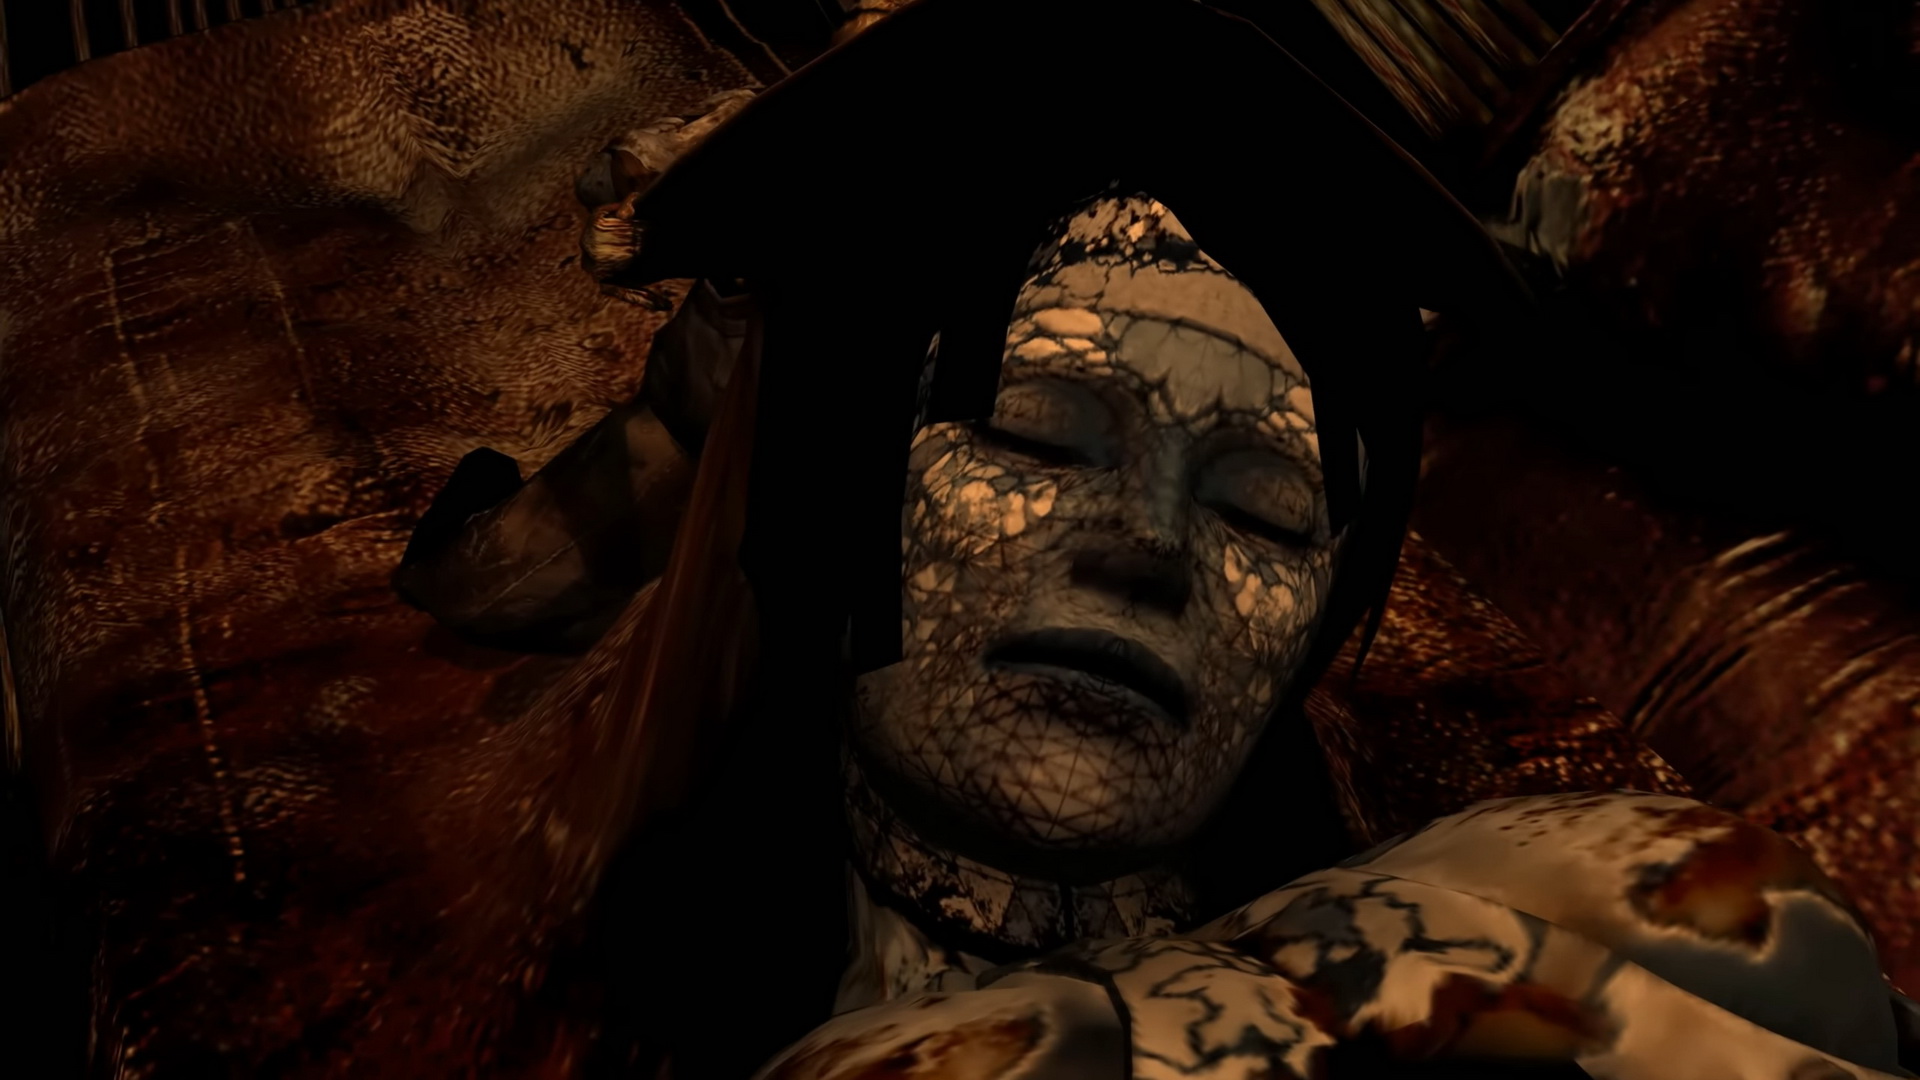
So this is the God, eh? To start things off, the God will be standing upright with a curtain over her face. The Handgun is a very effective weapon in this battle due to its range and volume of ammo, so equip it and fire away until she lowers to her hands and knees. From this position you can attack the God's head either with firearms or a melee weapon, but do note that she will be able to smack you if close enough.
Take a look at the floor to find a very helpful black semi-circle. As long as you are outside the inner part of this marking, the God will be unable to physically smack you, although she can still throw fire your way. Therefore using firearms from behind that line is a fairly safe method.
However, keep in mind you will unlock an extra weapon by defeating the God with a melee weapon. While you may be exposed to her smack attacks, you can also avoid them by not getting greedy and only attacking her 2-3 times before leaving and repeating when there's another window. Once she drops to her hands and knees, wait for her to swing her arm while you're behind the black semi-circle, then go in for two or three thrusts at her head with the Katana, then safely leave. From there, fire more Handgun shots at her from behind the line as you dodge the fire to either side and just keep repeating the strategy.
To be safe for the extra weapon, you may want to restrict firearms for only when the God is standing up, at least after the first couple minutes. The God will only die from the lower position so keep that in mind as you attack her late in the fight.
Do note that in the PC version there is a safe zone to the right of the God's head in the lower position, right by her arm along the low edge wall. Therefore you can wait for her first arm swing while down, then go in for 3-4 thrusts and then strafe to that side wall and she'll swing right through you. Then just go in for another series of thrusts and return to the safe zone before her attack and repeat. Always remember to wait for her first arm swing once she lowers to that stance before rushing in to attack her. Simply repeat the Handgun fire from the higher stance to bring her down each time.
Sadly this safe zone does not exist in the PS2 version so you'll have to defeat her the more traditional way. That includes strafing or running around from side to side to avoid her fire attacks, which spread from the semi-circle line and divert outward to hit you. She'll telegraph the fire attacks by flicking her arm, so get moving as soon as you see this action.
Note that at first the fire may divert outward only once and move rather slowly overall, but it'll speed up and divert two or three times later on so be sure to keep on the move until the fire has stopped flowing. After, take the open opportunity to fire at her and get ready to move if she dishes out more fire. If you don't react just as her hand moves, it may be too late and you'll get hit, so do stay on top of it and be sure to heal when hit since it's rather damaging.
After dodging the fire attacks, the God should stand back up, which is when it's time to fire more Handgun Bullets to bring her back down. This gives you another opportunity to go for Katana swings after she first swings her arm upon dropping, or you can safely fire from behind the semi-circle if strictly using firearms.
While the Handgun is best or most efficient for shooting the God while standing, the Shotgun and Submachine Gun can offer more power per shot or second so go ahead and use the ammo you've got. While getting close with the Shotgun is normally the way to go, it opens you to physical attacks, so consider staying behind the line or limiting your closer range blasts. And be wary of the Shotgun's slow recovery time so you can escape in time from any fire attacks, which effectively makes the Handgun the safer option.
Do stay on top of your health in this fight since she may hit often and quite hard as well, especially if you're getting hit by the fire attacks. The Bulletproof Vest remains as an option to limit damage taken, but it does limit your speed quite a bit and removes your ability to strafe, so it's really not ideal for the fire.
The God's attacks:
The God has several types of attacks that are all very powerful. A swing of her arm while standing is the easiest to avoid by simply avoiding her from up close in that stance. While on her hands and knees, she can perform a dangerous arm swing (that does not reach beyond the semi-circle) or a headbutt if right by her face. Approach her head from the side to avoid the latter while attacking, and run or strafe behind the semi-circle after attacking to avoid any counters.
Lastly the God can and will often throw fire across the arena when you're behind the semi-circle while she's on her hands on knees, and this inflicts a lot of damage. Always be ready to bail as soon as her hand moves and you should be able to avoid it. Note that the fire increases in volume, spread and speed as the fight goes on so it'll get harder to avoid later on.
Keep in mind the God will die from the lower position, so be sure to attack her with a melee weapon in that stance later in the battle if you want to unlock the extra weapon, which is worth it. After dealing enough damage, the mighty God will drop to the floor. Mission accomplished.
The End
Congratulations on beating Silent Hill 3. Enjoy the short cutscene of your ending, which will always be the Normal ending on your first attempt. Check the Endings section to learn how to achieve the other endings.
After the credits with a very familiar yet new song, you will see your ranking screen and be informed what extra items you've unlocked. Refer to the Unlockables and Secrets section for more information on all extra content and check the 10-Star Ranking Guide for helpful tips on how to improve your ranking.
The Speed Walkthrough can serve as a helpful reference while going for the other endings and unlockables.
| 13. Lakeside Amusement Park |