Mini-Puzzles
This section covers all the briefer puzzles or mini-events that are more about understanding which items to use, finding key codes, or performing some action rather than solving a riddle. |
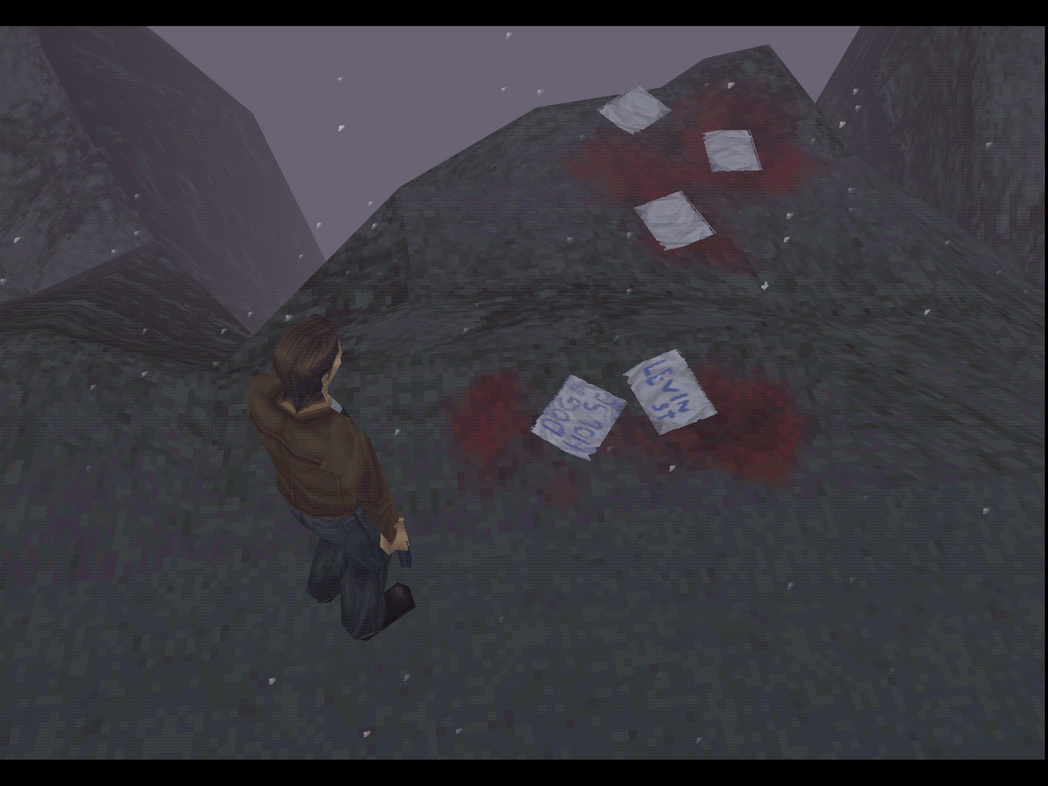
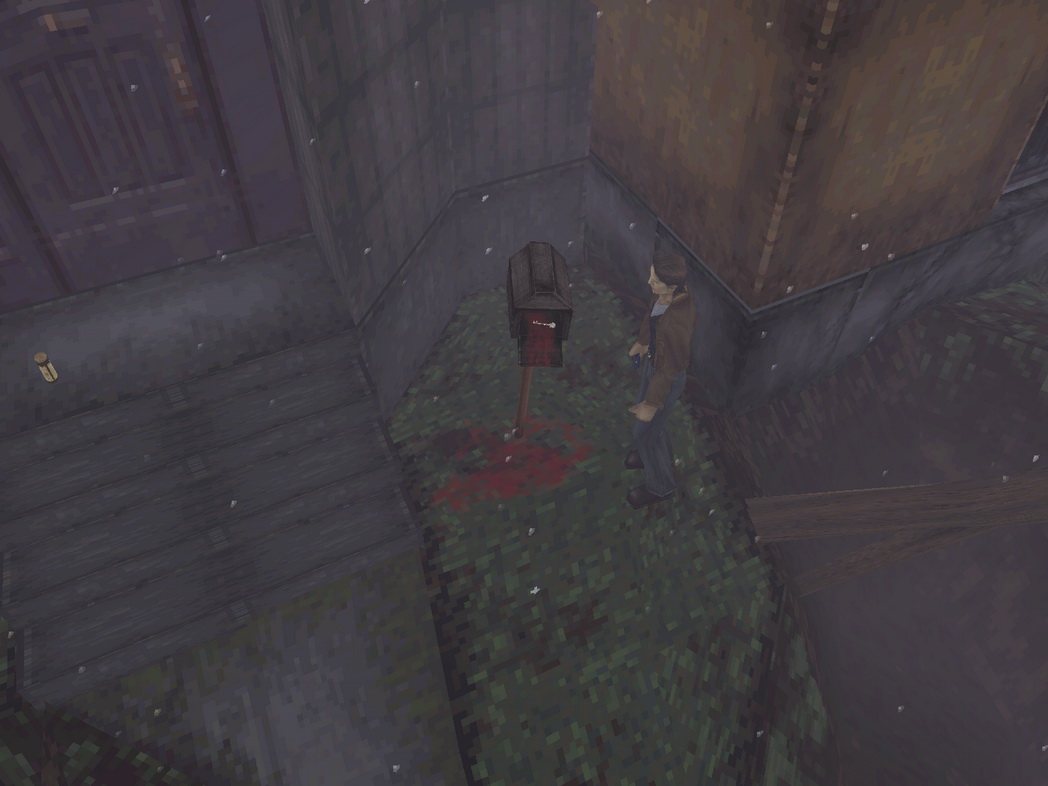
Doghouse (Old Silent Hill)Requires: A Note "Doghouse": Among the papers by the destroyed west end of Matheson Street.
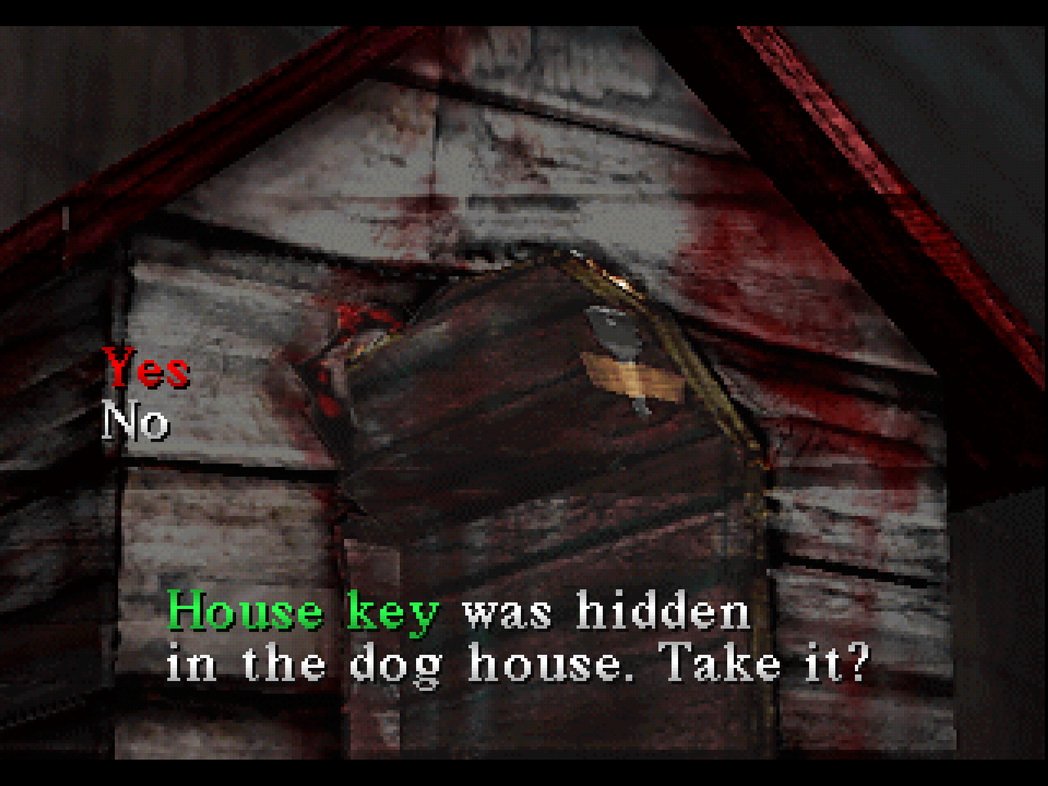
Harry finds a doghouse in front of a locked house on north Levin Street but reports there's nothing interesting inside. Thing is... there actually is, but he doesn't know it. In order to clue him in, you must find the note mentioned above, which is a short stroll to the south from the doghouse. Once found and you return to check the doghouse, Harry will look more closely and find the House Key taped to the roof inside |

Keys for Eclipse (Old Silent Hill)Requires:
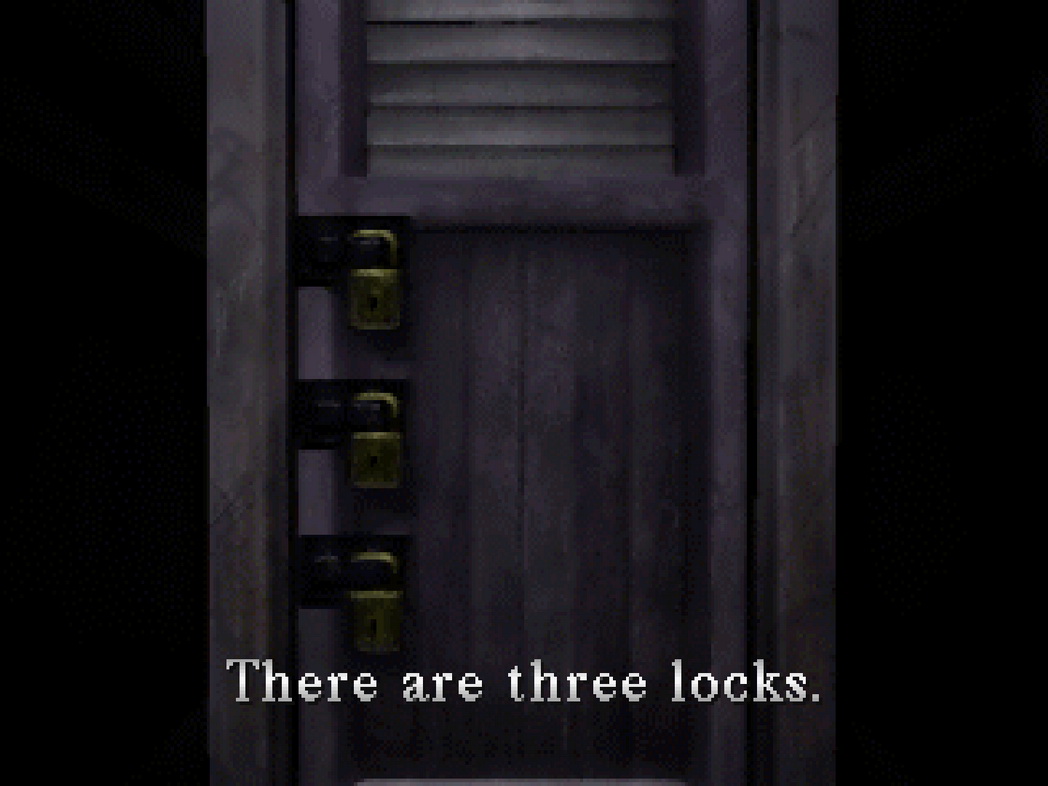
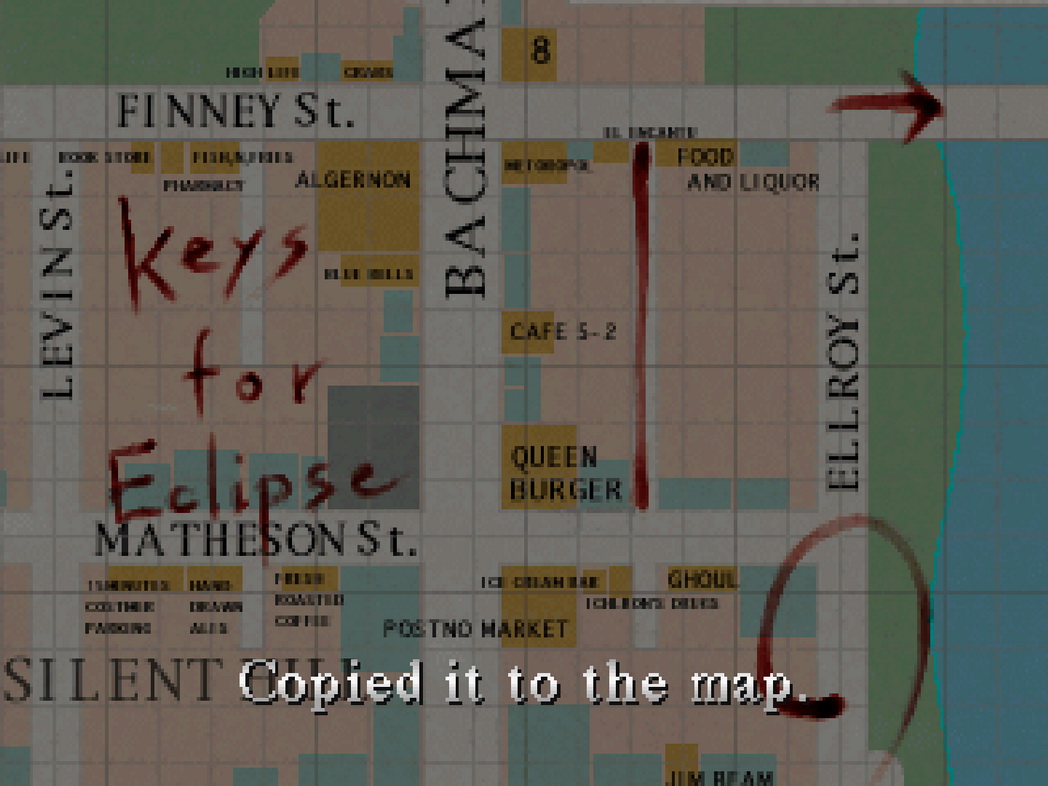
The back door of the Levin Street house is locked with three padlocks. On the wall beside it is a large posted map with "Keys for Eclipse" written on it, along with three marked locations. One key will be found at each of the locations, which Harry will mark on his own map. Find all precise locations above.
Once found, return to the backdoor and check it to use all three keys back to back and proceed to the backyard where you'll now have a route to the school |
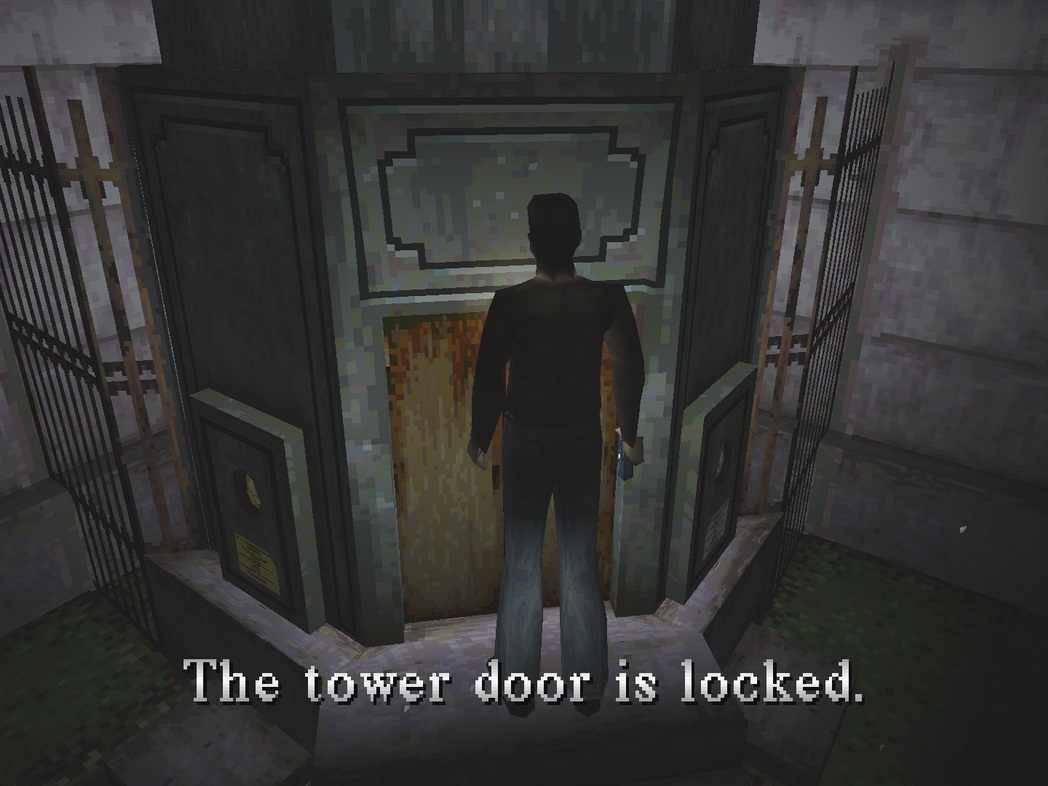
Clock Tower Riddles (School)Requires:
Upon first arriving in the Reception you'll find three bloody memos each with time stamps and directions. Each memo instructs you what to do according to a certain time which correlates to what's displayed on the courtyard Clock Tower. Simply go take a look at it yourself to see the time whenever desired, but we'll cover it here.
With the clock reading 10:00 at the beginning of the school, this is your first instruction:
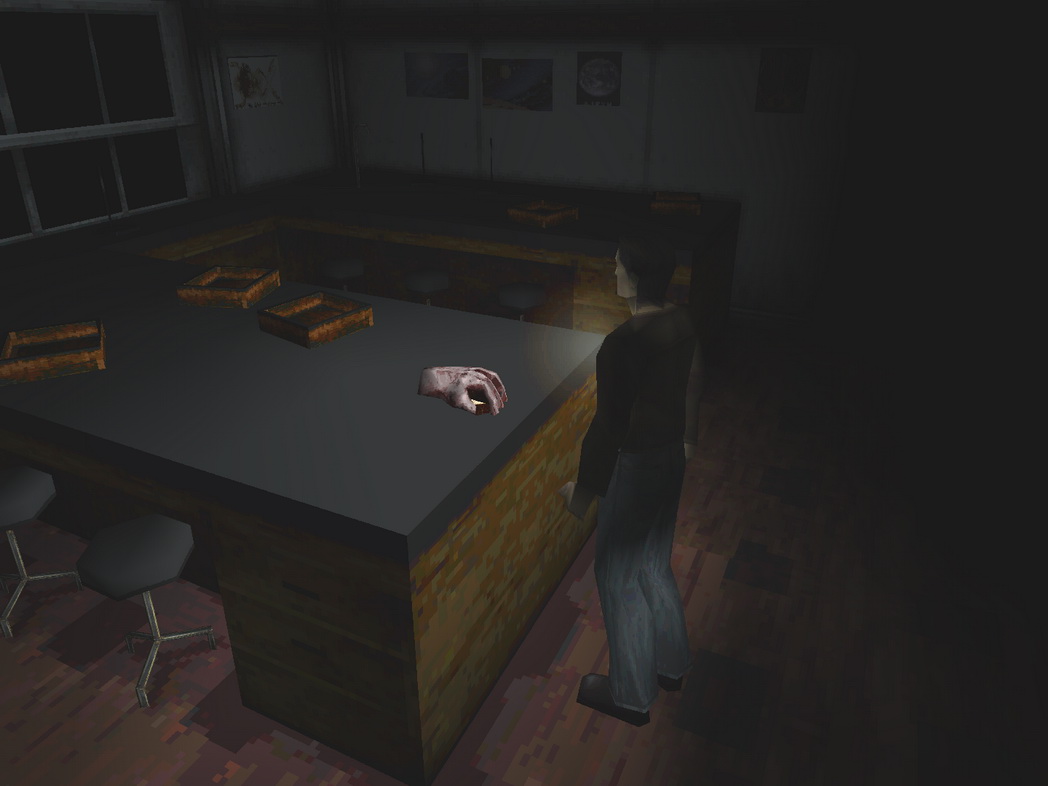
Head up to the Chemistry Lab on 2F where you will find the old man's palm exactly as described, but first you must find the sage's water. That is the Chemical, found in the next door Lab Equipment Room. Pour the Chemical on the old man's palm to get the Gold Medallion. Now insert the Gold Medallion into the left side of the Clock Tower.
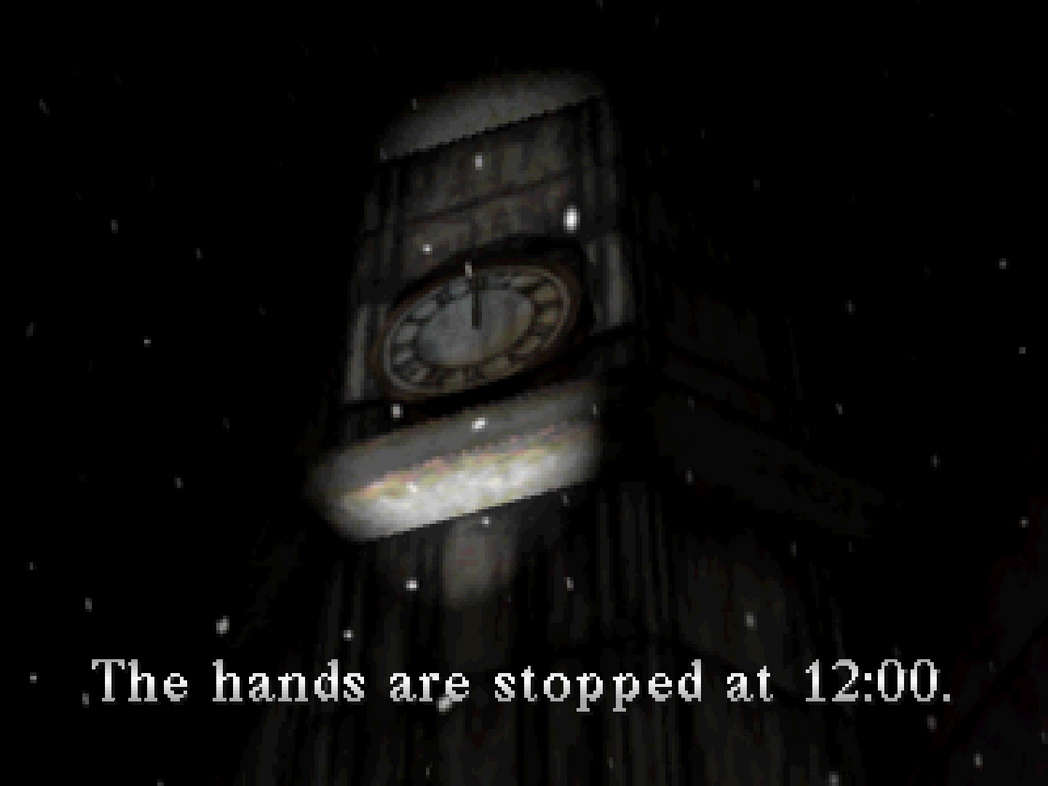
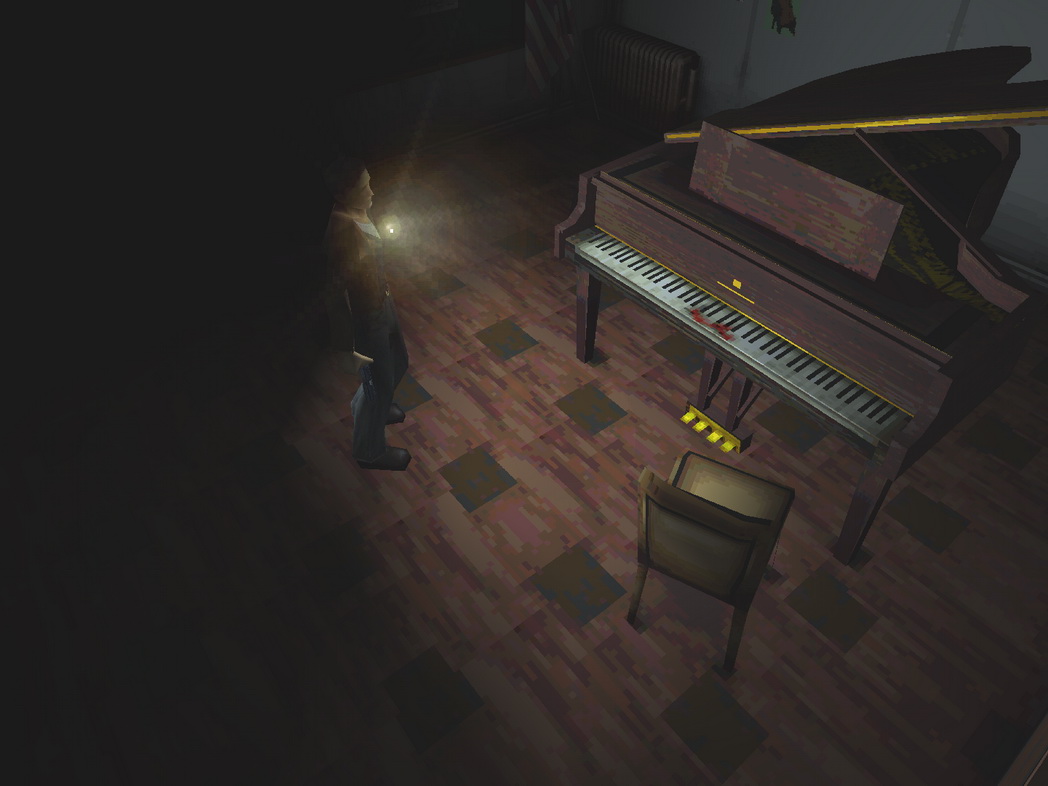
The time will change to 12:00. Therefore your next instruction:
Now head to the Music Room at the other side 2F. The piano key cover will now be open, allowing you to solve the Piano Puzzle (find it in the main section above). The Silver Medallion will fall to the floor after pressing the five broken keys in the right order. Descend to the courtyard from the bottom right staircase on your map, unlocking all doors on the way for an easier route later. Insert the Silver Medallion into the right side of the Clock Tower.
With the time now 5:00, here is your last instruction:
Sounds like turning on the power. Take the bottom right stairs to the basement (which is why you should've unlocked the route earlier) and enter the Boiler Room. Turn on the boiler and return to the courtyard where you can now enter the Clock Tower. |
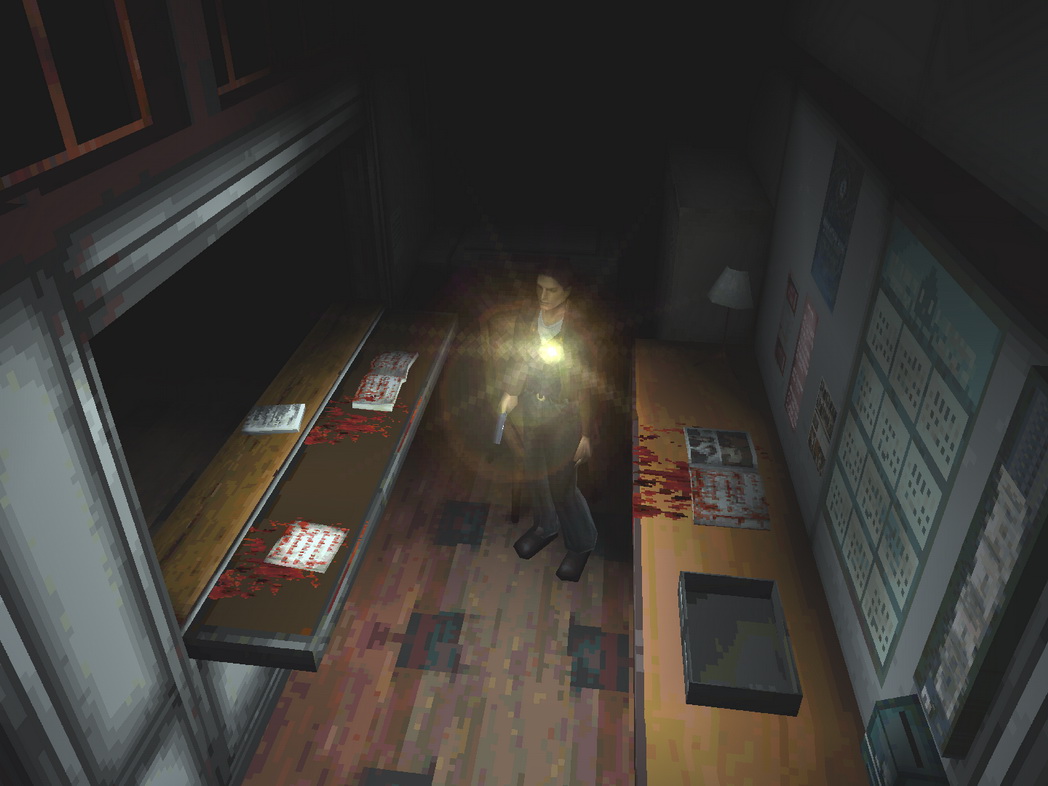

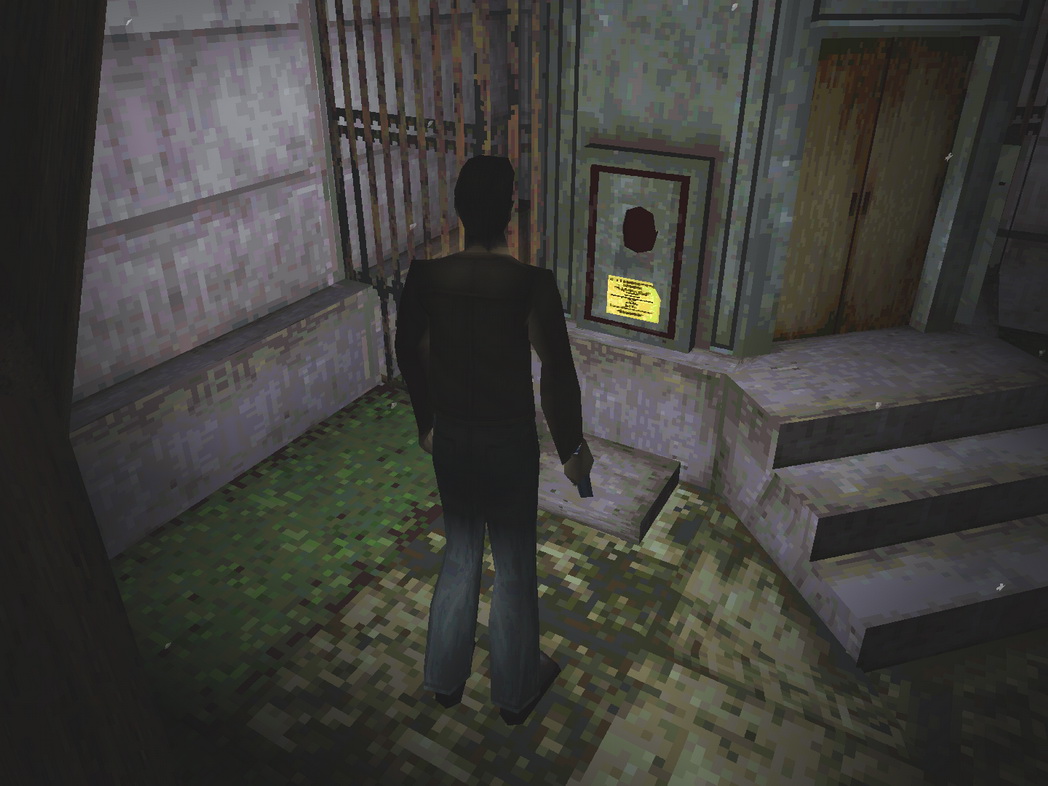

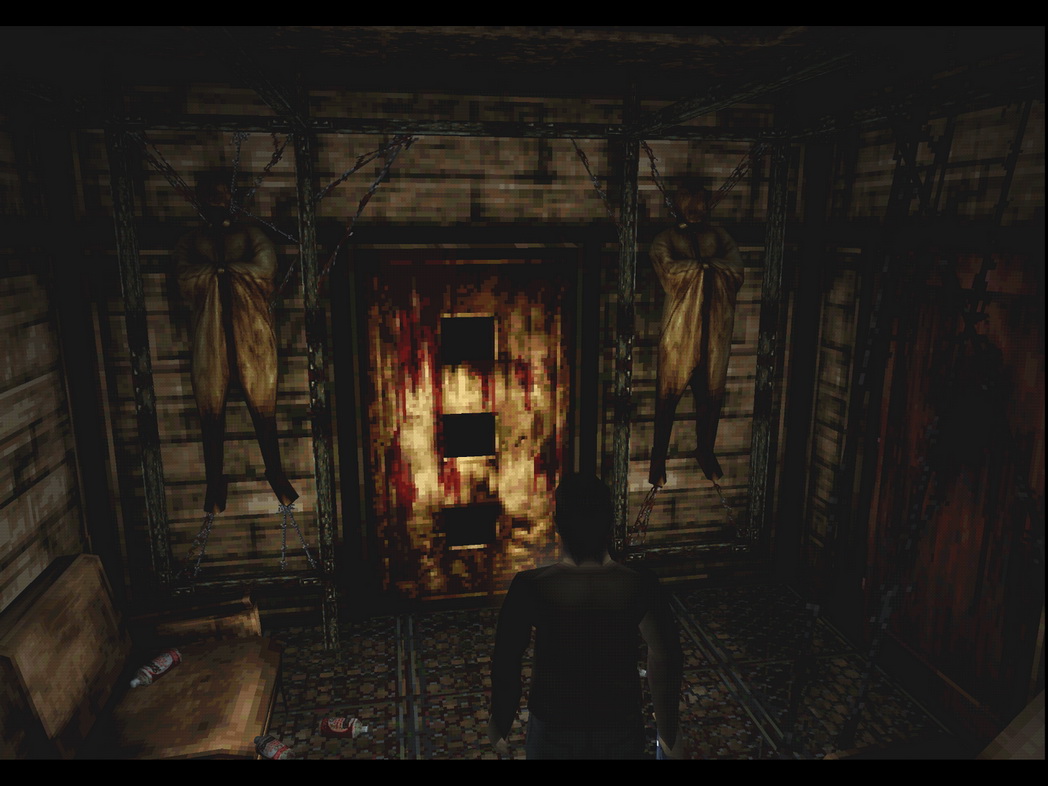
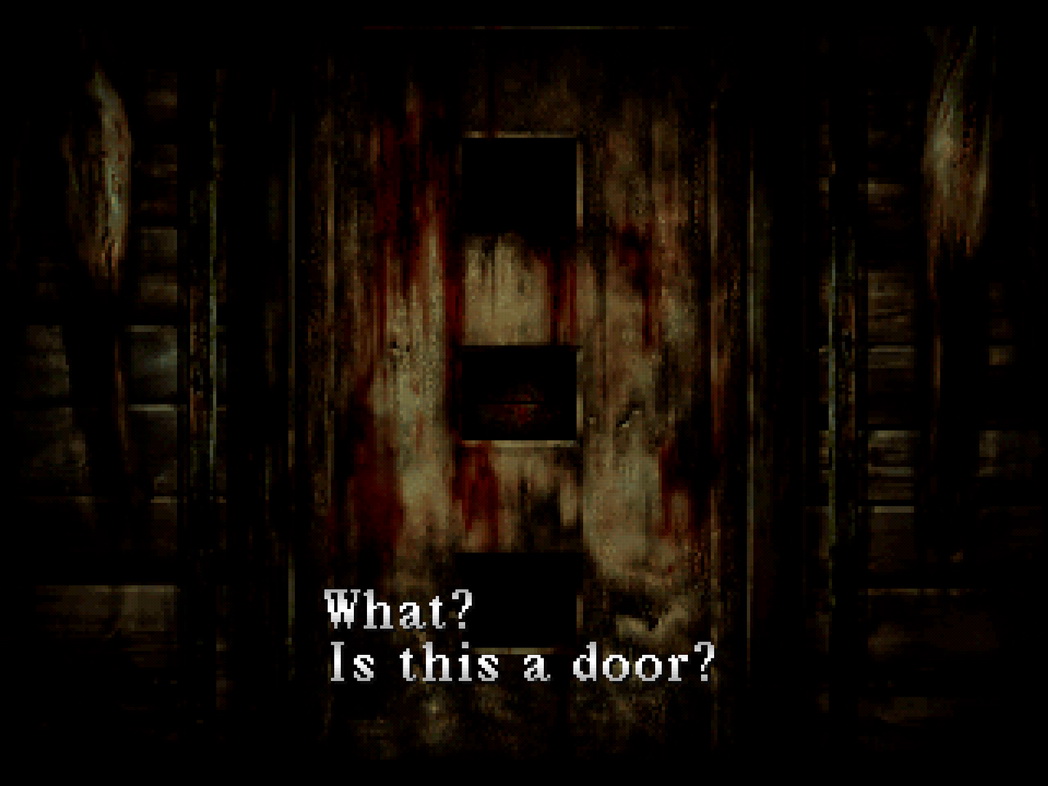
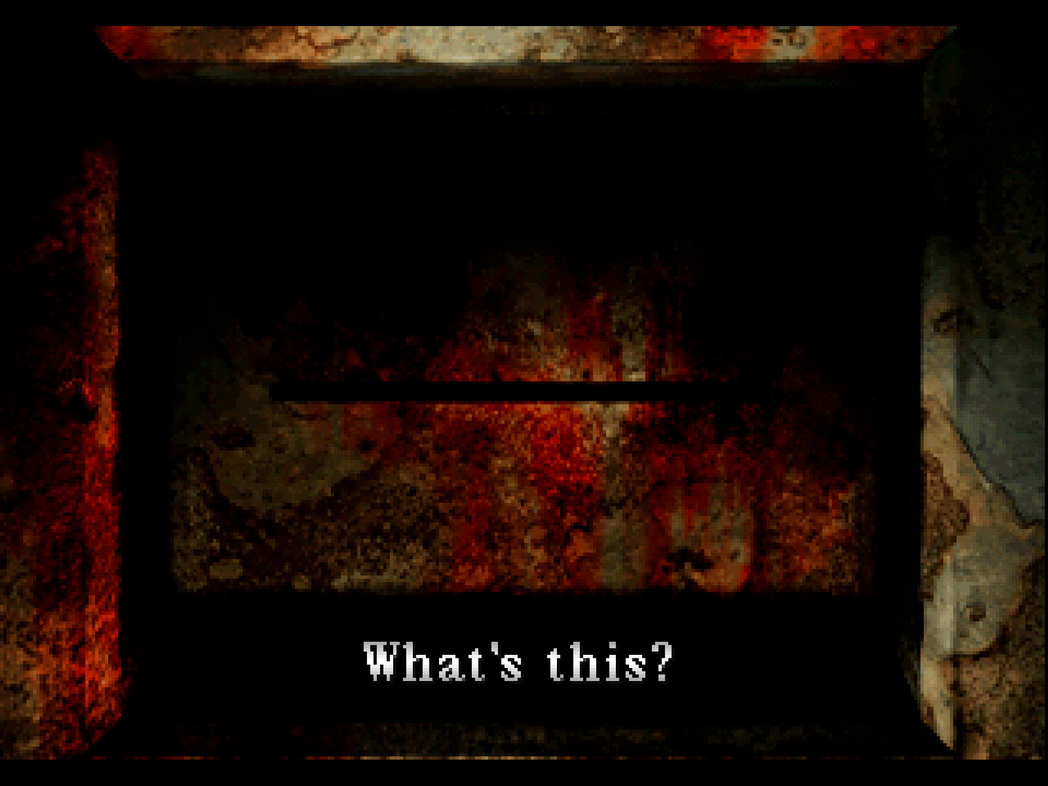
Door with Thin Slot (School)Requires: Picture Card: On the table in the upper Classroom in the first floor right hall on your map.
In the room behind the reception you'll find a door (and room) that looks just like the painting you saw in this same room in the normal school. If you check it you'll find it has no doorknob but instead a thin slot. Check your inventory and you may find an item that looks exactly like the door. Use the Picture Card to open it. Find its location above if you don't have it yet. |
Key in Drainage Ditch (School)Requires: Rubber Ball: On the table inside the Storage, first floor top hall.
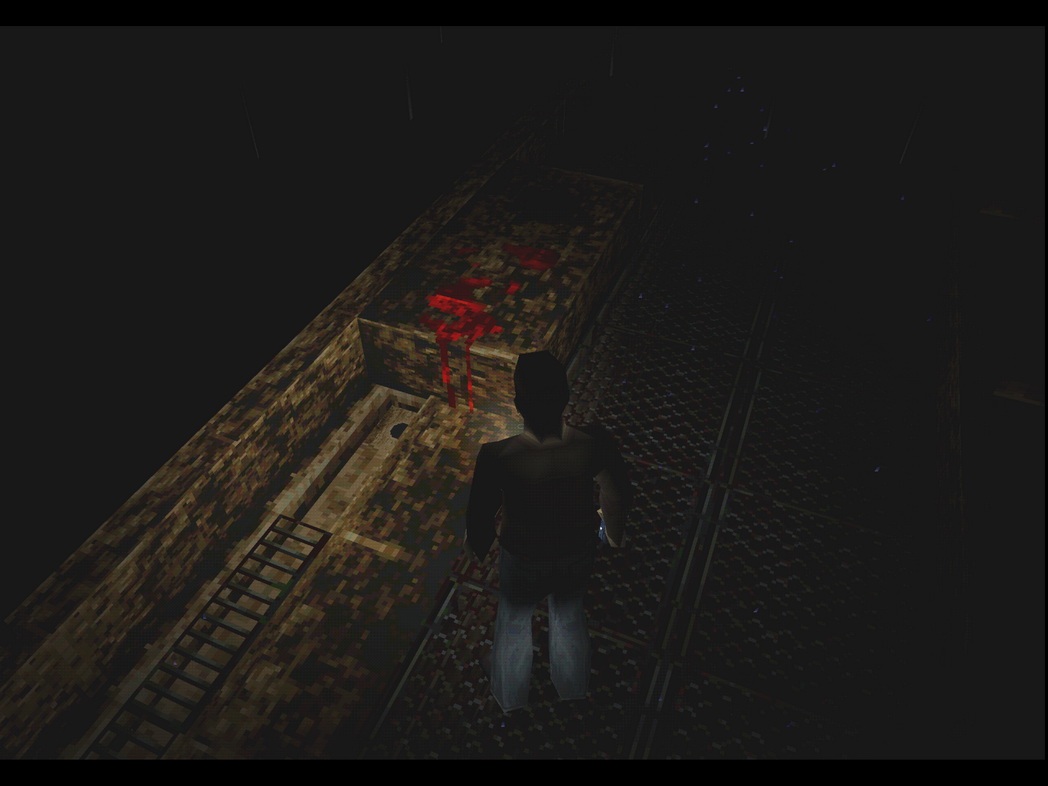
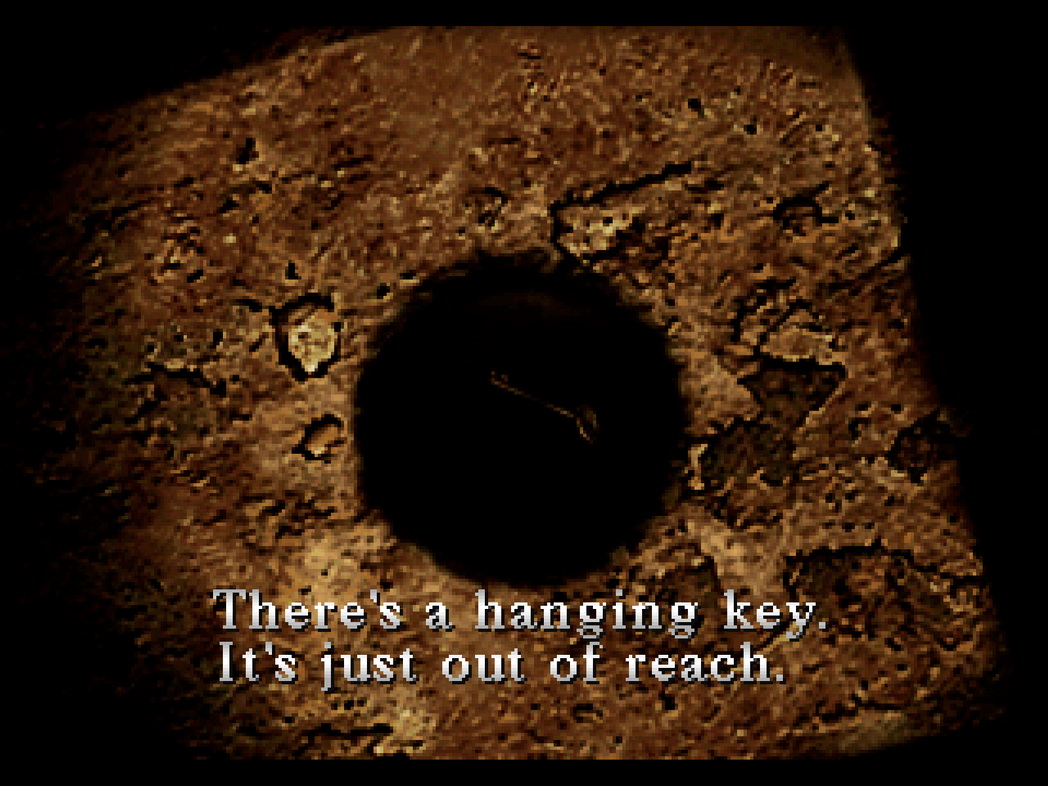
On the school roof you will find a drainage hole near splotches of blood. Harry notices a key hanging inside but cannot reach it. If you try turning the drainage valve nearby, the water flows towards it but falls down another hole before arriving at the far hole with the key. Therefore you must find a way to plug up that hole. Turn to your inventory with a creative mind... how about the Rubber Ball? It fits perfectly into the hole. Now turn the valve and the water will reach the key, which will be gone now if you check the other hole. But where did it go? If you refer to your map, you might be able to deduce that it might somewhere in the courtyard if it just fell down, so check there. If entering the courtyard from the top doors on your map, take a left and corner immediately around the stairs to find the filled drainage ditch and the Classroom Key inside it. |
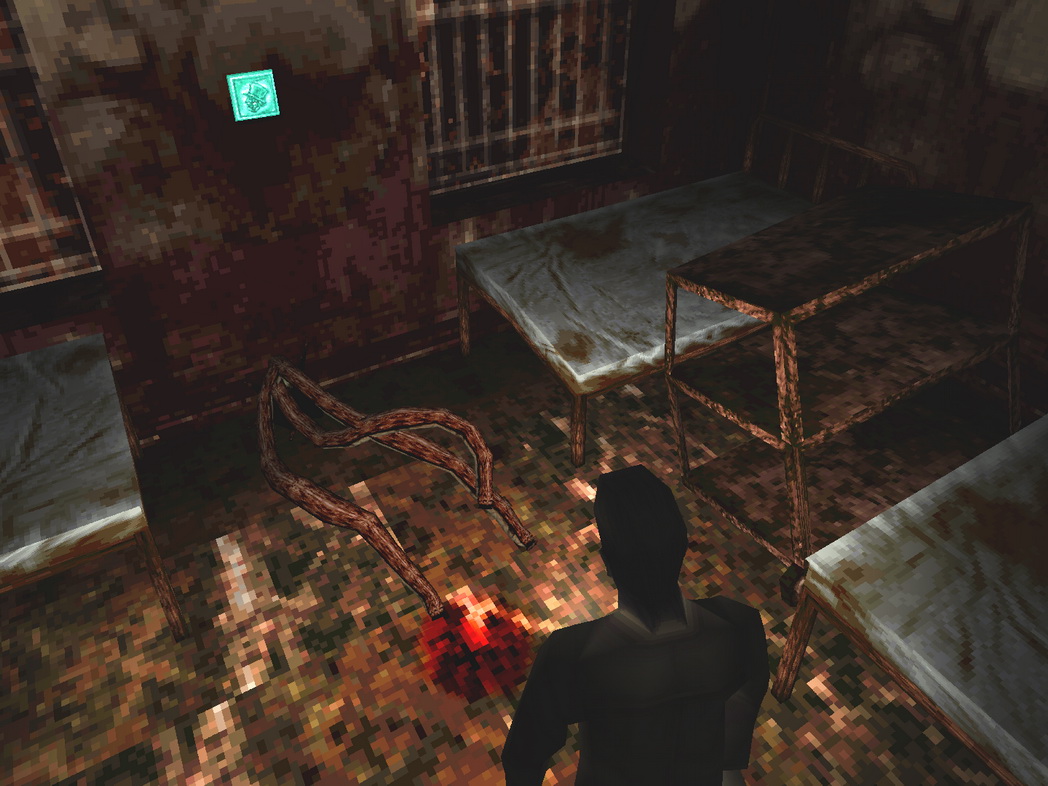
Tentacle Monster (Hospital)Requires: Blood Pack: On a shelf in the Storage Room in the east 3F hall.
Inside room 204 is a plate on the back wall, but it's blocked by three monster tentacles that prevent Harry from reaching it. Therefore you must find a way to distract it. Since a small pool of blood already has their attention, why not give them a real treat instead? Open your inventory and use the Blood Pack. Harry will toss it to the left and they'll flock right to it. Now you can easily reach the Plate of "Hatter". |
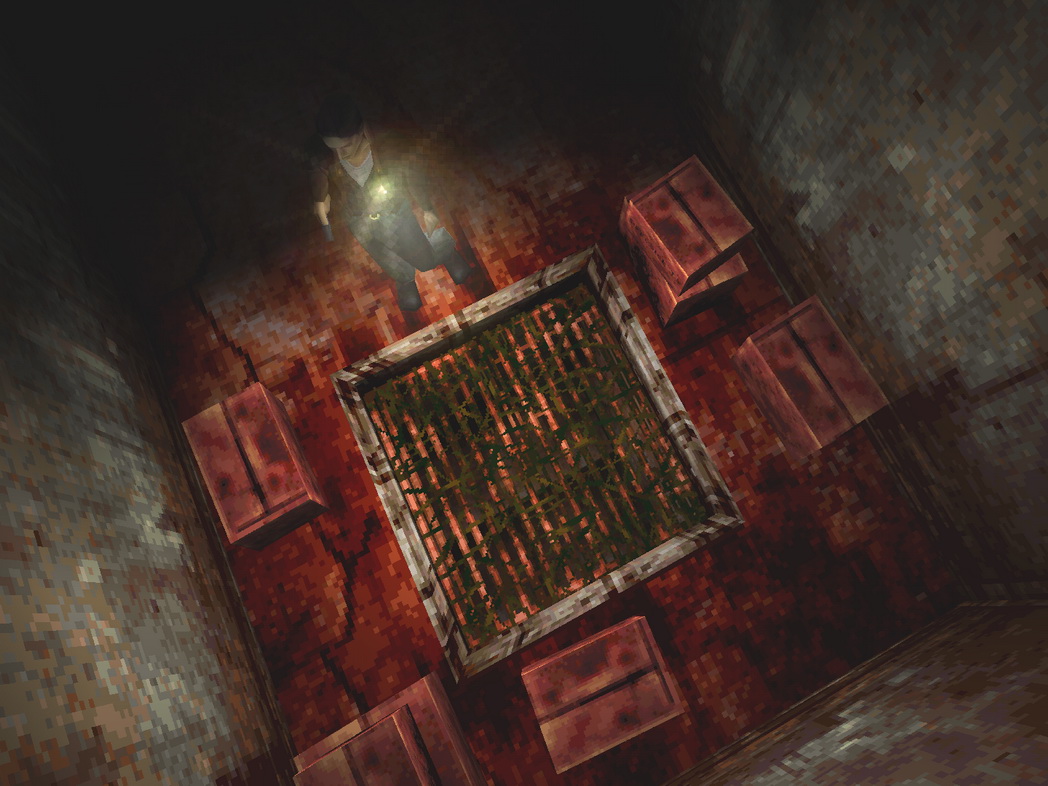
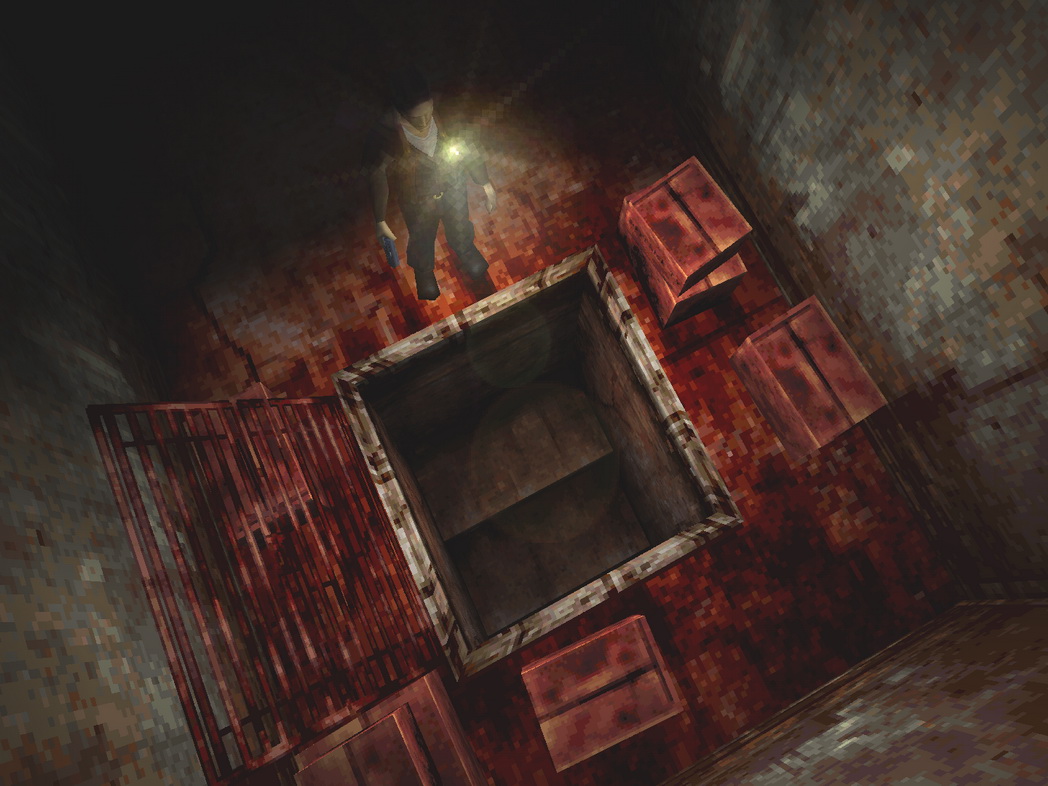
Basement Vine Hatch (Hospital)Requires:
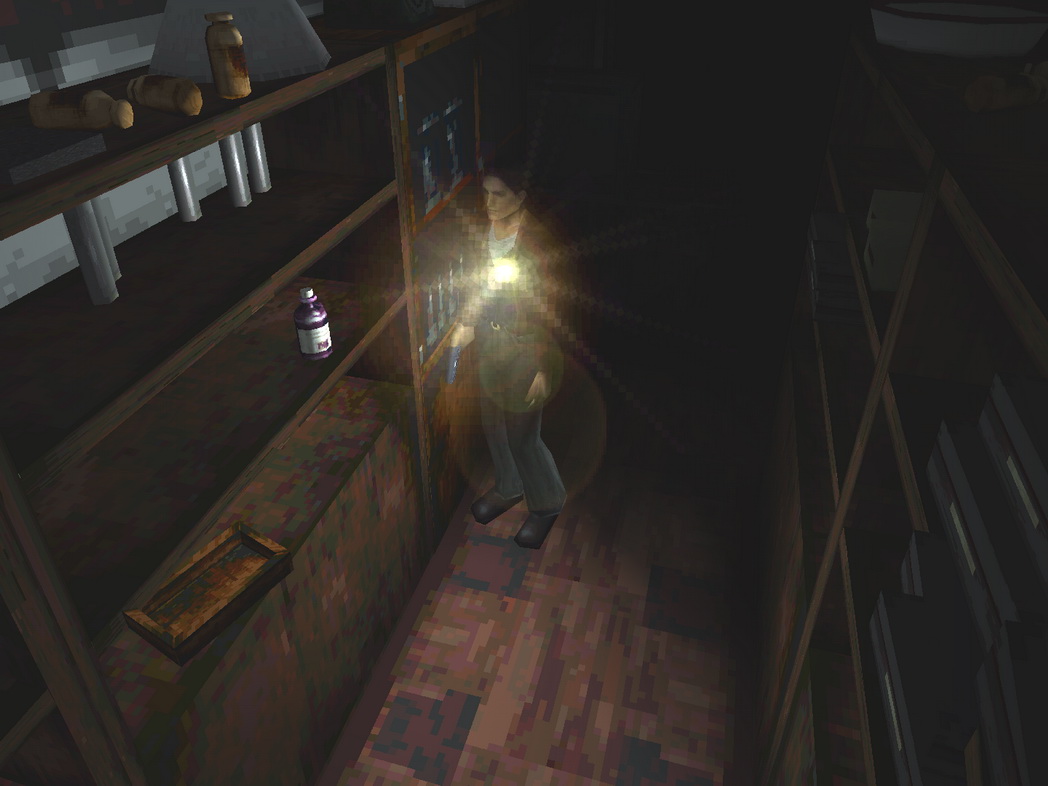
In the hidden back room of the basement Storeroom you'll find a series of vines covering a hatch. It cannot be opened as is so the vines must be destroyed somehow. You may think of the Lighter and Harry will try it, but it's not enough to burn the vines outright. But you may remember something else you picked up that may help. First pour the Disinfecting Alcohol on the vines, then use the Lighter to burn them away. That'll do the trick. |
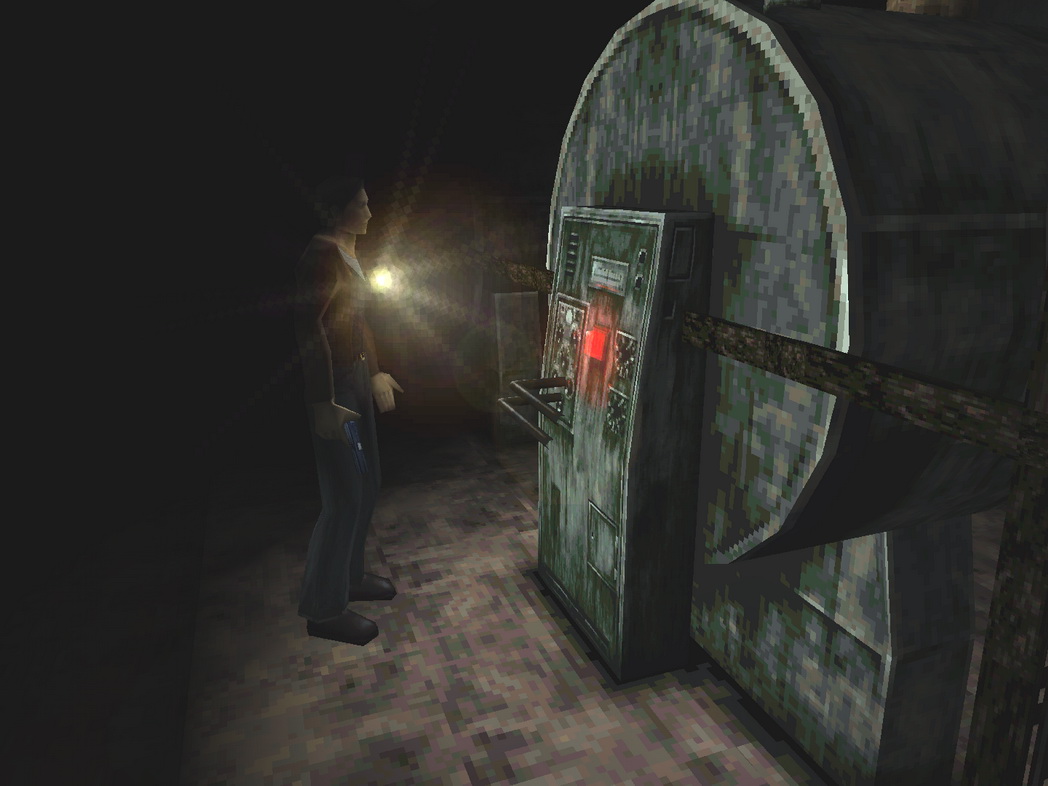
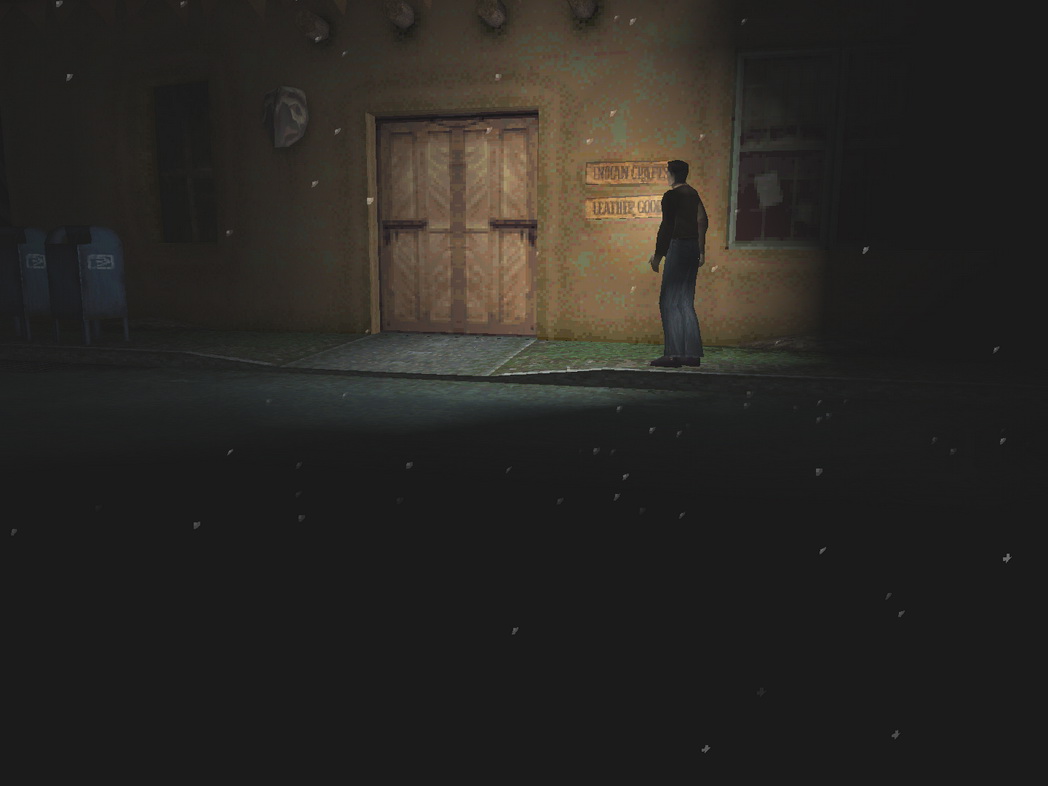
Indian Runner Keypad (Resort Area)
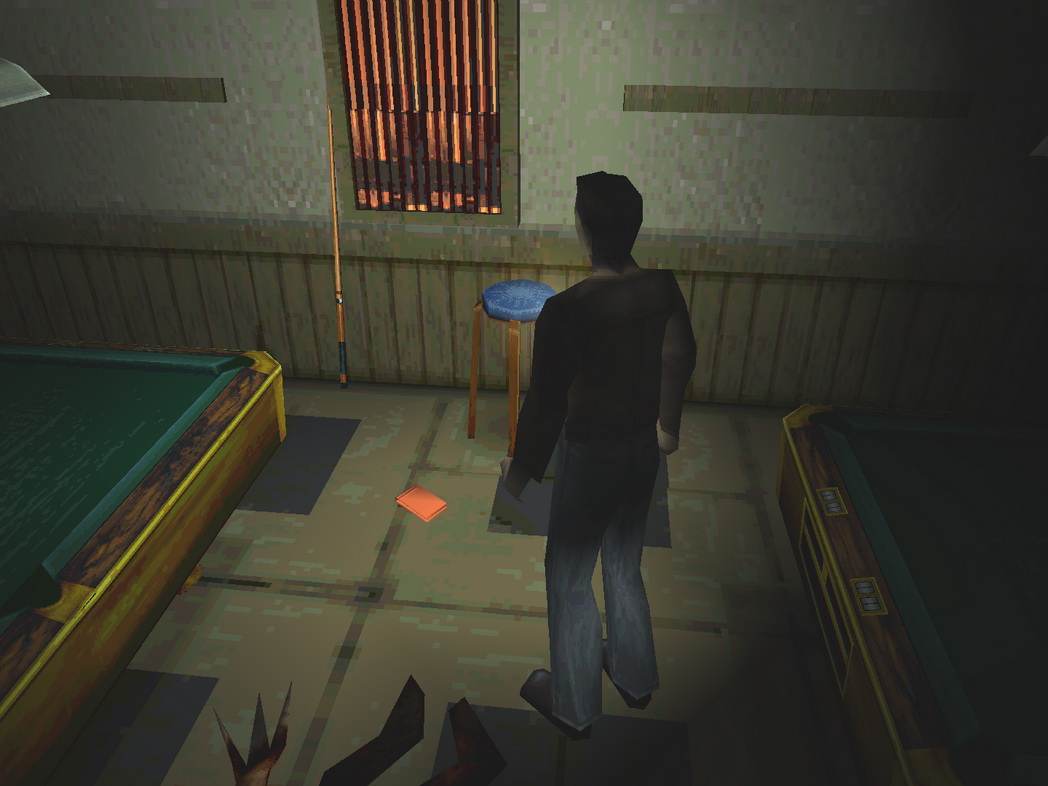
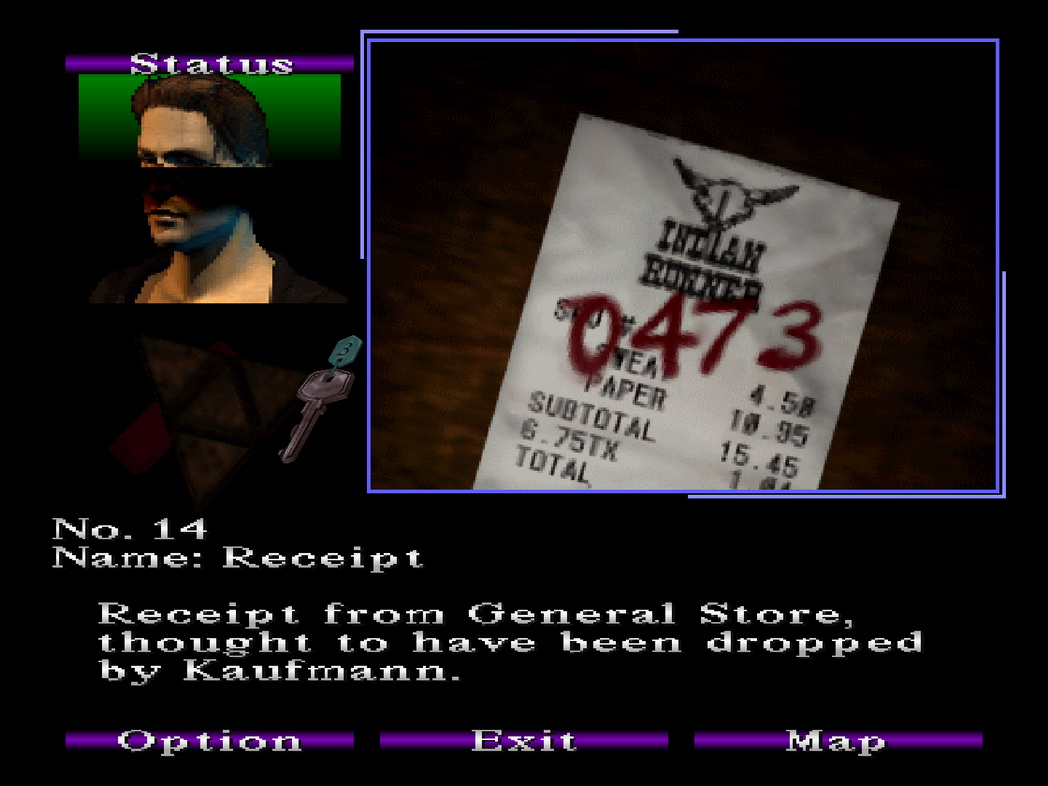
At the east side of Weaver Street is the entrance to Indian Runner but it's locked by a keypad. If you saved Kaufmann in Annie's Bar, you may have found his Receipt between the billiard tables. Take a good look at it to see it's a receipt for Indian Runner and it has 0473 written on it. Enter that code into the keypad to unlock and enter the store. Doing this is part of an optional quest that, if completed, will award the player with one of the Good endings at the end of the game. Note that the Receipt is not required on subsequent runs since it's the same code every time. In fact, the entire visit to Indian Runner is also optional within its own optional quest on subsequent runs since the code posted behind the counter will be the same as well. |
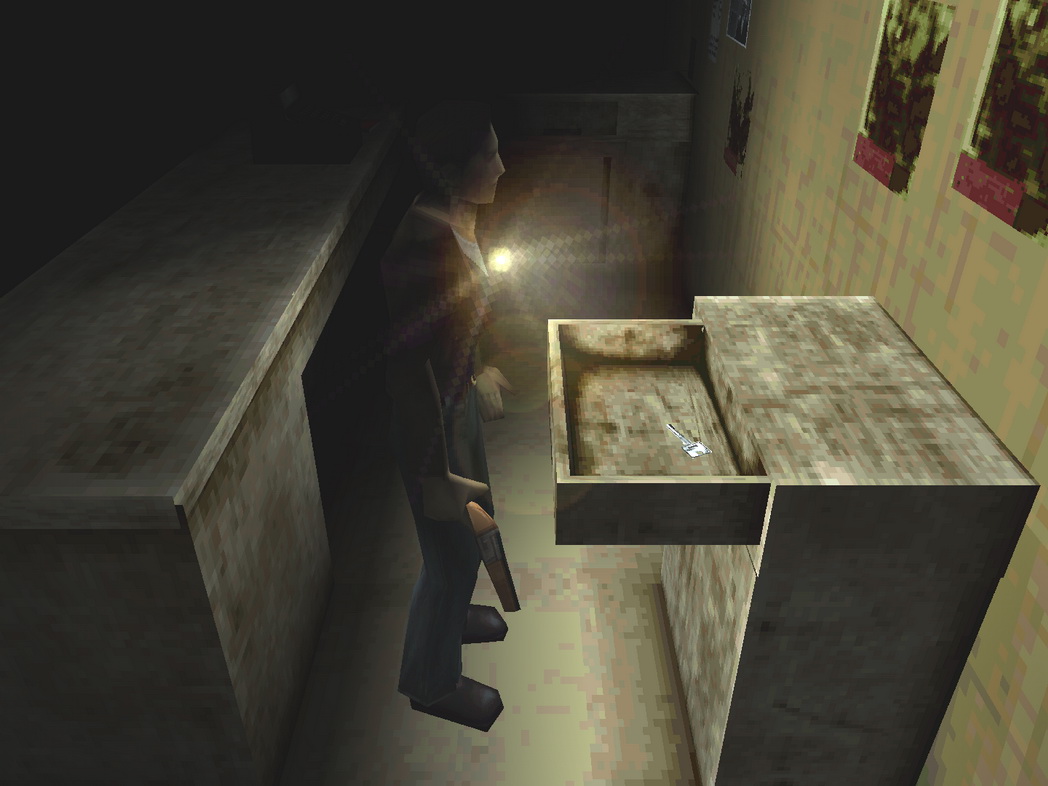
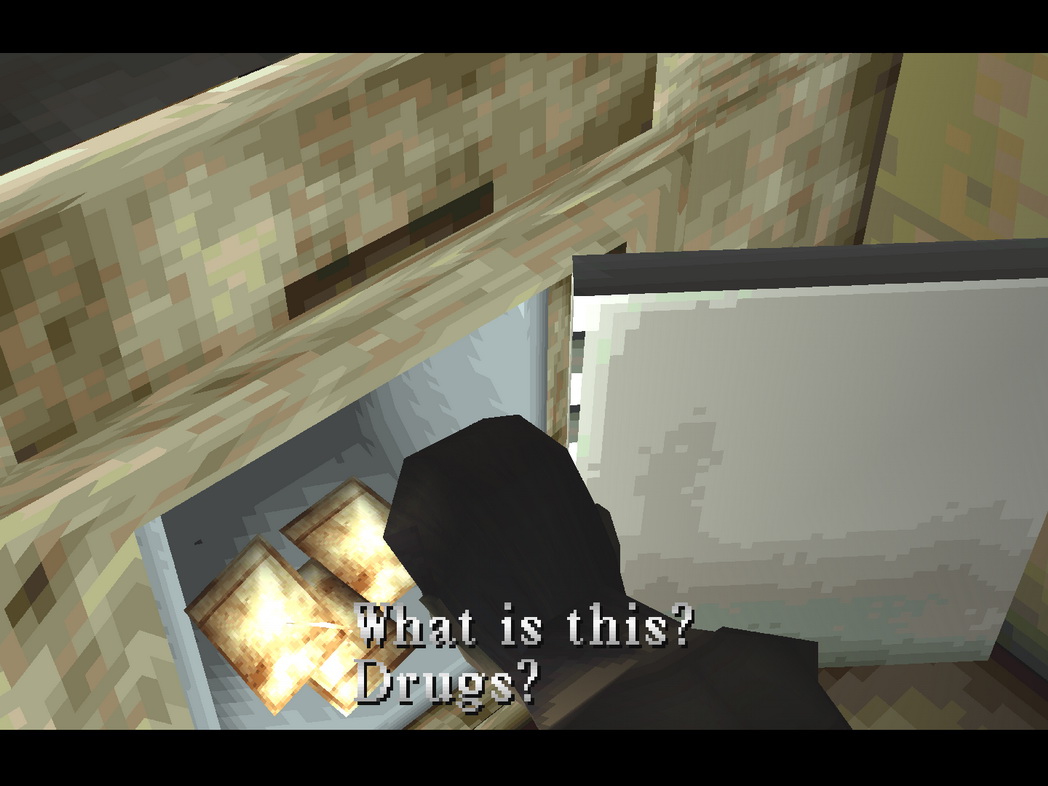
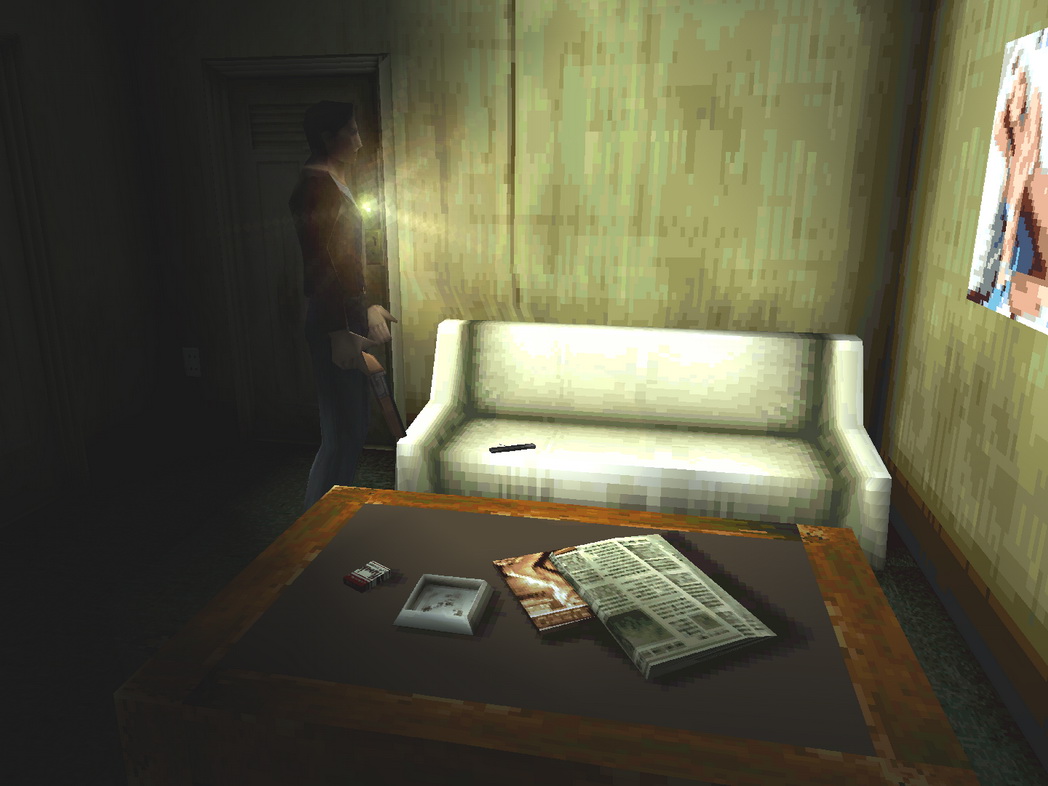
Indian Runner Safe (Resort Area)Requires: Safe Key: In the top shelf of the nearby cabinet.
Firstly, opening this safe is entirely optional and contains no items inside. Instead its only purpose is to fill in some of the story, along with the memos you'll find in Indian Runner and Norman's Motel. To open the safe, find the Safe Key in the drawer a few feet away from it and use the Safe Key from your inventory. Inside are a bunch of white packets of drugs. So this is what the the mystery man in all the memos was running... |

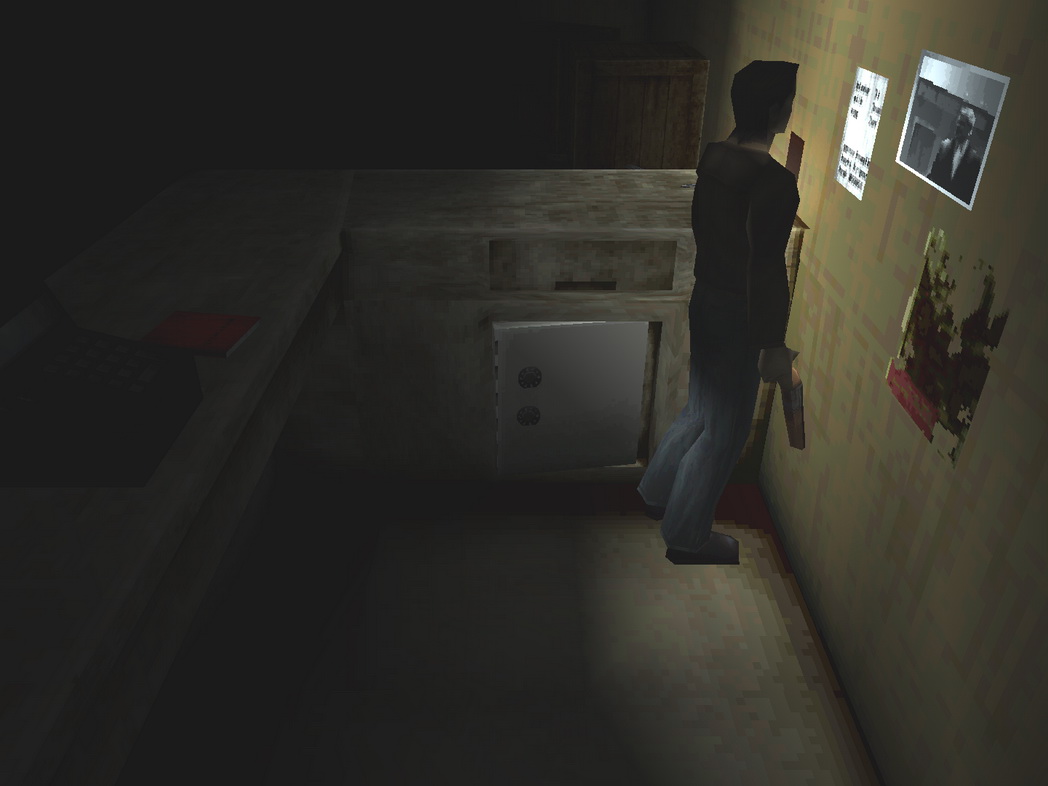
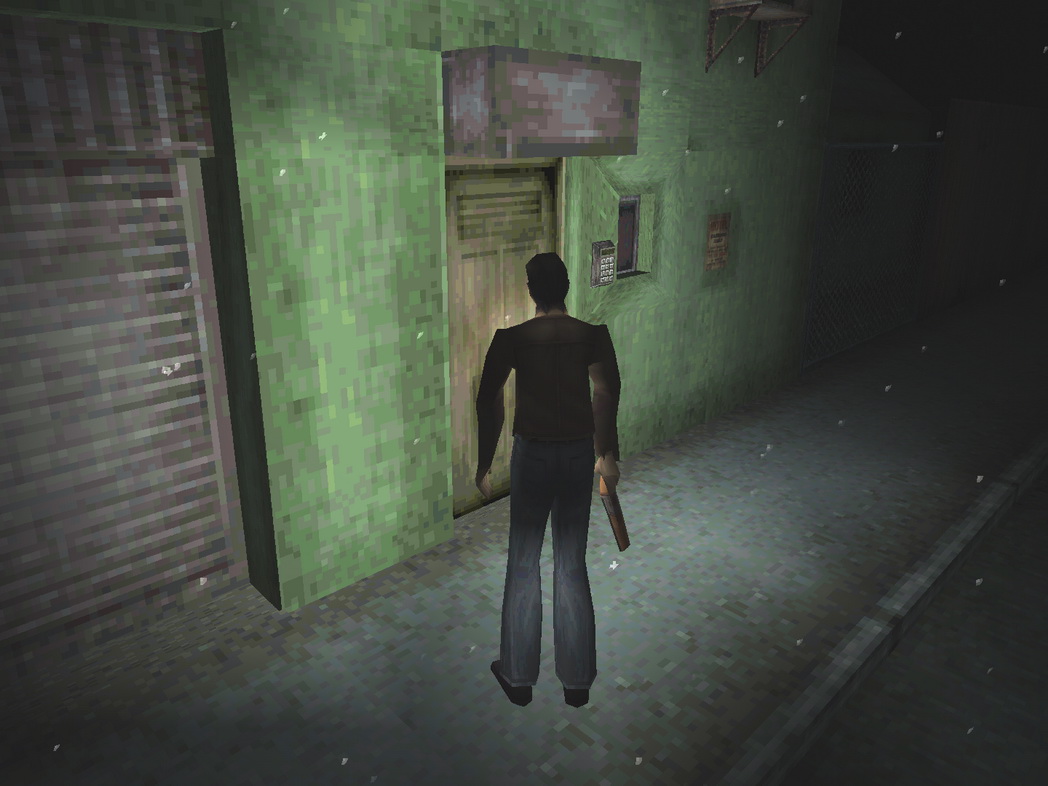
Motel Back Door Keypad (Resort Area)
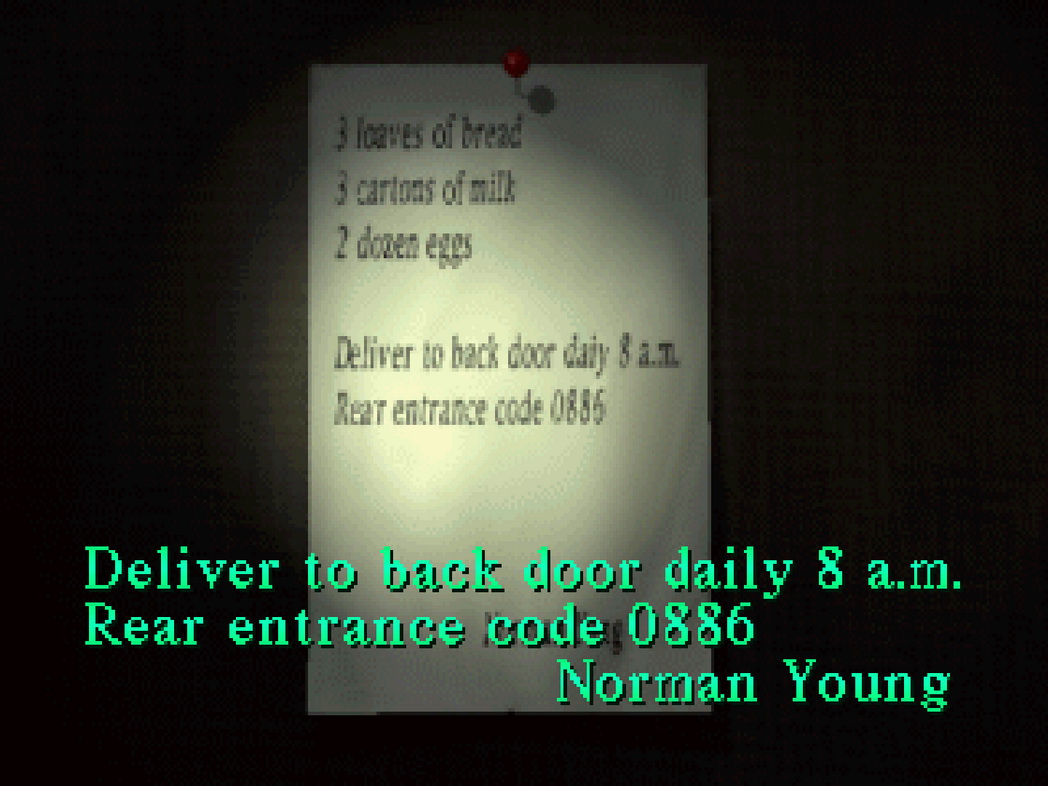
Through normal progression you should be guided to this motel office backdoor already with the code, but if not not, return your attention to inside Indian Runner. Behind the counter you'll find a grocery list that reads like so:
What's this code for? Well, beside the grocery list is a photo of a man standing in front of a motel. The caption says:
Norman Young. Norman's Grand Opening. Motel. So it's Norman's Motel and he's instructing Indian Runner to provide these groceries to his back door daily, likely for guests' breakfast. So the code to the back door of the motel on Weaver Street is 0886 as stated. Doing this is part of an optional quest that, if completed, will award the player with one of the Good endings at the end of the game. |
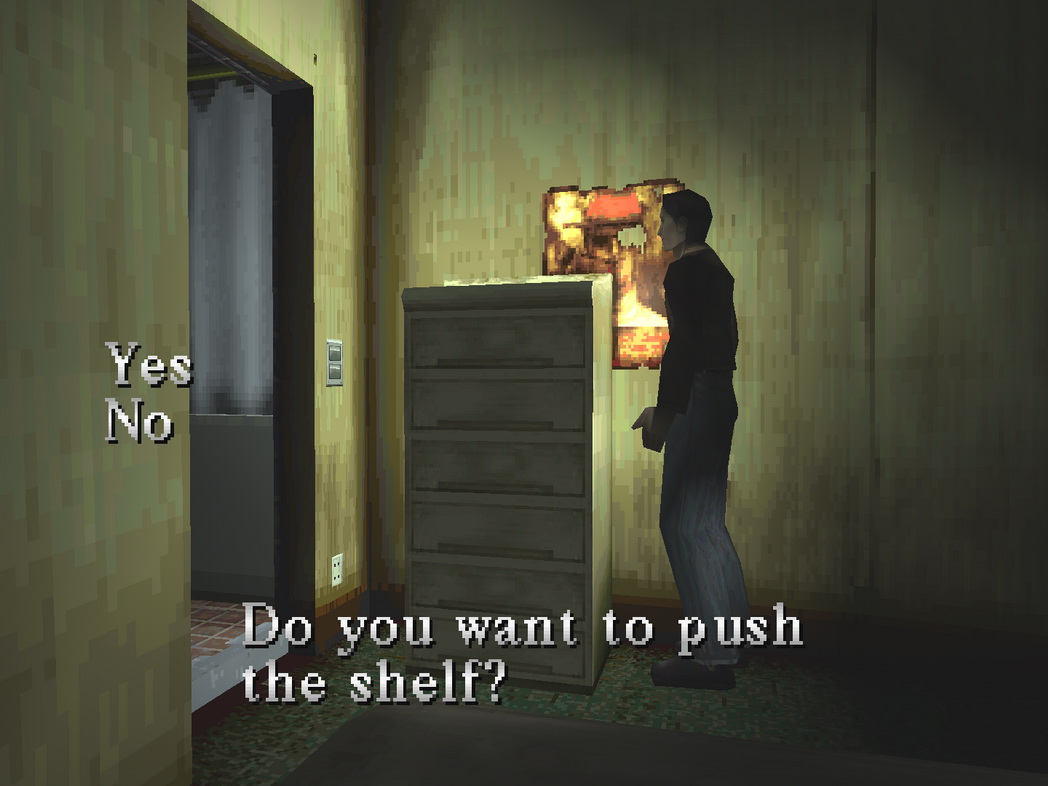
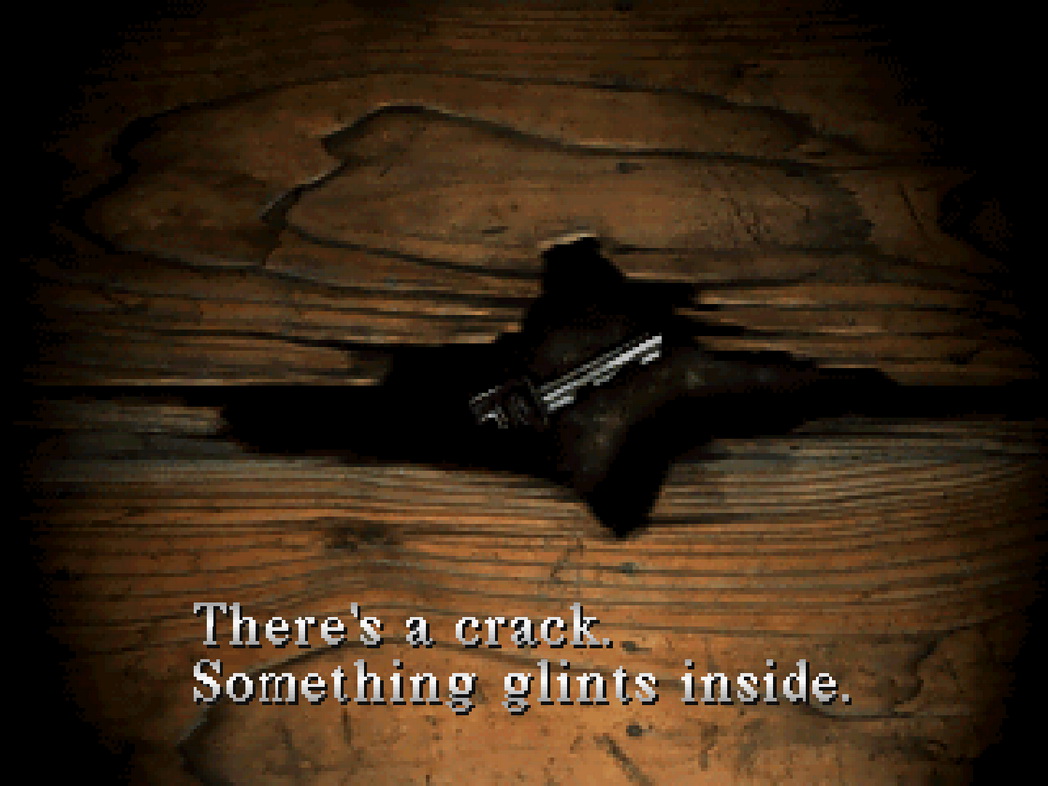
Key Under Floorboard (Resort Area)Requires:
After opening motel room 3 with the Kaufmann Key, you'll find a shelf blocking a poster, which may draw your attention to it. Push the shelf aside to find a key under the floorboard that Harry cannot reach as is. If you check the description of the Magnet, Harry says it has a long string. Use the Magnet to reach the Motorcycle Key in the crack. Doing this is part of an optional quest that, if completed, will award the player with one of the Good endings at the end of the game. |
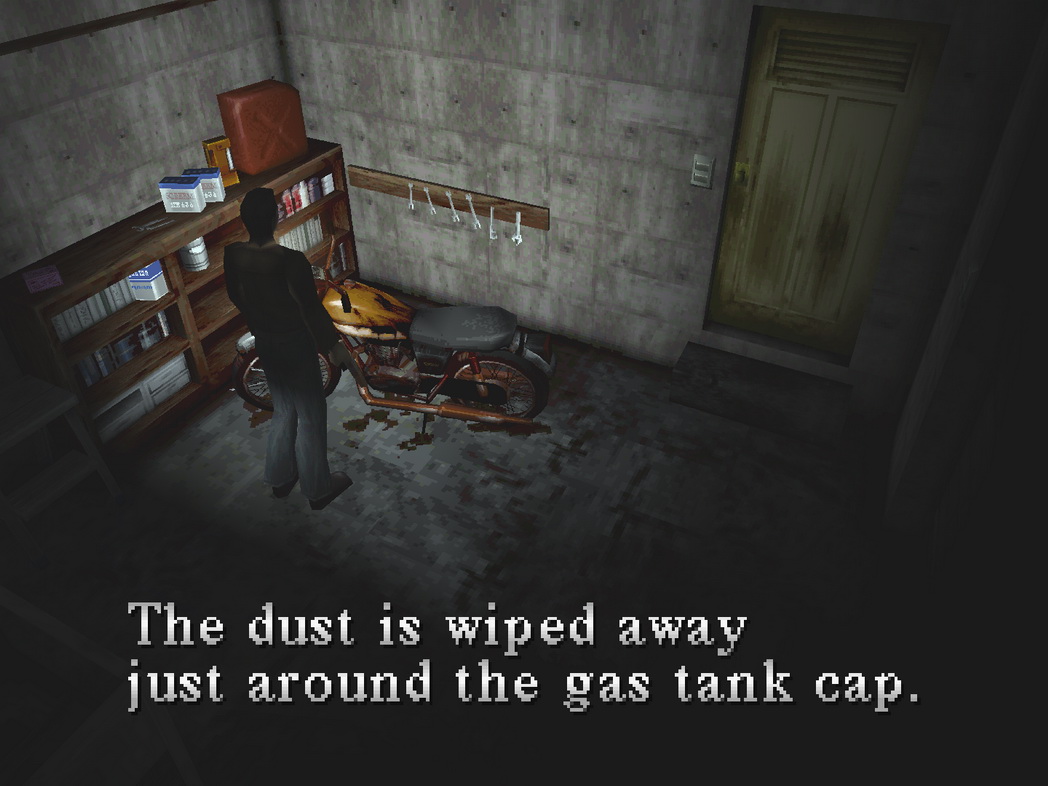
Motorcycle Gas Tank (Resort Area)Requires: Motorcycle Key: Under the floorboard in motel room 3 after moving the shelf (use Magnet to reach).
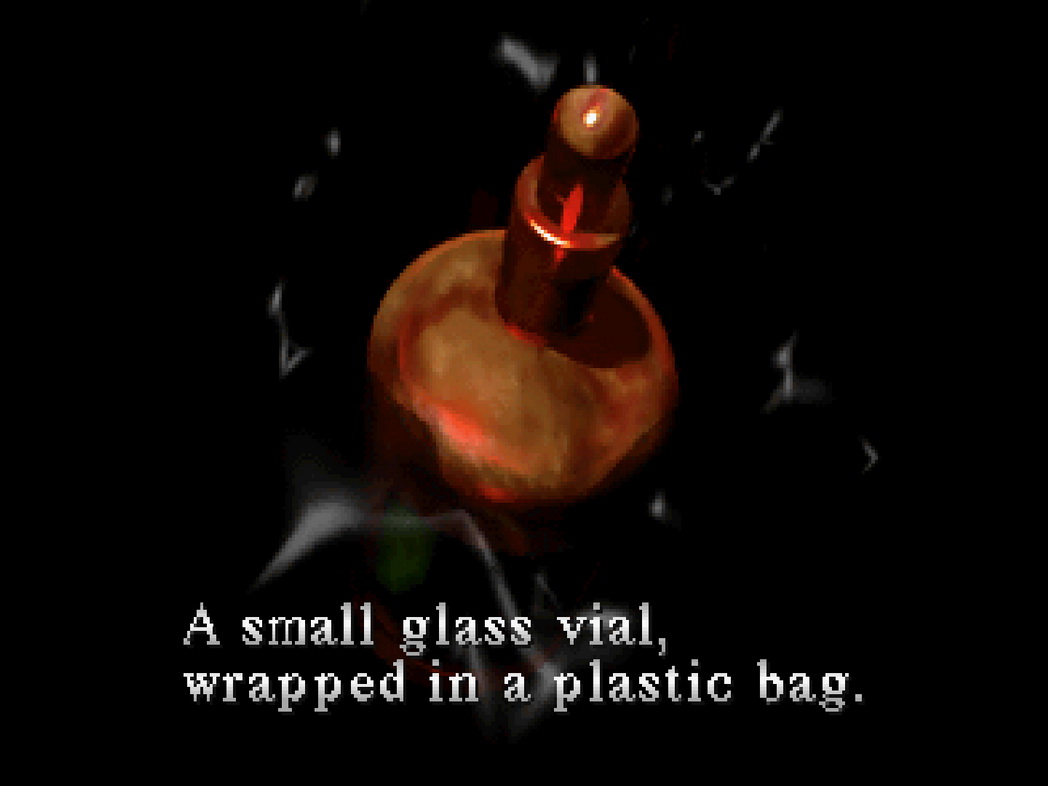
Harry will find a motorcycle inside the motel office garage and notices dust wiped away from its gas tank. He doesn't say so but it's locked, so he cannot investigate further. After finding the Motorcycle Key in motel room 3, use it to access the motorcycle's gas tank to find a small red glass vial that Harry doesn't get to keep very long. Doing this is not required but will award the player with one of the Good endings at the end of the game. |
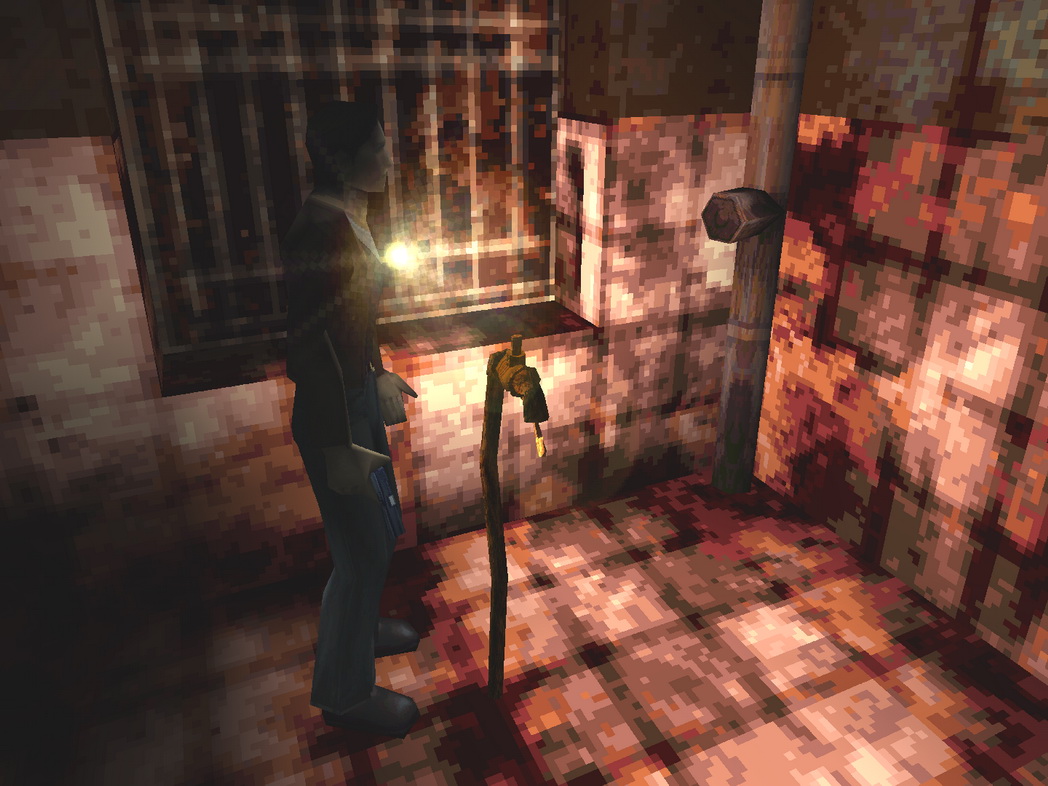
Key Stuck in Faucet (Nowhere)Requires: Pliers: In the back room behind the Classroom on BF.
Right beside the elevator is a room with a key stuck in a faucet. All you must simply do is find the Pliers above and use them to pull out the Key of "Ophiel" stuck inside. |
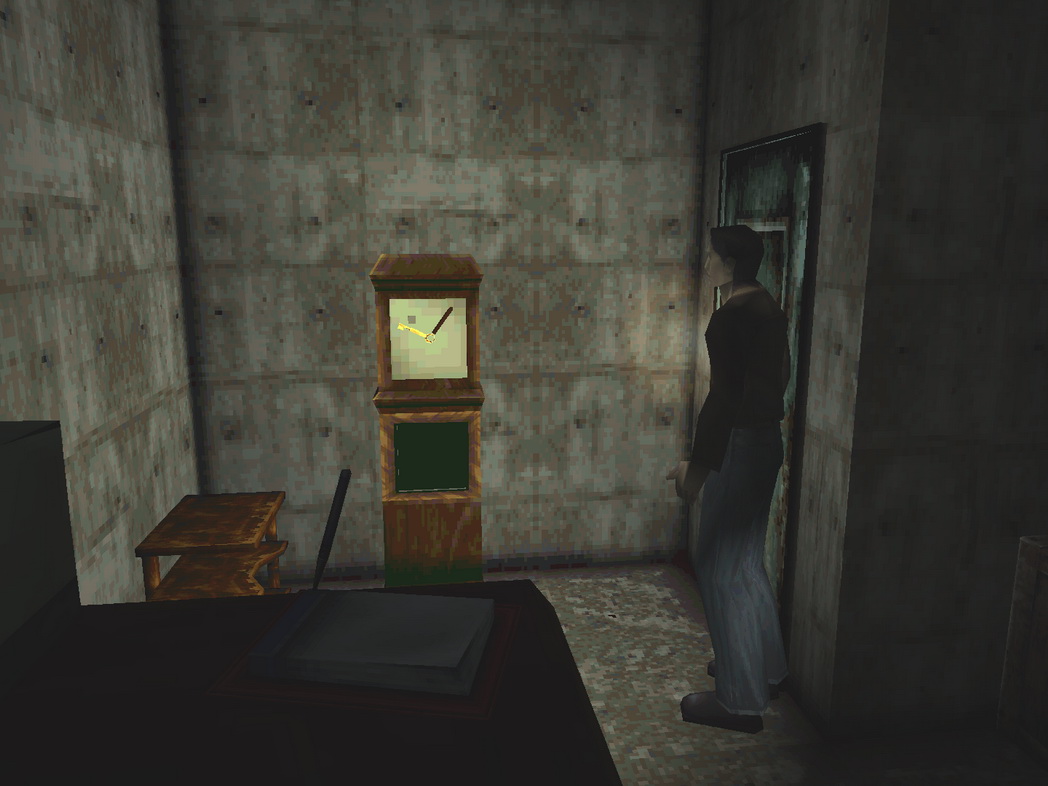
Grandfather Clock (Nowhere)Requires: Stone of Time: Falls from the pillar in the astrology room after solving the Astrology Puzzle in the Ophiel corridor.
One of the rooms in the first Nowhere hall is identical to the Antique Shop in Central Silent Hill, complete with the same grandfather clock. Harry notices one of the hands behind the glass is actually a key and that the clock has a square depression underneath its clock face. Once the Stone of Time is acquired, insert it into the depression to break the clock face glass. Now you can grab the Key of "Hagith". |
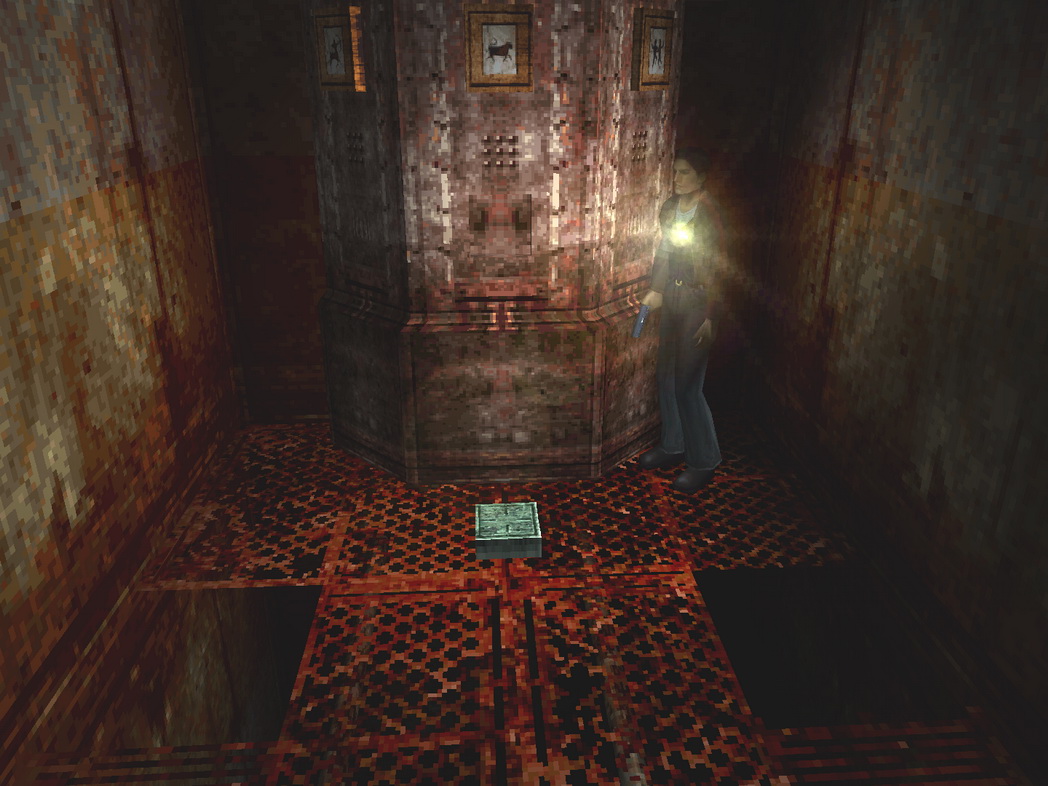
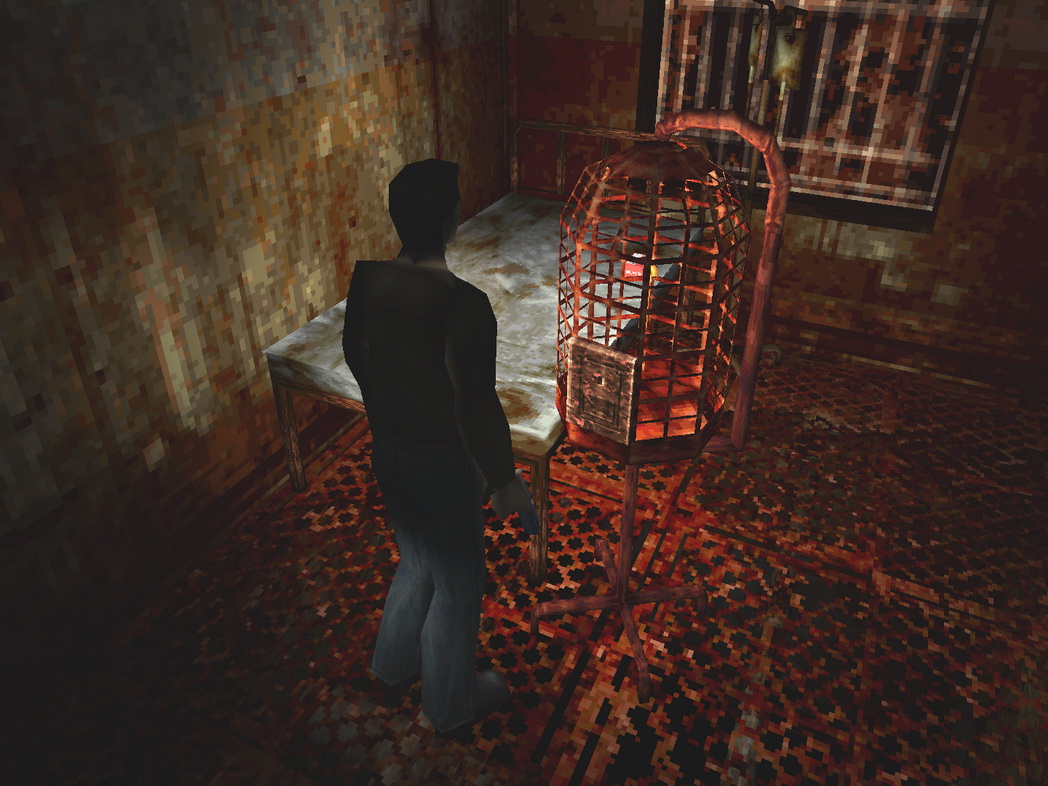
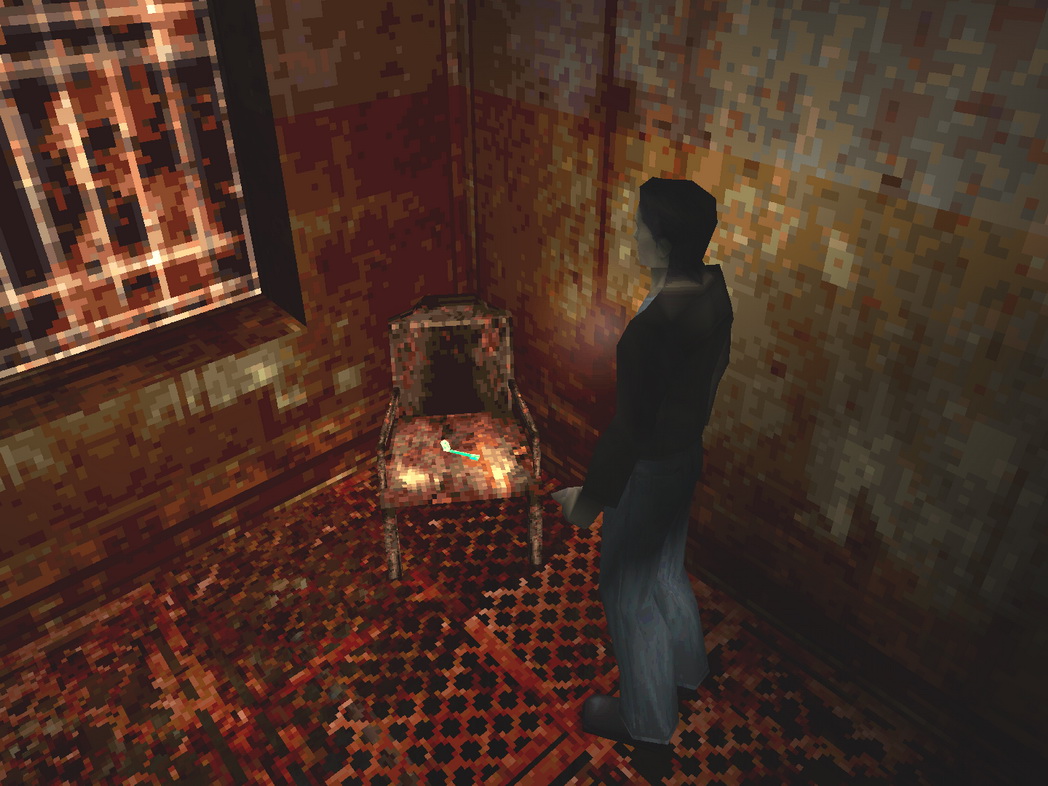
Key Locked in Birdcage (Nowhere)Requires: Bird Cage Key: On a chair in the left side room on the third floor (must solve the Light Puzzle first).
On the other side of the elevator from the faucet room is a room with a locked birdcage that contains a key inside it. To open it, find and use the Bird Cage Key to get the Key of "Phaleg". |
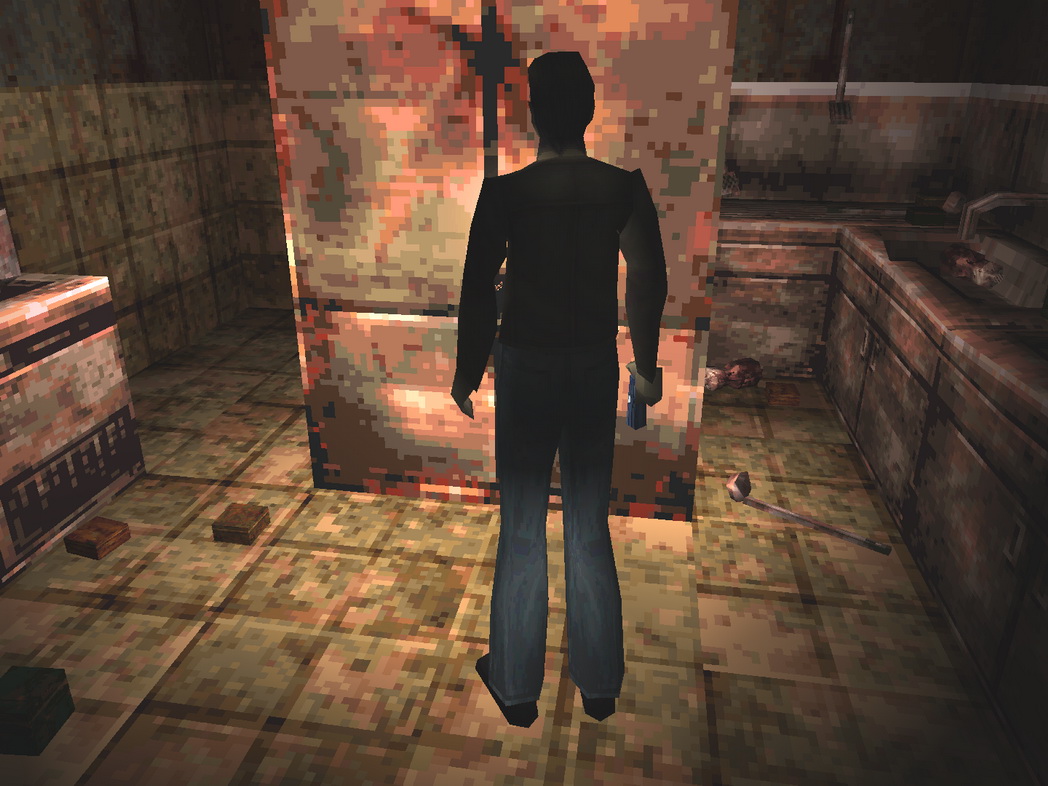
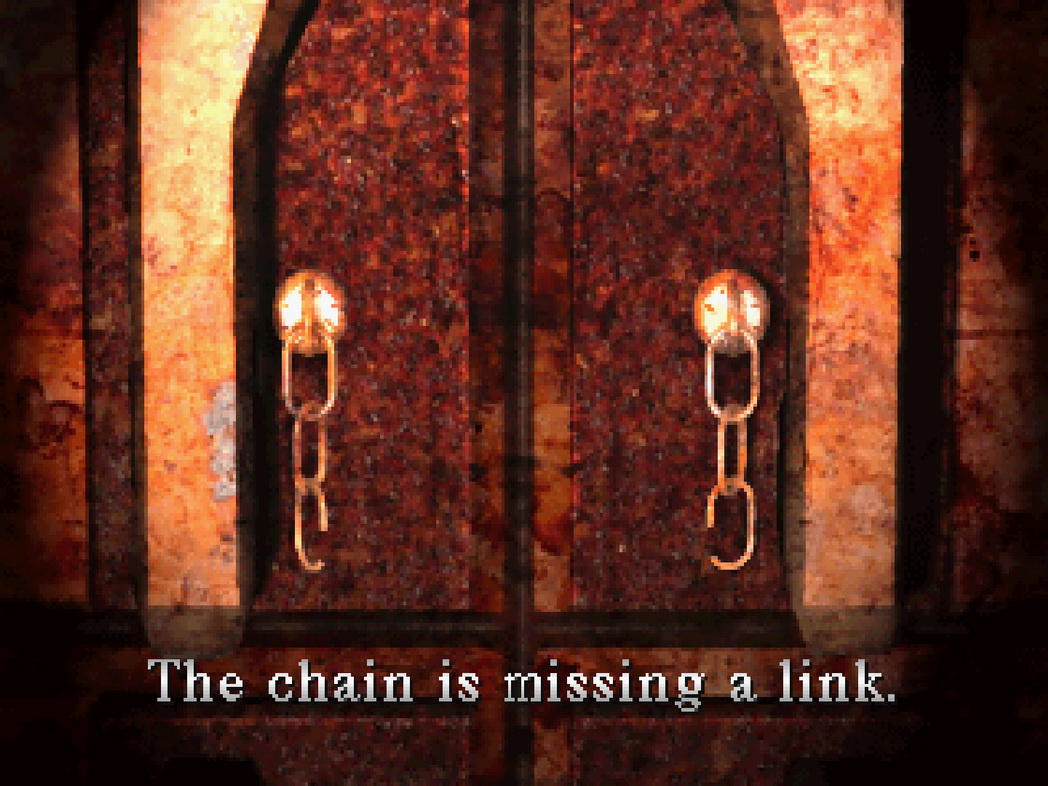
Fridge Missing Chain Link (Nowhere)Requires: Ring of Contract: In a smashed display case in the jewelry shop room on the second floor.
Inside the kitchen room in the Phaleg hall is a large fridge in the center of the room. Something about this just feels so strange, so take this one slowly and carefully. Stabbed into the fridge is the Dagger of Melchior which you're free to take, but underneath it is a small chain with a missing link... So was the dagger placed to keep the fridge shut instead? Feeling creeped out by all this and not knowing what's inside, enter your inventory and see what you have.
Use the Ring of Contractto attach both sides of the chain. Now you can feel more comfortable leaving. As you do, you'll hear a banging from inside the fridge. That ring just saved your life... If you don't use the ring, a tentacle monster will bang the fridge door open, grab Harry by the leg and pull him in to his death. Looks like those tentacles from earlier in the hospital didn't appreciate getting tricked that first time... |


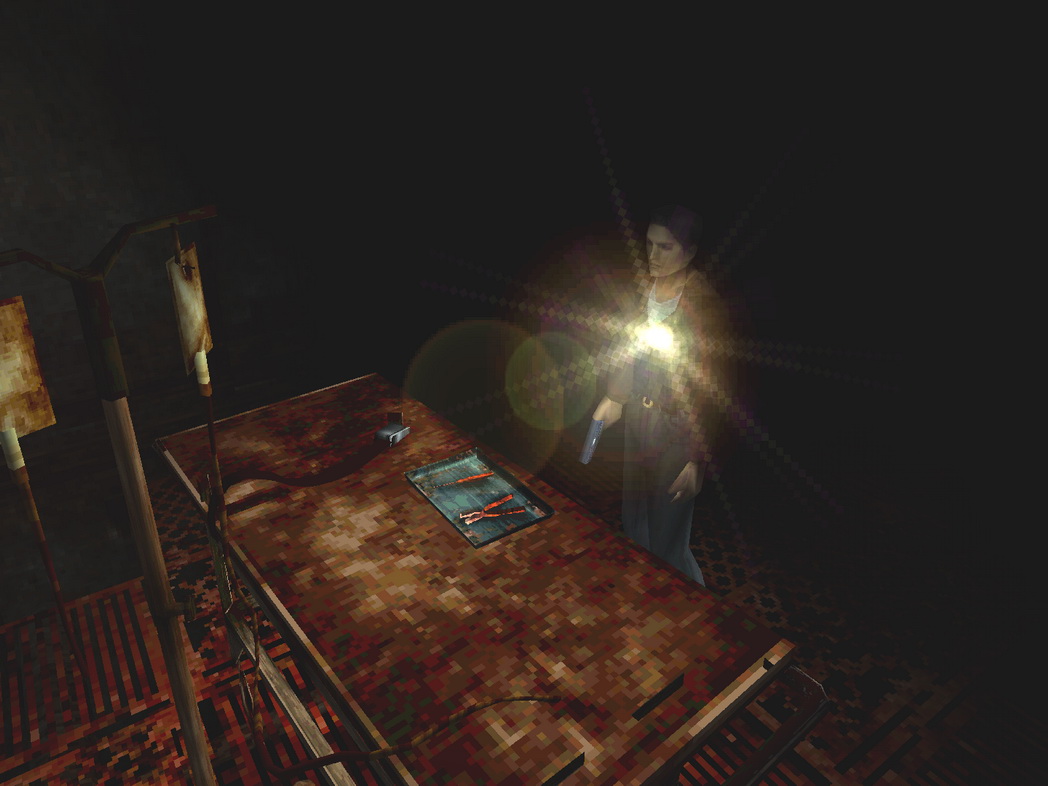
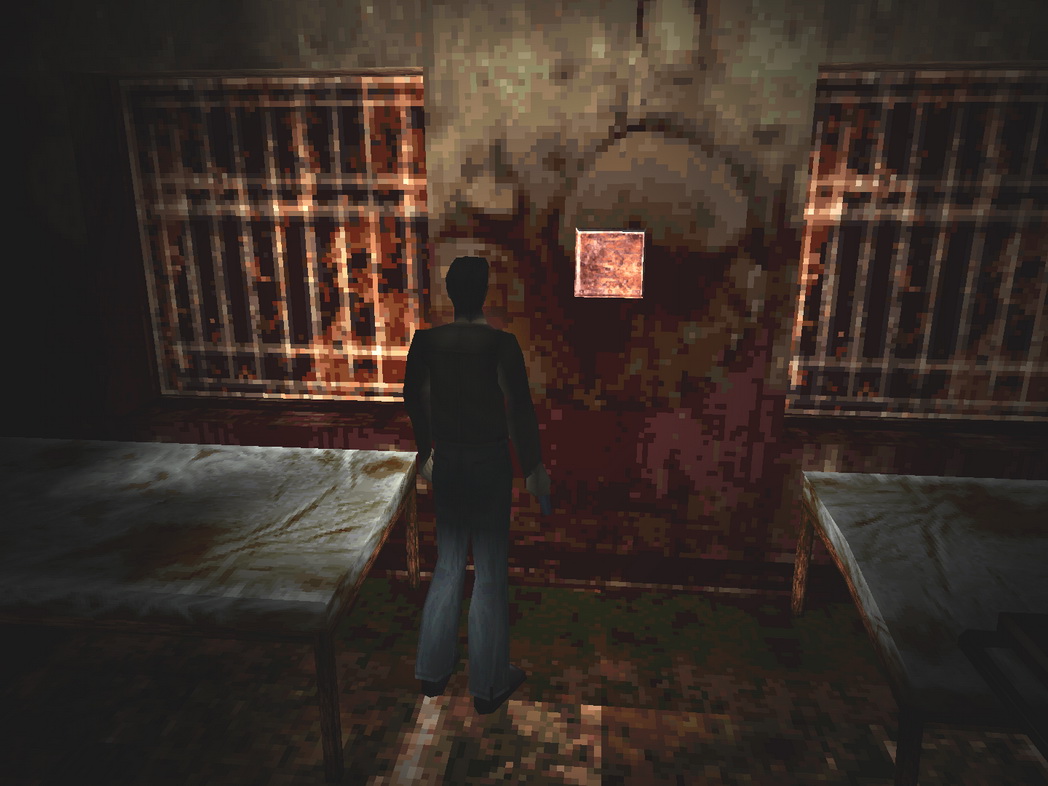
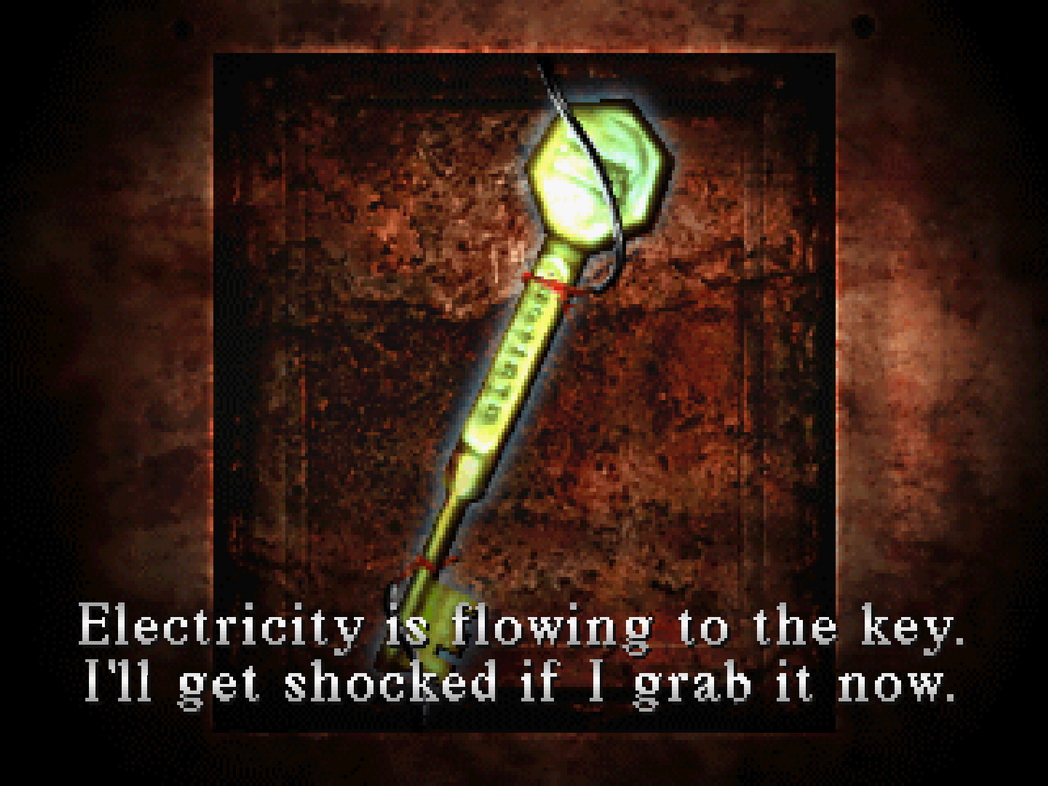
Electrified Key (Nowhere)Requires:
After finding the plate at the back of this room in the second hall on the second floor, use the Screwdriver to unscrew and remove it. Now you should see an electrified key that Harry cannot grab as is. First you must turn off the power, but you must also open up a new route to this room that doesn't require the elevator, which won't work without power. To do this, exit the plate room and unlock the door on the right side of the hall just before the corner going back the other way. Nowhere doesn't follow normal logic, but unlocking this from here will allow you to return here from the door beside the antique shop room in the first hall. But now you must work on turning off the power.
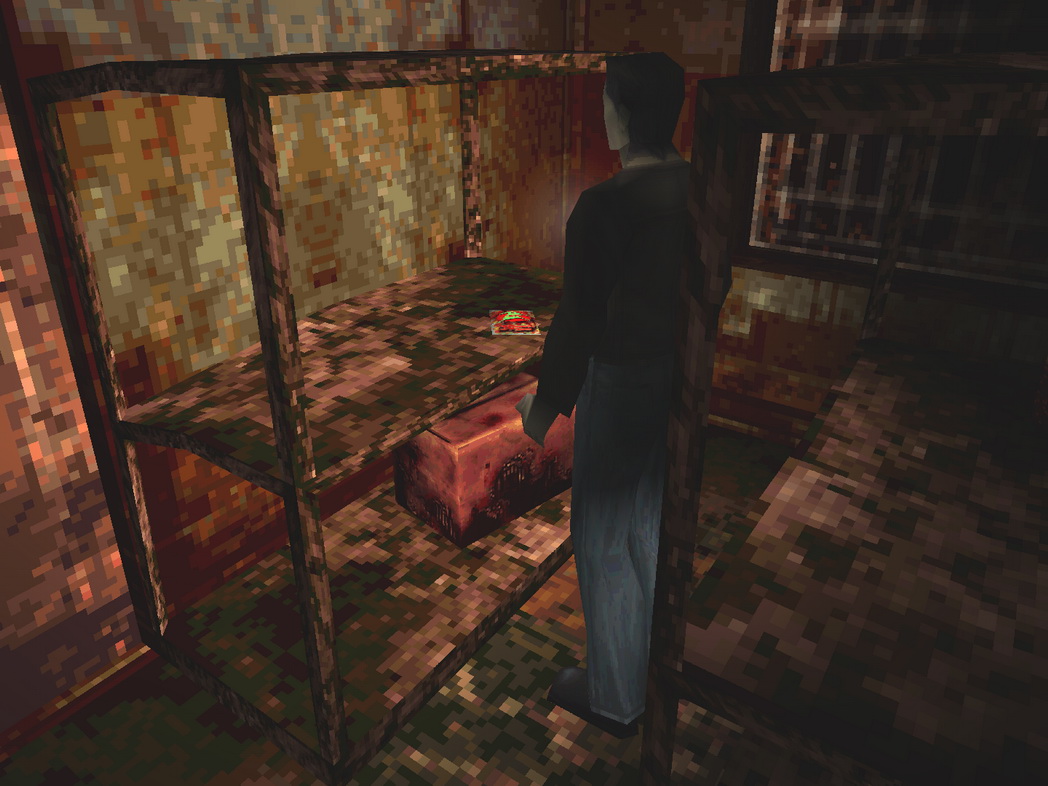
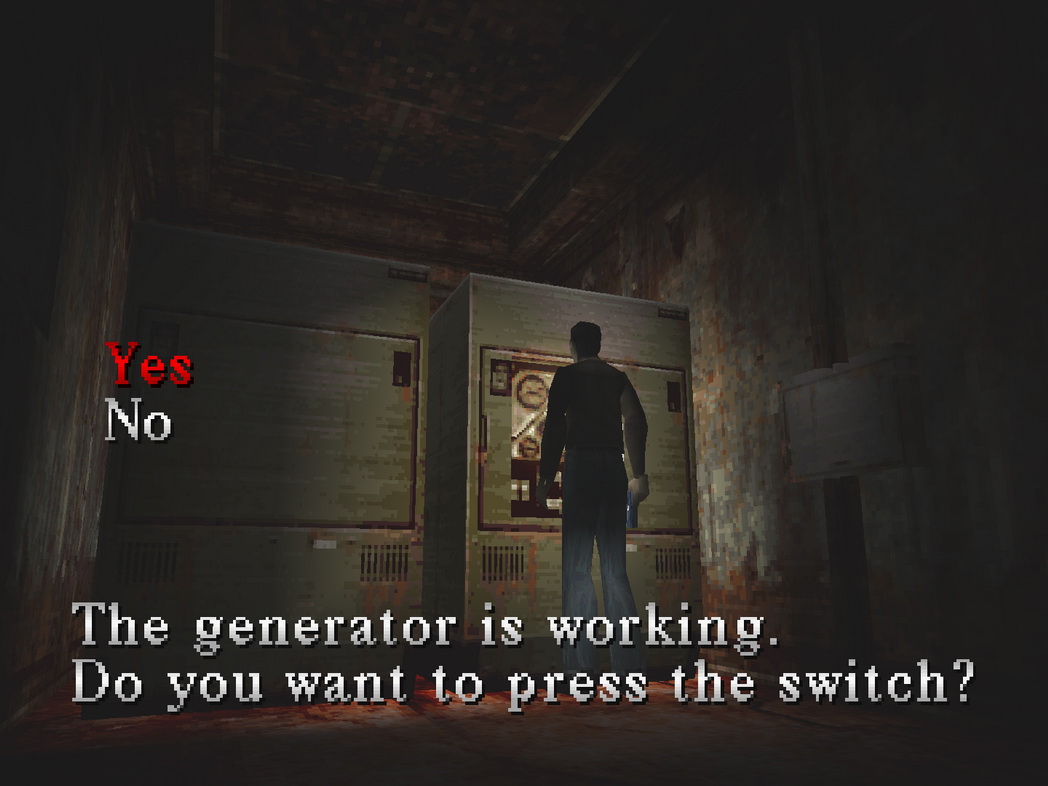
After some normal progression, particularly finding the Key of "Phaleg", you'll use it to access a new hall identical to the hospital's 2nd floor basement, which has another door marked "Bethor". Find the Key of "Bethor" after ripping open the jellybean bag in the storage room in the Phaleg hall. Use that key to enter the "Bethor" room where the generator is. Turn off the generator and now return to that electrified key with the route mentioned above. With the key no longer glowing, grab the Key of "Aratron". |
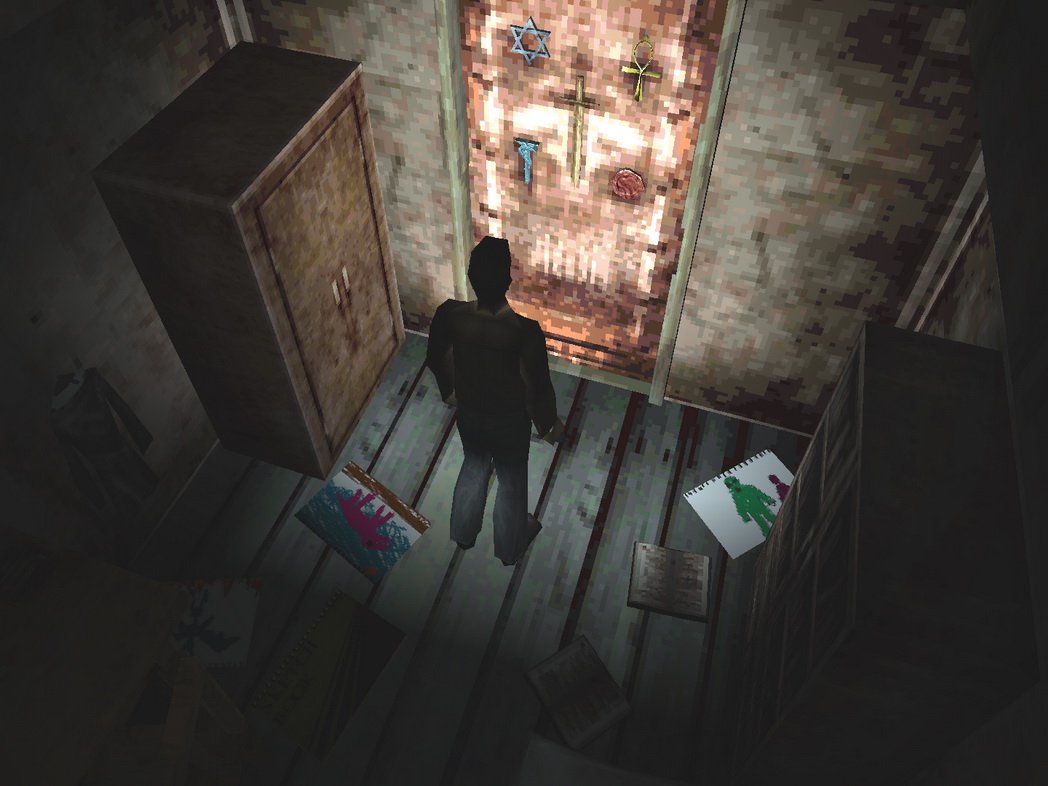
Door of Five Rites (Nowhere)Requires:
Inside Alessa's bedroom in the Phaleg hall is another locked door with the following inscription:
As it says, all you have to do is insert the five rites which are all listed above. Once found, insert the Amulet of Solomon, Crest of Mercury, Ankh, Dagger of Melchior and Disk of Ouroboros and the door will unlock, allowing you to face the final boss. |


| by Andrew Haffenden aka Conquerer (Silent Hill Puzzle Guide) |