Nightmare Central Silent Hill
00. Arrival
01. Old Silent Hill
02. Midwich Elementary School
03. Nightmare School
04. Old Silent Hill Part 2
05. Central Silent Hill
06. Alchemilla Hospital
07. Nightmare Hospital
08. Central Silent Hill Part 2
09. Nightmare Central Silent Hill
10. Sewers (Connecting to Resort Area)
11. Silent Hill Resort Area
12. Nightmare Silent Hill Resort Area
13. Sewers (Connecting to Amusement Park)
14. Lakeside Amusement Park
15. Nowhere
Welcome to the ninth chapter of the complete walkthrough guide for the original Silent Hill (1999), covering Otherworld Central Silent Hill. This guide provides a comprehensive walkthrough with all item locations, detailed puzzle solutions and boss strategies.
Color legend
Flashlight - items
Handgun - weapons
Health Drink - supplies
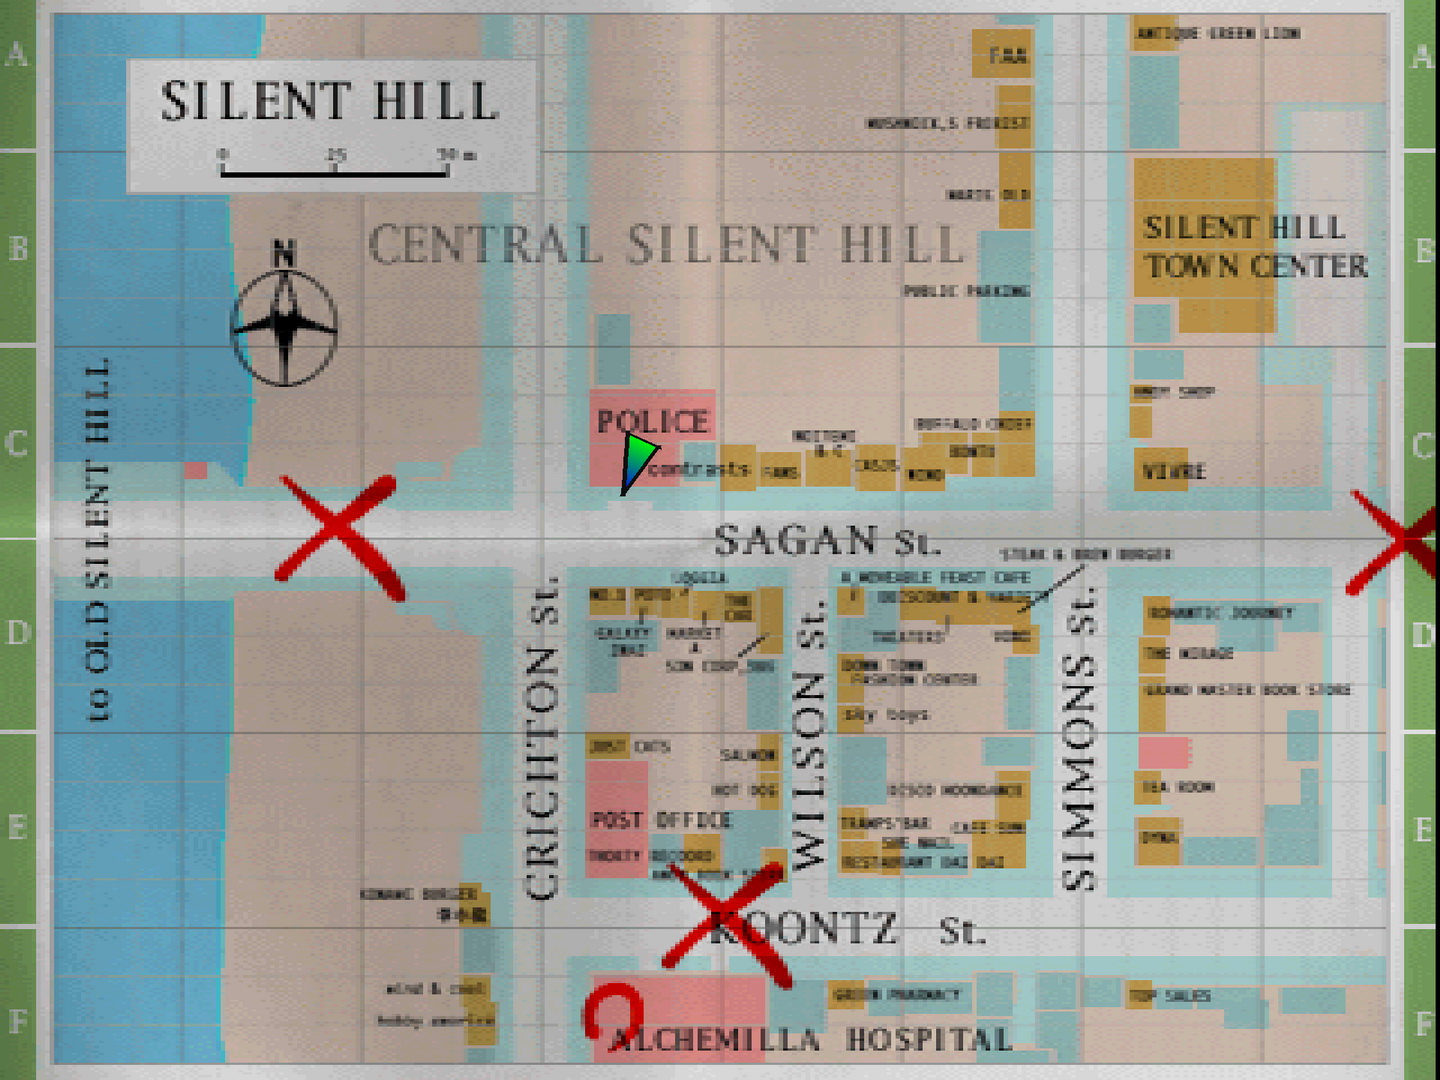
Residential Area Map - maps and notes
Save Point - save points
Contents
- Walkthrough
- Nightmare Antique Shop
- Streets: Figuring Out a Way to the Hospital
- Silent Hill Town Center
- Town Center Back Road and Sagan Street
- Nightmare Police Station
- Crichton and Koontz Street
- A Short Stay at the Nightmare Hospital
- Koontz Street Rooftop
- Return to Normal Central Silent Hill
- Return to Old Silent Hill: The Waterworks
Walkthrough
"I don't want to think so, but maybe this is all just going on in my head. I don't know what's real anymore..."
Nightmare Antique Shop
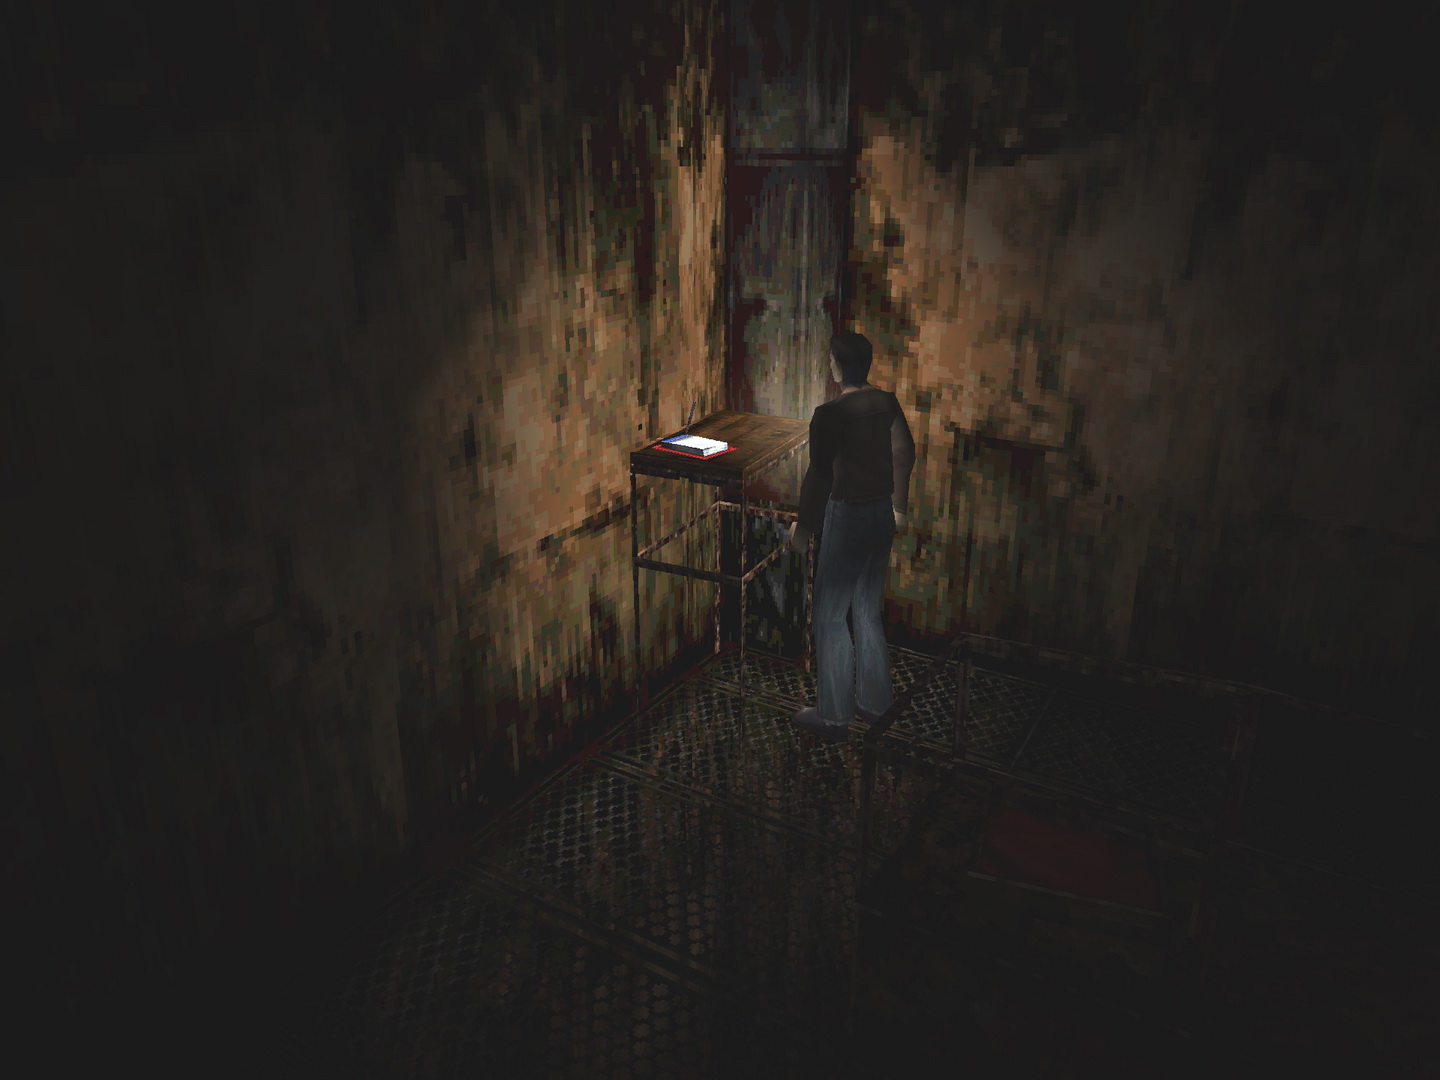
Who knows what's going on here but you're now in the meshy nightmare version of the antique shop. Harry recalls what Cybil told him about Cheryl and figures Lisa might know how to reach the lake. So your next destination is the hospital again, even though you were just there seconds ago. Note the Save Point on the table and leave the shop.
Streets: Figuring Out a Way to the Hospital
Back up the steps and through the doorway, the streets have now transformed to their meshy, nightmare form, similarly to the school. Enemies will also be found in much higher frequency, to almost an extreme degree, while Air Screamers and Groaners will be replaced by more powerful versions called Night Flutters and Wormheads, although you may not even notice the difference. Either way, it's likely not worth fighting anything out in these crazy streets.
If you make your way south you'll eventually find that the meshy "road" ends before Sagan Street, so we'll need to find an alternate route. On the east side of the road is a torn hole in the shutters of the Silent Hill Town Center which can be found on your map, where you may also notice a potential route behind it. Step inside and see what you can find.
Silent Hill Town Center
There's nothing of any interest on the first floor, however the large TV screens right of the escalators will turn on and display a message for you as you make your way up. Continue up the escalator to the second floor.
The right passage's floor is out, so take the left path where you can enter a shop on the left side. Inside the former jewelry shop are two packs of Rifle Shells, a First Aid Kit and a Save Point.
 |
 |
Consider saving due to an upcoming boss fight, and fear not, you did not miss the Rifle. The other door won't open so exit the shop and continue down the path.
Just ahead you'll see what looks like slugs sucking on a corpse. Once you approach it the floor will give and you'll land in a pit with a large larva that's happy to make your acquaintance.
Boss 2: Twinfeeler
There's no escape once you land in the pit, so instead you'll have to exterminate the giant larva. But first, locate the 39 Hunting Rifle leaning against the wall just ahead, which can work fairly well for this fight but the Shotgun's superior speed, power and handling makes it more preferable.
What the larva will do every now and then is rise up from the soil to spew acid at you as it crawls over the surface before shortly diving back into it, leaving you a brief window to shoot it. It may be hard to predict where it will rise and attack from, which makes running around fairly unpredictable, especially since it may rise right in your path.
The best strategy here is to instead stand on the fallen grate in the middle which helps in multiple ways. Firstly, it prevents it from erupting anywhere near you while giving enough time to dodge its acid, but it also lures the larva over the grate where it cannot drop back into the soil until it reaches the other side, providing you with a very lengthy attack window.
So stand on that grate and as soon as you hear it erupting, either run ahead or strafe to the side to dodge the acid, then immediately target the larva and start blasting away while closing the distance for peak power. Even on Hard you can end this fight in a matter of seconds and just one full clip.
Twinfeeler's attacks: The larval creature has two attacks. One is spitting acid at you every time it climbs above the surface and the other is physically ramming into you when slithering above or just as it hits the surface. Stand on the metal grate to avoid being bumped into and be sure to run or strafe away as the Twinfeeler rises to avoid its acid every time.
After just six well-placed Shotgun blasts from close range, or up to 10 or more Rifle shots, the Twinfeeler will curl up in a ball and the fight will be over. It doesn't die however and instead smashes through the closed doors on its escape, providing you with an exit as well.
Town Center Back Road and Sagan Street
Once the Twinfeeler larva smashes through the glass door, escape through the same exit to outside. Back in the craziness out here, take a right and head south where the road transitions to a narrower grate path, which turns right onto Sagan Street.
Cross over Simmons Street, where there is no south route, and run like hell all the way west, pretending you're not being hounded by Night Flutters, Groaners and who knows what else. Hit the police station on the right side for a breather and more supplies.
Nightmare Police Station
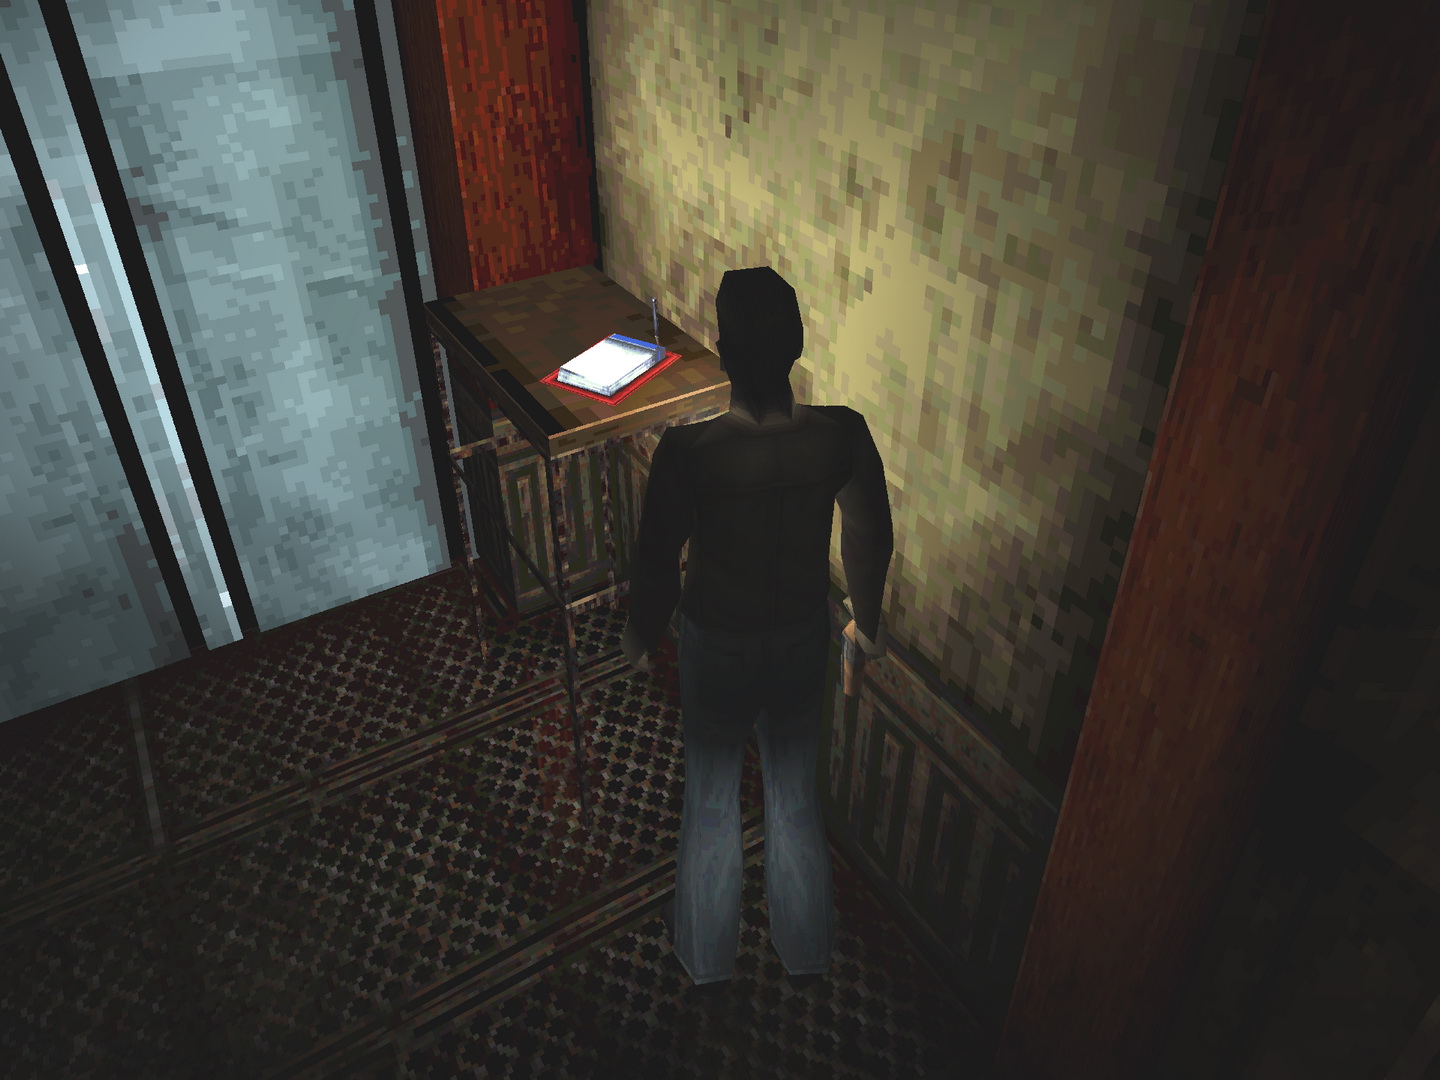
Well that was intense, wasn't it? Take a deep exhale and find the Rifle Shells and Handgun Bullets on the reception counter, plus a Save Point on the table by the front doors. Exit once you're ready to run for your life again.
 |
 |
Crichton and Koontz Street
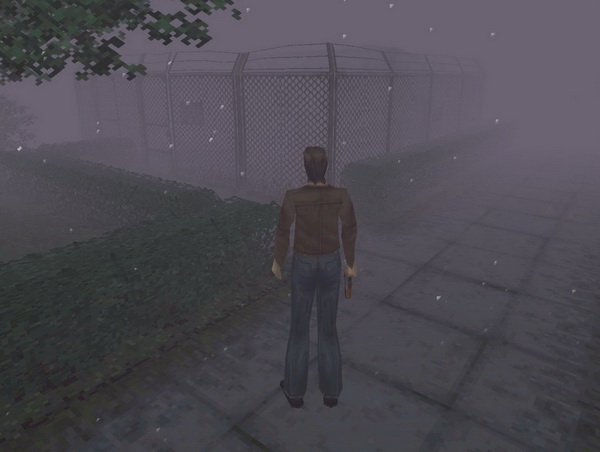
Continue past the Romper outside and head westward for just a moment longer until you reach Crichton. Take a left and head south all the way to Koontz, past a barrage of Night Flutters. Head through the front gate to Alchemilla, quickly dodge the incoming Wormheads and step back inside the familiar hospital.
A Short Stay at the Nightmare Hospital
Inside the rotted hospital's lobby, there's a Save Point on the counter as usual, which you may want to use due to an upcoming boss fight. Enter the Examination Room from the side door to talk with Lisa.
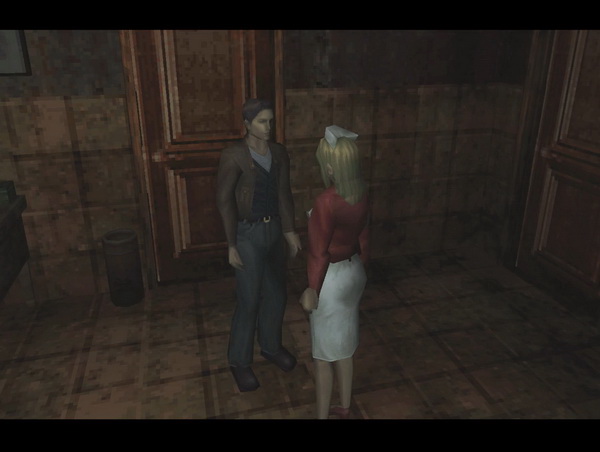
Unfortunately Bachman Road is destroyed and prevents access to the lake, but Lisa remembers an abandoned waterworks with underground tunnels near Midwich that might take you to the lake. Despite her pleading for Harry to stay, he's a man on a mission and Lisa doesn't think she should leave the hospital either. Exit back to the streets.
Koontz Street Rooftop
A new pathway appears outside, leading you to a stairway and up to a rooftop. In a brief cutscene, the stairs are destroyed and Harry is greeted by a giant moth... It's the same creature you just fought in the Town Center, having already reached its adult form and now looking for revenge!
Boss 3: Floatstinger Moth
Right at the start you'll be facing the giant menacing moth, so consider getting some breathing room before attacking. You can stay on this open part of the rooftop which lets you move around without much restriction, but you can also run up the nearby stairs to the higher roof and use the water tower as cover. It's quite hard to see the full moth and what it's doing from the lower spot so consider relocating up here for a better picture, but do keep in mind the open space makes quick shooting and running a very viable strategy.
Just as before, the Shotgun and Rifle are the best weapons here, with the Rifle preferable from the higher position and the Shotgun better from up close down below. From the open main roof, the best strategy is to keep moving, especially by strafing to keep the creature in front of you, and get in one or two shots at a time before the moth can respond with an acid spit or by smacking you with its abdomen. Just take your shot, run ahead or strafe to the side a couple meters and fire again. If you can get 2-3 shots safely, go for it, but sometimes the moth will be quick to smack you or spit acid.
If you'd like a better view and to create more distance, head up the stairs to the water tower and use the Rifle. Same thing here though, keep moving and take 1-2 shots at a time, with the occasional 3-4 shots if you really have the time. Take your shot and run a few feet as you likely dodge an acid spit, fire again and just keep dodging and repeating.
Alternatively you can try running for a bit longer to create more space so you can fire more shots, but always be prepared to dodge acid at a moment's notice, and never remain close to its body for long or it'll smack you. Note that the Shotgun still works fairly well from this location but loses its power when the moth is farther away.
Floatstinger's attacks: The creature attacks very similarly to how it did in its previous form with another acid-spewing attack and an abdomen-butting attack. Keep your distance to prevent the second attack from ever happening, while the acid is somewhat difficult to avoid but is telegraphed by a distinct sound each time. Once you hear it, strafe or run aside asap and get in your attacks, although it won't always be easy.
After landing about 15-20 Rifle or Shotgun shells the creature will fall to the ground and die this time, as sirens sound in the distance.
Return to Normal Central Silent Hill
So that did the trick, huh... Now back in the "regular" snowy Silent Hill, the stairs leading down look good to go so head down to Koontz Street.
To reach the waterworks by the school, you'll need to return to Old Silent Hill. So head north up Crichton and take the bridge west back to the residential area.
Return to Old Silent Hill: The Waterworks
Time will jump forward to Harry arriving at the waterworks, revealing its position on your map. Investigate it to find a locked gate, but Harry thinks he might be able to break the rusted lock. Take out a melee weapon like the Axe, Hammer or Steel Pipe and bat the thing until it breaks. Step through the gate, and with the manhole cover already removed, praise the woeful neglect and descend the ladder to the sewer tunnels below.
| 08. Central Silent Hill Part 2 | 10. Sewers (Connecting to Resort Area) |