Silent Hill Resort Area
00. Arrival
01. Old Silent Hill
02. Midwich Elementary School
03. Nightmare School
04. Old Silent Hill Part 2
05. Central Silent Hill
06. Alchemilla Hospital
07. Nightmare Hospital
08. Central Silent Hill Part 2
09. Nightmare Central Silent Hill
10. Sewers (Connecting to Resort Area)
11. Silent Hill Resort Area
12. Nightmare Silent Hill Resort Area
13. Sewers (Connecting to Amusement Park)
14. Lakeside Amusement Park
15. Nowhere
Welcome to the eleventh chapter of the complete walkthrough guide for the original Silent Hill (1999), covering Silent Hill Resort Area. This guide provides a comprehensive walkthrough with all item locations, detailed puzzle solutions and boss strategies.
Color legend
Flashlight - items
Handgun - weapons
Health Drink - supplies
Residential Area Map - maps and notes
Save Point - save points
Contents
Walkthrough
"This craziness can't go on forever. A military rescue squad should be here any time now."
Bachman Road: Finding the Map
Ah, freedom... Head for a run forward and around the corner into the demolished building to find Rifle Shells and Handgun Bullets at the left and a First Aid Kit on the right. Back outside in front of the building is an information sign by the road where you can get the Resort Area Map. Next, you can complete an optional quest or skip through the area.
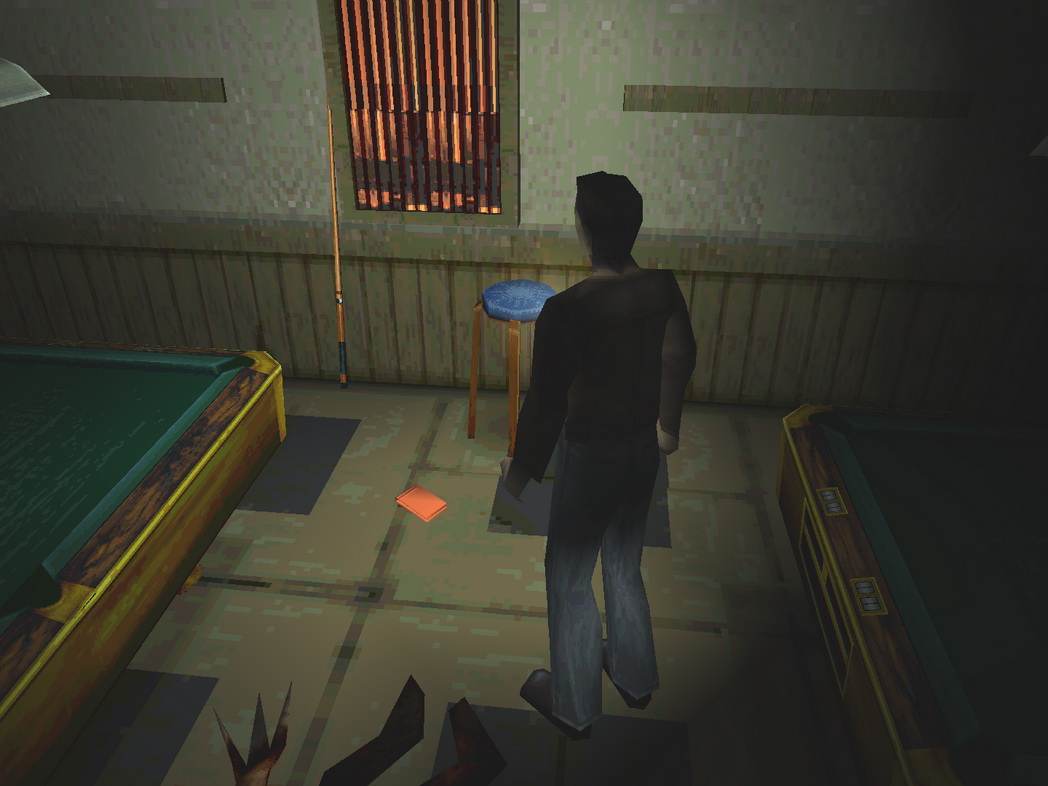
Optional Quest: Running Some Errands (East Resort Area)With your current goal of finding Cheryl by the lake, you can simply proceed down Bachman Road and Sandford Street to reach the Lakeside pier. However for the sake of getting one of the Good rather than Bad endings, it is in your best interest to complete an optional quest by thoroughly exploring a few buildings in the northeast before advancing. Feel free to read more in the Endings section, while we will cover the entire quest below. Skip past it if you wish to continue to the next area right away. Annie's BarThe first place that sticks out on your map is Annie's Bar, so head past Craig Street and enter the bar under the west side awning near a patrolling Romper or two. Inside, Harry saves Kaufmann from a monster before he soon takes off. But if you check the floor by the dead monster between the billiard tables you'll find the 42 Kaufmann Key and 43 Receipt that he must've dropped.
Also on the counter are two Health Drinks and a Save Point.
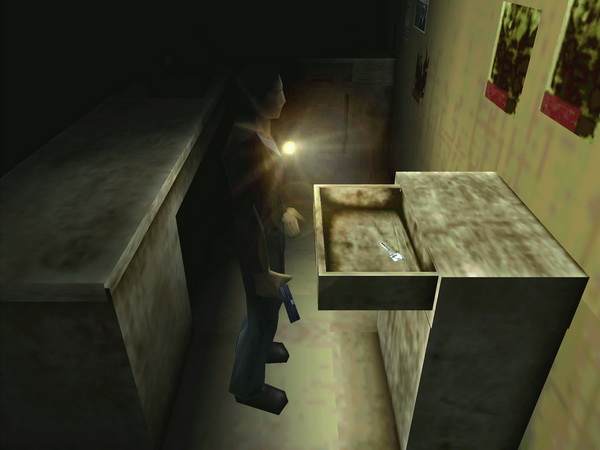
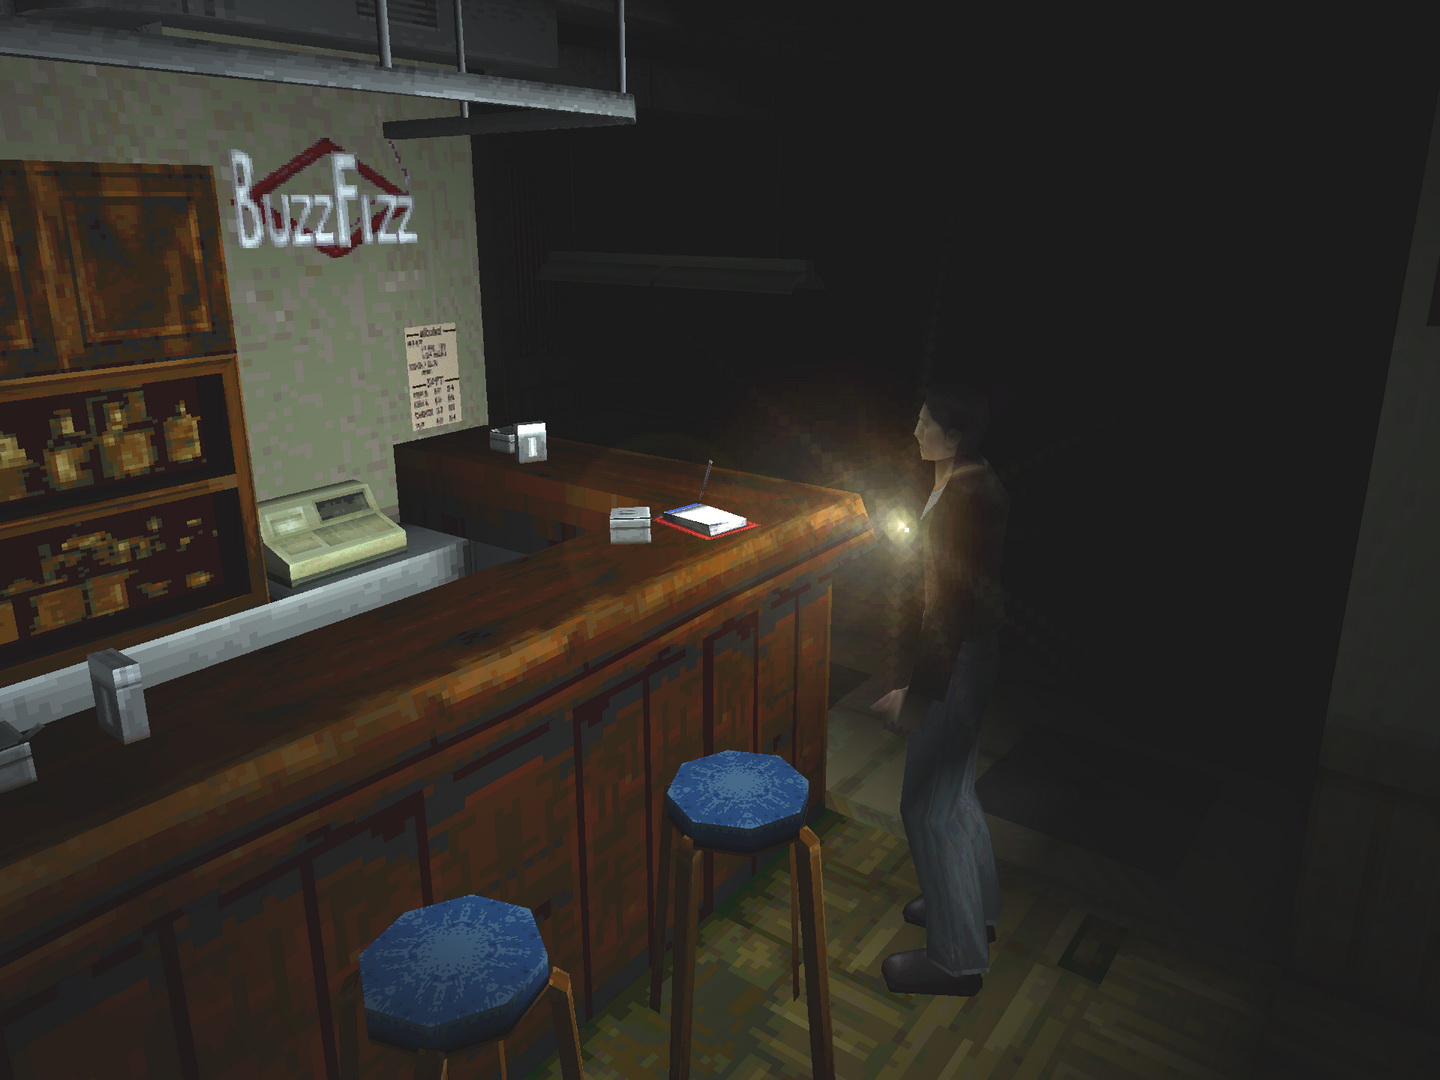
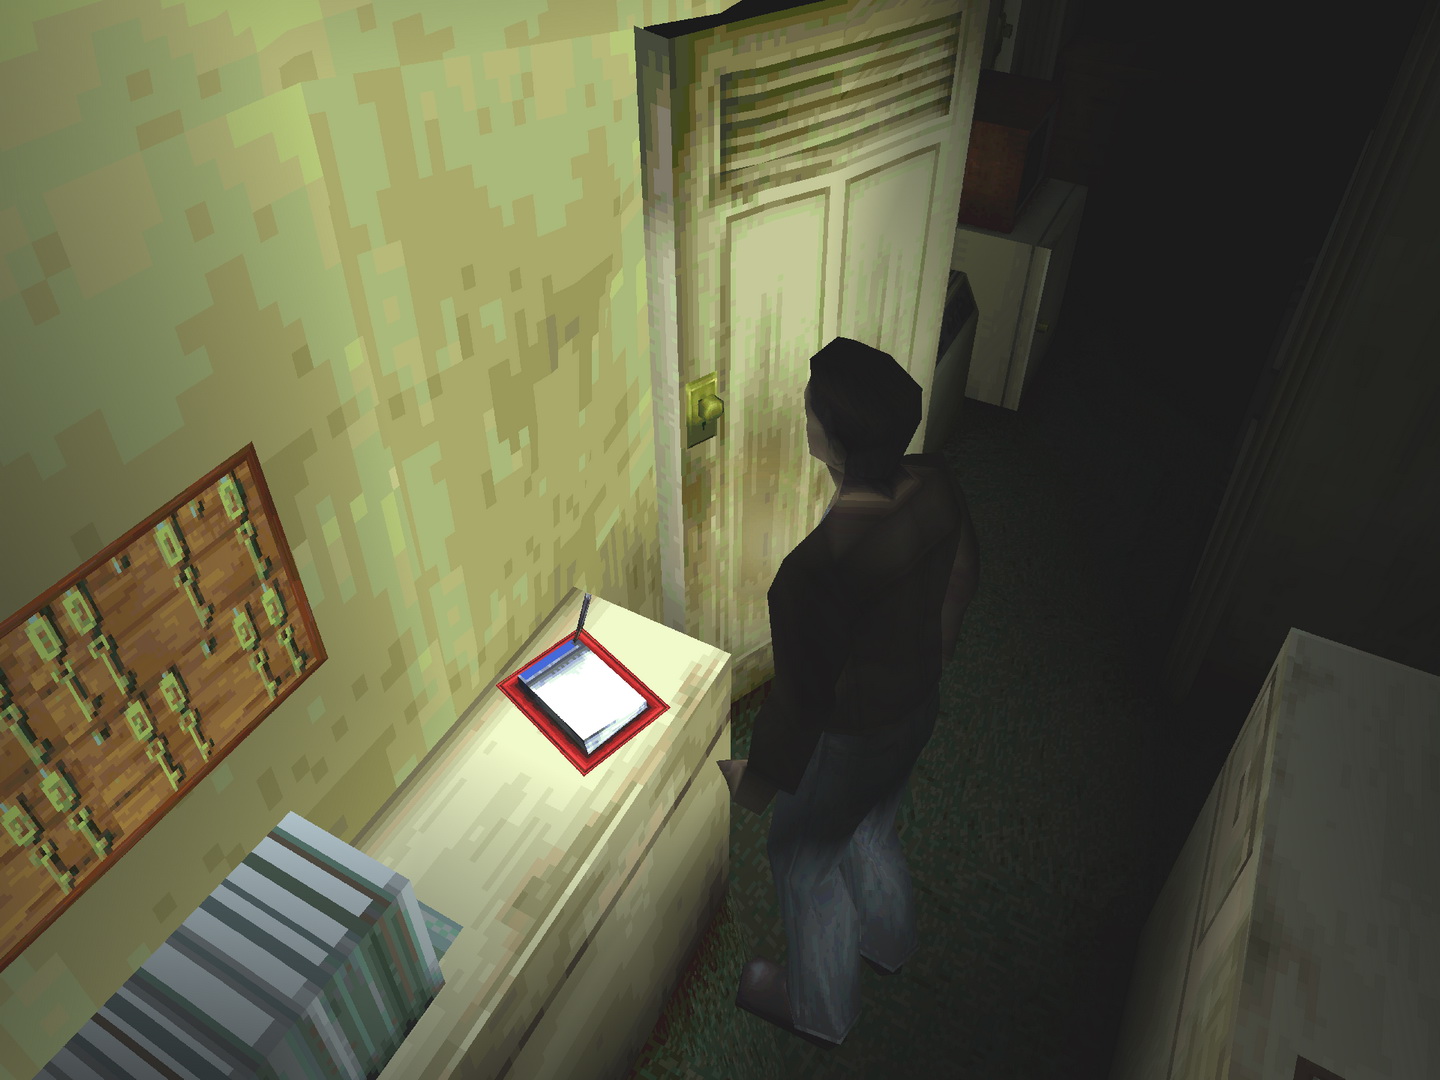
If you look at the Receipt, you'll find the number 0473 written on it, while the name of the store is Indian Runner, which you'll find on your map to the east. The Kaufmann Key also appears to be for a motel while one is nearby, but let's check Indian Runner first. Indian RunnerYou'll have to make your way past more Groaners and two more Rompers before arriving at Indian Runner on Weaver Street, which is locked by a padlock. Remembering the receipt, enter the code 0473 to enter. Inside the trashed store are Rifle Shells at the end of the counter, while there's a Health Drink near a journal by the cash register. There's a locked safe under the counter, but if you check the large cabinet behind the counter there's a 44 Safe Key inside the top drawer.
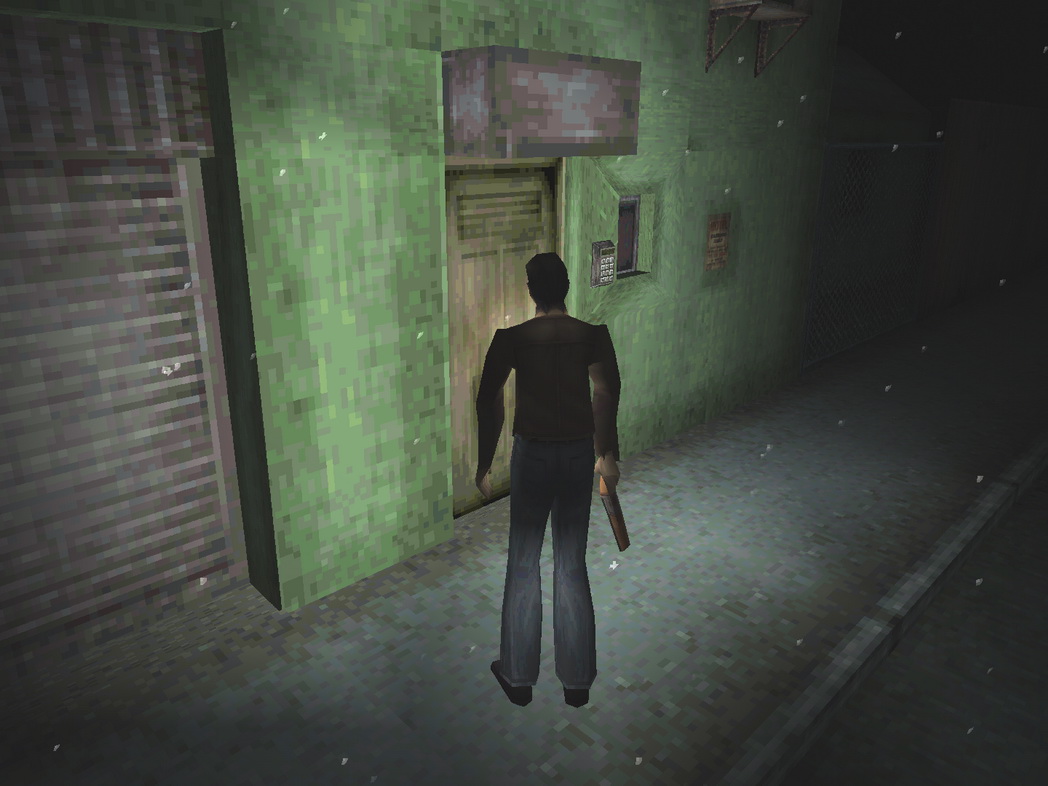
Use the Safe Key to unlock the safe and find a surprise inside. You really don't need to open it and there's no item to acquire here since Harry won't take the drugs, but it does fill in some details of the backstory, as already briefed by Cybil earlier. Before leaving, check the back wall behind the counter to find a photo of a motel's grand opening and a posted receipt beside it with the code 0886 for a "rear entrance" written on it. That must be the motel's rear entrance. You can see Motel Haerbey Inn to the south on your map. Let's head there next. Motel OfficeHead south down Weaver to find the back entrance of the motel on the right side by another Romper and Air Screamer. With the code you found in Indian Runner, enter 0886 and press enter on the keypad to slip inside.
Just inside on the couch you'll find a 45 Magnet.
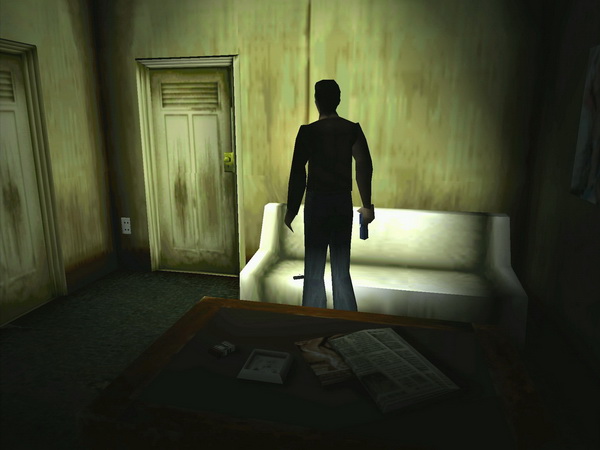
There's also an interesting article about the drug ring on the coffee table here, partially covering perhaps an even more interesting magazine. Sadly you won't be able to "read the articles" of that one, but you can admire the pixelated poster on the nearby wall instead. There's also another diary about the mystery man on the desk in the corner. Through the door by the couch is a small garage with a motorcycle as well as Shotgun Shells and a Health Drink nearby. Harry notices dust wiped away from the gas cap of the motorcycle, but you can't do anything about it at the moment. Back in the lounge, pass through the open doorway at the other corner to find a Save Point on the counter.
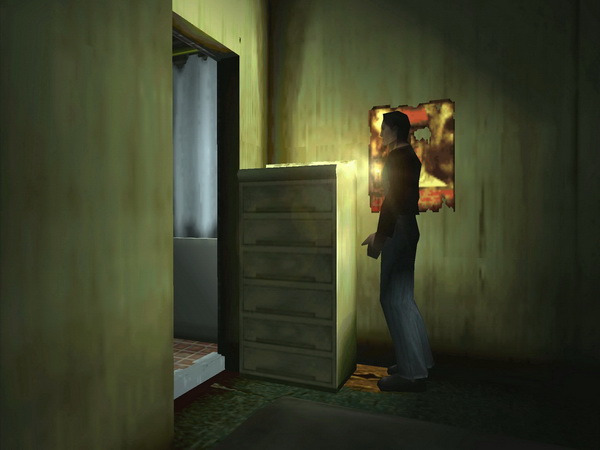
Unlock and exit through the door on the other side of the counter to the motel compound and parking lot. Motel Room 3The key that Kaufmann dropped has the number 3 on its tag so let's go there. Head to Harry's right just out the door and you'll find the 3 door right ahead. Use the Kaufmann Key to step inside. Note the big shelf partially covering a poster and give it a push from the side to uncover a hole in the floor. Take a look to notice a key down in the crack, but Harry can't reach it. Use the Magnet with its long string to get the 46 Motorcycle Key from the crack.
Your next destination should be clear if you entered the garage earlier, but don't miss the Health Drink in the washroom here first. Motorcycle GarageHead back into the office from the compound and make your way into the garage from the door beside the couch in the lounge. Unfortunately Harry won't be speeding away to the lake on the hog, but you may have noticed dust wiped away from its gas tank earlier.
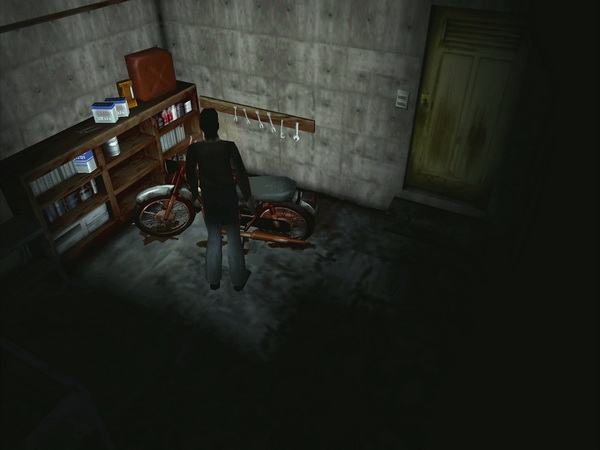
Use the Motorcycle Key to open the gas tank. Harry finds a small glass vial inside that looks a lot like the smashed one in the hospital, which you may or may not have picked up the liquid from with a bottle. So this was being hidden for some reason... Kaufmann shortly parades in and berates Harry for goofing off. Seriously, he's beyond pissed that you found this so it must be important. But with that attitude maybe he didn't deserve to be saved earlier. He snatches the vial and promptly leaves as he usually does and Harry thinks he might've wasted his time, but what you have done is locked yourself into one of the Good endings of the game. Exit the motel back to Weaver Street, or leave from the motel lot straight to Sandford Street. |
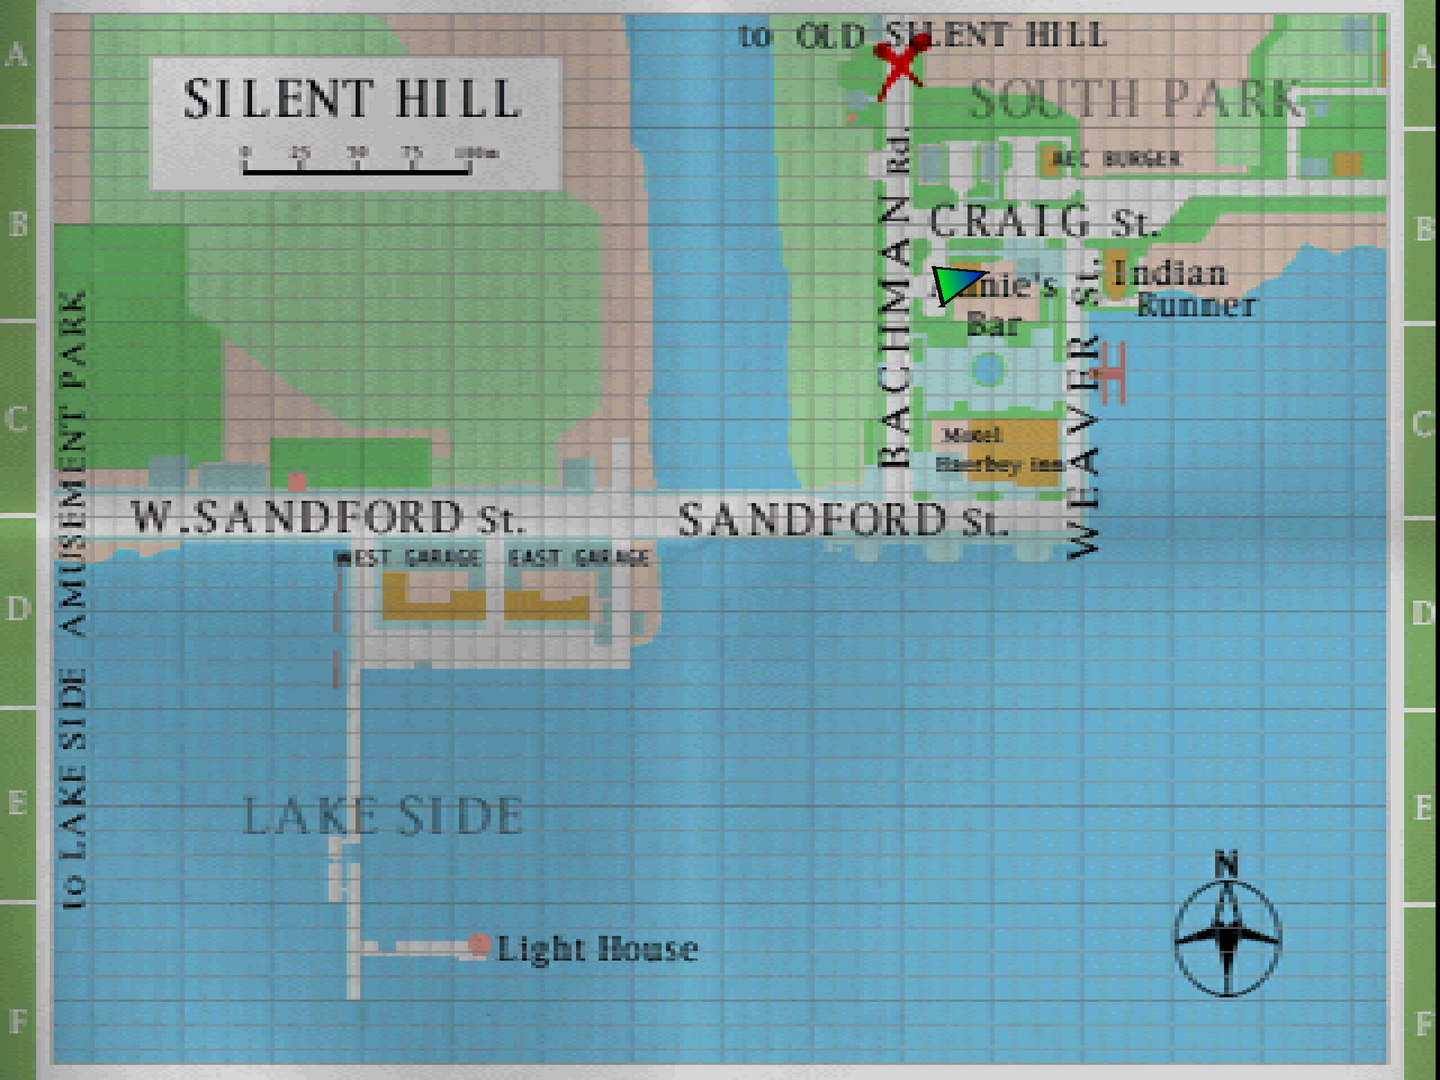
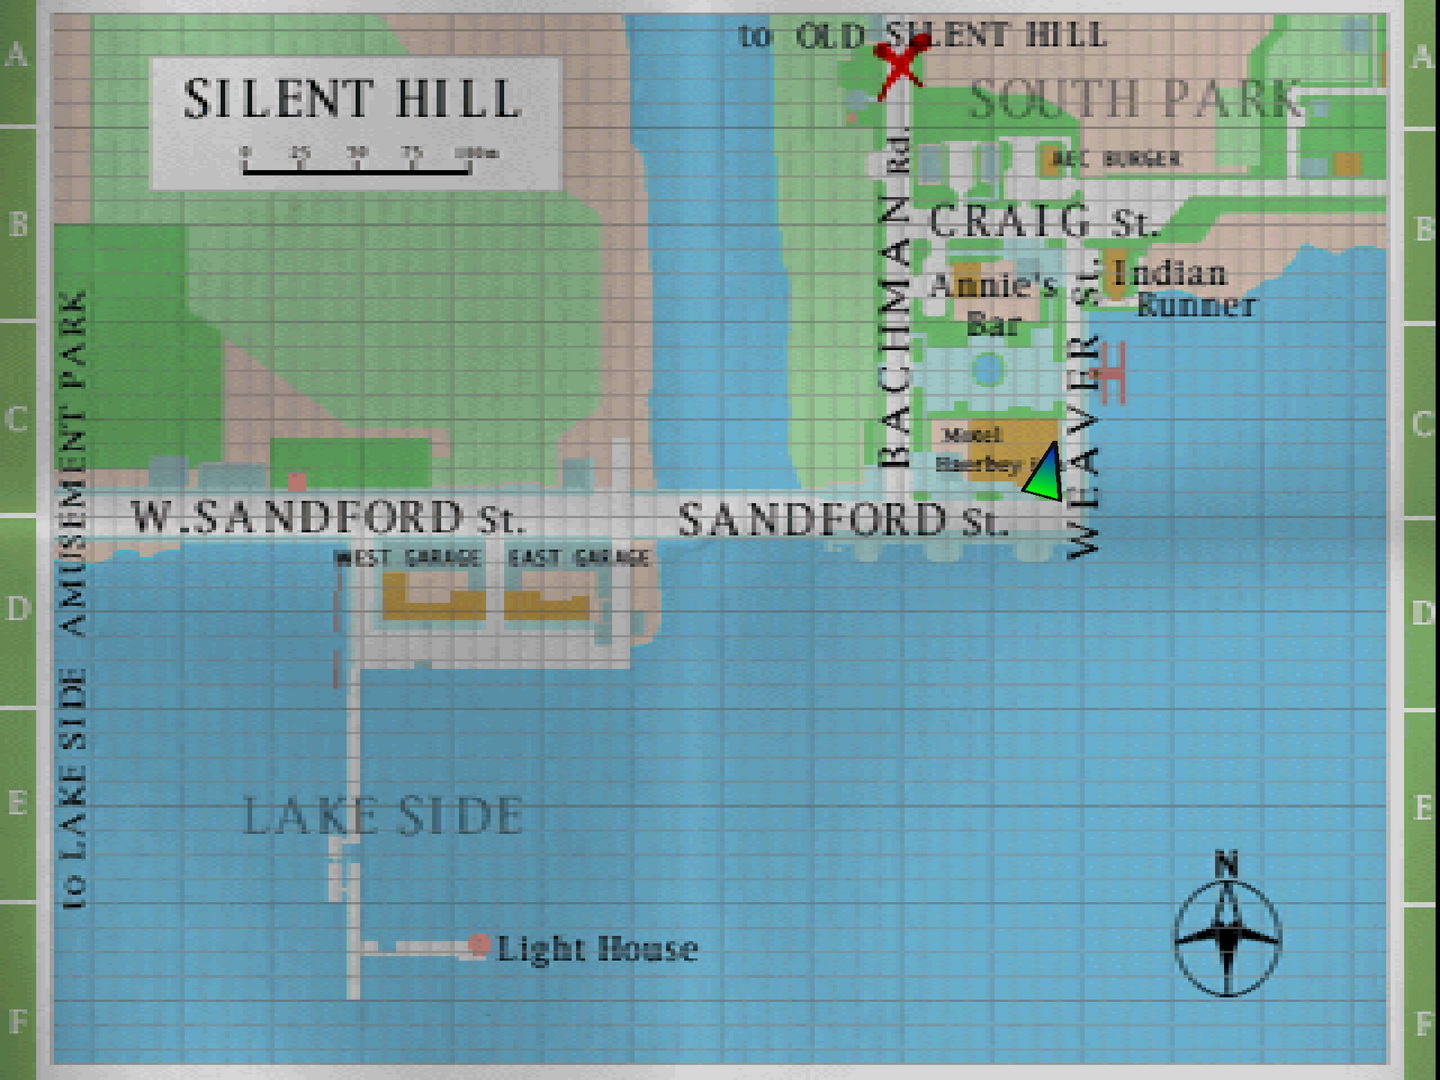
Heading to the Lake
Now with all that done or if it doesn't interest you in the first place, your goal is to head to the lake. Be mindful of an assortment of Rompers, Wormheads and Night Flutters as you make your way westward.
Under the "F" in SANDFORD St. on your map you can find a collapsed staircase with a Health Drink and Rifle Shells at the bottom. Continue west and cross the Sandford Street bridge to the sound of static.
| 10. Sewers (Connecting to Resort Area) | 12. Nightmare Silent Hill Resort Area |