
Dark Shrine Path
- Ebisugaoka Part 1
- Dark Shrine Path
- Ebisugaoka Part 2: Rice Fields
- Dark Shrine Corridors
- Ebisugaoka Part 3: To School
- Ebisugaoka Middle School
- Dark Shrine Worship Hall
- Ebisugaoka Part 4: Sugisato Forest
- Dark Shrine Main Hall
- Ebisugaoka Part 5: To Shimizu Residence
- Shimizu Residence
- Dark Shrine Treasure Hall
- Ebisugaoka Part 6: Tainted Town
- Dark Shrine Final Path
Welcome to the second chapter of the complete walkthrough guide for Silent Hill f, covering the Dark Shrine Path. Use the key summary below for essential, spoiler-free directions, including all missable trophy-related items and actions (items in italics are optional). For in-depth guidelines with extra explanations, refer to the complete walkthrough section. This guide also includes all New Game+ items and actions for your subsequent playthroughs.
Legend
- Hokora – shrines
- Capsule Case – key items
- Steel Pipe – weapons
- Omamori [Whale] – omamori
- Upgrade: Ema – character upgrades
- Local Doctor's Note – documents
- Housemaid’s Note – trophy-related documents
- Red Capsules – consumables
- Antique Comb (⛩300) – offerings
Collectibles
Counts of available trophy-related collectibles:
| Category | NG | NG+ | NG++ |
| Omamori | 1 | 1 | - |
| Ema | - | 1 | - |
| Inventory upgrades | - | - | - |
| Inari-sama's seals | - | 1 | - |
| Documents | - | - | - |
Key Summary
- Solve the Altar Puzzle by placing the offerings on the correct plates:
- Story:

- Hard:

- Lost in the Fog:

- Story:
- Leave the Grand Hall.
- Follow Fox Mask until you arrive at the shrine, where you will receive a Kaiken.
- Go north to the locked door with Inari statues.
- Go east to the locked Shrine Vault.
- Return to the shrine where you received the Kaiken and examine the doll for the clues (This can be skipped in New Game+).
- Omamori [Cat]. Look for the cat ema in the southwestern section to receive this omamori.
- New Game+: Upgrade: Ema is found on a rock at the north end of a small peninsula in the new southeastern section of the map.
- New Game+: Omamori [Shrew Mole] is inside the Inari-sama box at the base of the giant tree in the southeast of the map.
- Find three correct ema to learn the combination and receive the missing Combination Lock Dial (not needed in New Game+).
- Trophy/Achievement: Untouchable. Open the Shrine Vault without getting hit by a monster.
- Dried Carcass (⛩200) is found on a rock across the bridge from the Hokora shrine to the west.
- Solve the Shrine Vault Puzzle by inputting the correct symbols found on the back of the emas:
- Story: Crane - Serpent - Tortoise

- Hard: Lighting - Decayed Tree - Kudzu

- Lost in the Fog: Yokai of the Carriage (2nd symbol) - Yokai of the Umbrella (4th symbol) - Yokai of the Kettle (3rd symbol)

- Story: Crane - Serpent - Tortoise
- Pick up the Stone Key from the altar.
- Head to the door with Inari statues escaping from the monsters.


Complete Walkthrough
Find a way out
Hinako awakes in a new place called Dark Shrine, and now you will have to find a way out. Go directly to the altar in front of you to solve a puzzle.
Altar Puzzle
Read the poem in front of the altar:
Thy restless heart betrays thee as unfit for this auspicious day.
Thou must first pay respect to the gods and the spirits of thine ancestors.
A restless heart leads to a corrupt soul.
Only through sufficient offerings laid upon many stands may thy soul be cleansed.
The puzzle aims to put five offerings onto the correct pedestals, which are:
- A wooden fan
- An urn
- A rat's carcass wrapped in leaves
- A bird's carcass in a robe
- Wrapped dried fish
Story Mode Solution
Match the knot symbols found on the pedestals with the knots wrapped around the offerings, arranging them from left to right in this order:
|
||||
|

Hard Mode Solution
The pedestals have different plant symbols. You will have to inspect the offerings and find the matching symbols depicted somewhere upon them. Place the offerings in the following order:
|
||||
|

Lost in the Fog Mode Solution
The poem is different in this difficulty, and there are no symbols whatsoever on the pedestals:
Kudzu, respected by all and a leader of the people, was wed to Pine.
Plum, loved by all and always at the center of any group, was wed to Bamboo.
Chrysanthemum, who had no mate, spent their days studying under Kudzu and became known as the "Sage of the East."
Let the prosperity of our clan be eternal.
To make sense of the poem, let's inspect the offerings:
- We will start with the bird's robe, which depicts plum blossoms. It is said that Plum is at the center of the group, so it goes onto the bottom-middle pedestal.
- The wooden fan looks like it is made of bamboo, and it sits close to Plum, either to the left or the right.
- The rat's carcass is wrapped in kudzu leaves. The dried fish has pine needles on it, and since Kudzu and Pine are married, they go together in the top row. We need to figure out their order first.
- The urn has a flower symbol, so it's a Chrysanthemum. It has no pair and sits in the east, so it goes on the bottom-right pedestal.
- Chrysanthemum is under Kudzu, so the rat goes onto the top-right pedestal, while the fish is next to it on the left.
- That leaves us with the fan that sits on the remaining pedestal to the left of the bird.
The final order will be:
|
||||
|

Leave the Grand Hall
After solving the puzzle, the room will fill with red light, and you will need to leave it as quickly as possible, as Hinako's sanity will start to drain slowly – head for the door ahead, where a stranger in a fox mask will meet you.
Follow Fox Mask
Follow Fox Mask through a series of torii gates and boards with ema or prayer tablets. You will eventually arrive at the shrine at the center of a junction, where, after a cutscene, you will receive a dagger – Kaiken. By the way, in Dark Shrine, all weapons are unbreakable, which is good news for us.
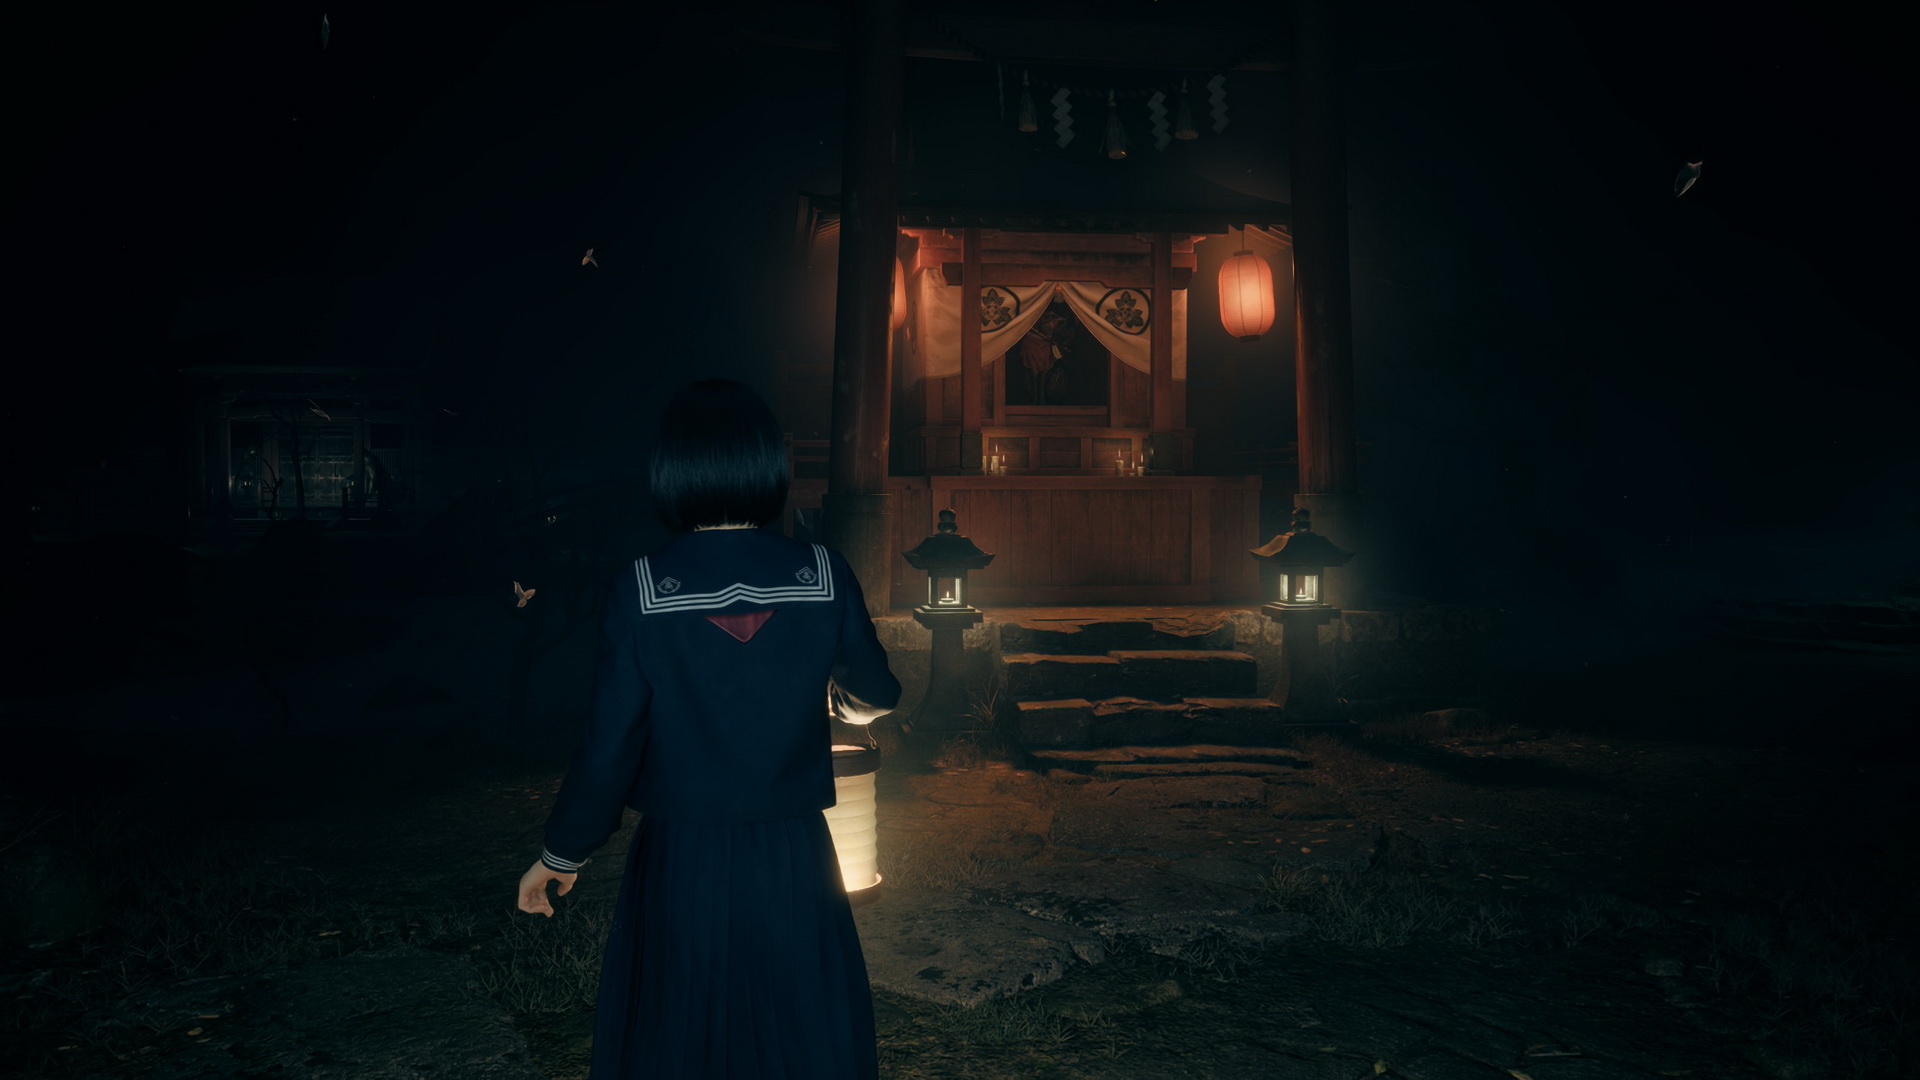
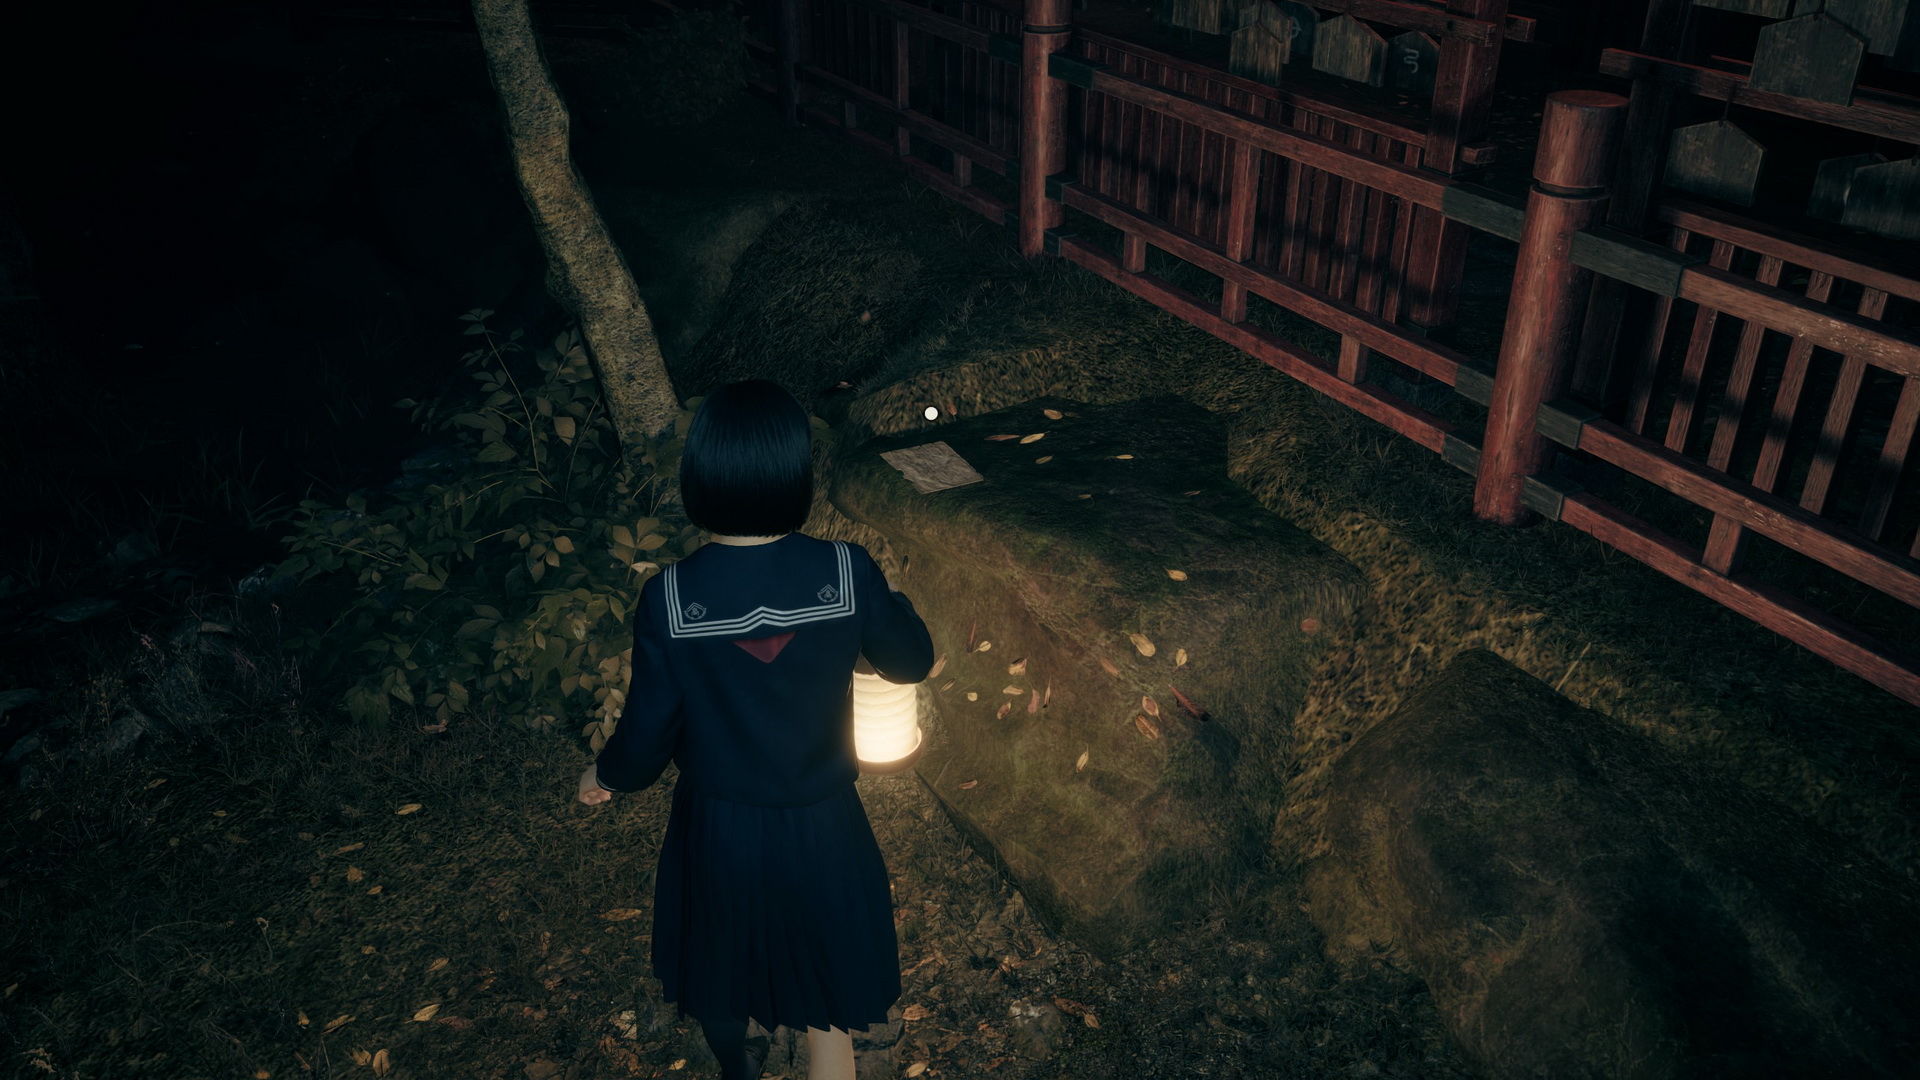
To the west of the shrine, you will find a Higashi (⛩80) on the ground. Go to the south and pick up a Scrap of Paper (2) on a rock behind the ema boards in the southern section. You can also read a writing on the rocks.
 |
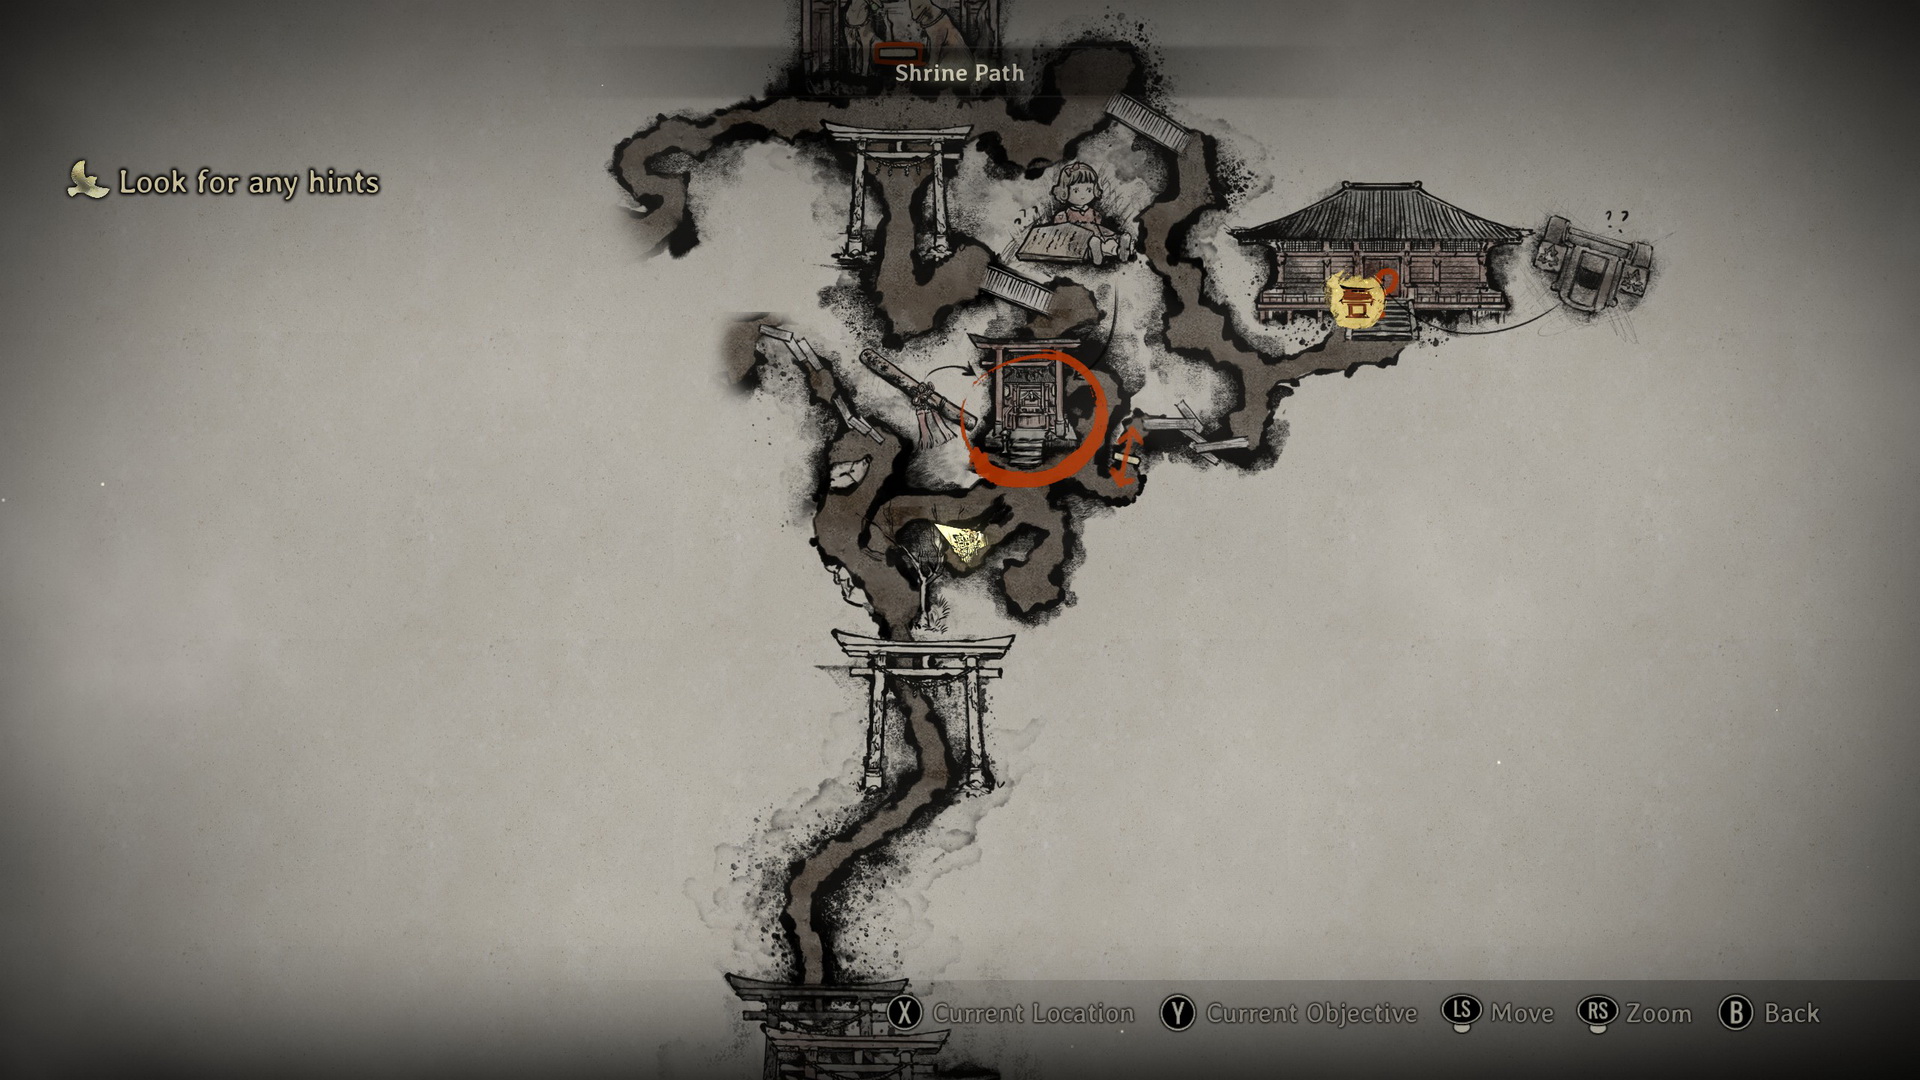 |
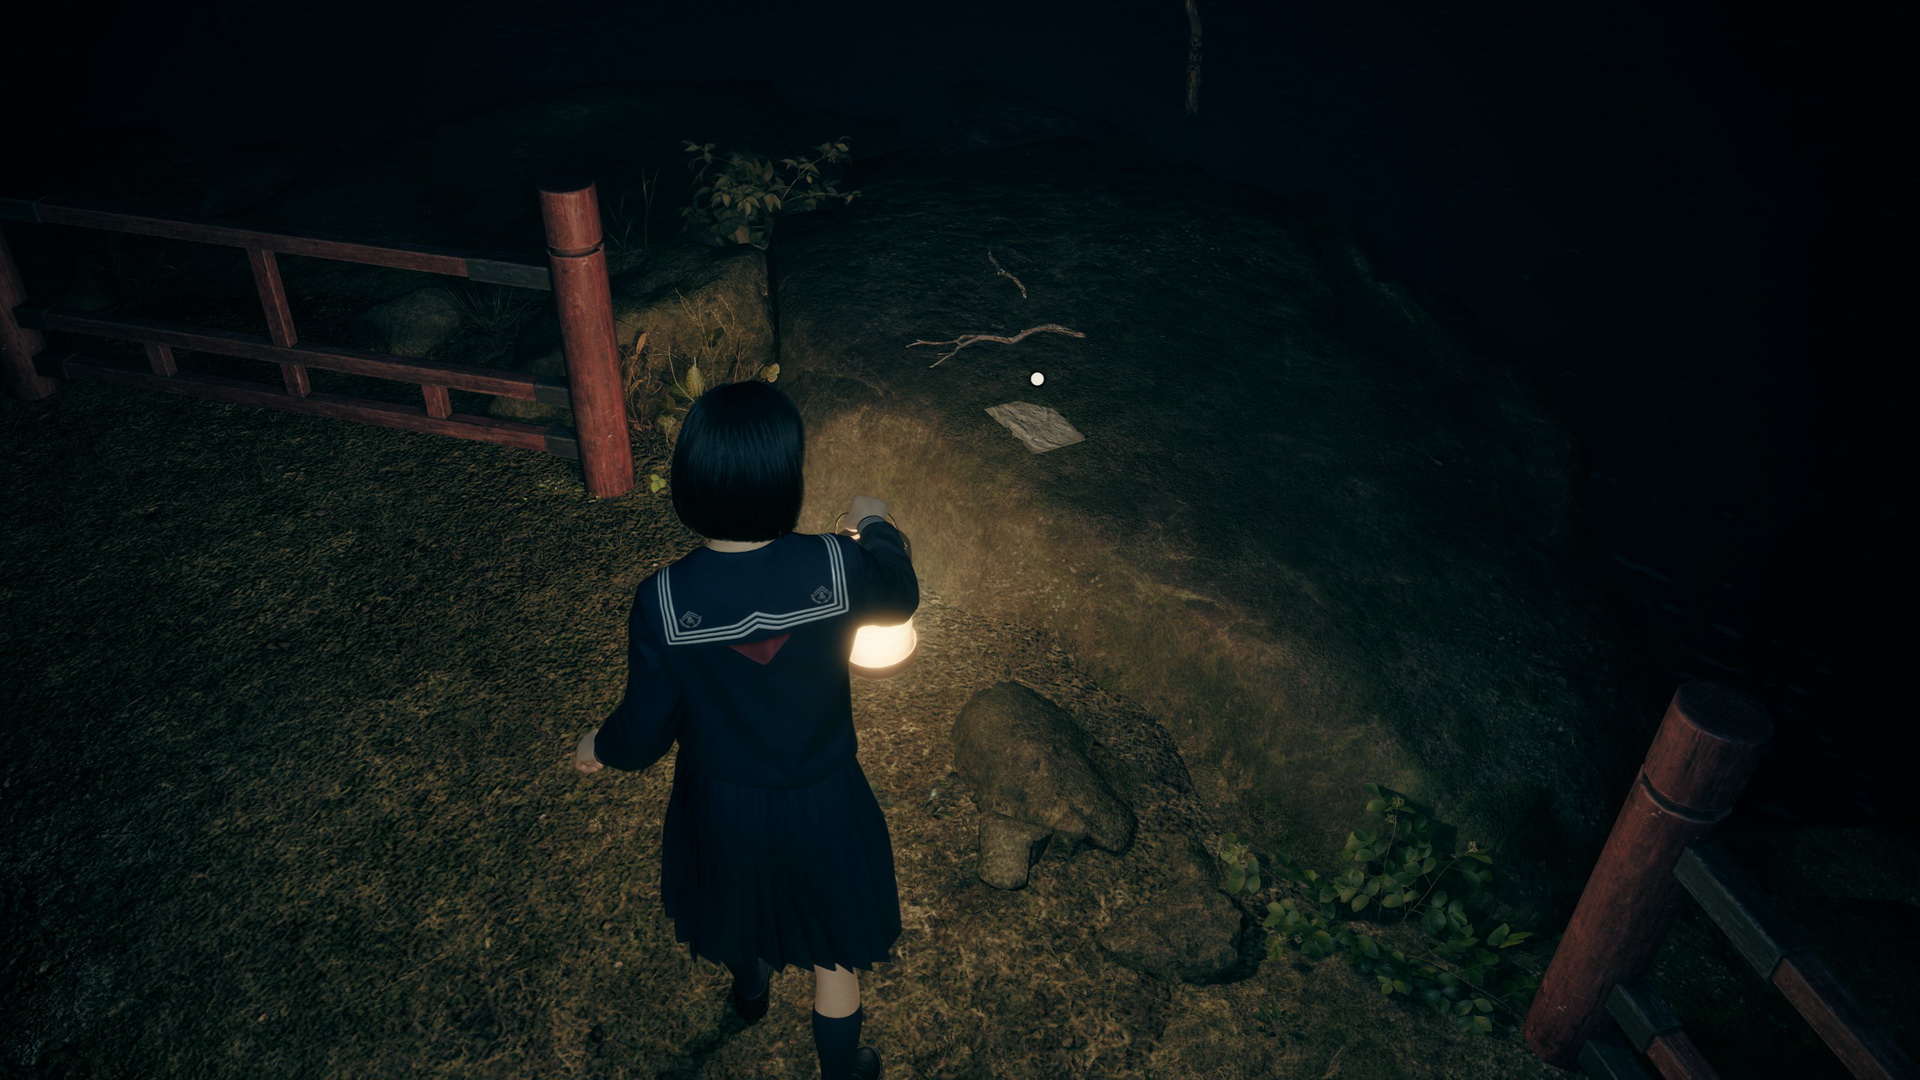
Go back and continue following Fox Mask, as you cannot go anywhere else until you reach the closed gate. After the cutscene, go east. Cross the bridge and pick a Scrap of Paper (1) on a rock between two fences.
 |
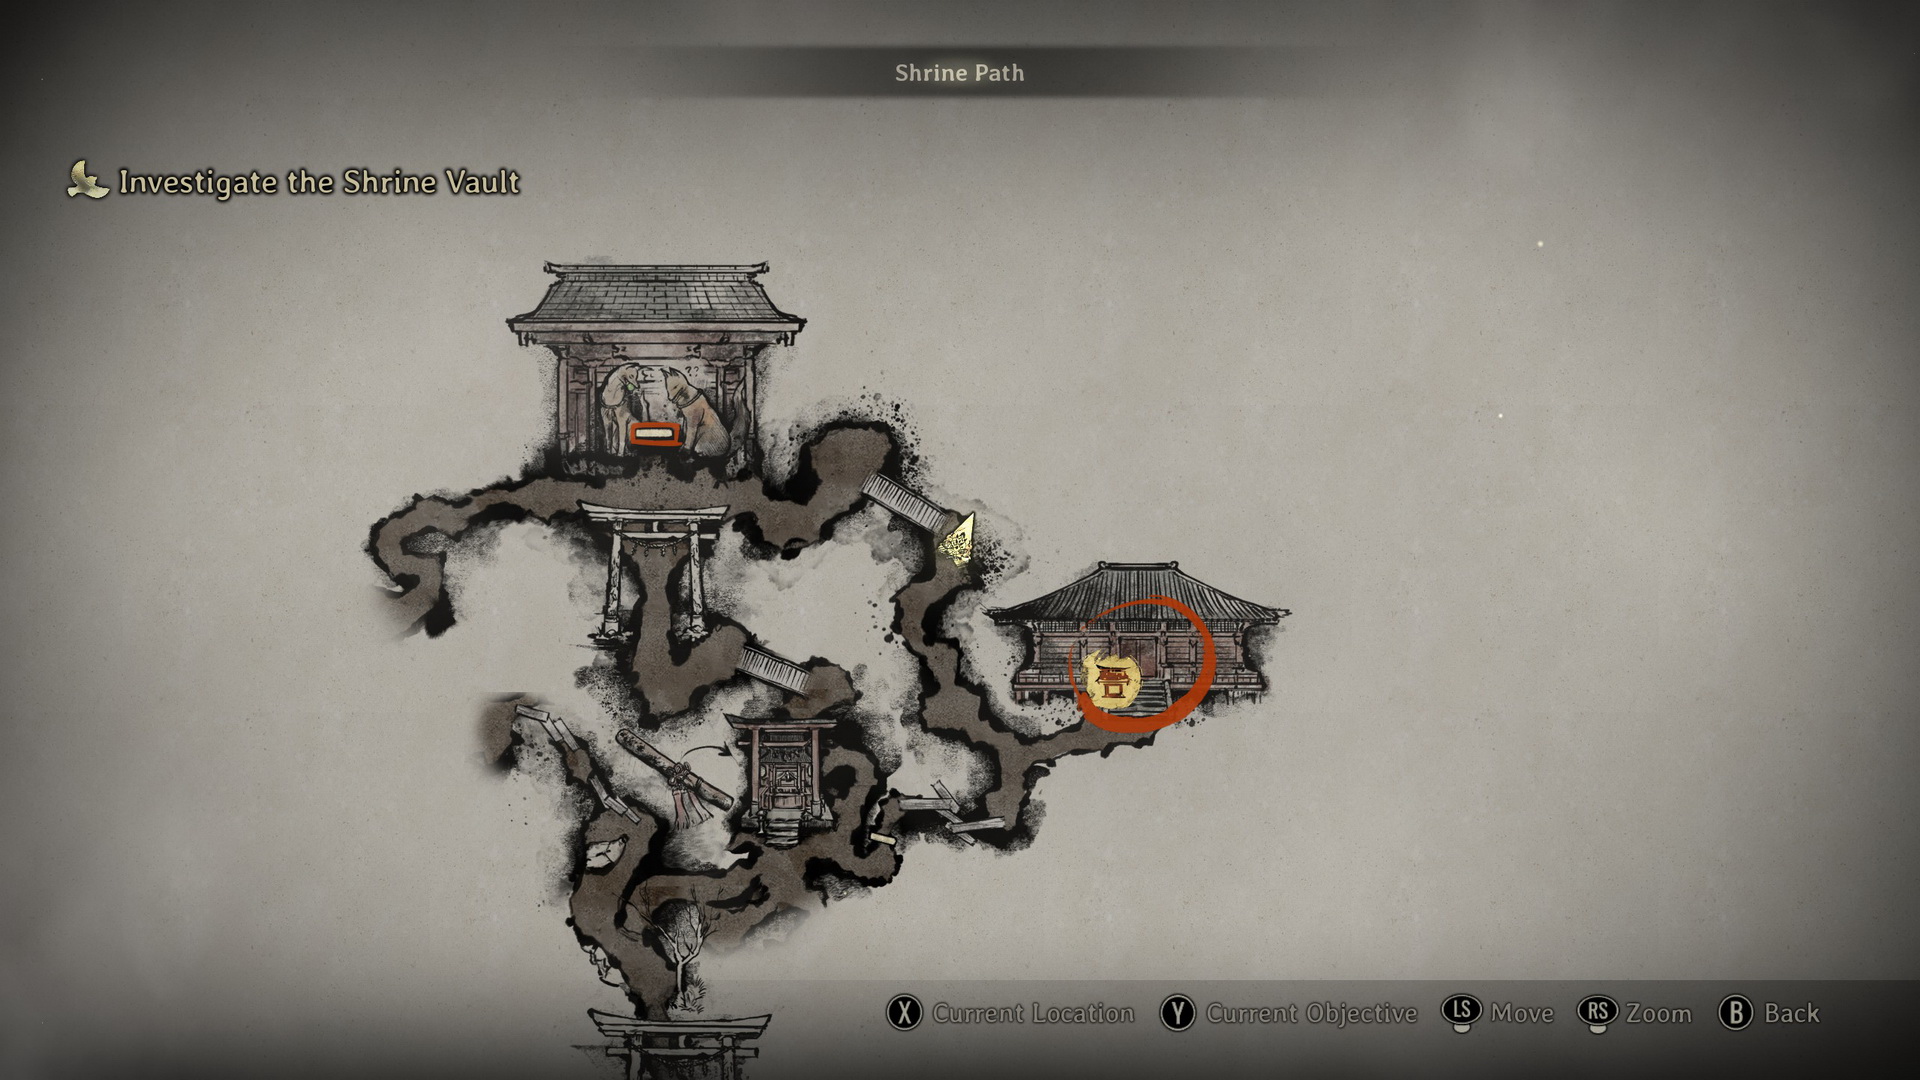 |
To the south, there's a Bandage on a rock to your right. Go on, and you will soon arrive at the Shrine Vault.
Investigate the Shrine Vault
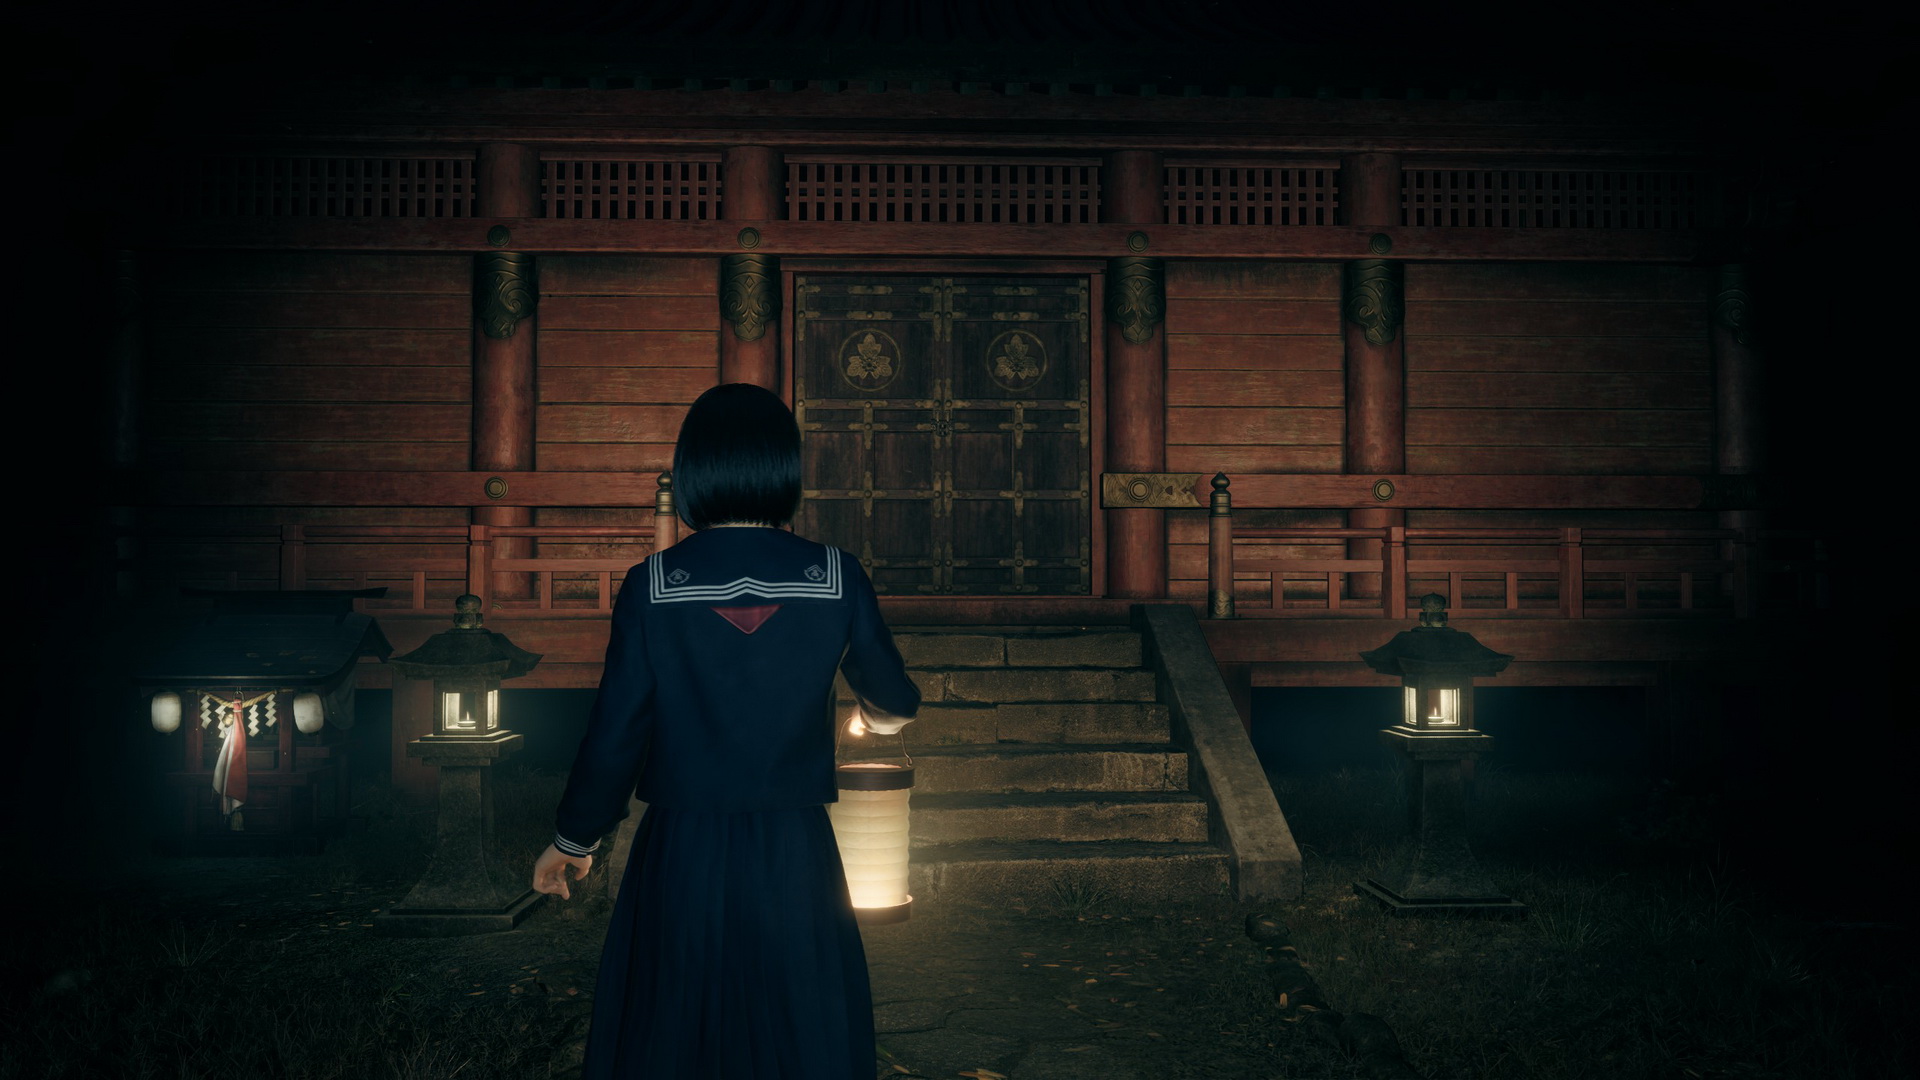
To the left of the entrance, there's a Hokora shrine and a Yokan (⛩30) right next to it. At the top of the stairs, there are Red Capsules. Finally, approach the door to get your next objective. If you check the door, you will also see that one of the combination dial locks is missing (in New Game+, all locks are in place, so you can skip collecting the emas and open the vault right away).
Look for any hints
Go southwest, cross the wooden boards, check another stone writing, take a Divine Water (⛩50) in front of the gate, and proceed through it, unlatching it. Approach the doll at the shrine, and you will get a clue for your next puzzle.
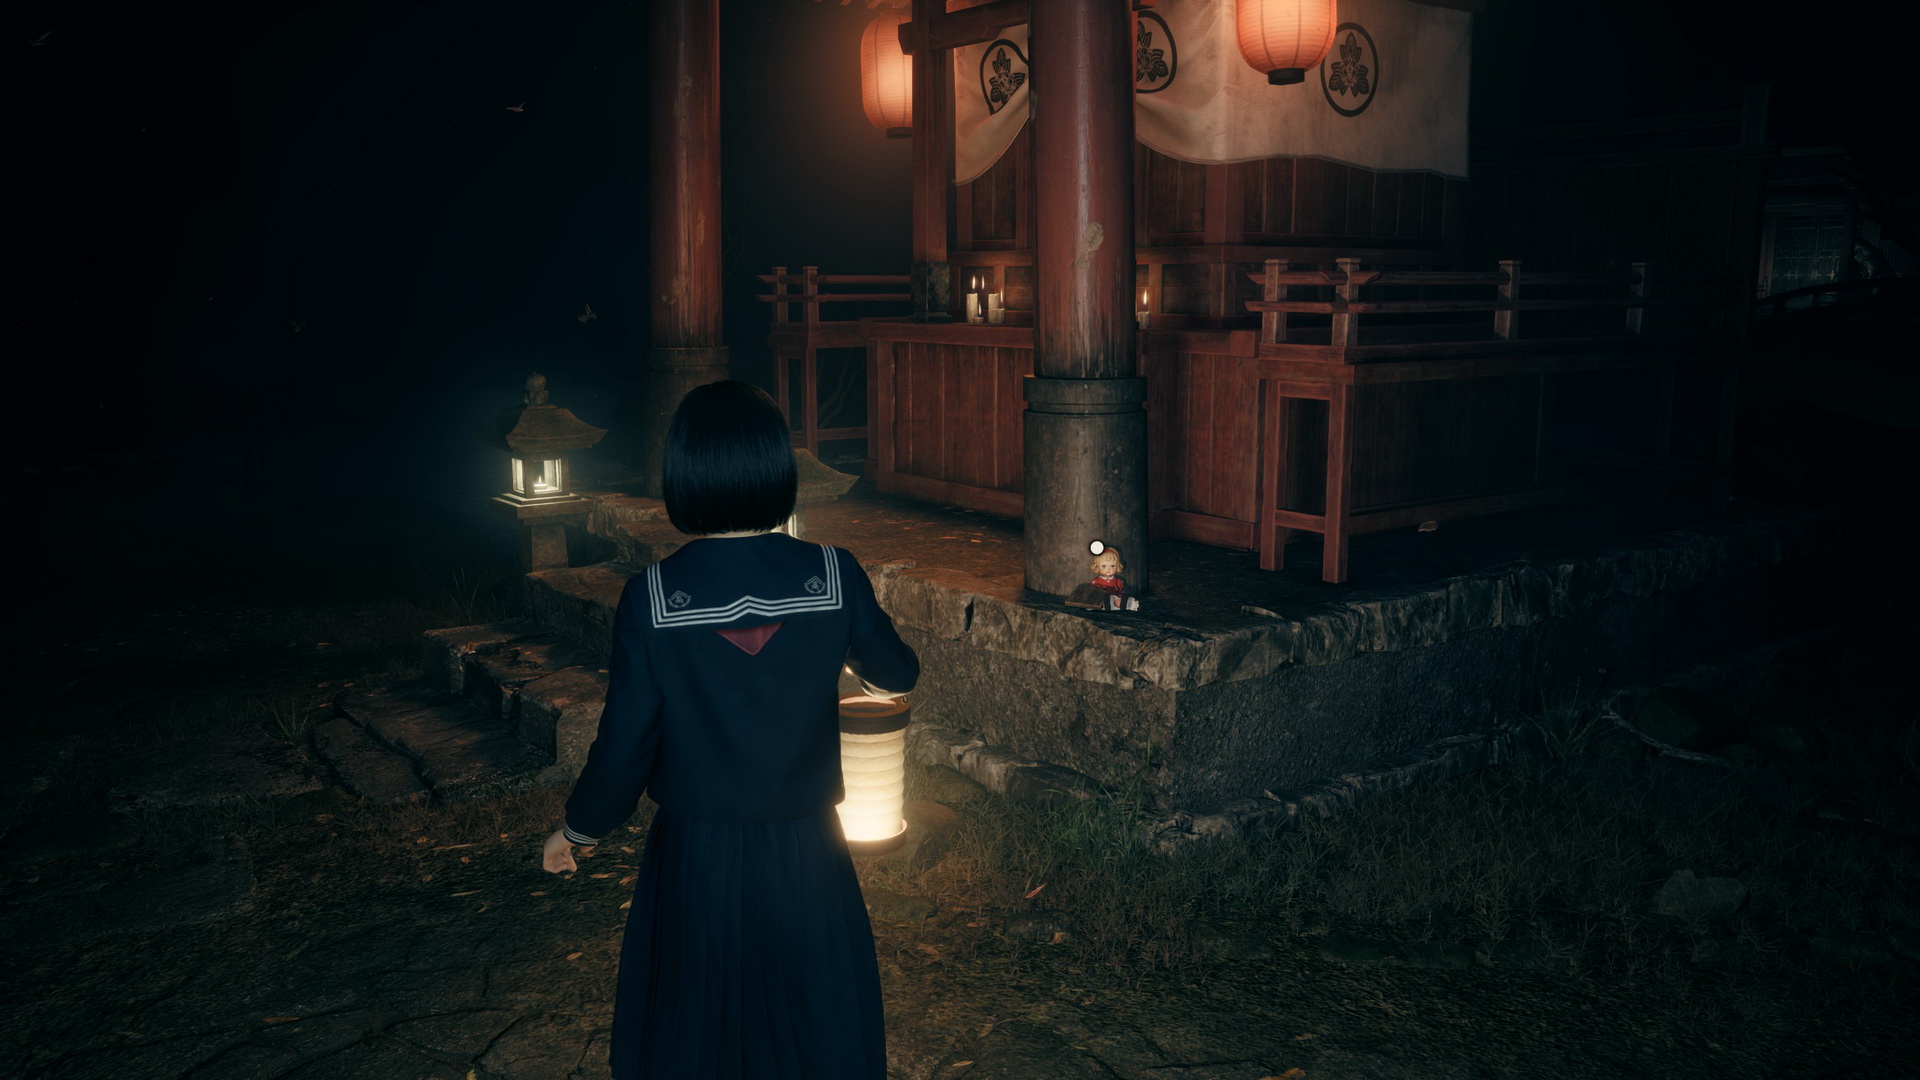
You will need to locate three emas, wooden prayer plaques with the symbols on their backs, and the doll message will tell you what you will be looking for.
Story
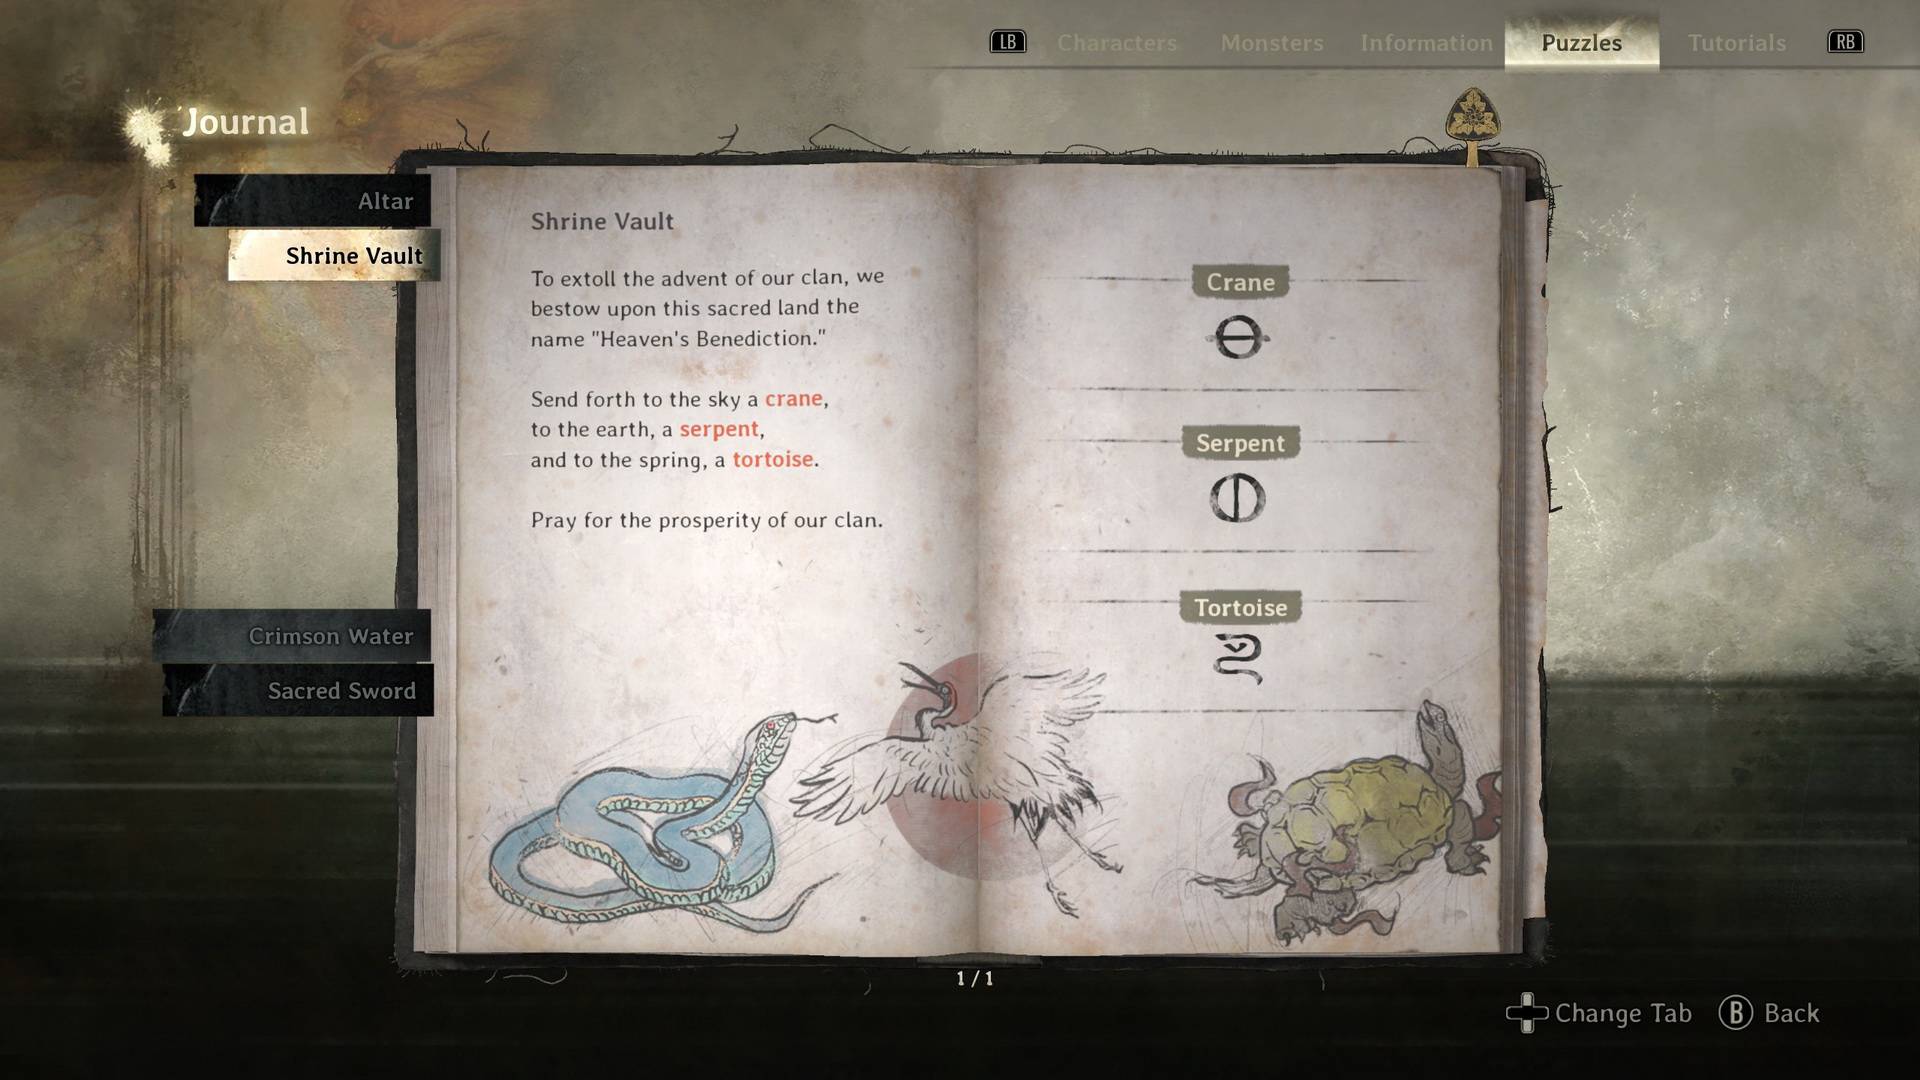
To extoll the advent of our clan, we bestow upon this sacred land the name "Heaven's Benediction."
Send forth to the sky a crane;
to the earth, a serpent;
and to the spring, a tortoise.Pray for the prosperity of our clan.
Hard
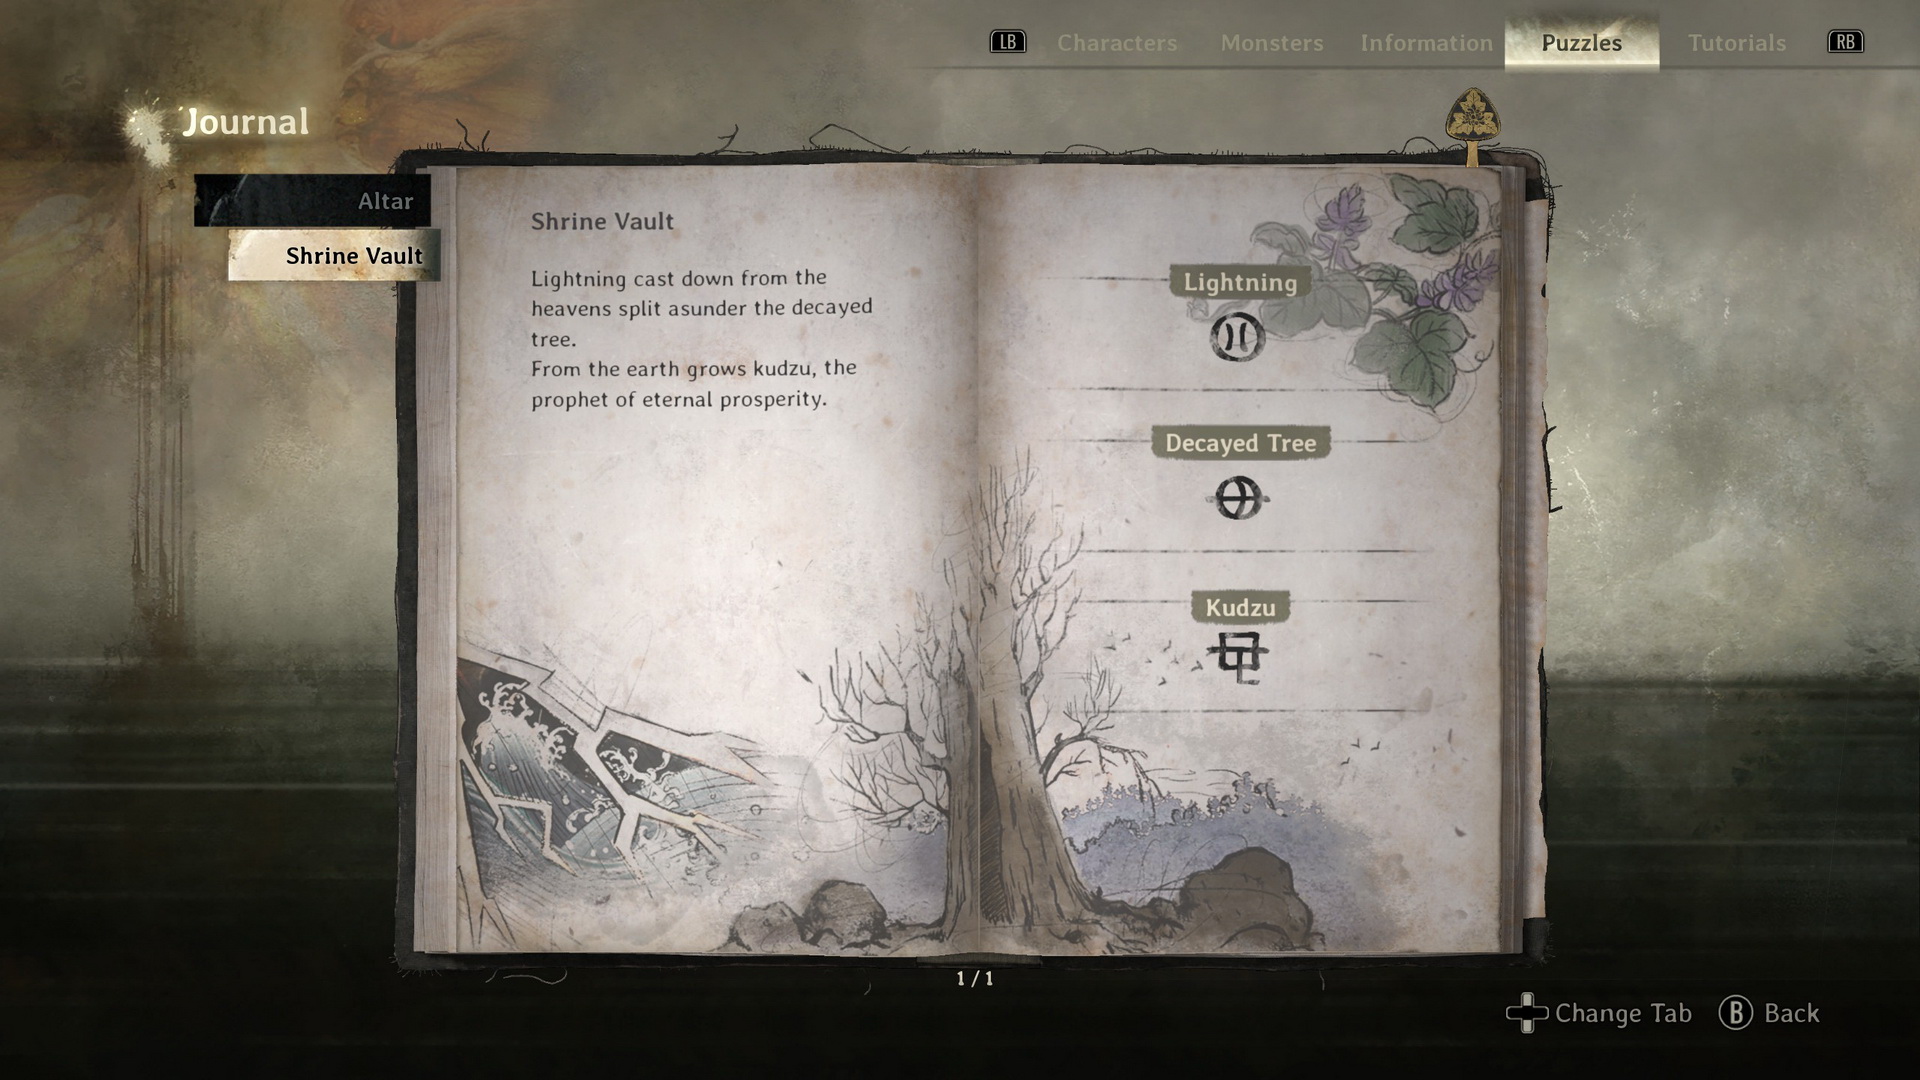
Lighting cast down from the heavens split asunder the decayed tree.
From the earth grows kudzu, the prophet of eternal prosperity.
Lost in the Fog
To those corrupted souls who dare encroach upon our sacred land, may you be met with calamity and destruction.
The Yokai of the Carriage had their heads removed.
The Yokai of the Umbrella, their arms.
And the Yokai of the Kettle, their legs.Only the losses of each shall purify this corruption.
Immediately after, you will be engaged in a combat with a new monster with shackles, called Kamugara. Defeat the monster, using your dagger, to be able to explore the area safely.
Trophy/Achievement: Untouchable |

Avoid being hit by the monster in this area before you open the Shrine Vault. Have in mind that it cannot be killed completely, and it will reanimate after some time, so you may need to battle it a couple of times. |
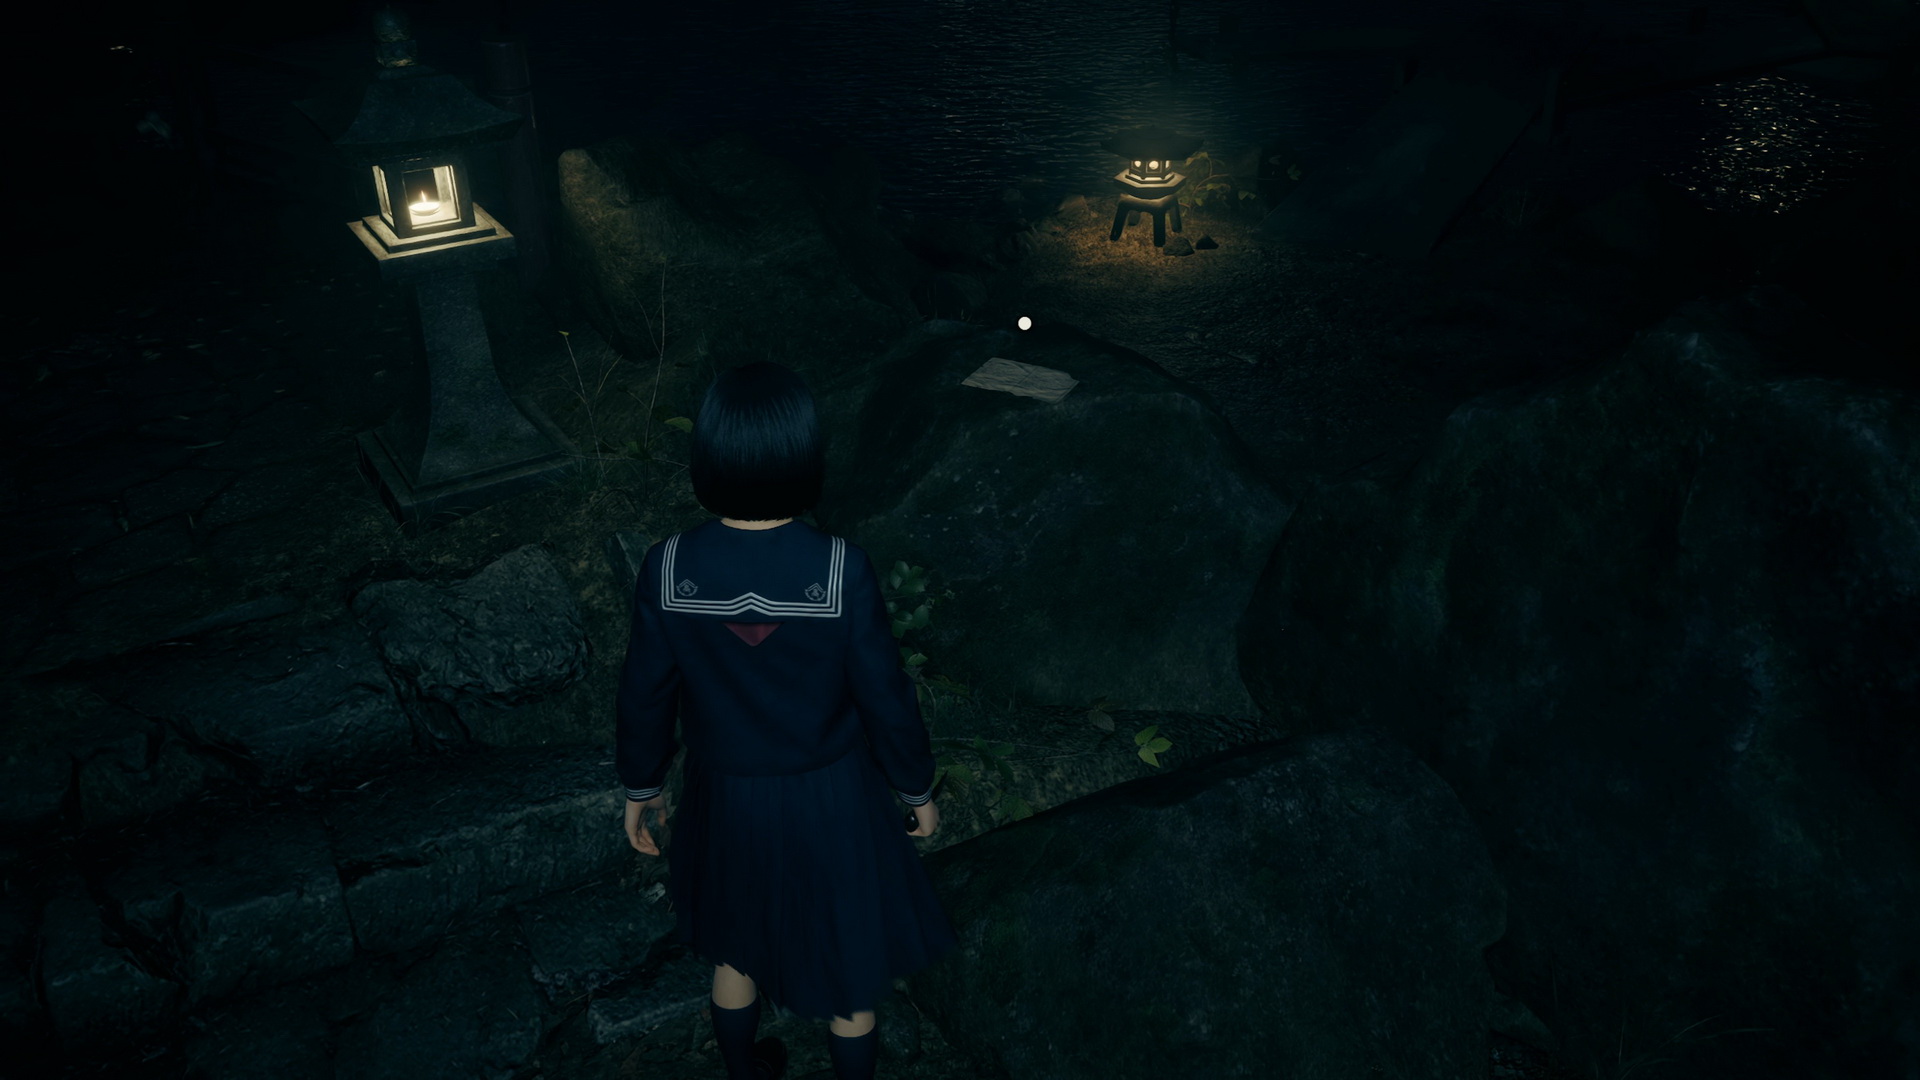
New Game+A Scrap of Paper (3) can be found on a rock next to a doll.
|
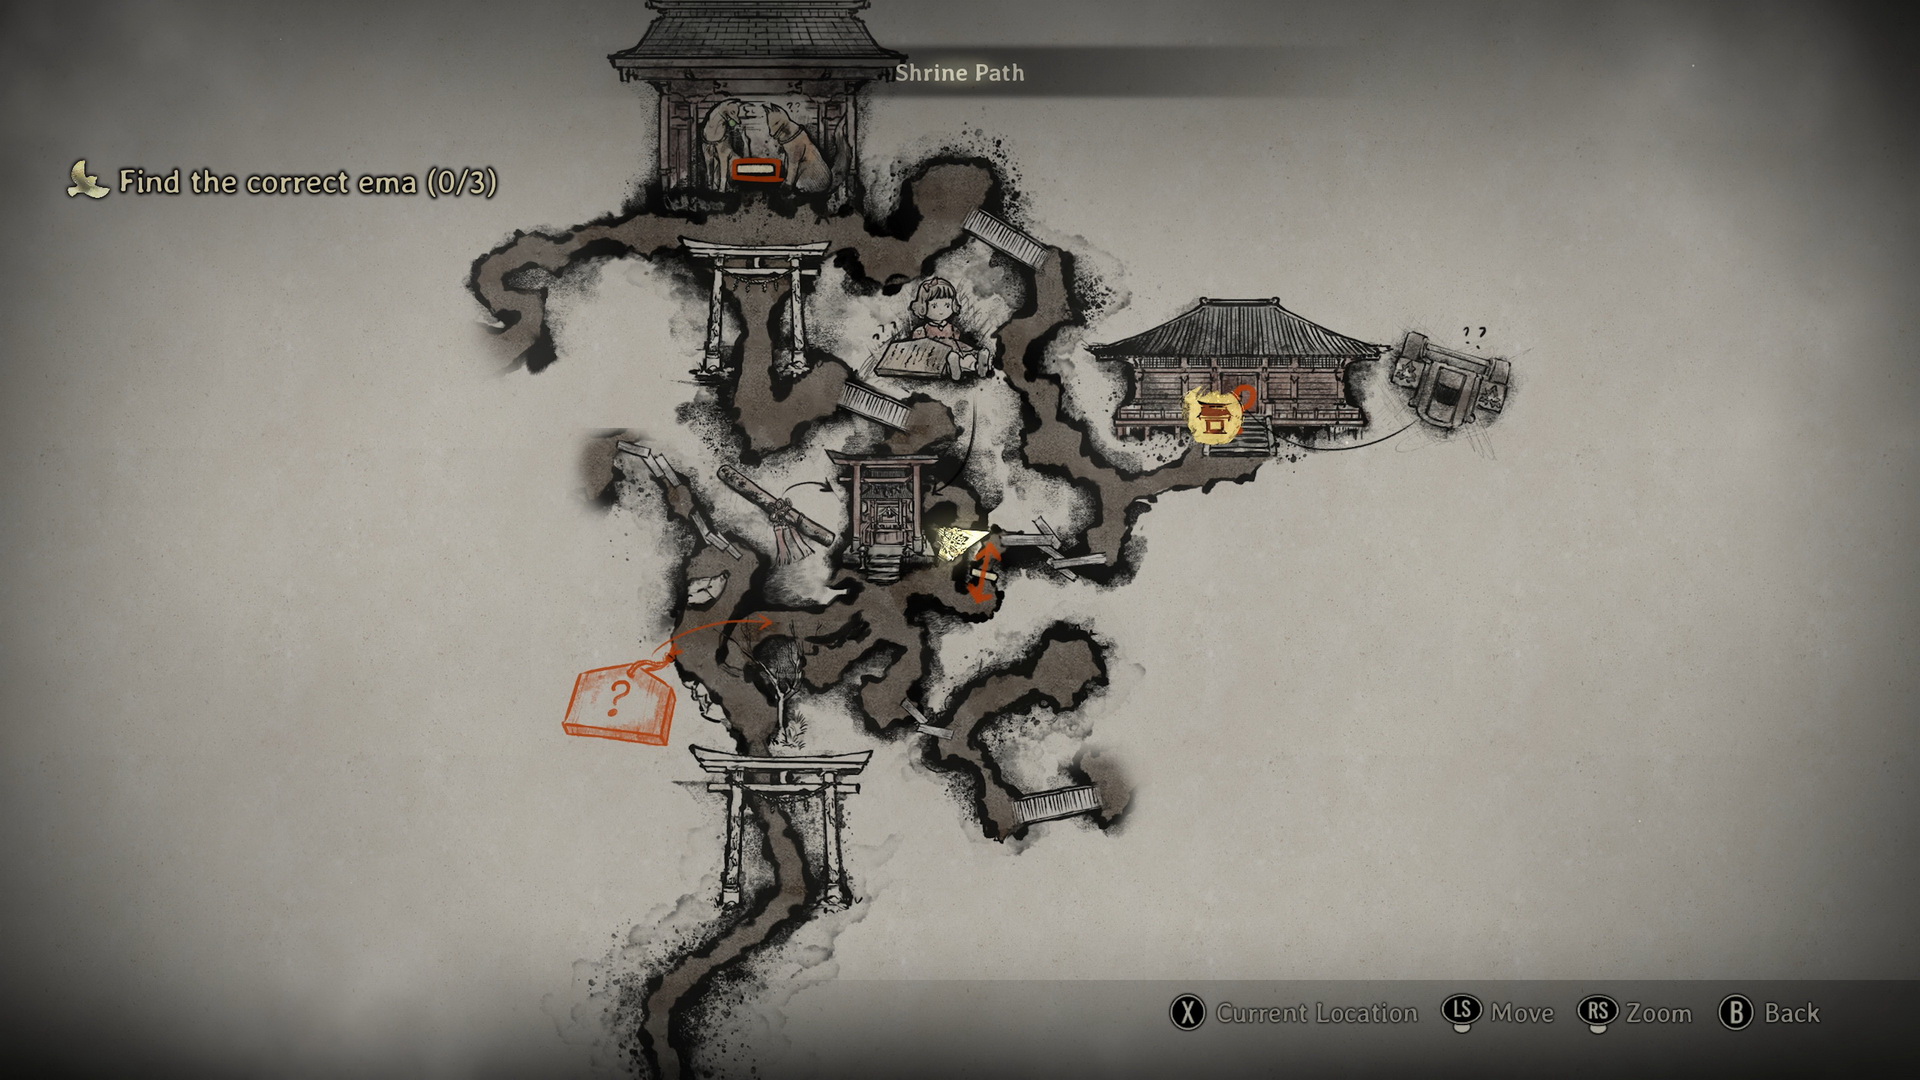
Find the correct ema (0/3)
Before you proceed further, go to the small appendix in the south to pick up an Inari Sushi (⛩150).
New Game+In New Game+, there's a whole new area to the southeast that you can explore. Cross the bridge and go left to find an Upgrade: Ema at the dead-end (replaced with a Higashi (⛩80) in later NG+ games if picked up).
Now go to the island to the east with a huge tree. At the base of the tree, you will find an Inari-sama box with A Perspective on Hierogamy (1) and the Omamori [Shrew Mole] (replaced with a Higashi (⛩80) in later NG+ games if picked up).
|


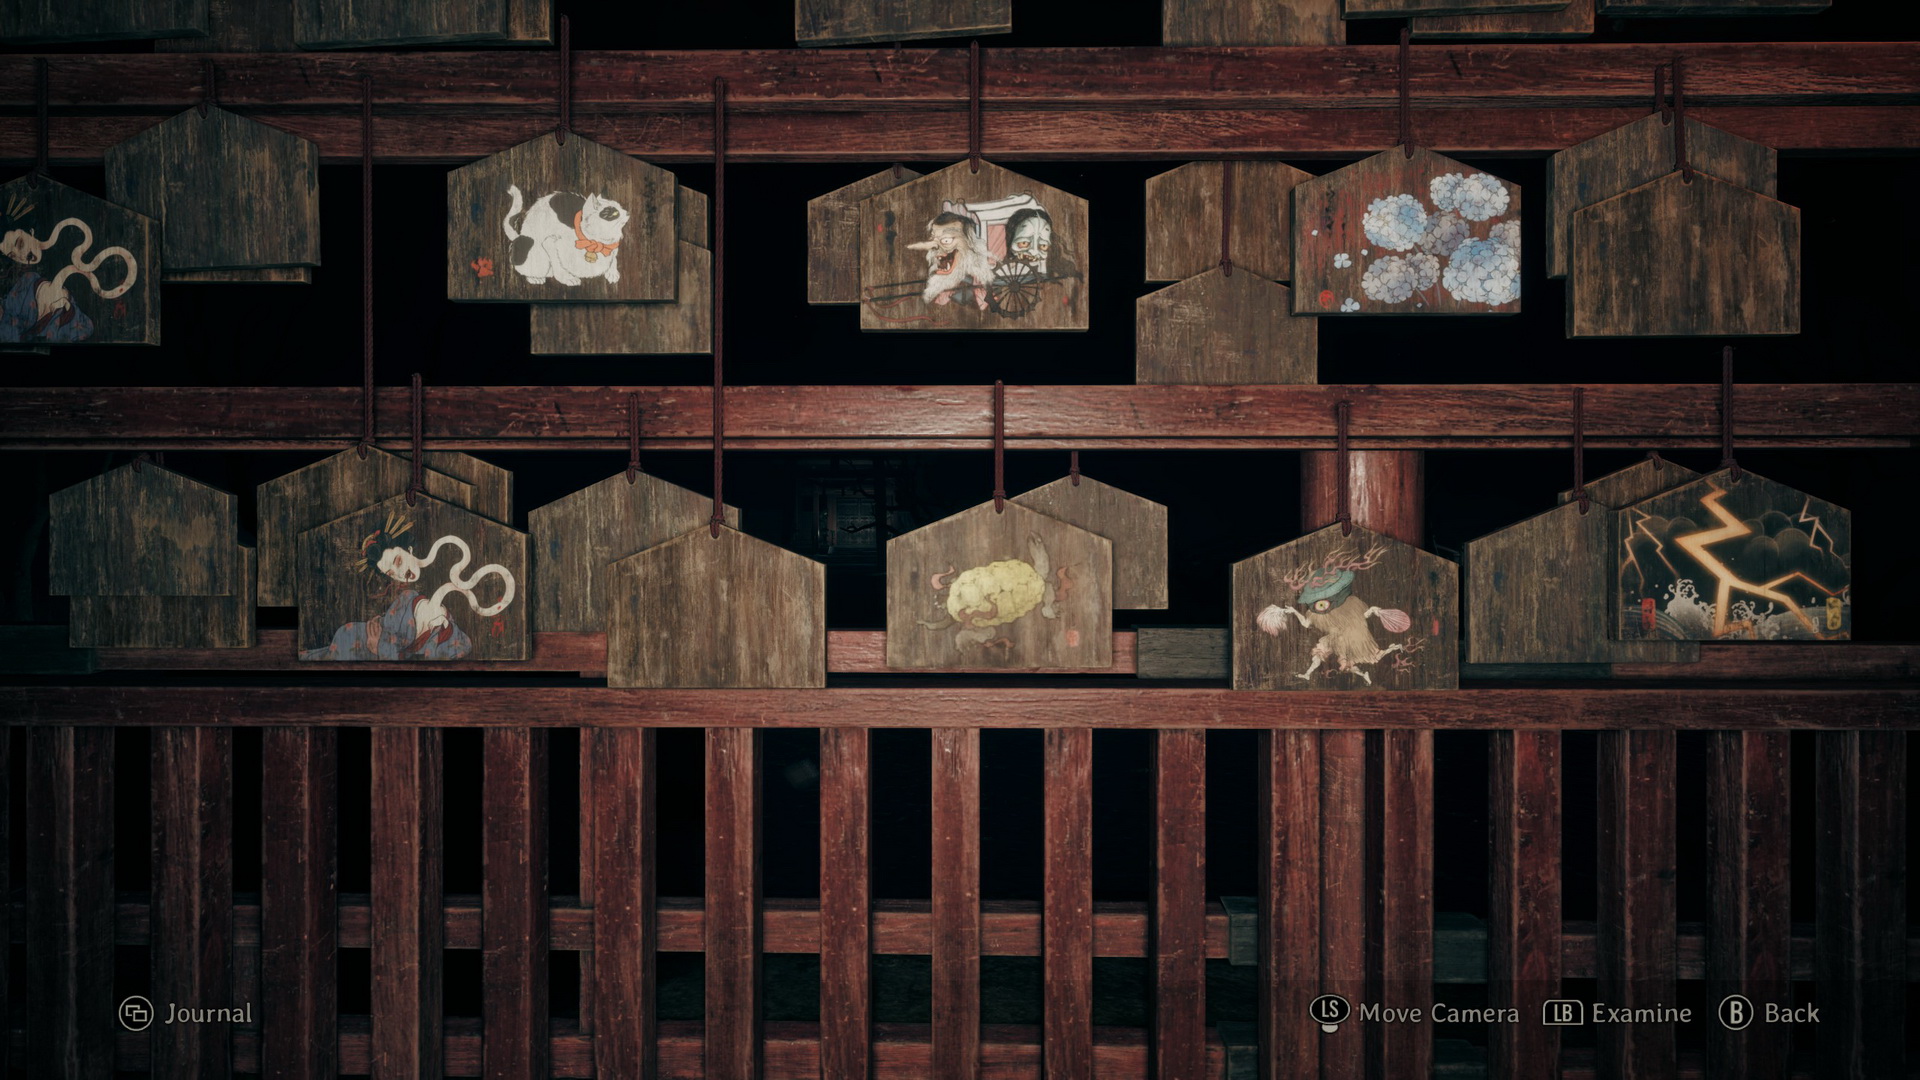
Next, explore the first area with the emas to the southwest of the central junction.
Story Mode
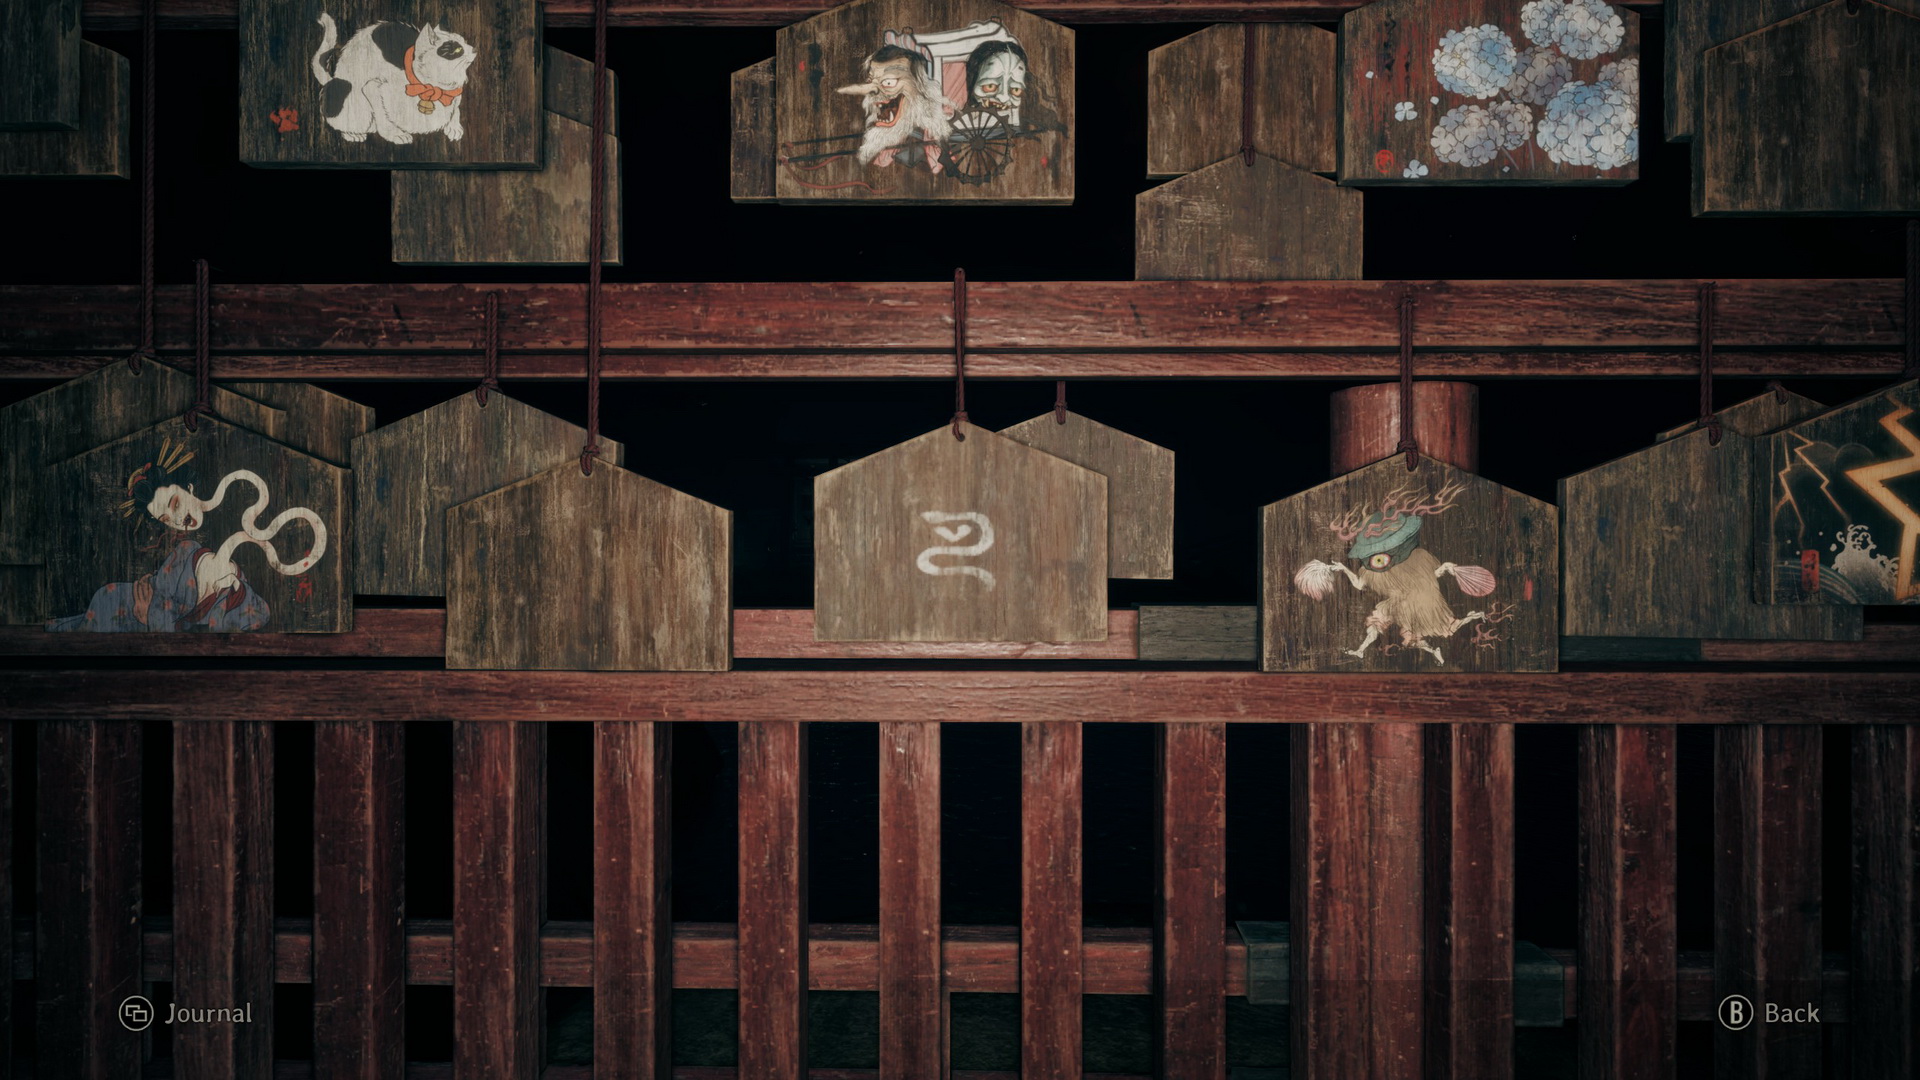
Look for the ema with a picture of a tortoise.
 |
 |
Hard Mode
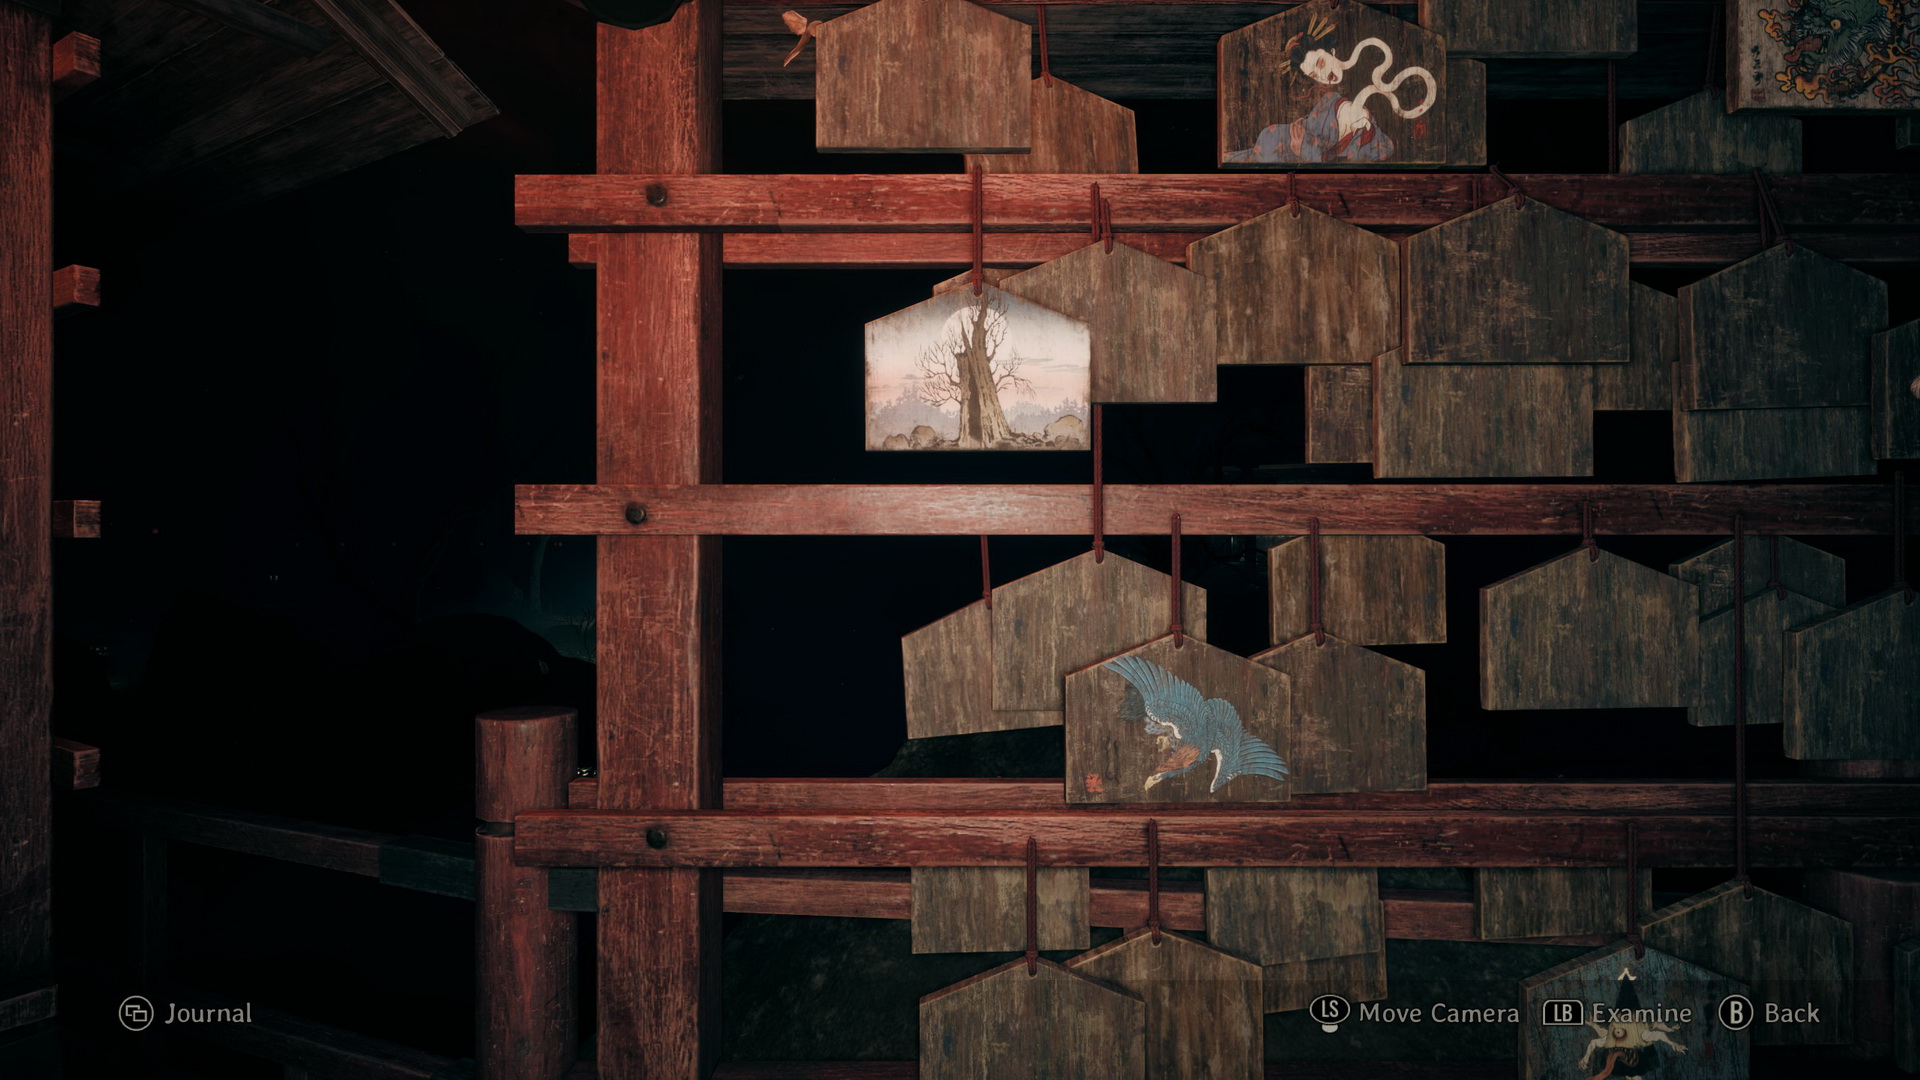
Look for the ema with a picture of a decayed tree.
 |
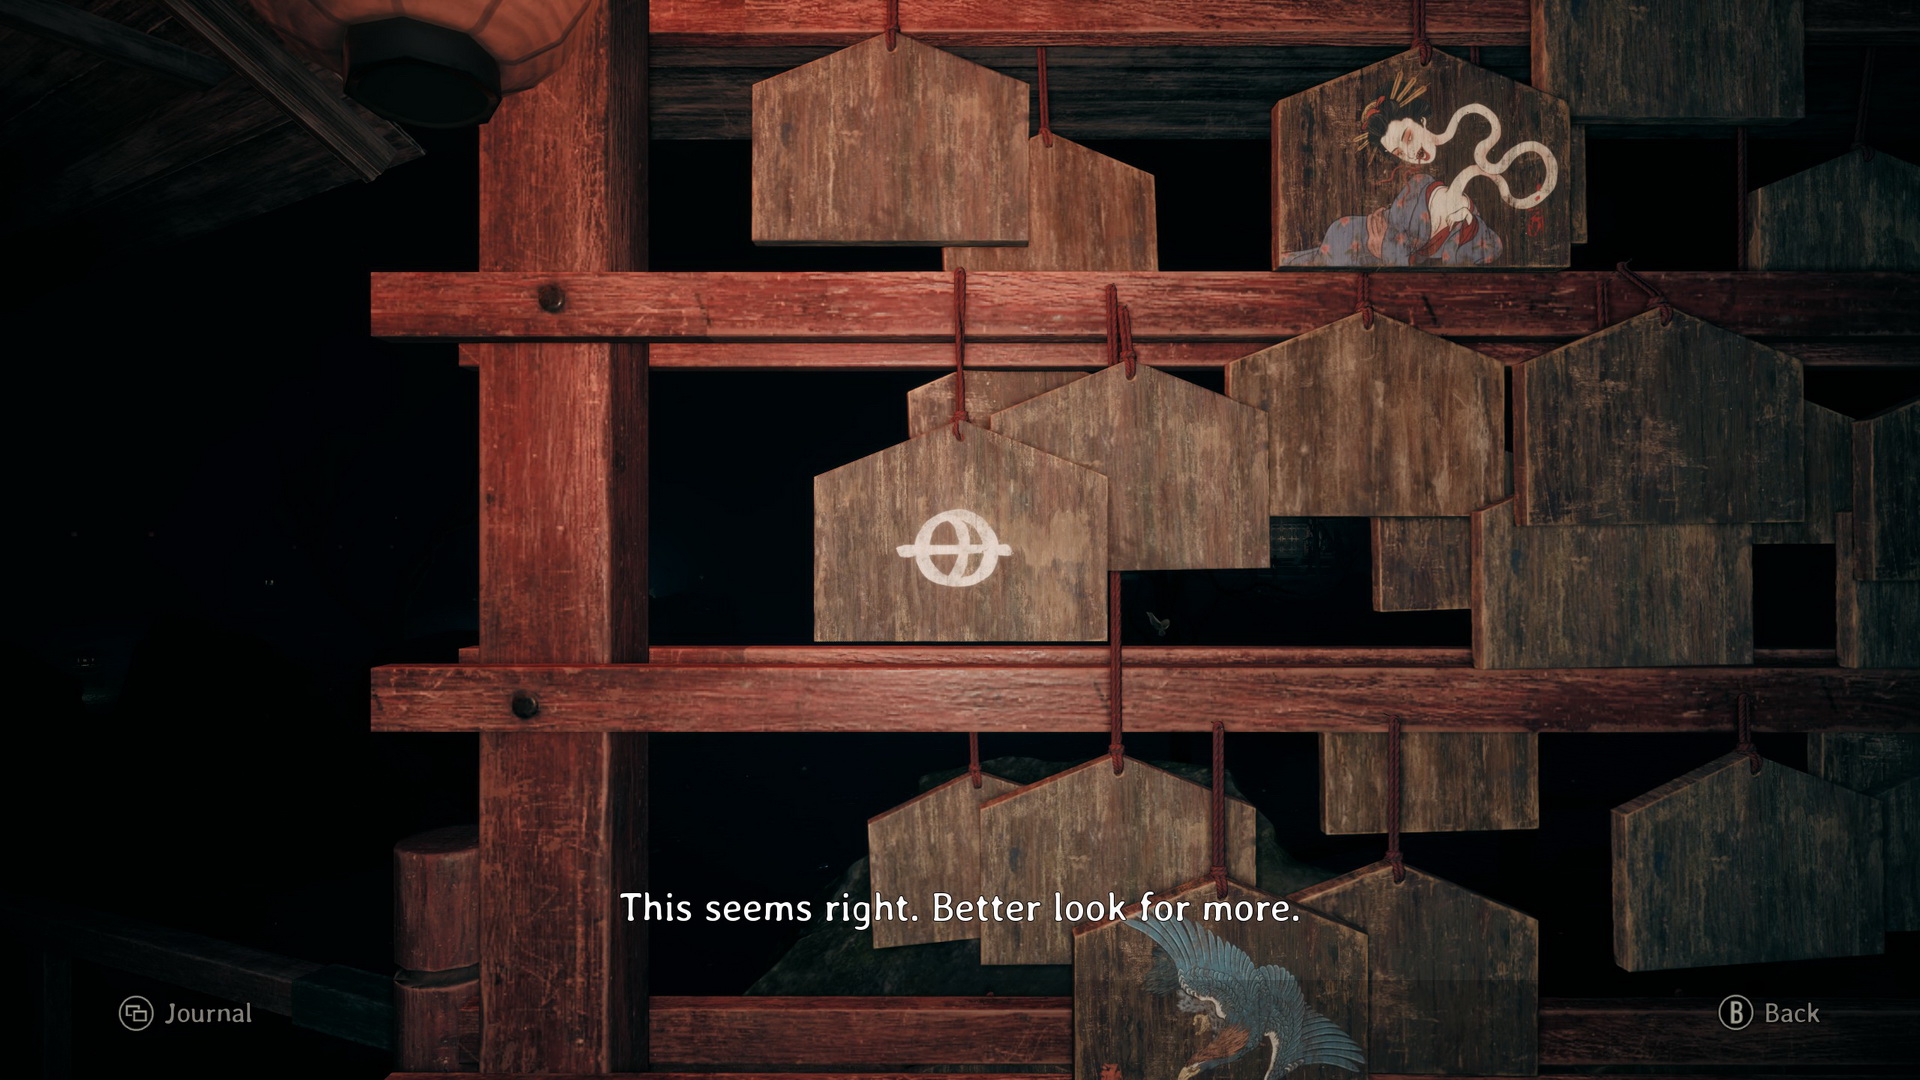 |
Lost in the Fog Mode
Look for the ema with a picture of the yokai of the carriage.
 |
 |
Find the correct ema (1/3)
Proceed south and then west. Take a Kudzu Tea (⛩100) on the rock before the bridge. Cross the bridge, and you will find another engraving on the stone to the left. Another Kudzu Tea (⛩100) awaits you before a Hokora shrine. Cross a bridge to the north, take a Dried Carcass (⛩200) from a rock to the left and enter the second ema board area. You can find another rock engraving and a Divine Water (⛩50) on a rock upon entering.
Story Mode
Look for the ema with a picture of a serpent.
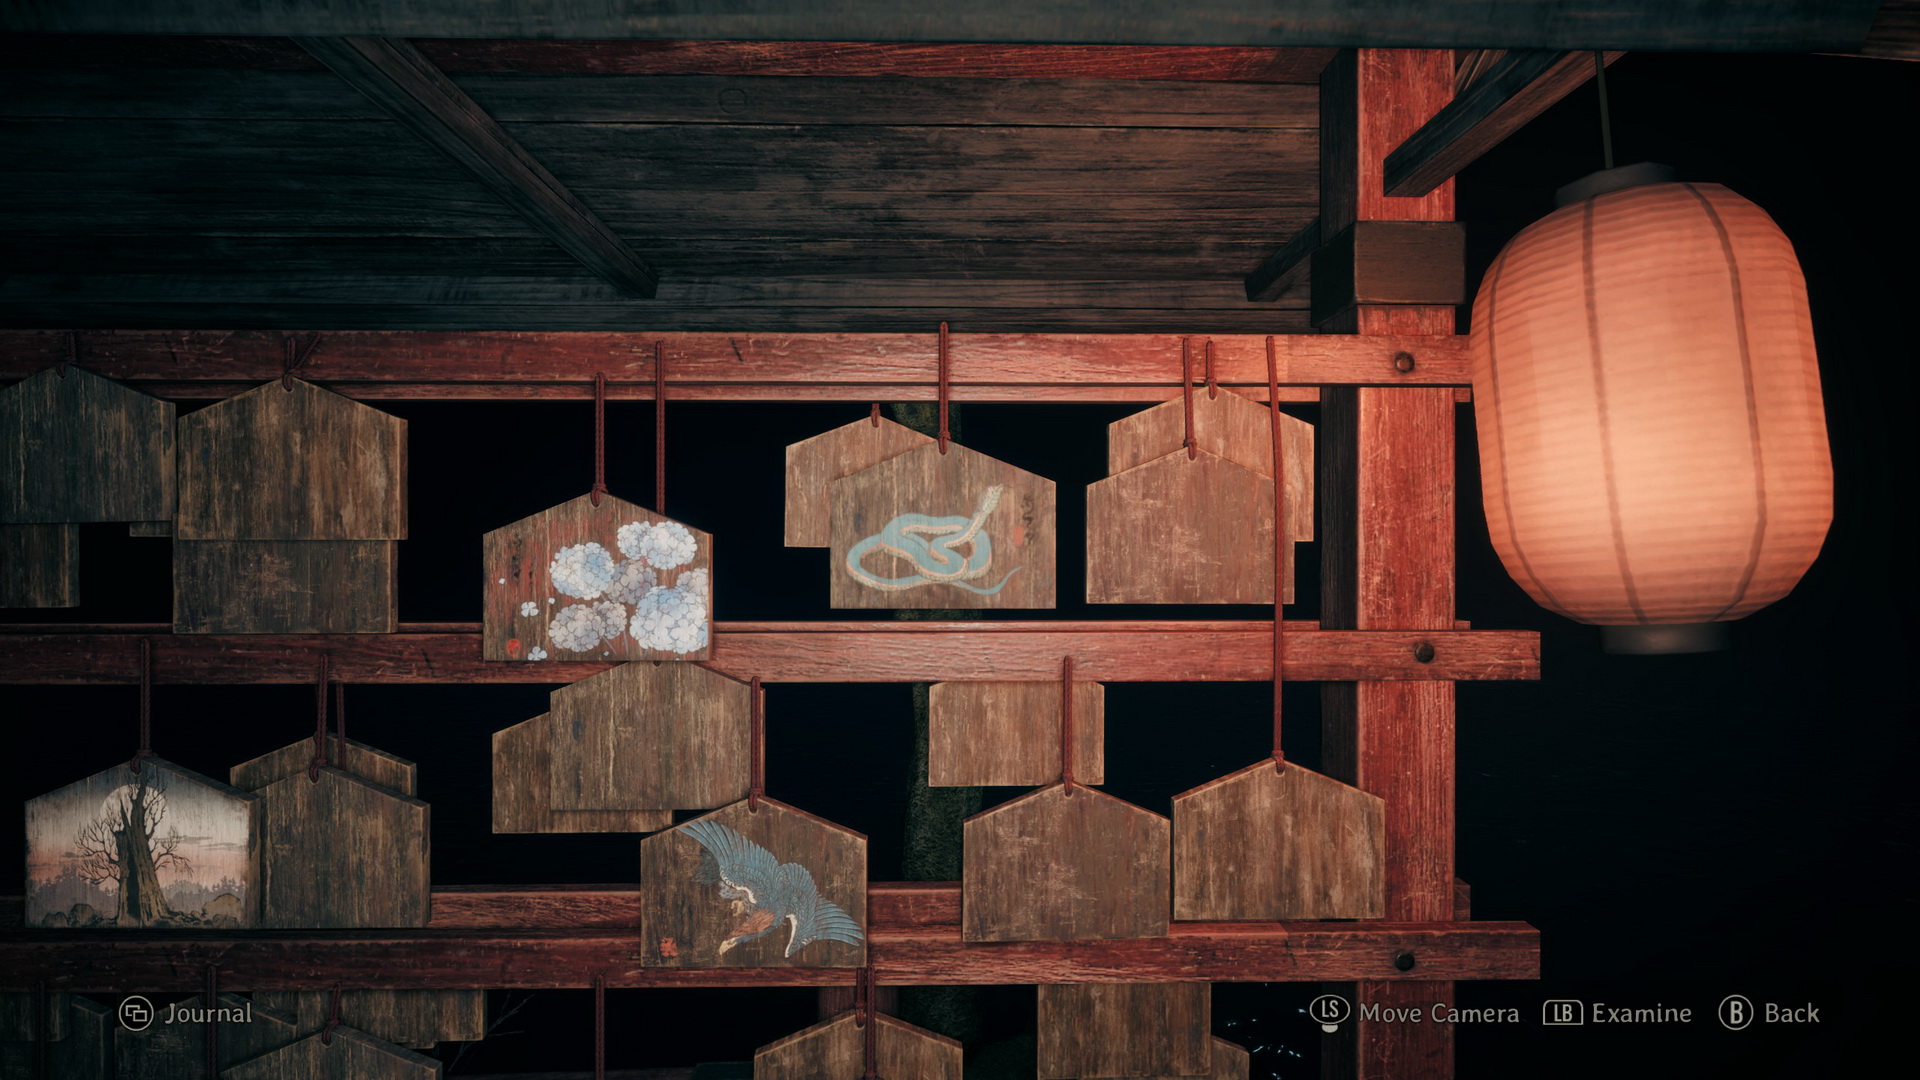 |
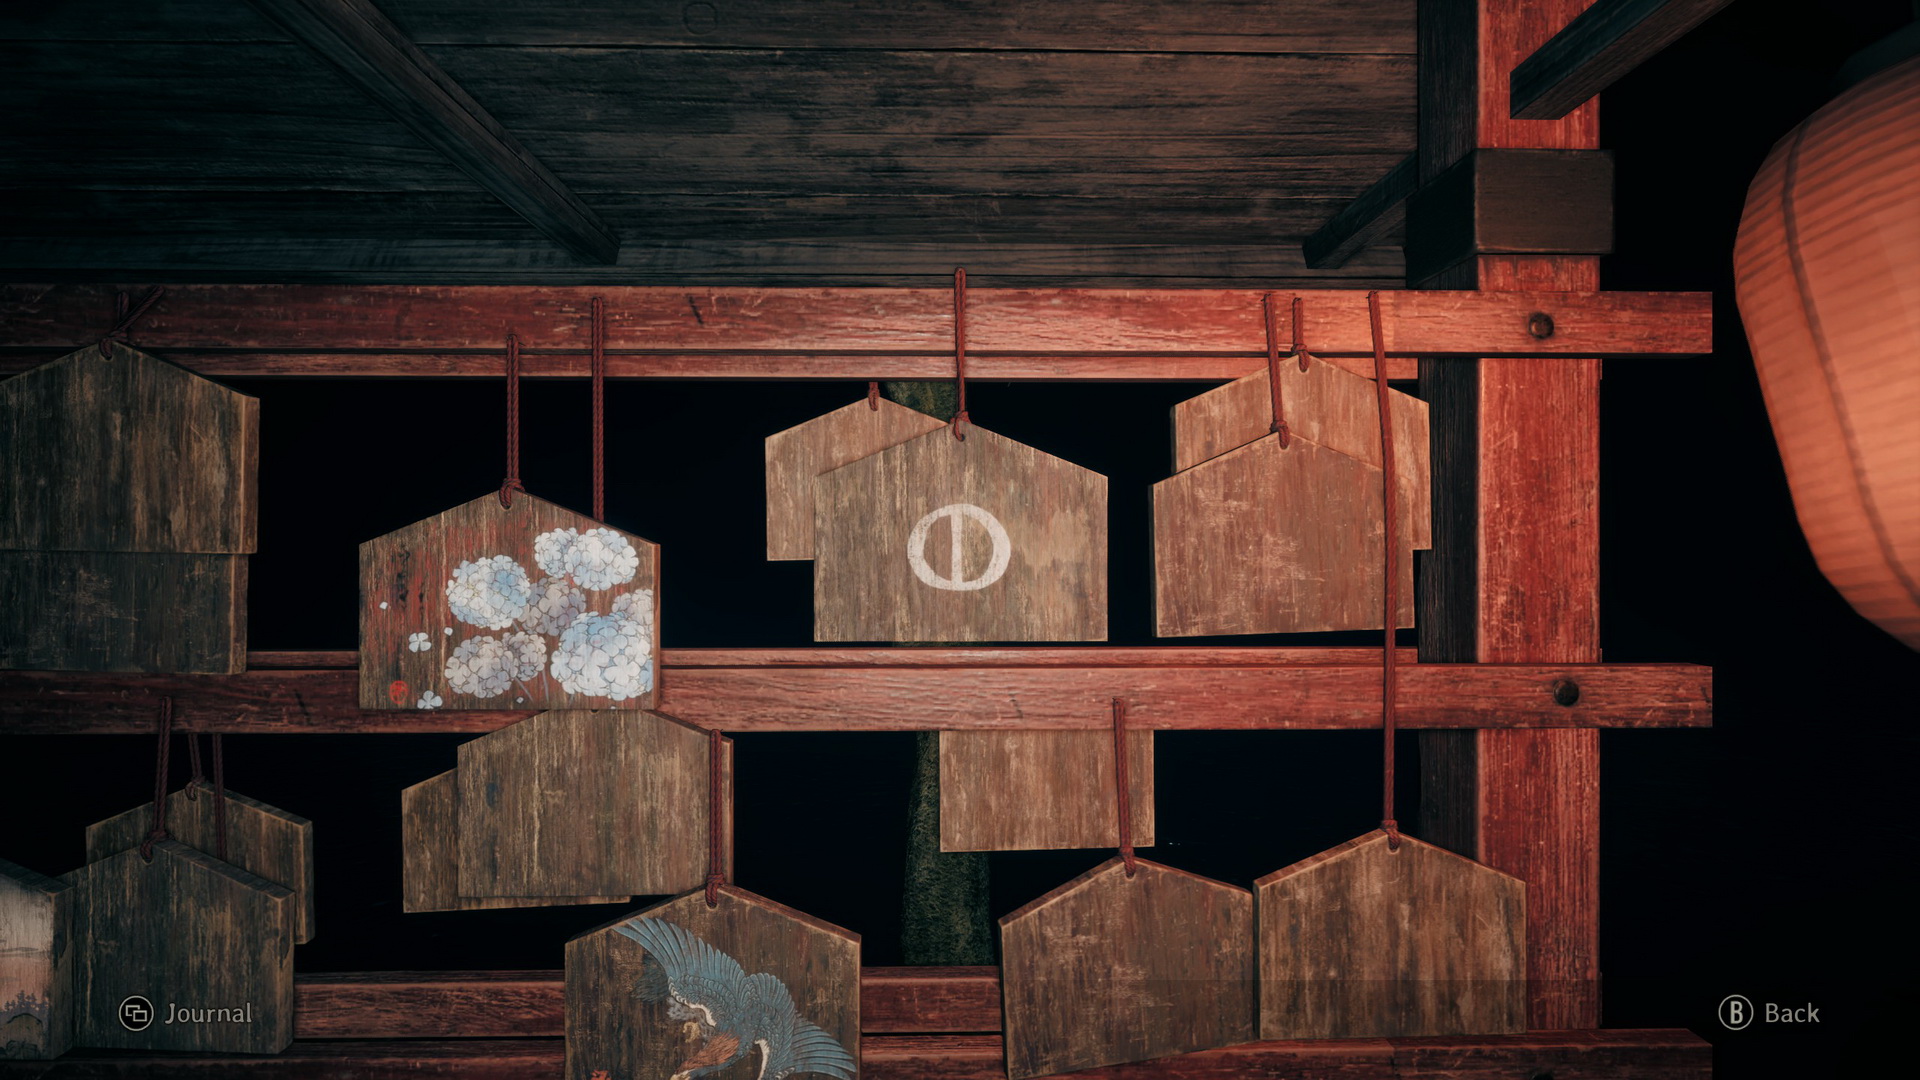 |
Hard Mode
Look for the ema with a picture of kudzu flowers.
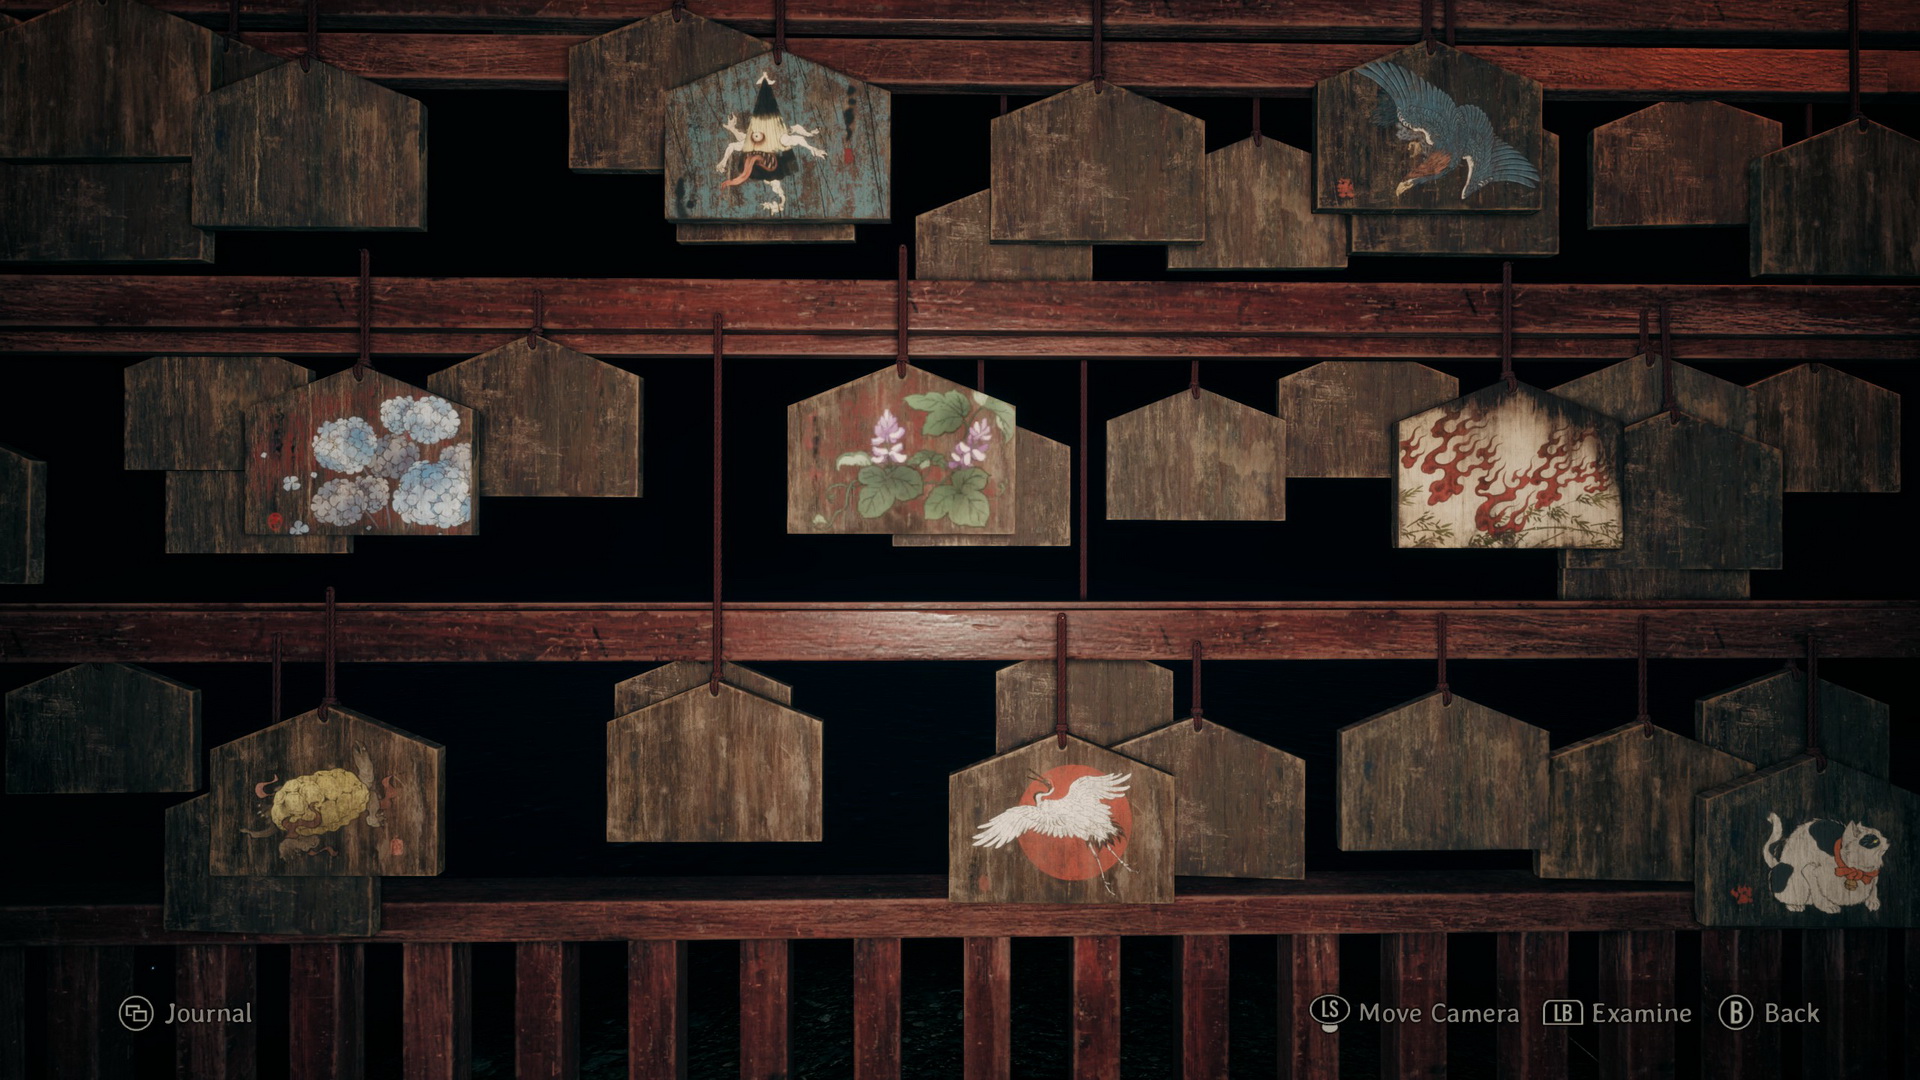 |
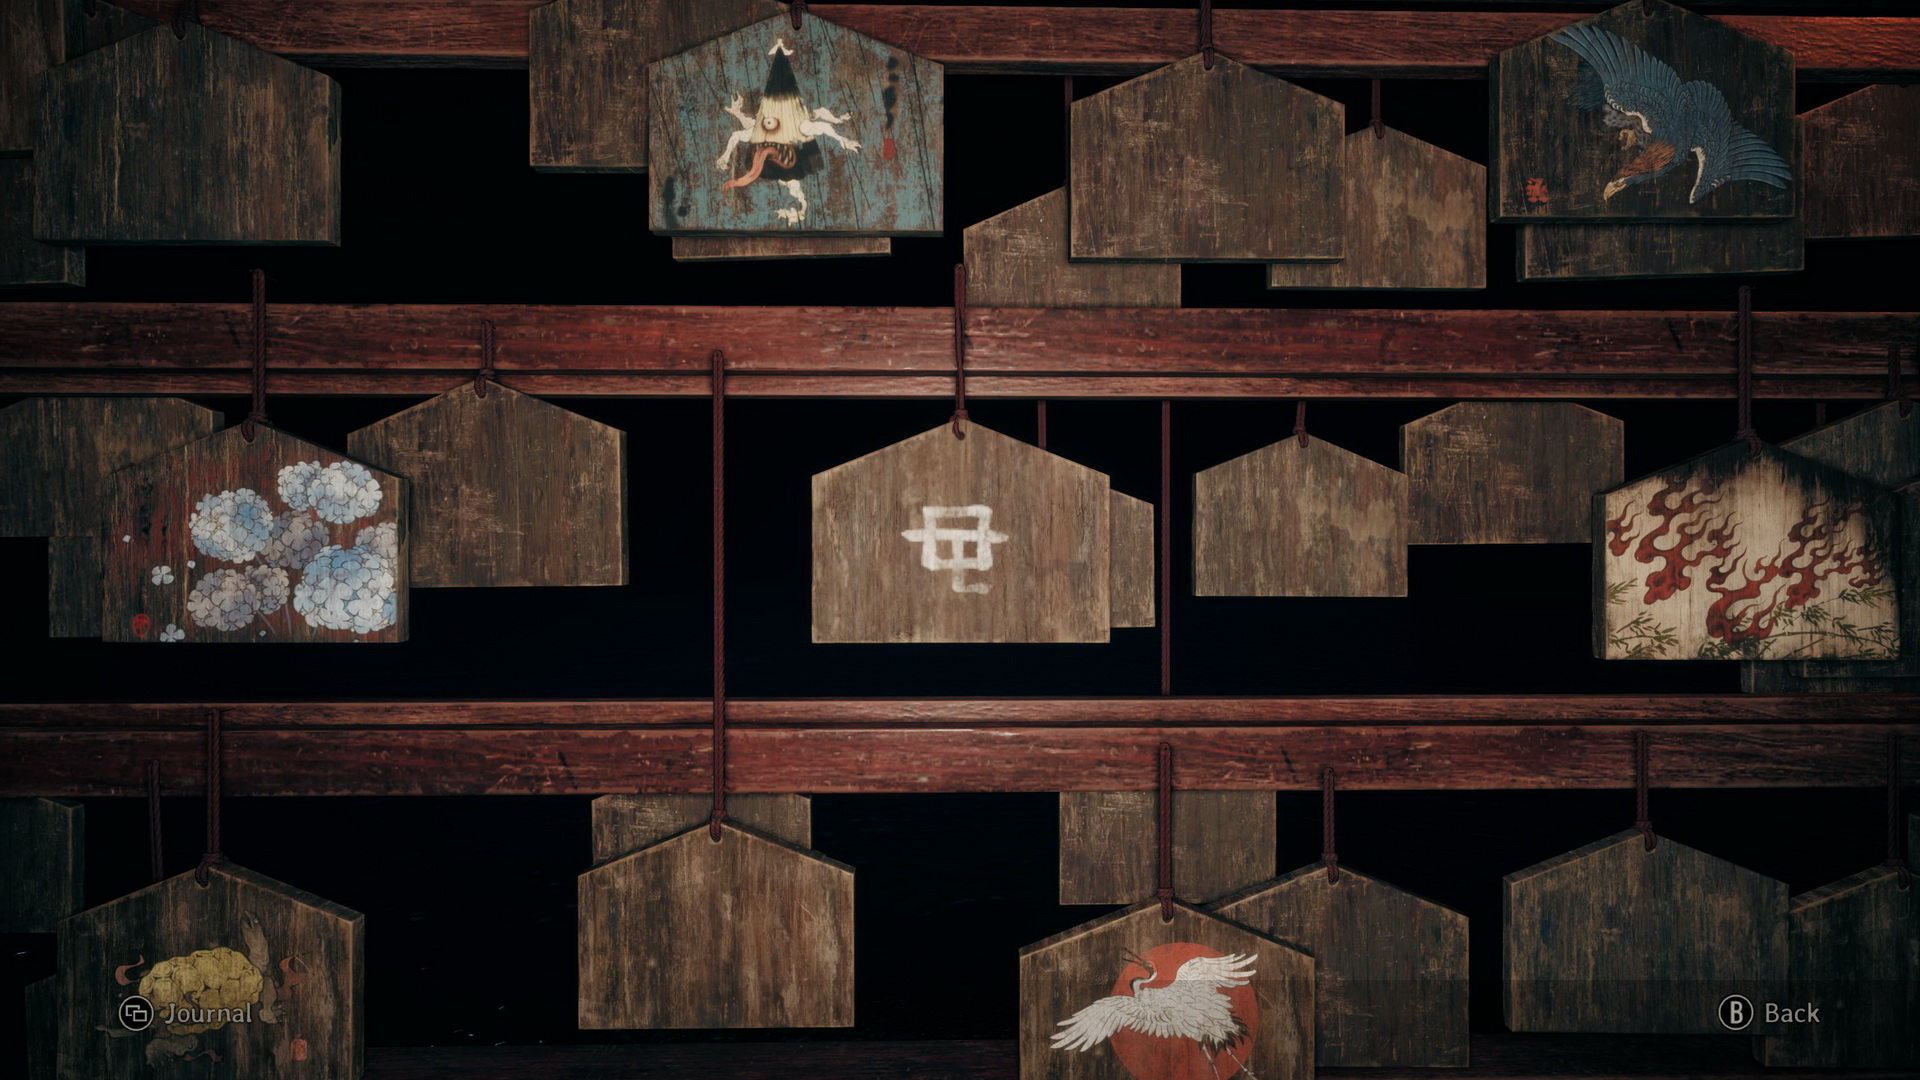 |
Lost in the Fog Mode
Look for the ema with a picture of the yokai of the kettle.
 |
 |
Find the correct ema (2/3)
Unlatch the south gate and enter the last ema board area. To the left, you can find a Blood-Stained Letter lying on a rock.
 |
 |
Story Mode
Look for the ema with a picture of a crane.
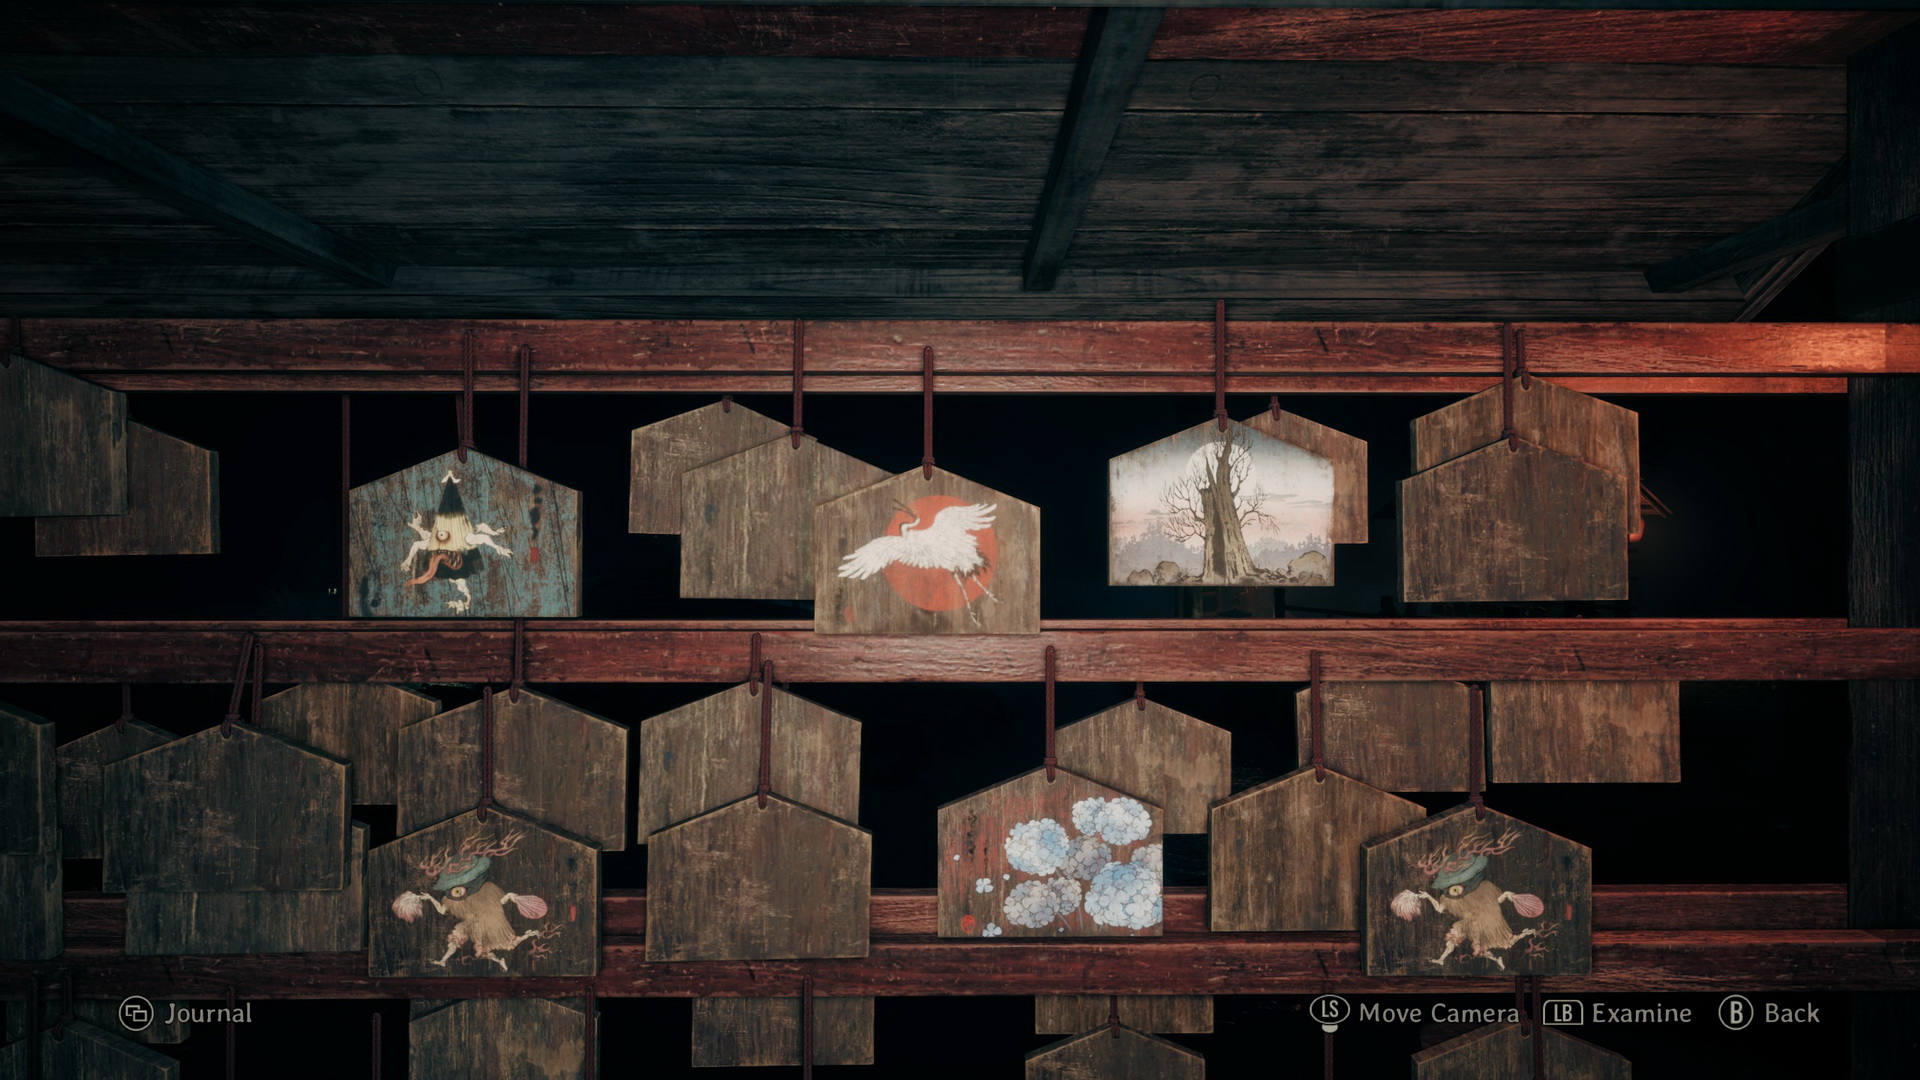 |
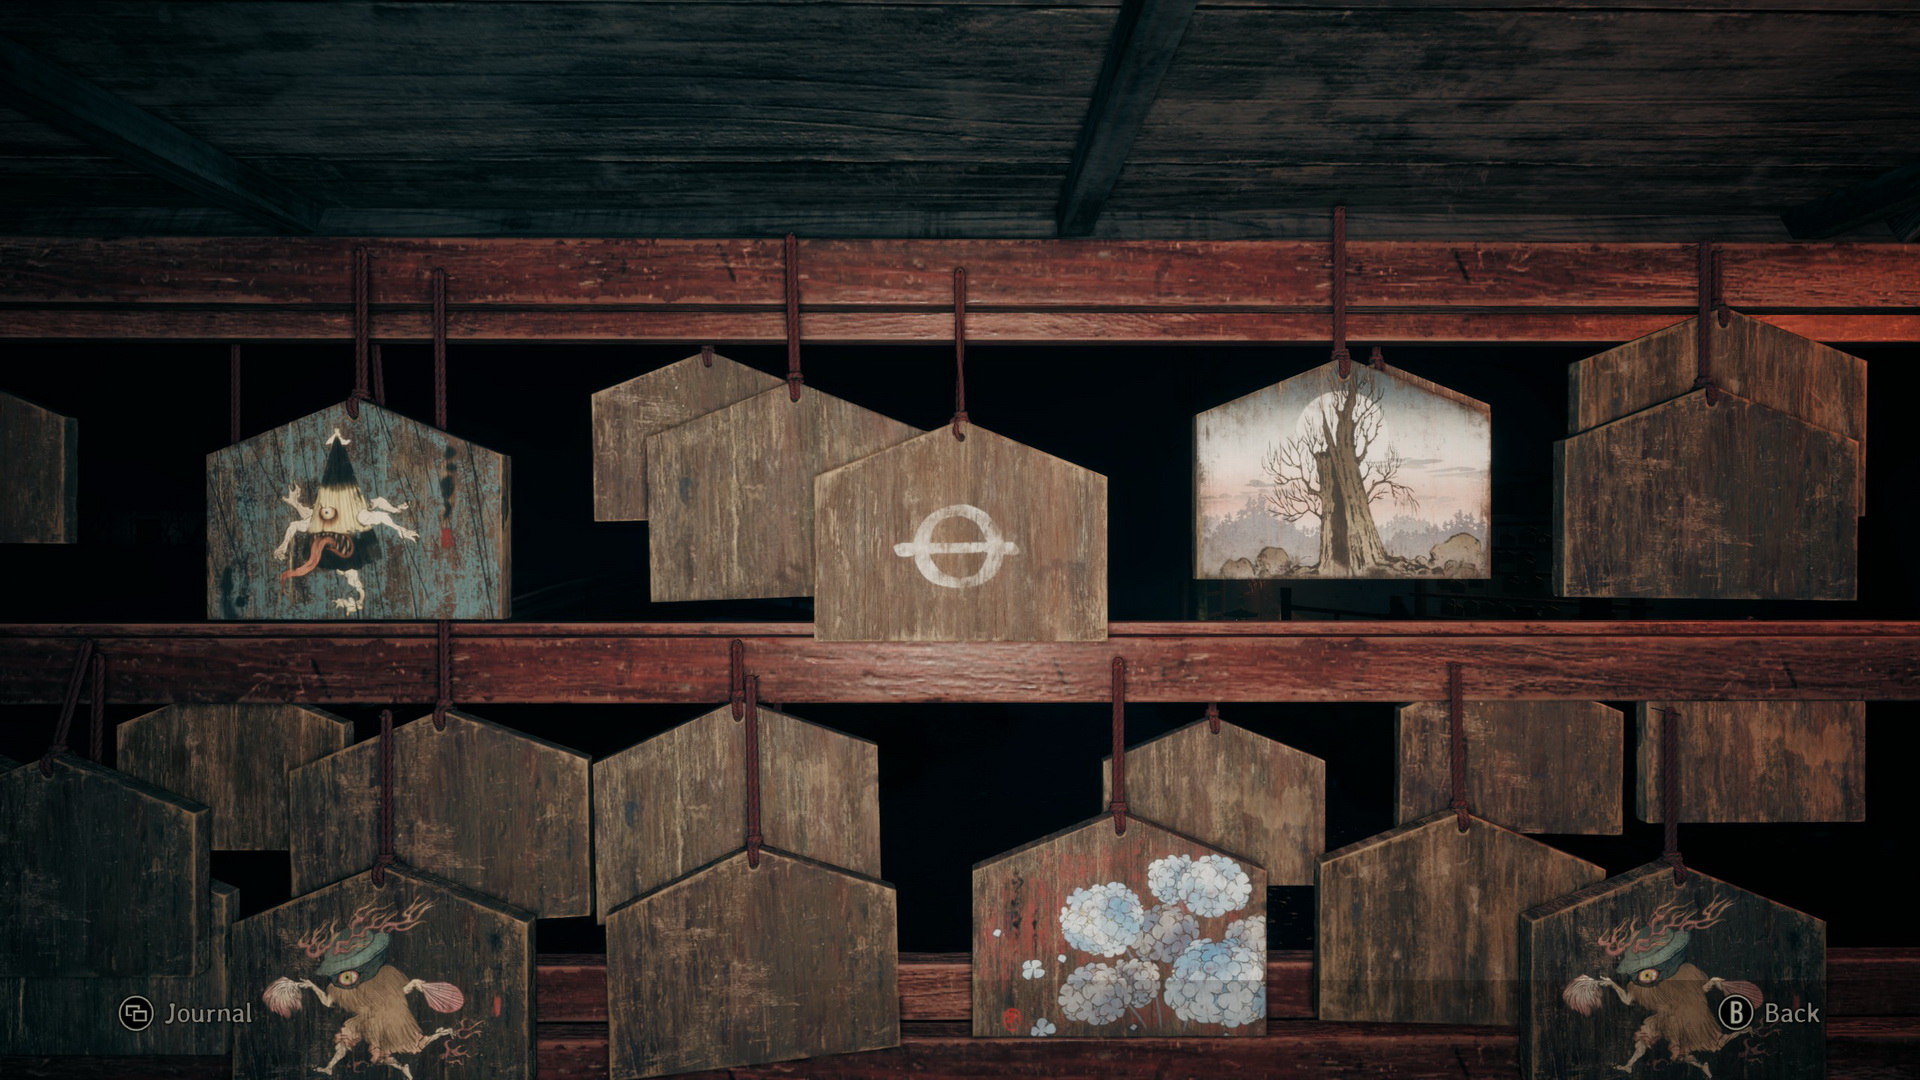 |
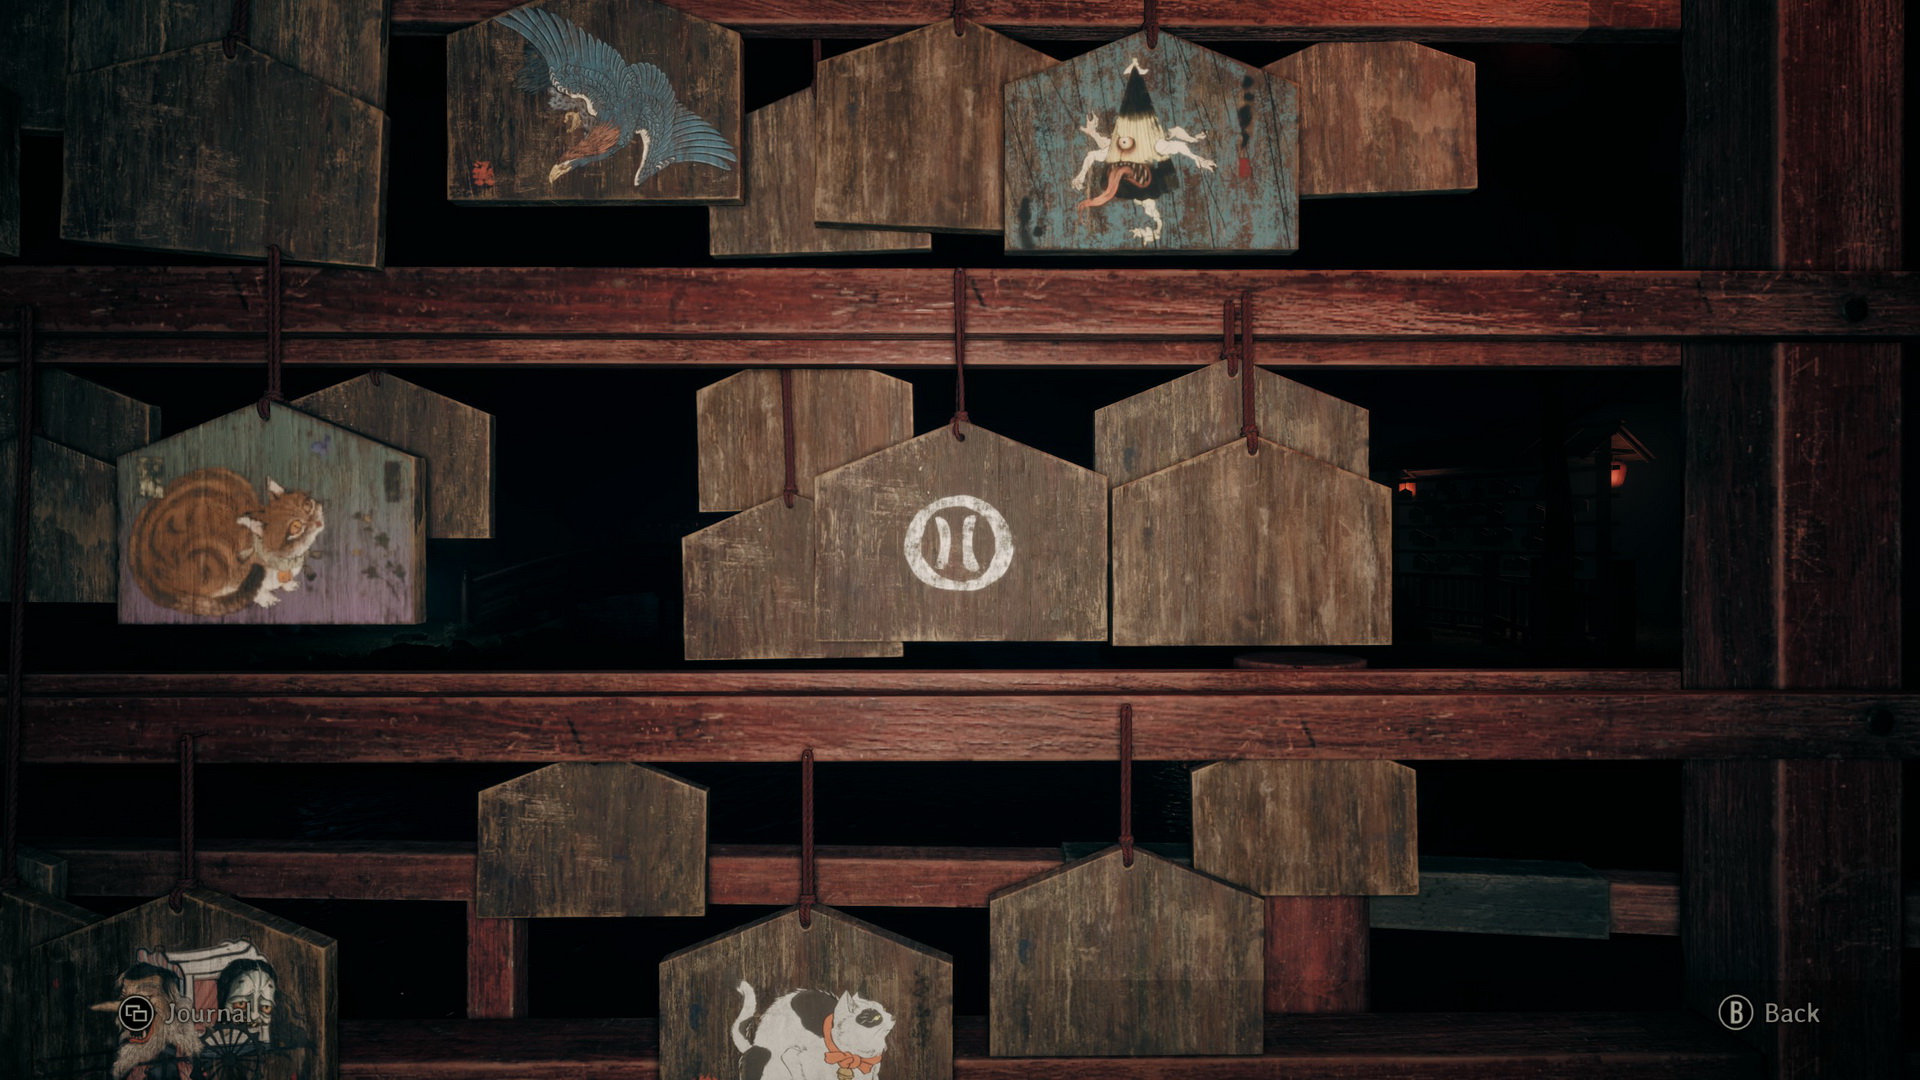
Hard Mode
Look for the ema with a picture of a lightning bolt.
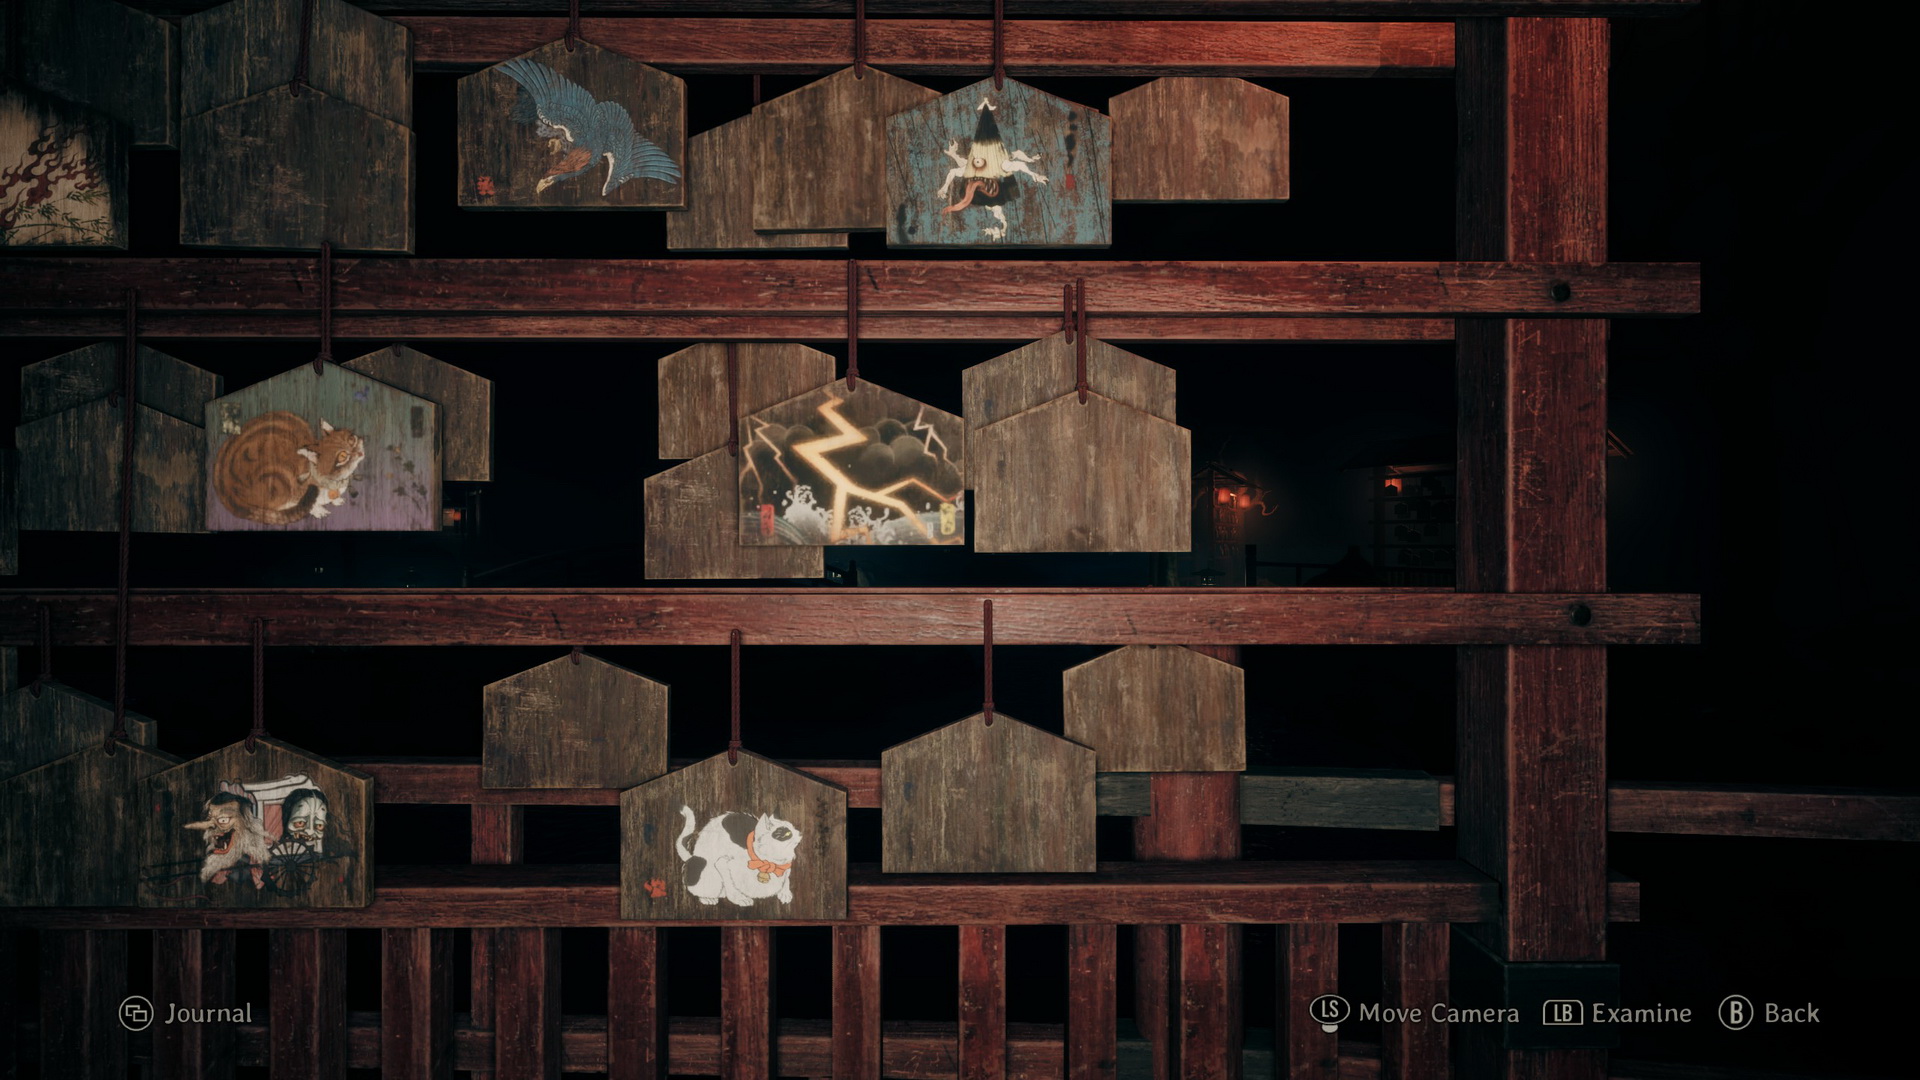 |
 |
Lost in the Fog Mode
Look for the ema with a picture of the yokai of the umbrella.
 |
 |
Upon finding the last ema, you shall also receive the Combination Lock Dial.
In this area, you can also find the Omamori [Cat] on the back of a cat ema on one of the boards. It will be easy to spot once you've found the puzzle ema.
 |
 |
Open the Shrine Vault
Go south. A Bandage is on a rock before the bridge and Yokan (⛩30) after. Return to the Shrine Vault in the northeast to solve the puzzle and unlock it.
Shrine Vault Puzzle
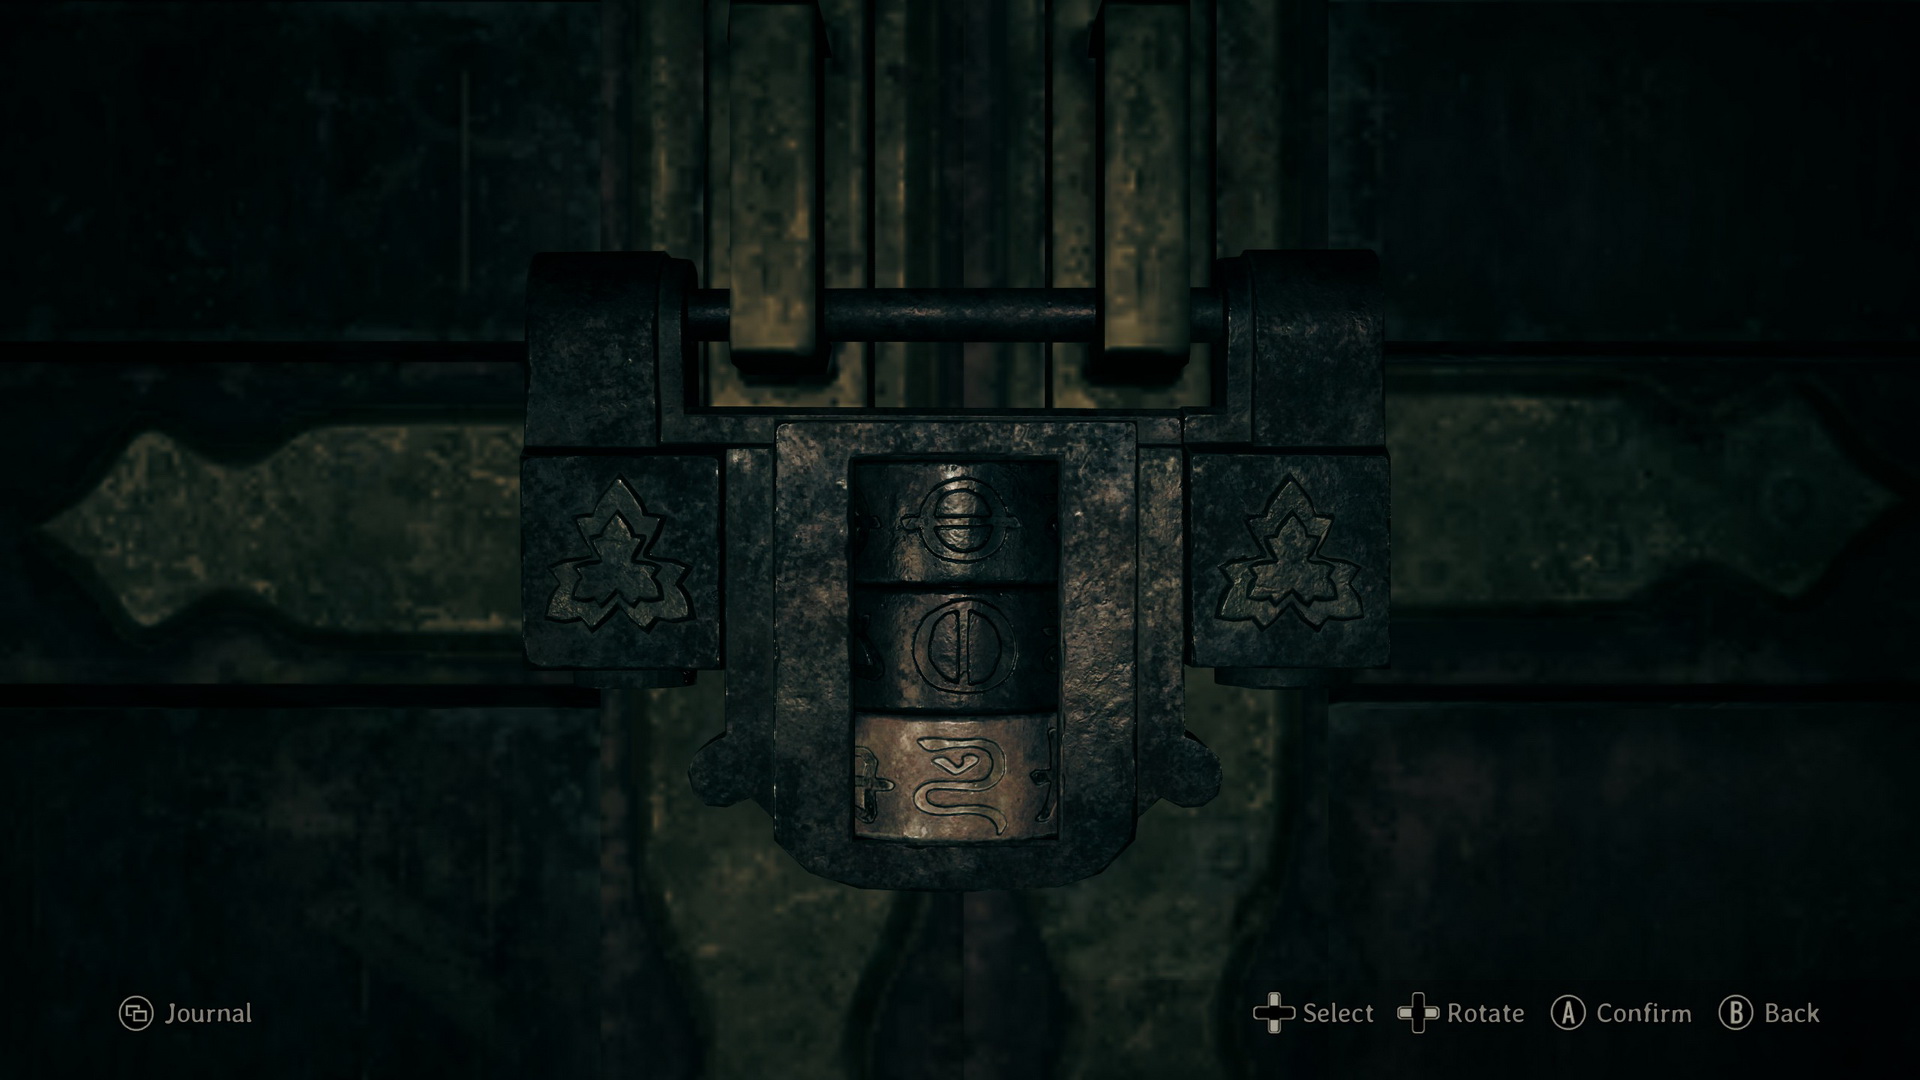
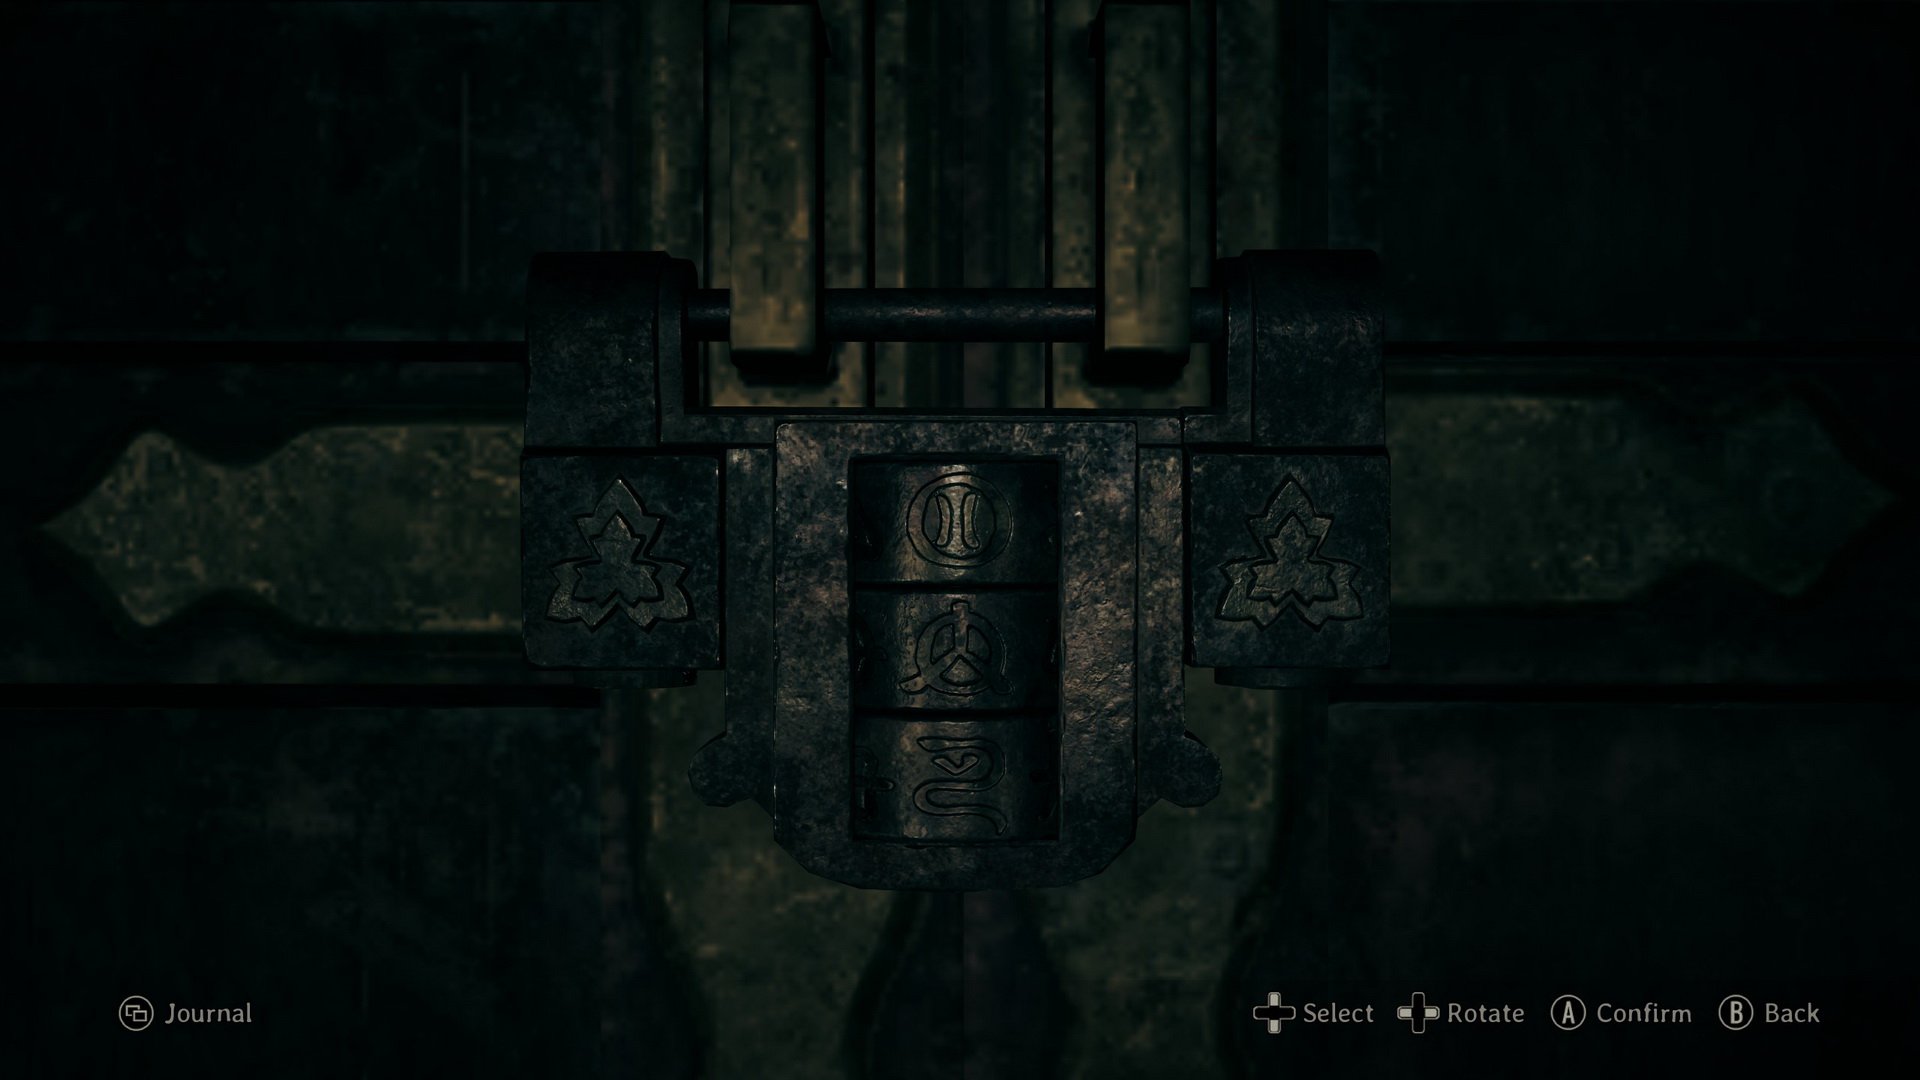
Insert the missing combination lock dial and unlock the door with the correct combination.
Story Mode Solution
Crane - Serpent - Tortoise
 |
 |
Hard Mode Solution
Lighting - Decayed Tree - Kudzu
 |
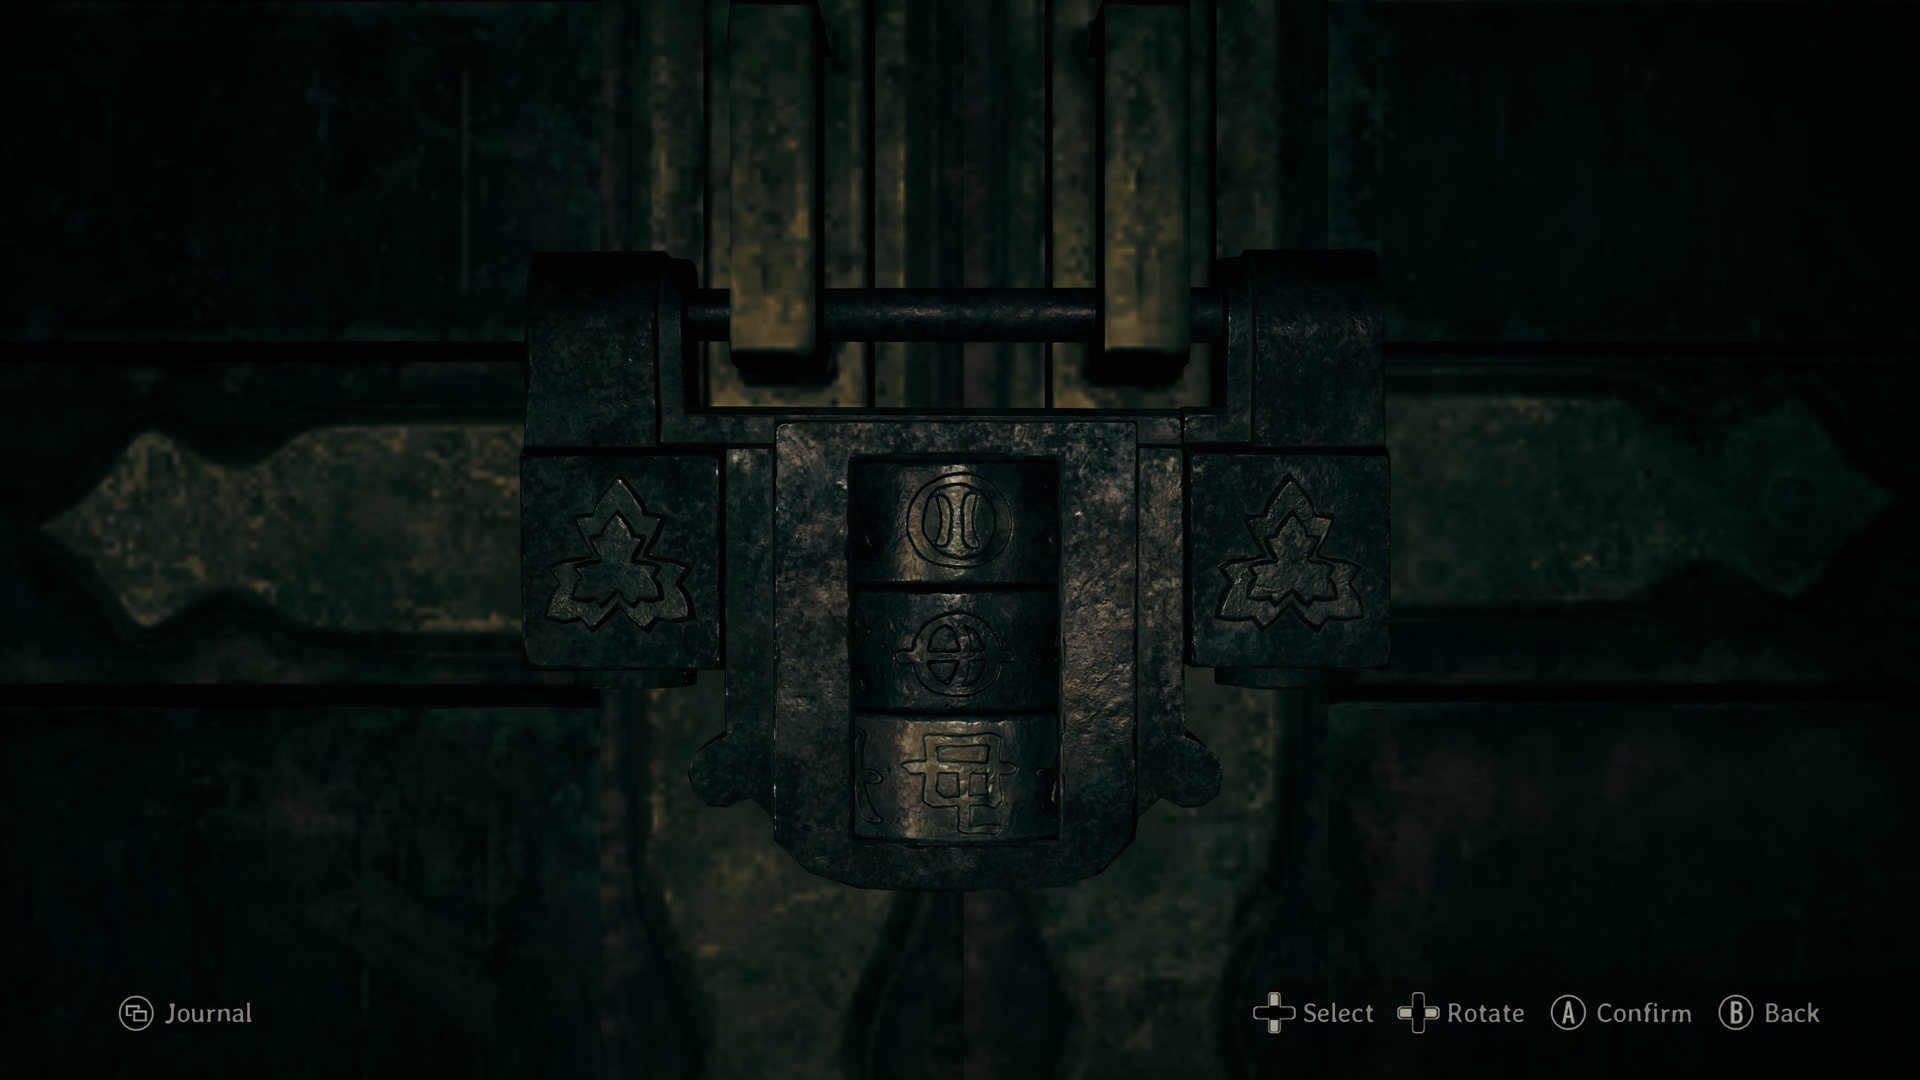 |
Lost in the Fog Mode Solution
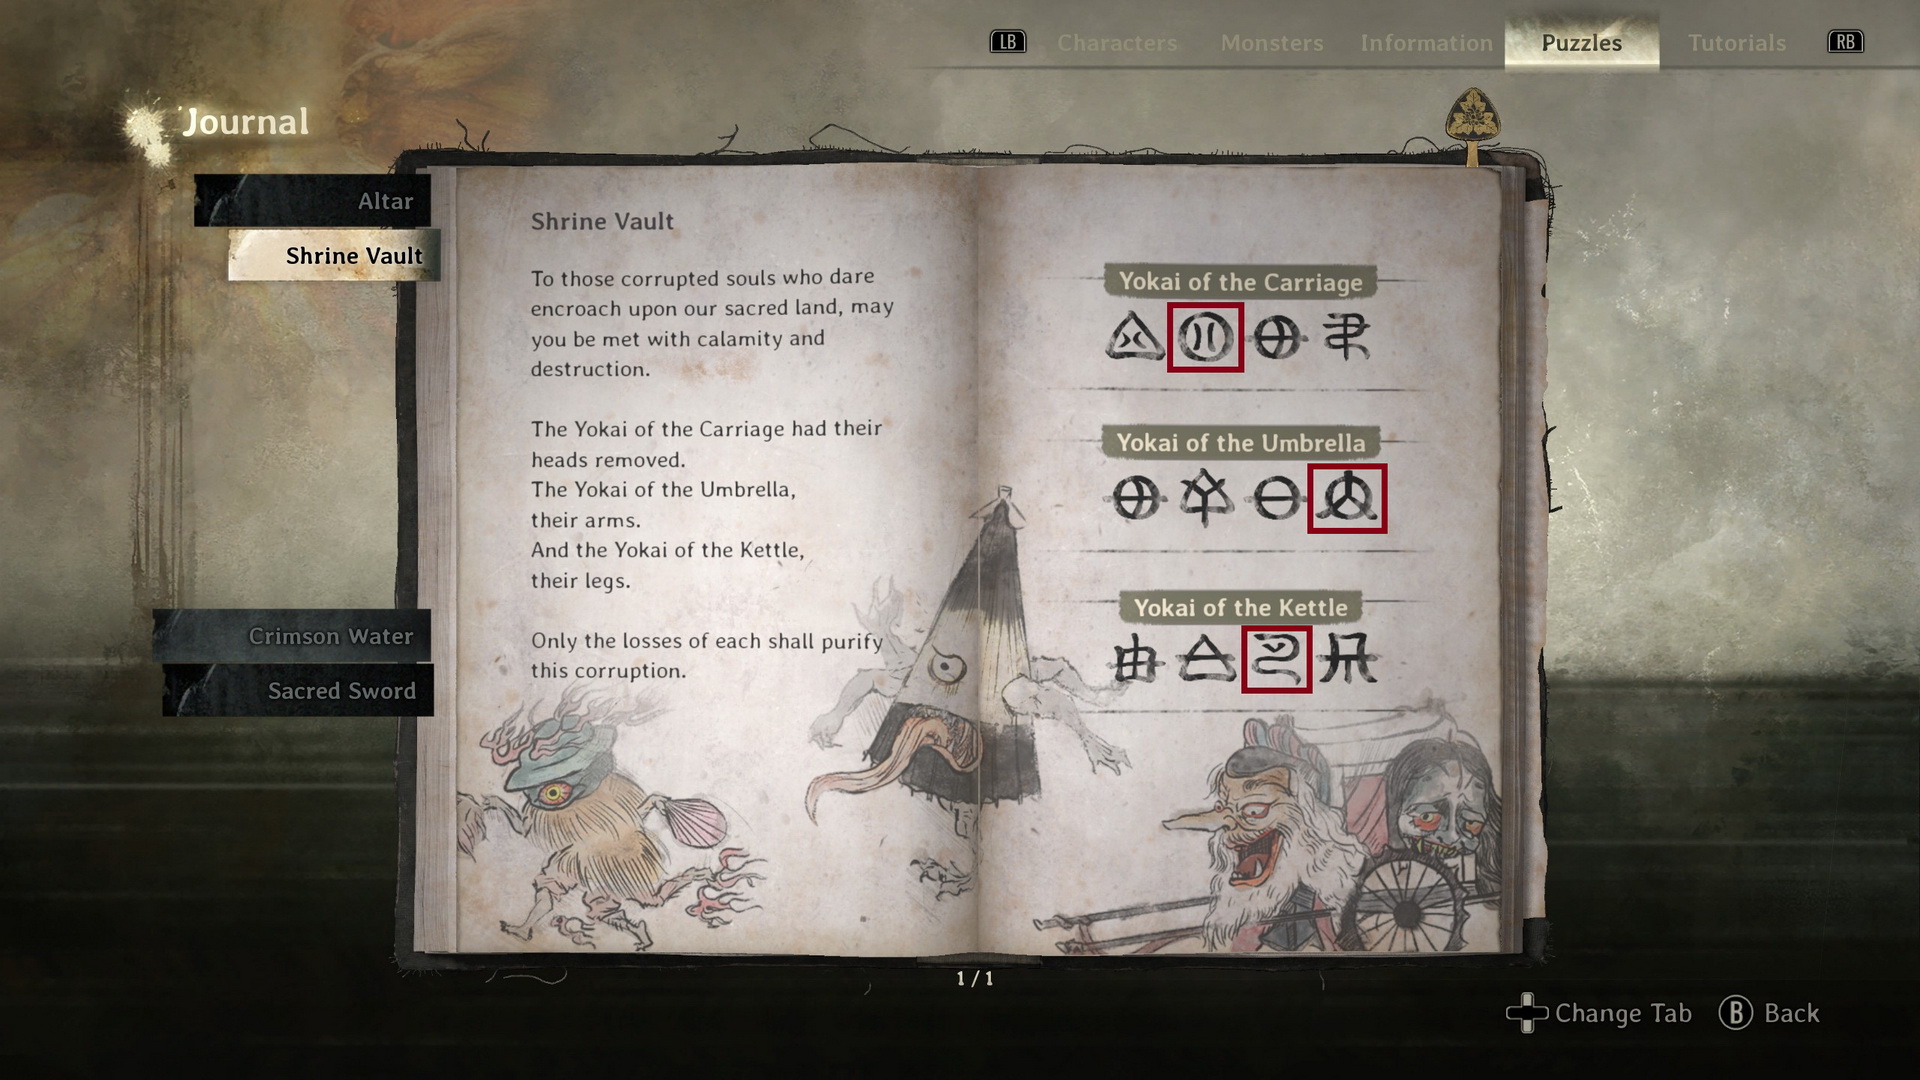
Things are a bit more complicated here as each ema has four symbols on the back instead of just one. The clues to the riddle state that “only the losses of each shall purify the corruption,” so let’s see what each yokai took from the “corrupted souls” and in what quantities:
- Yokai of the Carriage – 2 heads
- Yokai of the Umbrella – 4 arms
- Yokai of the Kettle – 3 legs
So we will pick the symbols for each ema accordingly:
- Yokai of the Carriage (2nd symbol)
- Yokai of the Umbrella (4th symbol)
- Yokai of the Kettle (3rd symbol)
 |
 |
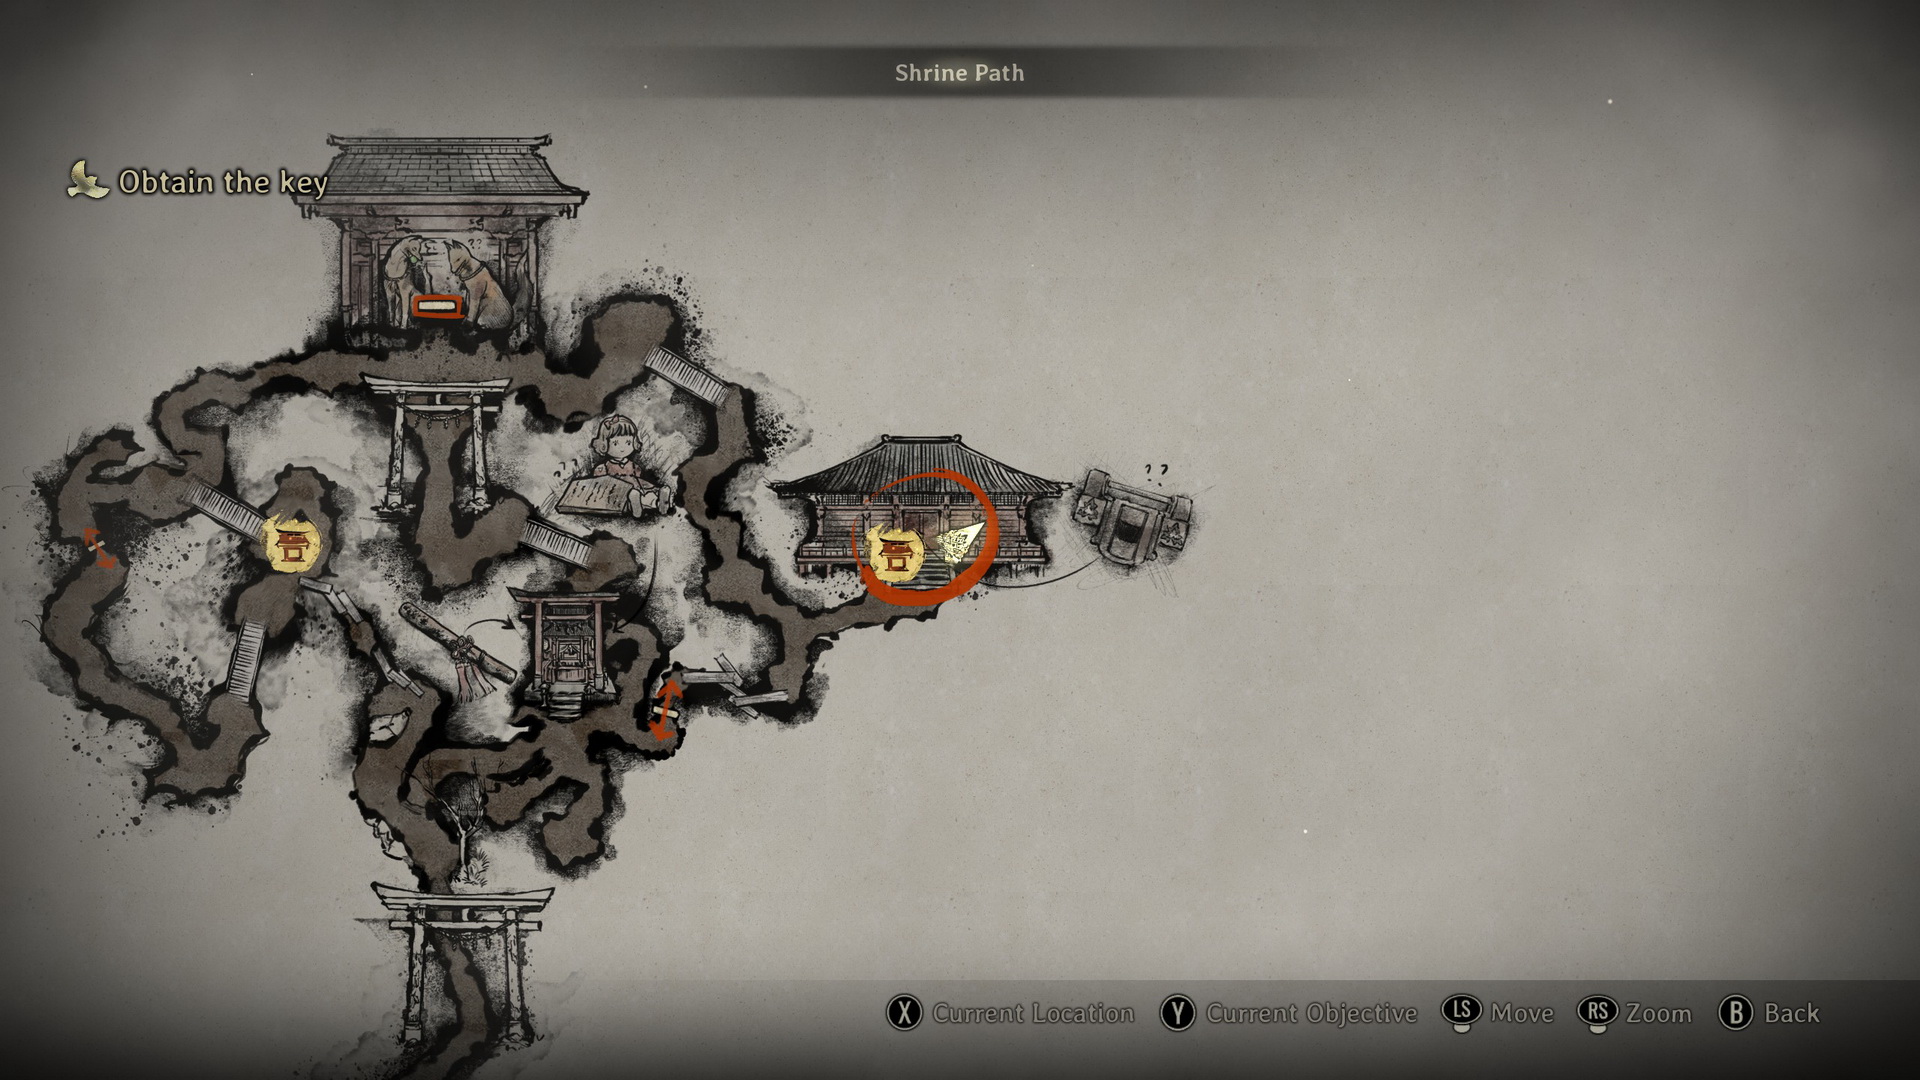
Obtain the key
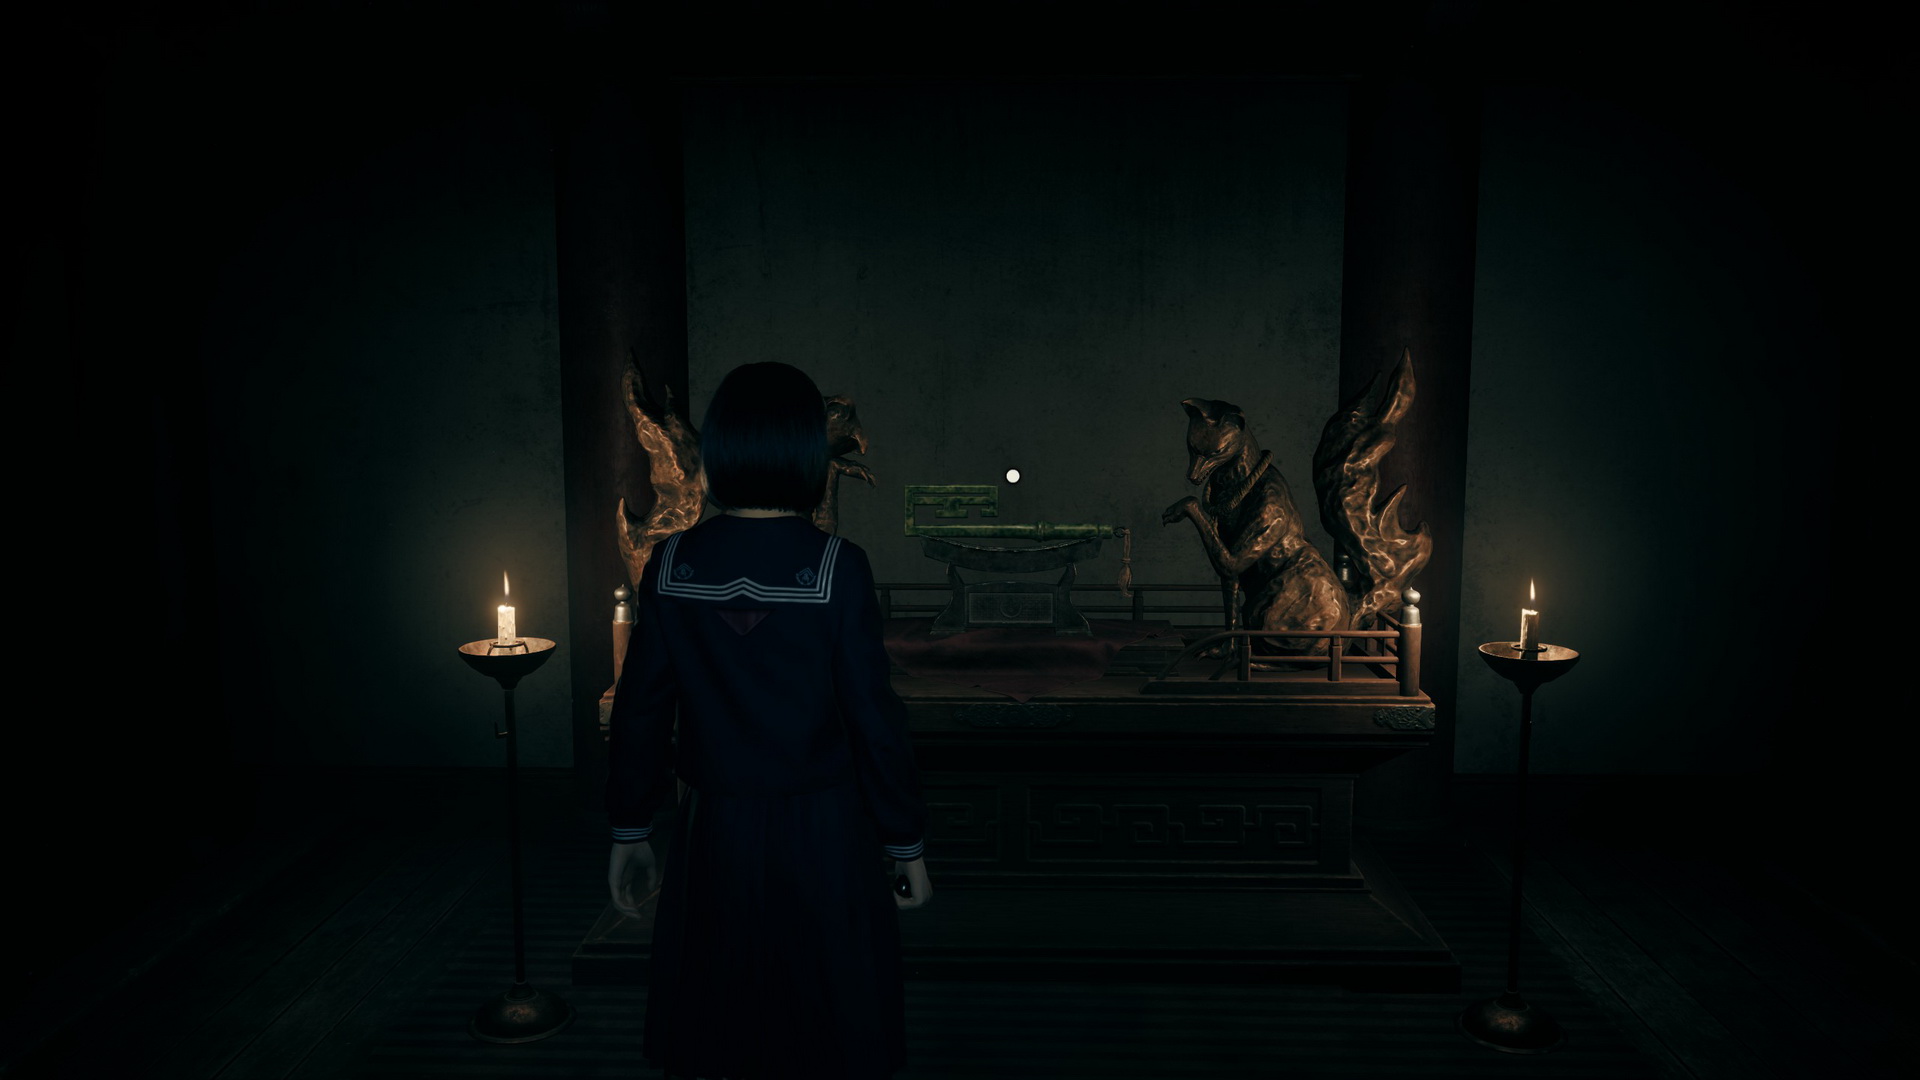
Pick up the Stone Key from the pedestal up ahead, and as soon as you do, Fox Mask will reappear, and the world will turn red, and you will have to run for your life with multiple enemies on your way.
 |
 |
Head to the door with Inari statues
Run to the door, trying to stay away from the monsters and dodging them as much as you can. As soon as you reach the door, a cutscene will play, and you will be transferred back to the real world.
| 01. Ebisugaoka Part 1 | 03. Ebisugaoka Part 2: Rice Fields |