
Dark Shrine Corridors
- Ebisugaoka Part 1
- Dark Shrine Path
- Ebisugaoka Part 2: Rice Fields
- Dark Shrine Corridors
- Ebisugaoka Part 3: To School
- Ebisugaoka Middle School
- Dark Shrine Worship Hall
- Ebisugaoka Part 4: Sugisato Forest
- Dark Shrine Main Hall
- Ebisugaoka Part 5: To Shimizu Residence
- Shimizu Residence
- Dark Shrine Treasure Hall
- Ebisugaoka Part 6: Tainted Town
- Dark Shrine Final Path
Welcome to the fourth chapter of the complete walkthrough guide for Silent Hill f, covering the Dark Shrine Corridors. Use the key summary below for essential, spoiler-free directions, including all missable trophy-related items and actions (items in italics are optional). For in-depth guidelines with extra explanations, refer to the complete walkthrough section. This guide also includes all New Game+ items and actions for your subsequent playthroughs.
Legend
- Hokora – shrines
- Capsule Case – key items
- Steel Pipe – weapons
- Omamori [Whale] – omamori
- Upgrade: Ema – character upgrades
- Local Doctor's Note – documents
- Housemaid’s Note – trophy-related documents
- Red Capsules – consumables
- Antique Comb (⛩300) – offerings
Collectibles
Counts of available trophy-related collectibles:
| Category | NG | NG+ | NG++ |
| Omamori | 1 | - | - |
| Ema | 1 | - | - |
| Inventory upgrades | - | 1 | - |
| Inari-sama's seals | - | 1 | - |
| Documents | 3 | - | - |
Key Summary
- Proceed to the western section of the area.
- Upgrade: Ema is on a wooden chest to the right of the Inari-sama door in the southwestern corner of the map.
- New Game+: Upgrade: Embroidered Drawstring Bag is in the room with the Inari-sama door, which can now be opened.
- Shriveled Abura-age (⛩500) can be found on a box behind the building at the northern end of the eastern path.
- Storage Room Key. Proceed north to find an open room with some kind of altar on the wooden cabinet at the end of the corridor to the north. The key is found on a wooden chest in the western portion of the room (duck through an opening).
- Return to the locked storage room to the south. Duck through an opening and inspect the writing on top of a chest of drawers with a doll sitting on it.
- Exit the room, and you'll see another room now open directly across. Enter the room to find an Inari Sculpture on a table in the back.
- Go to the altar with the missing object and put the Inari Sculpture to move the cabinet. Step through the opening into the inner room.
- Naginata. Get the new weapon from the pedestal after the fight.
- Head past the sacred door to the east.
- Omamori [Hawk] is on a large wooden chest inside an open room to the north (where the monster comes out of).
- Enter the library building on the east side. Proceed through the building.
- Housemaid’s Note (4) is on the floor in an alcove to the right inside the library.
- Family Physician’s Log (1) is on a table in an alcove to the left inside the library.
- Family Physician’s Log (2) is on the floor in front of the book piles to the right inside the library.
- Squeeze into the southern portion of the library.
- Dried Carcass (⛩200) can be found on a table to the left.
- Exit the library building and proceed into the open room to the west. Squeeze into the next room.
- Head into the southern building and pick up a Stone Orb from the pedestal.
- Run back to the sacred door, avoiding or fighting the enemies.
- Proceed through the doors for a boss fight.
- Trophy/Achievement: The Sound of Silence. Defeat the boss without getting hit by the suzu bell attack.
Complete Walkthrough
Go on ahead
You are back in the Dark Shrine. Go straight ahead, and on the other side of the area, you will see Fox Mask again, who disappears behind a door. You will need to find a way to reach it.
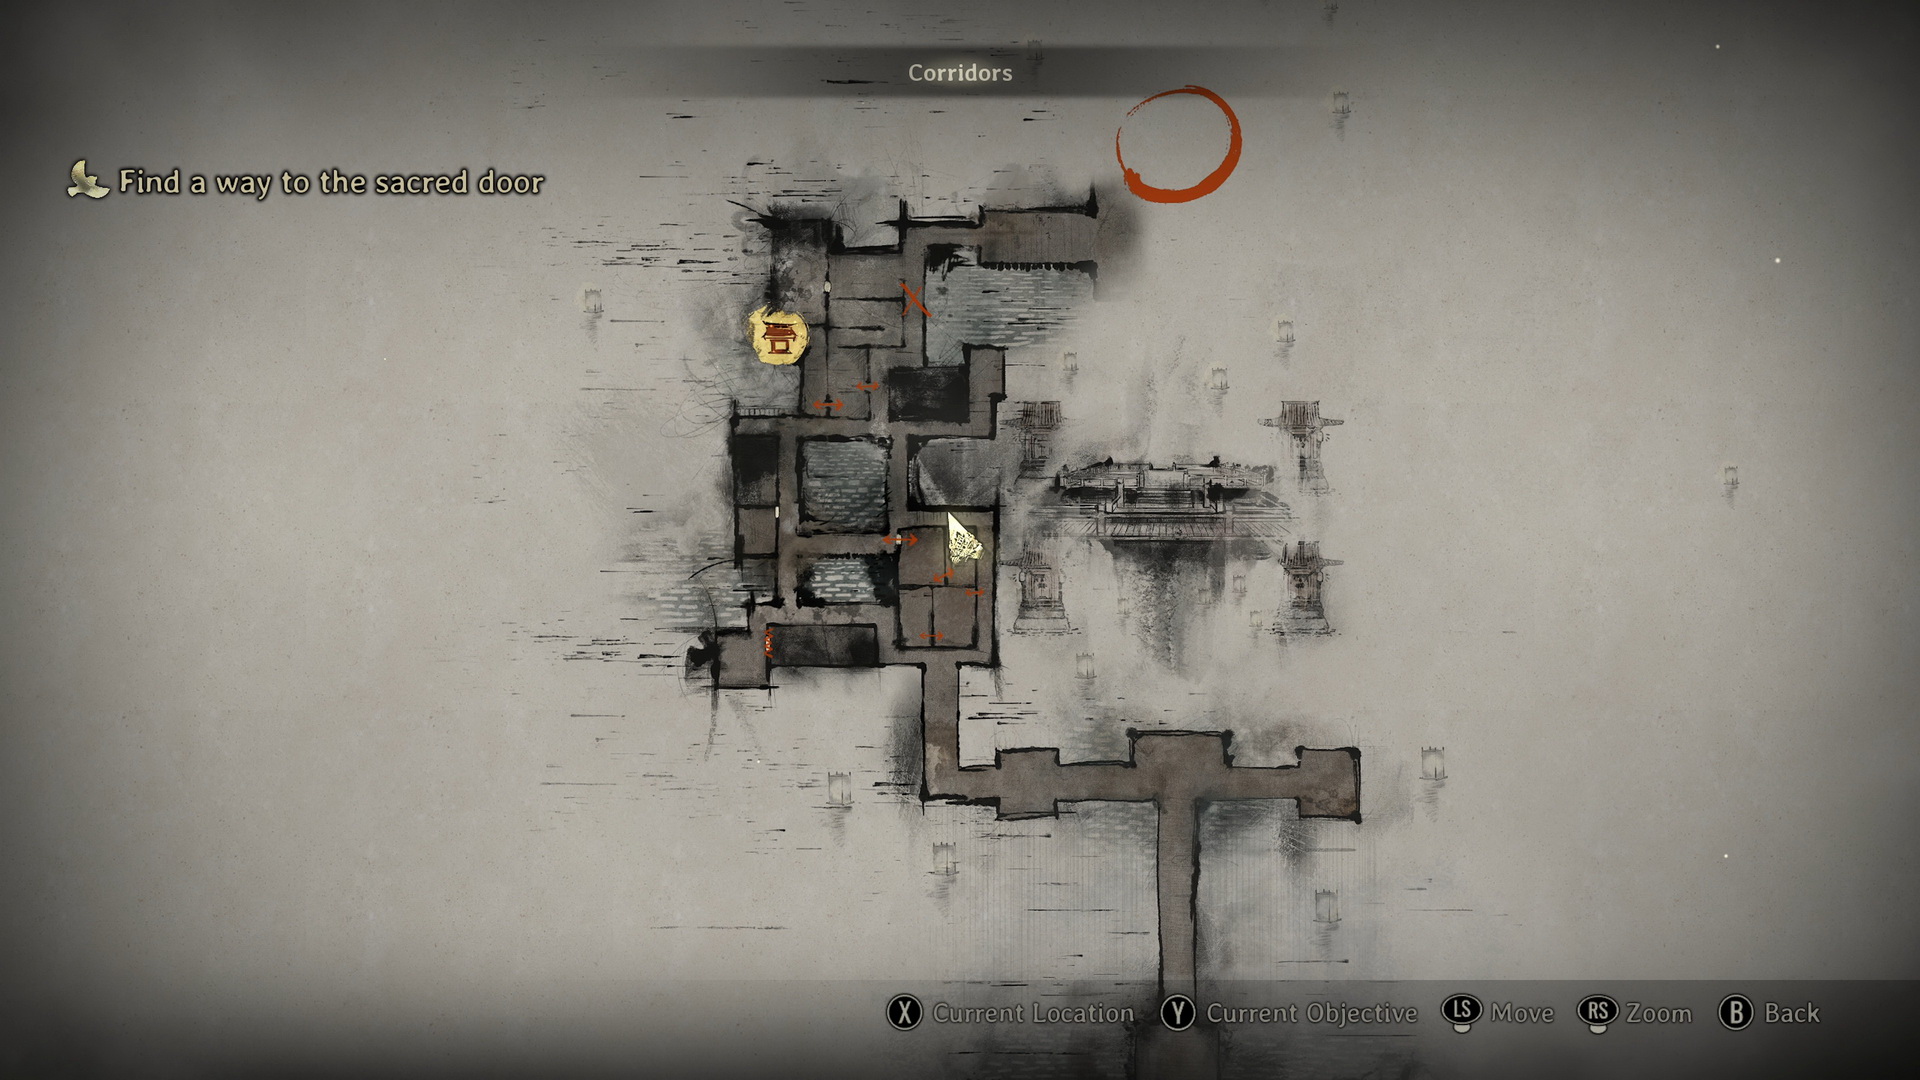
Find a way to the sacred door
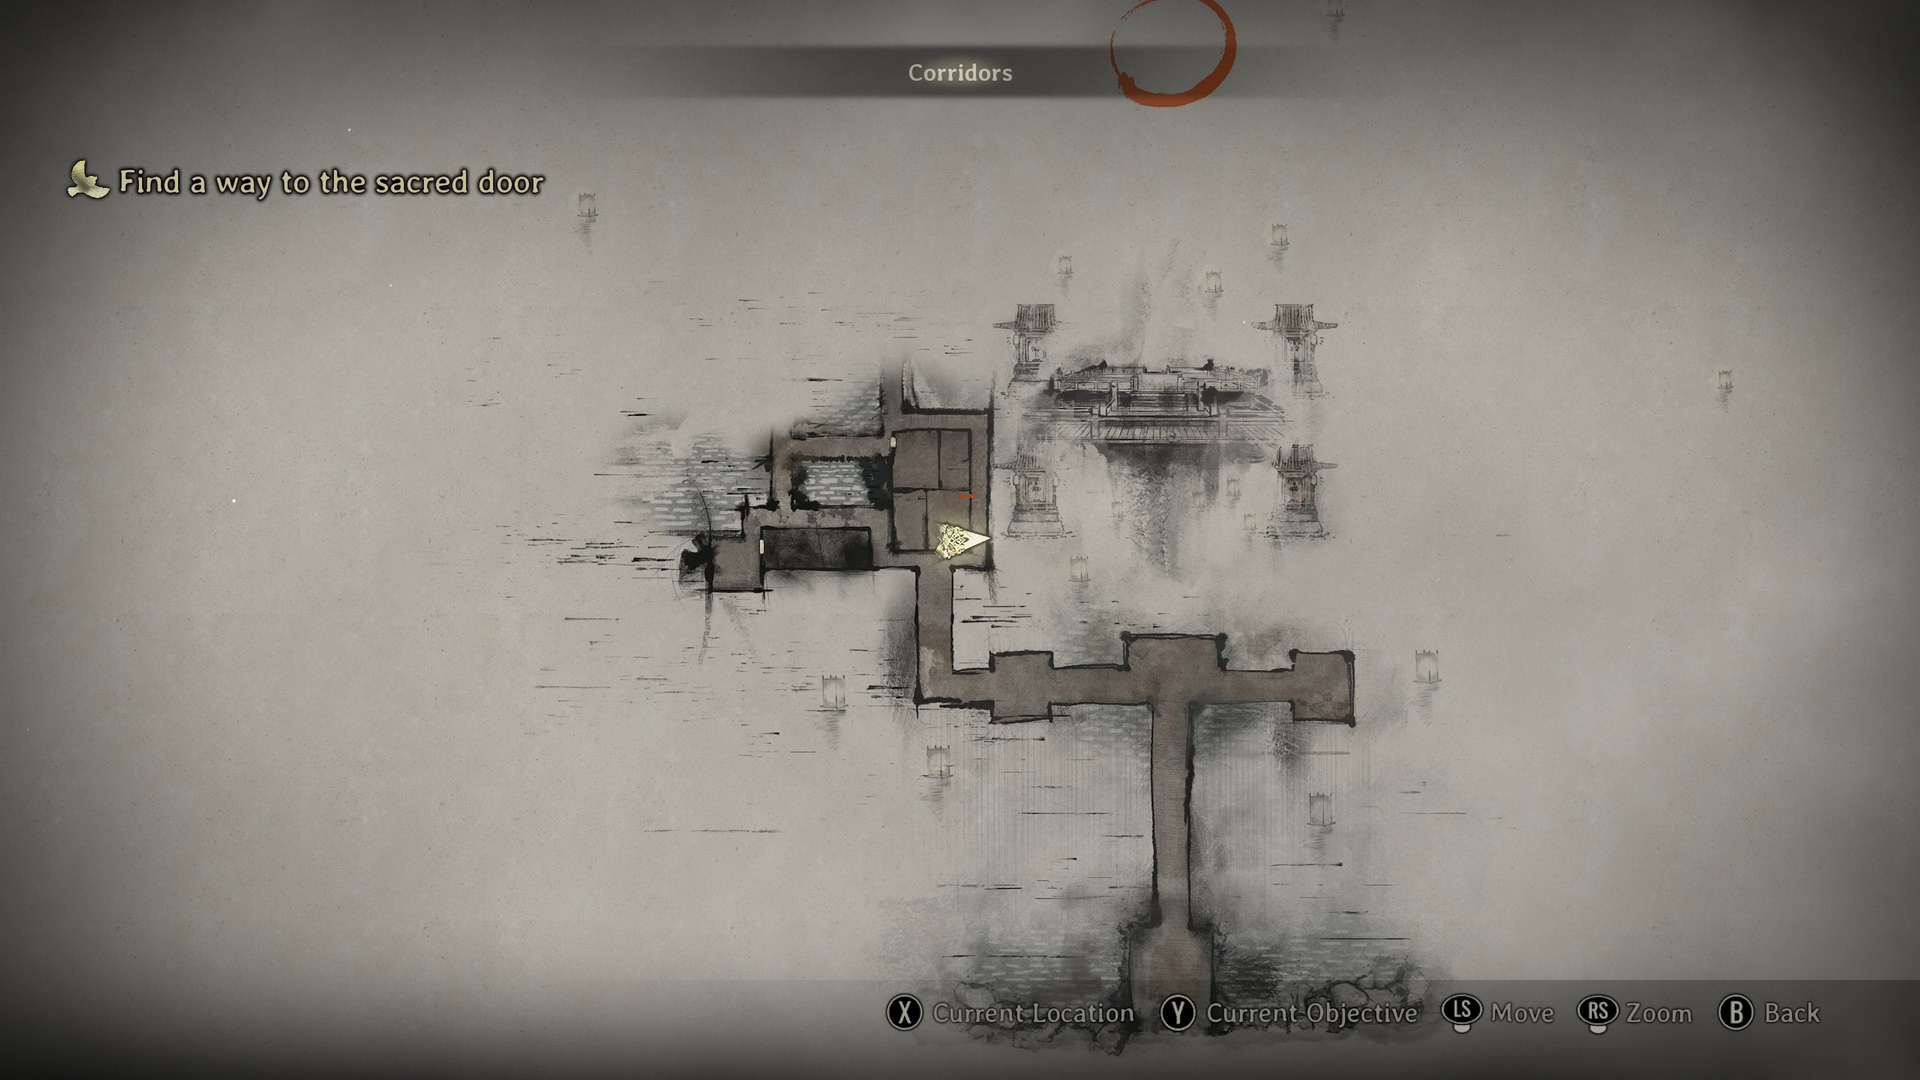
Go right first to find an Arare (⛩10) in one of the corners at the end of the path. Turn around and follow the walkways until you approach a building in the west – you will hear a loud noise.
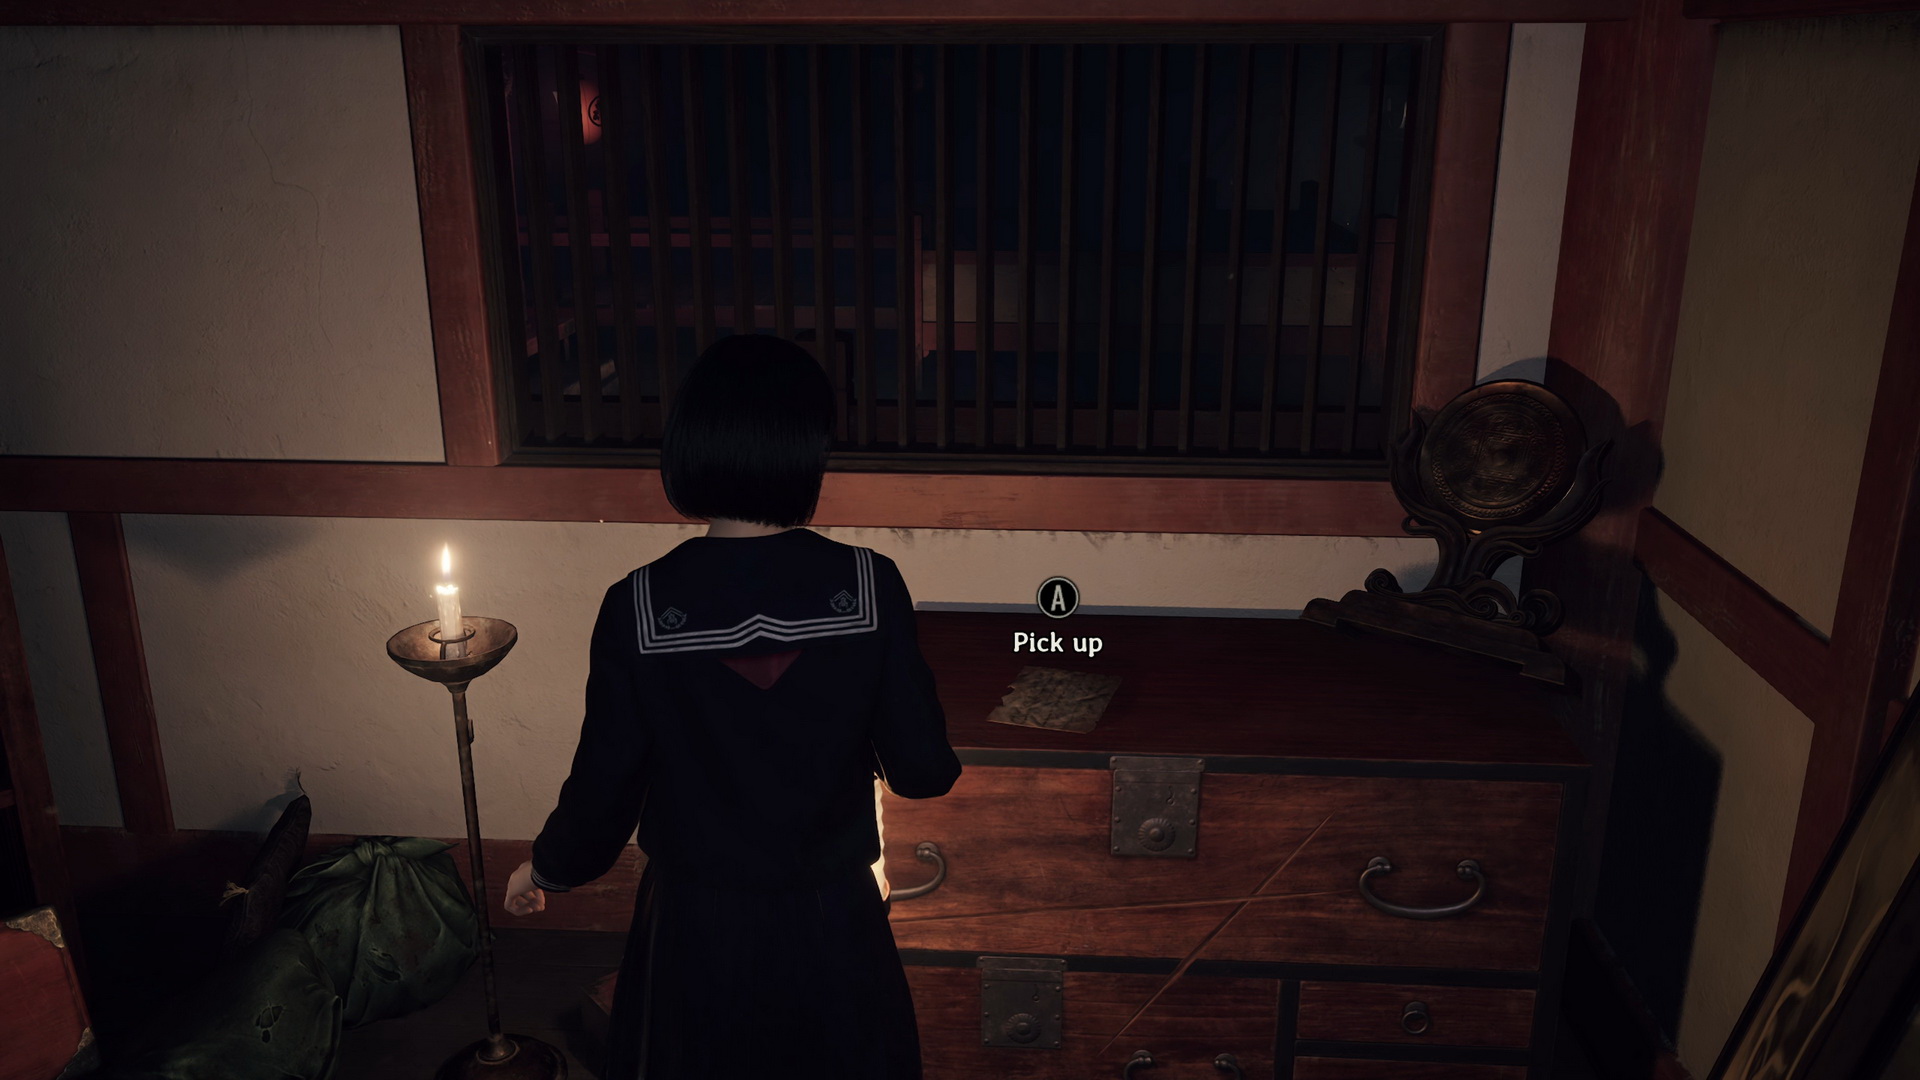
Go around to the east side of the building, and you will find an open door. Inside the room full of mess, you will find the Messy Scrawls document on a chest of drawers.
 |
 |
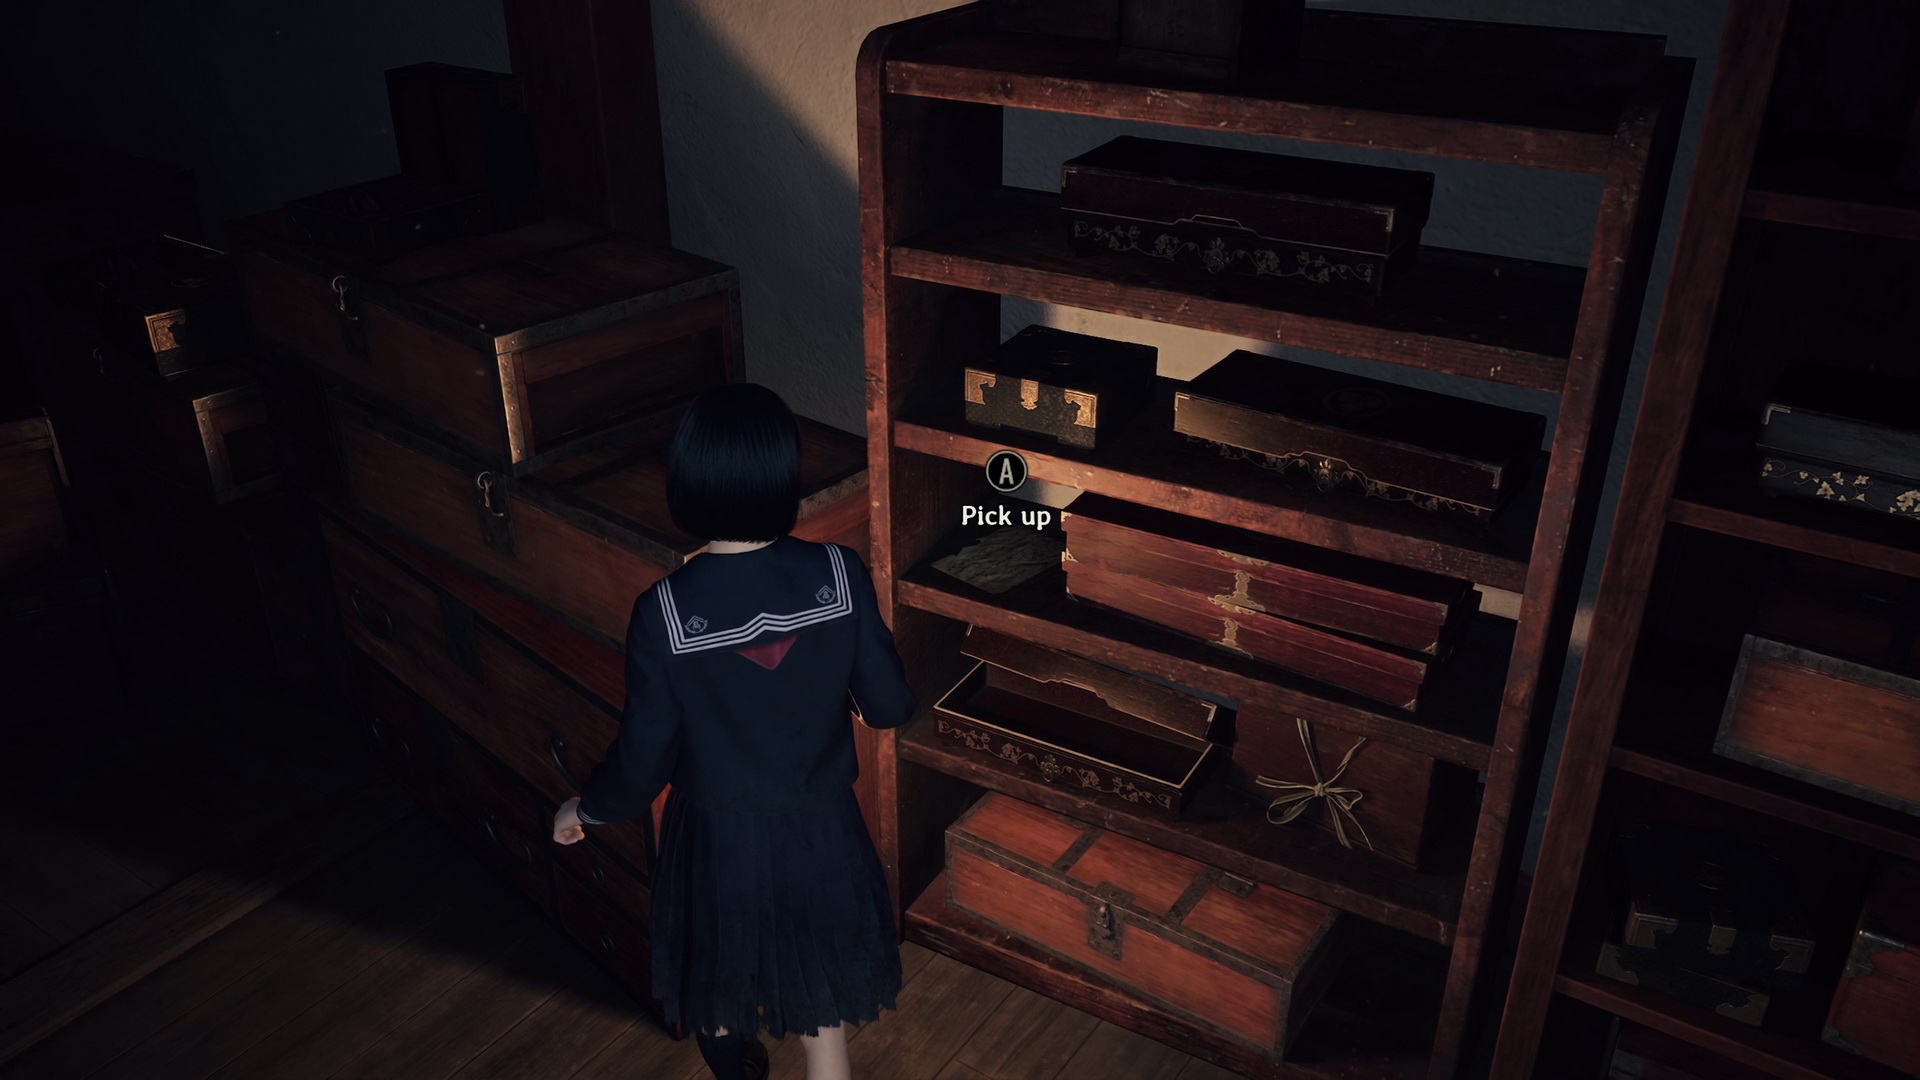
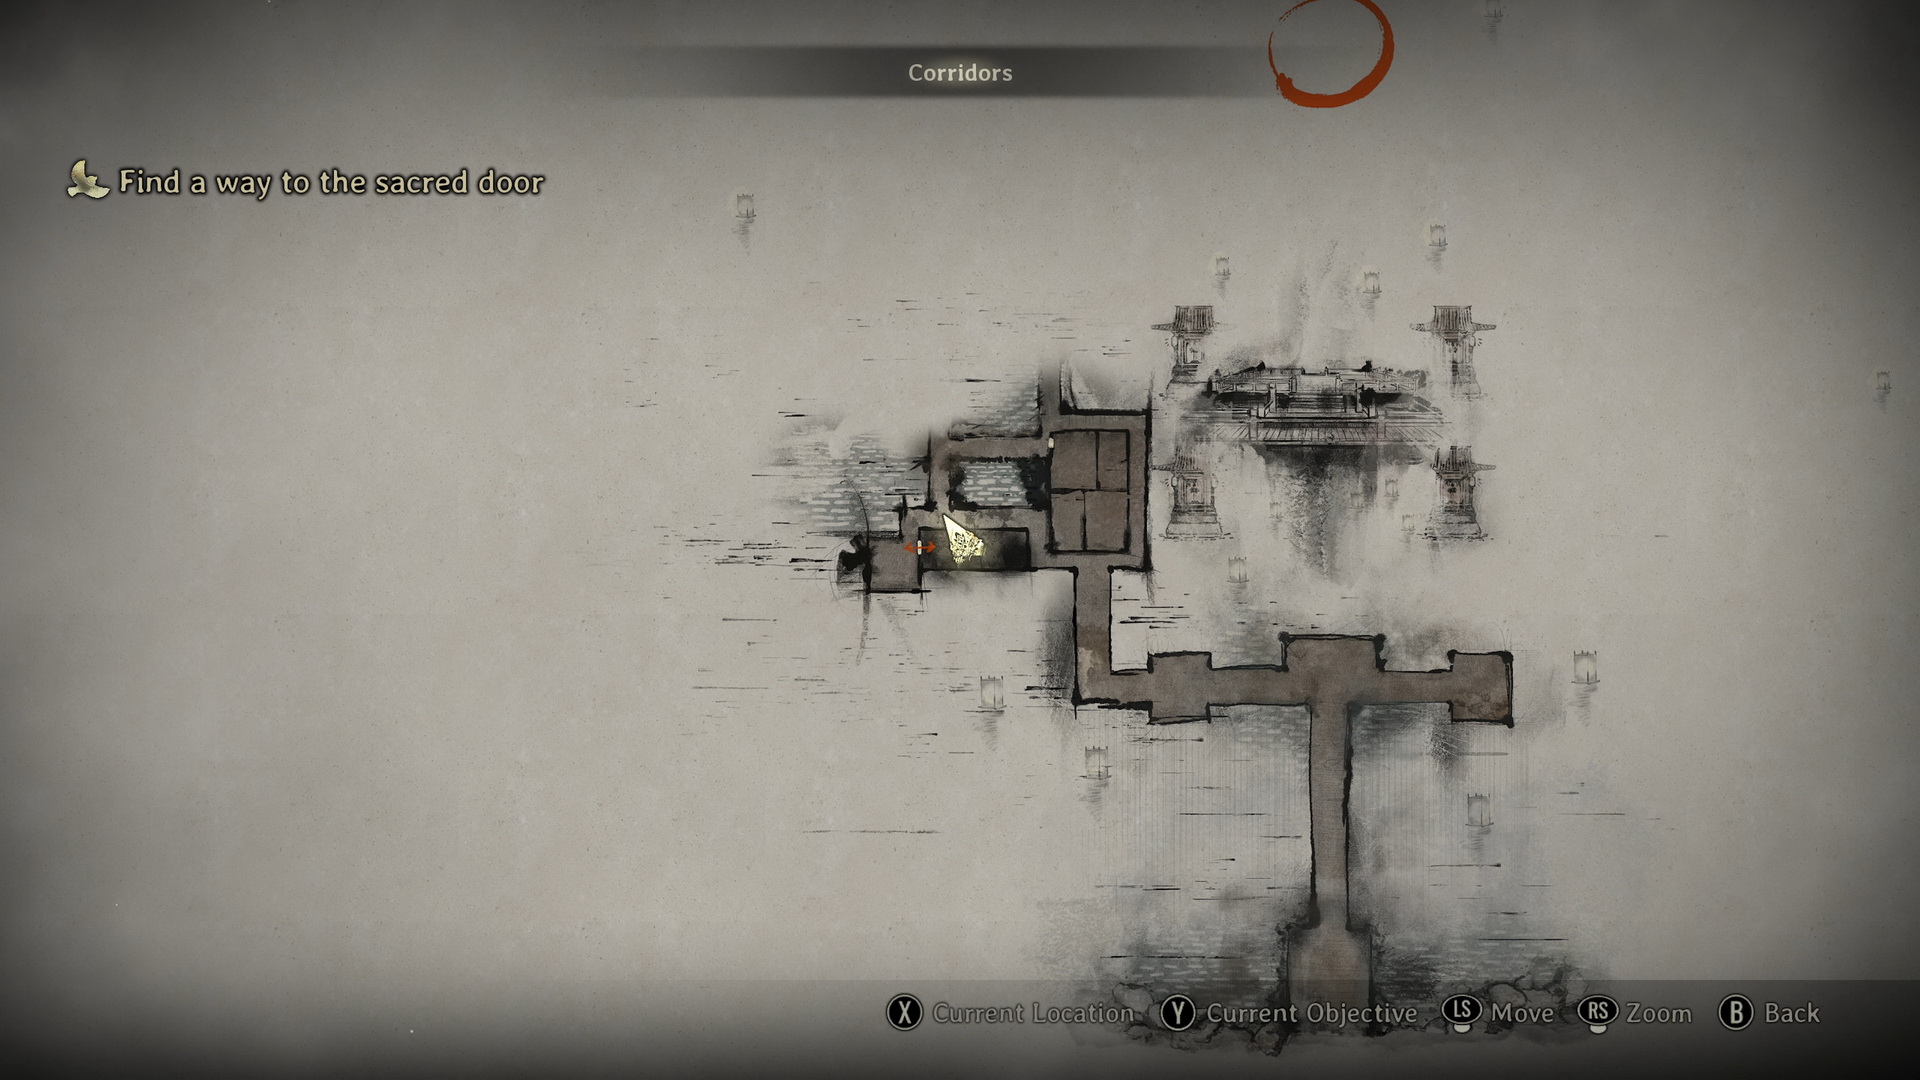
Squeeze through the gap between the shelves, and you can collect a Divine Water (⛩50) from the chest of drawers on the left. Get back and exit the room.
Explore the area in the southwest to find an Upgrade: Ema (replaced with a Higashi (⛩80) in later NG+ games if picked up) on a wooden chest to the right of the Inari-sama door.
 |
 |
New Game+
You can now unlock the Inari-sama door and collect the Upgrade: Embroidered Drawstring Bag from a shelf inside the room.
 |
 |
There are also the Mandate of the Clan (2) and A Perspective on Hierogamy (2) on the shelves in the room.
 |
 |
 |
 |
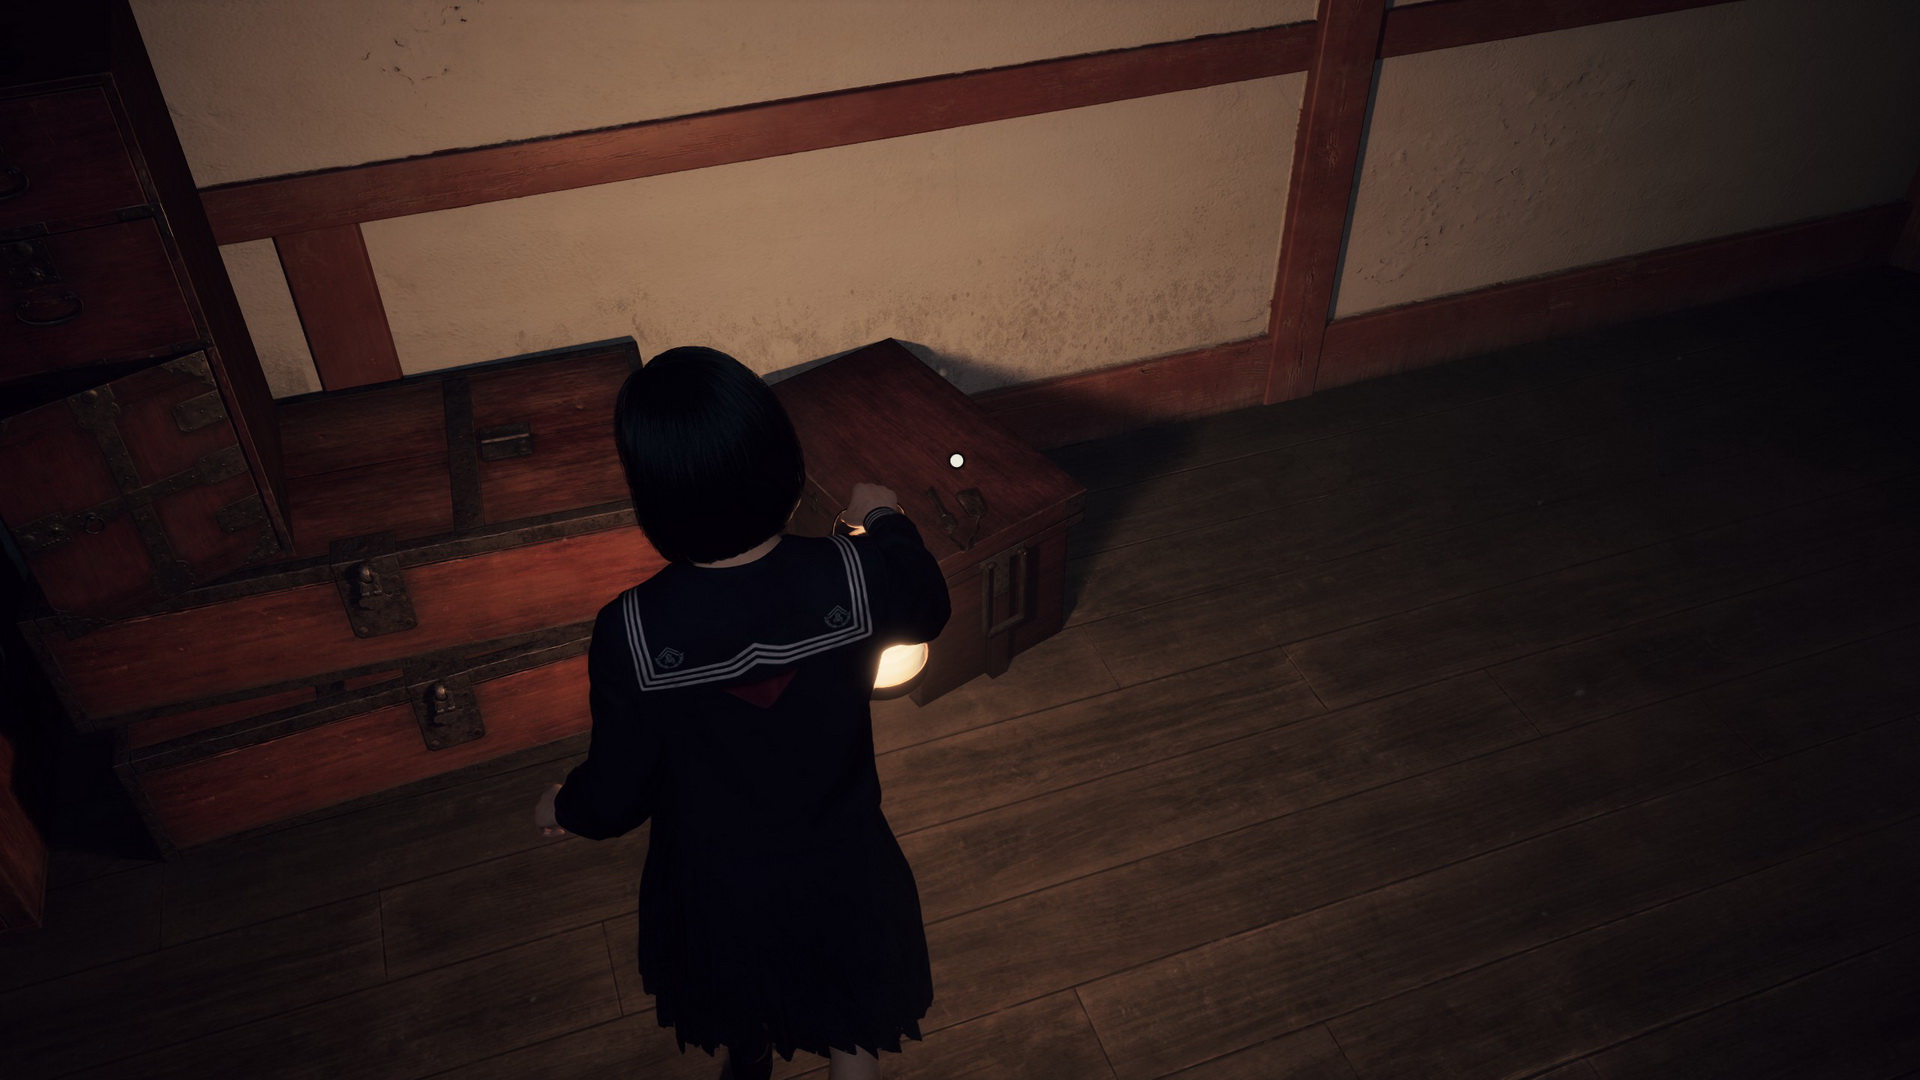
Go north – there's a locked storage room to the east. In the northeast dead end, you can find a Shriveled Abura-age (⛩500) on a box behind a screen. Turn around and enter an open building in the northern part. Duck under a piece of furniture and look around the room to find the Storage Room Key on a wooden chest.
 |
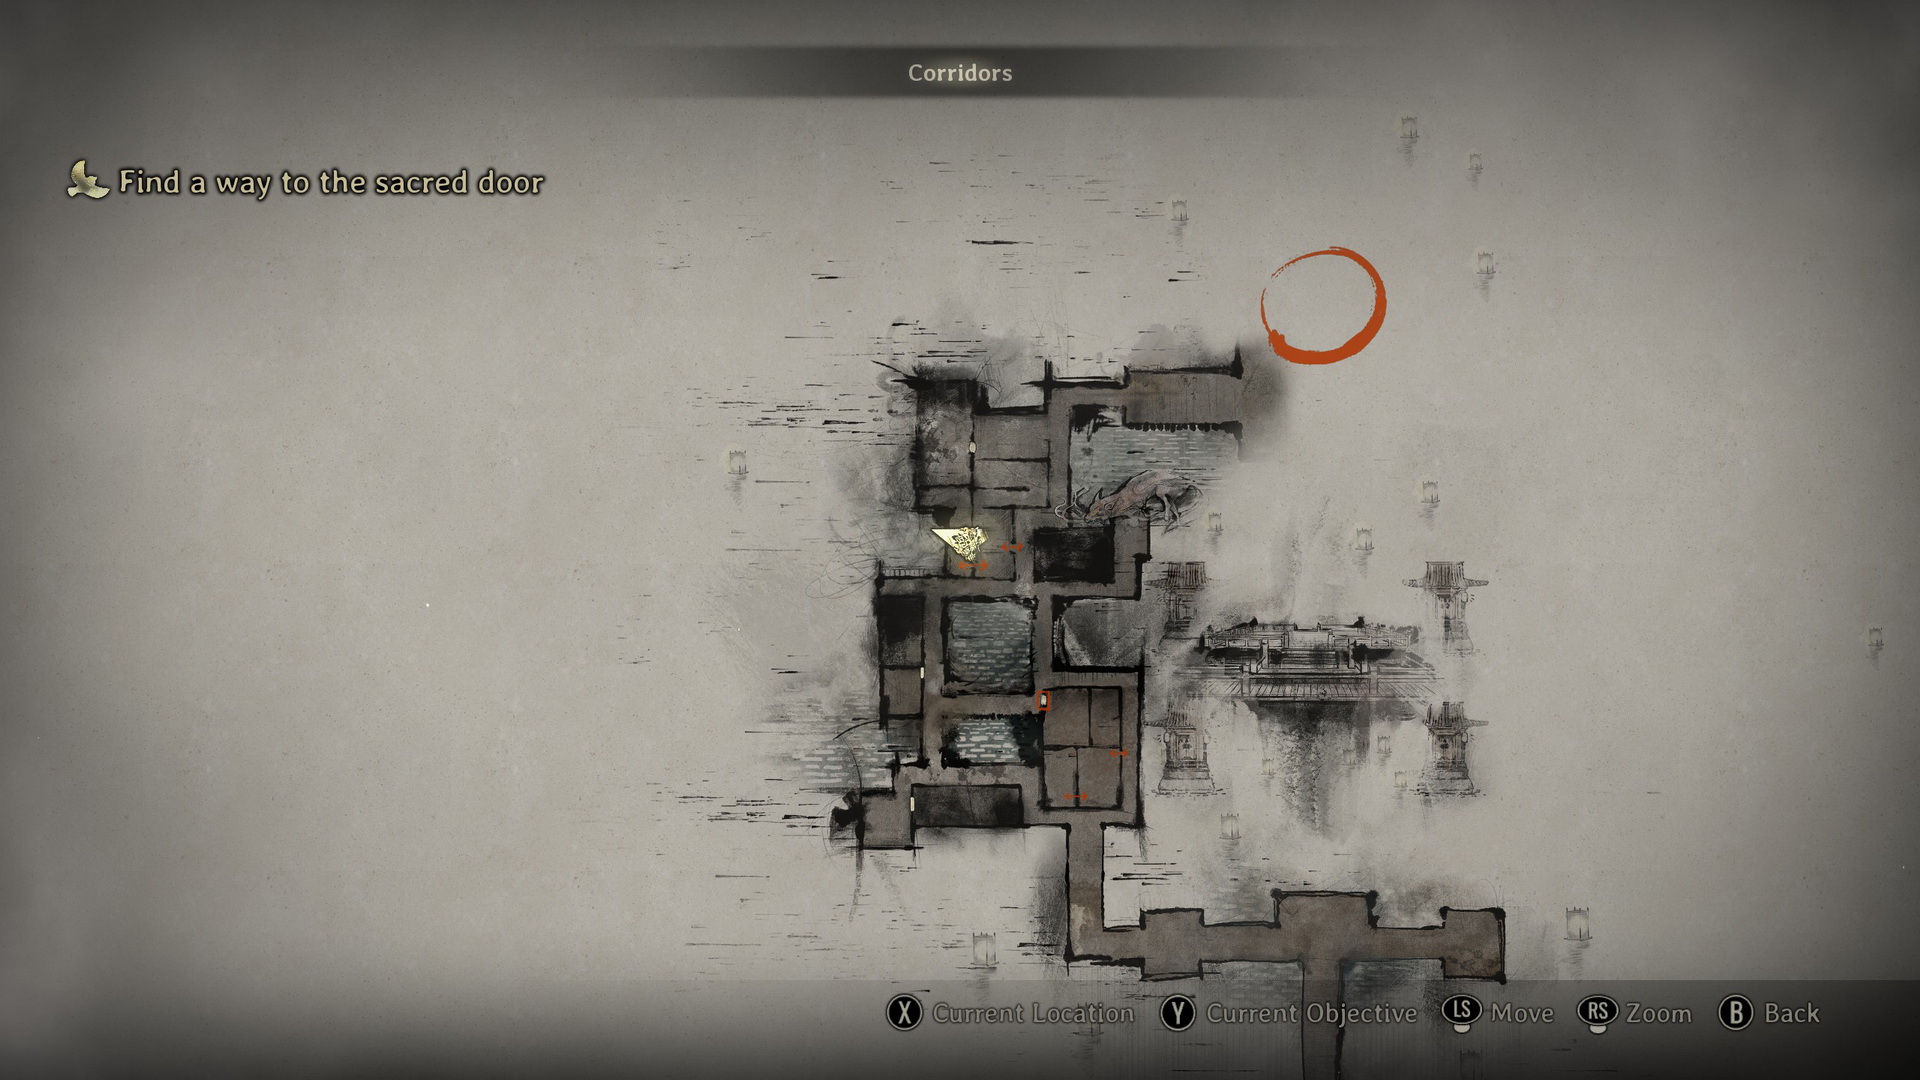 |
Go outside, and behind the wooden grate, you will be able to see a ceremonial weapon on a pedestal. To the left, you will also find a Hokora shrine to save your game.
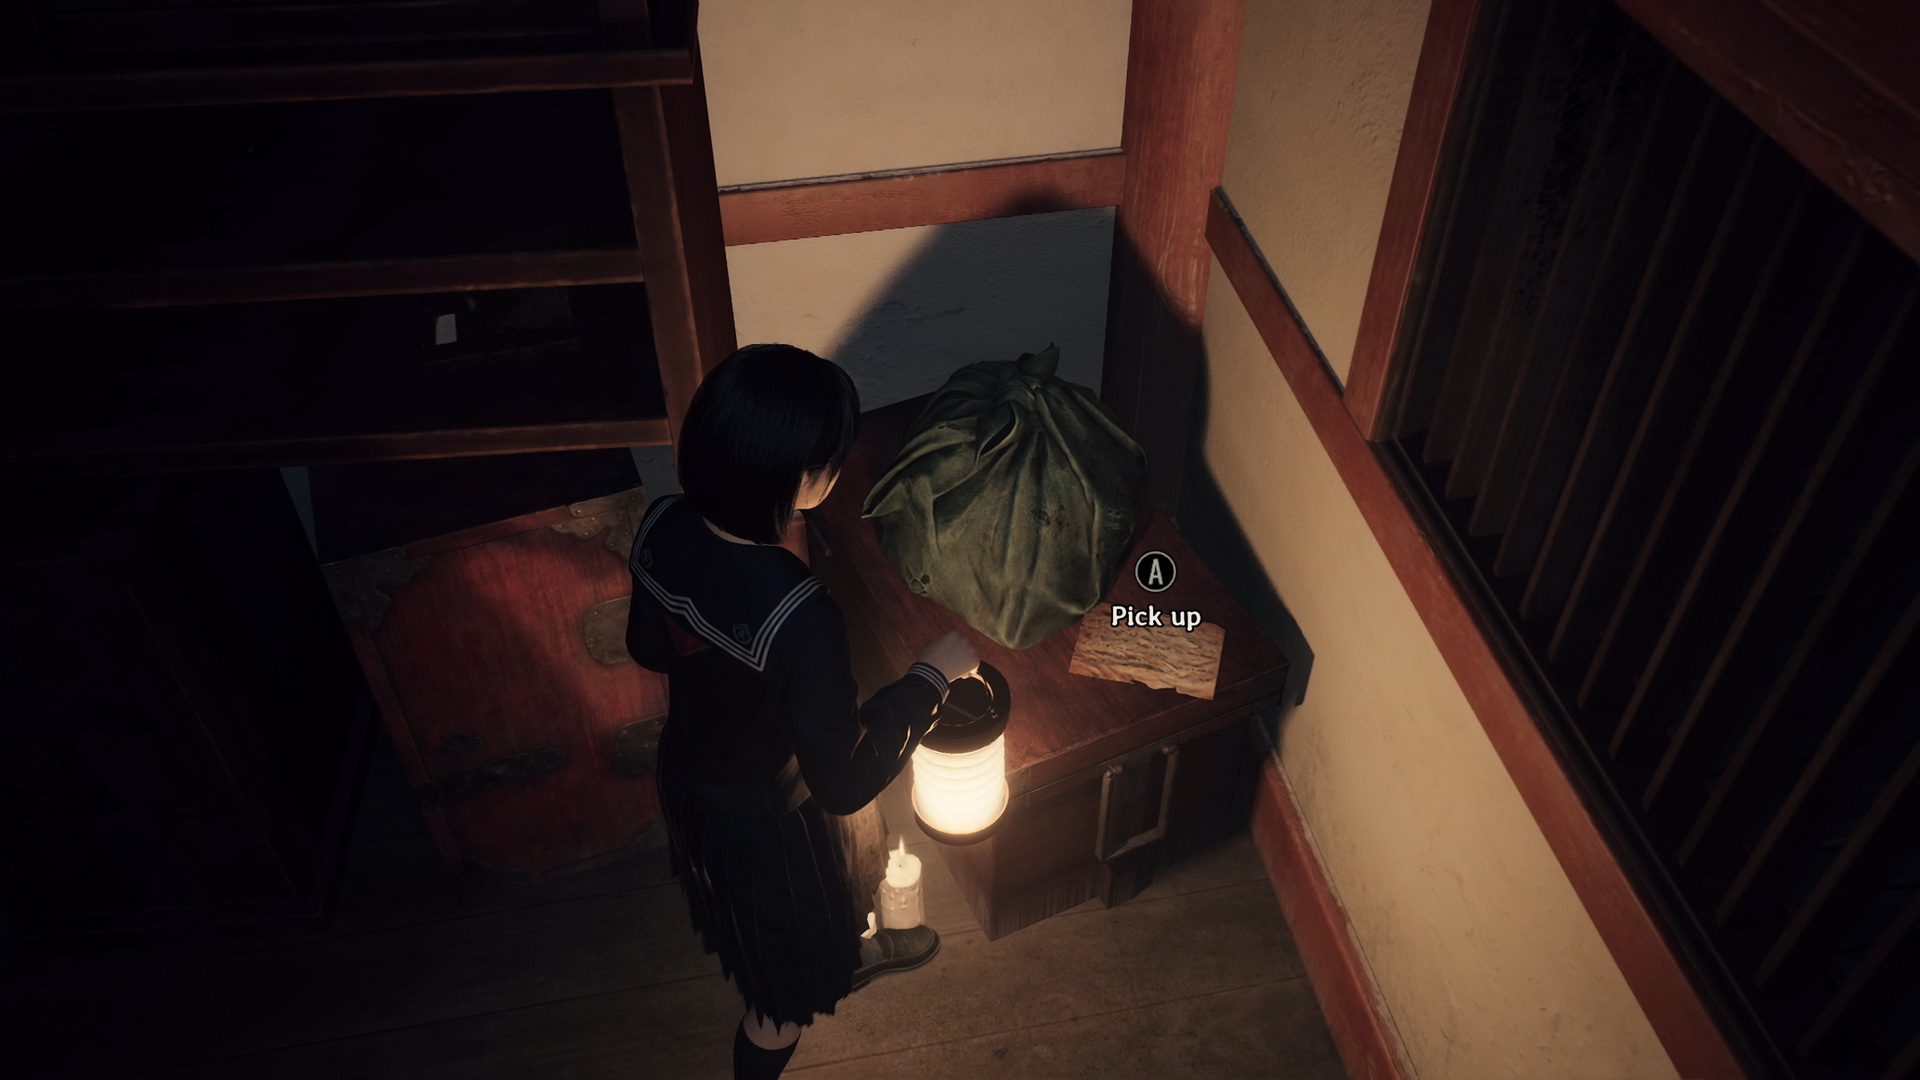
Go back and explore the northern section of the building. There's a Yokan (⛩30) in the chest of drawers in the corridor. Further down the corridor, on a box in the corner, you can find an Ancient Note.
 |
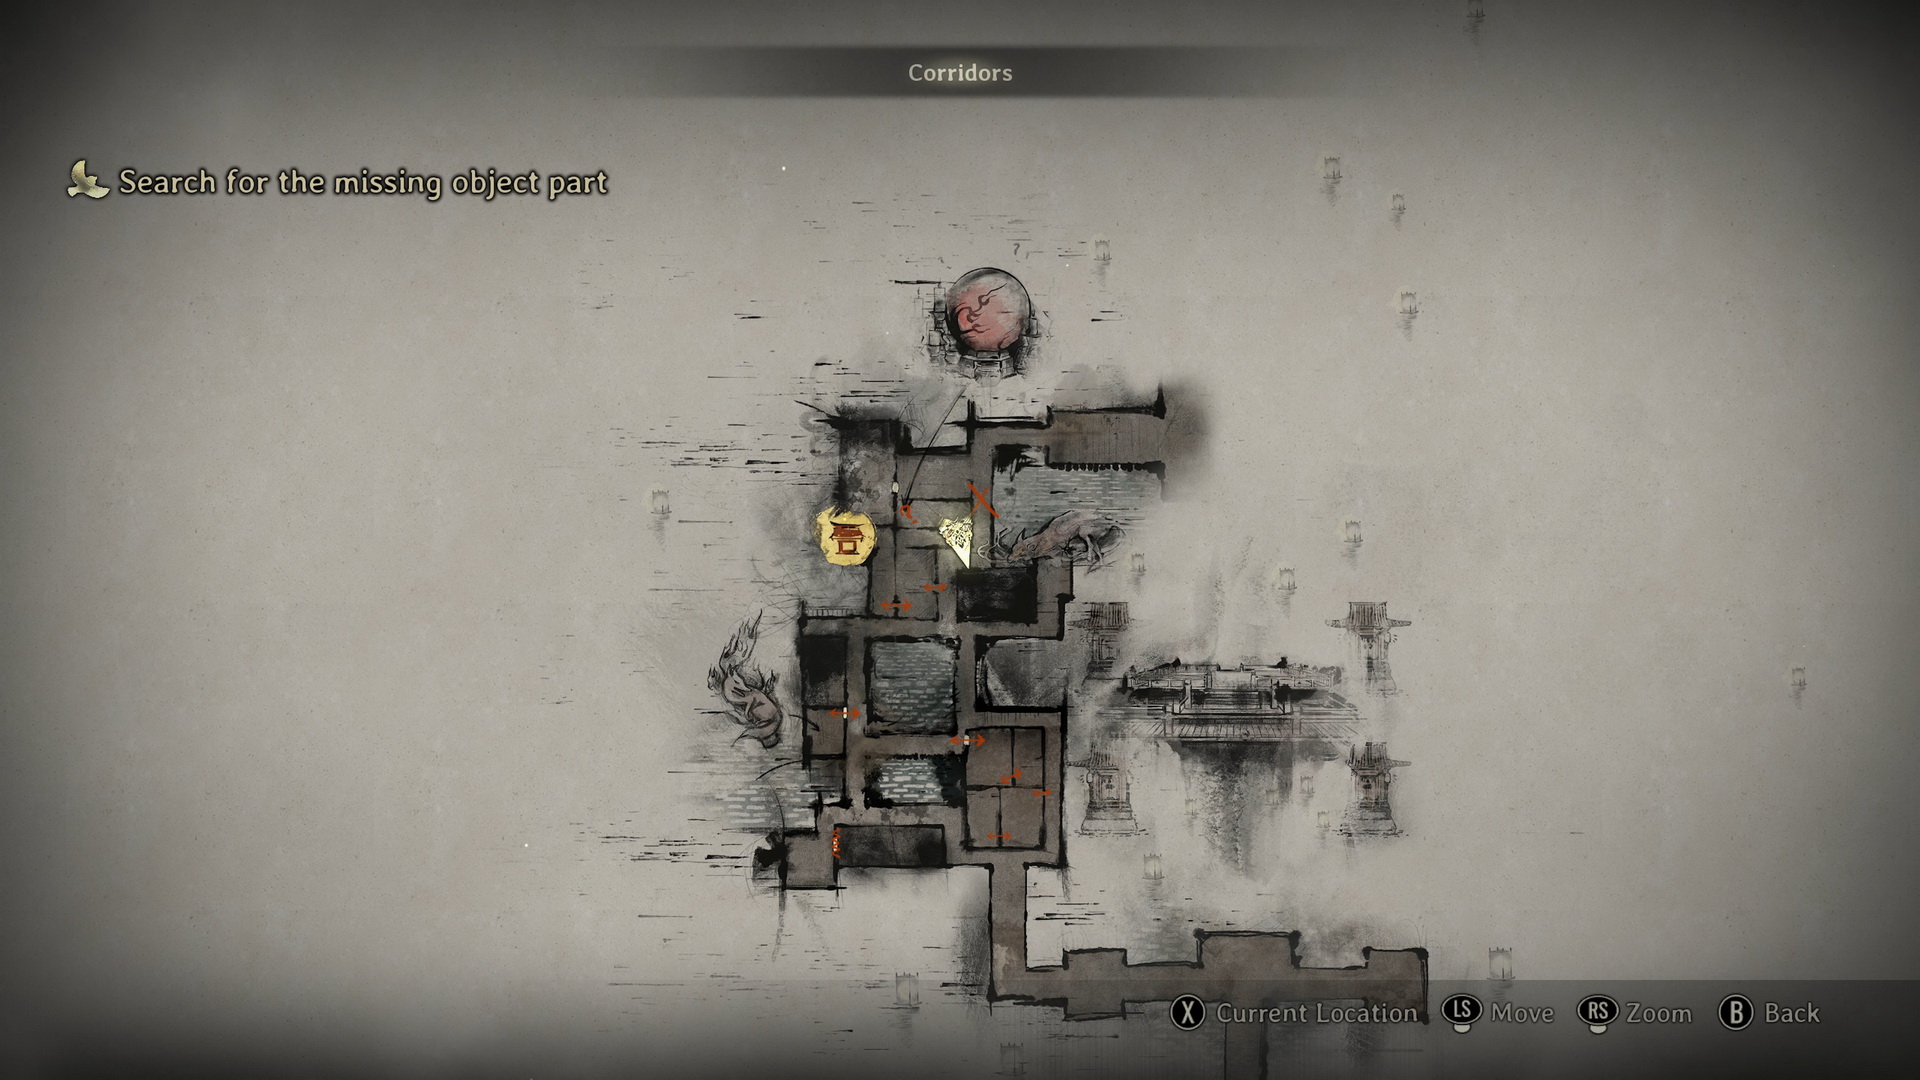 |
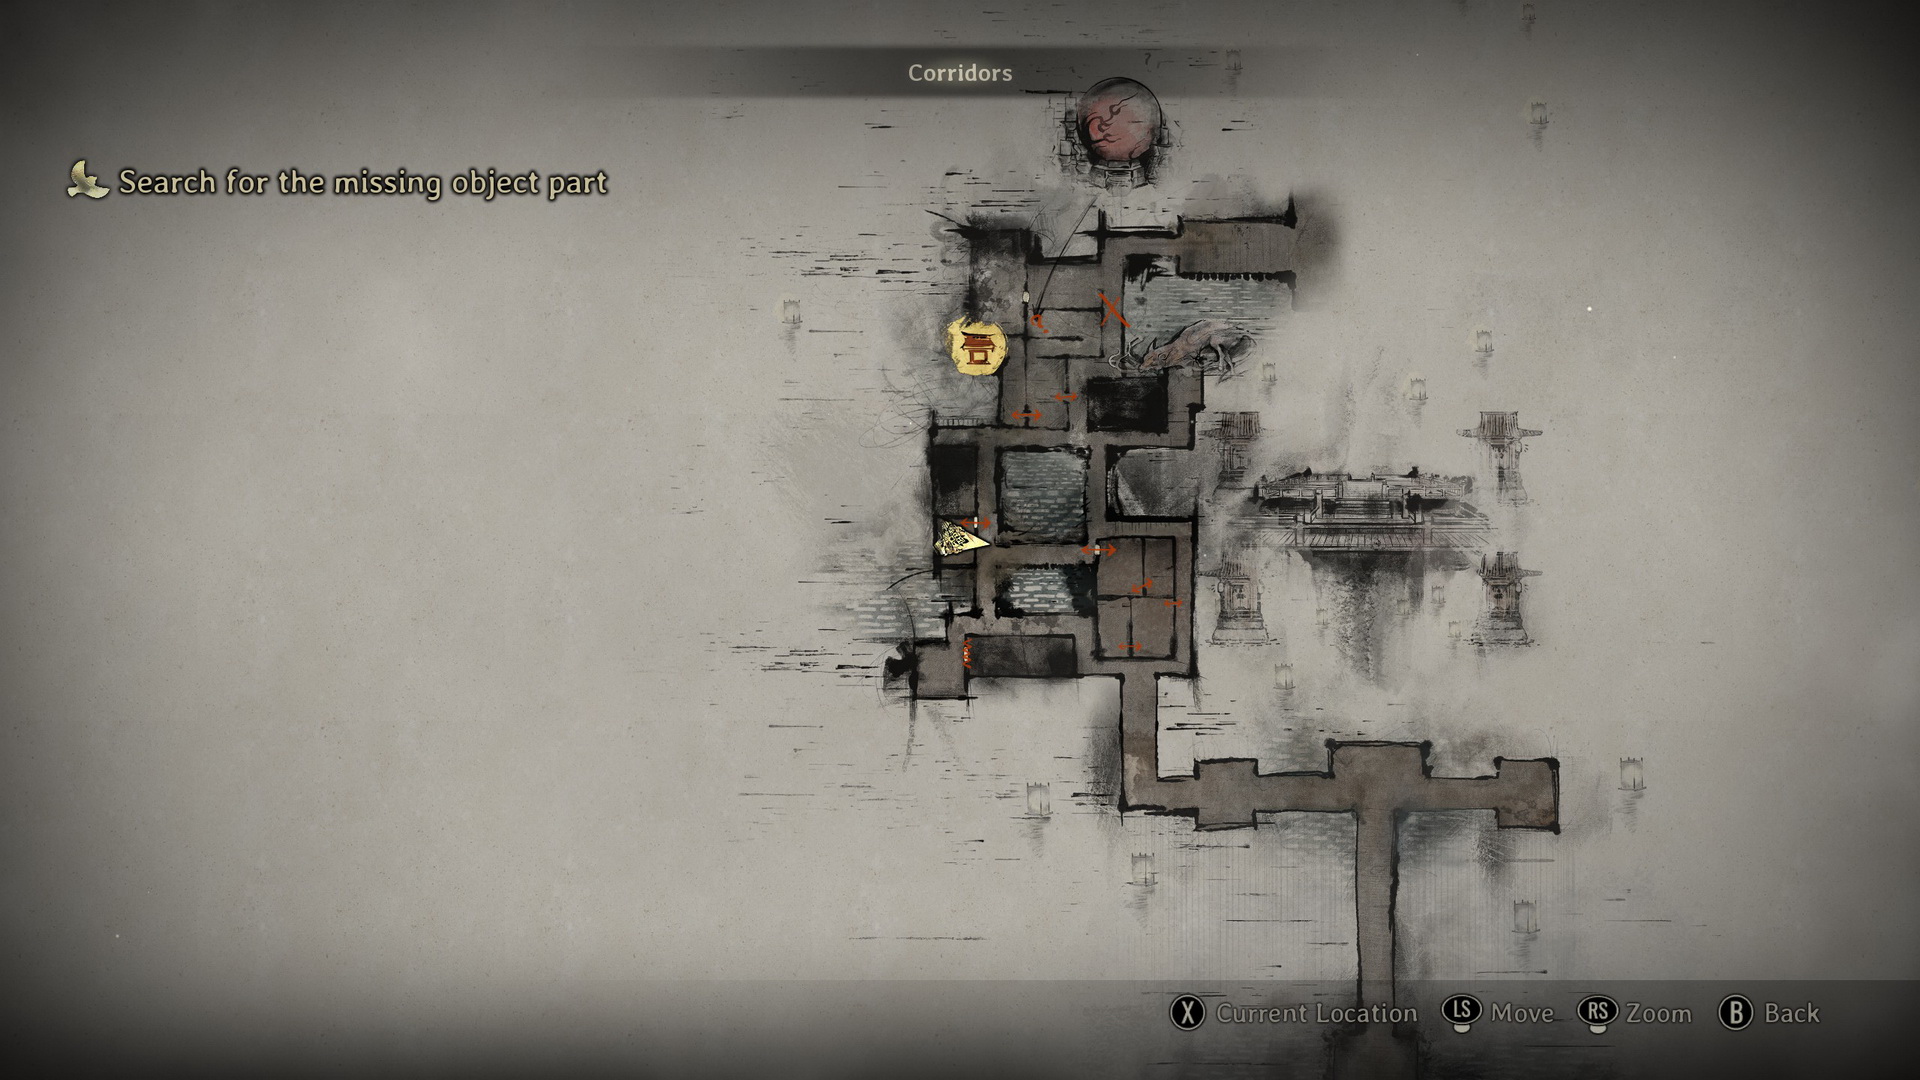
Finally, at the end of the corridor, you will find a strange altar.
Investigate the strange object
Examine the altar to find what's missing.
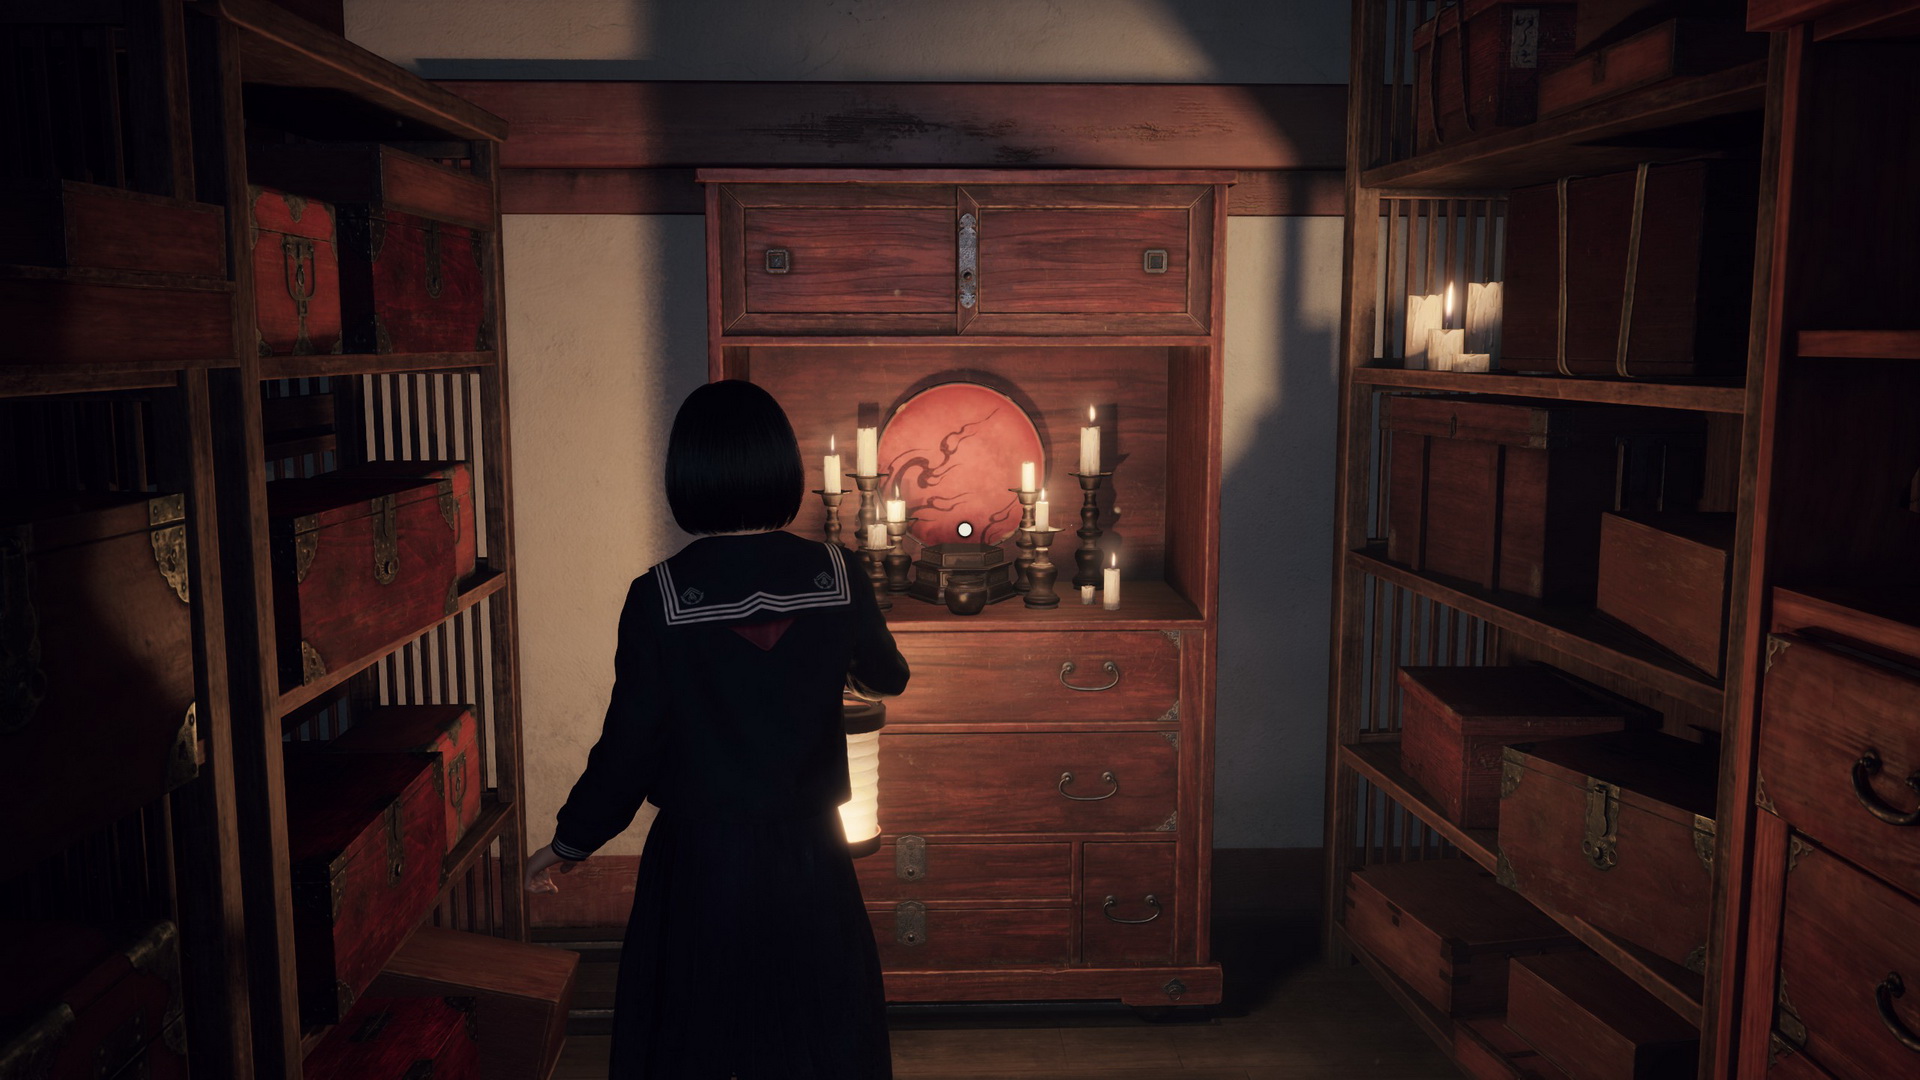
Search for the missing object
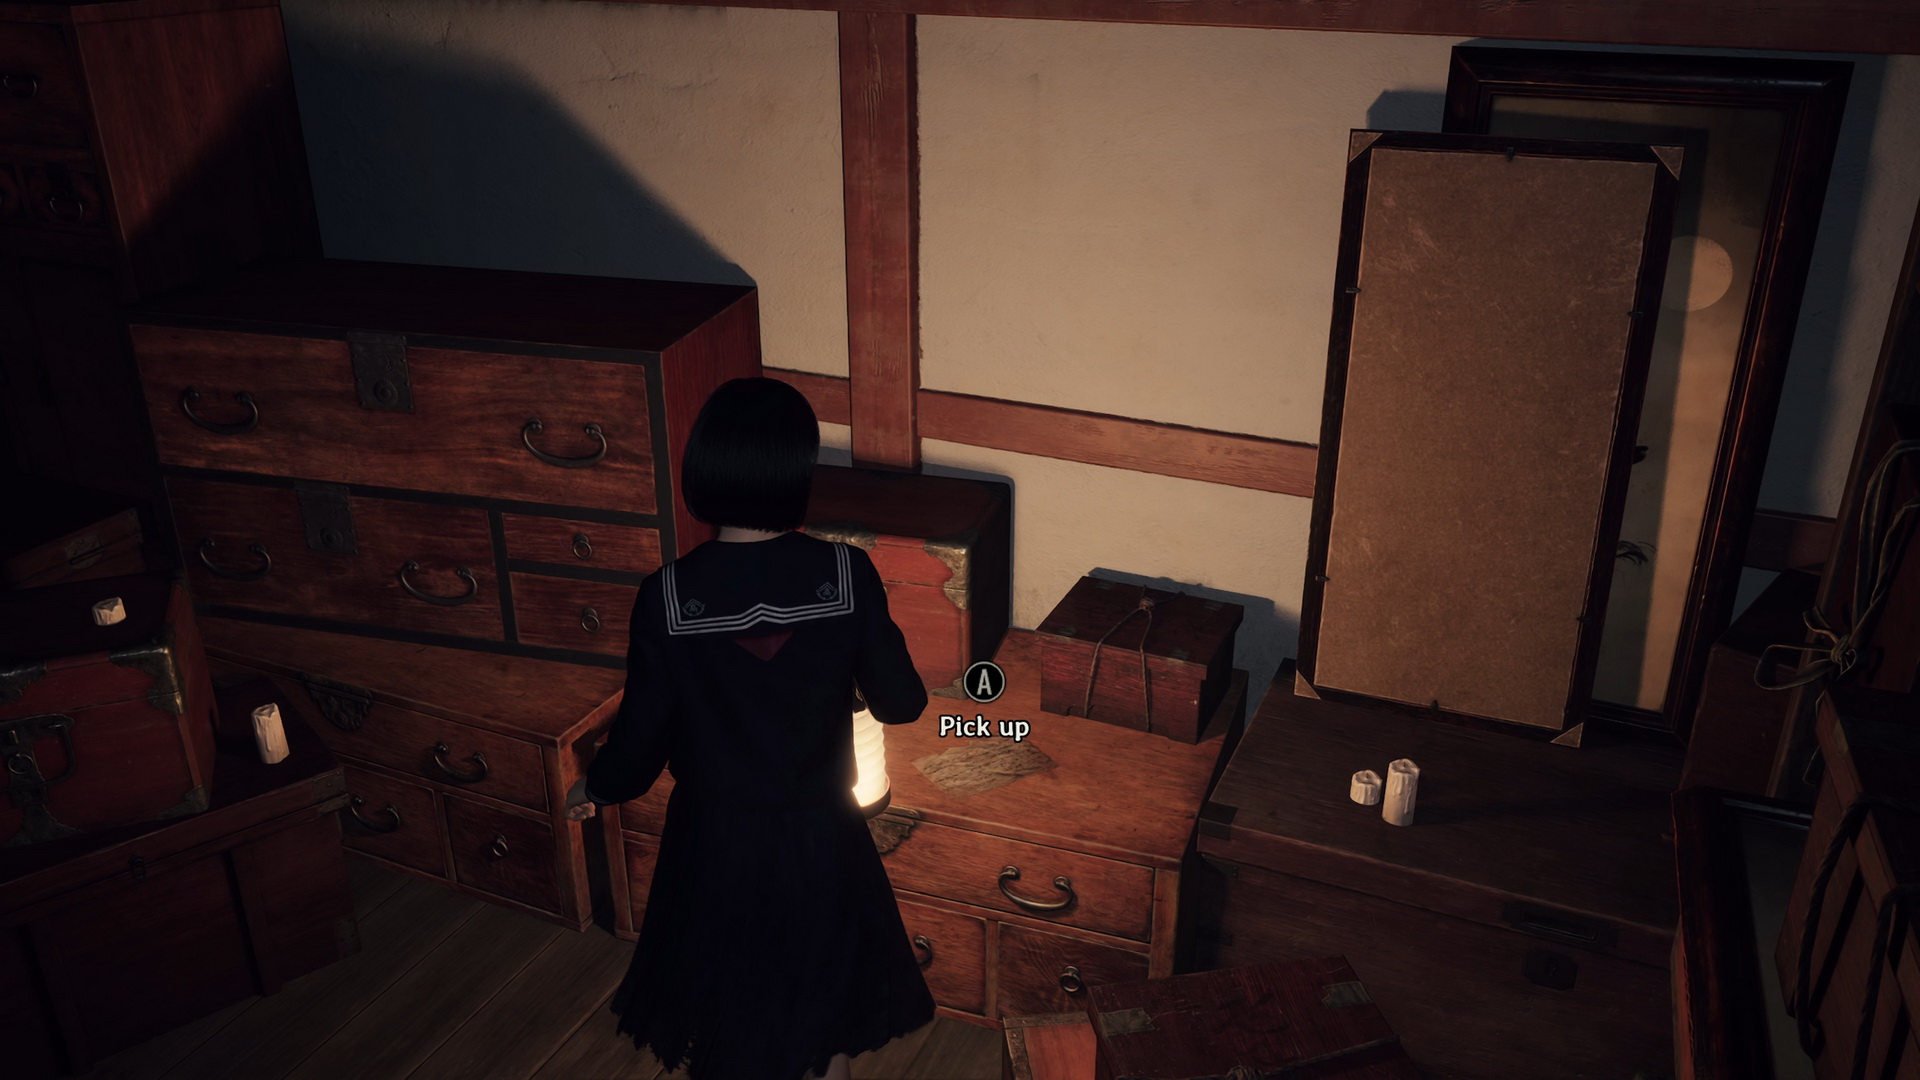
Let's head back to the locked storage room in the south. Unlock the door with the Storage Room Key and enter. Crawl into the next portion of the room and examine the doll on top of a chest of drawers for a cryptic message.
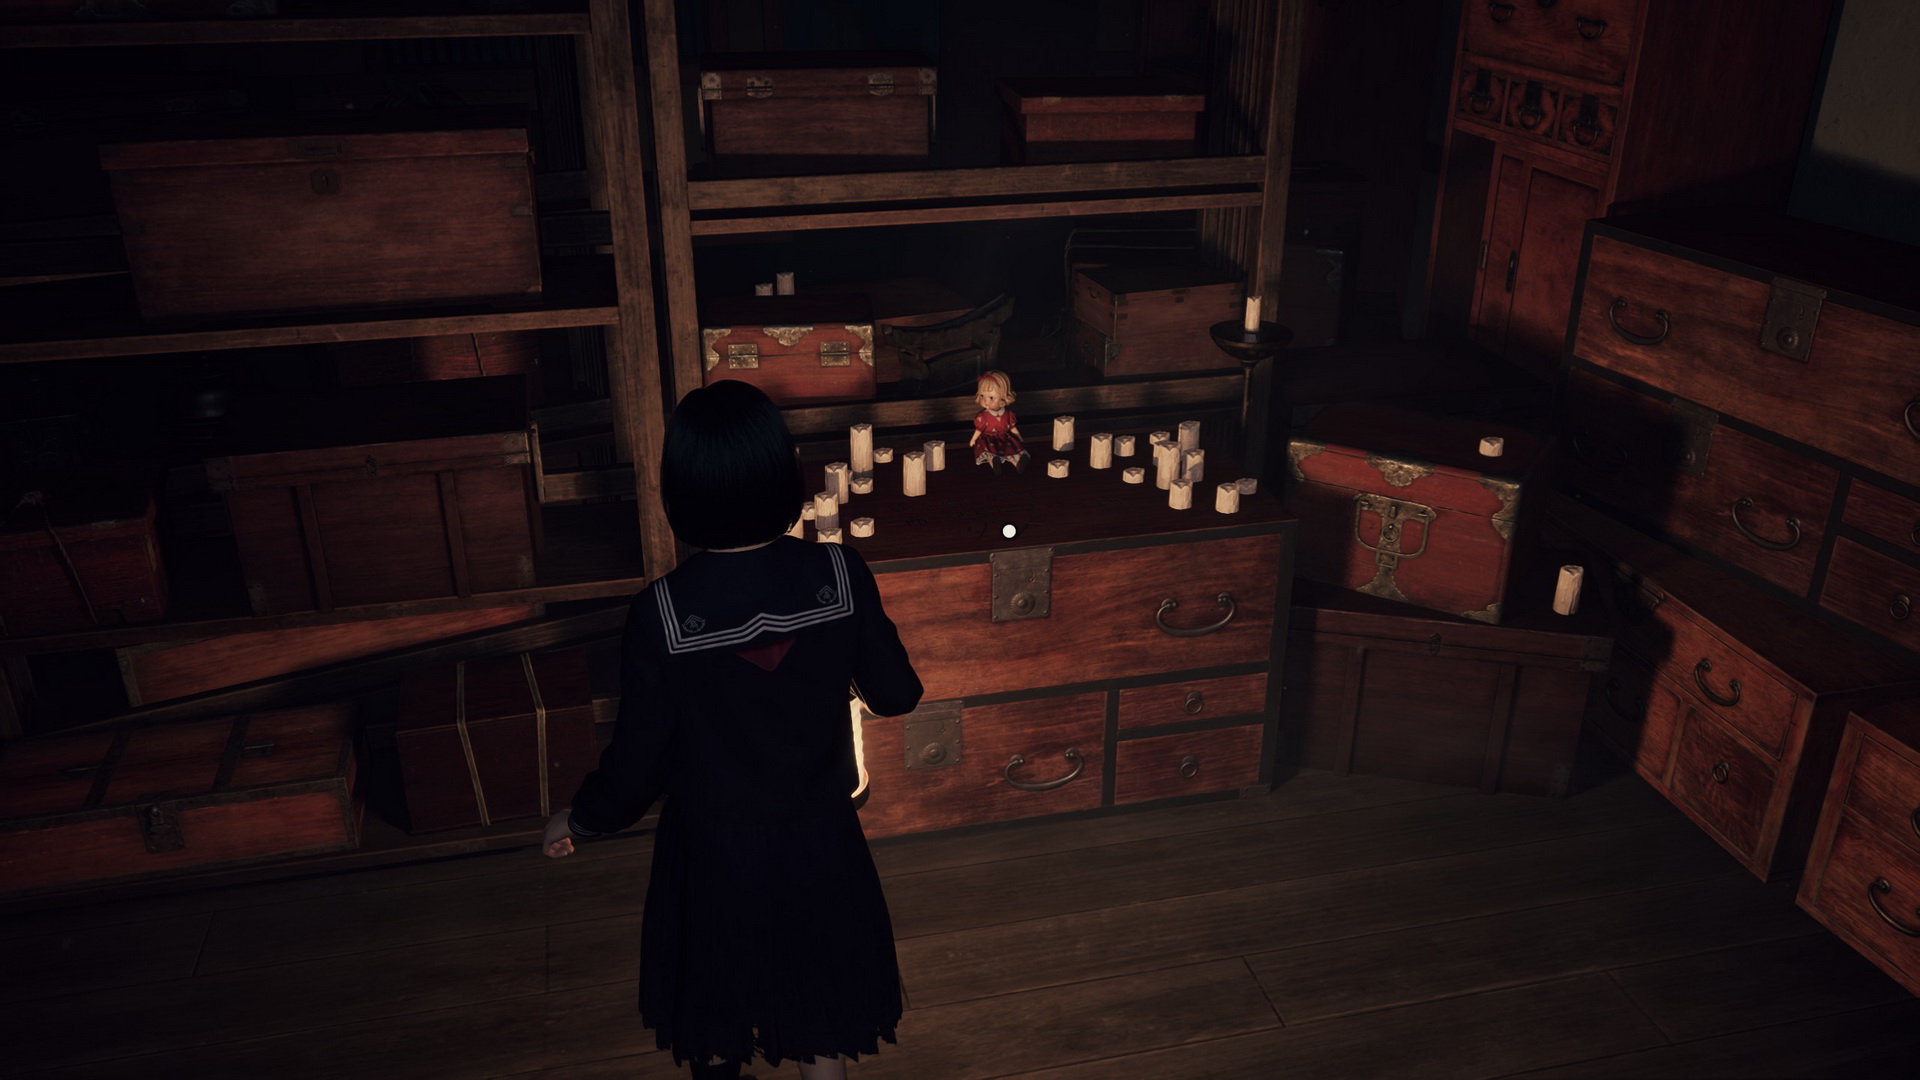
To the right of the doll, you can pick up A Warning.
 |
 |
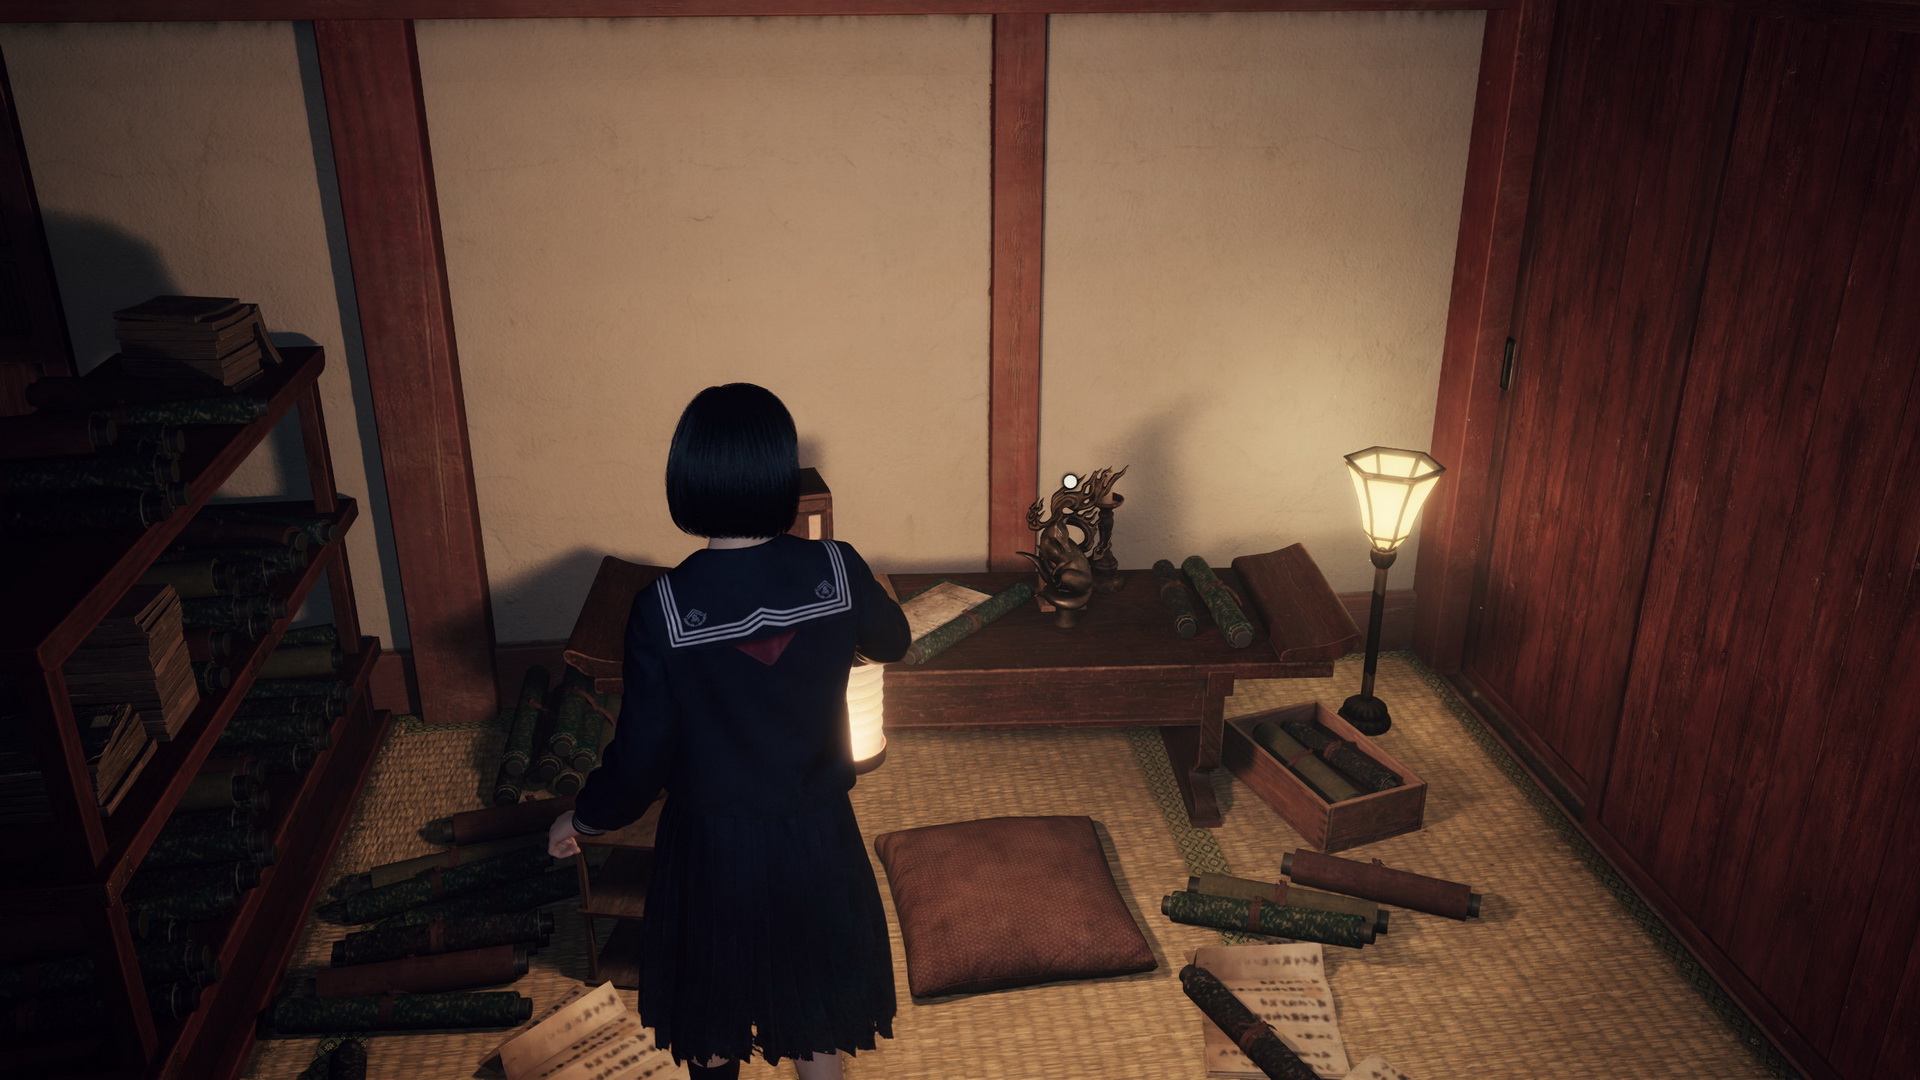
Go back outside, and you'll see a room that's now open directly across. Enter the room to find another message on the back wall and an Inari Sculpture on a table – time to go back to the altar.
 |
 |
Place the missing sculpture on the pedestal, and the cabinet will move aside, revealing a passage.
Enter the inner room
Once you step inside, a cutscene will trigger, introducing a new monster type: Harai Katashiro.
Escape from peril
Fight the monster, and once you are done with it, pick up the Naginata weapon from the pedestal. You won't have your lantern anymore, though, as it was irreparably damaged during the fight.
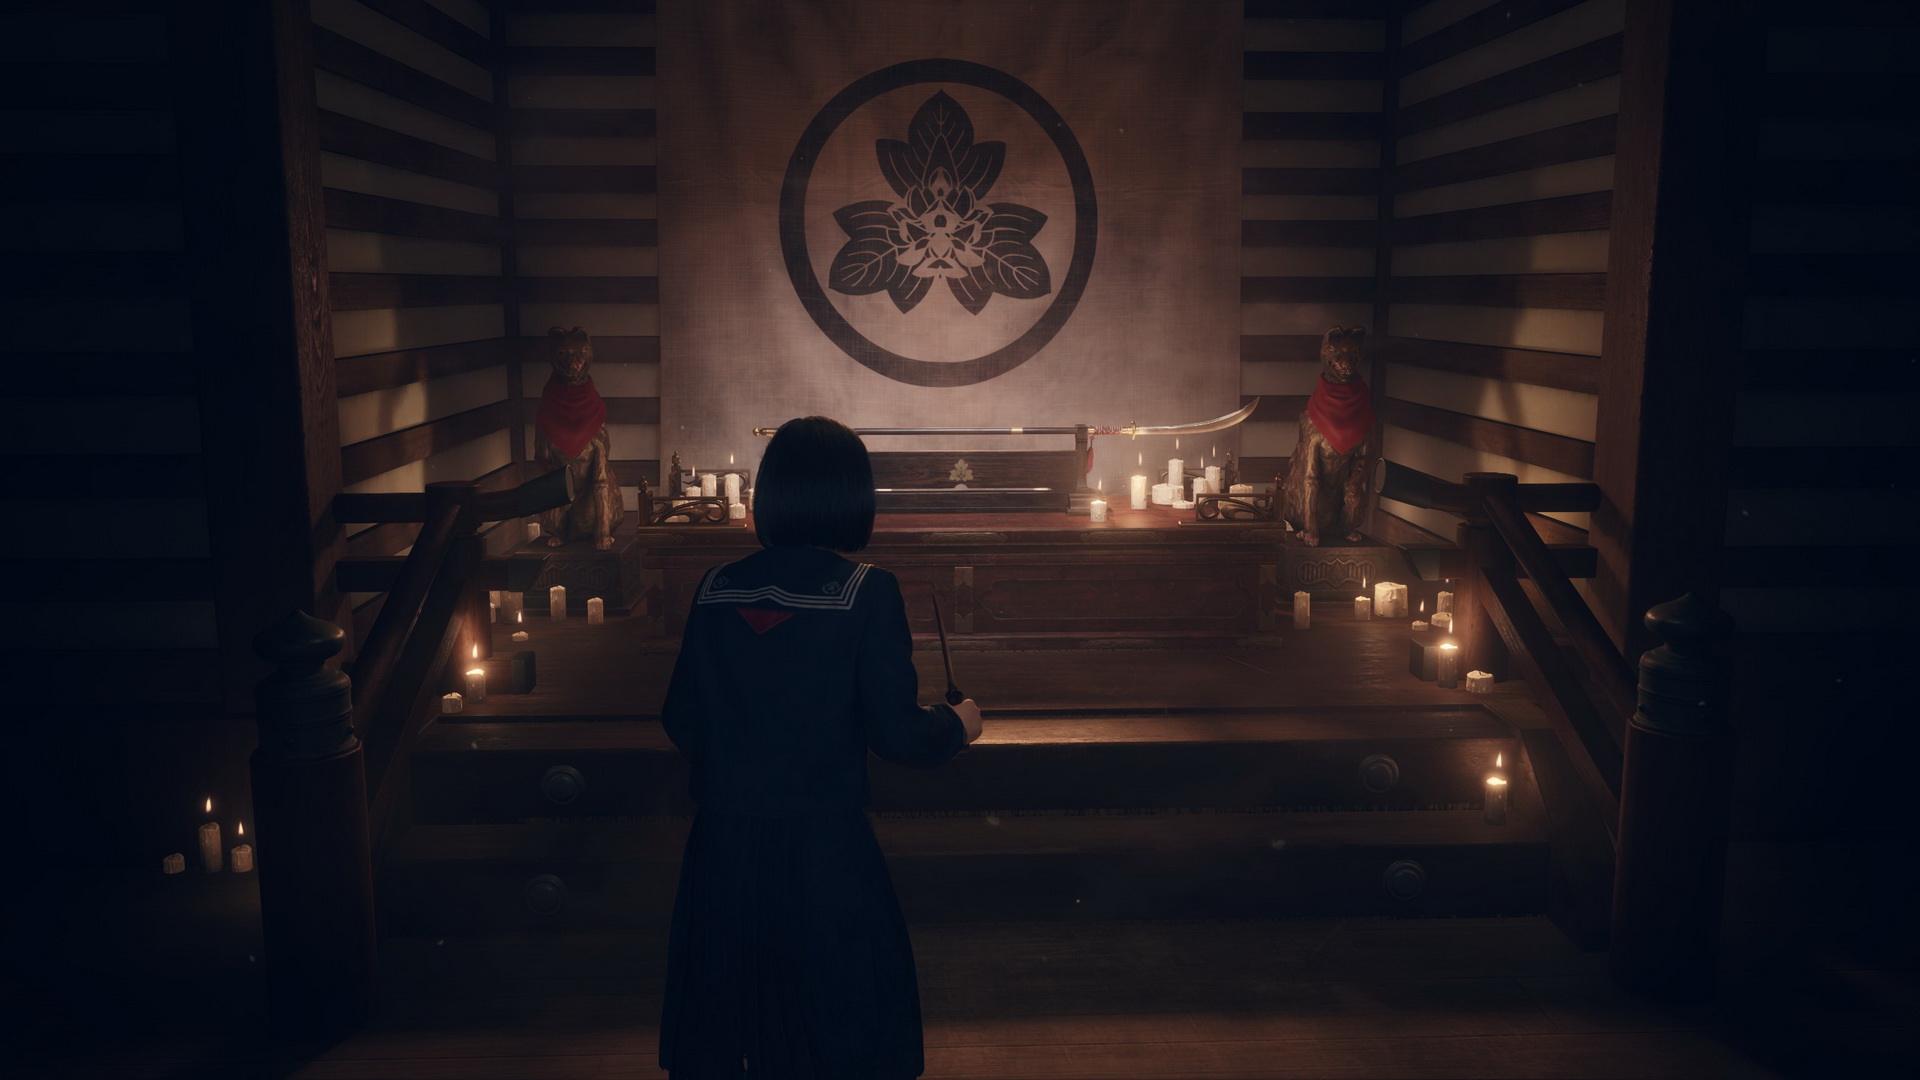
Proceed east.
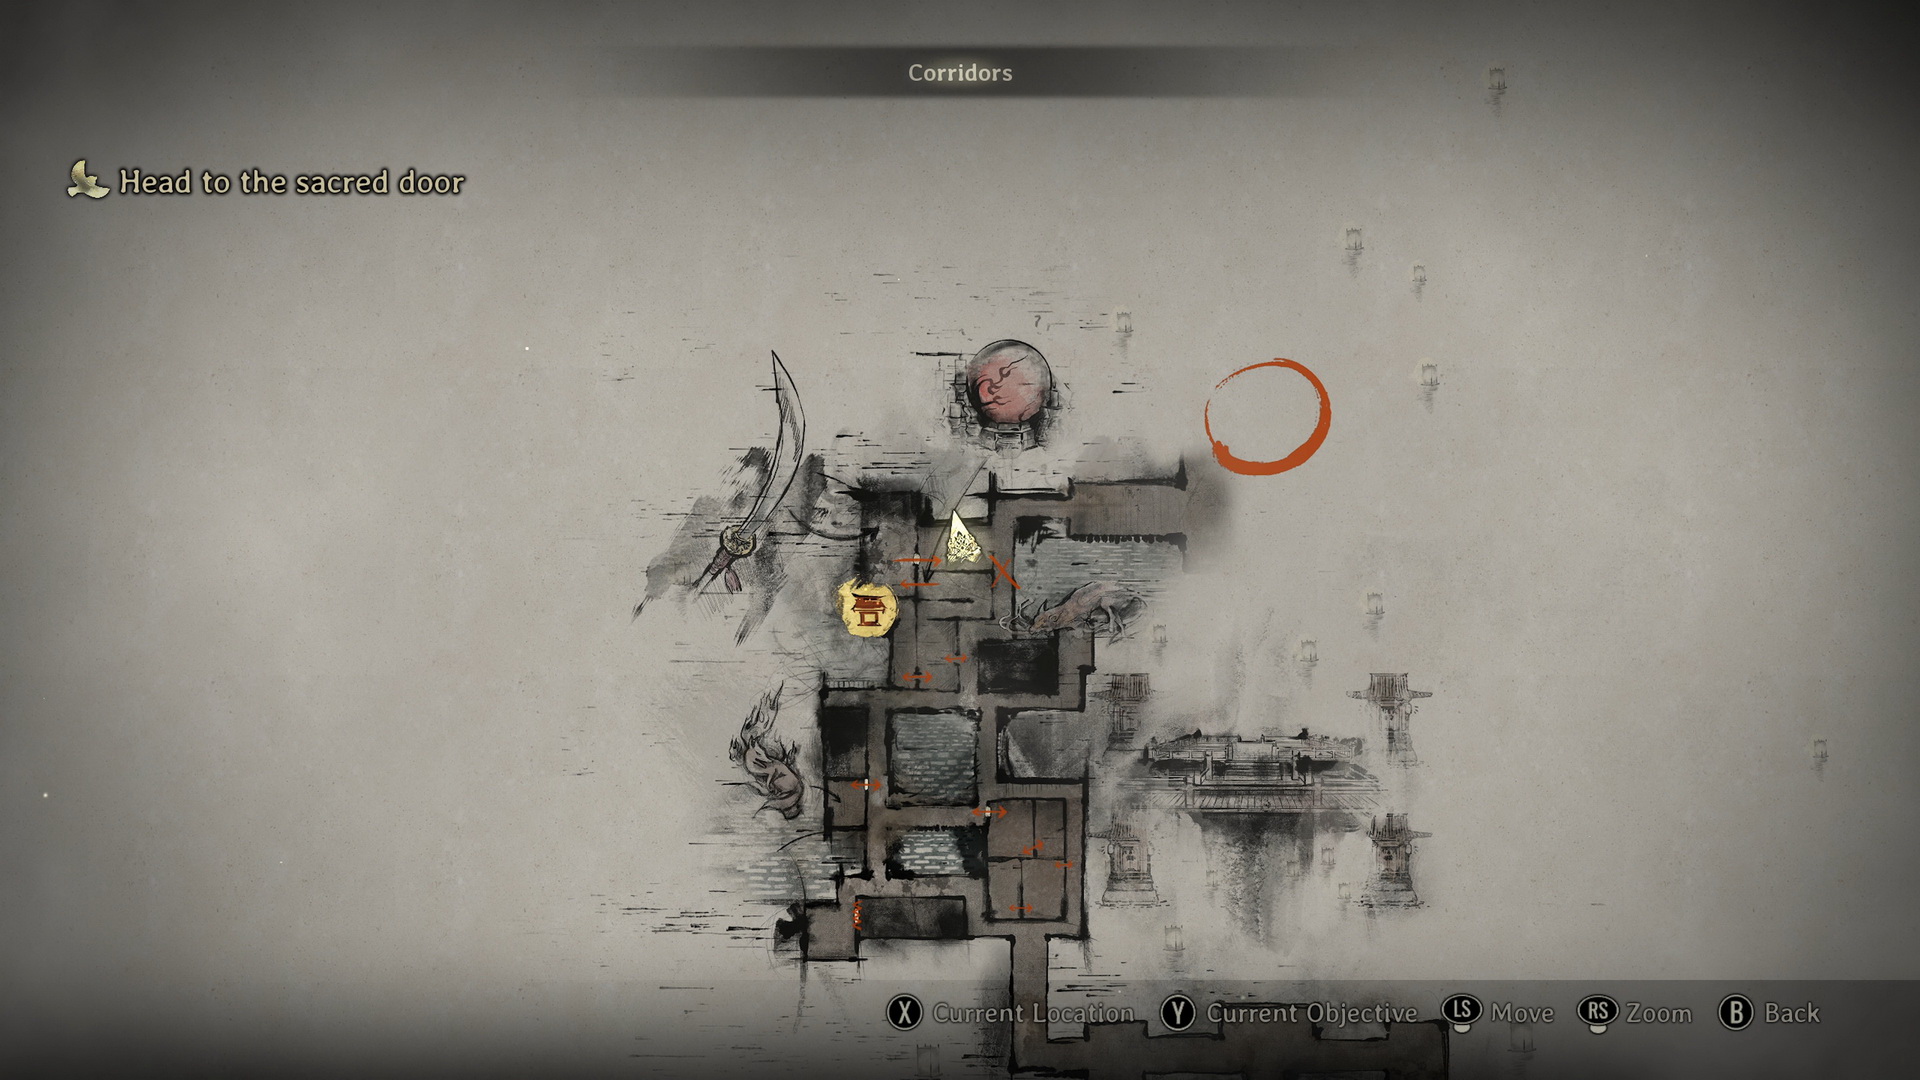
Head to the sacred door
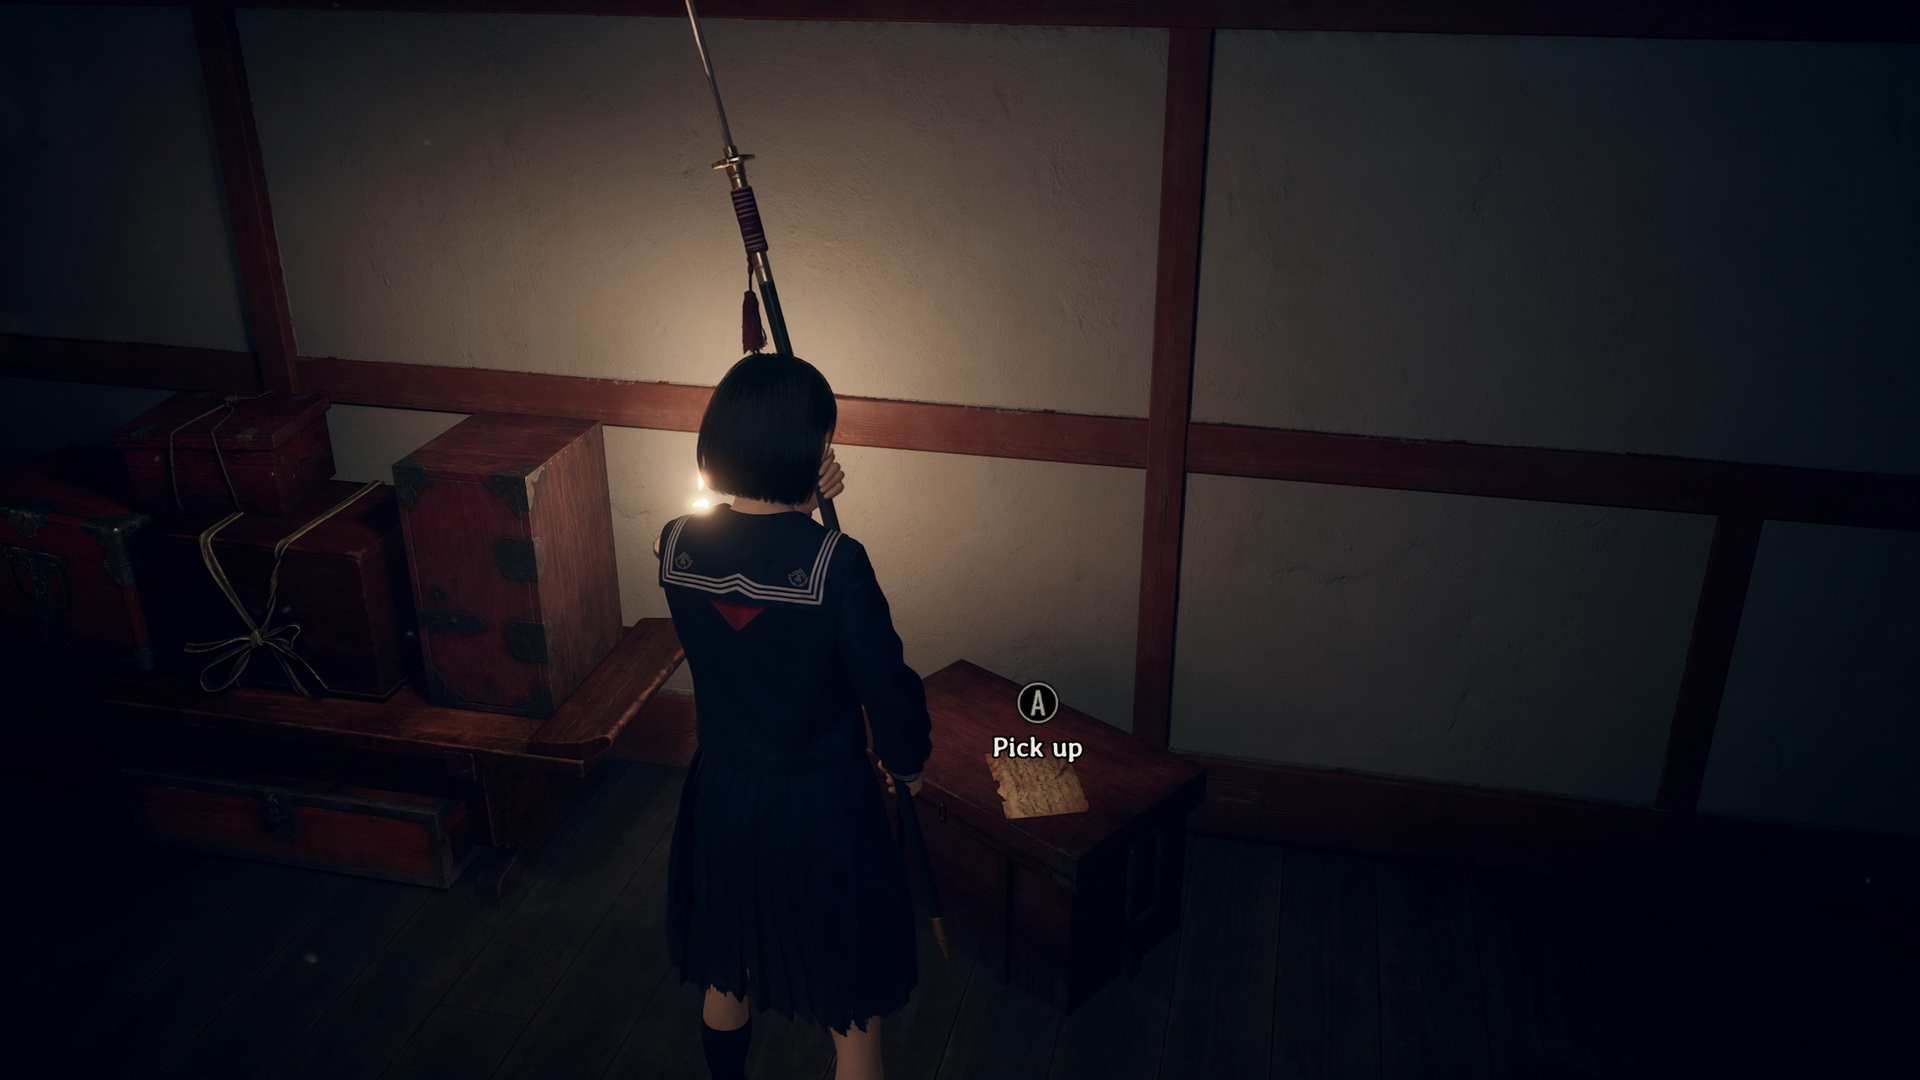
Pick up a Tattered Paper (1) from a box and continue your way to the sacred door.
 |
 |
New Game+
In the same location, you will find a Tattered Paper (2) (New Game+) and a Tattered Paper (3) (New Game++).
Investigate the sacred door
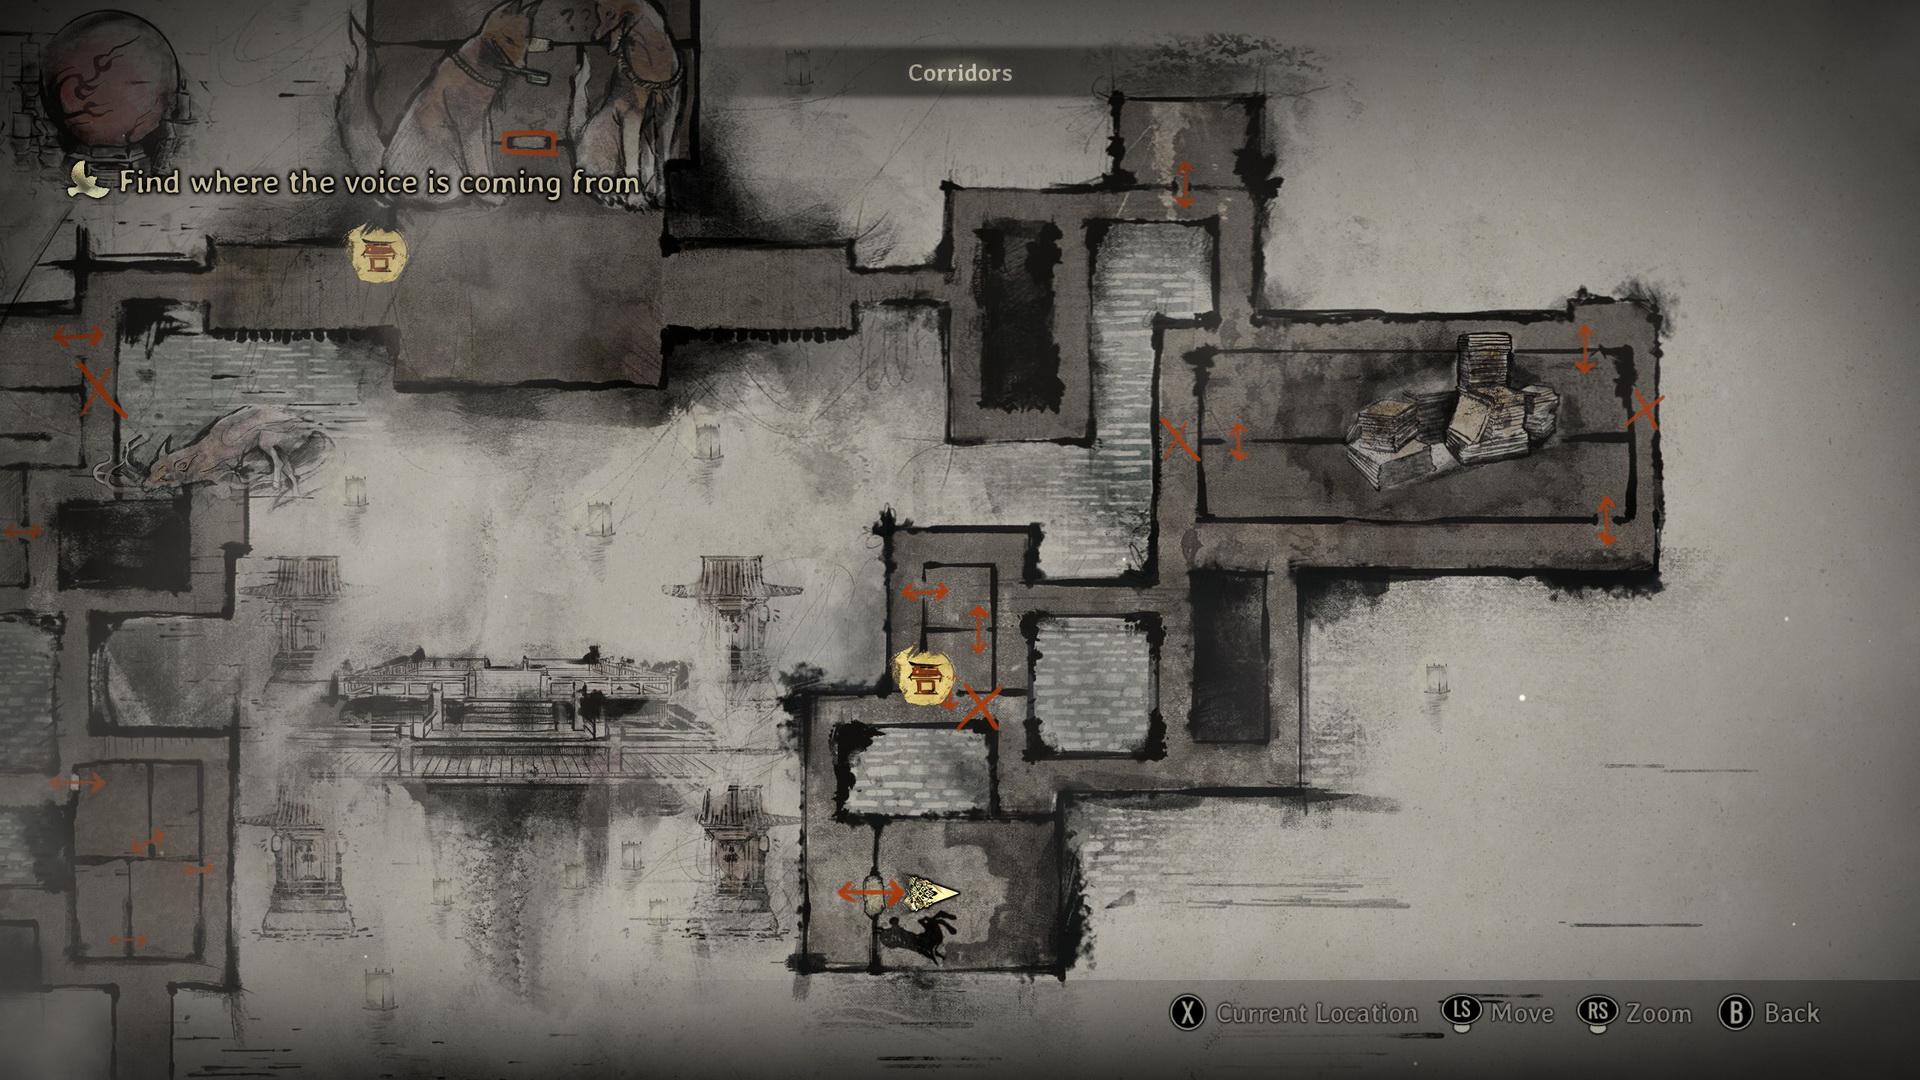
Save your game at the Hokora and find the Red Capsules in the southwestern corner of the area. Examine the door and the statues. One of the statues has a key in its maw, and another one's is empty. Proceed east, and you will suddenly start hearing Sakuko calling out Hinako.
Find where the voice is coming from
Be on your guard in this section, as you will encounter multiple monsters moving forward. Also, be aware that even once defeated, the enemies will reanimate after some time, so don't waste too much time exploring around them.
Approach the building in the north, and you will see a monster dropping from above. After you've dealt with it, check the room for a Bandage in the chest of drawers to the left of the entrance and an Omamori [Hawk] on a large wooden chest to the right (replaced with a Dried Carcass (⛩200) in later NG+ games if picked up).
 |
 |
In front of the building, there's a Divine Water (⛩50) on the box at the corner of the walkway. To the south, you can find a Higashi (⛩80) on the floor near the dead end. Proceed to enter the building to the south, which is a library, as you escape another monster.
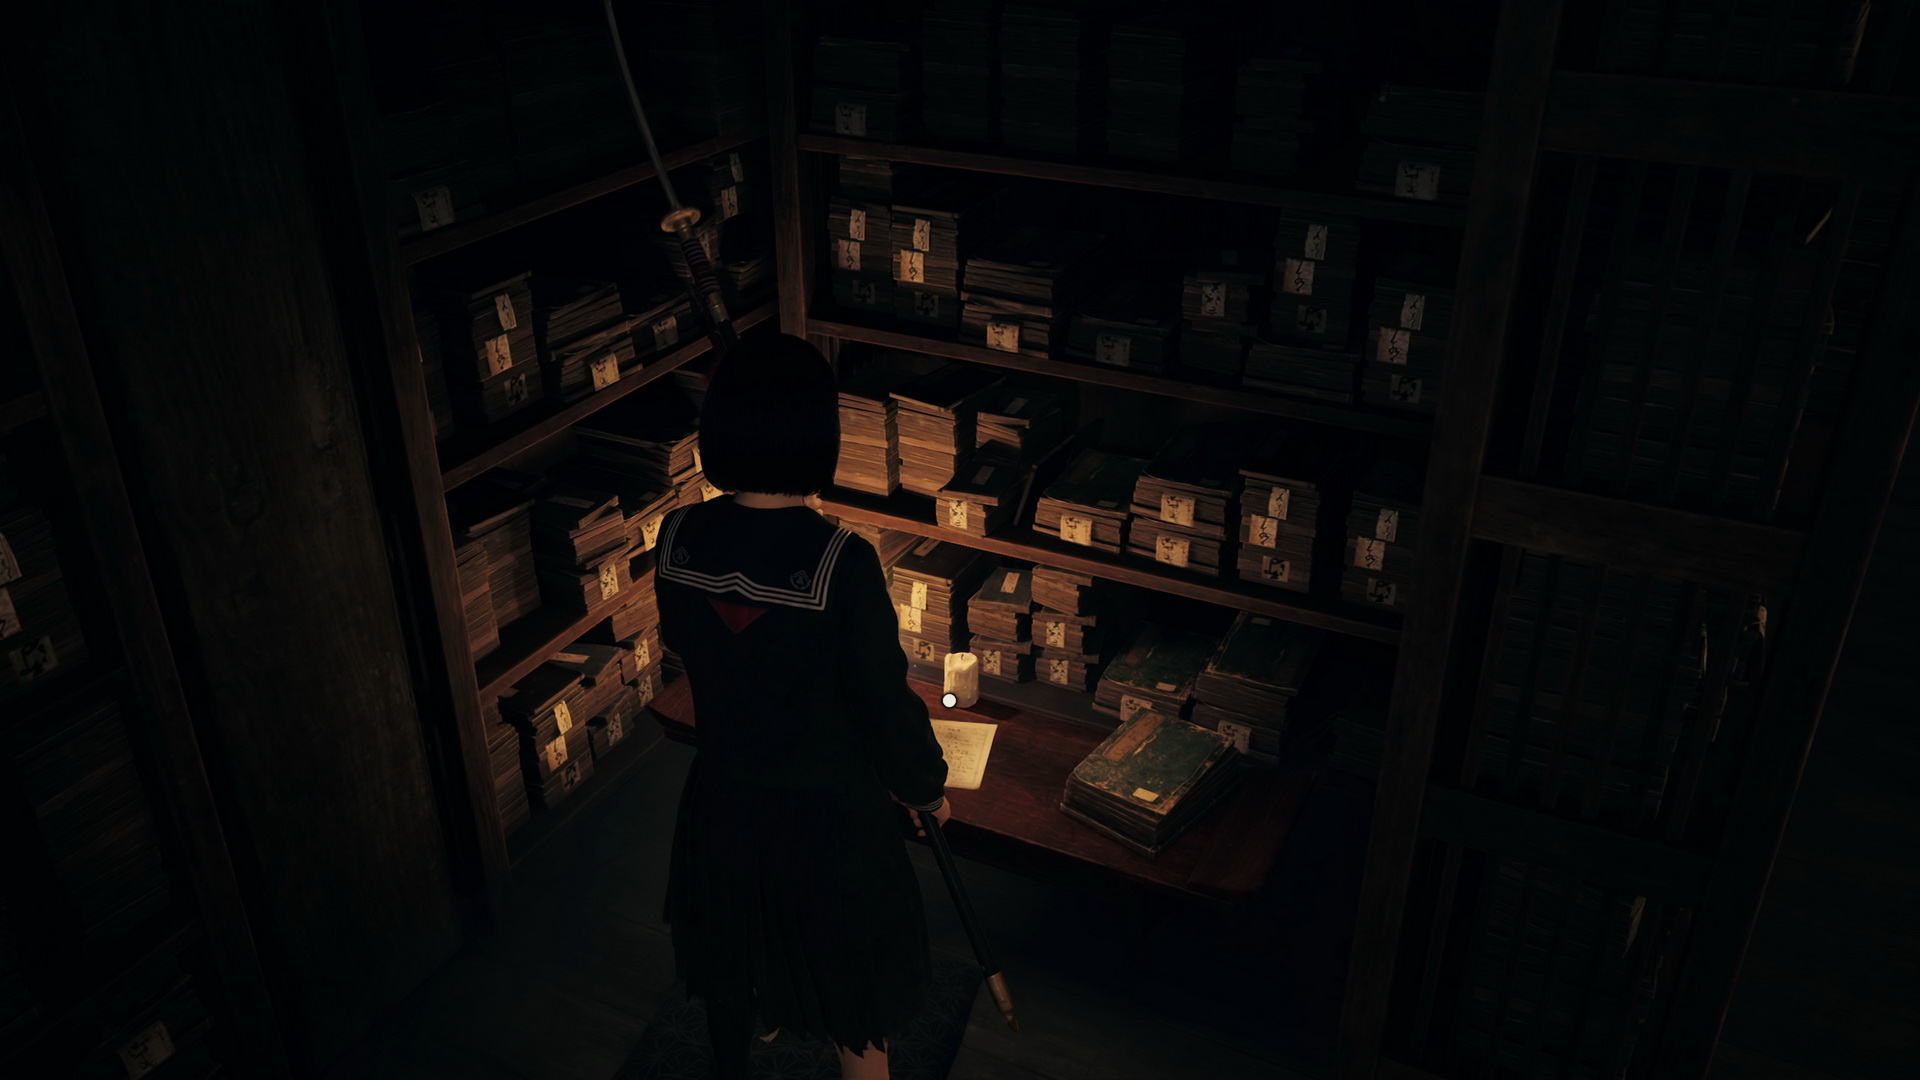
Inside the library, you will find multiple documents. First, you will find a Housemaid’s Note (4) on the floor in an alcove to the right.
 |
 |
A Family Physician’s Log (1) is on a table in an alcove to the left.
 |
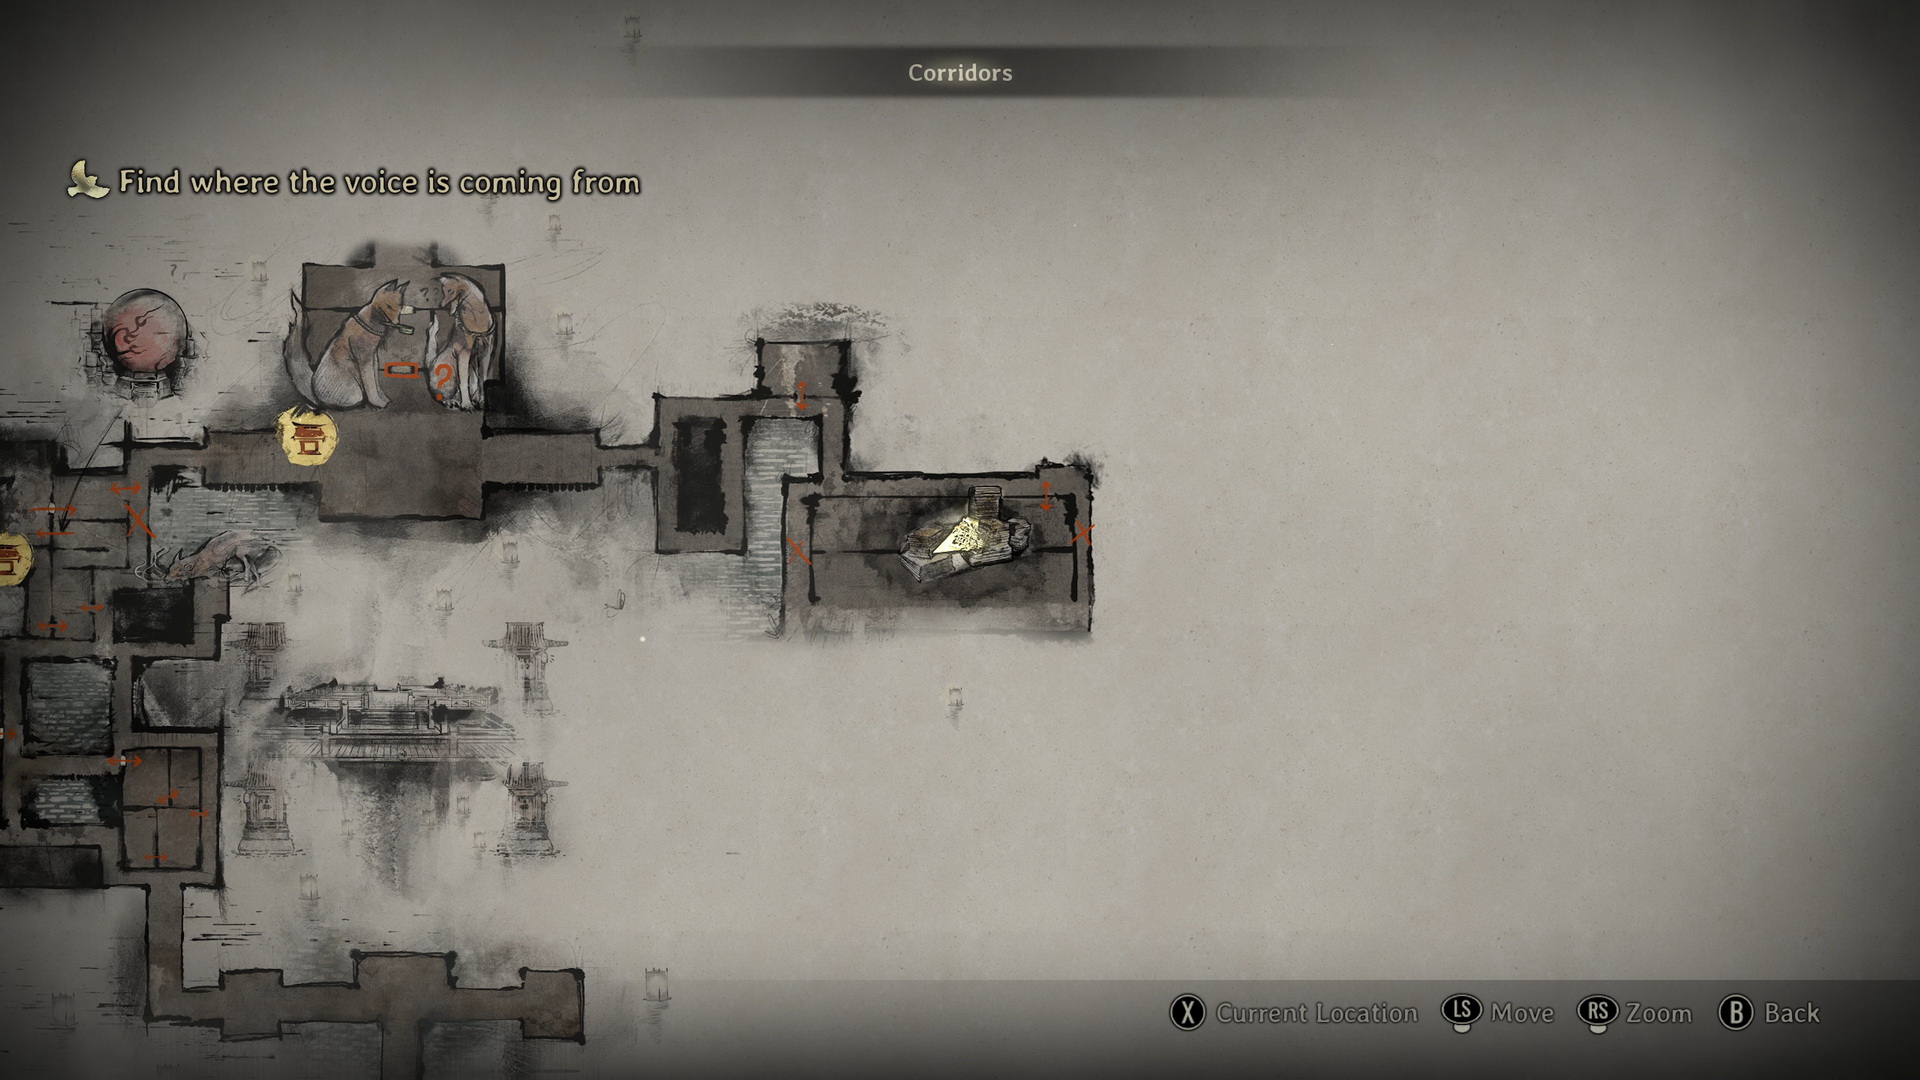 |
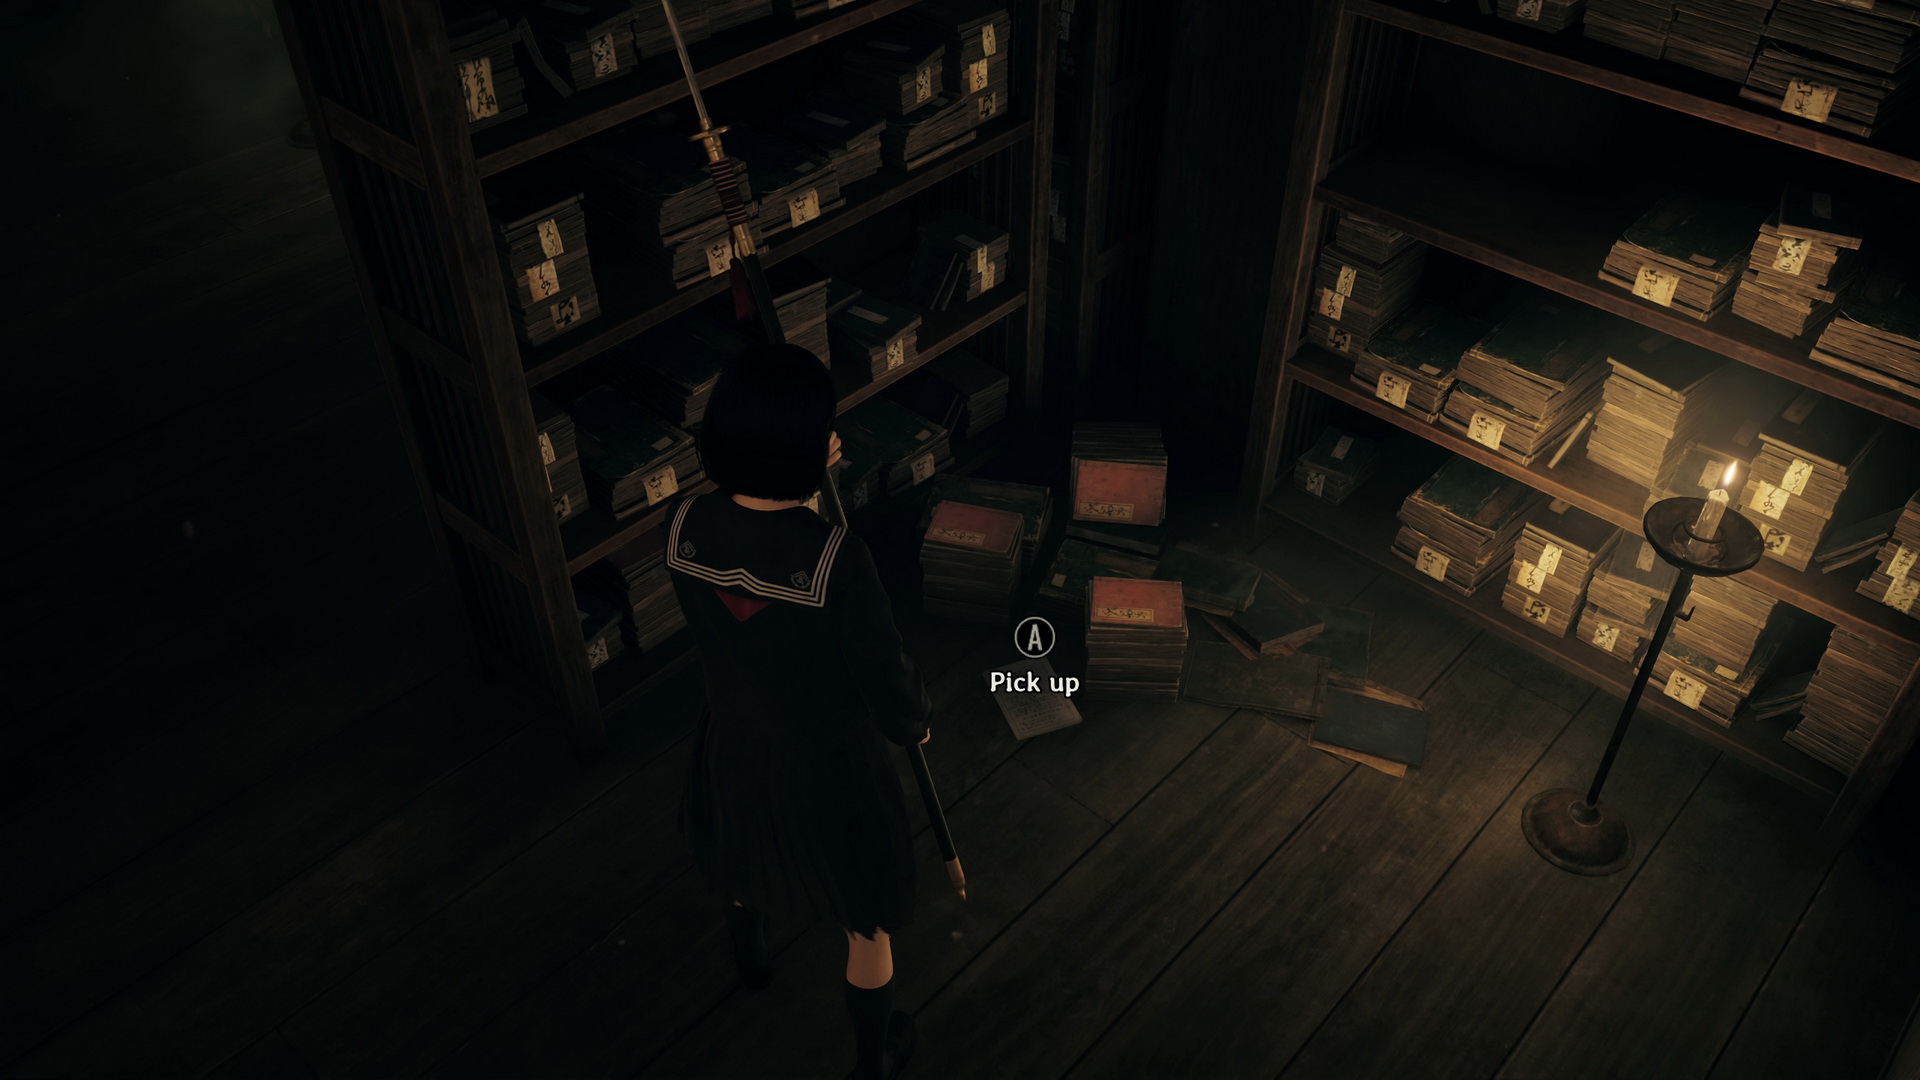
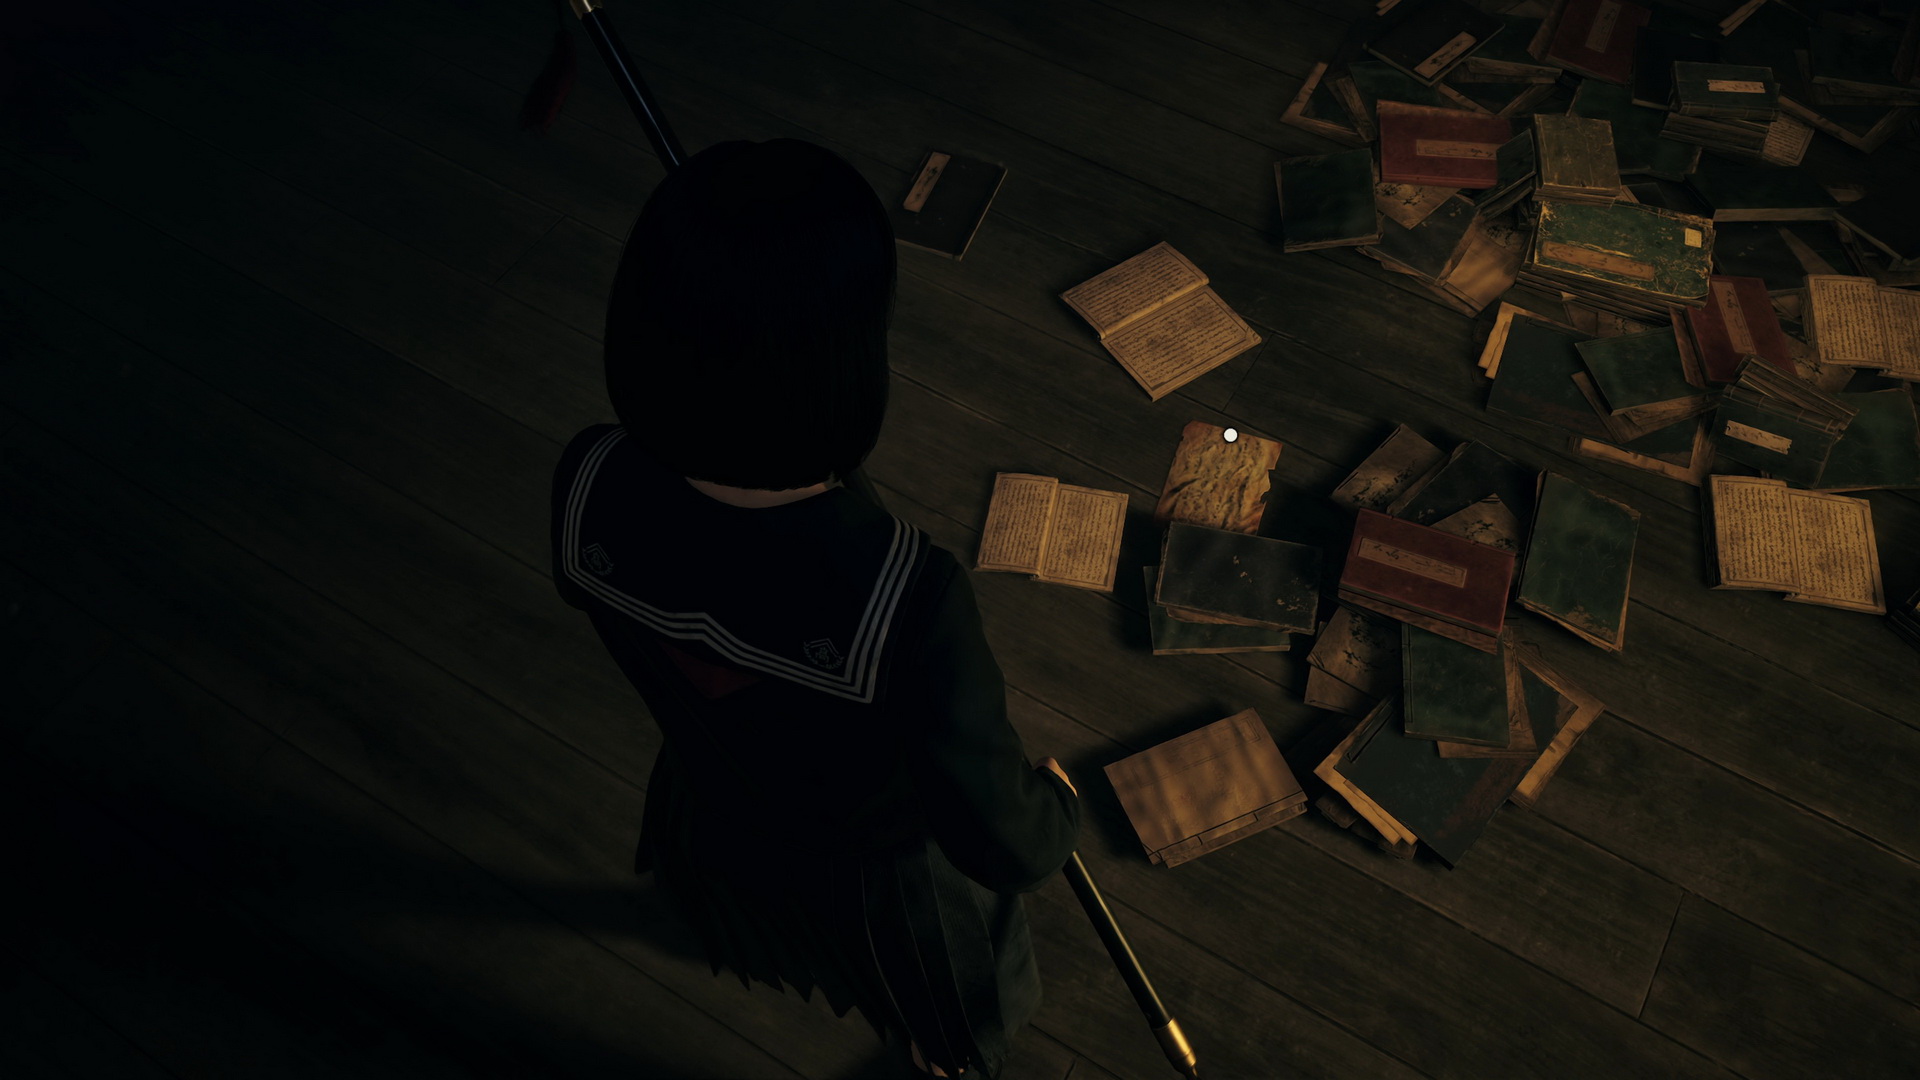
Lastly, a Family Physician’s Log (2) is on the floor in front of the book piles further to the right.
 |
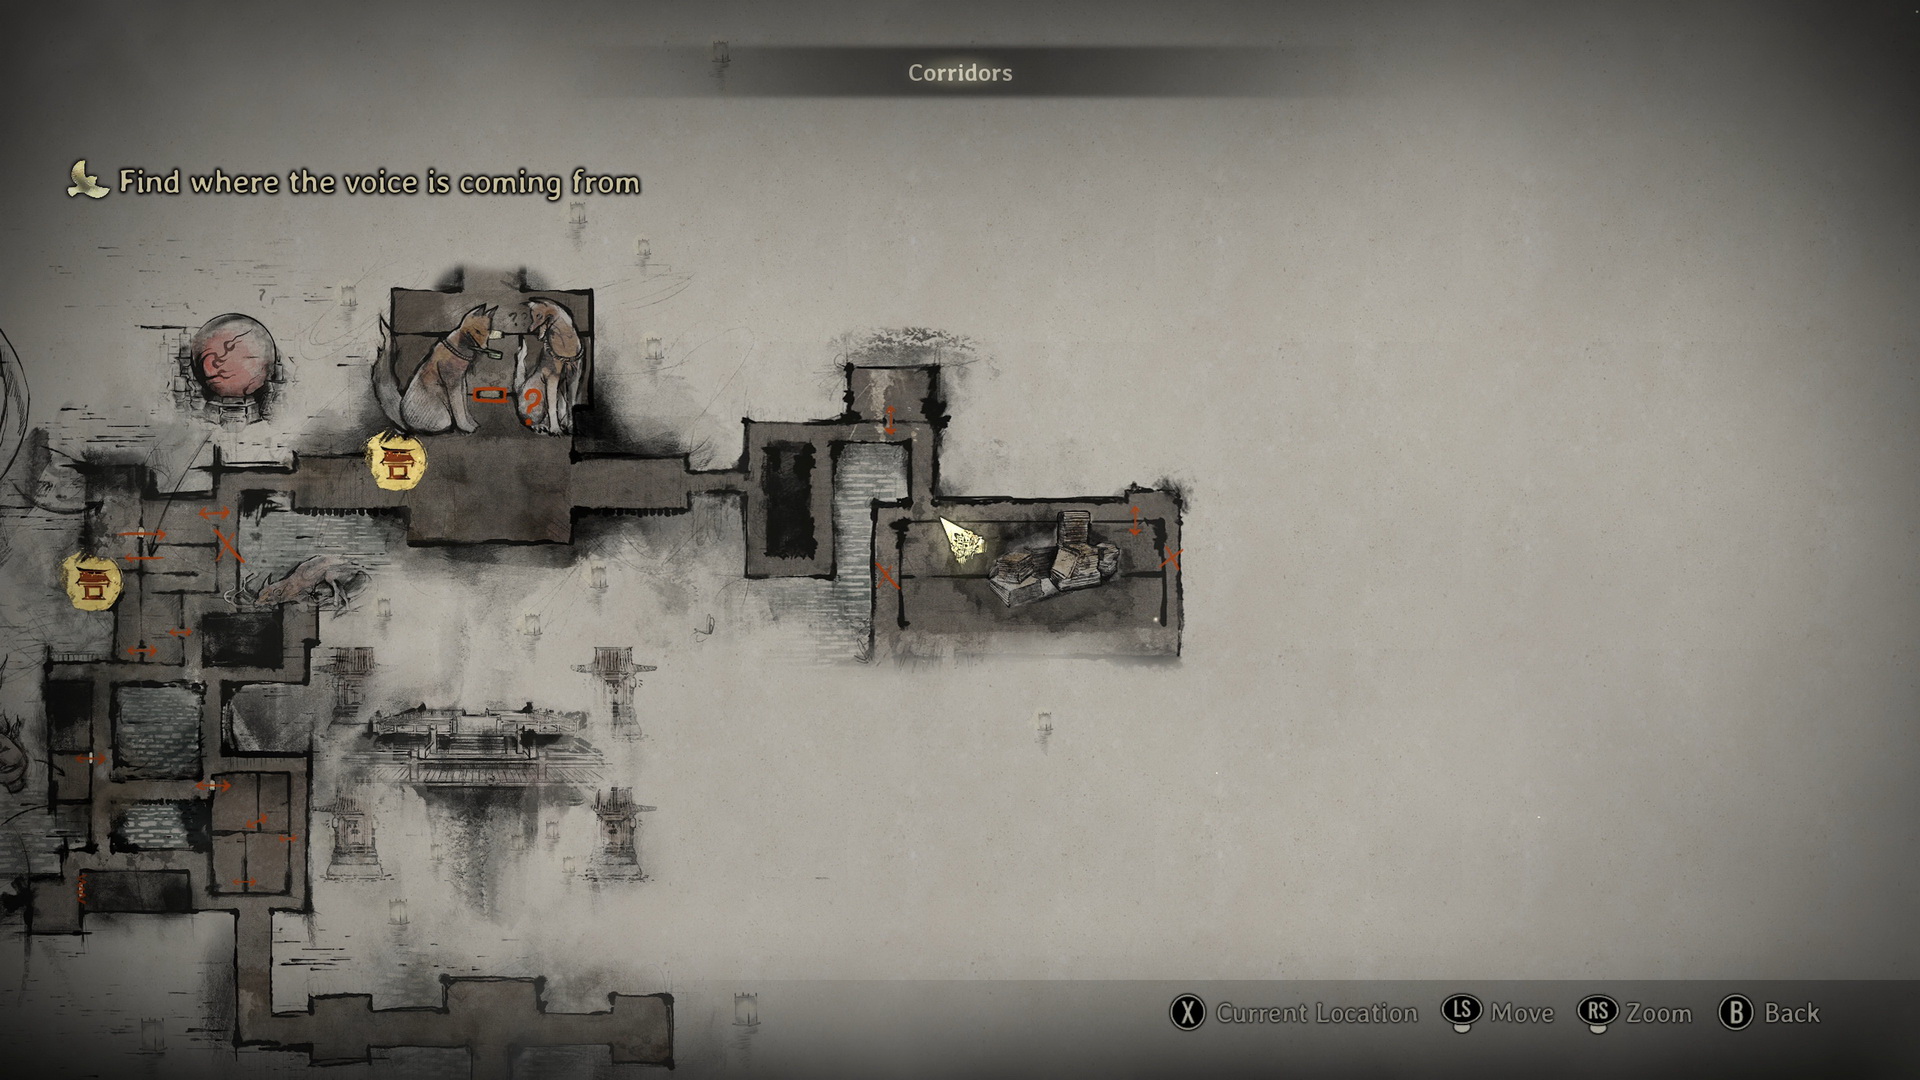 |
Squeeze into the southern portion of the library. Another document, Research Notes on “Enmi-jugonroku”, can be found on the ground among the scattered books.
 |
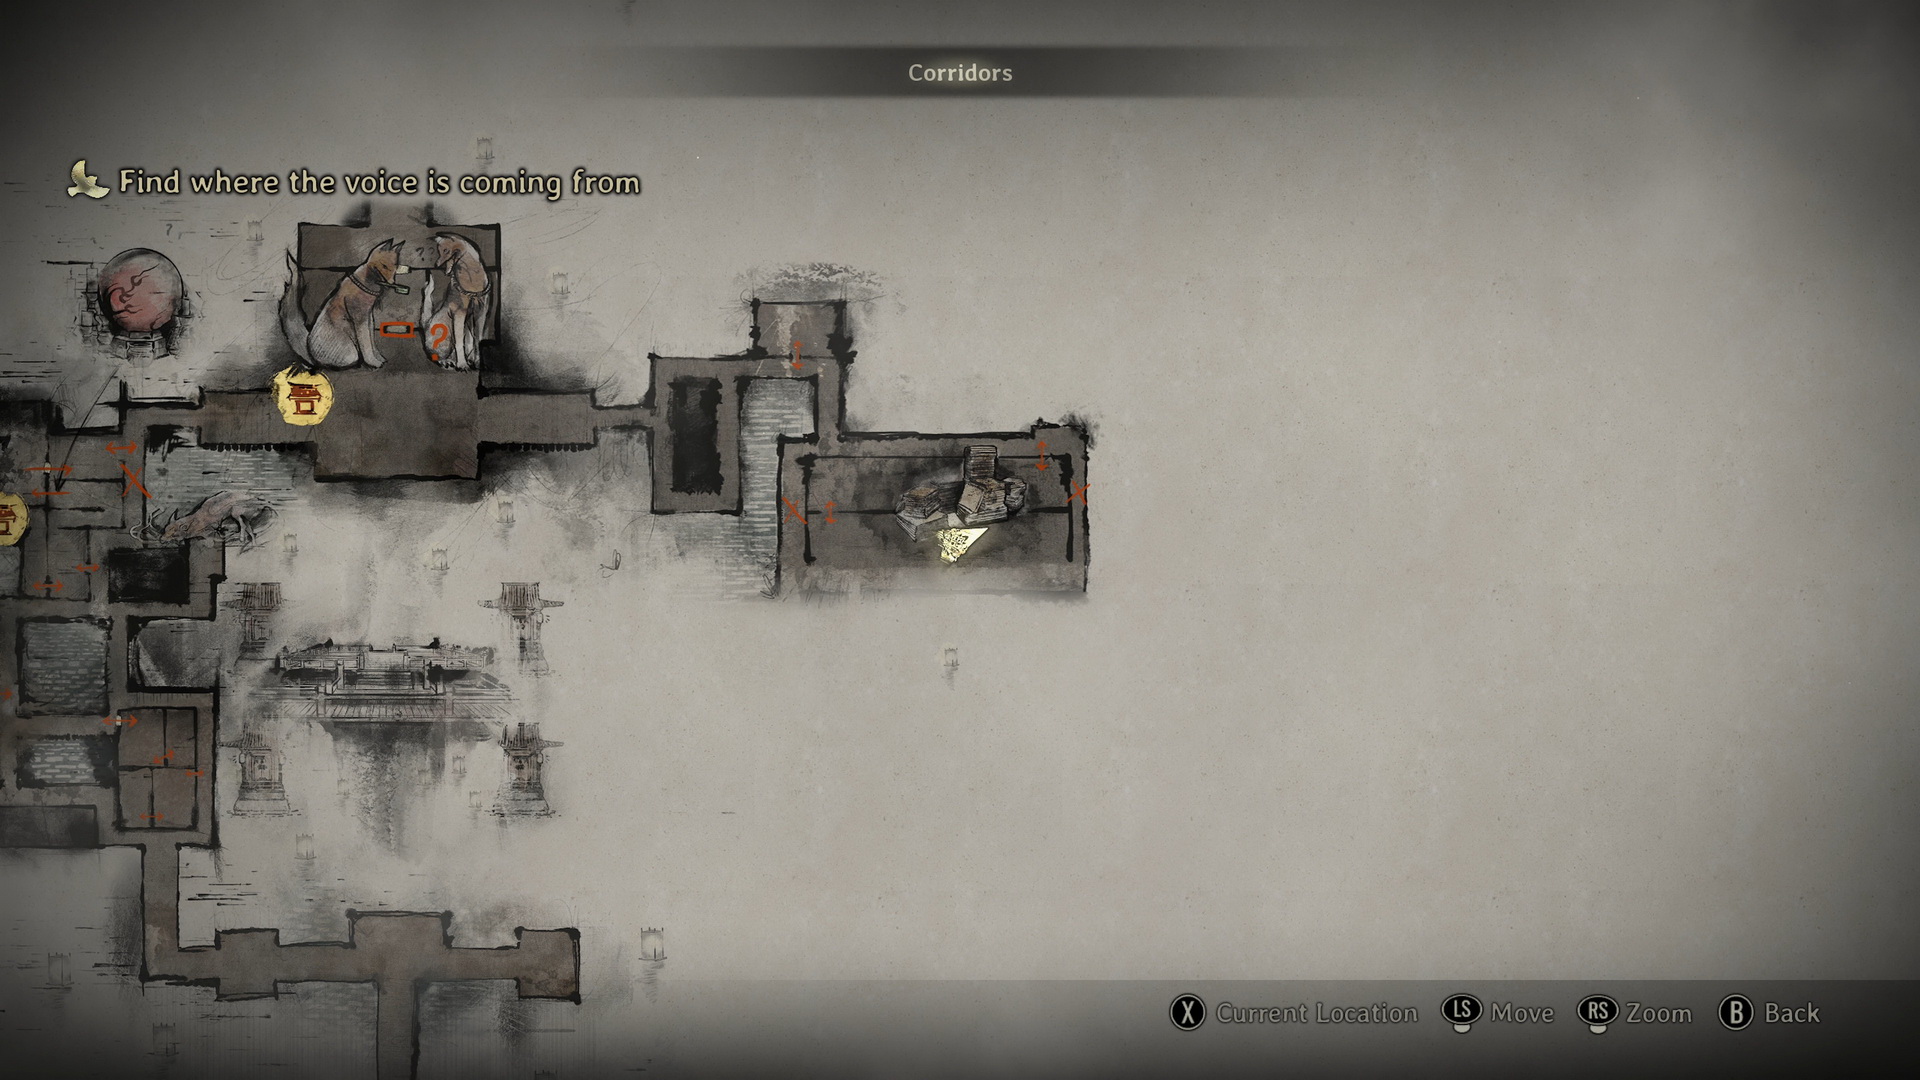 |
Further to the left, you will find a Dried Carcass (⛩200) on a table and Red Capsules on another one. Exit the building and be aware that another monster is waiting for you outside.
In the dead end to the east, you can find Arare (⛩10) at the bottom part of the railing. Proceed westward, as more enemies will come at you. There's a Kudzu Tea (⛩100) on a box in the southwestern dead end.
Enter the open building to the west. Squeeze into the southern room to find a Hokora, a Yokan (⛩30) in the drawer to the right of it and Divine Water (⛩50) on a chest on the other side. When done here, head into the southern building and pick up a Stone Orb from the pedestal.
 |
 |
Return to the sacred door
Once a cutscene introduces the new Oi-omoi enemy type, the world shifts back to red. You’ll need to backtrack to the sacred door, fighting or dodging waves of enemies along the way. Since the environment has shifted and the old walkways are now blocked, you'll need to take a new route to reach your destination.
Head north, then east to the end of the path; then hook north again and wrap west around the library building. From there, continue west until you reach the sacred door.
Find Fox Mask
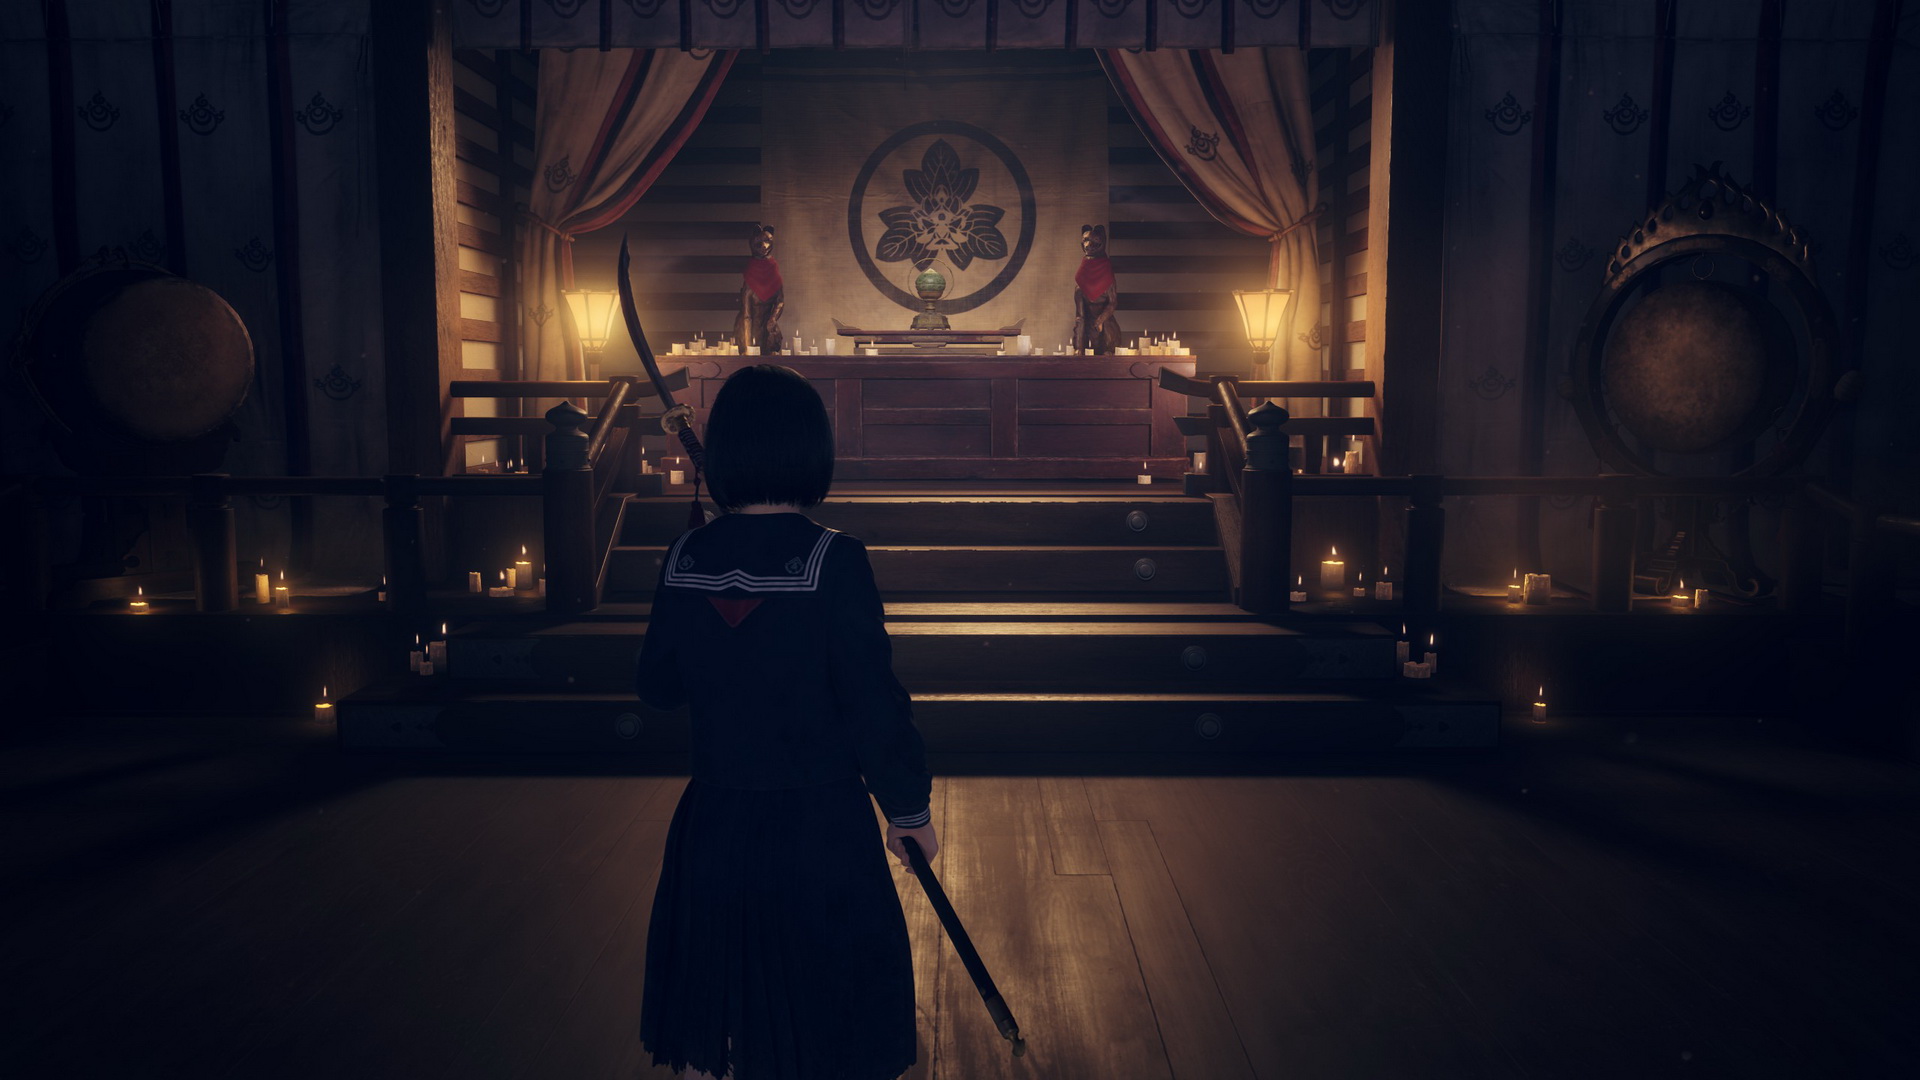
You are safe now. You can save your game at the Hokora shrine and treat yourself to various supplies in the room (the exact items may vary depending on your difficulty level and how many supplies you have). To the left of the shrine, you'll find a Bandage, a First Aid Kit and a Divine Water (⛩50). On the other side, there is another Bandage and a First Aid Kit located on top of a chest. Additionally, you will come across a Blessed Hand Mirror, an equipable item that will break if you sustain fatal damage while playing in Story mode.
Proceed through the doors, equip the Naginata and approach the figure ahead for a boss fight.
Defeat the Sakuko-like entity
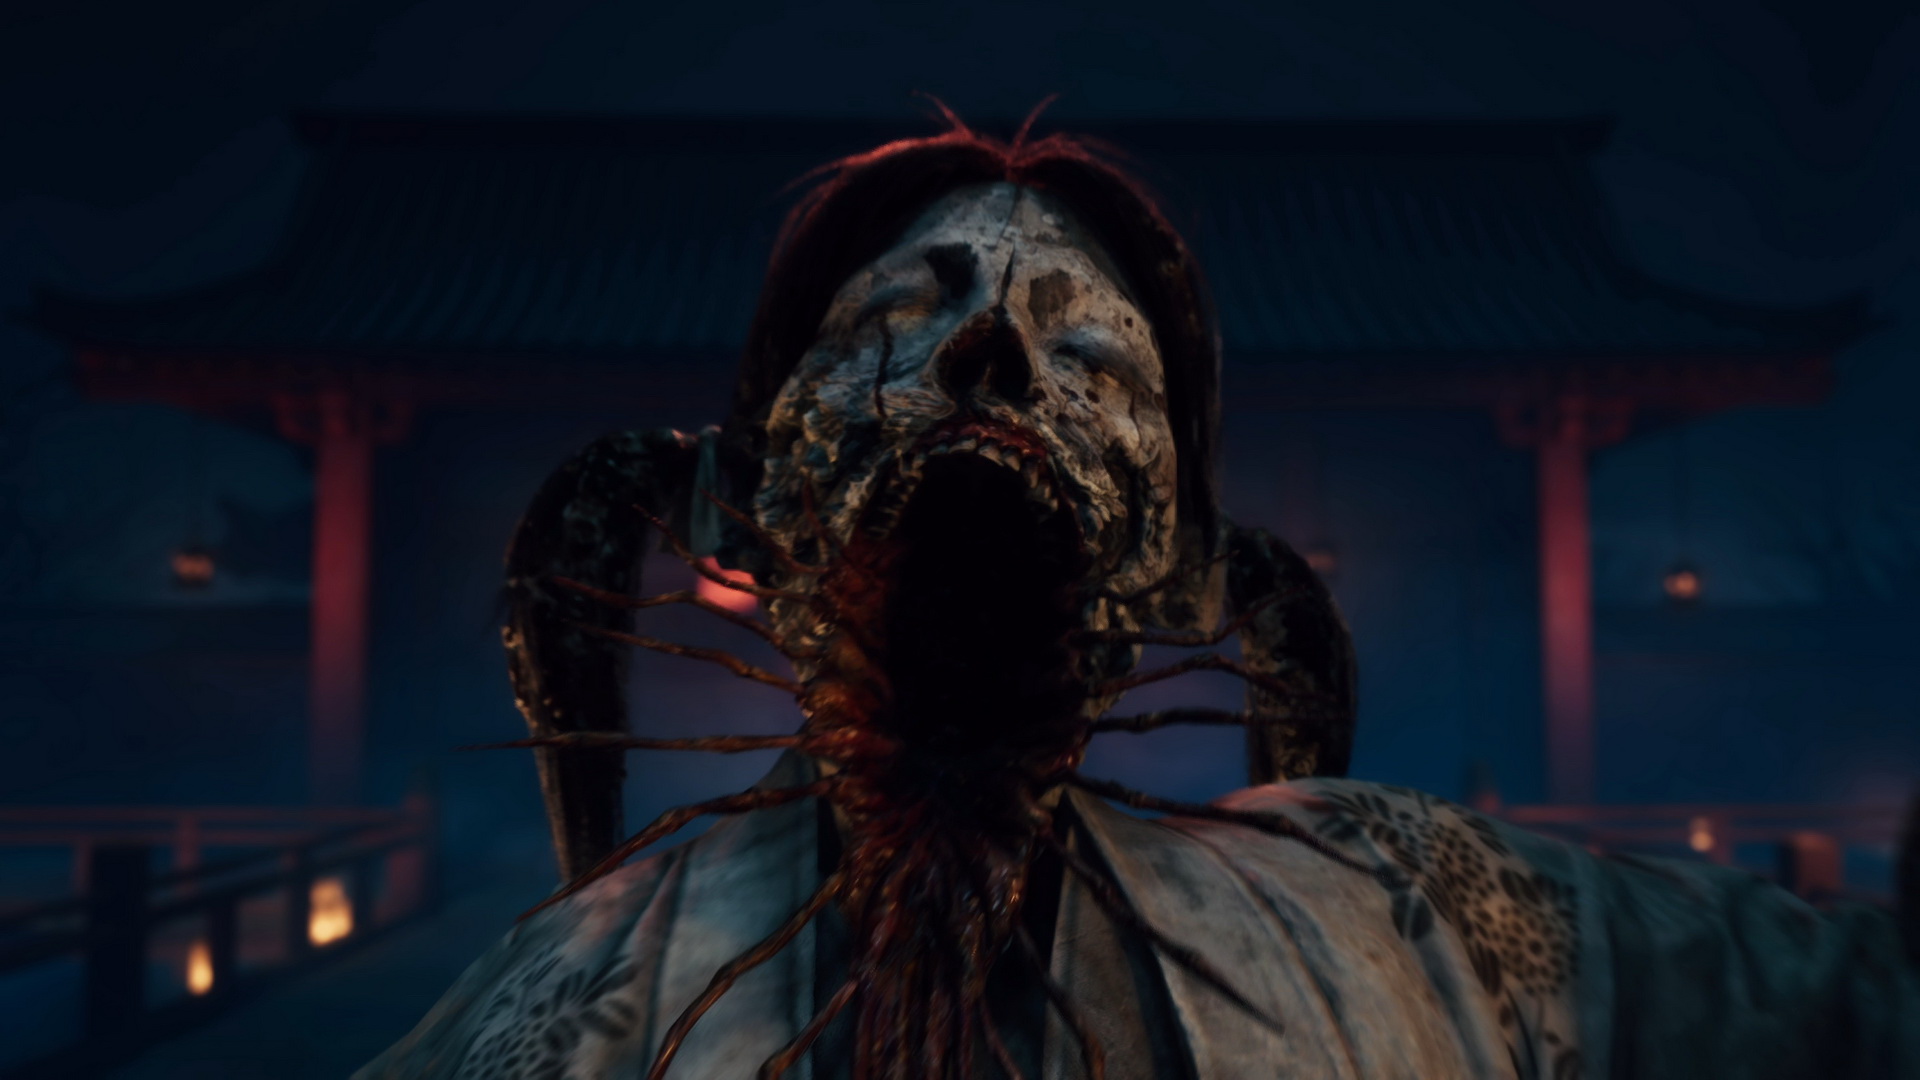
Defeating the first formidable enemy will not be an easy walk. Equipped with a kusarigama (a chain-and-sickle) in one hand and a kanabō (a spiked mace) that doubles as a suzu bell in the other, Sakuko's attacks include:
- Mace Toss: Sakuko throws her mace out with the chain in a ranged attack. Sometimes it is immediately followed by a second throw attack, so be ready to dodge it. If she looks at you during the attack, she will end with a swinging arc attack.
- Mace Slam: Sakuko spreads her arms and then brings them together to produce a heavy, overhead strike with her mace. She glows red before she lands the blow, indicating a possibility for a counterattack, so stand your ground in a focus mode and hit her with a heavy attack. You can follow them with a couple of light attacks.
- Mace Combo: A three-hit mace swinging combo. Stay away from Sakuko during this one.
- Sickle and Mace Combo: A four-hit swing combo with Sakuko alternating between her sickle and her mace. Again, stay away during this attack.
- Lunging Grab: She spreads her arms and tries to grab Hinako after a warning. This attack is unblockable and deals massive damage, so dodge it and deal a few light attacks afterward.
Don't rush with your attacks; conserve your stamina by running away when you can instead of using dodge, and look for the attack or counterattack opportunities as described above.
After you deal enough damage, Sakuko will vanish and start teleporting to the edges of the arena and prepare for a charging suzu bell attack. If not interrupted by physical damage, it releases a shockwave that deals high Sanity damage. Listen carefully for her location and run to her as quickly as possible to hit her before she finishes her charge.
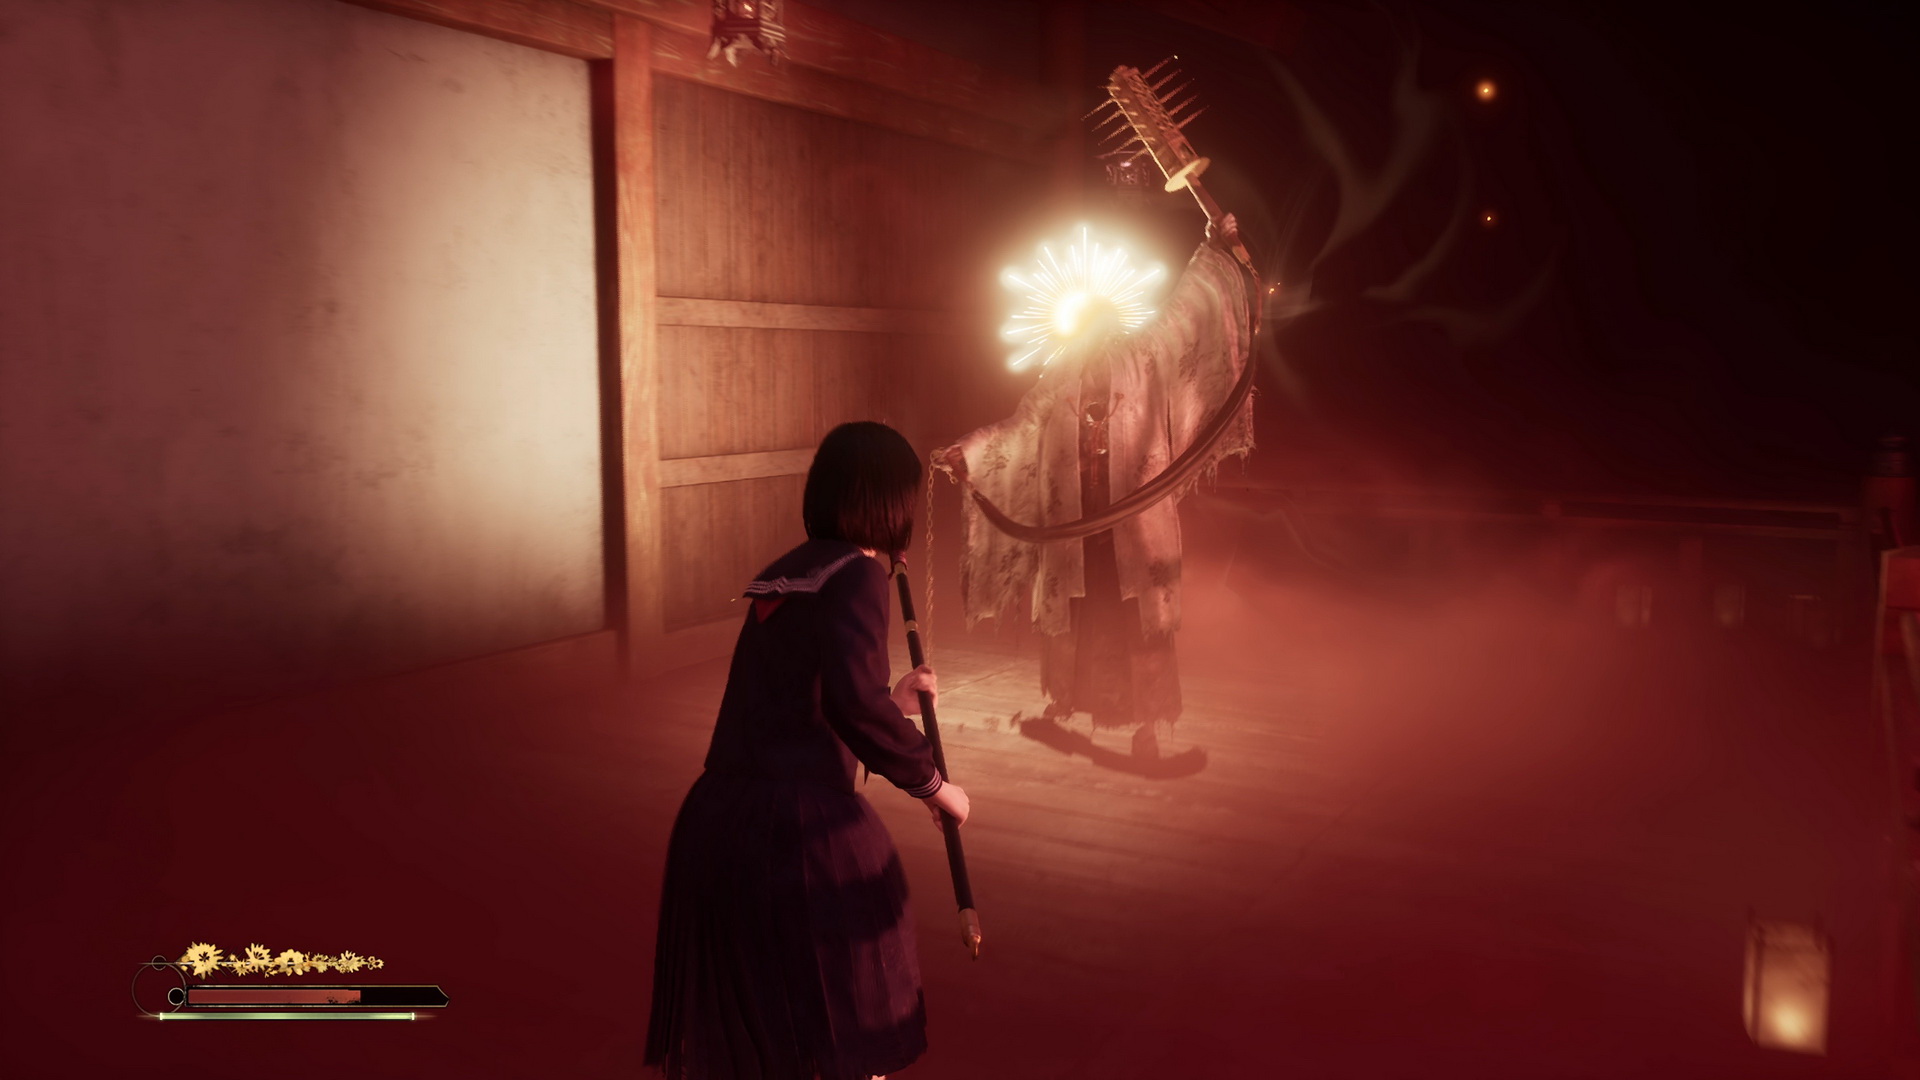
After you interrupt her attack thrice, she will enter the next phase, and you will have to repeat the process. The opportunities for the counterattack will diminish, but the attack patterns will be the same, so be patient.
Trophy/Achievement: The Sound of Silence |

Defeat the boss without getting hit by the suzu bell attack. |
Enjoy the cutscene after you defeat Sakuko, and you will be transported back to Ebisugaoka.
| 03. Ebisugaoka Part 2: Rice Fields | 05. Ebisugaoka Part 3: To School |