
Dark Shrine Worship Hall
- Ebisugaoka Part 1
- Dark Shrine Path
- Ebisugaoka Part 2: Rice Fields
- Dark Shrine Corridors
- Ebisugaoka Part 3: To School
- Ebisugaoka Middle School
- Dark Shrine Worship Hall
- Ebisugaoka Part 4: Sugisato Forest
- Dark Shrine Main Hall
- Ebisugaoka Part 5: To Shimizu Residence
- Shimizu Residence
- Dark Shrine Treasure Hall
- Ebisugaoka Part 6: Tainted Town
- Dark Shrine Final Path
Welcome to the seventh chapter of the complete walkthrough guide for Silent Hill f, covering the Dark Shrine Worship Hall. Use the key summary below for essential, spoiler-free directions, including all missable trophy-related items and actions (items in italics are optional). For in-depth guidelines with extra explanations, refer to the complete walkthrough section. This guide also includes all New Game+ items and actions for your subsequent playthroughs.
Legend
- Hokora – shrines
- Capsule Case – key items
- Steel Pipe – weapons
- Omamori [Whale] – omamori
- Upgrade: Ema – character upgrades
- Local Doctor's Note – documents
- Housemaid’s Note – trophy-related documents
- Red Capsules – consumables
- Antique Comb (⛩300) – offerings
Collectibles
Counts of available trophy-related collectibles:
| Category | NG | NG+ | NG++ |
| Omamori | 1 | 1 | - |
| Ema | 1 | 1 | - |
| Inventory upgrades | - | - | - |
| Inari-sama's seals | - | 1 | - |
| Documents | 3 | 5 | 5 |
Key Summary
- Interact with the keyholes underneath the Inari statues and explore the western and eastern sections.
Western Section
- Reach the starting hall with a device. You will need to find three missing objects.
- New Game+: Omamori [Swallow] and Upgrade: Ema. Go south and squeeze through the gap in the wall to the left. Proceed through the Inari-sama door to find these items around the table.
- Pull the green/red lever on the left Inari statue to show the green symbol. Proceed through the corridor in the south.
- Head to the room in the north – Rinko's room. Interact with the lamp on the desk to flip the switch. Inspect the three dolls around the room to get the Rightward-facing Fox Crest. Exit the room to find yourself back in the starting hall.
- New Game++: Rinko's Diary (4) is on a southern shelf below one of the dolls.
- Proceed through the corridor in the south into the middle room. Pull the statue lever to show the gray symbol. Exit the room and head to the room in the west – the classroom. Interact with the lamp on the teacher's podium to flip the switch. Inspect the lone desk to get the Forward-facing Fox Crest. Exit the room to find yourself back in the starting hall.
- New Game+: Rinko's Diary (2) is on a desk in the second row.
- New Game+: Rinko's Diary (3) is in a cubby on the eastern side of the room after flipping the lamp's switch.
- New Game++: Rinko's Diary (5) is in a cubby on the southern side of the room after flipping the lamp's switch.
- Pull the lever on the right Inari statue to show the blue symbol and the left statue to show the gray symbol. Proceed through the corridor in the north and head into the room in the south – the Chizuruya General Store. Interact with the lamp on the cashier's desk to flip the switch. Inspect a jar with sweets on the western side of the room to get the Leftward-facing Fox Crest. Exit the room to find yourself back in the starting hall.
- New Game++: Rinko's Diary (1) is on top of the boxes on the northern side of the room after flipping the lamp's switch.
- Insert all three crests into the device to receive The Tri Scale Emblem Key. Return to the Grand Hall.
Eastern Section
- Reach the starting room that is going to be Sakuko's room. Pull the lever on the Inari statue to show the blue symbol.
- Trophy/Achievement: No One Left Behind. Stop eight enemies behind the white rabbit crest door from reanimating by killing them close to the blue lanterns.
- New Game+: Sakuko's Diary (6) is on top of the shelf cabinet in the corner.
- Proceed through the chamber to the northeast. Pull the next statue lever to show the gray symbol.
- Head south and enter the red symbol door to the east – the locker room. Pull the statue lever in the room to show the green symbol.
- Sakuko's Diary (2) is on a bench on the northern side of the room.
- New Game+: Sakuko's Diary (4) is on the same bench on the northern side of the room.
- New Game++: Sakuko's Diary (8) is on a bench in the northeastern corner of the room.
- Go through the green symbol door in the north and return to the starting room through another green symbol door.
- Sakuko's Diary (1) is on a shelf in the room with the green/red symbol statue.
- Shriveled Abura-age (⛩500) is in the room with a monster behind the red symbol door. Pull the statue lever to show the red symbol and get the item, then pull it back to the green symbol to proceed.
- Pull the statue lever to show the blue symbol and proceed again through the chamber. Pull another lever to show the gray symbol and head south, then through the right green symbol door to the south.
- Head to the chamber in the southwest and pull the statue lever to show the red symbol.
- Enter the room in the southeast, head north and pull the statue lever to show the blue symbol.
- Sakuko's Diary (3) is on a cabinet in the northeastern corner of the room.
- New Game+: Sakuko's Diary (5) is on the same cabinet.
- New Game++: Sakuko's Diary (7) is on the same cabinet.
- Return to the northern hallway and enter the now-open central chamber.
- Solve the Light Puzzle to align the cages on each side and collect the Talon Lampshade and Restrain Lampshade from the open cages:
- Story: The statues on both sides should be facing each other.


- Hard: The statues on both sides should be facing away from each other.


- Lost in the Fog: The statues on the left side should face away from each other, and the statues on the right side should both face left.


- Story: The statues on both sides should be facing each other.
- Put the lampshades on the lamps at the front of the chamber to receive The White Rabbit Emblem Key.
- Omamori [Bull]. Instead of going back to the Grand Hall immediately, head for the locker room again to find a now-open secret room with this item in the east.
- Return to the Grand Hall.
Grand Hall
- Proceed through the open doors ahead after using both keys on the keyholes below the Inari statues.
Northern Section
- Solve the Memories Puzzle by collecting Shu’s missing prized possessions:
- Story: Brainiac Comic.
- Hard: Drawing of a Young Shimizu Hinako and Brainiac Comic.
- Lost in the Fog: Drawing of a Young Shimizu Hinako, Brainiac Comic and Raygun.
- Proceed through the door in the northwest and head west to reach the room with the Inari statue. The Drawing of a Young Shimizu Hinako will be at the end of the corridor to the north.
- Pull the statue lever to show the blue symbol. Proceed through the door to the south corridor.
- Upgrade: Ema is on top of the drawers in the corridor.
- Pull the statue lever to reveal the red symbol, then proceed into the next room.
- Defeat the monsters and collect the Raygun from a shelf on the western side of the hall.
- Go upstairs and collect the Brainiac Hero Comic next to the Inari statue.
- Pull the lever to show the blue symbol, circle around the hall and return to the northern hall through the corridor to the south.
- Place all the collected items onto the empty pedestals and proceed through the north doors.
Complete Walkthrough
Proceed down the path
Move ahead until the Fox Mask disappears behind a door, leaving you with a new task.
New Game+Hinako will already possess her Fox Arm and powers granted by it. |
Find a way to open the sacred door
Let's start by interacting with the Inari statue on the left, then proceed through the open door.
Go through the door / Explore the area
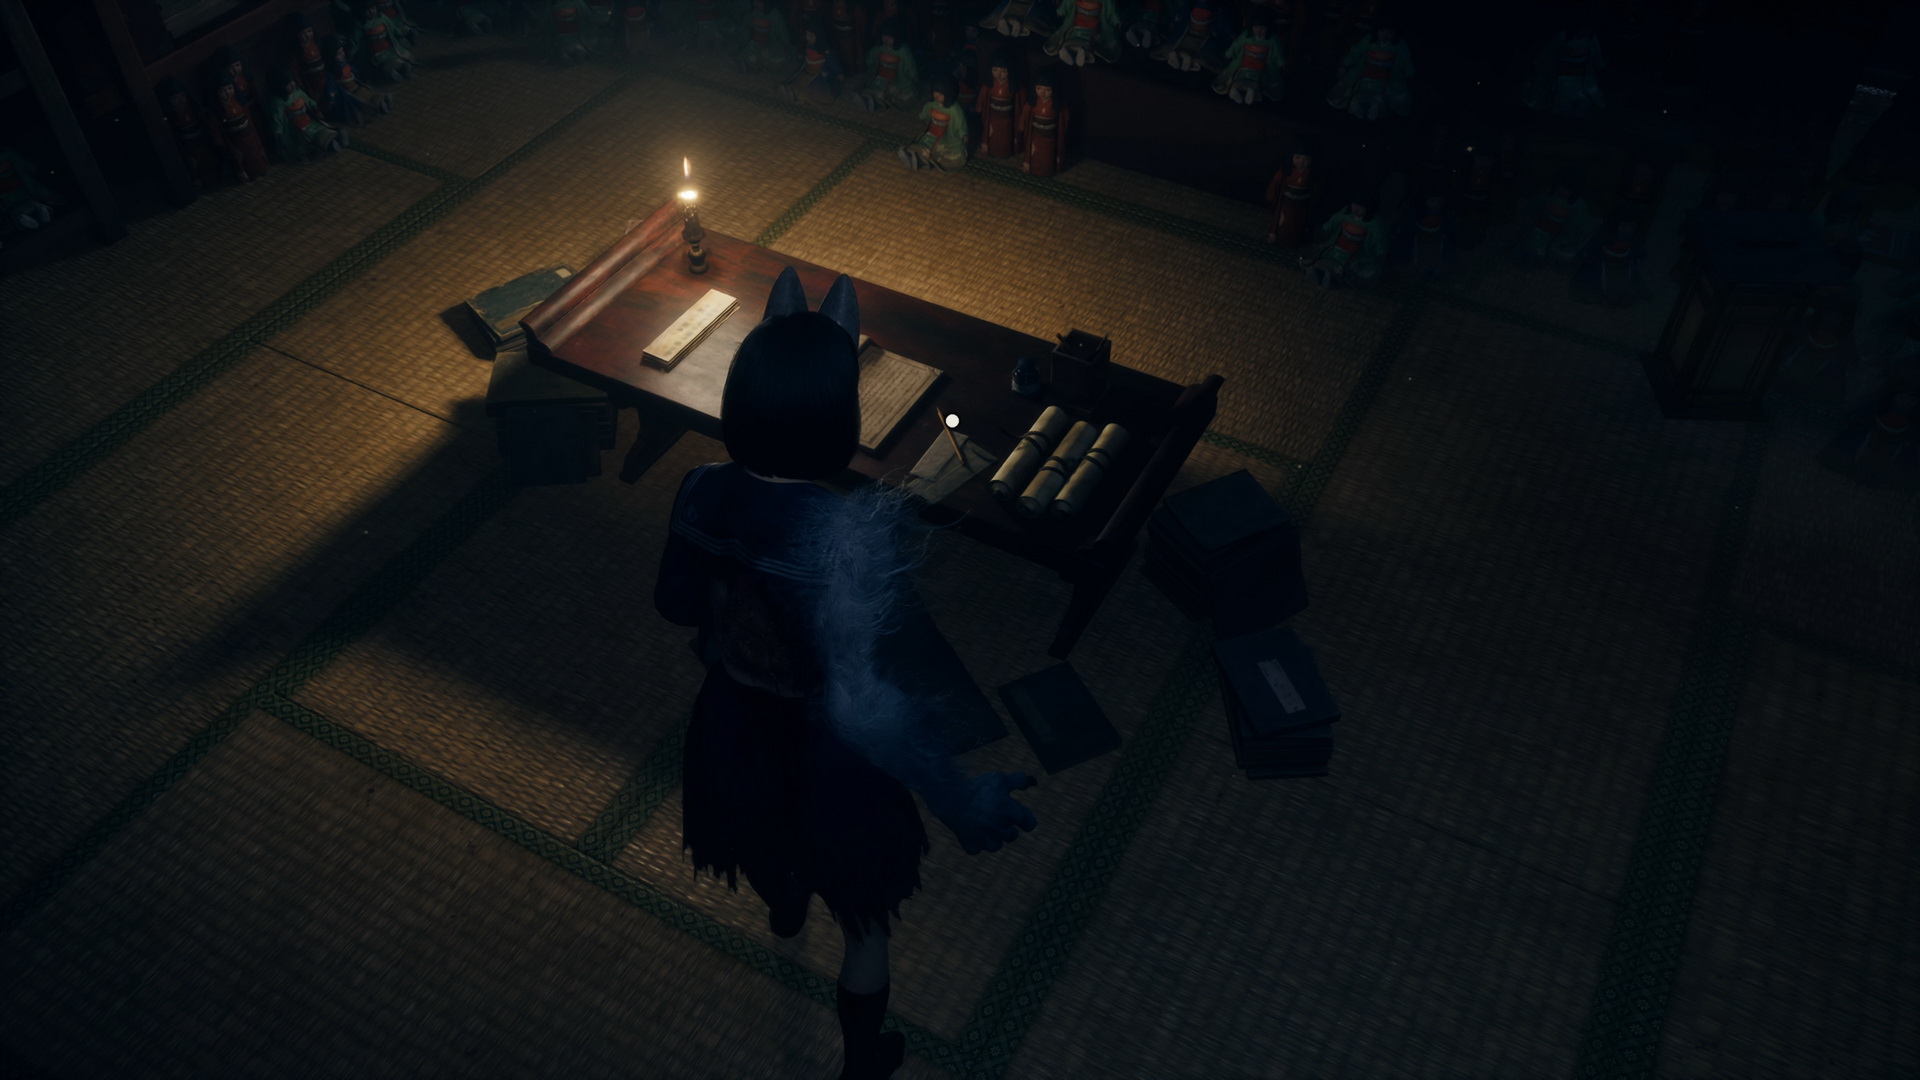
Proceed until you hit an area with a Hokora shrine and a device in front of a cage with Rinko.
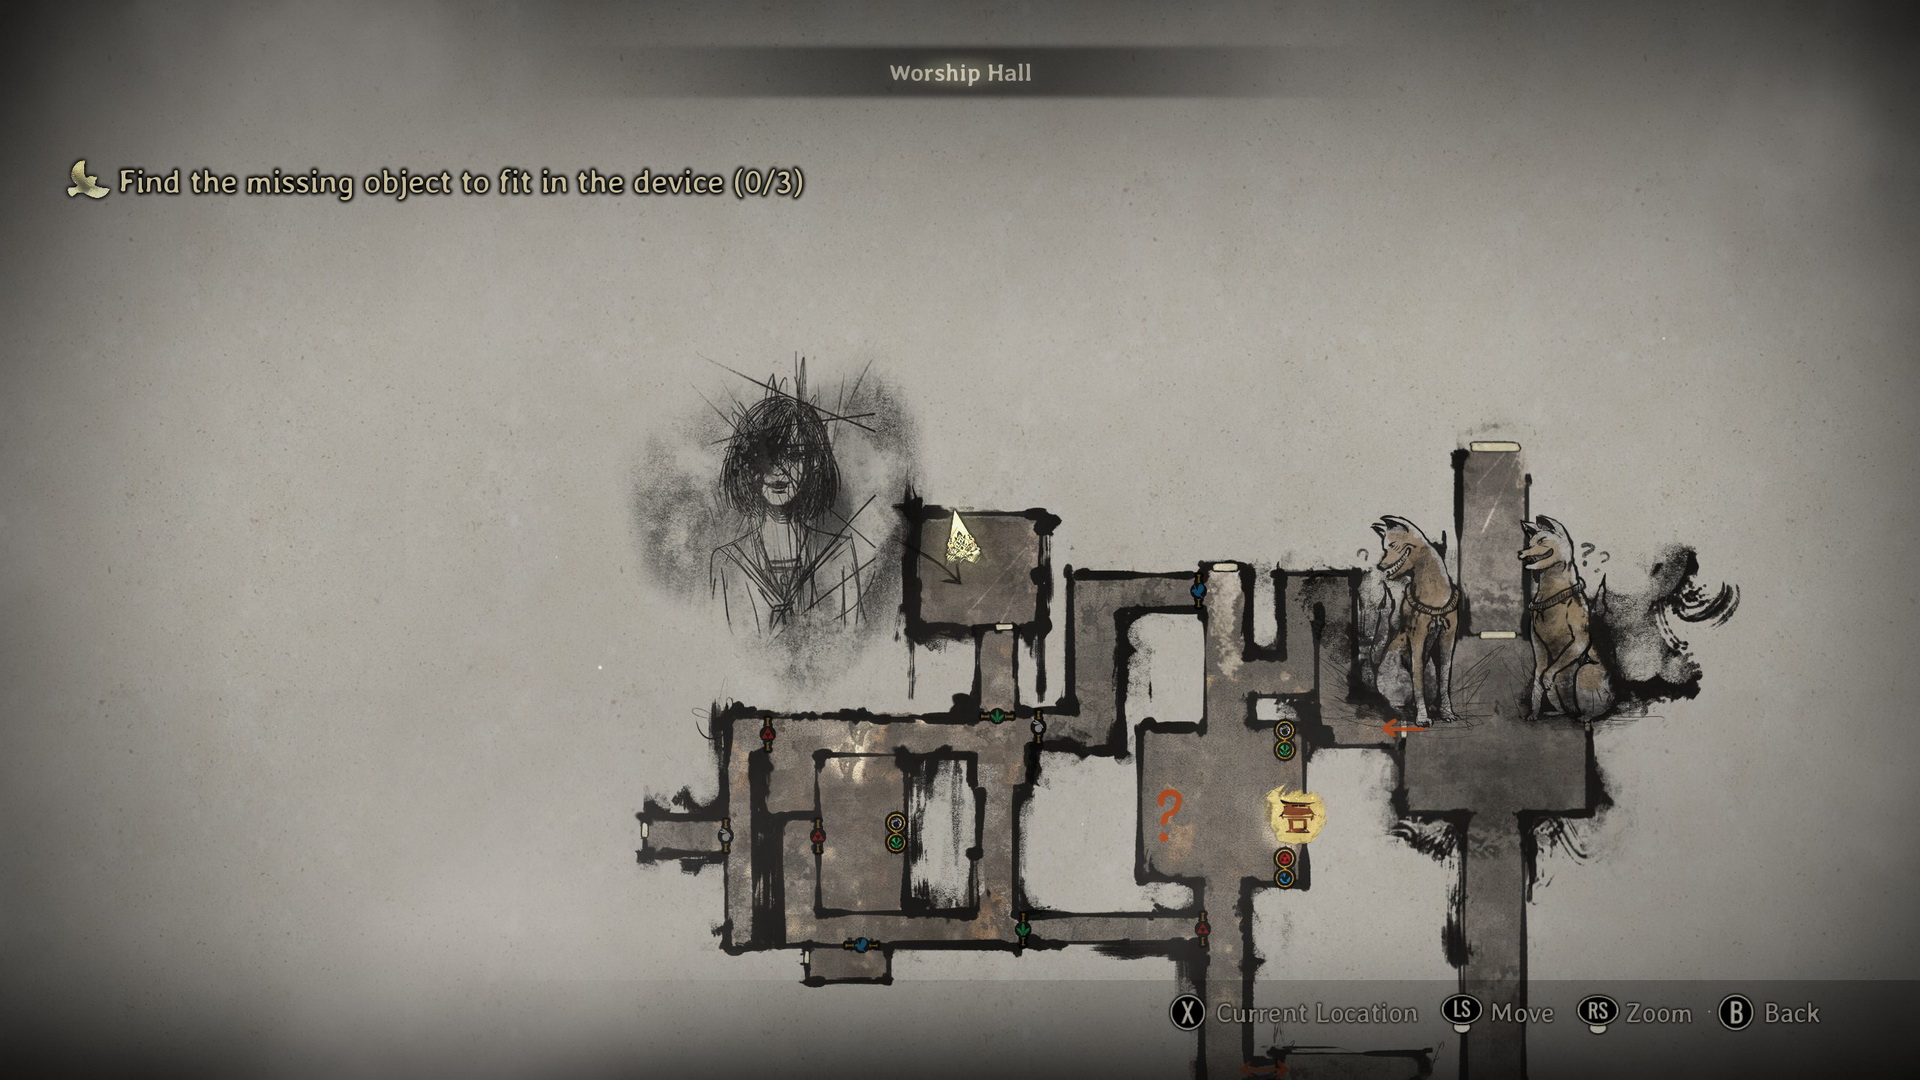
Find the missing object to fit in the device (0/3)
You will need to find three objects to start the device. Take note of the two statues with levers controlling the gates in this section, but don't touch them yet. First, go south and squeeze into the southwestern corridor. Be ready to fight a monster that will attack you from an alcove on the right. Approach the Inari-sama door at the end of the corridor and take a First Aid Kit to the left of the door.
New Game+Proceed through the Inari-sama door to find an Upgrade: Ema on a pile of books and the Omamori [Swallow] on a table (replaced with a Dried Carcass (⛩200) and a Higashi (⛩80) in later NG+ games if picked up).
Also in the room, you will find a couple of documents: A Perspective on Hierogamy (3) on a book and an Unfinished Letter on a desk.
|


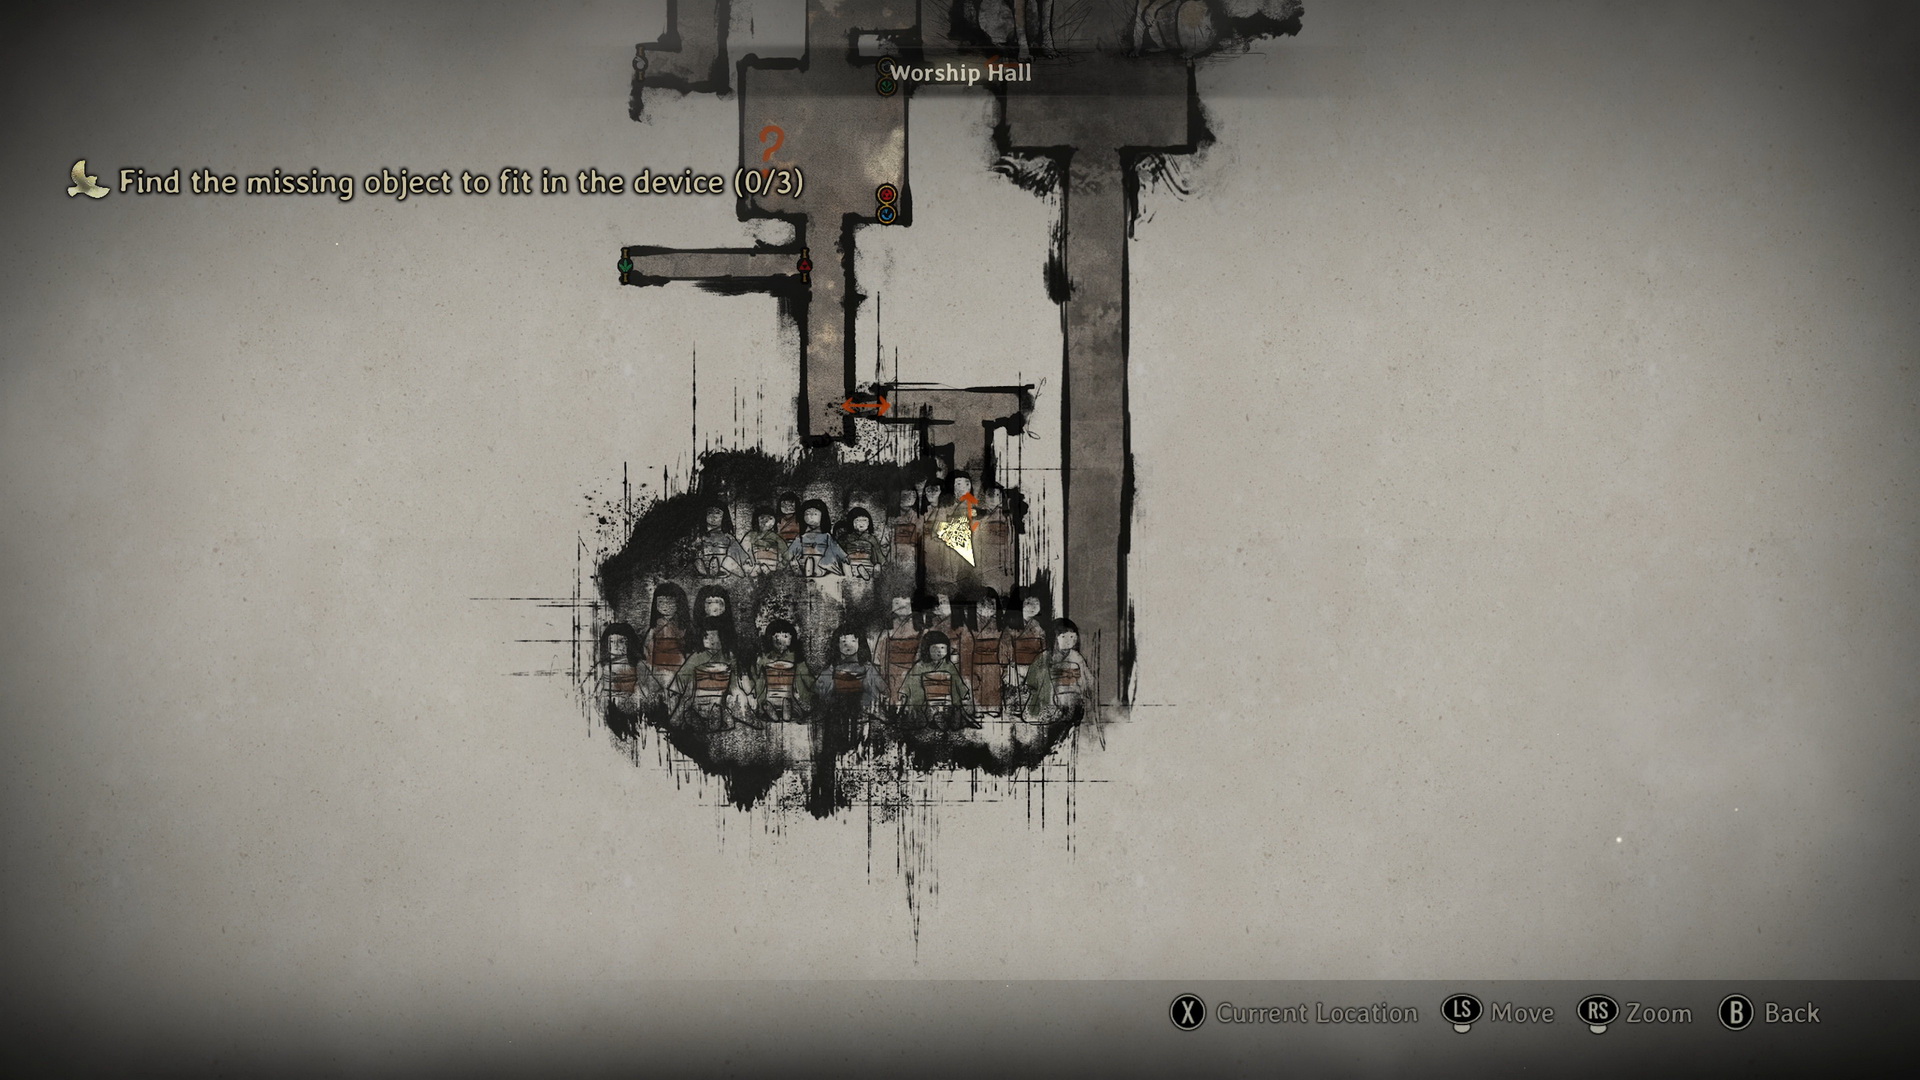
Return to the starting room and use the left lever to switch from the gray to the green symbol. Proceed to the west through the red and green symbol gates, turn north and go through the green symbol gate in the north. Enter the door at the end, and you will find yourself in what appears to be Rinko's room.
In the room, you can find a Yokan (⛩30) in a drawer to the right of the door and a Crumpled Letter (1) on the ground near the stacks of books.
 |
 |
New Game+Rinko's Secret Journal (3) is on the ground in the corner of the room.
|


New Game++Rinko's Diary (4) is on a southern shelf below one of the dolls.
Balled-Up Notebook Paper is behind a pile of books.
|


Approach the lamp on a desk in the corner and flip the switch to alter the room. You will find a Crumpled Letter (2) in the same place as the previous one.
 |
 |
New Game+Rinko's Secret Journal (4) is on the ground in the corner of the room after flipping the lamp's switch.
|


New Game++Rinko's Secret Journal (5) is on a shelf in the southeastern corner of the room after flipping the lamp's switch.
|


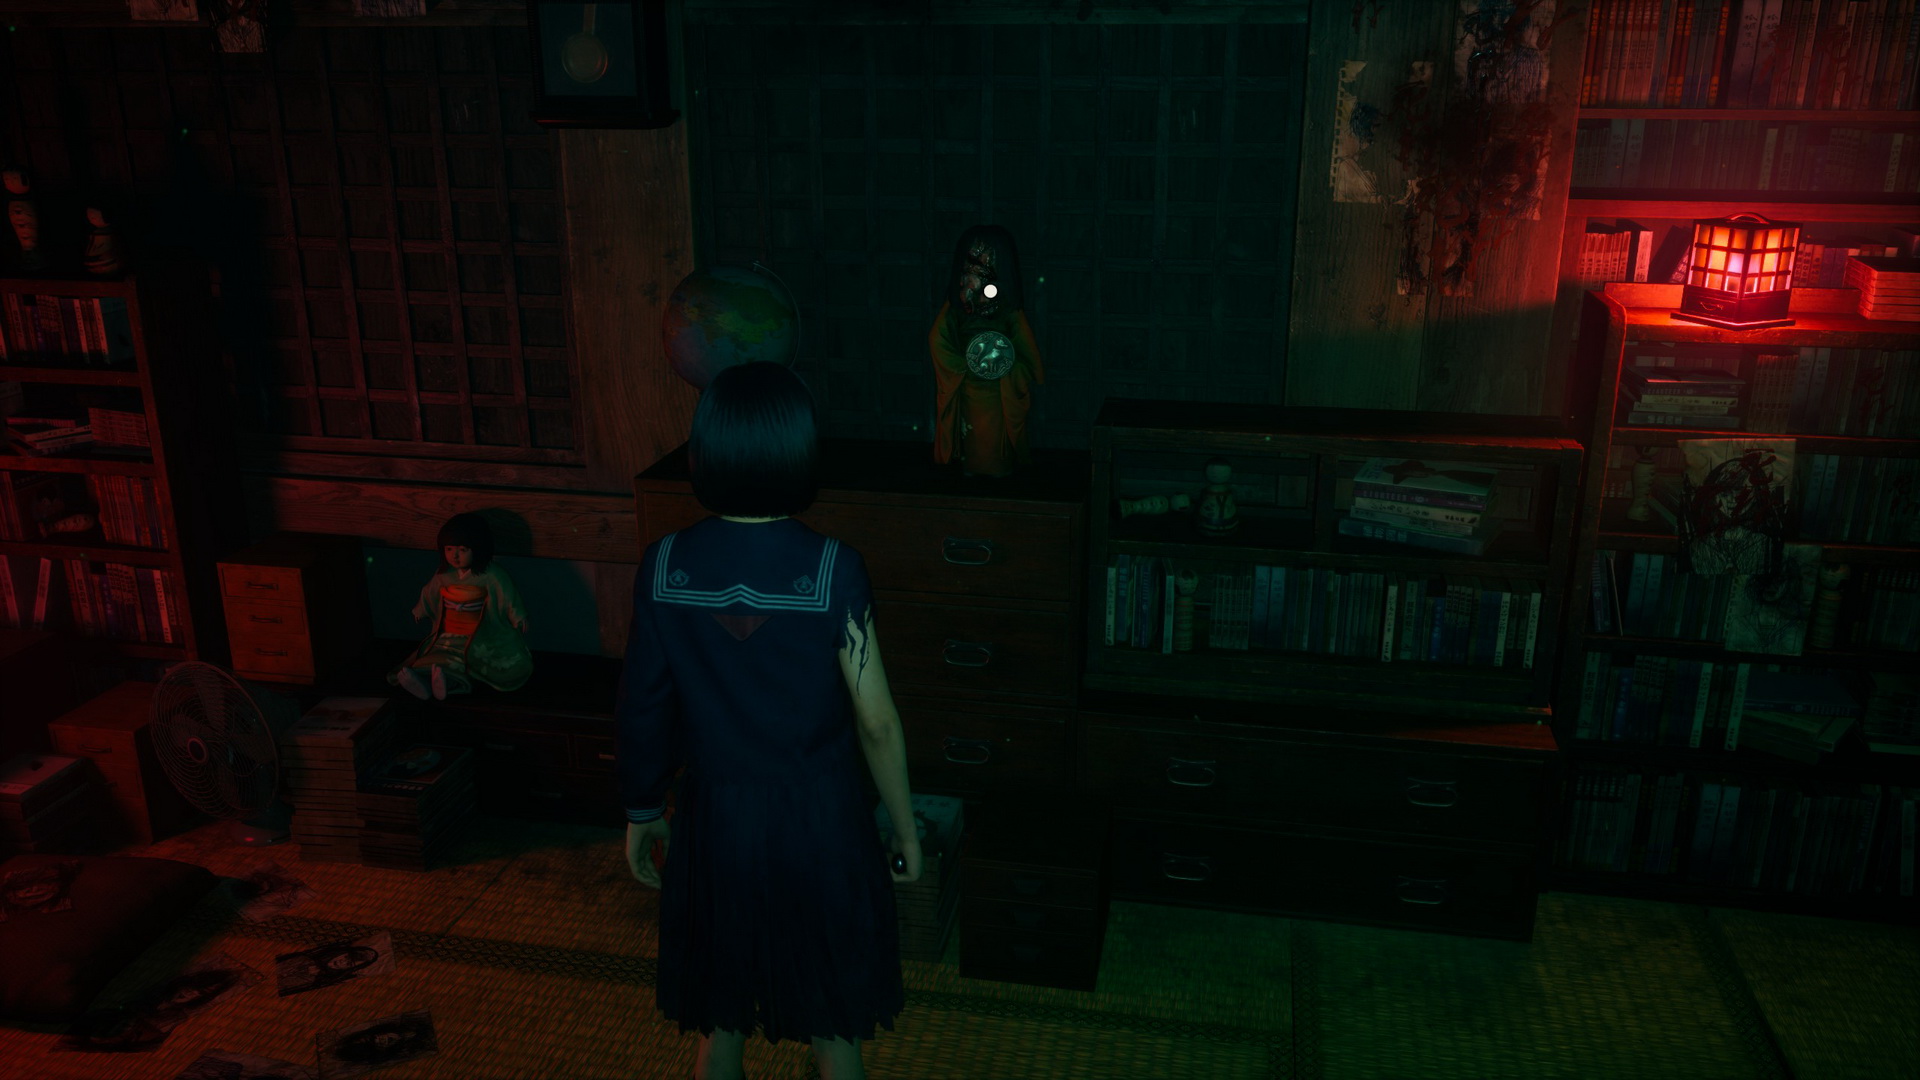
Inspect the three dolls around the room, and the last one will provide you with a Rightward-facing Fox Crest.
 |
 |
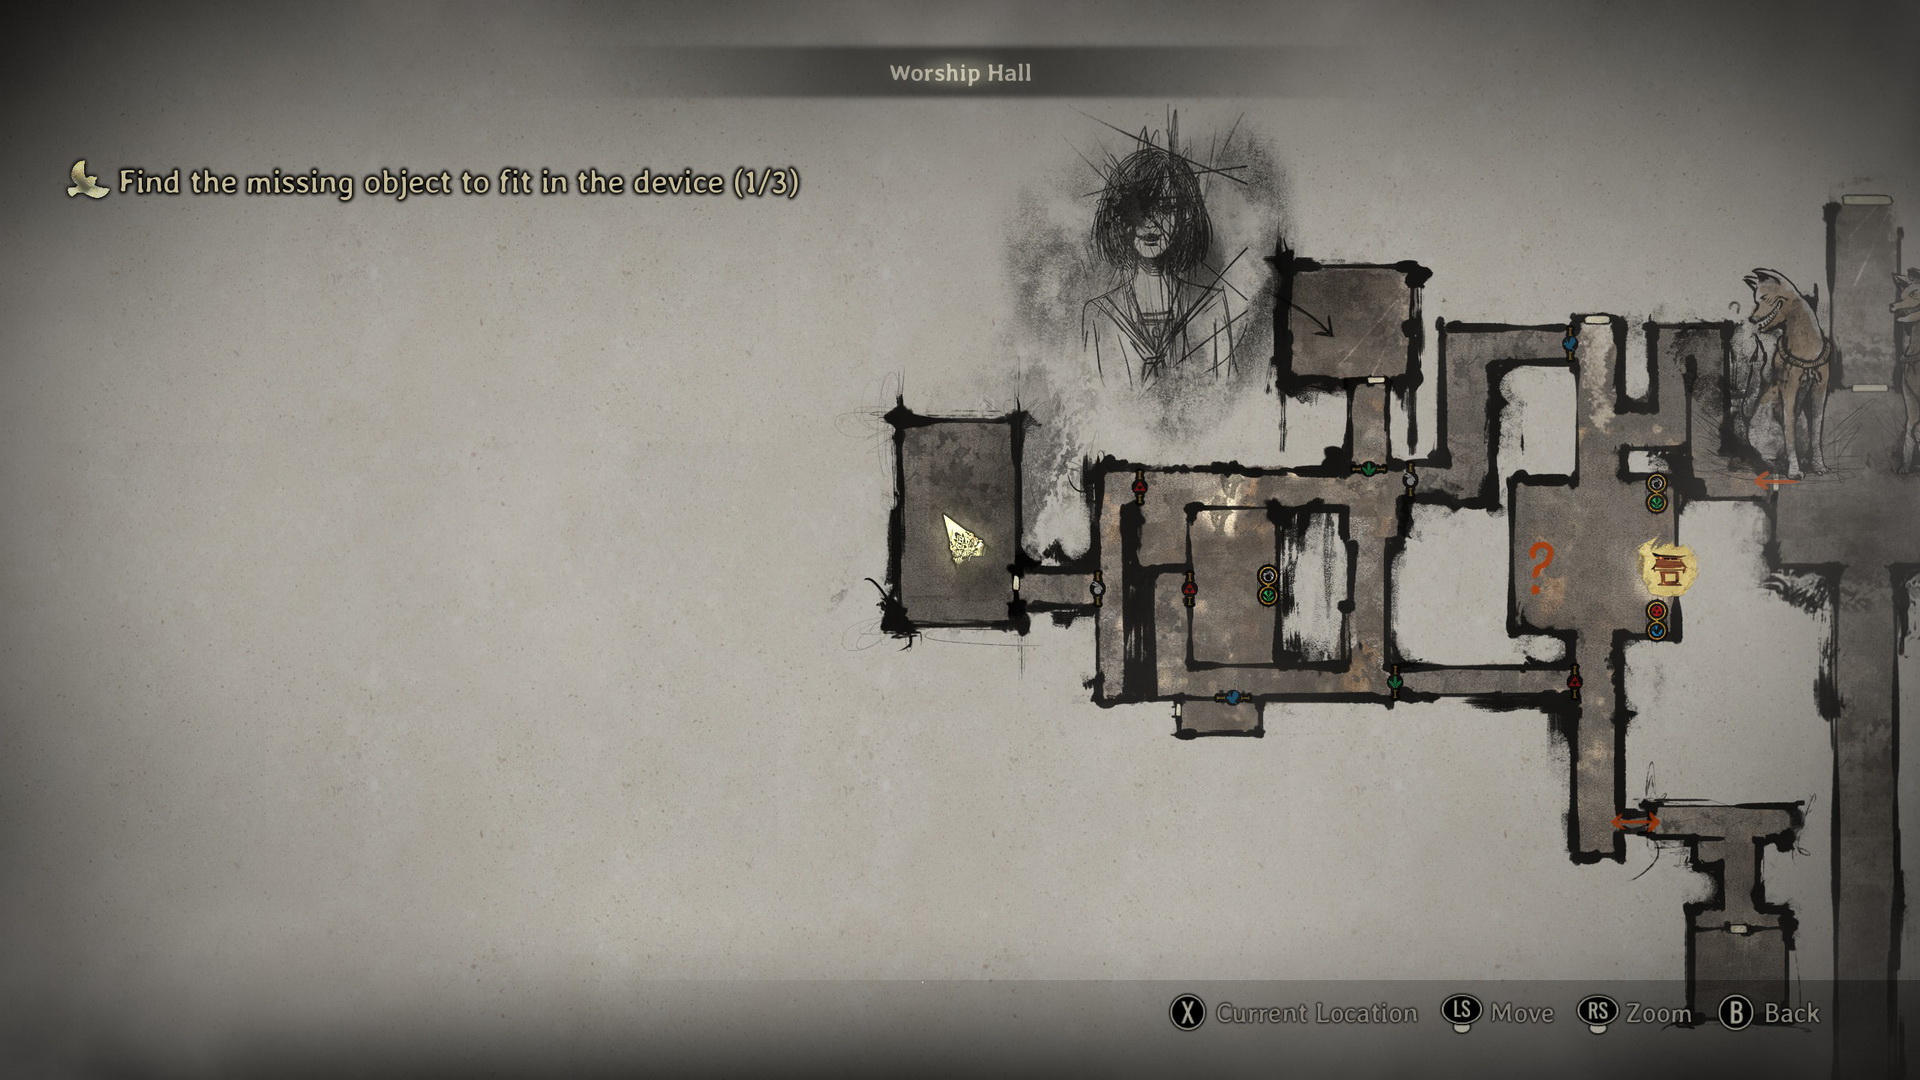
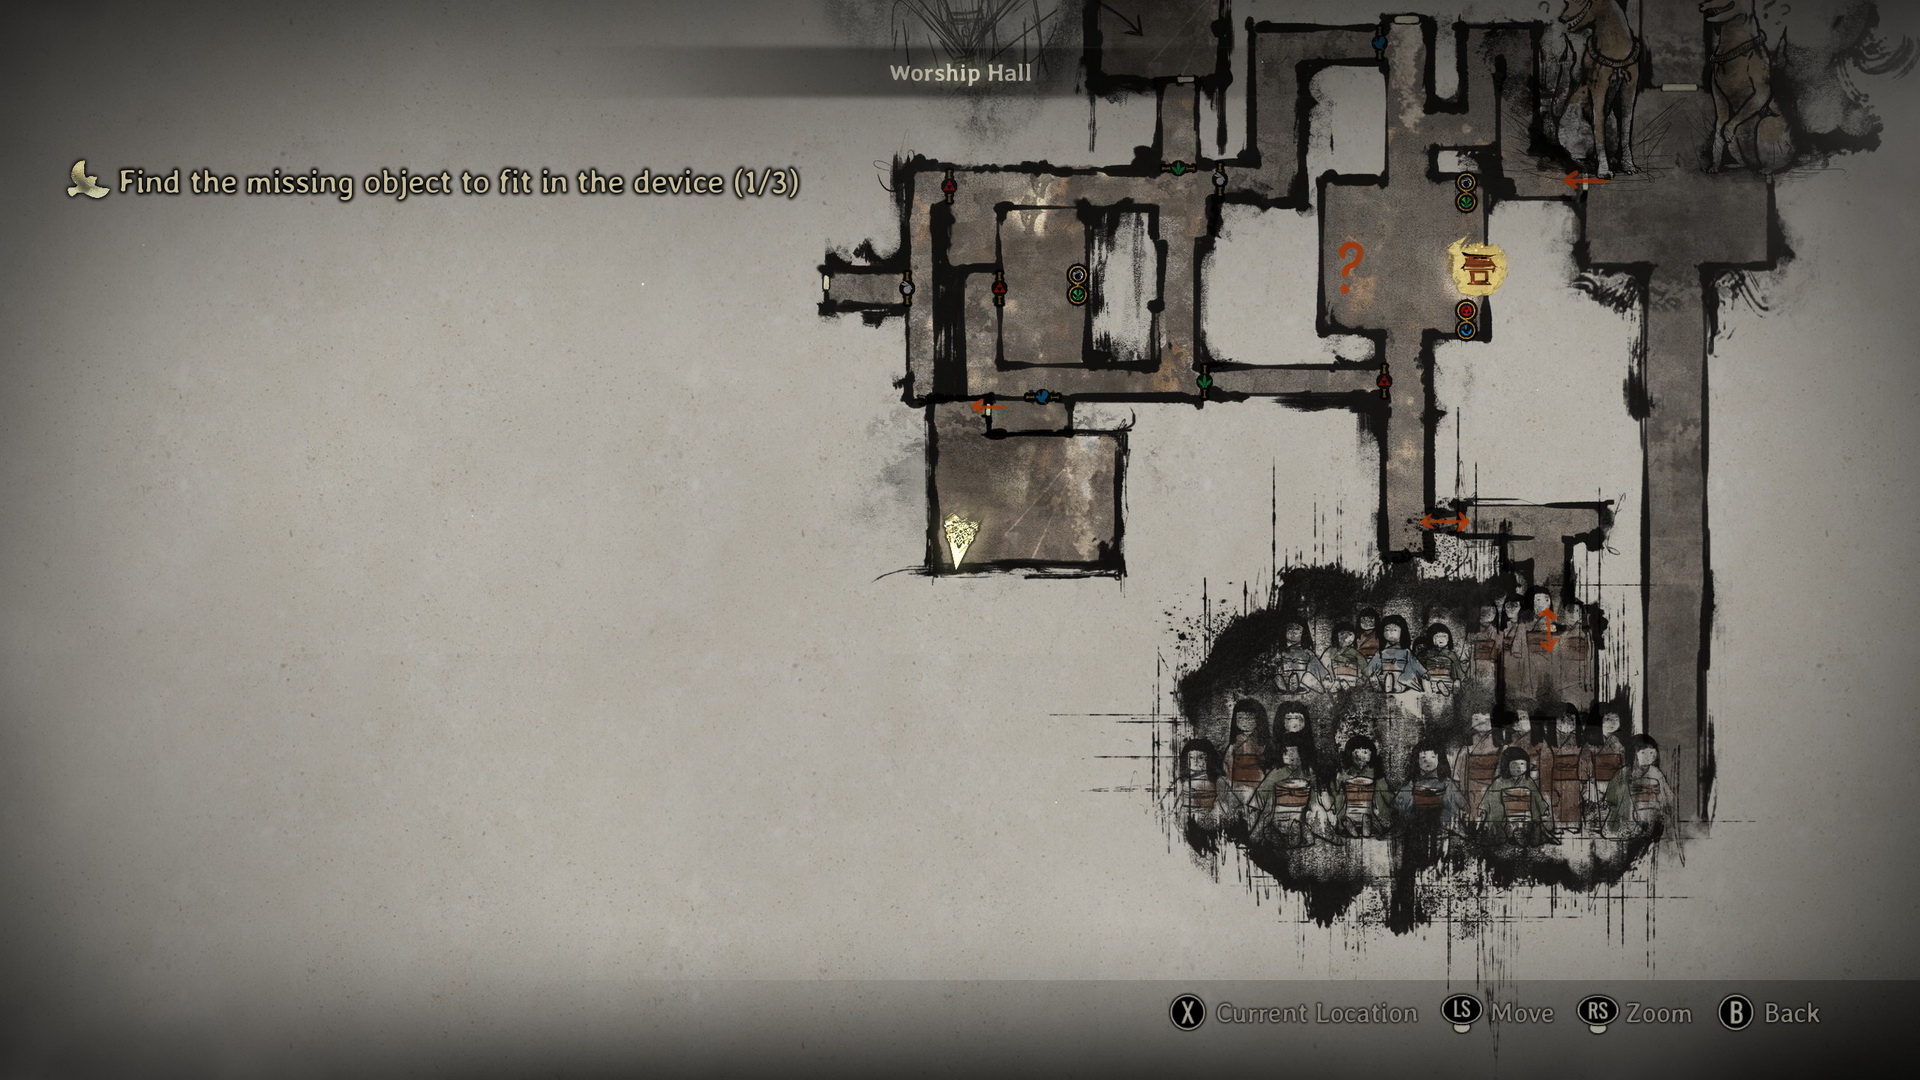
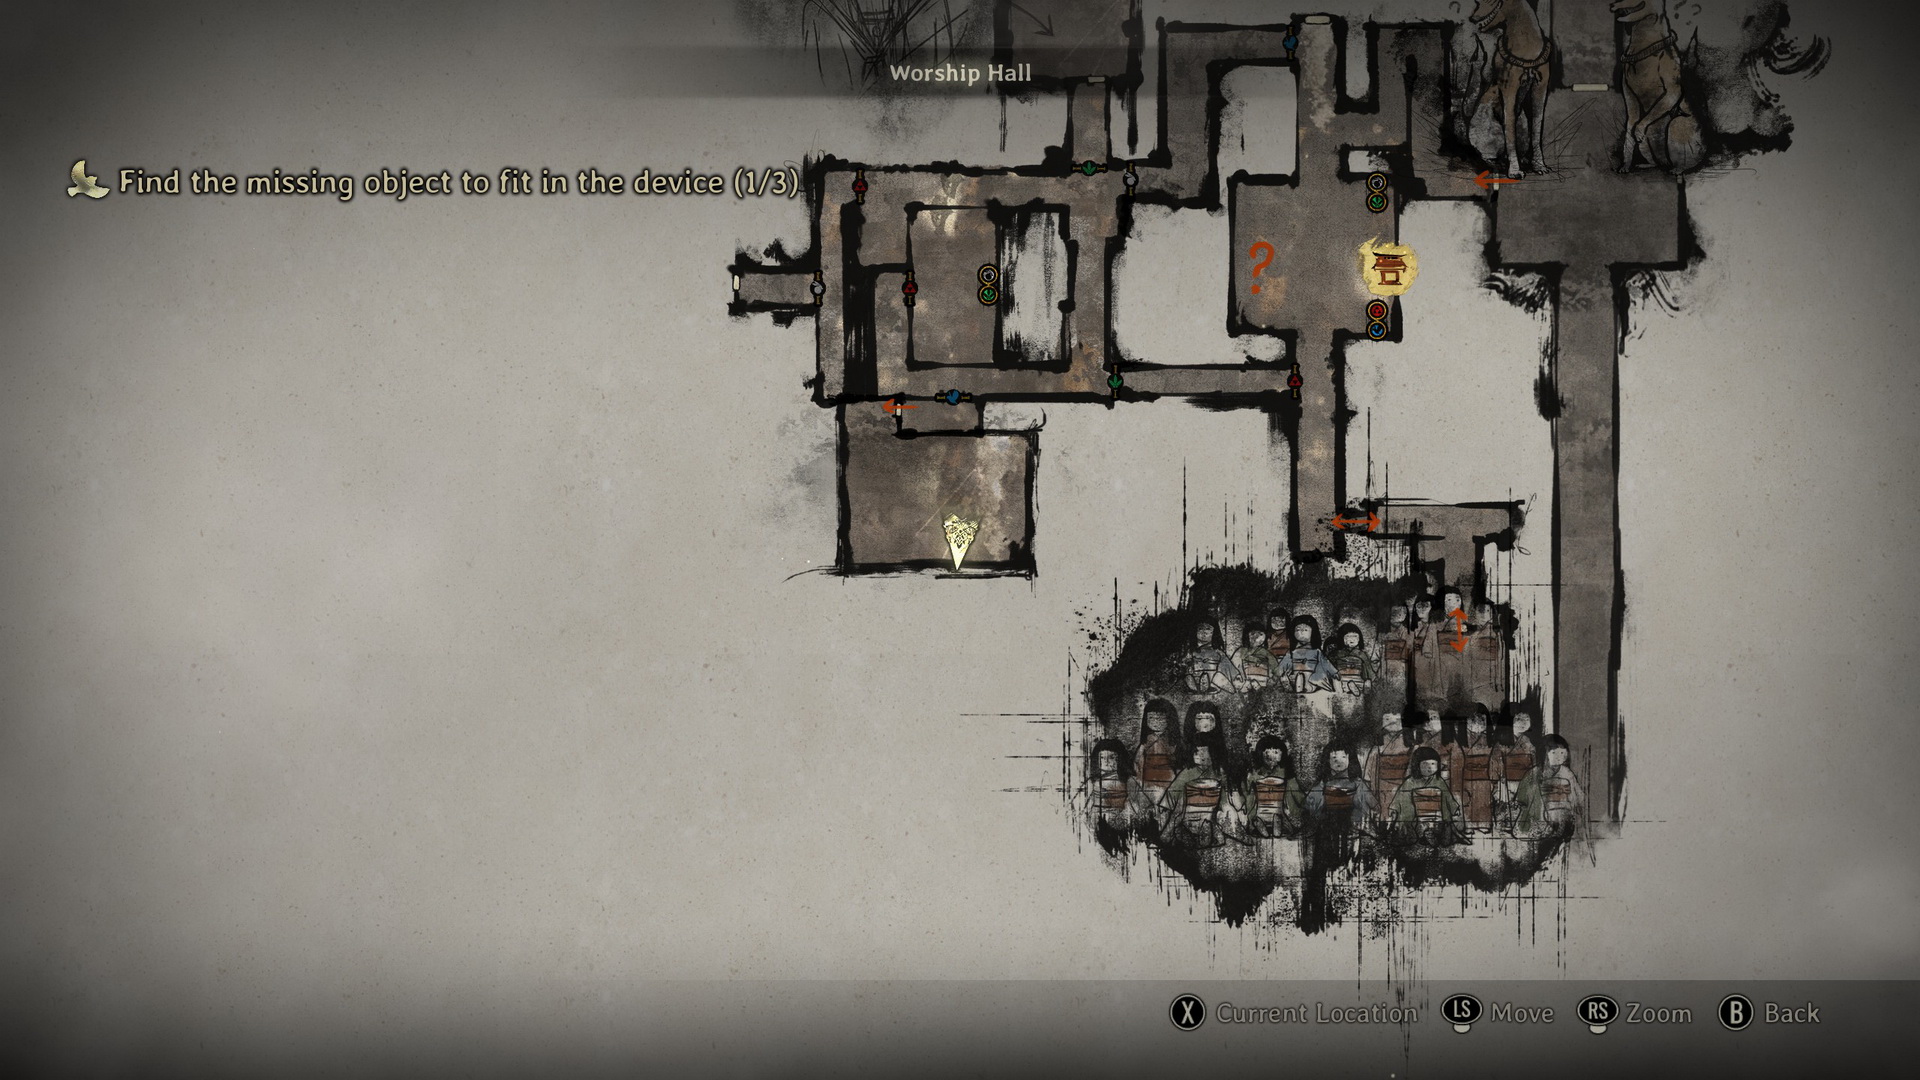
Find the missing object to fit in the device (1/3)
Exit the room to find yourself back in the starting hall. A monster will plunge at you from the side. Proceed through the red/green symbol corridor and then head west into the middle room, taking care of the enemies on your way. Pull the statue lever inside the room to show the gray symbol. You can pick a Bandage from a drawer to the right of the statue and an Inari Sushi (⛩150) in the northwest of the room behind the screen.
Back out of the room, run around the middle room and head through the red symbol gate in the west. You will run into another monster in a short corridor here with a Dried Carcass (⛩200) sitting on a chest of drawers behind it. Pass through the gray symbol gate and enter the classroom in the west.
Check the last desk in the second row to find a Divine Water (⛩50) on a chair. Go to a bookshelf in the northwest to collect a Class Observation Log (1).
 |
 |
New Game+Rinko's Diary (2) is on a desk in the second row.
|


New Game++Class Observation Log (3) is on top of the cubbies on the eastern side of the classroom.
Fox Origami (3) is in a cubby on the southern side of the classroom.
|


Interact with the lamp on the teacher's podium to flip the switch and check the bookshelf again to find another Class Observation Log (2).
 |
 |
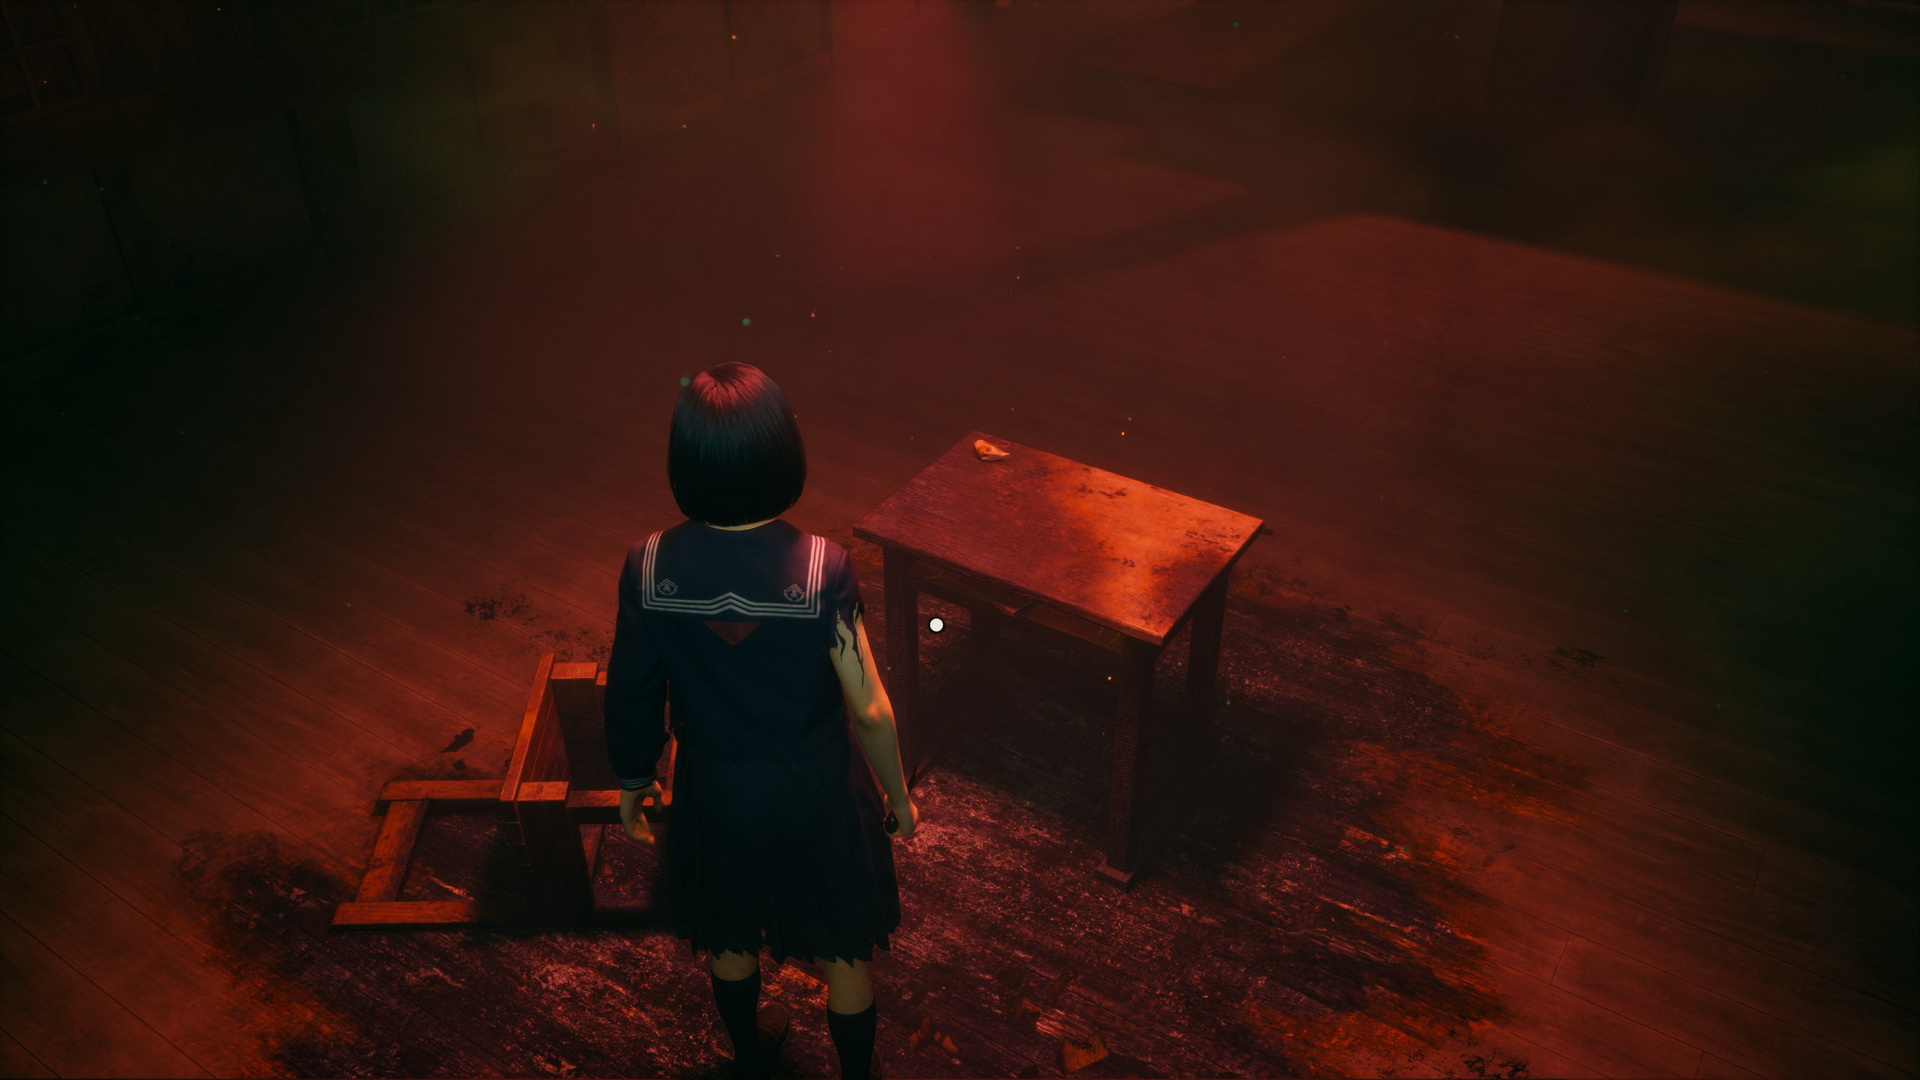
Inspect the lone desk in the middle of the room to find the Forward-facing Fox Crest, and prepare yourself to fight off a couple of enemies that will appear (or quickly escape from the room).
 |
 |
New Game+Rinko's Diary (3) is in a cubby on the eastern side of the classroom after flipping the lamp's switch.
|


New Game++Rinko's Diary (5) is in a cubby on the southern side of the classroom after flipping the lamp's switch.
|


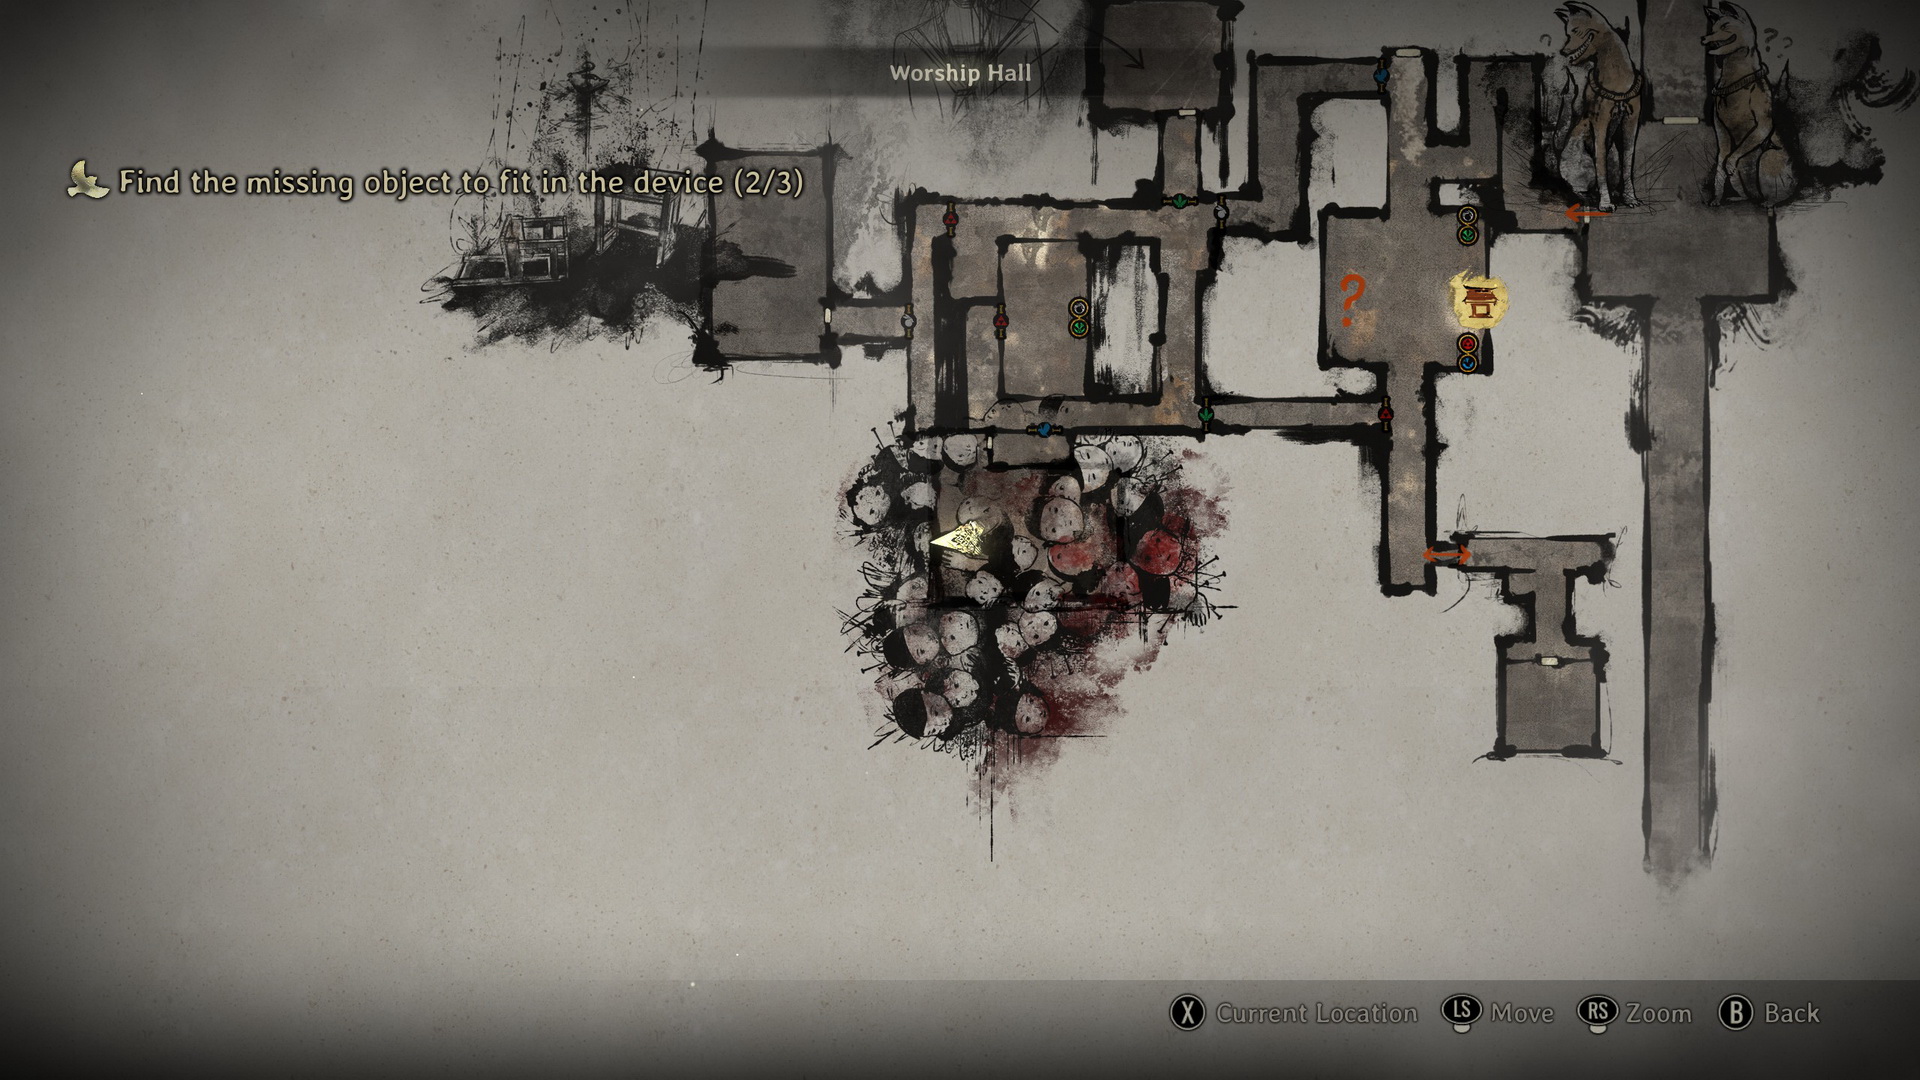
Find the missing object to fit in the device (2/3)
Exit the room to find yourself back in the starting hall once again. Pull the lever on the right Inari statue to show the blue symbol. The left one should still show the gray symbol. Proceed through the corridor in the north and head into the room in the south behind the blue symbol gate that looks like the Chizuruya General Store.
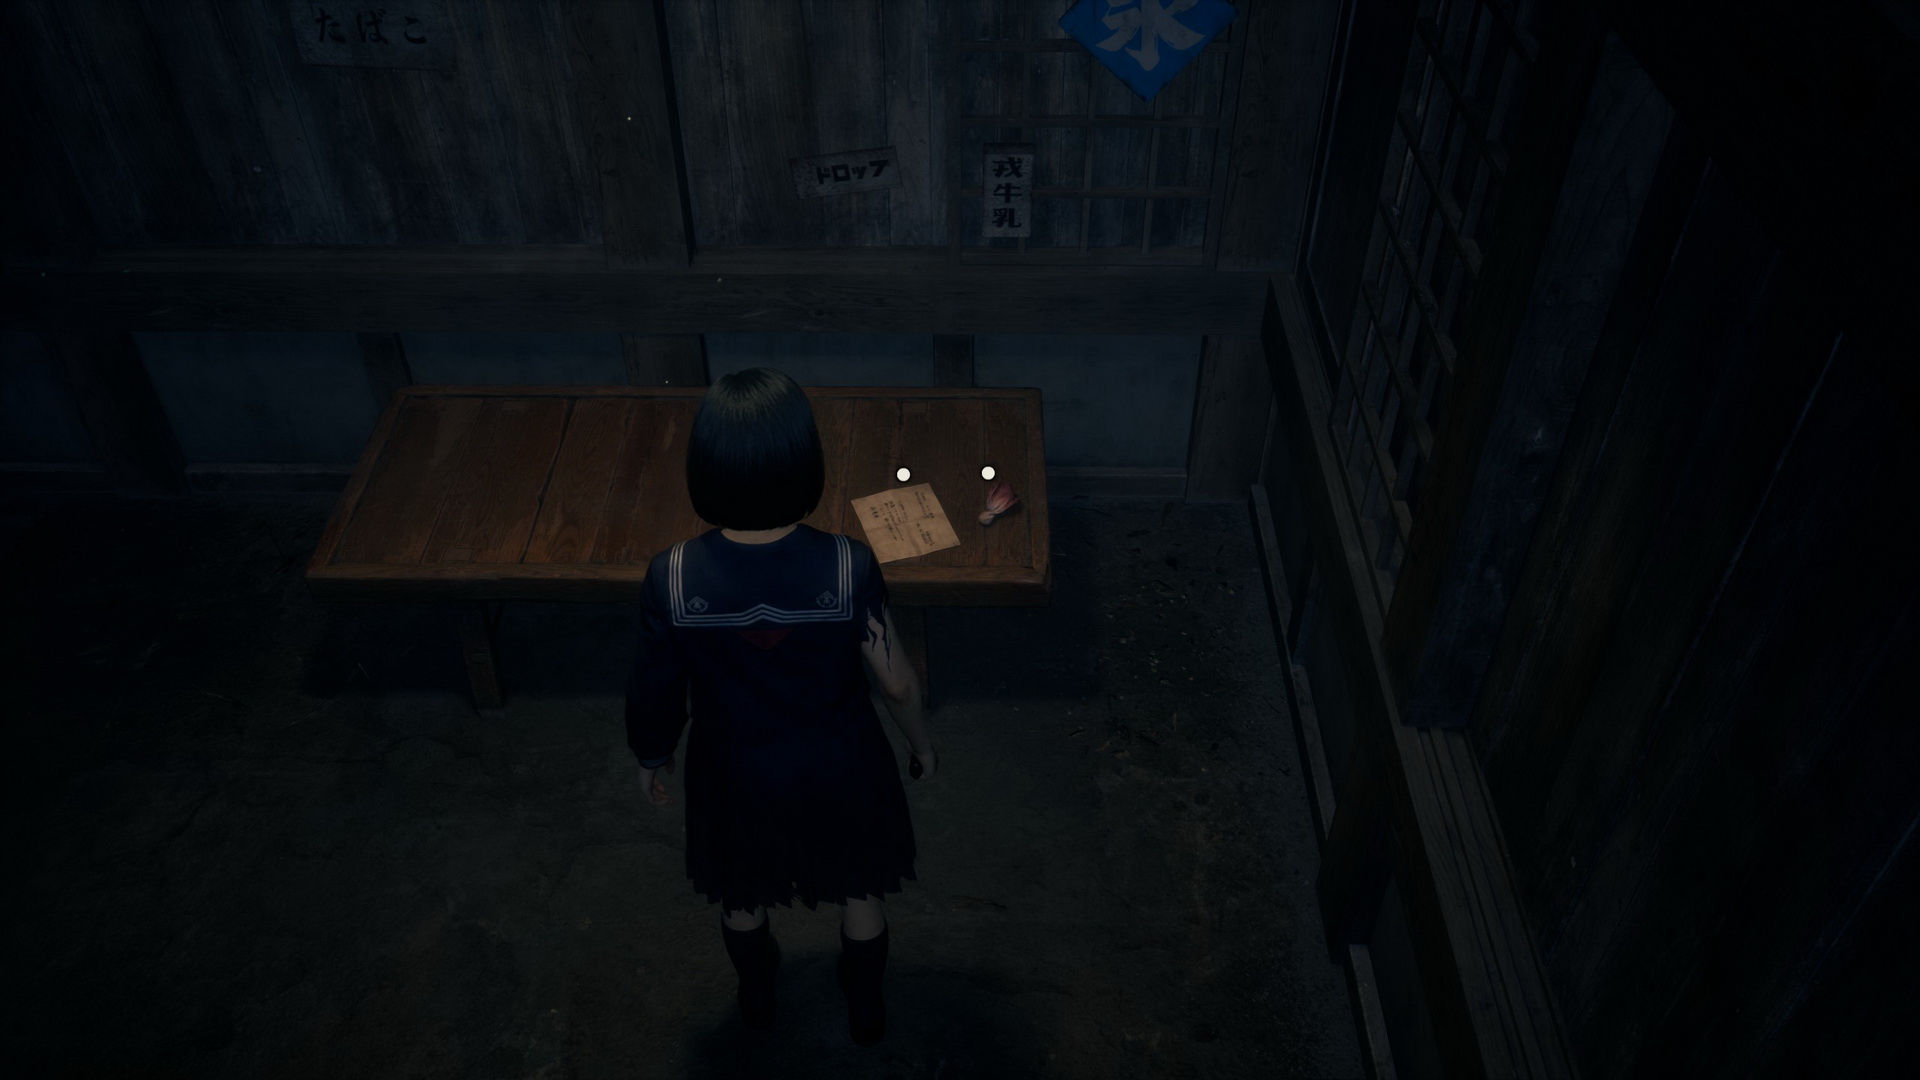
Grab a Higashi (⛩80) and a Letter from Rinko to Hinako (1) from the bench right in front of you.
 |
 |
On a countertop in the south, you can find a Kudzu Tea (⛩100). And on a crate in the east, pick up Rinko’s Secret Journal (1).
 |
 |
New Game+Rinko’s Childhood Diary (1) is on a countertop in the southwestern corner.
Fox Origami (2) is on a countertop on the southern side.
|
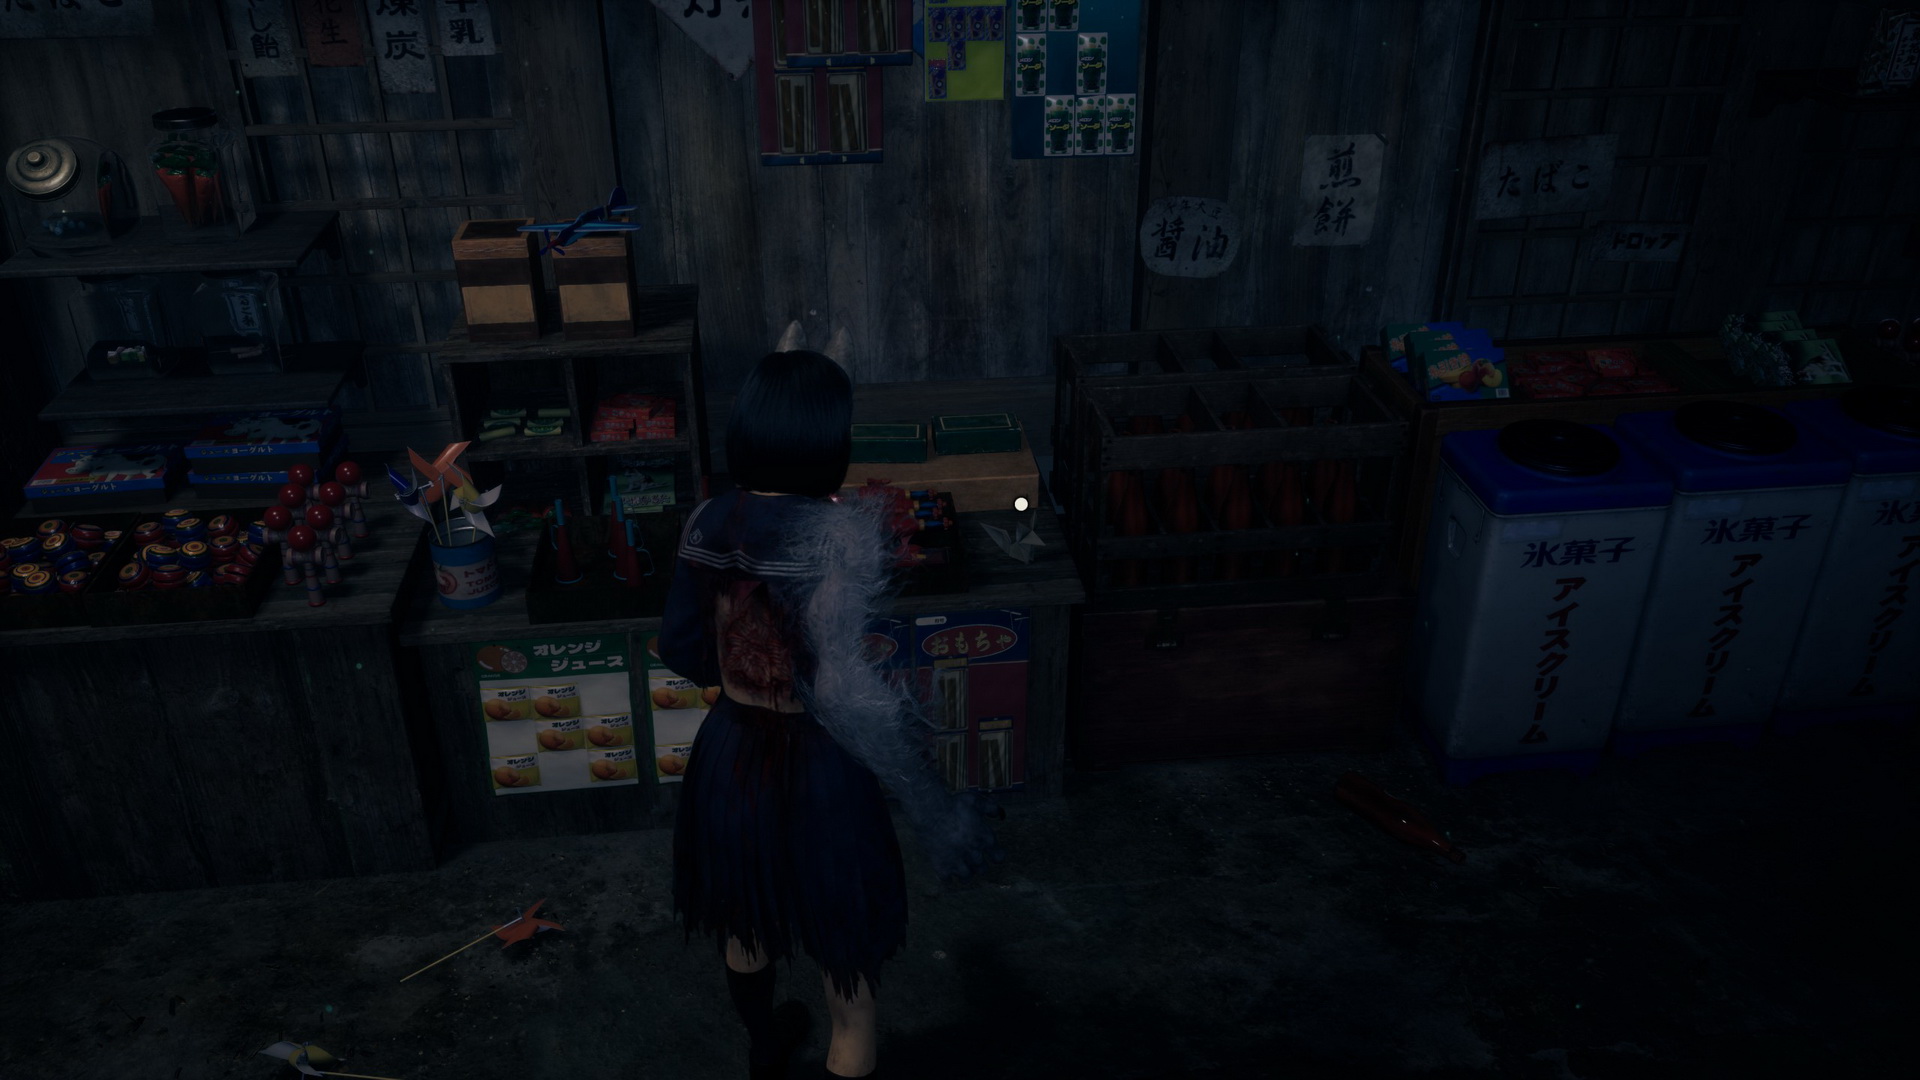
New Game++Letter from Rinko to Hinako (3) is on top of the sweets in the middle of the store.
|


You can check the candies on the northern side of the store, then approach the desk lamp and flip the switch. You will be forced into combat with a monster. After the fight, you can grab a Bandage and Rinko’s Secret Journal (2) from a crate on the eastern side of the room.
 |
 |
Near the entrance, you will find another Letter from Rinko to Hinako (2).
 |
 |
New Game+Rinko’s Childhood Diary (2) is on a countertop on the southwestern side of the store after flipping the lamp's switch.
Fox Origami (1) is on a countertop on the southern side of the store after the lamp's switch is flipped.
|
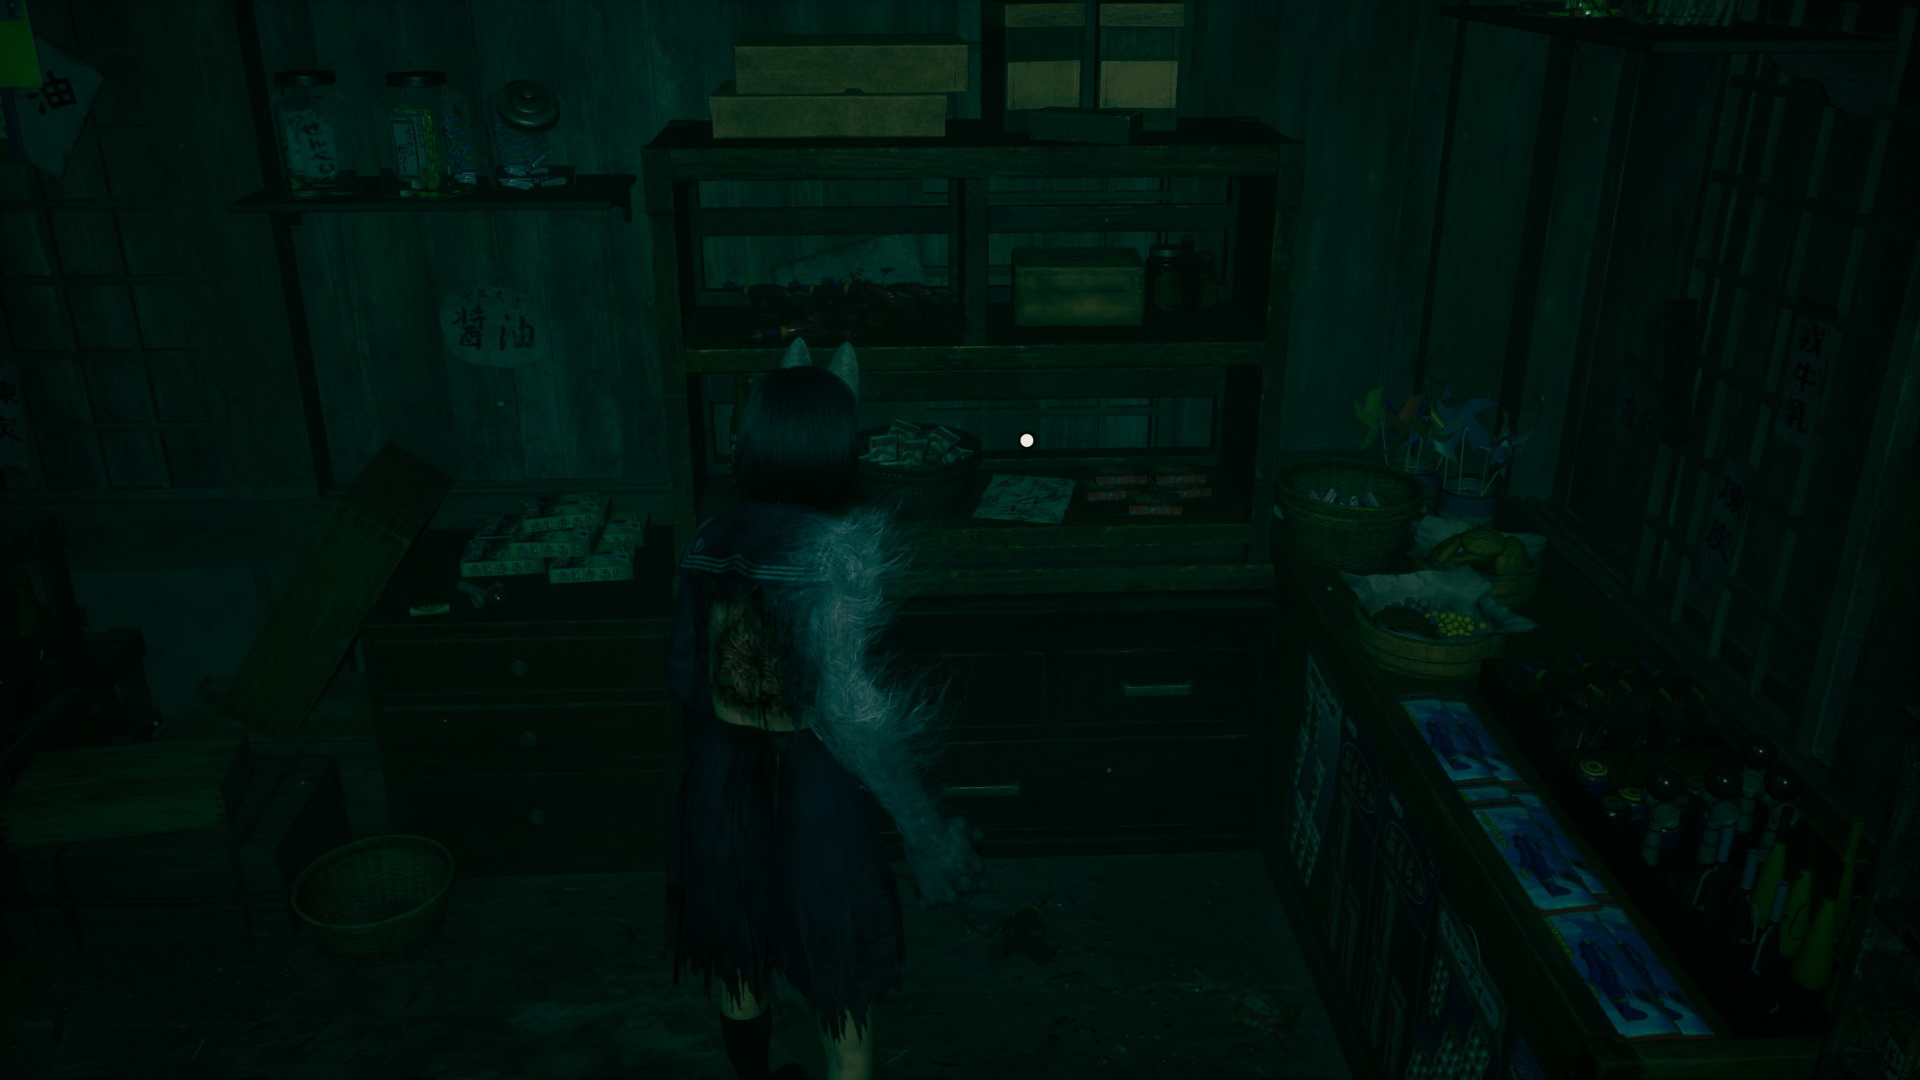
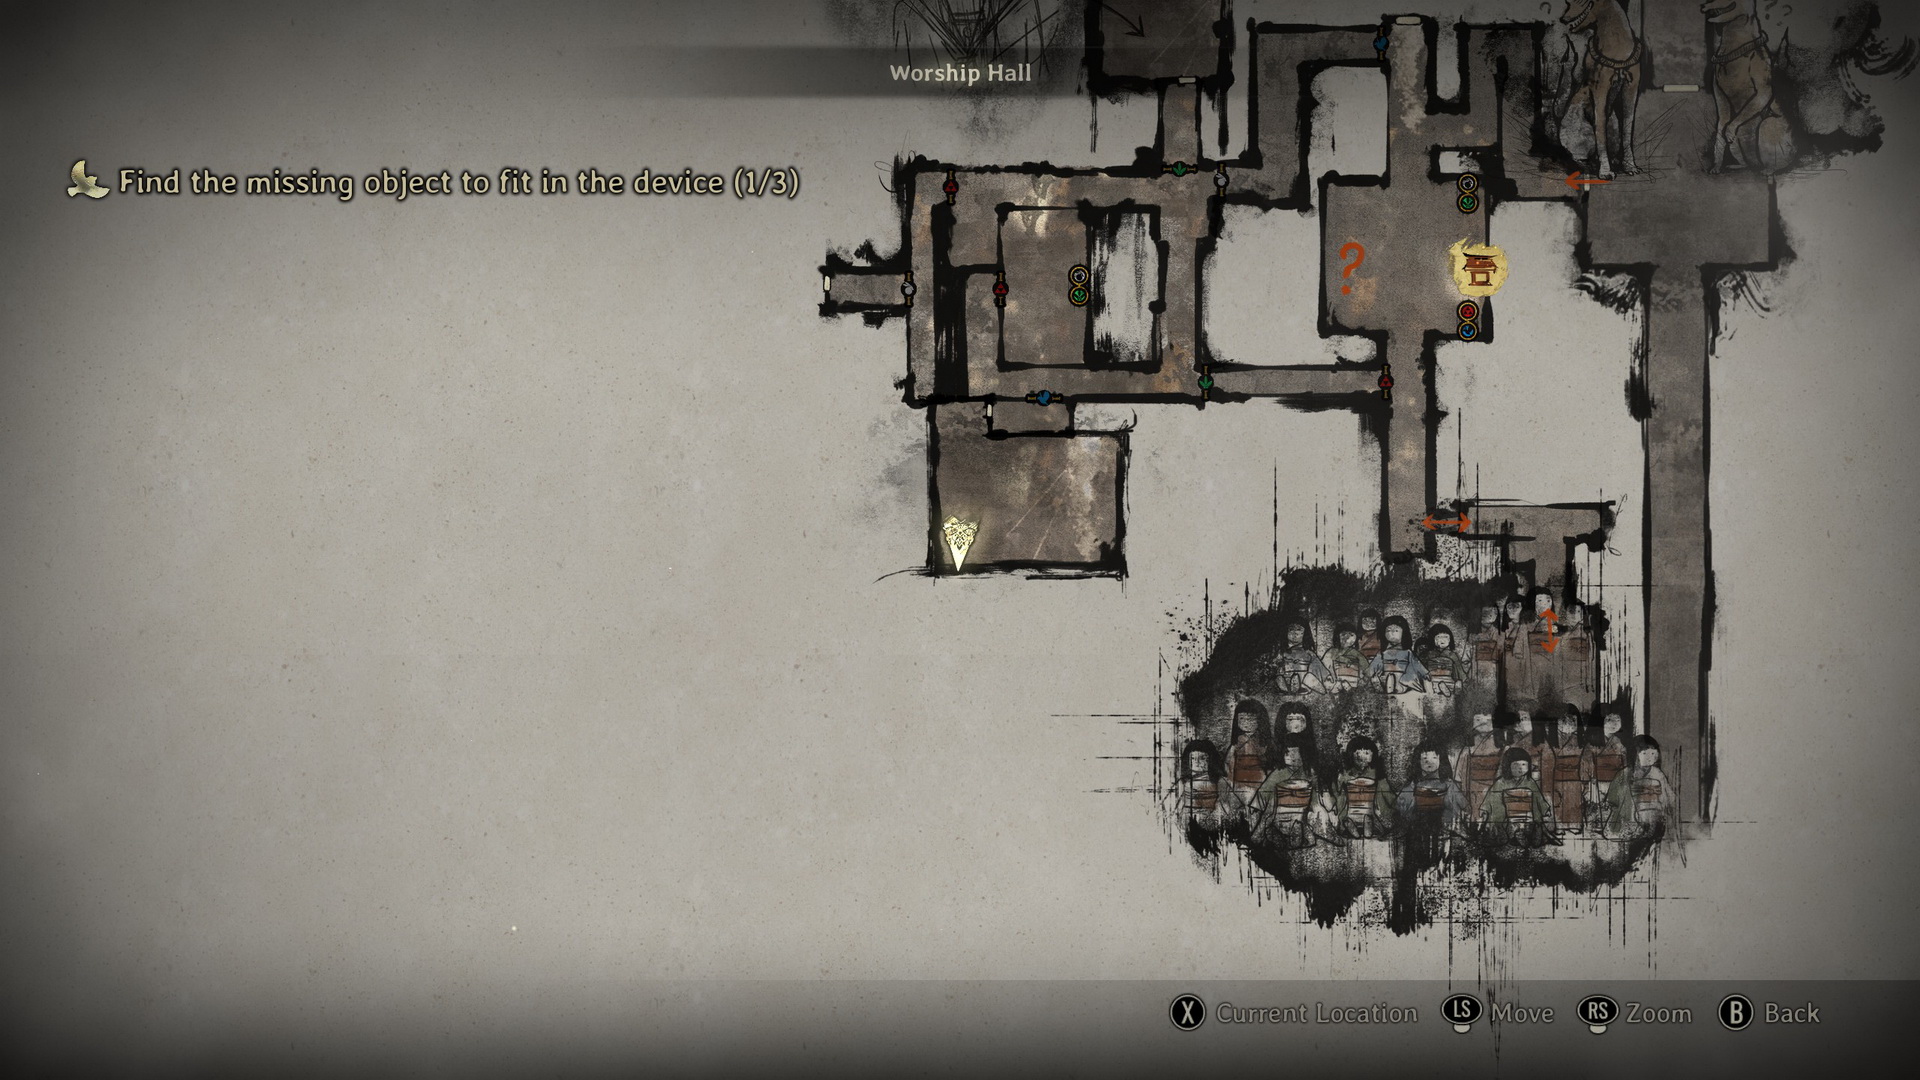
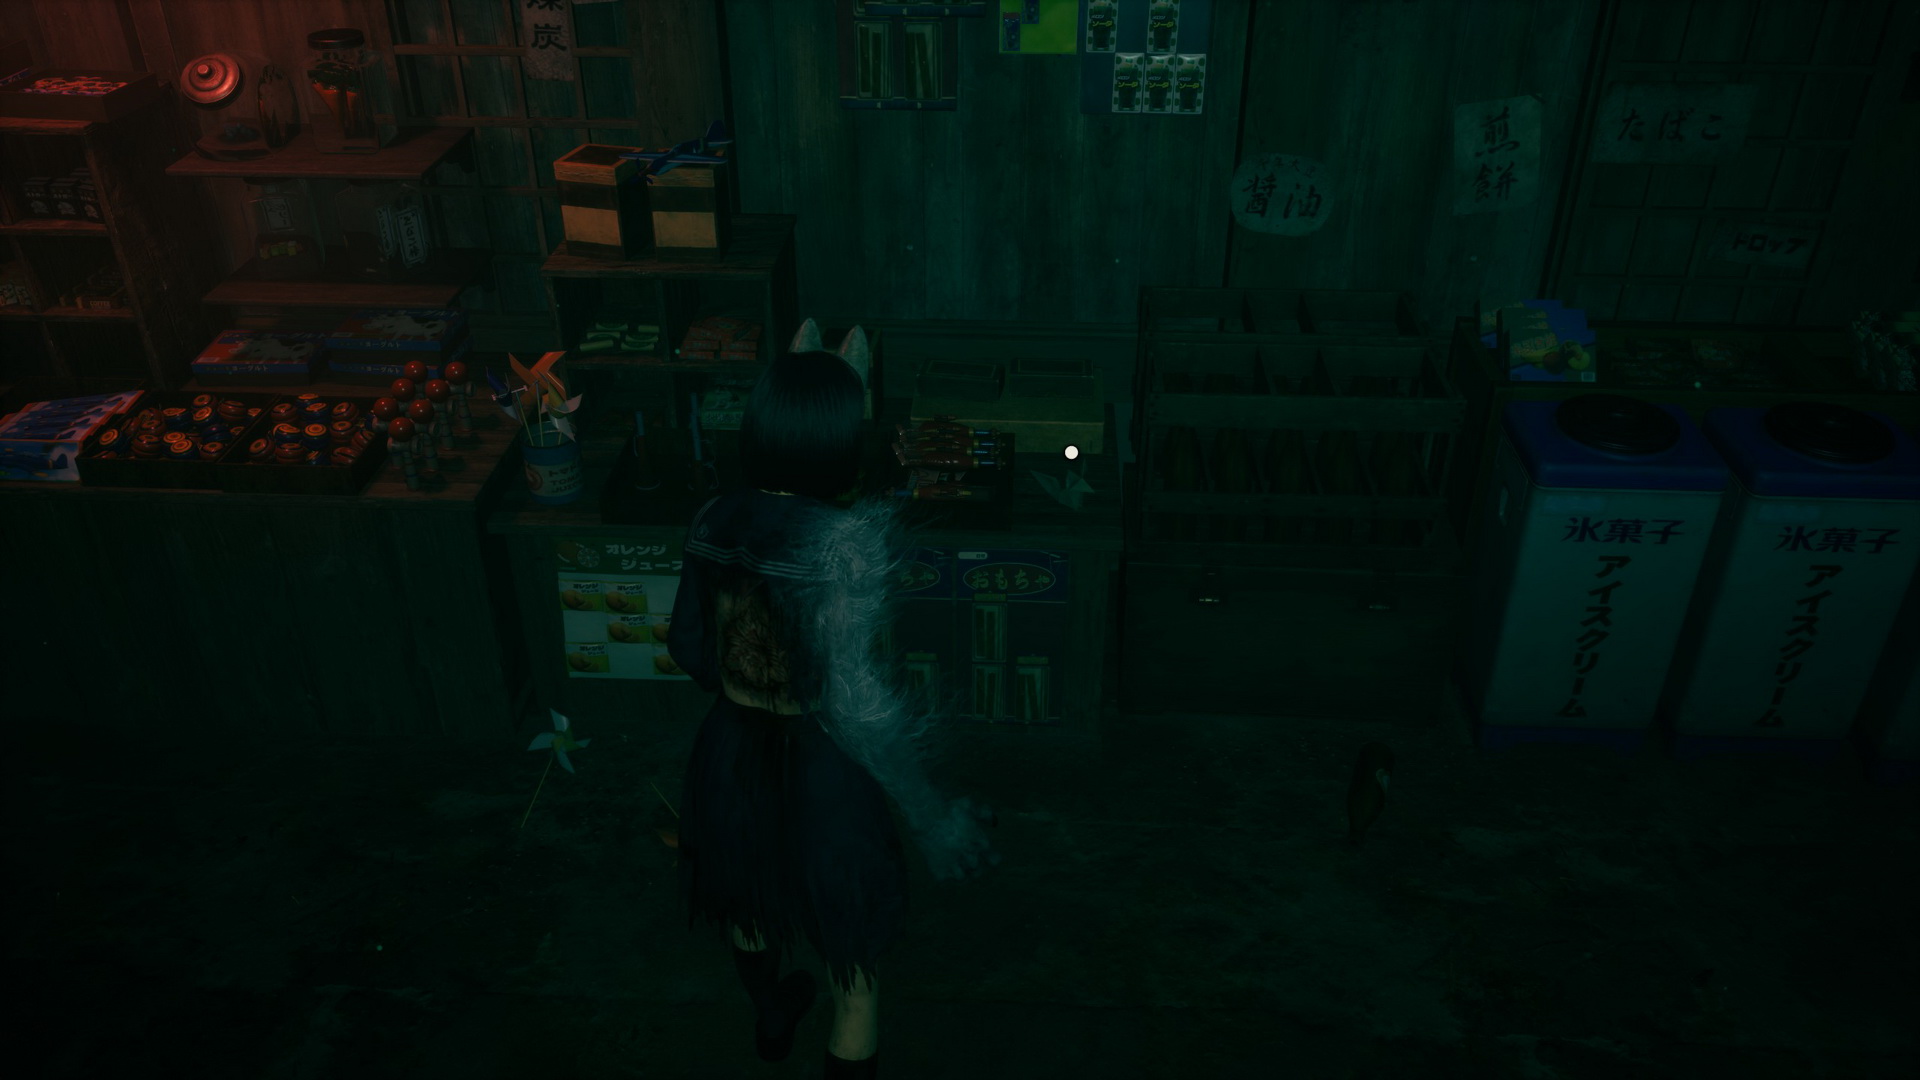
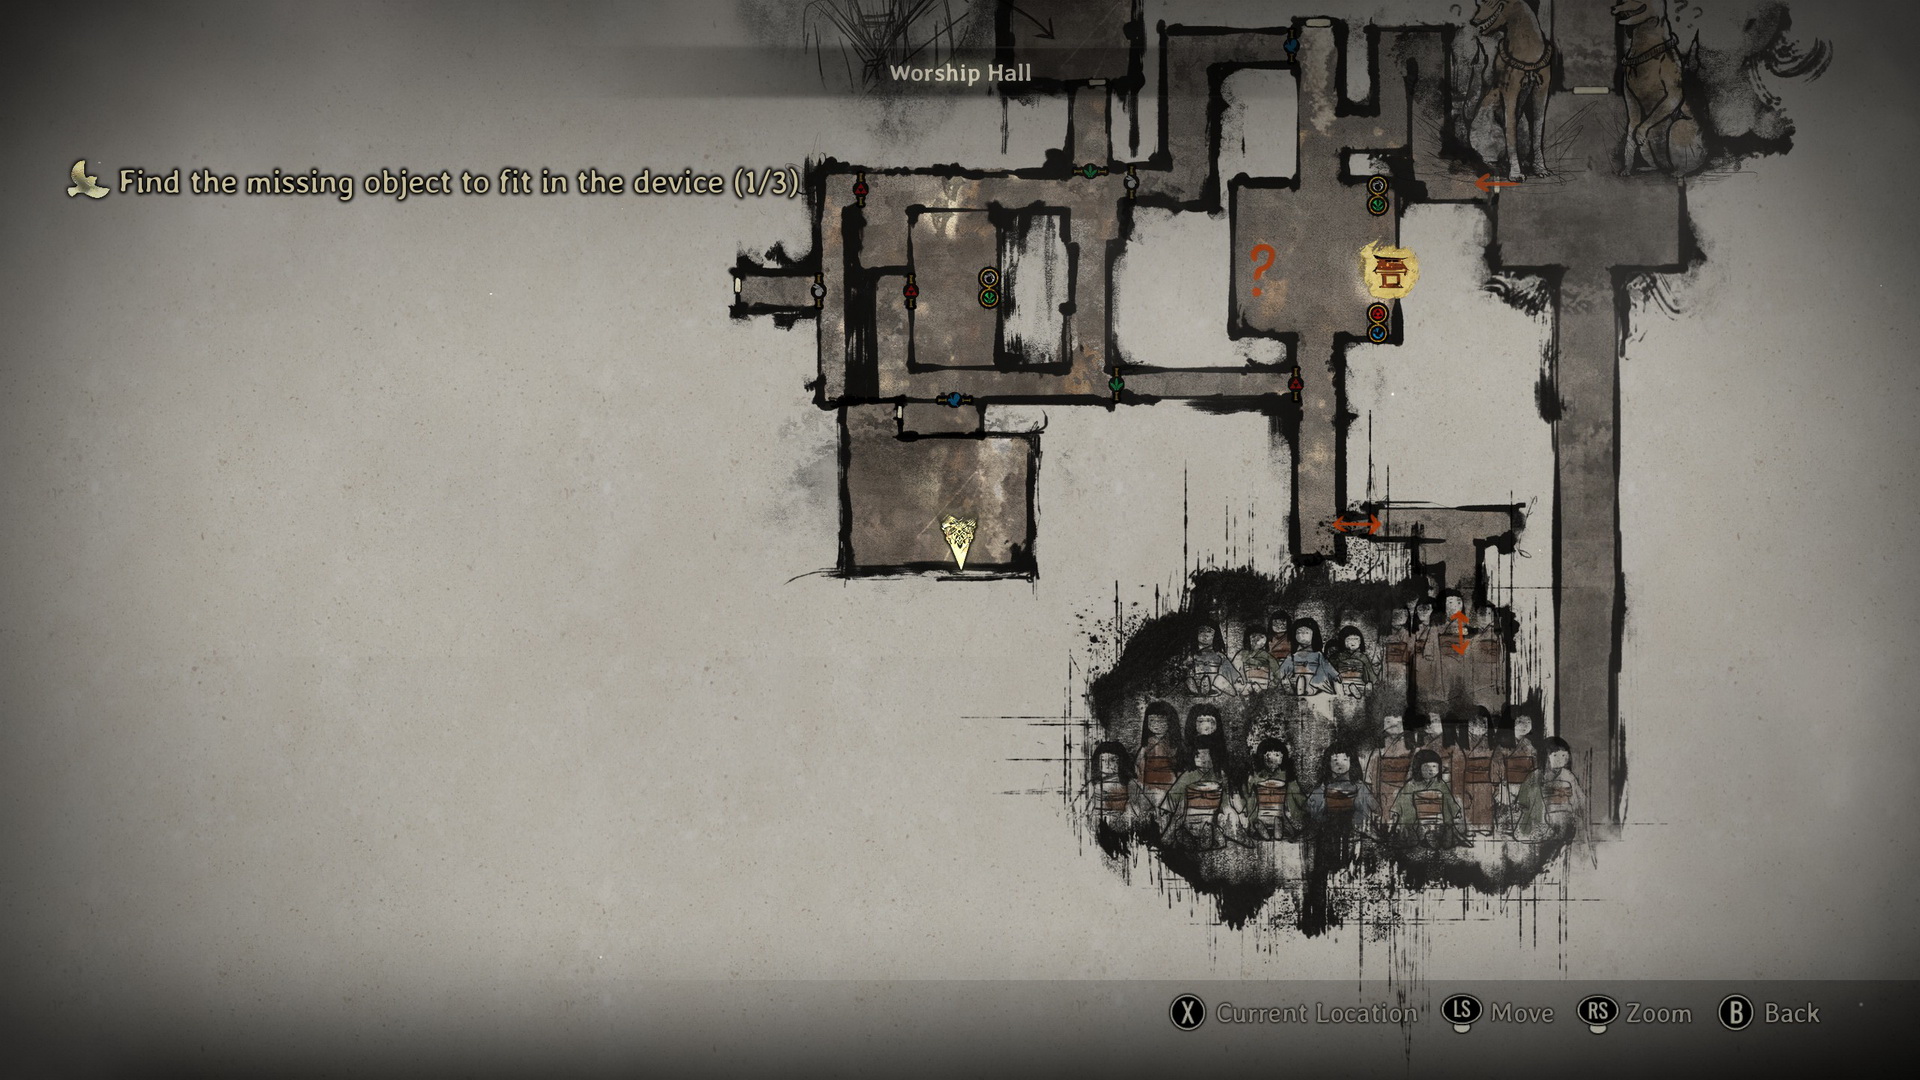
New Game++Rinko's Diary (1) is on top of the boxes on the northern side of the store after flipping the lamp's switch.
|


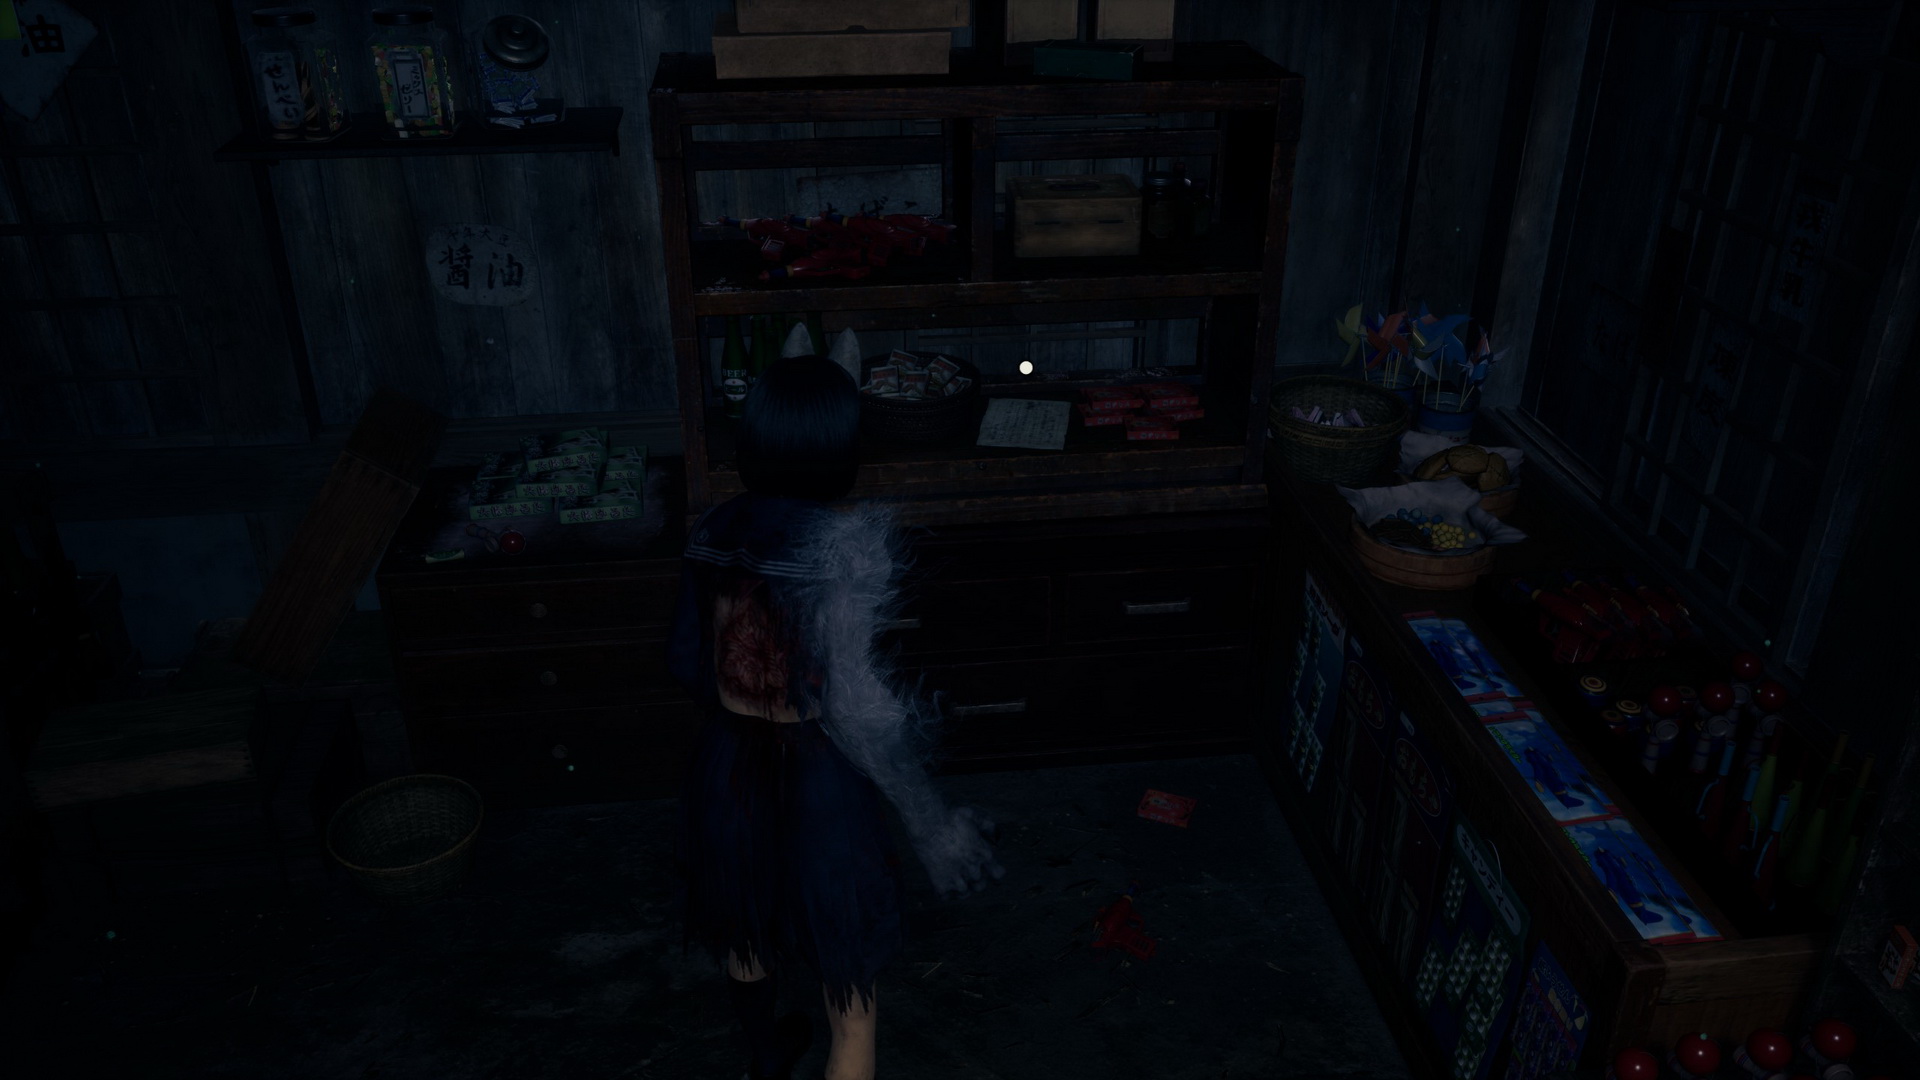
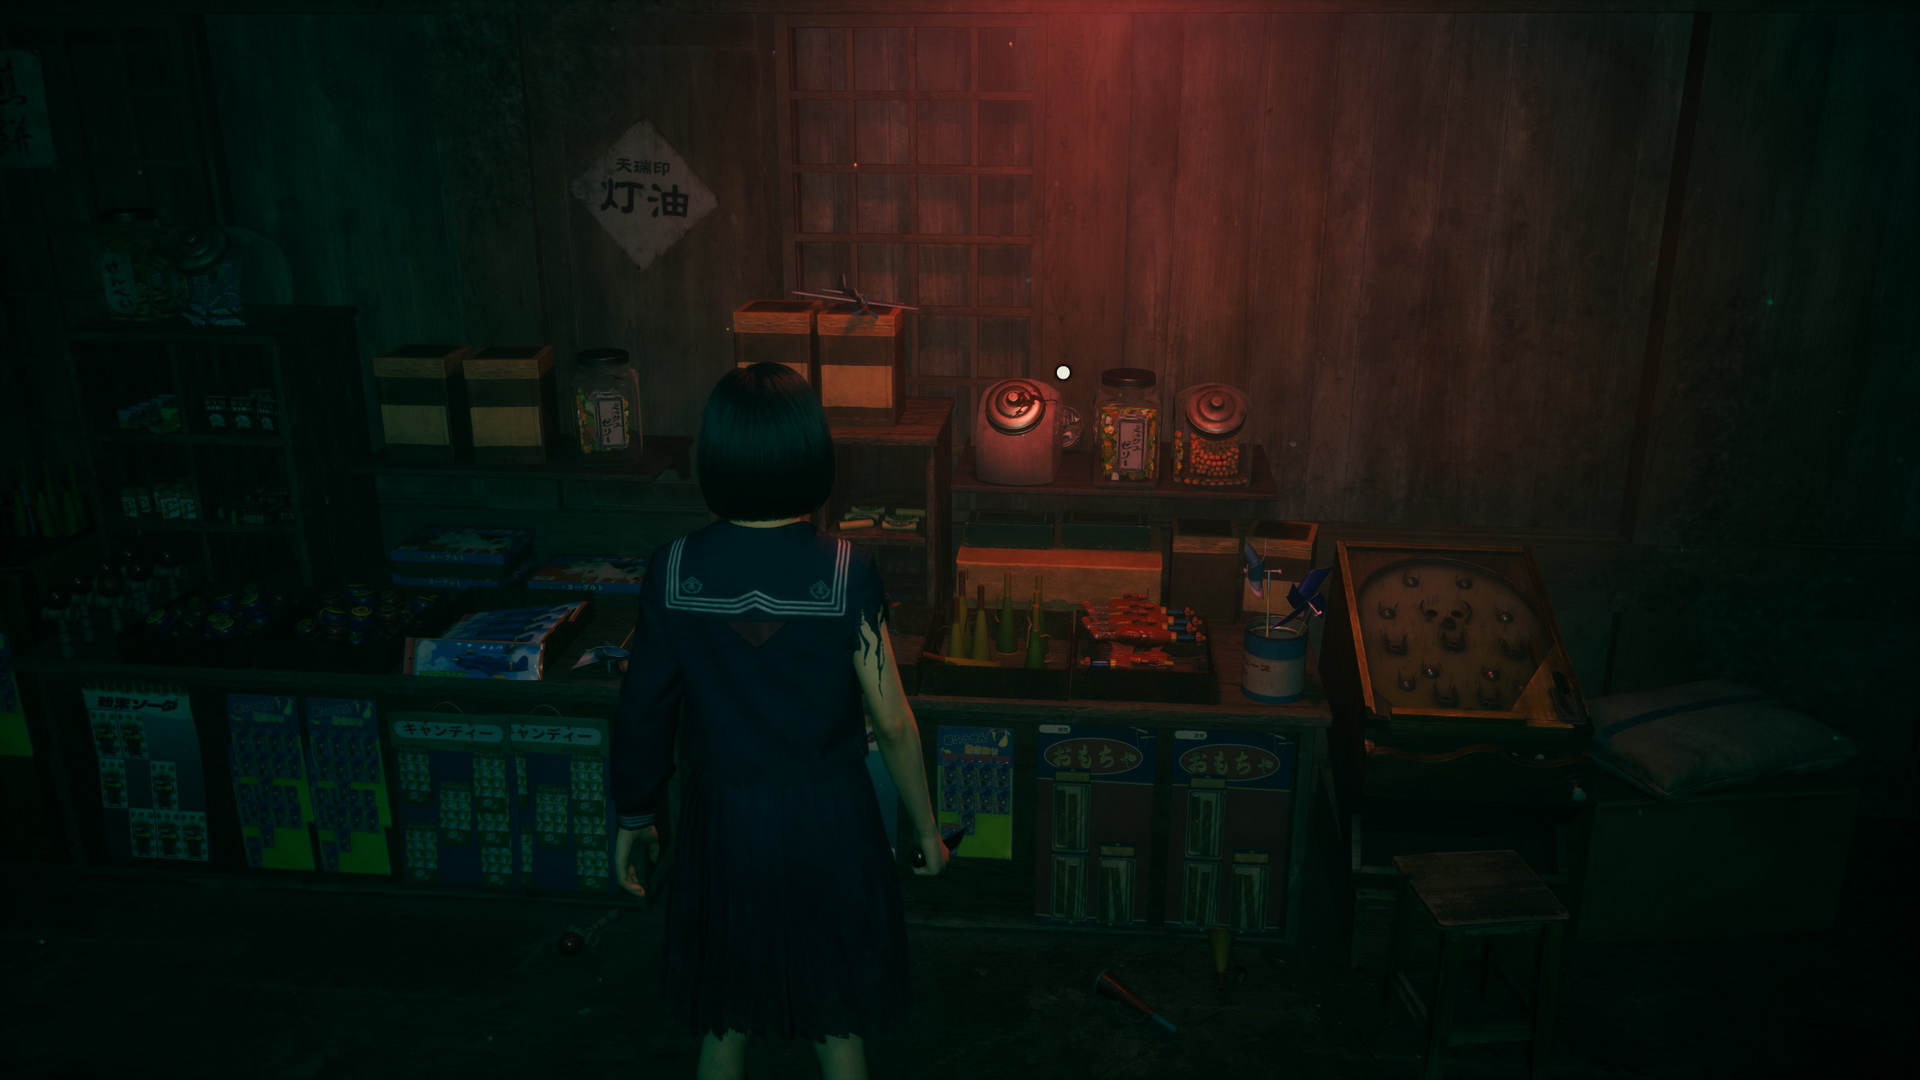
Finally, you can check various items in the store, but most importantly, inspect a jar of sweets on the western side of the room to get the Leftward-facing Fox Crest behind it.
 |
 |
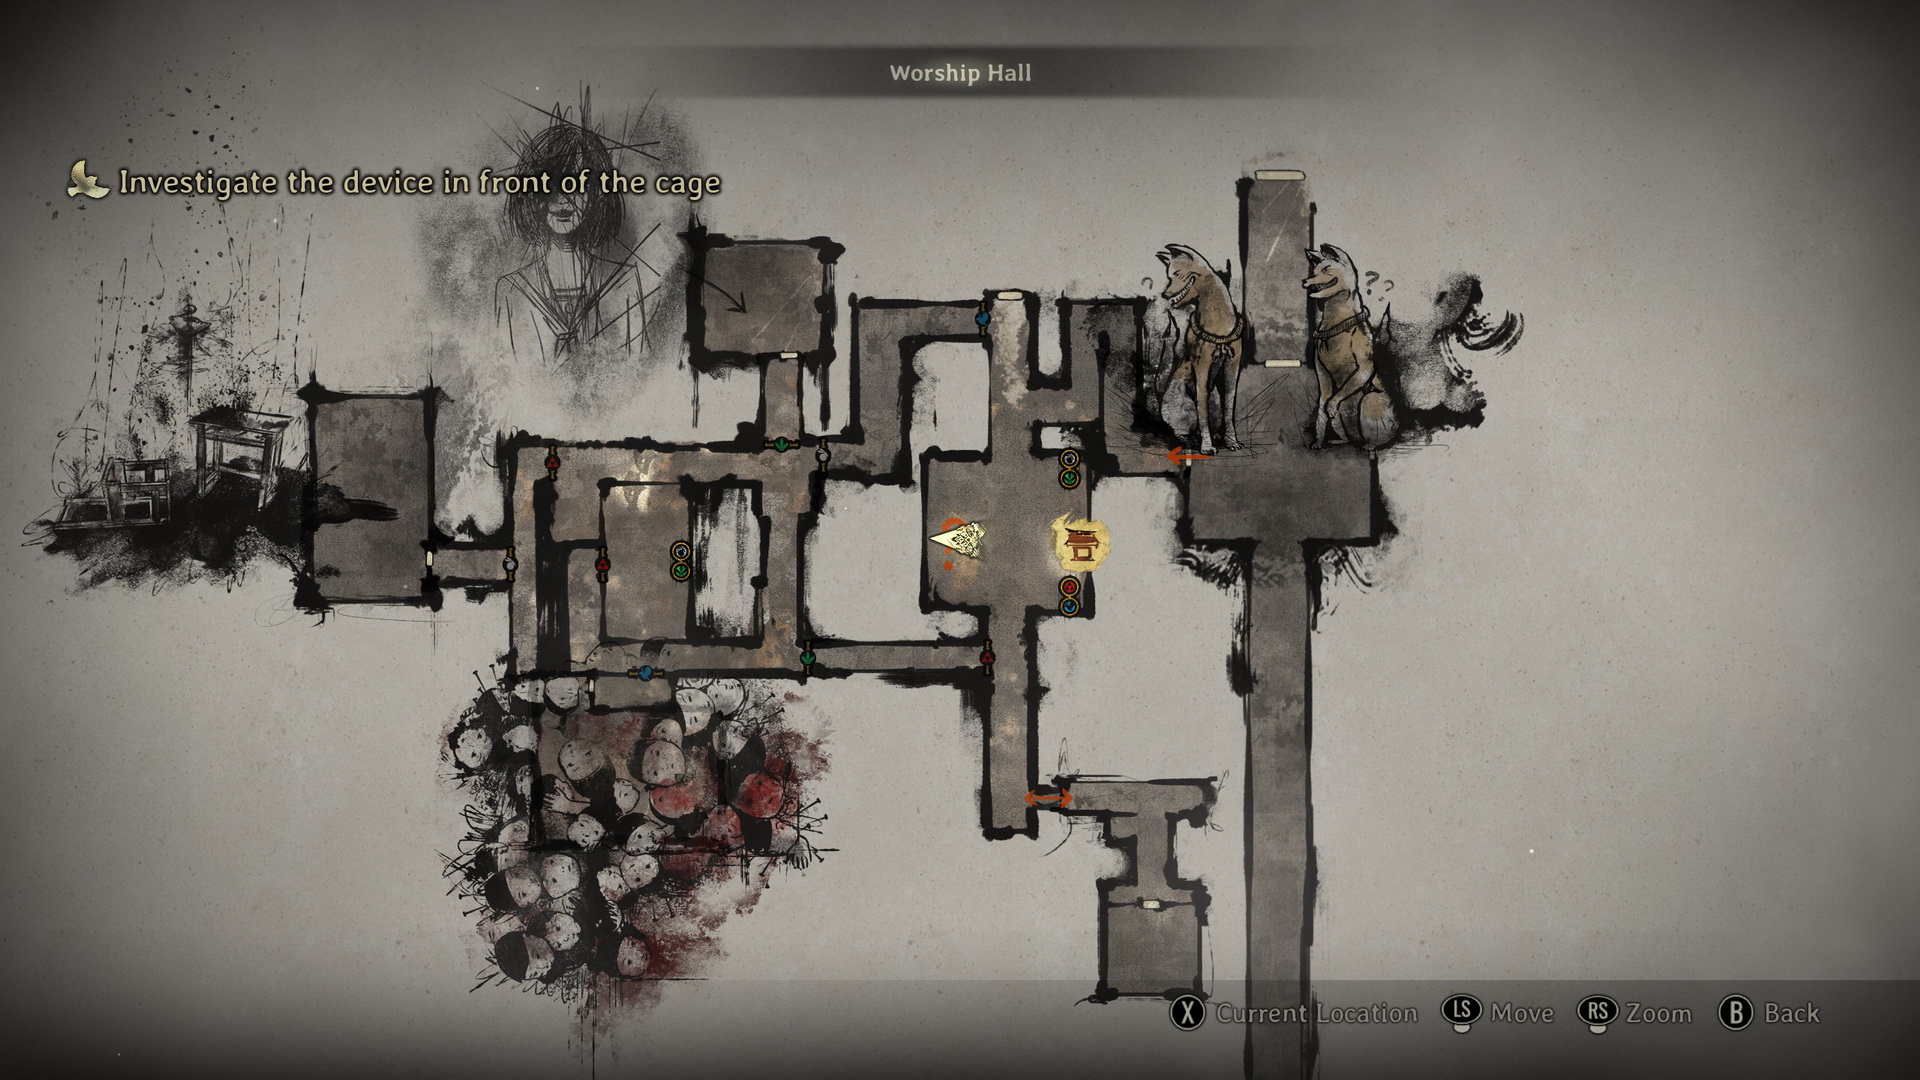
Investigate the device in front of the cage
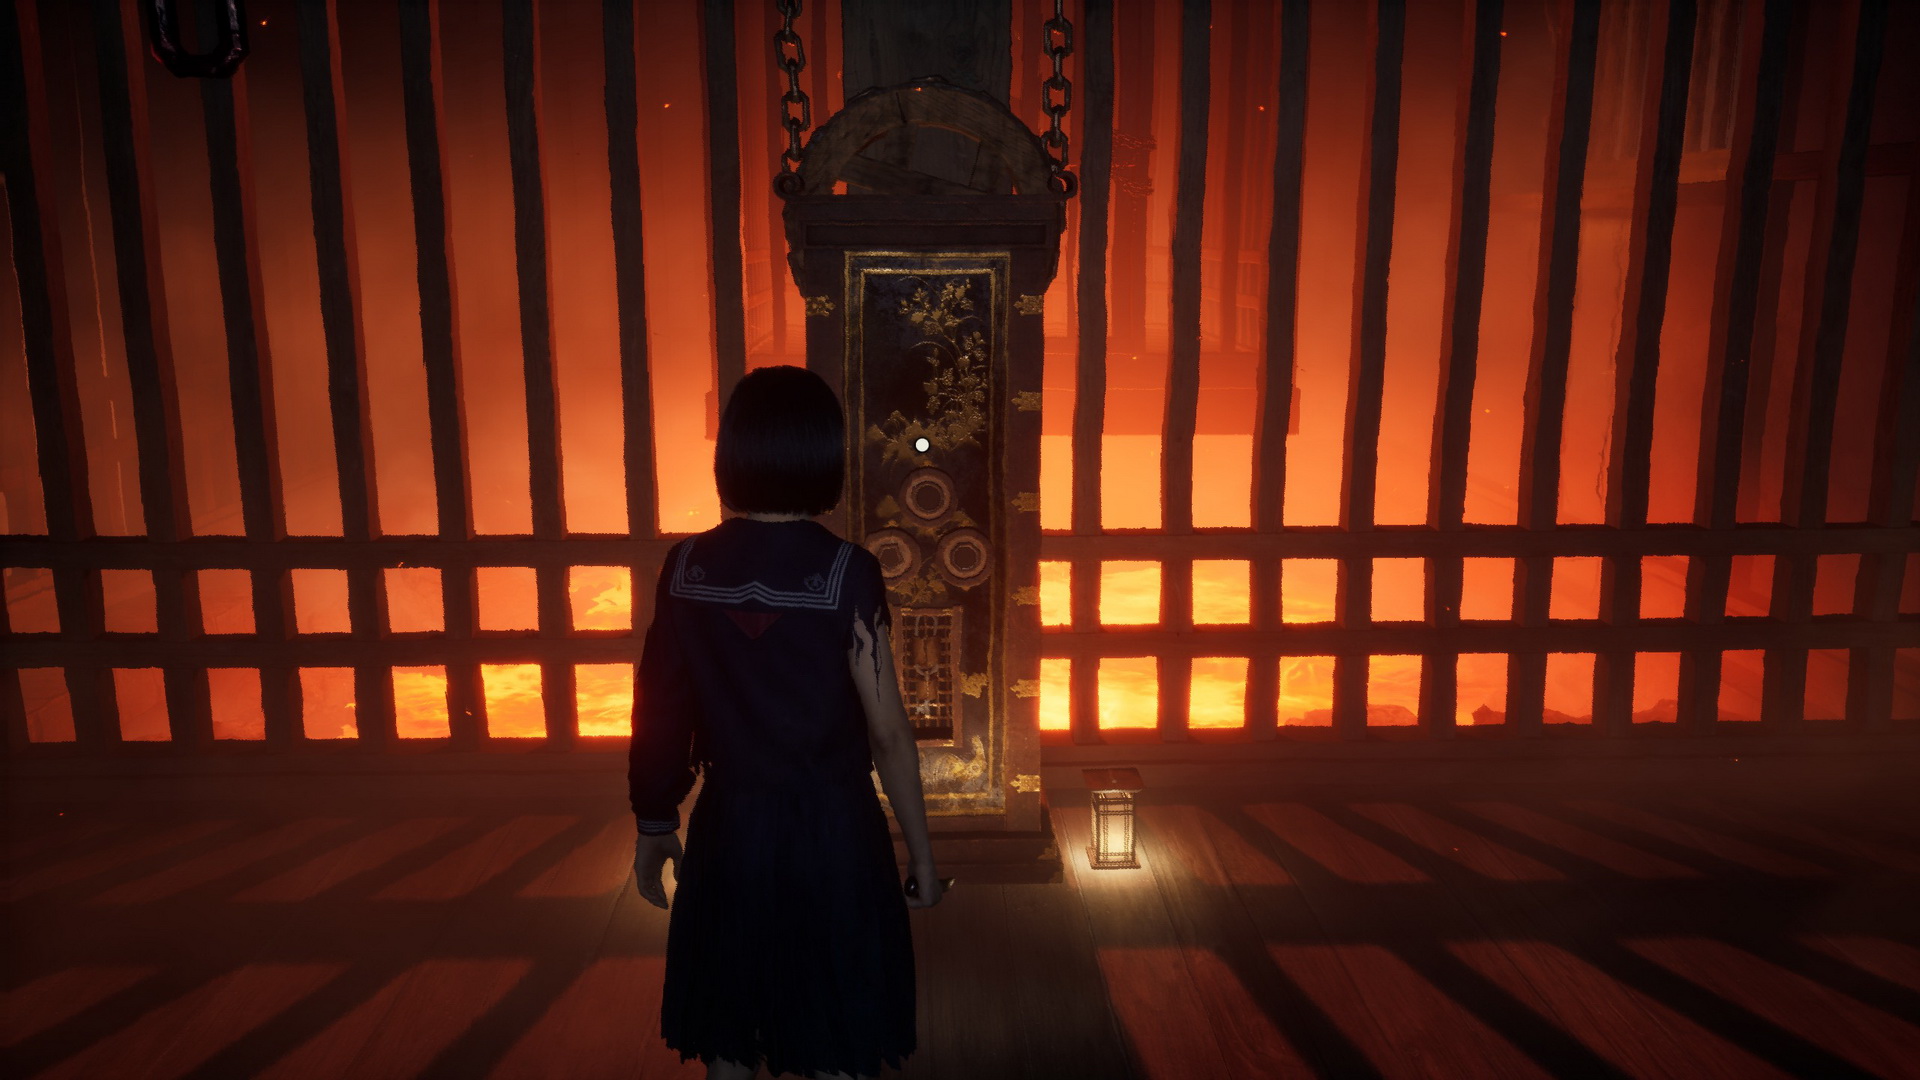
Exit the store to return to the starting location. Approach the device in front of the cage with Rinko and insert the three crests to receive the Tri Scale Emblem Key after the cutscene.
 |
 |
Return to the Grand Hall
Make your way back to the main hall and insert the key into the Inari statue to the left to open the first set of doors. Interact with the Inari statue to the right and proceed through the open door.
Go through the door / Explore inside
Proceed down the hallway to find yourself in what looks like Sakuko's room. Use the Hokora shrine here to save your game. On a desk in the corner, you will find Sakuko's Parent-Teacher Journal.
 |
 |
In the drawer there's also a Yokan (⛩30). Pull the lever on the Inari statue to show the blue symbol and open the gate. An enemy will rush into the room, but now if you defeat it in the area lit by a blue lantern, it will be killed for good instead of reanimating after some time.
Trophy/Achievement: No One Left Behind |

Stop eight enemies behind the white rabbit crest door from reanimating by killing them close to the blue lanterns. |
New Game+On top of the shelves in the corner, you will find Sakuko's Diary (6).
|


Proceed into the chamber with another lever statue, and you will start hearing Sakuko.
Find Sakuko
Grab a Divine Water (⛩50) to the right of the lever and pull it to show the gray symbol. Head south and enter the red-symbol gate to the east, which will be the locker room.
There's a single monster in the room. To the left, you can find a Bandage on a bench behind the lockers, and next to the lever, there's a Higashi (⛩80). To the south, you can find Hinako's locker, and on the northern side of the room, there's Sakuko's Diary (2) on another bench.
 |
 |
New Game+Sakuko's Diary (4) is found on the same bench.
|


New Game++Sakuko's Diary (8) is on a bench in the northeastern corner of the room.
|


Pull the statue lever in the room to reveal the green symbol, proceed north, then west and duck into a chamber with another lever. Inside, there's another Sakuko's Diary (1) on a shelf.
 |
 |
In an alcove to the west, you will find a monster guarding a First Aid Kit. Now this is completely optional, but you can pull the lever in the room to reveal the red symbol and access the room to the east, which has another monster and a Shriveled Abura-age (⛩500) on a cabinet to the left. Switch back to the green symbol to proceed.
Continue south to the starting room. Pull the lever to show the blue symbol, proceed to the next lever and pull it to show the gray symbol. Head south, then through the right green-symbol gate. Head to the chamber in the southwest with another lever statue. Duck into the rabbit hatch to find Pages from an Observation Log (1) and a Bandage.
 |
 |
New Game+Pages from an Observation Log (2) are found in the corner of the rabbit hatch.
|


New Game++Pages from an Observation Log (3) are found on a wall shelf inside the rabbit hatch.
|


Go back, deal with the monster that appeared here and then pull the lever to show the red symbol. Go east through the red symbol gate, fighting more enemies on your way. Continue north to find a Kudzu Tea (⛩100) on a table. In the northern section of the room, you will find another lever statue, a Hokora shrine and Sakuko's Diary (3) on top of a cabinet in the northeastern corner.
 |
 |
New Game+Sakuko's Diary (5) is on top of the same cabinet.
Also, a Letter of Concern is found on a bench next to the shrine.
|


New Game++Sakuko's Diary (7) is on top of the same cabinet.
|


Pull the lever to reveal the blue symbol, then proceed to the northern hallway. Enter the now-open central chamber behind the blue symbol chamber. Inside, you will find Sakuko and another puzzle to solve.
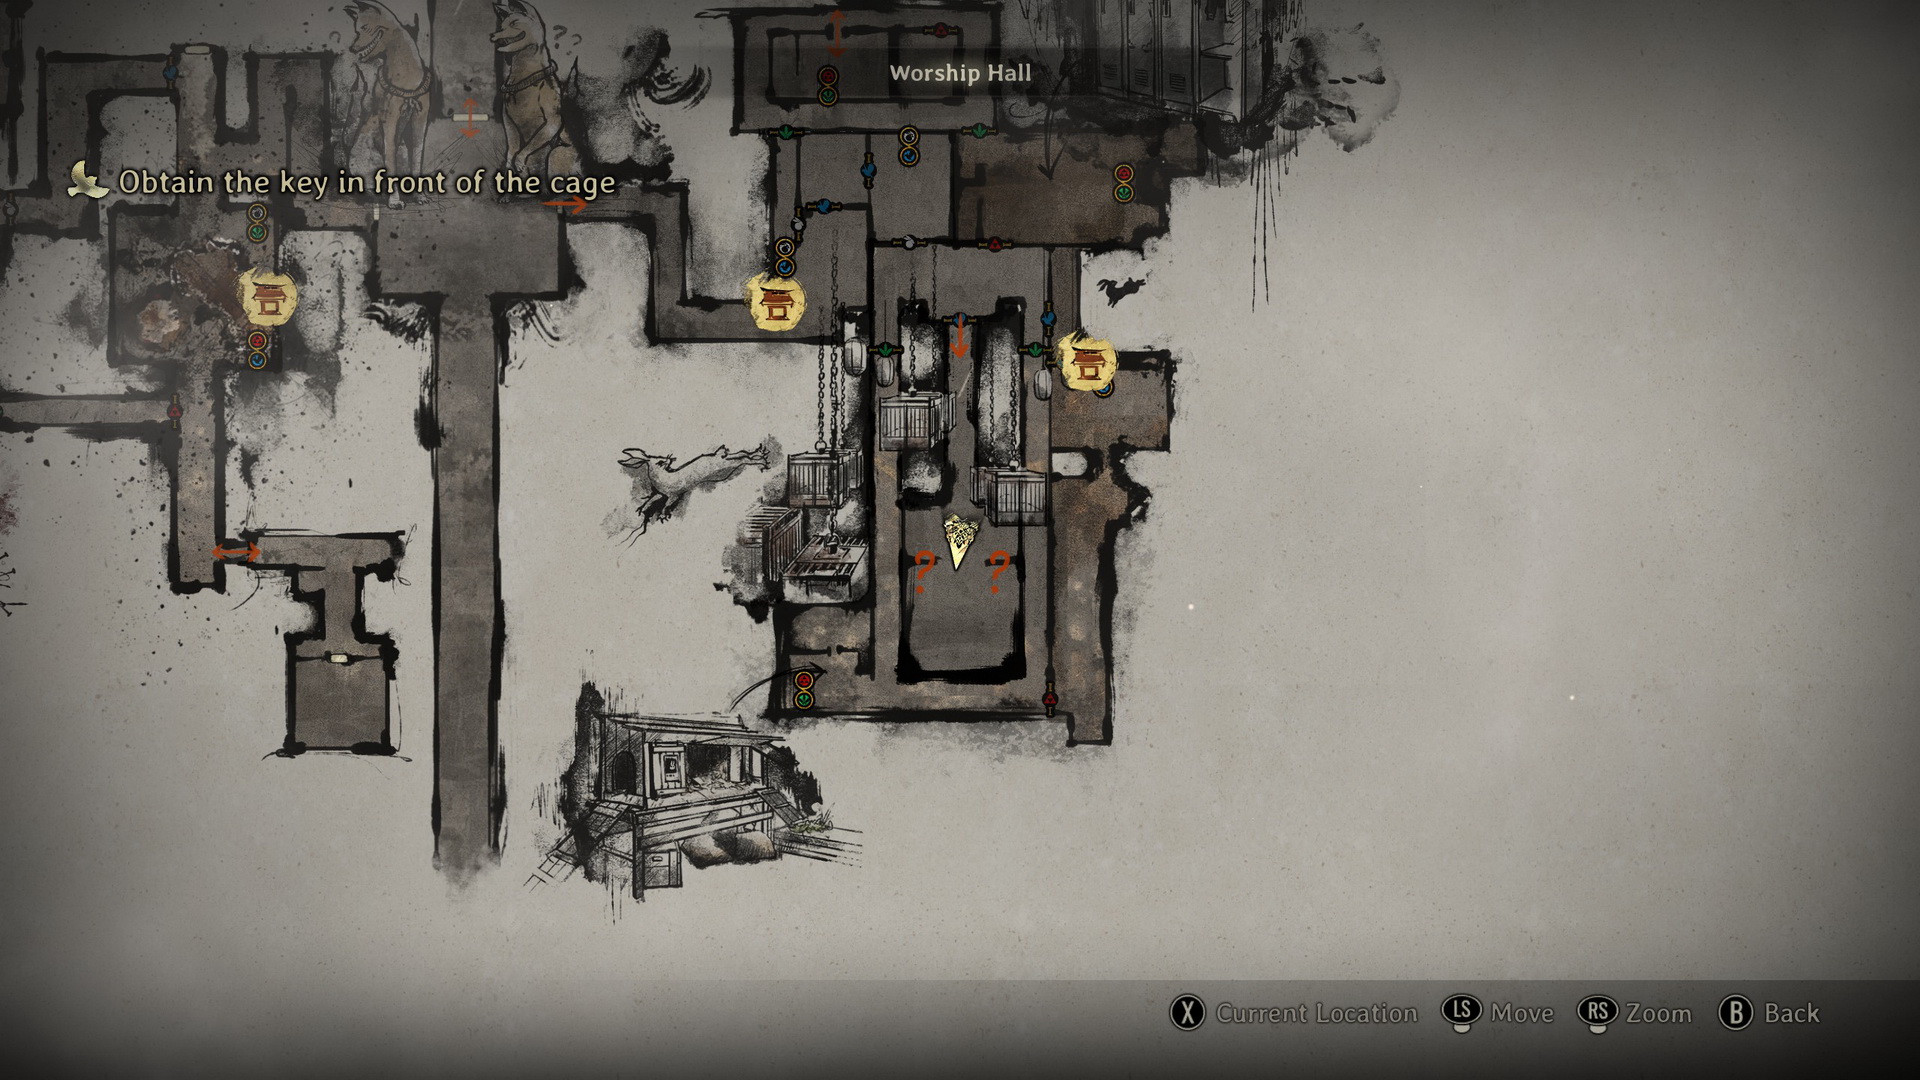
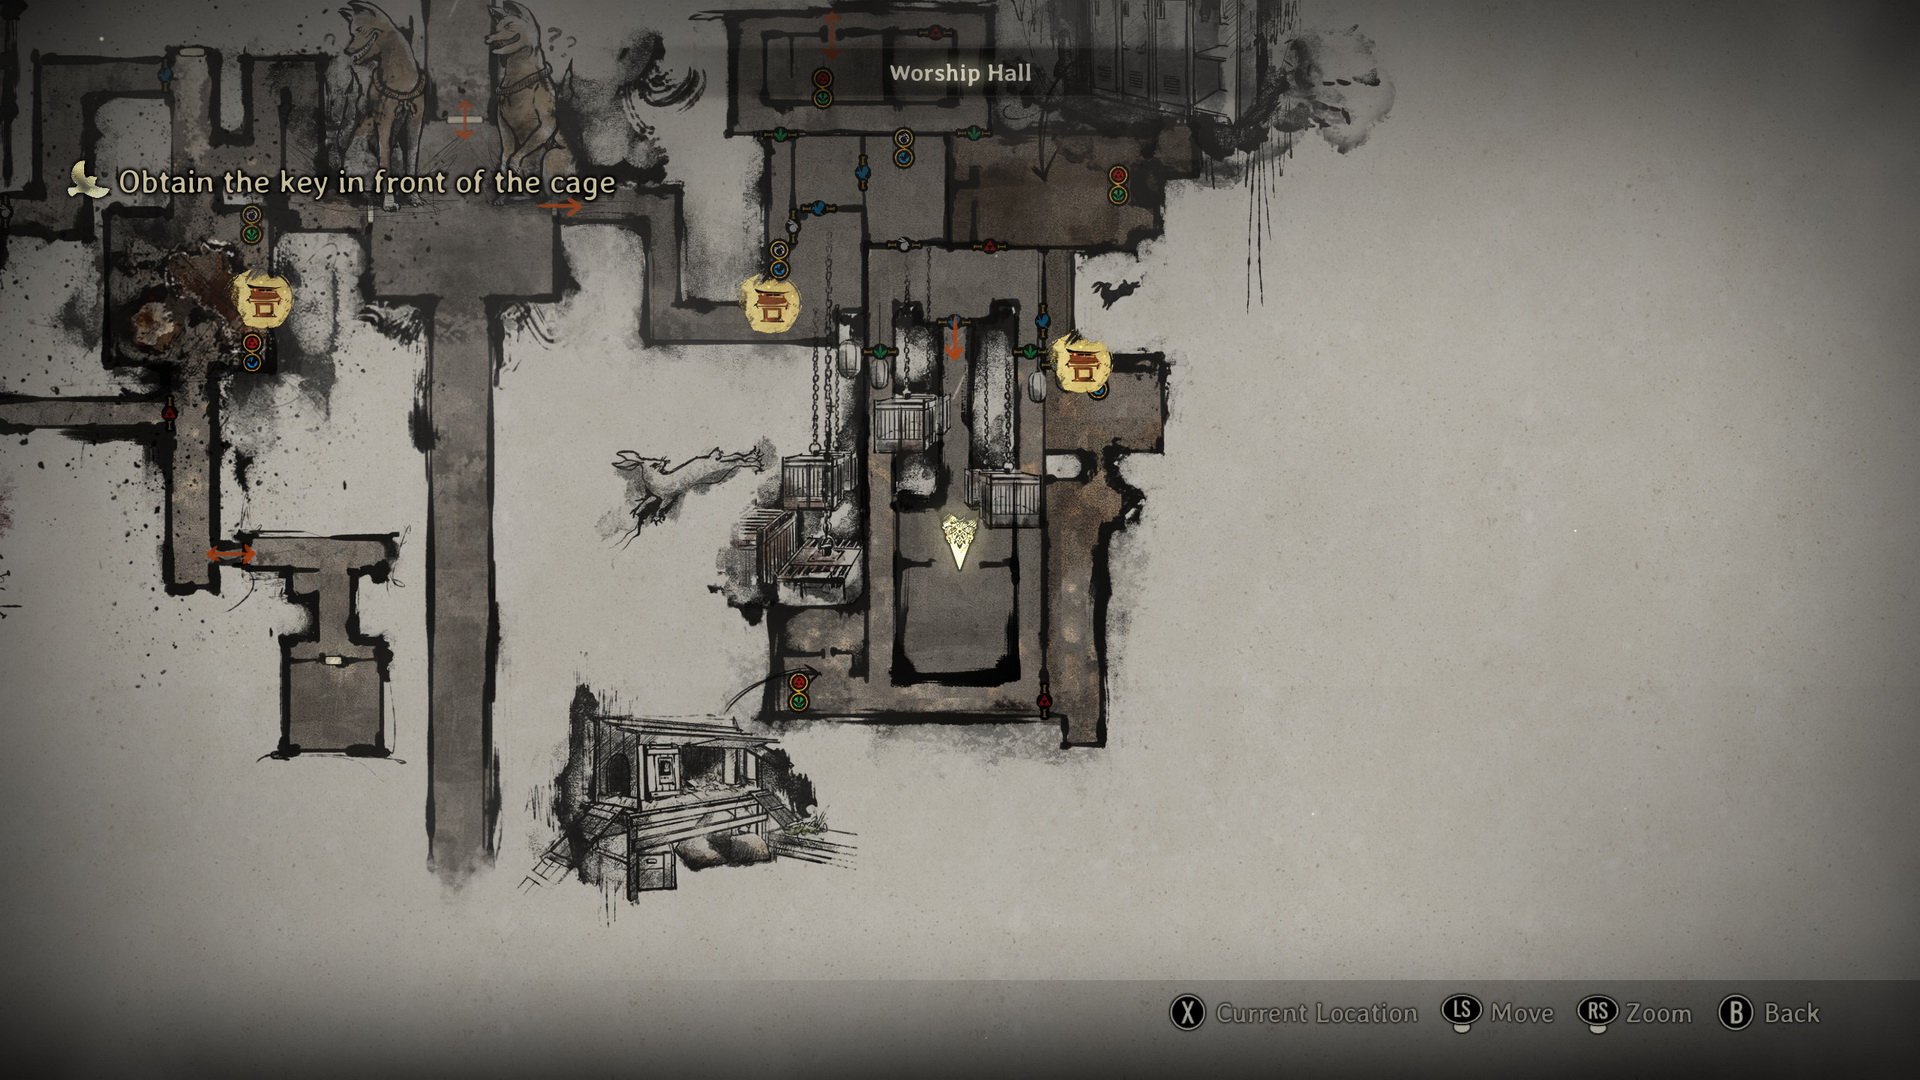
Obtain the key in front of the cage
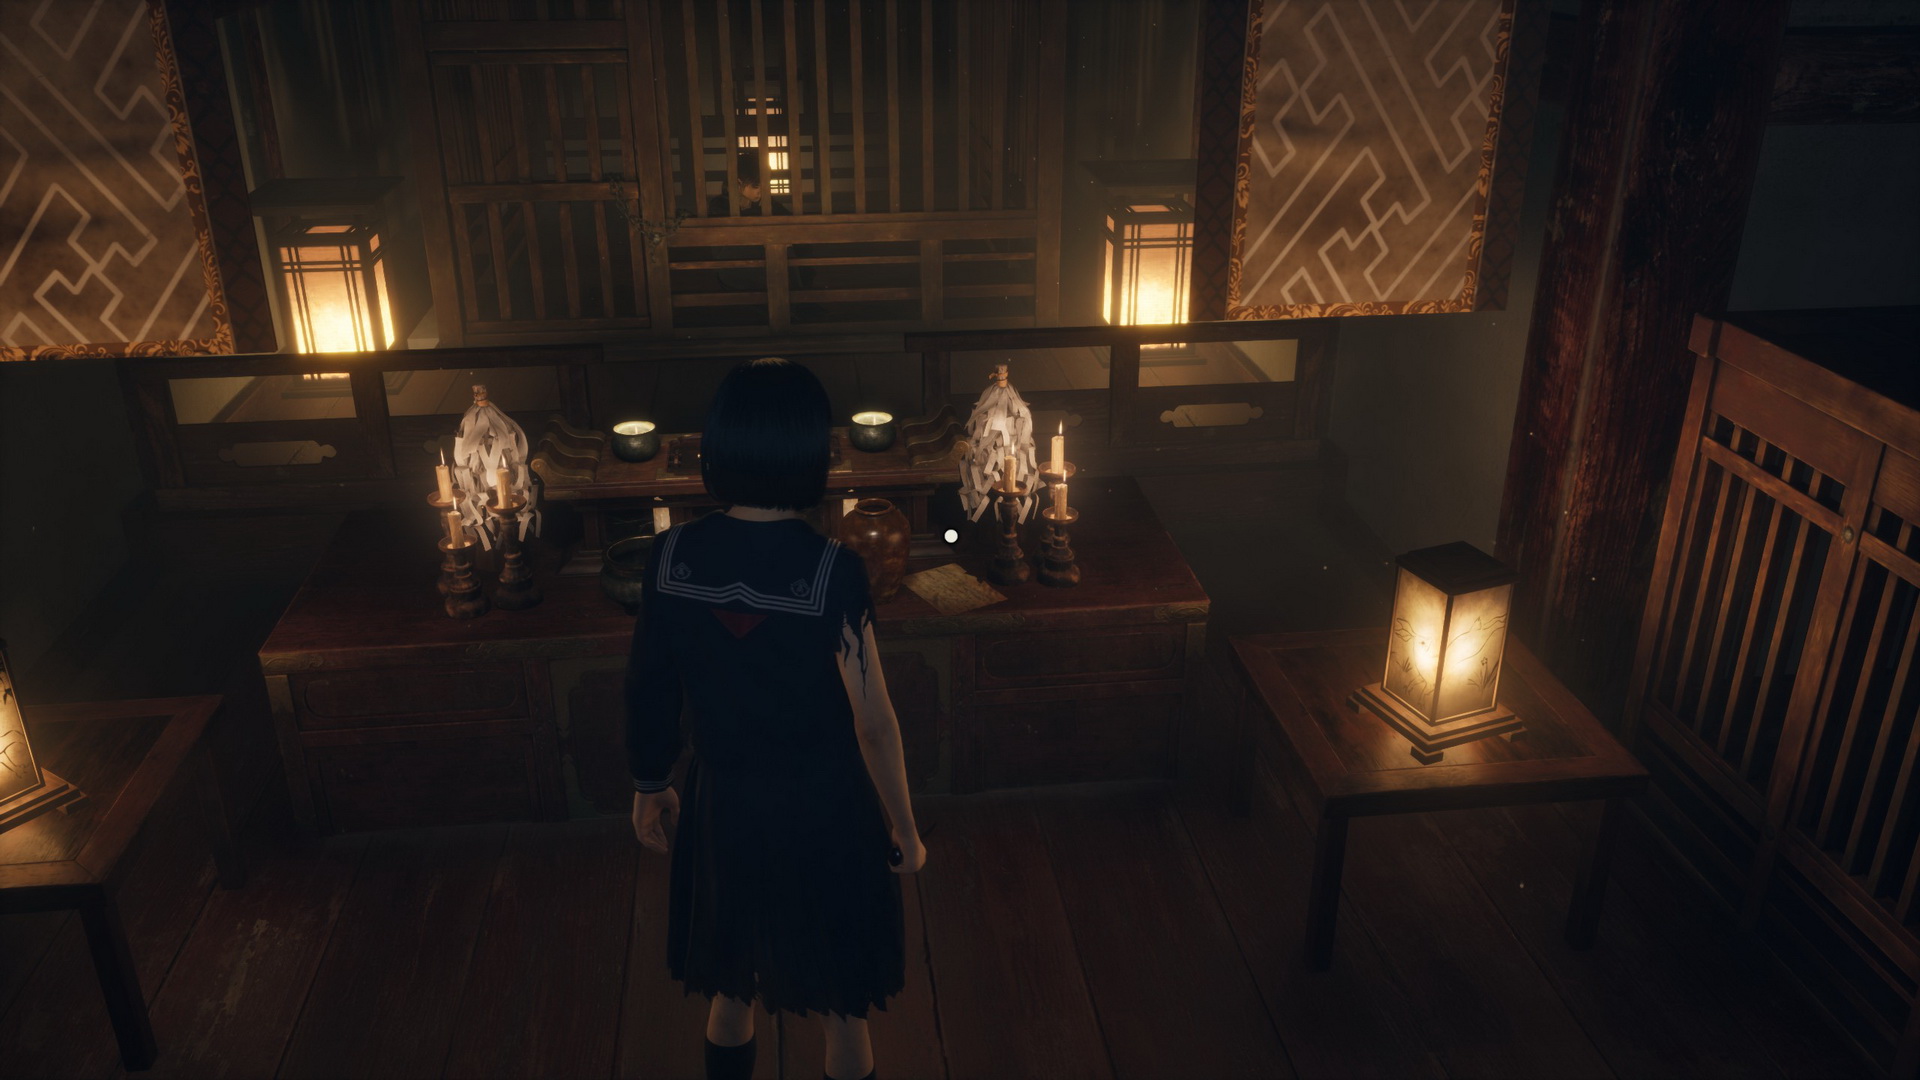
Collect a Sheet of Fine Paper (1) from a shrine in front of Sakuko.
 |
 |
Light Puzzle
In the room, you will find four statues of foxes and rabbits as well as six cages behind them. To solve the puzzle, you need to arrange all cages to be on the same level by turning the statues that control the cages.
Below you will find solutions for all difficulties.
Story Mode Solution
The statues on both sides should be facing each other.
  |
Hard Mode Solution
The statues on both sides should be facing away from each other.
  |
Lost in the Fog Mode Solution
The statues on the left side should face away from each other, and the statues on the right side should both face left.
  |
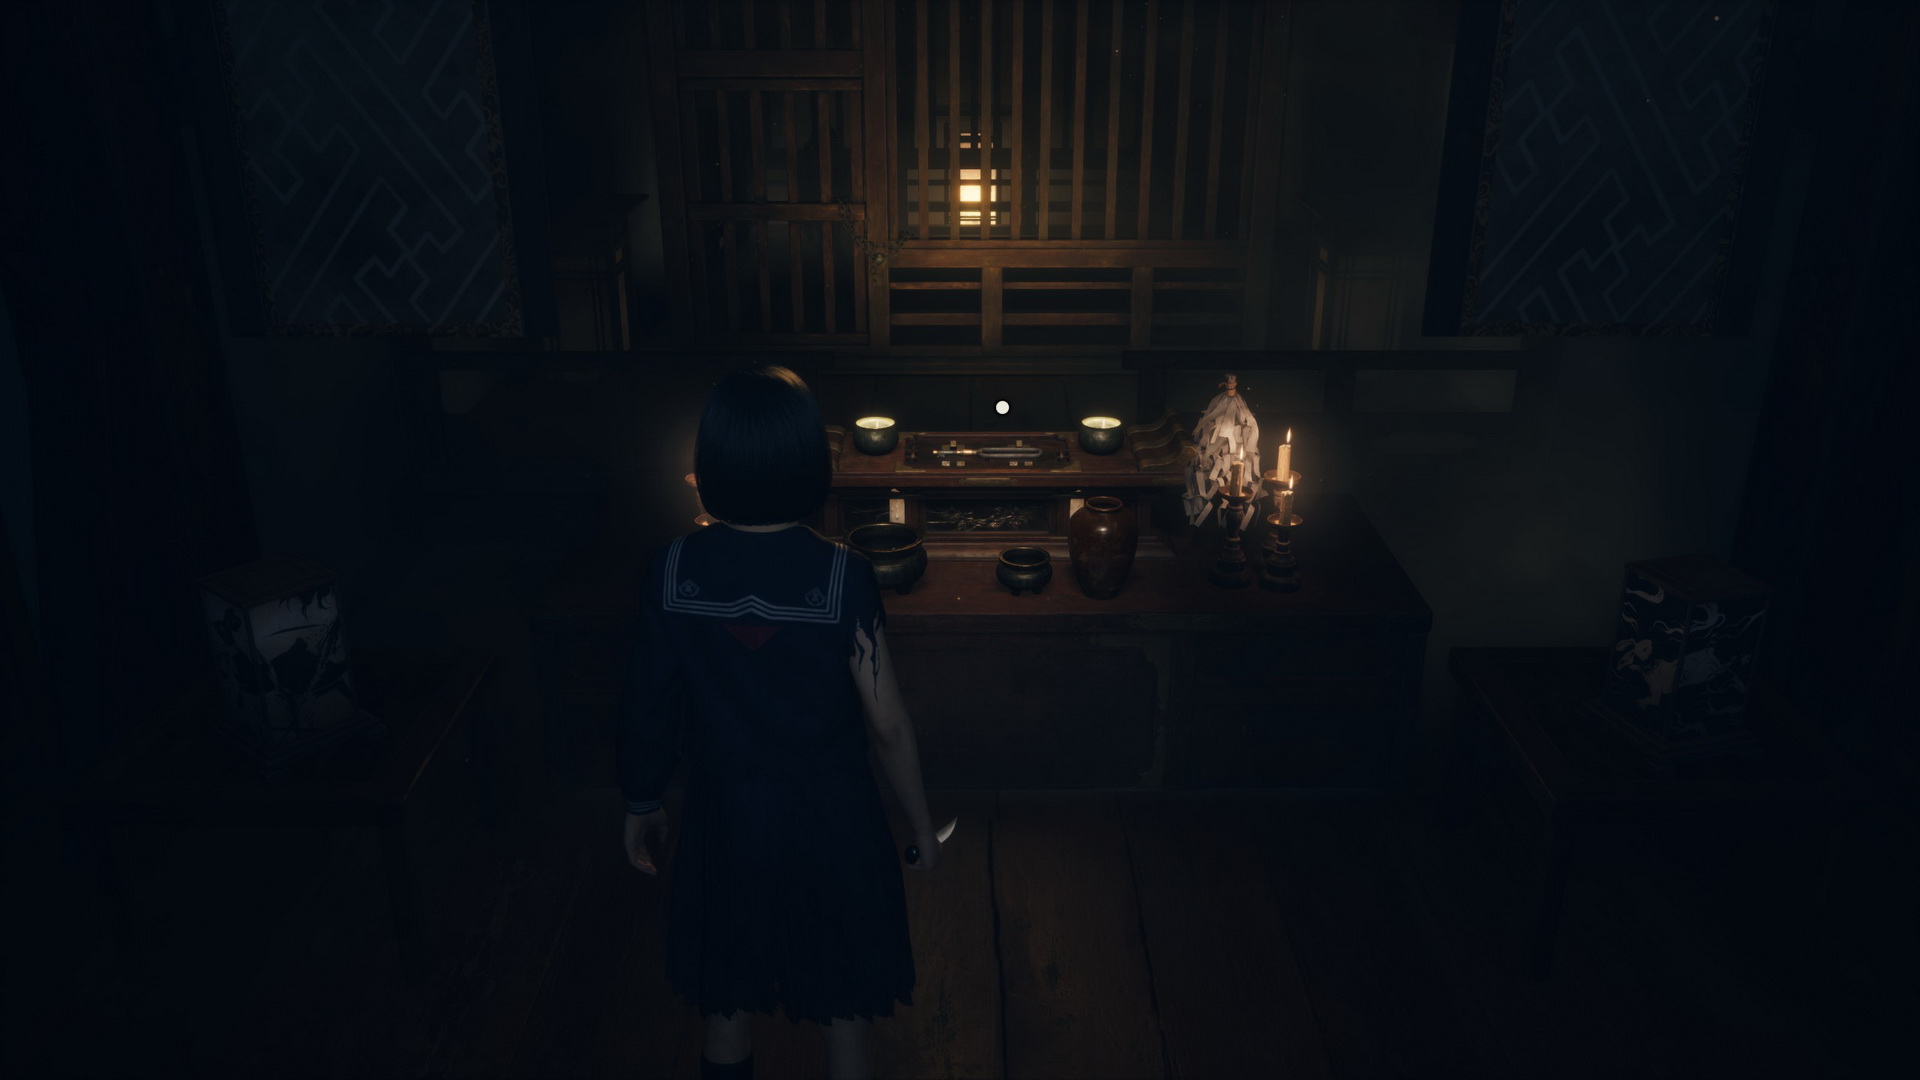
Once the puzzle is solved, you can pick up the Talon Lampshade and Restrain Lampshade from the open cages. Put the lampshades on the lamps at the front of the chamber to receive The White Rabbit Emblem Key from the shrine.
 |
 |
Return to the Grand Hall
Before going back to the starting location, you can visit the locker room again to find a now-open secret room with the Omamori [Bull] in the east (replaced with a Dried Carcass (⛩200) in later NG+ games if picked up).
 |
 |
Return to the Grand Hall.
Find a way to open the sacred door / Proceed to the inner room
Insert the second key into the right keyhole, and the path ahead will be open. Head north to get your next objective.
Find Shu’s prized possessions
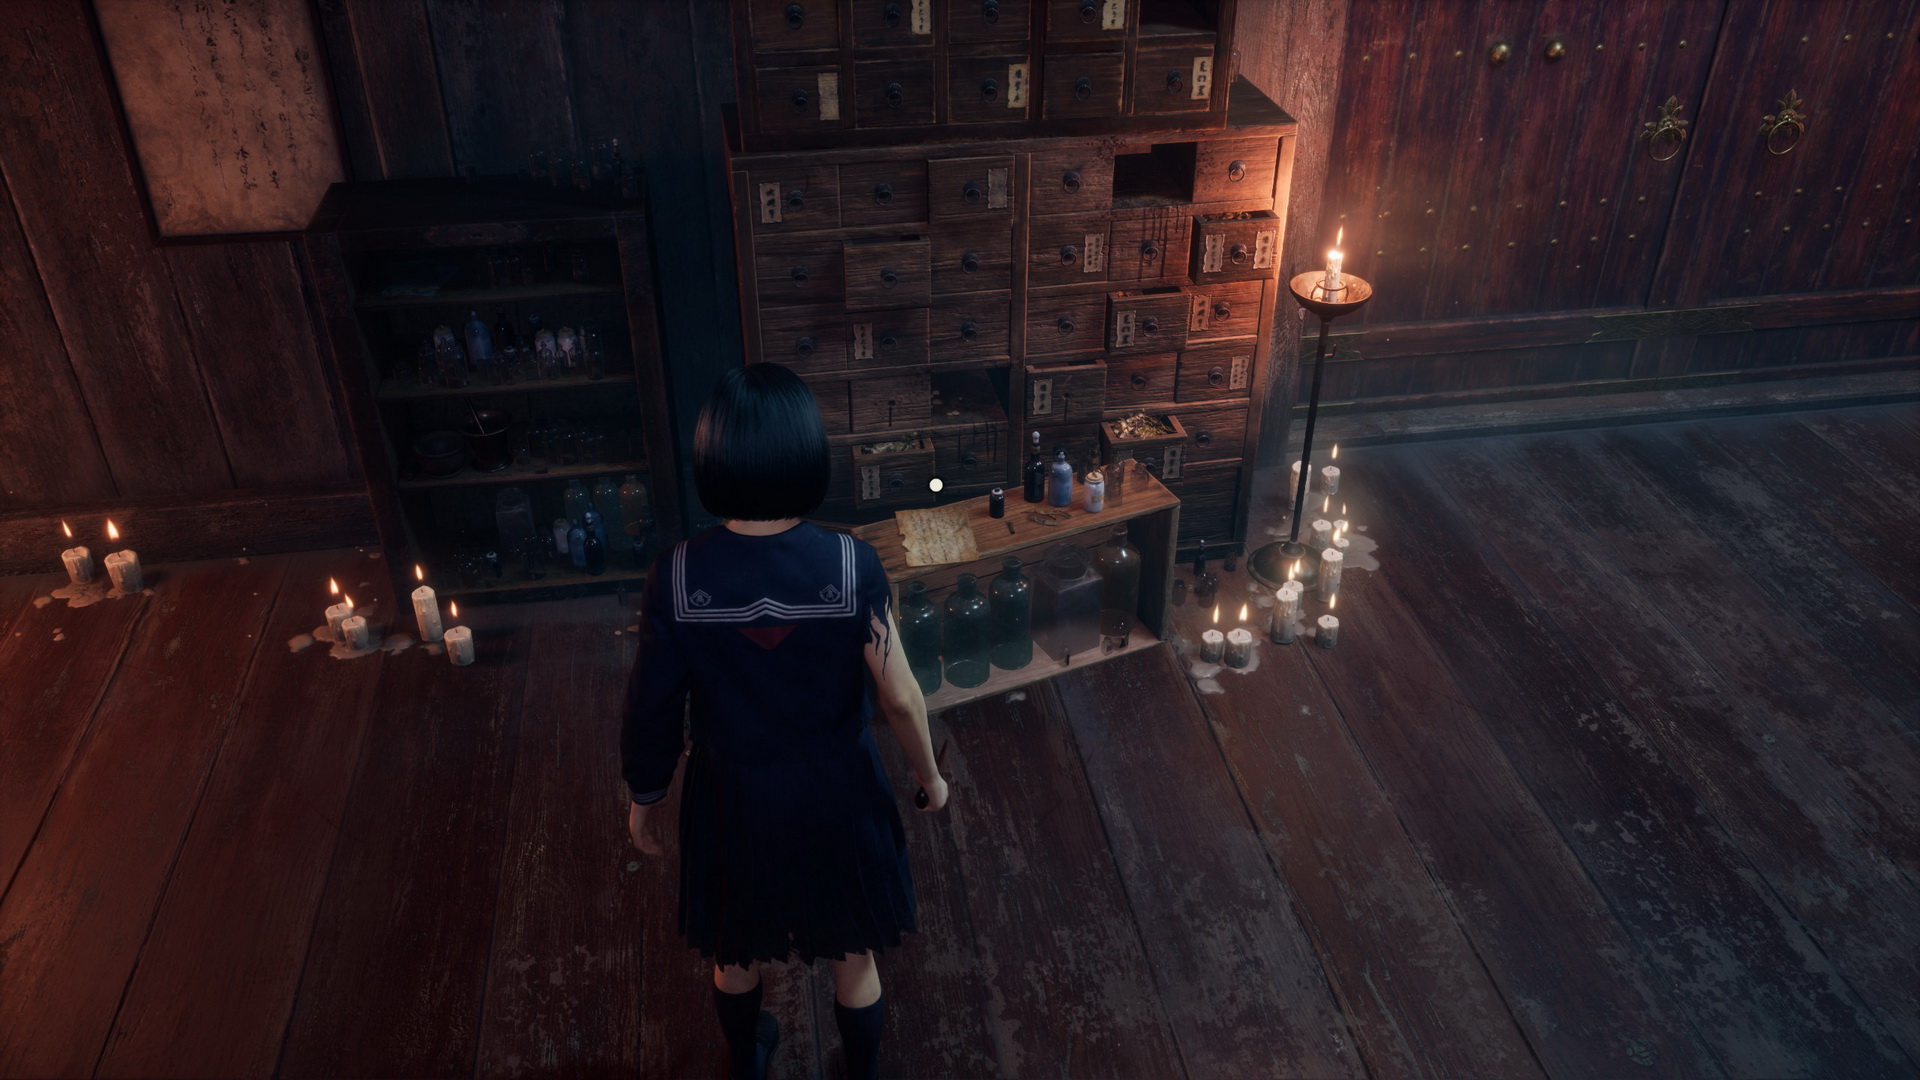
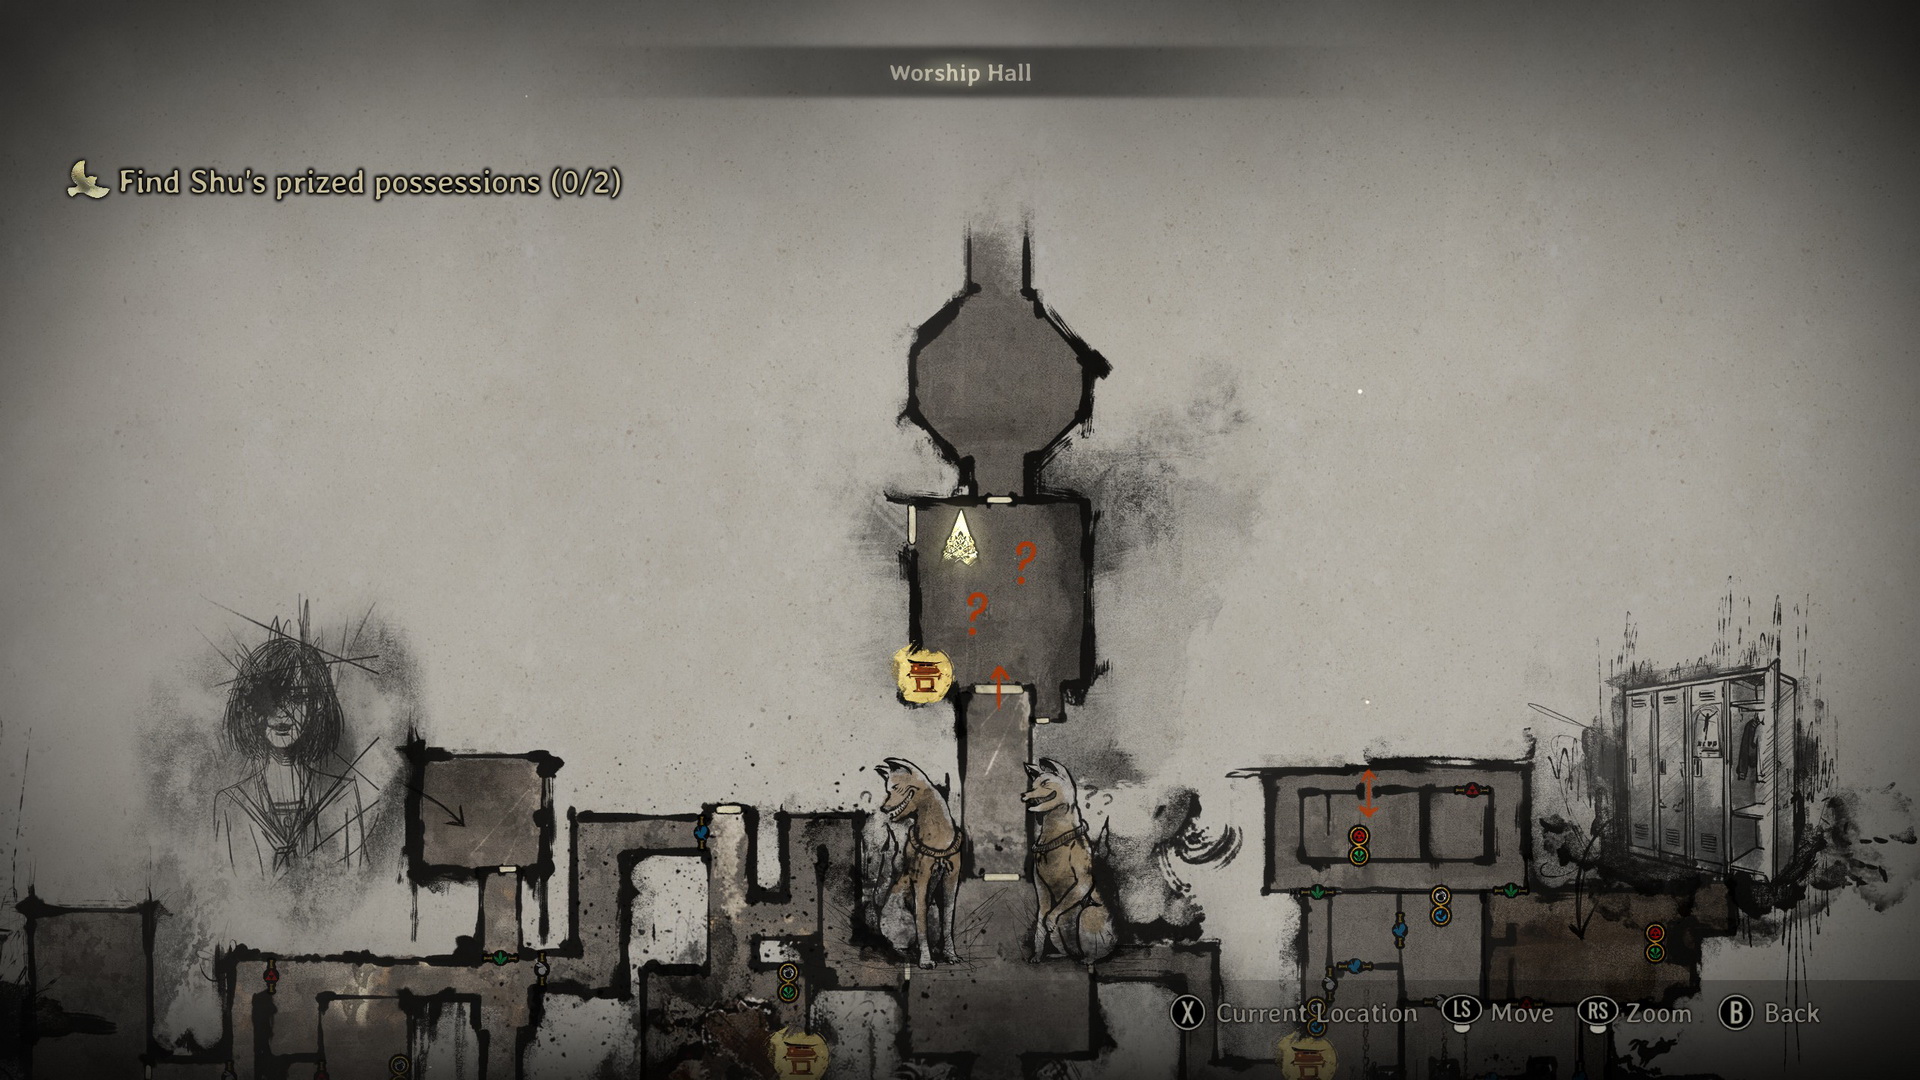
In the southwestern corner of the room, there's a Hokora shrine that you can use. To the north, there's a Sheet of Fine Paper (2) to the left of the door that will explain the Memories Puzzle.
 |
 |
Memories Puzzle
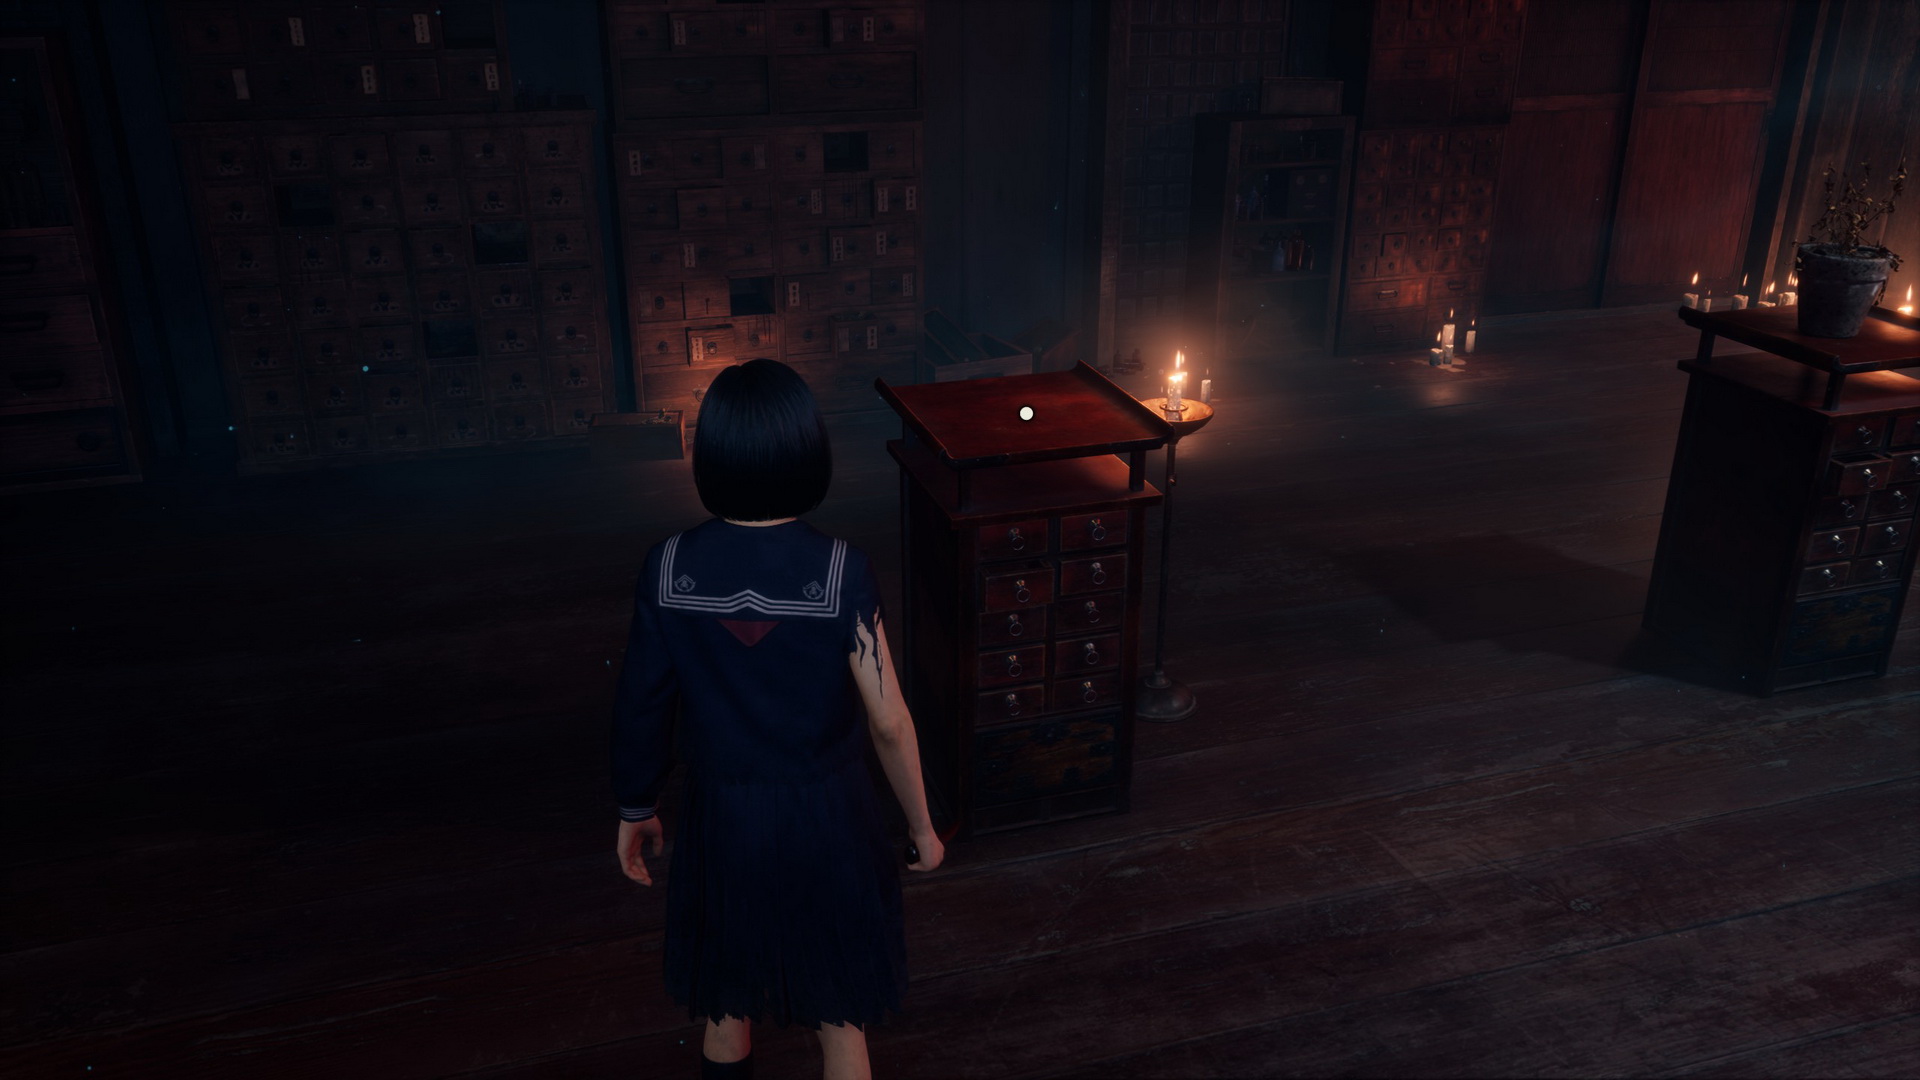
In the room, you will find six pedestals with items that are significant to Shu. Depending on your difficulty, some pedestals will be empty, and you will need to find them and place them back:
- Story Mode: Brainiac Comic.
- Hard Mode: Drawing of a Young Shimizu Hinako and Brainiac Comic.
- Lost in the Fog Mode: Drawing of a Young Shimizu Hinako, Brainiac Comic and Raygun
Proceed through the door in the northwest. In one of the medicine cabinet's drawers, you will find a Bandage. To the south, there's an Arare (⛩10) in a drawer guarded by a monster. Follow the corridor to the west to reach a room with the Inari statue, grab a Kudzu Tea (⛩100) from a drawer and then head north. The Drawing of a Young Shimizu Hinako will be at the end of the corridor (Hard and Lost in the Fog difficulties only).
 |
 |
Return to the lever statue and pull the lever to reveal the blue symbol. Proceed through the door to the south corridor. At the end of the segment, you will find an Upgrade: Ema is on top of the drawers (replaced with a Higashi (⛩80) in later NG+ games if picked up) and a Divine Water (⛩50) in a drawer behind it.
 |
 |
Continue east down the stairs. You can grab a Bandage in a drawer to the right and a Yokan (⛩30) in another drawer to the left. Pull the lever at the end of the corridor to show the red symbol, proceed through the open gate and then open the door for a cutscene.
Defeat the monsters
You will be introduced to a new type of monster that spawns other monsters, so there will be multiple threats you will have to deal with here. Once you've accomplished this, you can continue your search for the items.
The Raygun is on a shelf on the western side of this hall (Lost in the Fog difficulty only).
 |
 |
Also, you can find Red Capsules in a cubby at the eastern edge of the hall. Go upstairs, then right around the hall to find the Brainiac Hero Comic sitting on a railing at the dead end next to the lever statue (all difficulties). Beware of the monsters that will attack you once you pick up the item.
 |
 |
Pull the lever to show the blue symbol, circle around the hall and return to the northern hall through the corridor to the south. Place all the collected items onto the empty pedestals to solve the Memories Puzzle and proceed through the north doors. After a cutscene, you will be back at school.
| 06. Ebisugaoka Middle School | 08. Ebisugaoka Part 4: Sugisato Forest |