
Dark Shrine Final Path
- Ebisugaoka Part 1
- Dark Shrine Path
- Ebisugaoka Part 2: Rice Fields
- Dark Shrine Corridors
- Ebisugaoka Part 3: To School
- Ebisugaoka Middle School
- Dark Shrine Worship Hall
- Ebisugaoka Part 4: Sugisato Forest
- Dark Shrine Main Hall
- Ebisugaoka Part 5: To Shimizu Residence
- Shimizu Residence
- Dark Shrine Treasure Hall
- Ebisugaoka Part 6: Tainted Town
- Dark Shrine Final Path
Welcome to the last chapter of the complete walkthrough guide for Silent Hill f, covering the Dark Shrine Final Path. Use the key summary below for essential, spoiler-free directions, including all missable trophy-related items and actions (items in italics are optional). For in-depth guidelines with extra explanations, refer to the complete walkthrough section. This guide also includes all New Game+ items and actions for your subsequent playthroughs.
Legend
- Hokora – shrines
- Capsule Case – key items
- Steel Pipe – weapons
- Omamori [Whale] – omamori
- Upgrade: Ema – character upgrades
- Local Doctor's Note – documents
- Housemaid’s Note – trophy-related documents
- Red Capsules – consumables
- Antique Comb (⛩300) – offerings
Collectibles
Counts of available trophy-related collectibles:
| Category | NG | NG+ | NG++ |
| Omamori | - | - | - |
| Ema | 1* | - | - |
| Inventory upgrades | - | - | - |
| Inari-sama's seals | - | - | - |
| Documents | - | - | - |
* Does not always occur.
Key Summary
- Proceed ahead, defeating the enemies in forced fights, until you reach the final area.
- Upgrade: Ema is next to the doll in a room with the Hokora shrine.
Note: This Ema is not always present at this location, and it may depend on how many Ema you've collected during your playthrough.
- Upgrade: Ema is next to the doll in a room with the Hokora shrine.
- Ending 1: Defeat the Shiromuku.
- Trophy/Achievement: The Bird that Flies Highest. Defeat the Shiromuku without dying once.
- New Game+. Ending 2: Defeat the Tsukumogami.
- Trophy/Achievement: Puppetmaster. Defeat the Tsukumogami without getting hit by a single arrow.
- New Game+. Ending 3: Defeat the Shichibi.
- Trophy/Achievement: Fox Tamer. Defeat all the summoned monsters before putting an end to the Shichibi.
- New Game++. Ending 4: Defeat the Gods.
- Trophy/Achievement: God Slayer. Defeat both the Tsukumogami and the Kyubi within 10 minutes of the fight starting.
Complete Walkthrough
Proceed
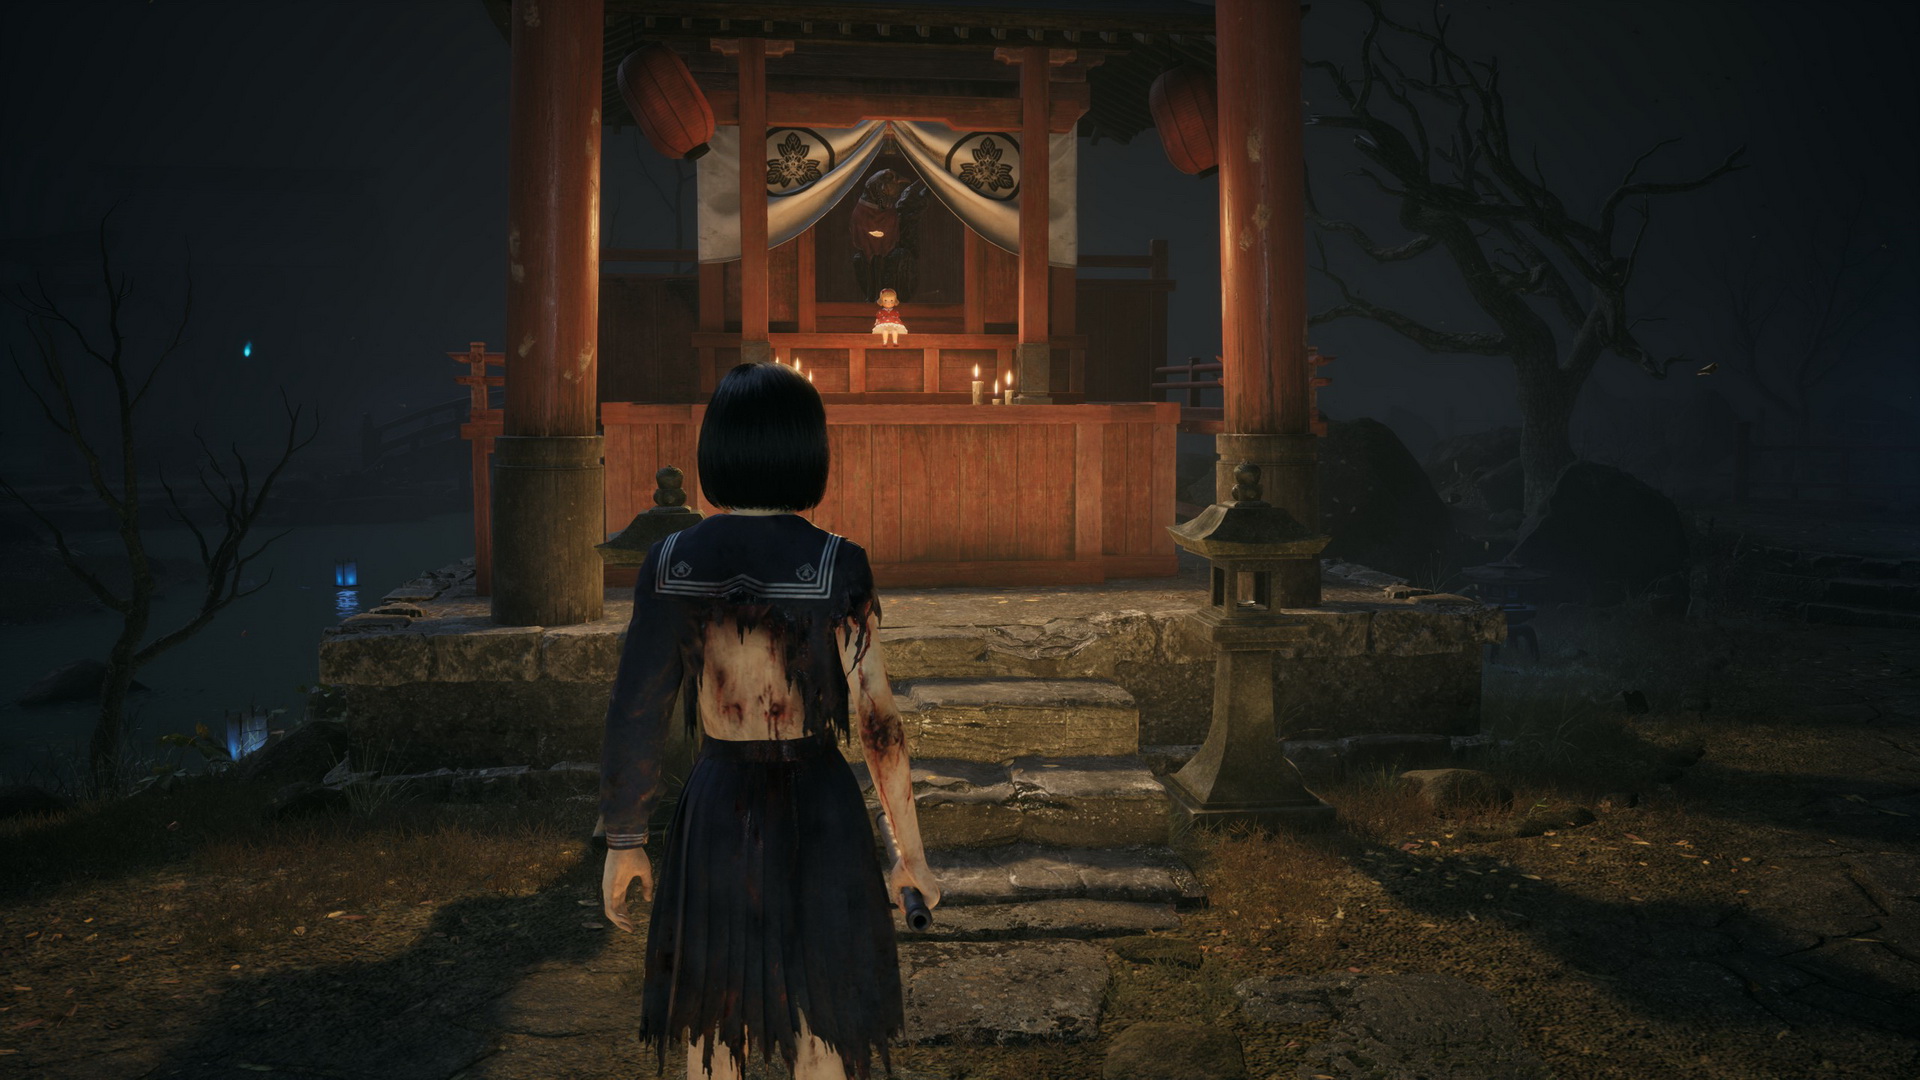
We are back in the Dark Shrine for one final time. Head north through a twisting path until you arrive at a shrine with the red doll. You can approach the doll for Hinako's commentary and collect some items here: a Bandage from the steps, a Crowbar next to the right column and a Yokan (⛩30) at the right edge.
Continue north, and you will reach an area in front of the gates where the blue flames will surround you, and you will have to defeat multiple monsters to proceed. At the north edge of the arena, you will find more supplies: a Divine Water (⛩50) and a Toolkit to the left and an Arare (⛩10) and a Kudzu Tea (⛩100) to the right. Proceed through the gates.
Go ahead until you arrive at another arena. Defeat the monster and grab the items: a First Aid Kit and a Toolkit on the left side, a Bandage and a Sledgehammer on the right side. Continue north to find Red Capsules on the ground on your way. Proceed through the gates. In the next room, you will find a Hokora shrine and more supplies: a Bandage and a Divine Water (⛩50) to the left, an Arare (⛩10), a Dried Carcass (⛩200) and an Antique Comb (⛩300) to the right. The Upgrade: Ema is also sometimes present in this room – it may depend on whether you collected all available emas during your playthrough or skipped some.
 |
 |
Go ahead through the gates. More Red Capsules on the ground in front of the next set of gates. Proceed through the gates to arrive at a garden. Here you will find a Kitchen Knife, a Bandage and a First Aid Kit by the statue with the red doll to the left. There's also an Axe stuck in a tree and another Bandage on a stone. On the stone to the right, you will find another First Aid Kit, a Higashi (⛩80) and a Toolkit. Finally, next to the next gates you will find a Hokora shrine. This is the last Hokora, so save your game and make your final preparations, such as character stat upgrades and shrine omamori pulls.
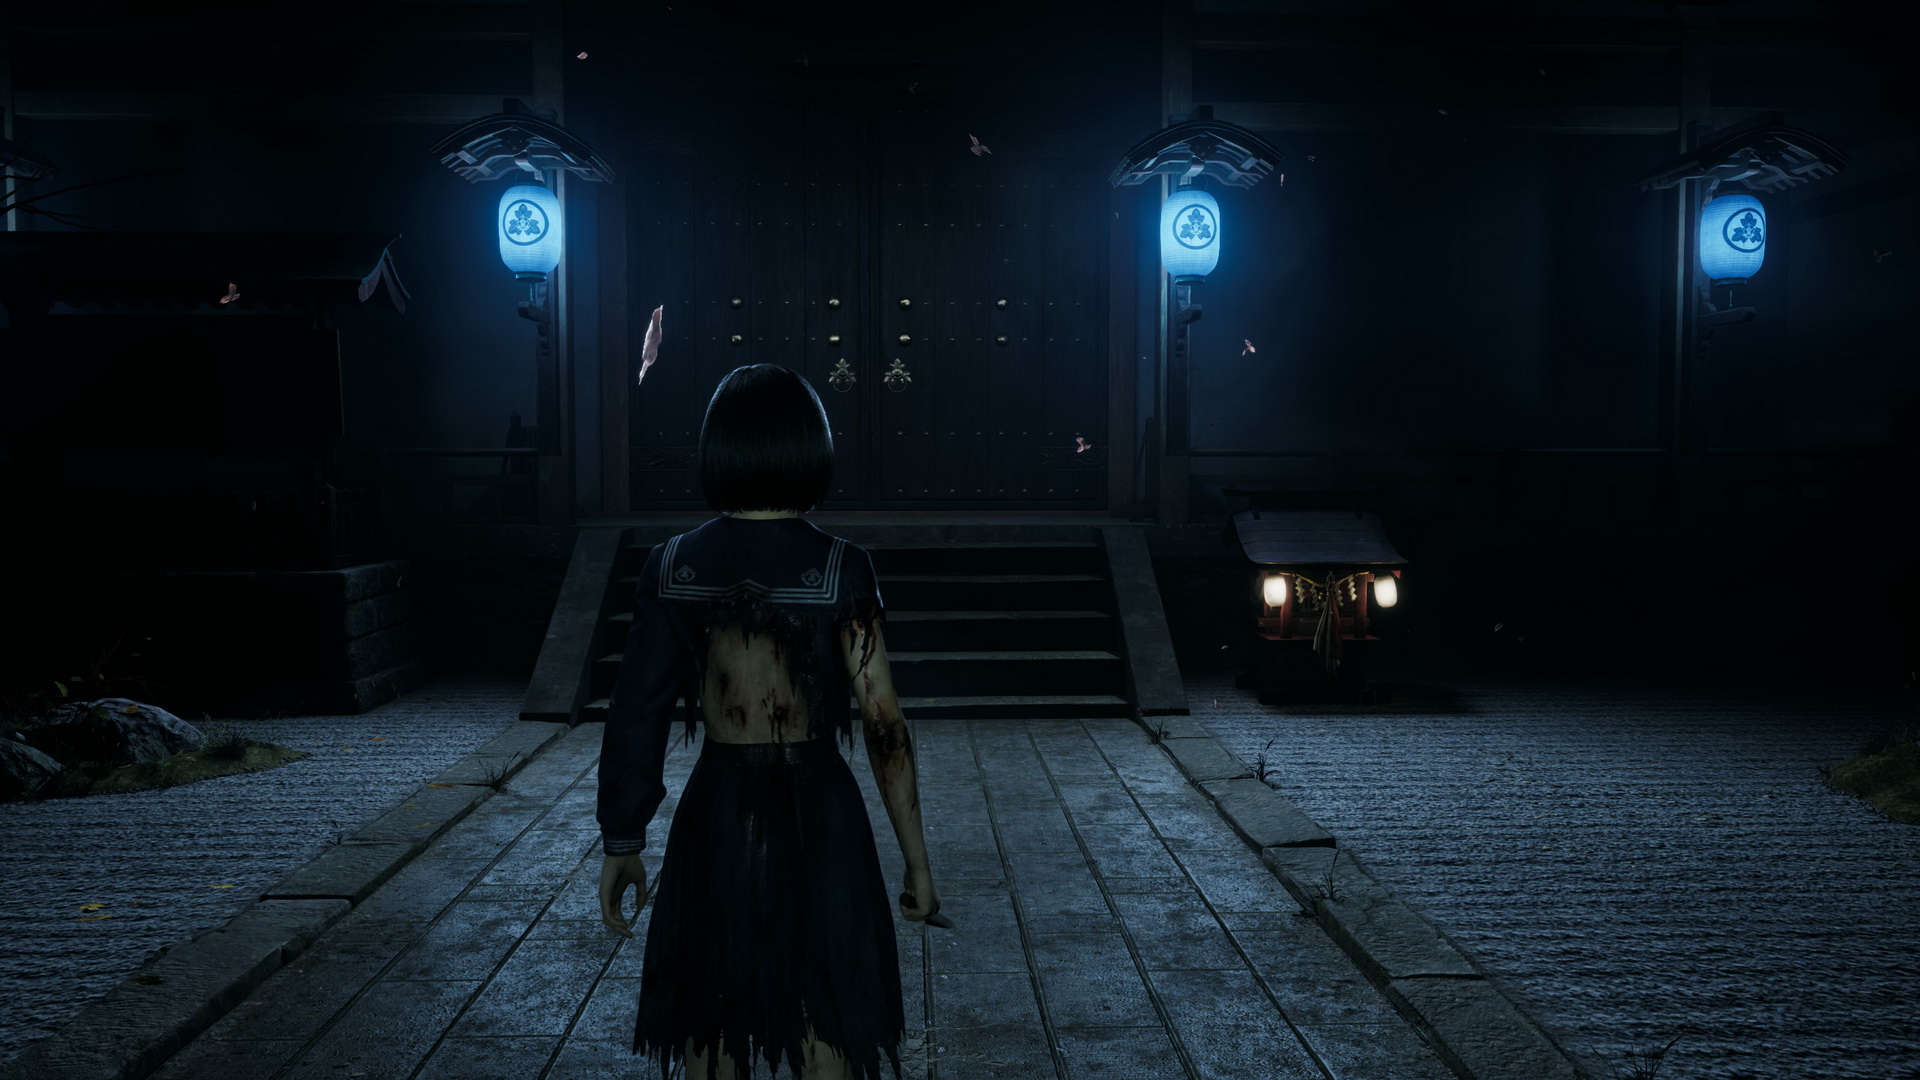
Go ahead through the final stretch. Step inside the ritual chamber from the Treasure Hall to watch a cutscene and meet the final boss of the game.
Defeat the Shiromuku
Before entering the final door, prepare your gear. Carry at least one heavy weapon to break her posture and stun her. Pair it with a fast weapon to land quick hits during small openings. Make sure to bring plenty of toolkits to keep your weapons from breaking.
For charms, use the Hawk Omamori to decrease Focus charging time, and pair it with the Suzuran Omamori to make dodging much easier. The Beetle Omamori is great for dealing extra damage to stunned targets, while the Owl Omamori will reduce the loss of sanity while using focus, and the Dolphin Omamori will help restore max sanity after a perfect dodge
If you are having a tough time with this fight, the game gives you a built-in safety net. The first time you die, Hinako revives with passive health regeneration. If you die a second time, Hinako revives in an extra powerful state with an unbreakable Steel Pipe, unlimited healing items, and no stamina or sanity costs. However, if you want the “The Bird that Flies Highest” trophy, you must beat Shiromuku without dying a single time.
Trophy/Achievement: The Bird that Flies Highest |

Defeat the Shiromuku without dying once. |
Phase 1
Shiromuku starts the fight with standard slashing combos and quick teleports.
- 3-Hit Claw Combo: She raises her right arm, teleports close, and slashes three times. Dodge into or past her first slash so the second one misses, then use a dodge counter on the final hit.
- Sliding Heavy Charge: She brings her arm across her chest and slides across the floor with a wide sweep. Watch for her clear wind-up and parry her with a timed heavy counter.
- Teleport Grab: She twirls her arm down, teleports right next to you, and swipes upward. Listen for the distinct chime sound, then dodge to the right as soon as she appears.
- Jumping Attack: Shiromuku suddenly stops, jumps straight toward Hinako, and delivers a spinning strike. Dodge the attack and immediately land a powerful blow on her, taking advantage of her vulnerability while she recovers.
Once her health bar hits zero, she falls to her knees, screams to briefly stun you, and starts phase 2.
Phase 2
In Phase 2, her attacks gain glowing red blood trails that increase their reach and damage. She also starts laying traps around the arena.
- Spider Lily (Red Tendril) Traps: She raises her arm to spawn red patches of flowers right under your feet. Keep moving at all times, because stepping into these patches traps you in place and drains your health and sanity. Lead her into open spaces to stay clear.
- Enhanced Combo Range: Her basic slash combos now stretch further because of the blood trails. Time your dodges carefully instead of just backing away, as her reach is much longer now.
Focus on dodging her first slashes, land one or two heavy hits, and quickly back off. Emptying her health bar again triggers the final phase.
Phase 3
Shiromuku grows a second fox arm, letting her pull off much longer attack combos and a massive arena-wide attack.
- 7-Hit Furious Swipe Combo: Her basic 3-hit combo turns into a relentless 7-hit flurry. Don't panic-roll, as this will waste all your stamina. Wait for her to glow red midway through the combo, then parry to disrupt her sequence.
- Jumping Uppercut Follow-Up: Her jump attack now leads straight into a teleporting uppercut. Always prepare to dodge a second time right after she leaps into the air.
- Flower Explosion (Arena AoE): She drops to her knees in the middle of the arena and digs both arms into the floor to charge a huge explosion. If you are close, sprint to her immediately and use charged heavy hits to stun her out of the move. If you are far away, sprint to the very edge of the room where the blast cannot reach you.
Stay patient, hit her right after her big attacks finish, and she will fall for good.
Escape from the Dark Shrine
After defeating the Shiromuku, you’ll need to flee from the Dark Shrine. Follow the path lined with Red Capsules, which you no longer need. You will pass through different areas, shifting between the Fog World and Dark Shrine, until you eventually arrive at the end and watch the ending scene.
There's only one ending you can get during your first playthrough, but there are four more that can be achieved during the New Game+. Your final boss will also depend on the ending that you are locked in.
New Game+: Defeat the TsukumogamiNote: This is the final boss when on the path to Ending 2. Before entering the final arena, take a break at the Hokora Shrine and prepare your inventory, as you won’t be able to change your omamori amulets during battle. Use the Rabbit Omamori for powerful counterattacks after a perfect dodge, the Suzuran Omamori to make perfect dodges easier, the Snake Omamori to automatically attack when a visual cue appears, and the Boar Omamori to speed up stamina recovery. However, your strategy against this boss and your choice of omamori may vary depending on your playstyle, the omamori available to you, and the amount of supplies you have. For Ending 2, Hinako accepts the curse and uses the Fox Hand instead of her usual weapon. During the fight, use Focus to land quick stun attacks on the boss, dodge, and counterattack when the distinctive red distortion effect appears. Also, keep an eye on the Kuzu Seal – once it’s fully charged, you can transform into a beast form, in which Hinako becomes invulnerable. If you want to unlock every trophy, pay close attention to his bow. You earn the “Puppet Master” trophy by beating Tsukumogami without taking a single hit from his golden arrows. Even a single hit will cause you to fail the current attempt, so be ready to dodge the arrows as soon as he draws the bowstring.
Phase 1Tsukumogami opens with heavy physical swings. Since the Fox Arm never breaks, stay aggressive and fight him up close.
Depleting his first health bar causes him to roar and transition into Phase 2. Phase 2In Phase 2, Tsukumogami tries to stay far away by leaping through the air and firing arrow volleys.
Tsukumogami can also stomp from a distance, creating small waves that you’ll need to dodge, or fire three water balls in your direction when you get close to it. If you deal enough damage to it again, it will enter its final, enraged state. Phase 3In the third phase, Tsukumogami moves much faster, combining attacks from the first two phases and using its new weapon – a bell. In addition, he will frequently teleport around the arena, but he will still return to Hinako to launch attacks. Therefore, it’s better to let the boss come back to close range than to waste time trying to catch up to him.
Keep up the pressure, dodge, use focus, counterattack, don't forget to transform into the beast form, and eventually you'll see the ending. |

New Game+: Defeat the ShichibiNote: This is the final boss when on the path to Ending 3. Before entering the final arena with Shichibi (the Seven-Tailed Fox), rest at the shrine to set up your gear. This fight is exclusive to New Game+, so you will have access to the Sacred Sword which is able to deal powerful and quick attacks. Carry it along with a heavy weapon to punish the boss during large openings. Bring plenty of toolkits to keep your weapons working. After a brief battle with Shiromuku, you’ll face the real boss – Shichibi. Between phases, Shichibi retreats into a red invulnerability sphere, while the Fox Mask summons dark versions of the monsters you’ve encountered earlier. To earn the “Fox Tamer” trophy, you must defeat every single shadow monster without exception before taking down Shichibi. During these transitions, use a Kitchen Knife or another light weapon – you’ll be able to quickly dispatch the shadow enemies with light strikes and then refocus on the main boss.
Phase 1Shichibi acts as a massive fox god, mixing fast claw slams with ground-based tail traps.
Depleting his health causes him to retreat into a giant red sphere to spawn shadow monsters. Defeat them to start Phase 2. Phase 2Shichibi bursts out with gold-streaked fur, retaining all his previous moves while adding longer combos and ranged wave attacks.
Wipe out his health bar again to enter the second shadow-monster intermission. Phase 3Shichibi turns almost fully golden, becoming even faster and summoning shadow minions directly mid-combat.
Keep moving, don't panic, and don't start dodging nonstop during his trap attacks. Also, take advantage of his moments of vulnerability when he's recharging – and eventually, the battle will be over. |

New Game++: Defeat the GodsNote: This is the final boss when on the path to Ending 4. You will face a double boss before Ending 4: Tsukumogami and Kyubi (the Nine-Tailed Fox). Before entering the final arena, rest at the Hokora shrine and prepare your inventory. Carry at least three Knives or Sickles, as fast weapons are essential here for quick damage output during short openings, whereas slower swords will lock you into dangerous animations. Stock up heavily on sanity-restoring drinks like Kudzu Tea along with your standard healing items. For Omamori perks, equip the Suzuran Omamori to widen your perfect dodge window, which is critical for dodging arrow flurries and triggering counters. Pair it with the Tanuki Omamori, which converts your focus and sanity bar into extra armor to prevent health loss as long as your sanity stays full. Fill your remaining charm slots with anything that boosts counter-attack damage after a perfect dodge or increases light weapon efficiency. If you are aiming for the “God Slayer” trophy and achievement, you must defeat both bosses within a strict 10-minute time limit. Using the Story action level significantly alleviates the task, although it still won't be a walk in the park.
Phase 1: KyubiThe fight opens with the blue spirit version of Shichibi. His arsenal includes a wide range of attacks similar to Shichibi's moves.
Phase 2: TsukumogamiAfter dealing enough damage to Kyubi, the fight switches to Tsukumogami for a close-quarters round.
Phase 3: KyubiKyubi returns to the arena, this time bringing dark shadow minions to protect itself.
Phase 4: TsukumogamiTsukumogami re-enters the fight equipped with his bow, firing dangerous ranged projectiles.
Phase 5: KyubiIn its final phase, Kyubi becomes extremely aggressive and gains a high-damage charging attack.
Phase 6: TsukumogamiTsukumogami enters his most aggressive form while the sky turns red and the screen shifts color.
Enjoy the ending cutscene after a long and tiring fight. |

| 13. Ebisugaoka Part 6: Tainted Town |