Ebisugaoka Part 2: Rice Fields
- Ebisugaoka Part 1
- Dark Shrine Path
- Ebisugaoka Part 2: Rice Fields
- Dark Shrine Corridors
- Ebisugaoka Part 3: To School
- Ebisugaoka Middle School
- Dark Shrine Worship Hall
- Ebisugaoka Part 4: Sugisato Forest
- Dark Shrine Main Hall
- Ebisugaoka Part 5: To Shimizu Residence
- Shimizu Residence
- Dark Shrine Treasure Hall
- Ebisugaoka Part 6: Tainted Town
- Dark Shrine Final Path
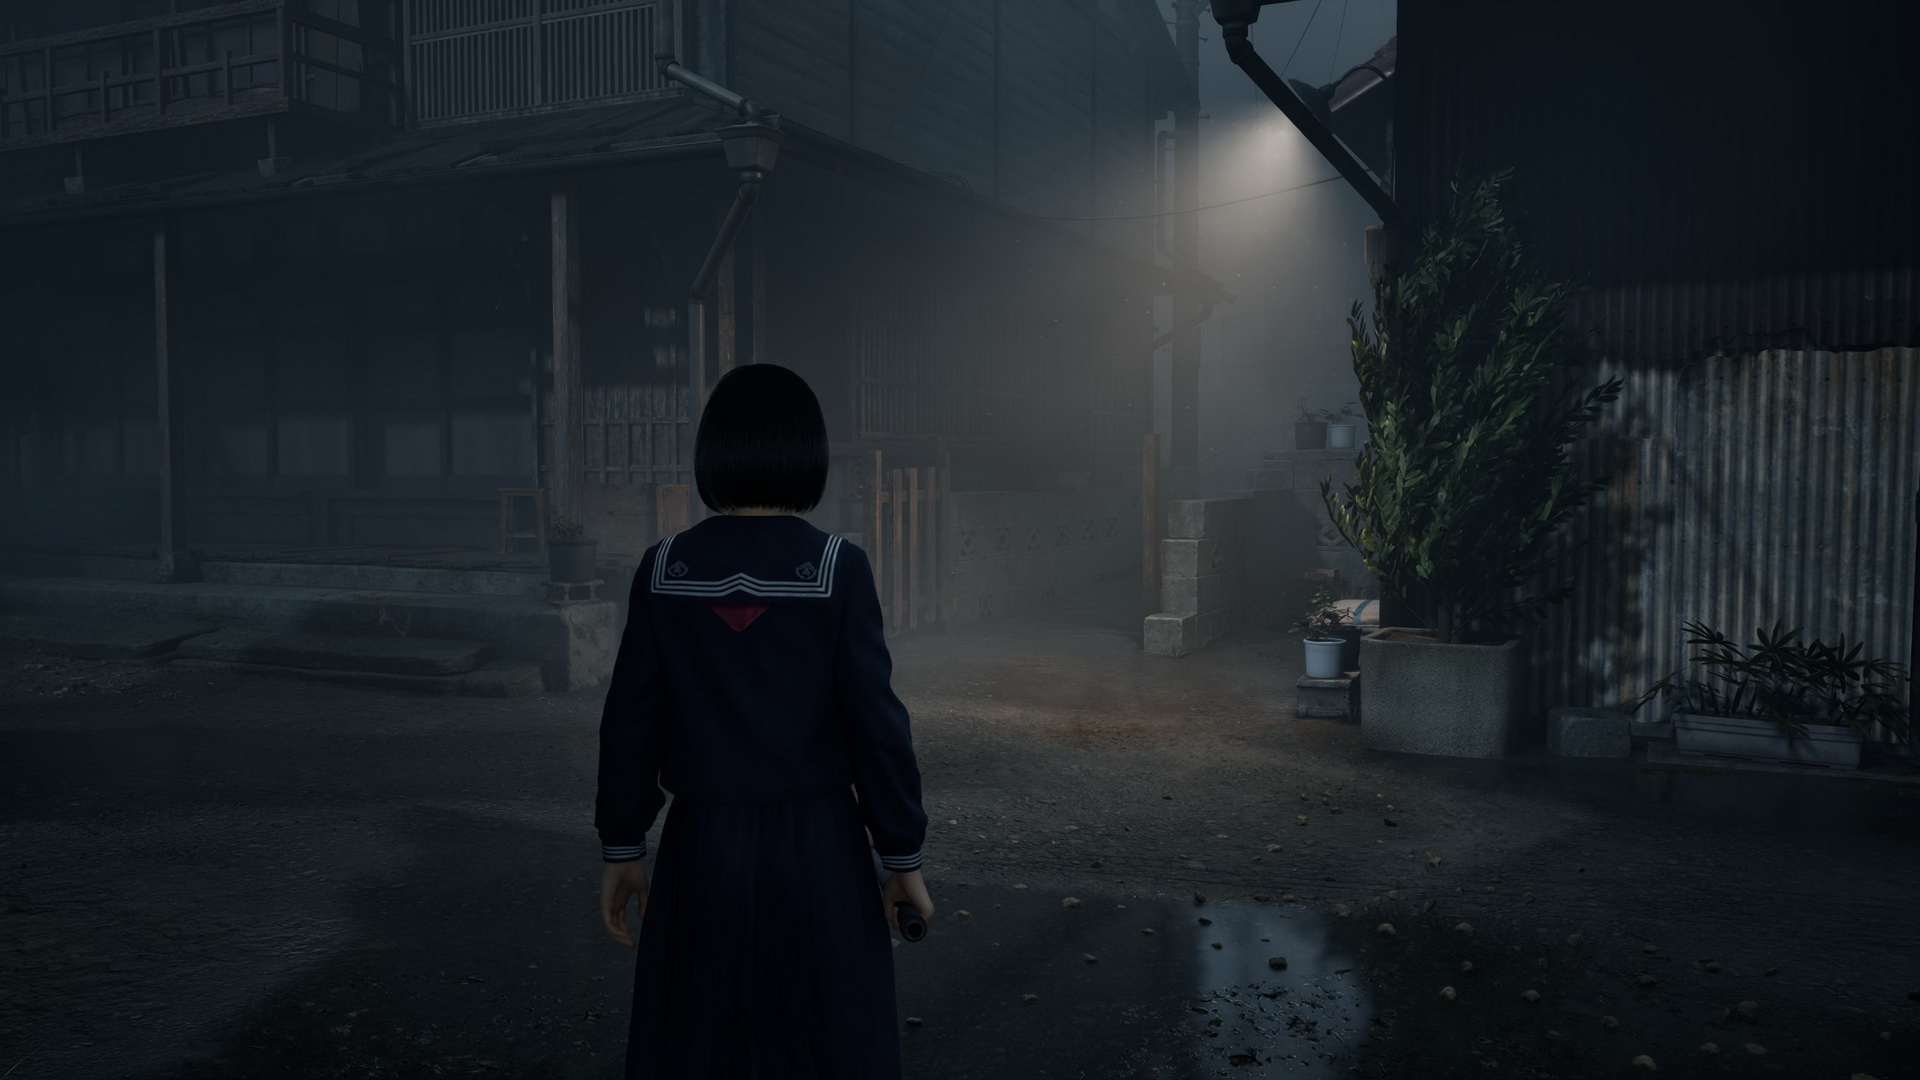
Welcome to the third chapter of the complete walkthrough guide for Silent Hill f, covering the second visit to Ebisugaoka and the path to Rinko's house through the rice fields. Use the key summary below for essential, spoiler-free directions, including all missable trophy-related items and actions (items in italics are optional). For in-depth guidelines with extra explanations, refer to the complete walkthrough section. This guide also includes all New Game+ items and actions for your subsequent playthroughs.
Legend
- Hokora – shrines
- Capsule Case – key items
- Steel Pipe – weapons
- Omamori [Whale] – omamori
- Upgrade: Ema – character upgrades
- Local Doctor's Note – documents
- Housemaid’s Note – trophy-related documents
- Red Capsules – consumables
- Antique Comb (⛩300) – offerings
Collectibles
Counts of available trophy-related collectibles:
| Category | NG | NG+ | NG++ |
| Omamori | 2 | - | - |
| Ema | 2 | 1 | - |
| Inventory upgrades | 1 | - | - |
| Inari-sama's seals | - | 1 | - |
| Documents | - | 1 | - |
Key Summary
- Head east.
- Dried Carcass (⛩200). Enter the alley to the south (the one where the Fog Monster chased you). Head to the end of the path, and you will find this offering in a box at the southeastern end.
- Take the alley to the north.
- Upgrade: Shoulder Bag. From the alley between the two main streets, head left until you hit the dead end with two monsters nearby. You will find this item sitting on a wooden crate.
- Follow the northern street to the east.
- New Game+: Sacred Sword Puzzle. Research Journal Photo 2 and Regarding the "Legend of the Sacred Sword" (3) are at the inner corner of the first house on the left on this street.
- Upgrade: Ema is in front of a house opposite the Hokora shrine on the northern street.
- New Game+: Diary of Revenge (2) and Upgrade: Ema are inside the Inari-sama box to the south of the doctor's house.
- Head north.
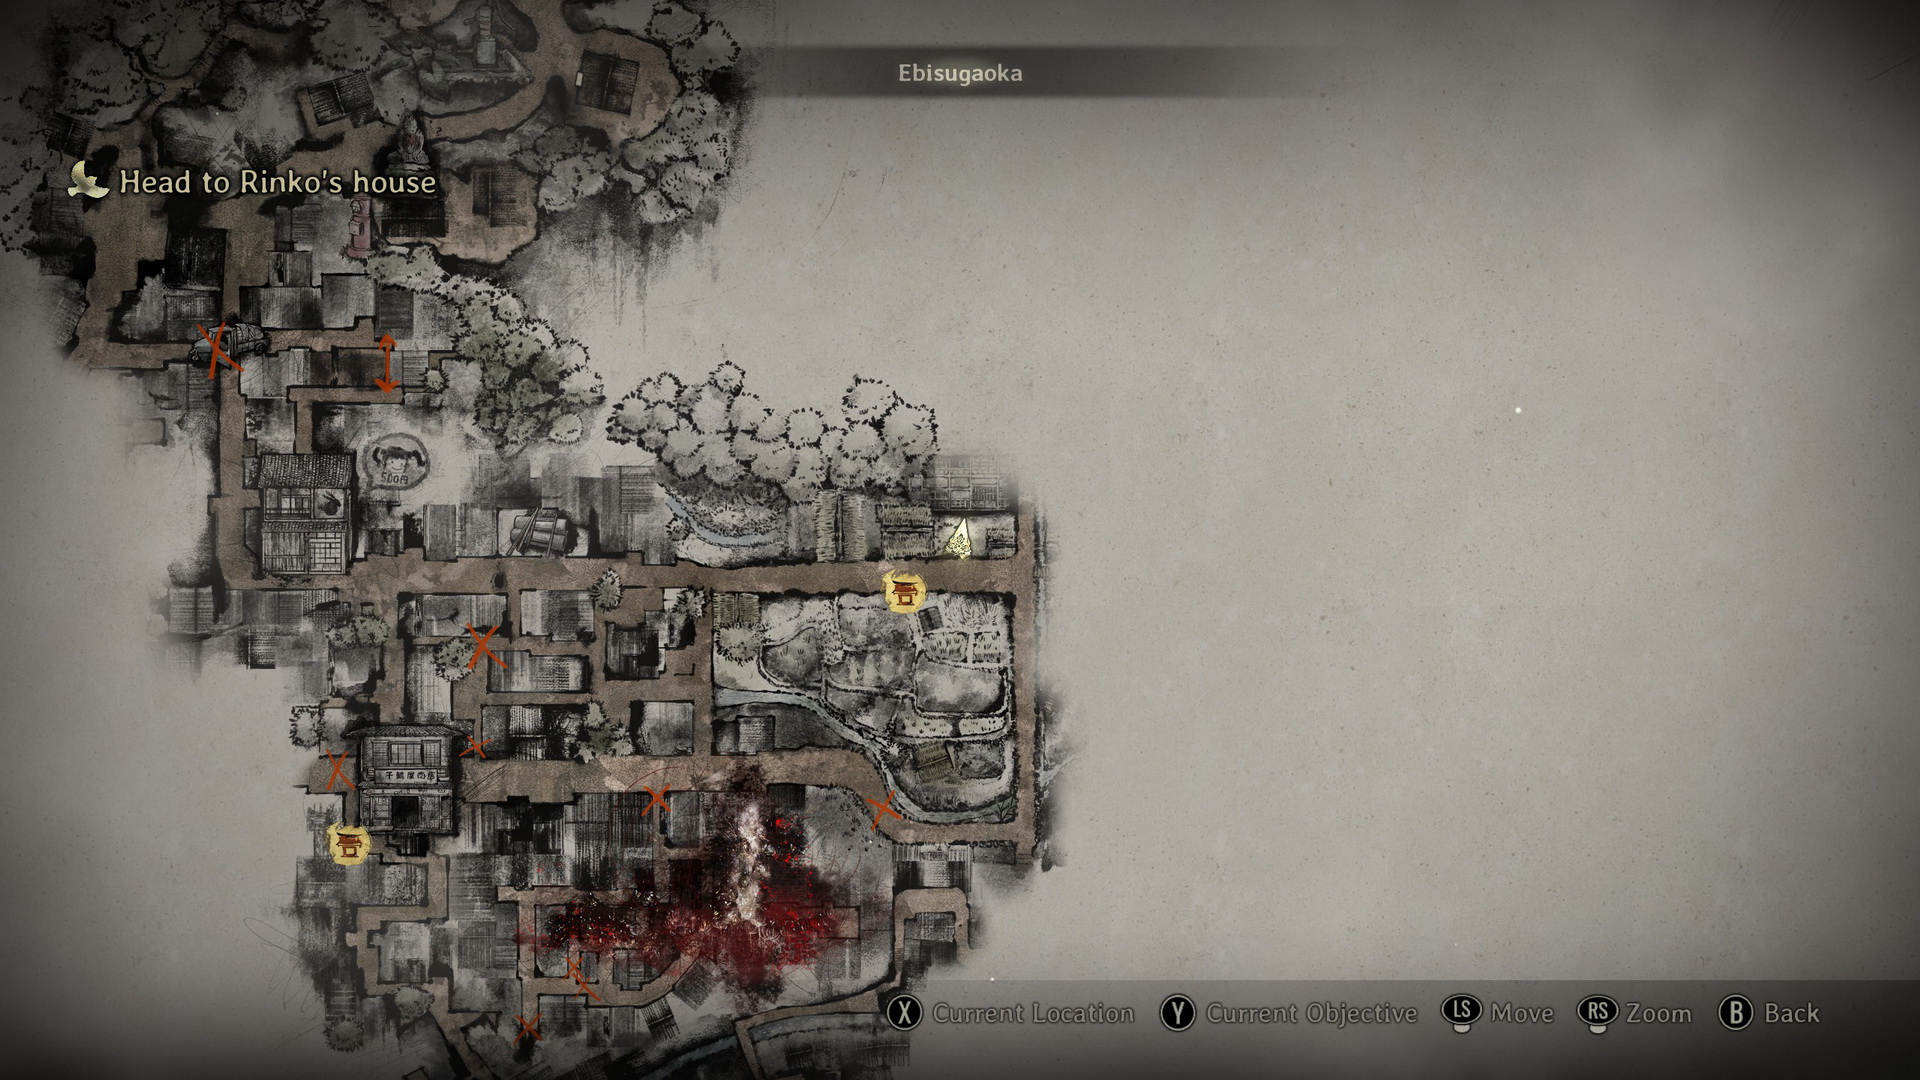
- Drawer Key. At the junction, you will find the locked Doctor's House. Climb the ladder in the back and get inside. Go downstairs and examine the chest on the table. You will find the key in the top left drawer.
- Omamori [Pine]. Go upstairs, enter the now-open bedroom, and use the key to find a note inside the drawer. Enter the next room, the study, to collect this omamori inside the left chest of drawers.
- Key to Sakuko’s Mailbox. Head north all the way until you reach the Sennensugi Shrine. You will find the key at a small shrine to the left of the main gate.
- Antique Comb (⛩300) is on a stone to the right of the gate.
- New Game+: Sacred Sword Puzzle. Rusted Flask is at a small shrine next to the Antique Comb.
- New Game+: Sacred Sword Puzzle. Go downhill to the crossroads and take the left turn. Enter the outdoor workshop area and find the second Jizo statue in its back. Interact with the statue to offer the Rusted Flask (2/5).
- New Game++: Sacred Sword will be in place of the Rusted Flask left at this Jizo statue previously. You will need the sword for Ending 4.
- Trophy/Achievement: A Federal Offense and Omamori [Spider]. Backtrack all the way to the Chizuruya General Store, then head north to Sakuko's house, where you first met her. Open the residence's mailbox with the key.
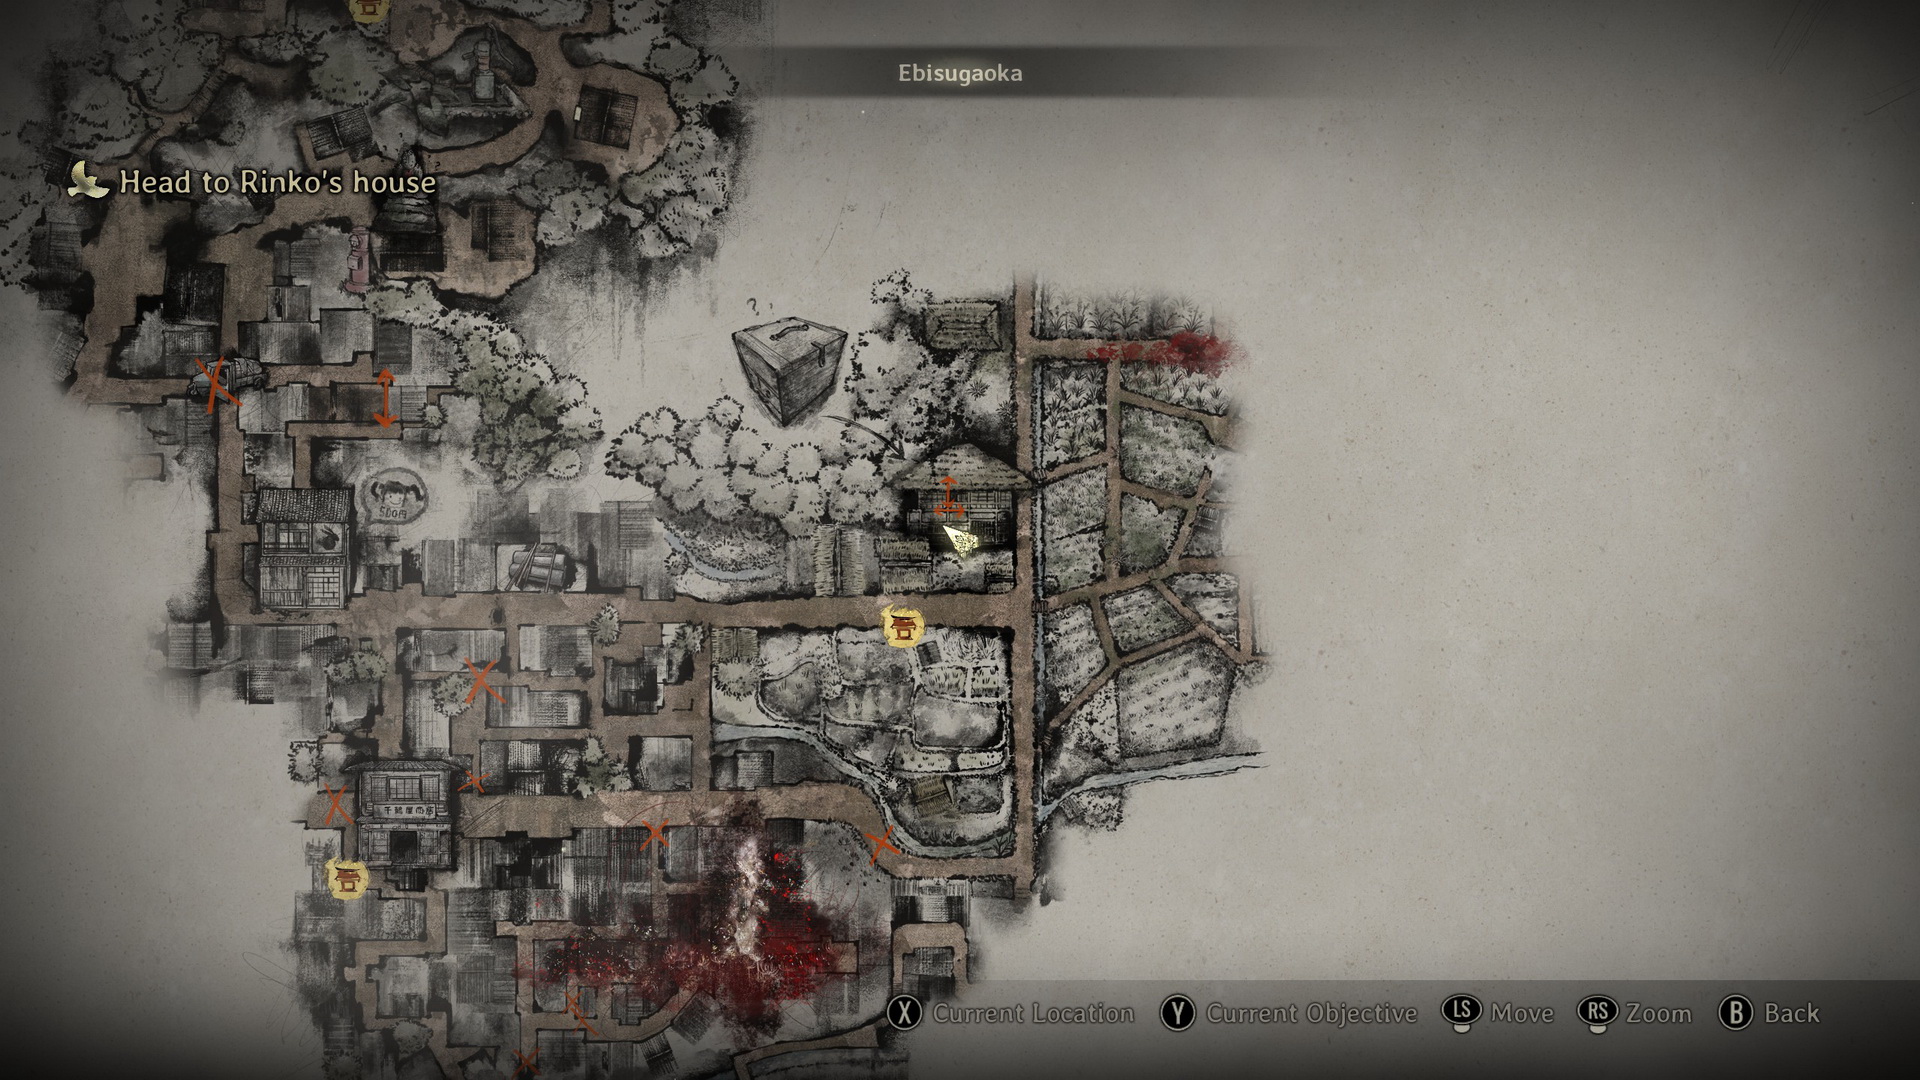
- Enter the southern section of crop fields.
- Dried Carcass (⛩200) is inside a basket behind the house in the southeastern section of the fields.
- Find the way through the crops that leads to the T-junction in the east.
- At the junction, go left and turn right onto the main road. Follow the road until it dead-ends and drop down into the yard to the right.
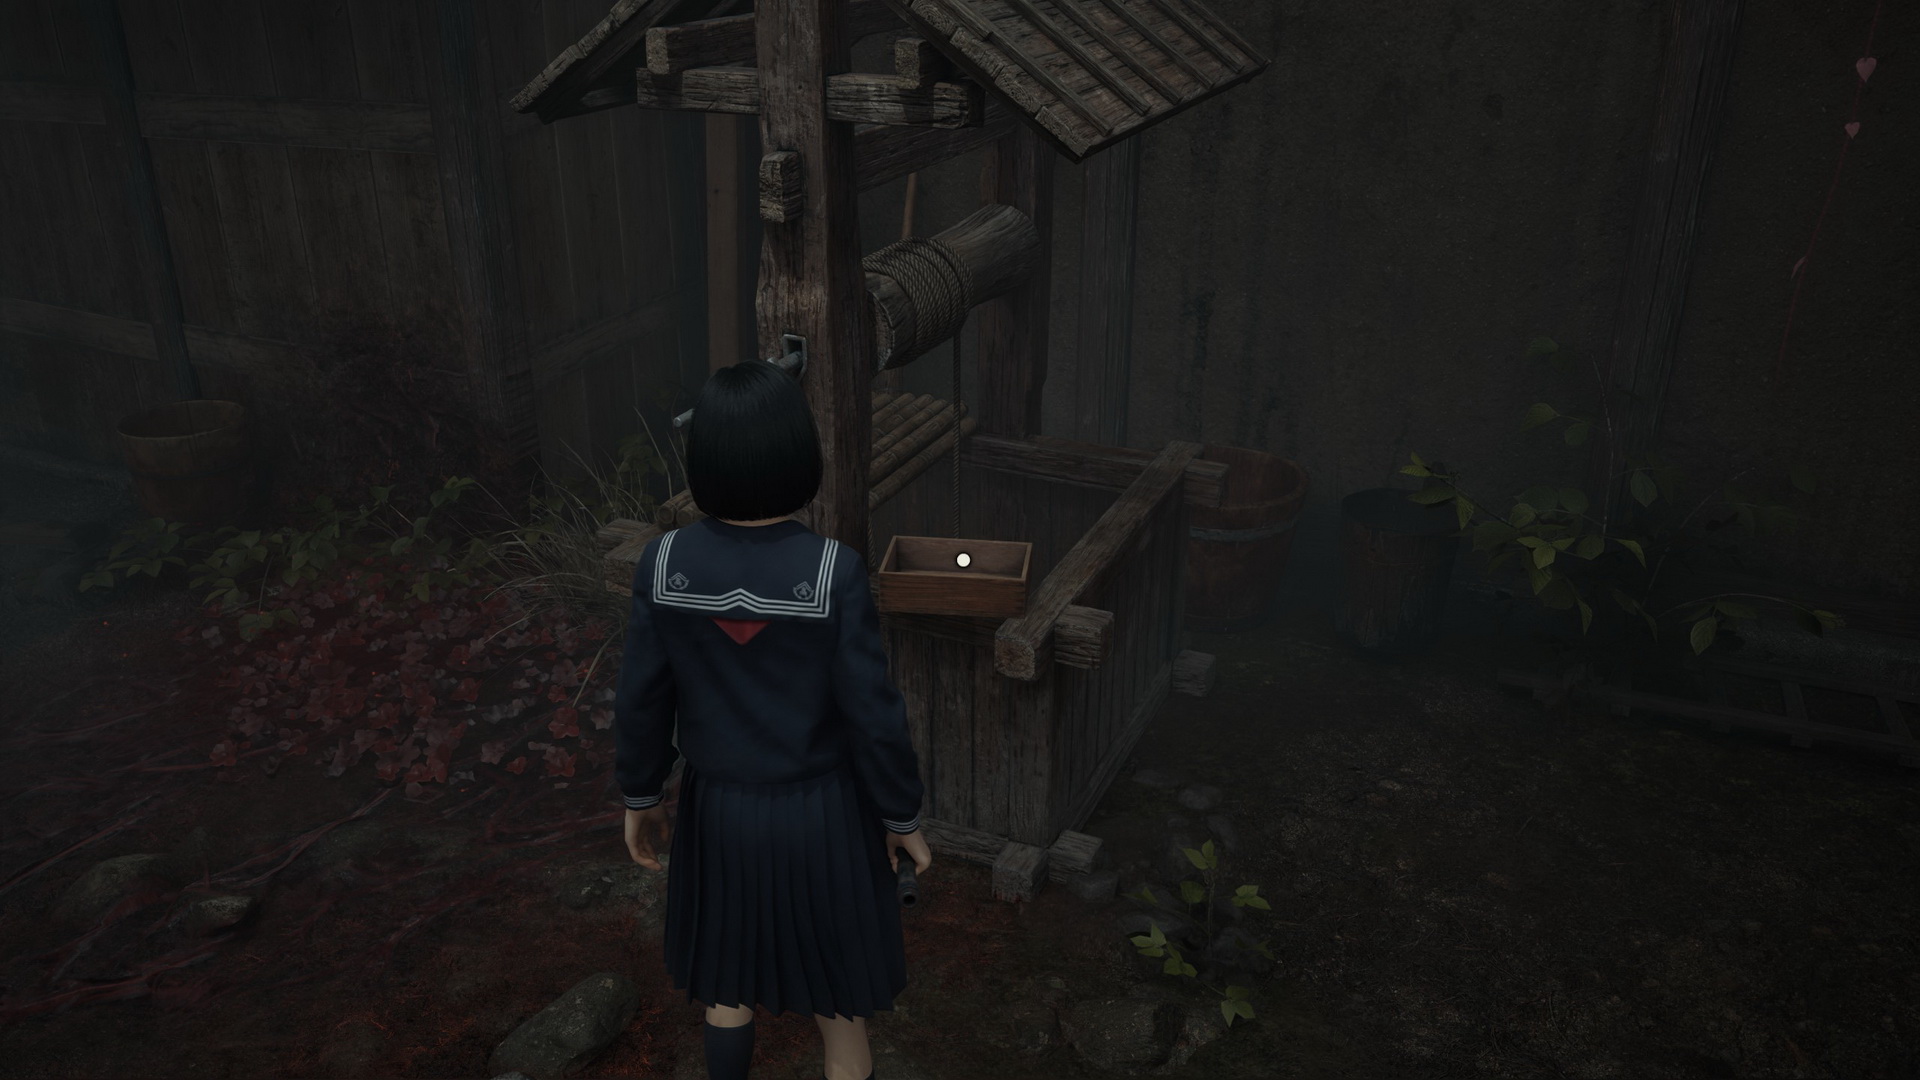
- Examine the box with the key at the well to start the fight with Ara-abare. Once the creature is incapacitated, quickly turn the well's handle to obtain the Storehouse Key.
- Use the key to enter the storehouse in the same yard. Move past the barricade and hop outside through the window.
- Go north, then right back onto the main road.
- Upgrade: Ema. After the Hokora shrine, go east and enter the house yard to the south. Find this item sitting at the edge of a wooden trough.
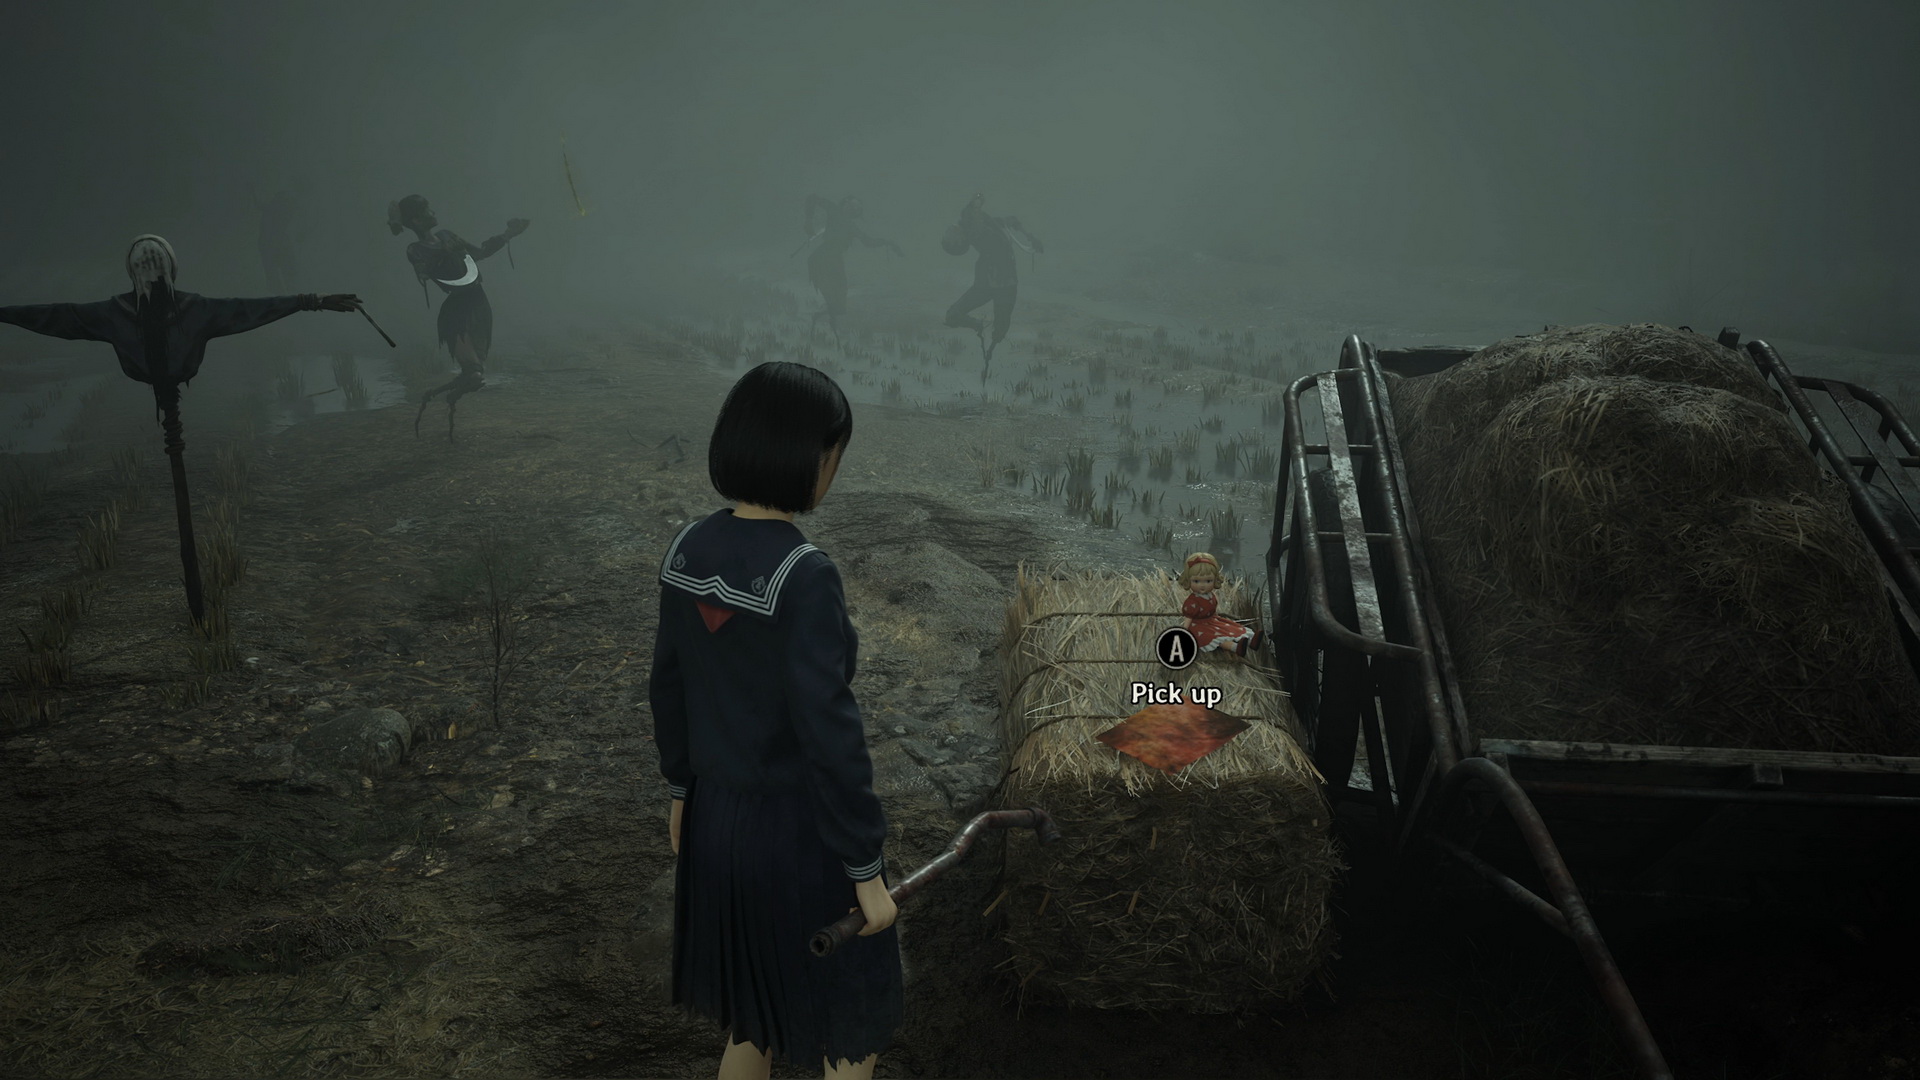
- Approach Shu to trigger the cutscene and be transported to an unfamiliar area. Solve the Field Puzzle to escape:
- Find the correct scarecrow, remove a thorn from its body, and it will point in a specific direction with its arm for you to go next.
- Trophy/Achievement: Acupuncture Specialist. Do not make a single mistake on the scarecrow puzzle.
- Dried Carcass (⛩200) can be randomly found in one of the small boxes while solving the puzzle in the fields.
- Story:
- A girl with a sickle in her right hand.
- A girl in the middle without any weapon.
- A girl on the right with her head upside down and a yellow bird brooch.
- A girl on the right with her arms spread out.
- A girl in the back strung up like on a cross.


- Hard:
- A girl with a sickle in her right hand and a mask on the back of her head.
- A girl in the middle with a sickle in her right hand and another one stabbed into her back.
- A girl in the back with her head upside down.
- A girl on the right with her arms spread out.
- A girl in the back strung up like on a cross and stabbed with a sickle into her back.


- Lost in the Fog:
- A girl on the left with her head upside down.
- A girl in the back strung up like on a cross, with a sickle in the ground at her feet.
- A girl behind the lying boy scarecrow with a knife in his chest, holding no weapons.
- A girl in the middle between the scarecrows that look like Shu and Rinko, looking at each other.
- Follow the directions of the arms of the lying scarecrows to find a scarecrow standing alone in the field.


- Meet up with Shu.
Complete Walkthrough
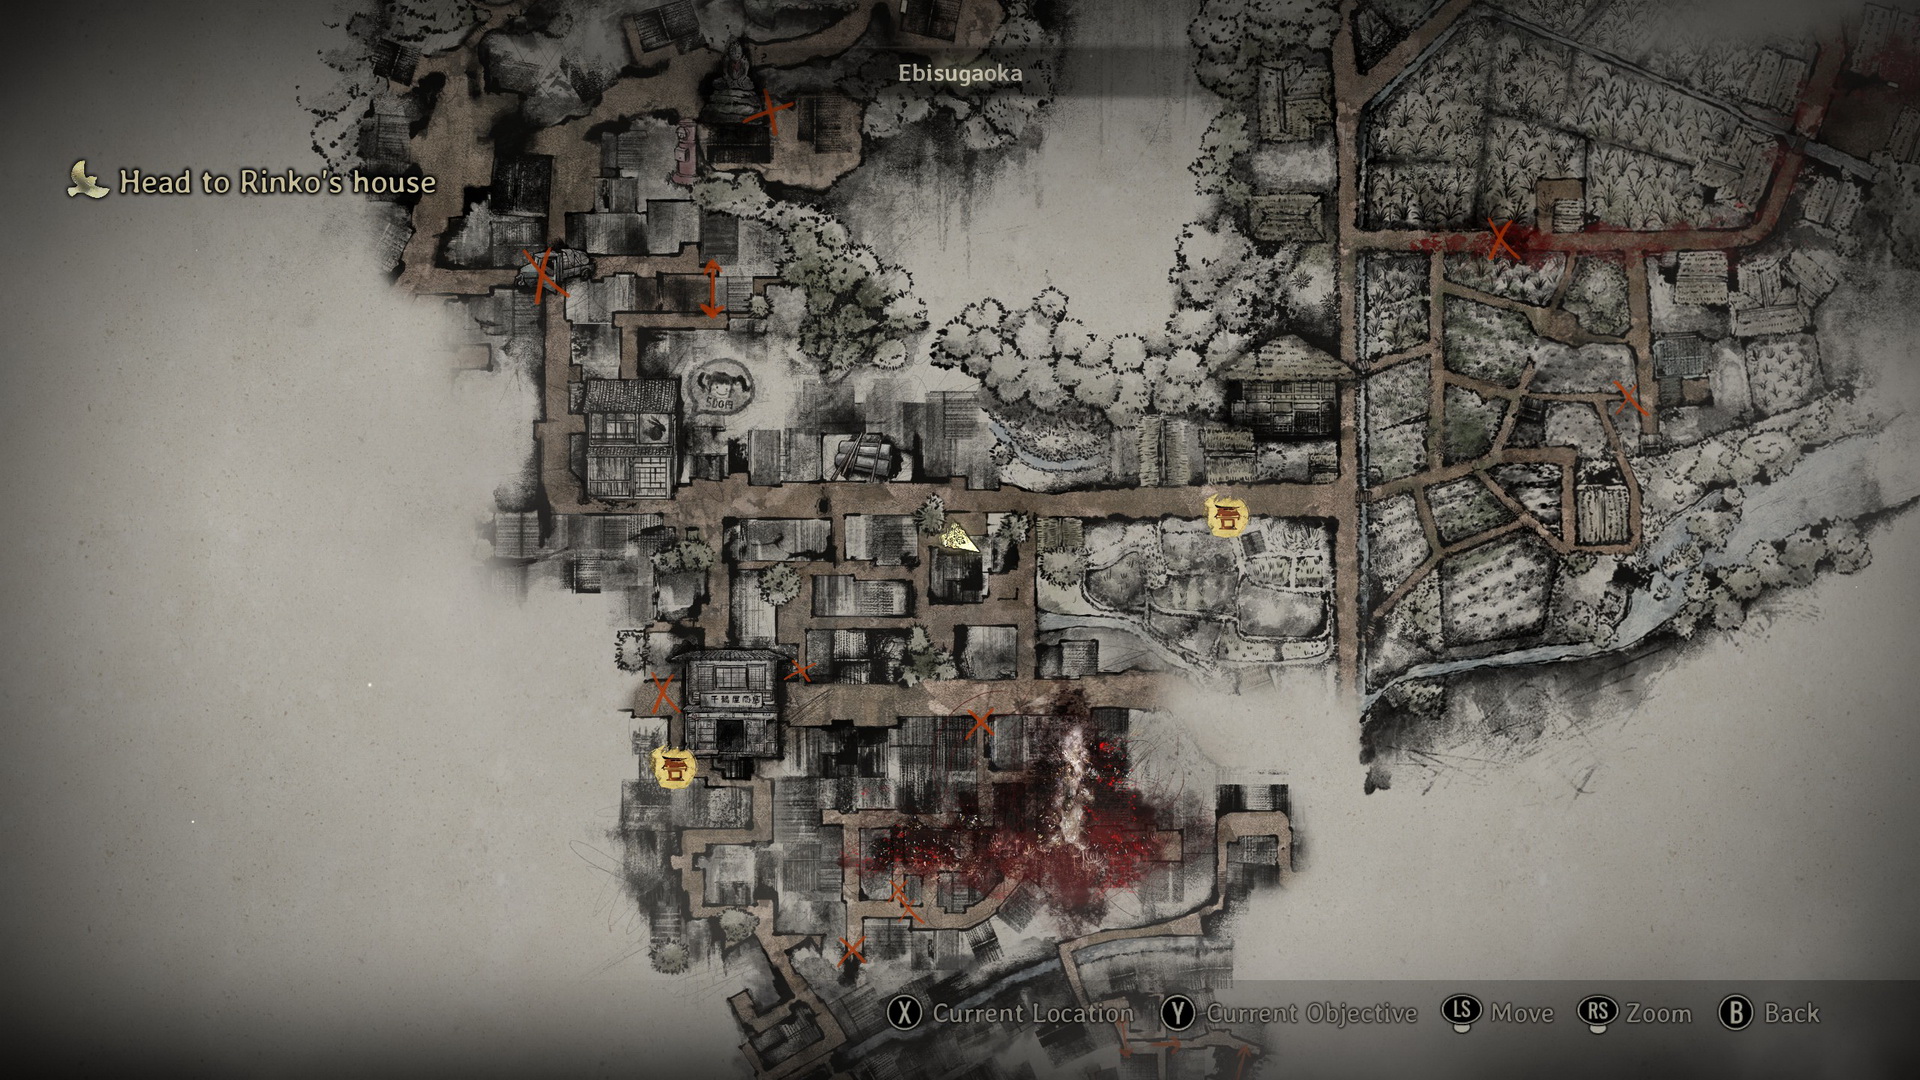
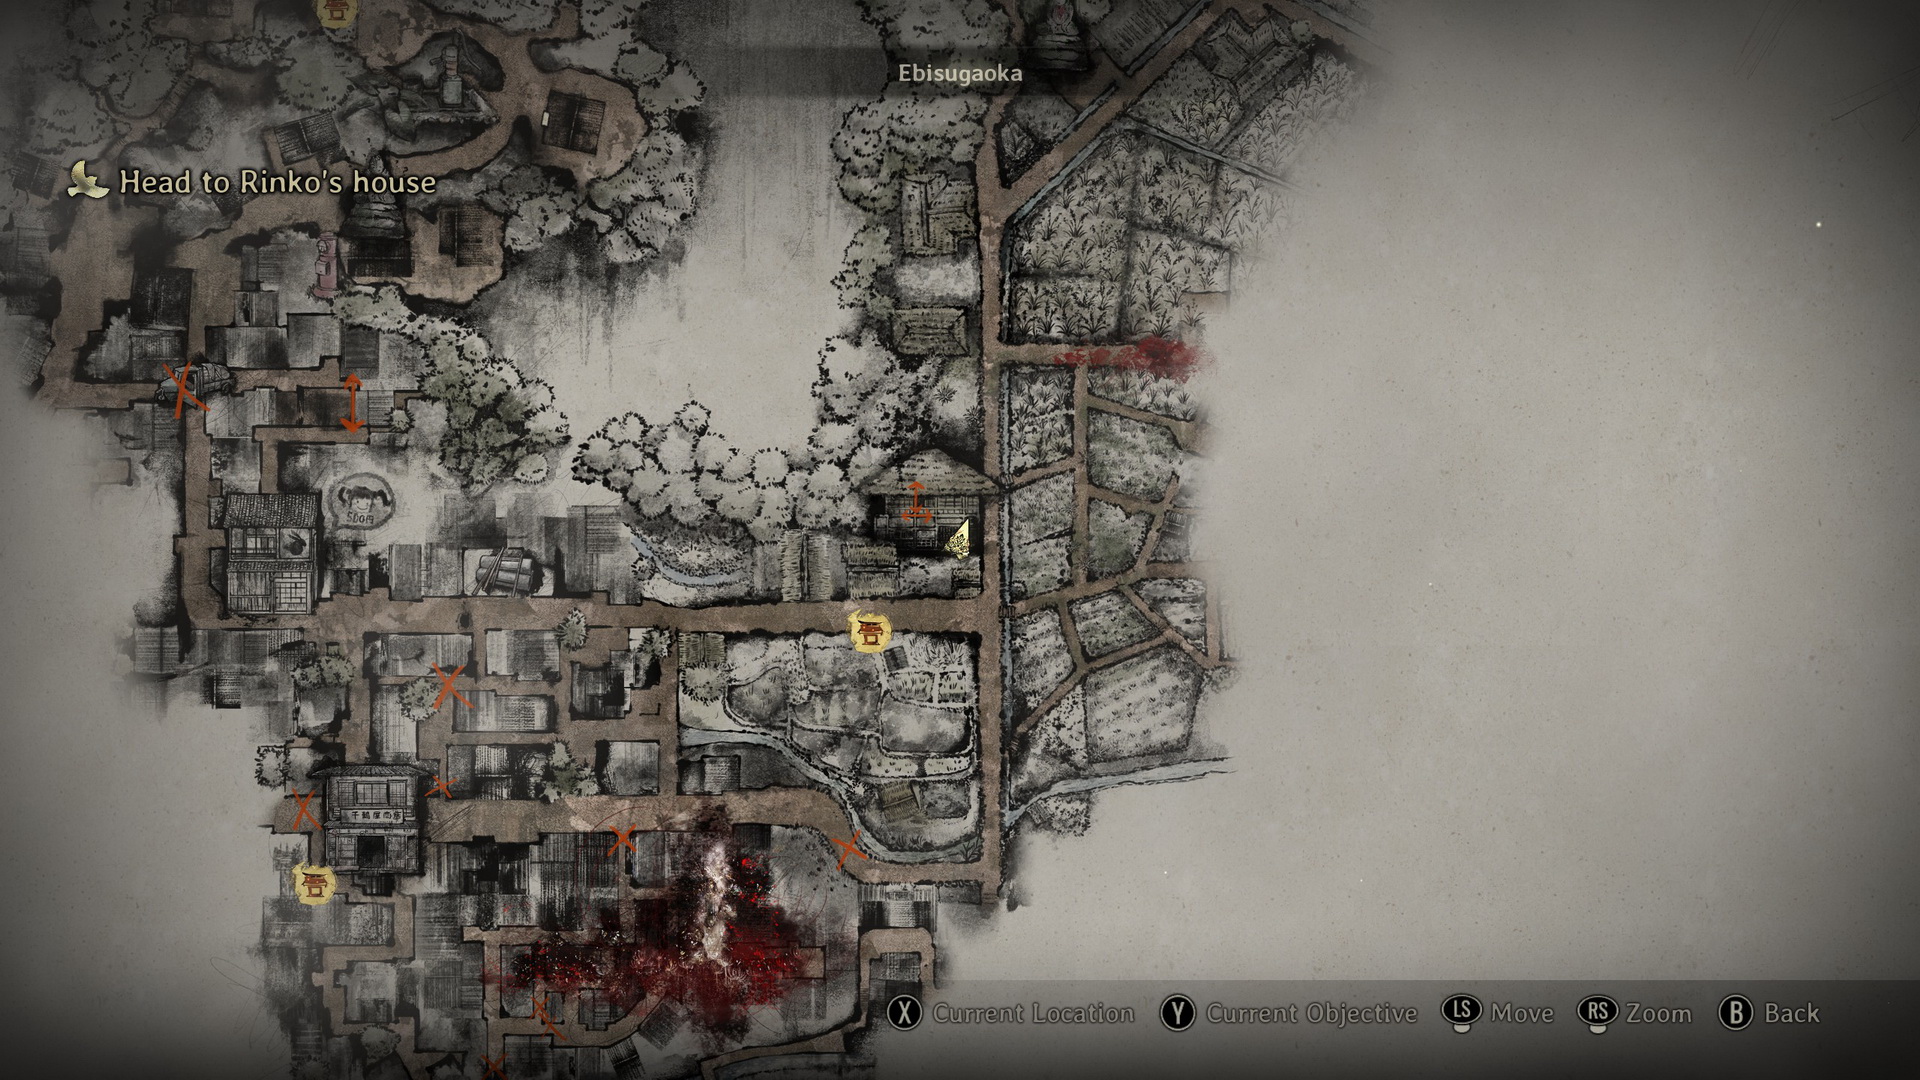
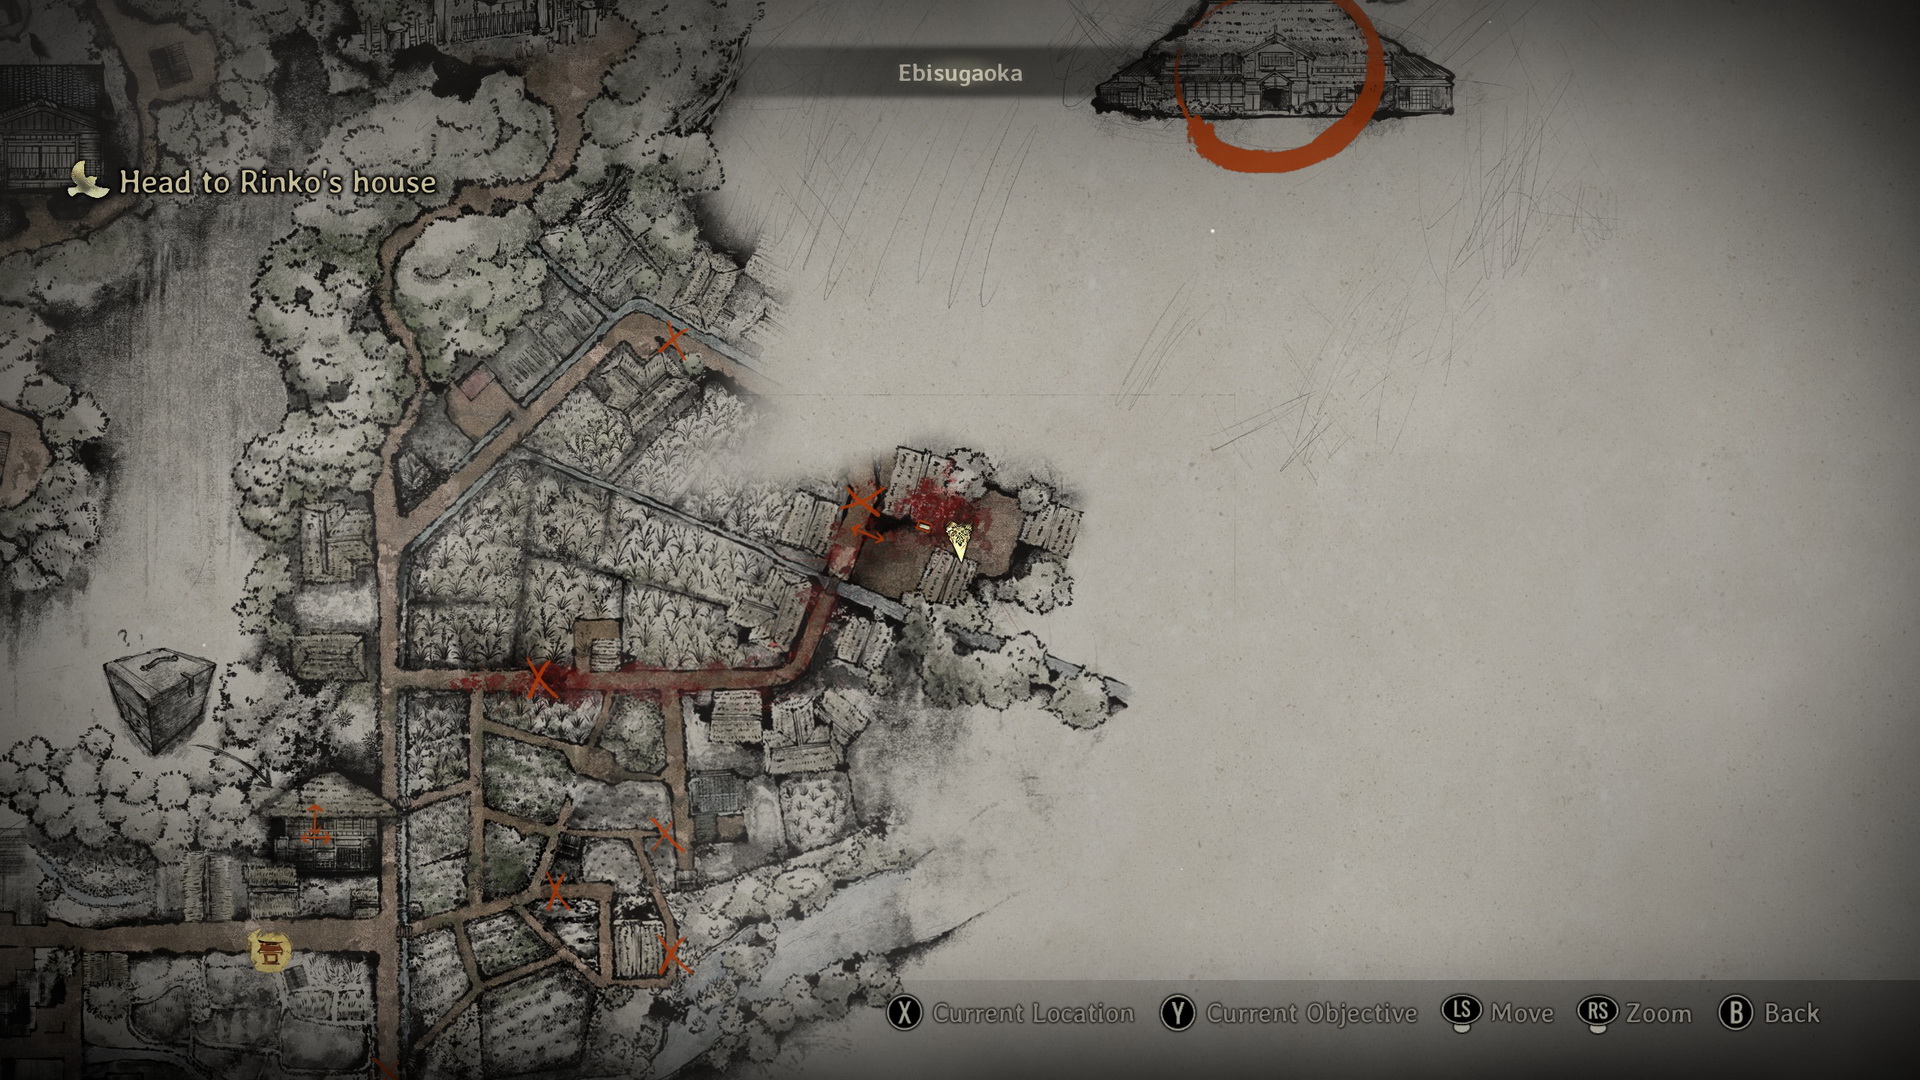
Head to Rinko's house
Follow the street to the east. Soon, you will run into a monster and be introduced to the focusing tutorial. After defeating the monster, continue east to find a Hokora shrine on the right as well as pick up some Red Capsules from the truck at the dead end.
Turn back and head west. If you explore the area to the south that is now covered in red flowers, you can find a Toolkit at a small table in the northwestern corner of the area. Follow the alley to the south to also collect Red Capsules from a round stool on the right and a Dried Carcass (⛩200) in a box at the dead end.
Return to the main street and be prepared for a monster to be waiting for you on your way back. On the street, go left and look for a lit-up entrance to the alley that will take you north and pick up a Ramune (⛩20) on a low wall on the right.
Proceed north, where you can inspect a scarecrow. Enter the garden to the west of the scarecrow to collect a First Aid Kit. Take the path west to explore this section of alleys between the two streets. To the right is a beer ad poster you can examine. Go further west until you hit a dead end with two monsters – one stabbing at a wall and another coming from the south. After you deal with them, grab a Higashi (⛩80) on a plant stand by a tree and check a small alleyway in the north to find the Upgrade: Shoulder Bag that increases your inventory capacity.
 |
 |
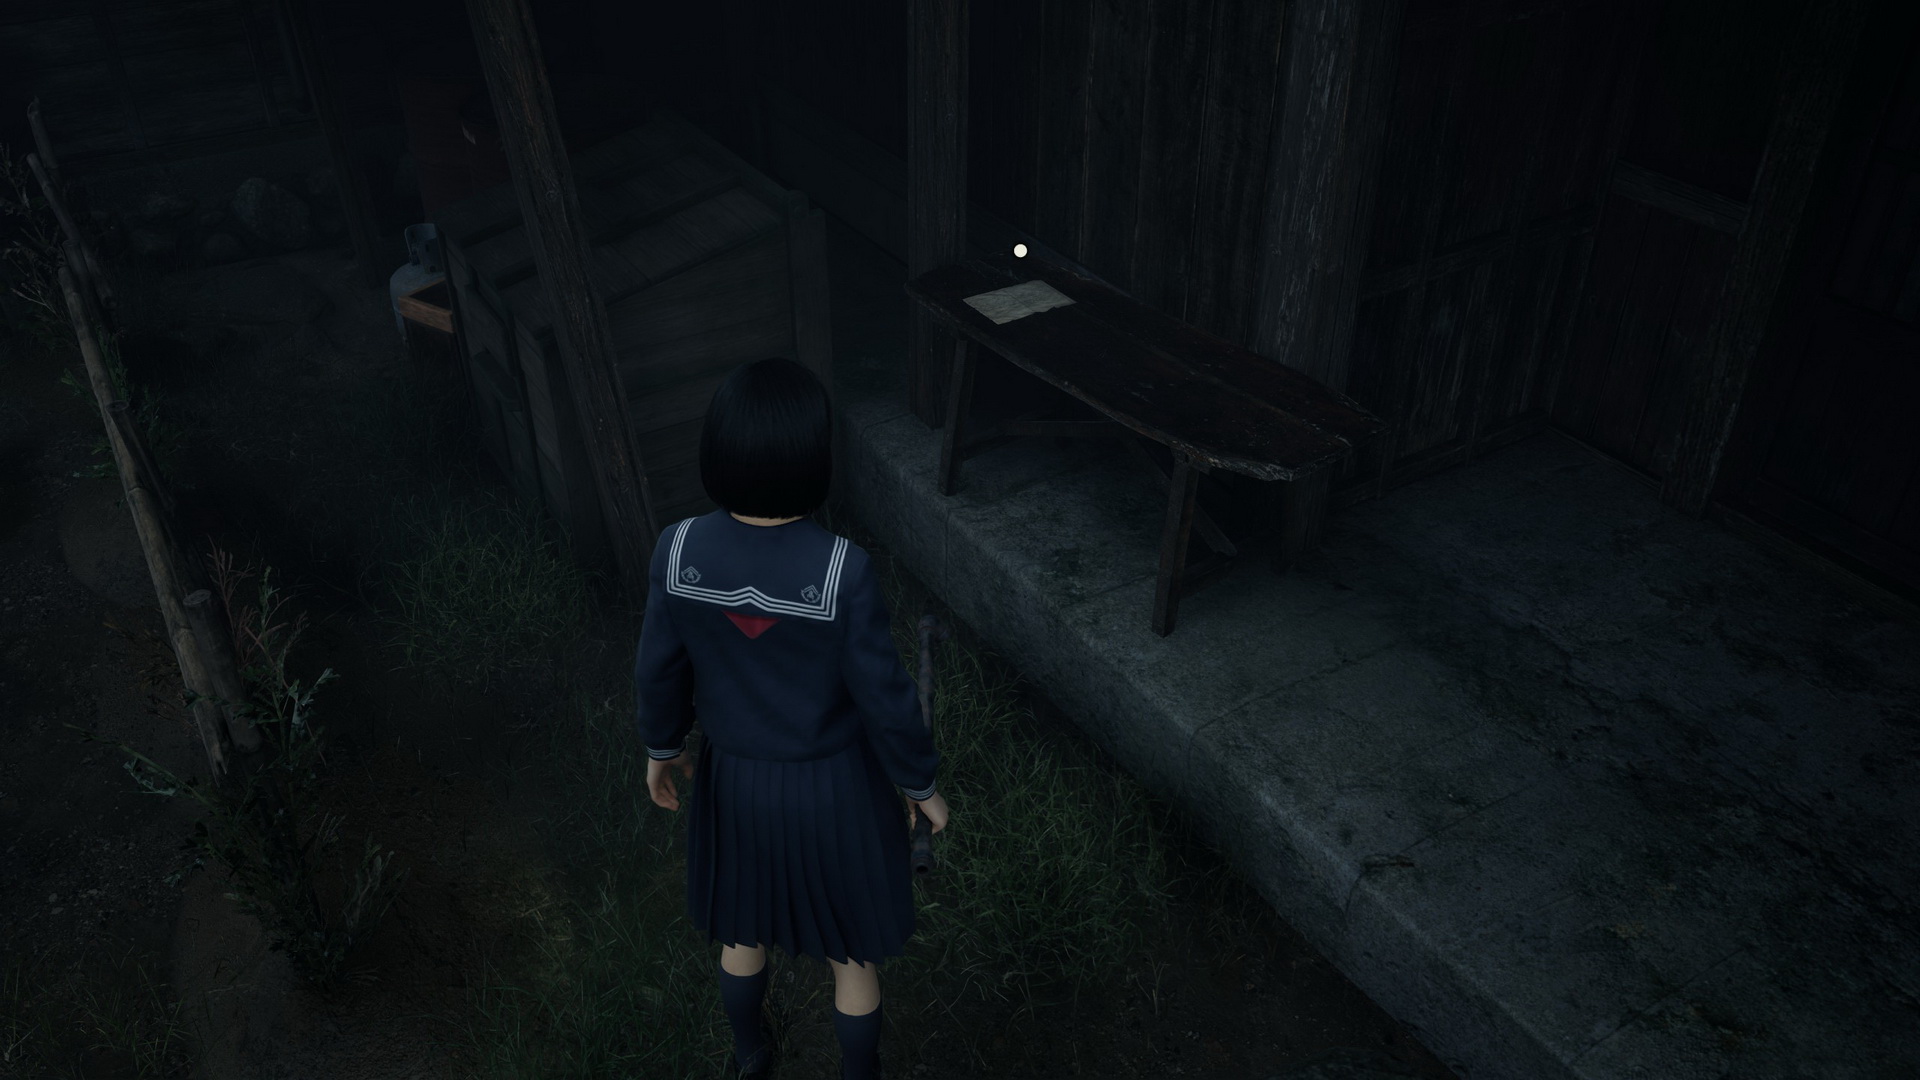
Trace back to the beer poster and take the alley to the north with another monster. Enter a garden behind a house to your right to collect a divine by a water pump and a Local Doctor’s Note (1) at the bench.
 |
 |
Exit the garden and head west and then north to find yourself on the northern street on the opposite side of the road block that you saw earlier in the game. From here, head east and visit the construction site to the north to find a Steel Pipe and a Kudzu Tea (⛩100) in the box to the left. Prepare to be ambushed by a monster in the process, though. By the ladders in the opposite corner, you’ll find another box, containing an Arare (⛩10).
Return to the street and collect a Bandage in a wooden crate before the blue truck. Continue east. You can check a crack in the wall of a house to your right. Enter the house's garden to find a Higashi (⛩80) in a red box.
New Game+: Sacred Sword PuzzleAt the inner corner of the first house on the north street, you will find the Research Journal Photo 2 and Regarding the "Legend of the Sacred Sword" (3), which are parts of the Sacred Sword Puzzle.
|

Continue east until you see another Hokora shrine. Right across the street, you will find an Upgrade: Ema next to a house (replaced with a Higashi (⛩80) if picked up in earlier games).
 |
 |
Further east, you can move some wooden boards in a shed that you can move and get yourself a Sickle. Go on to reach a street junction and watch a cutscene. At the junction, you can grab some Red Capsules next to a house.
New Game+Next to the house at the junction, you will find the Diary of Revenge (2) and an Upgrade: Ema inside the Inari-sama box (replaced by a Higashi (⛩80) if the items are already picked up in earlier games).
|
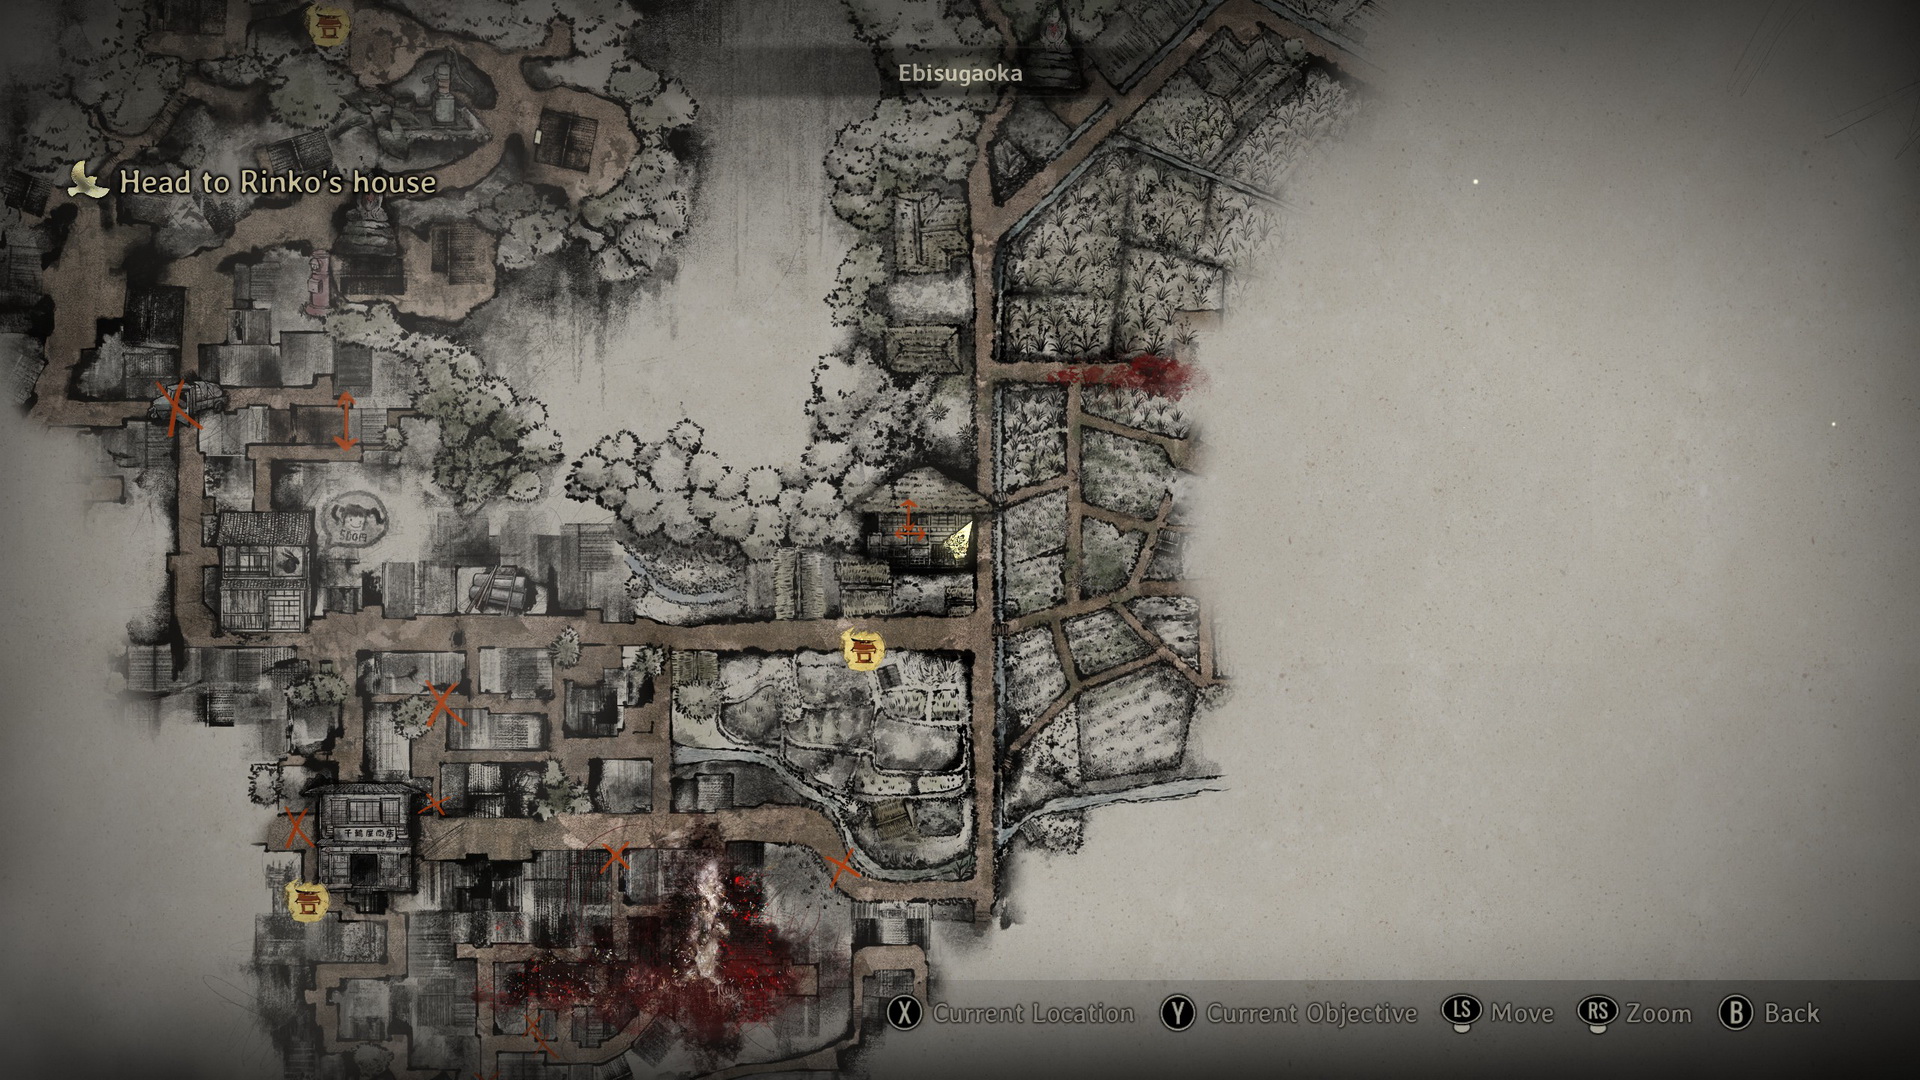
From the junction, go south to find more Red Capsules on the upside-down cart. Continue north past the house at the junction that belongs to the local doctor. A monster will attack you from a shed next to it. Exploring the house is completely optional, but you can find some collectibles along the way.
Doctor's House
The front door is locked, so go around and climb up using a ladder. Enter the house via an open window. The first room on the second floor has a motionless monster lying on a bed and a locked chest of drawers. The next room door will shut on you as you approach. Go downstairs.
New Game+You will find an Old Medical Record (1) on a rocking chair in the bedroom.
Local Doctor’s Note (5) is on a stool at the end of the corridor on the second floor.
|
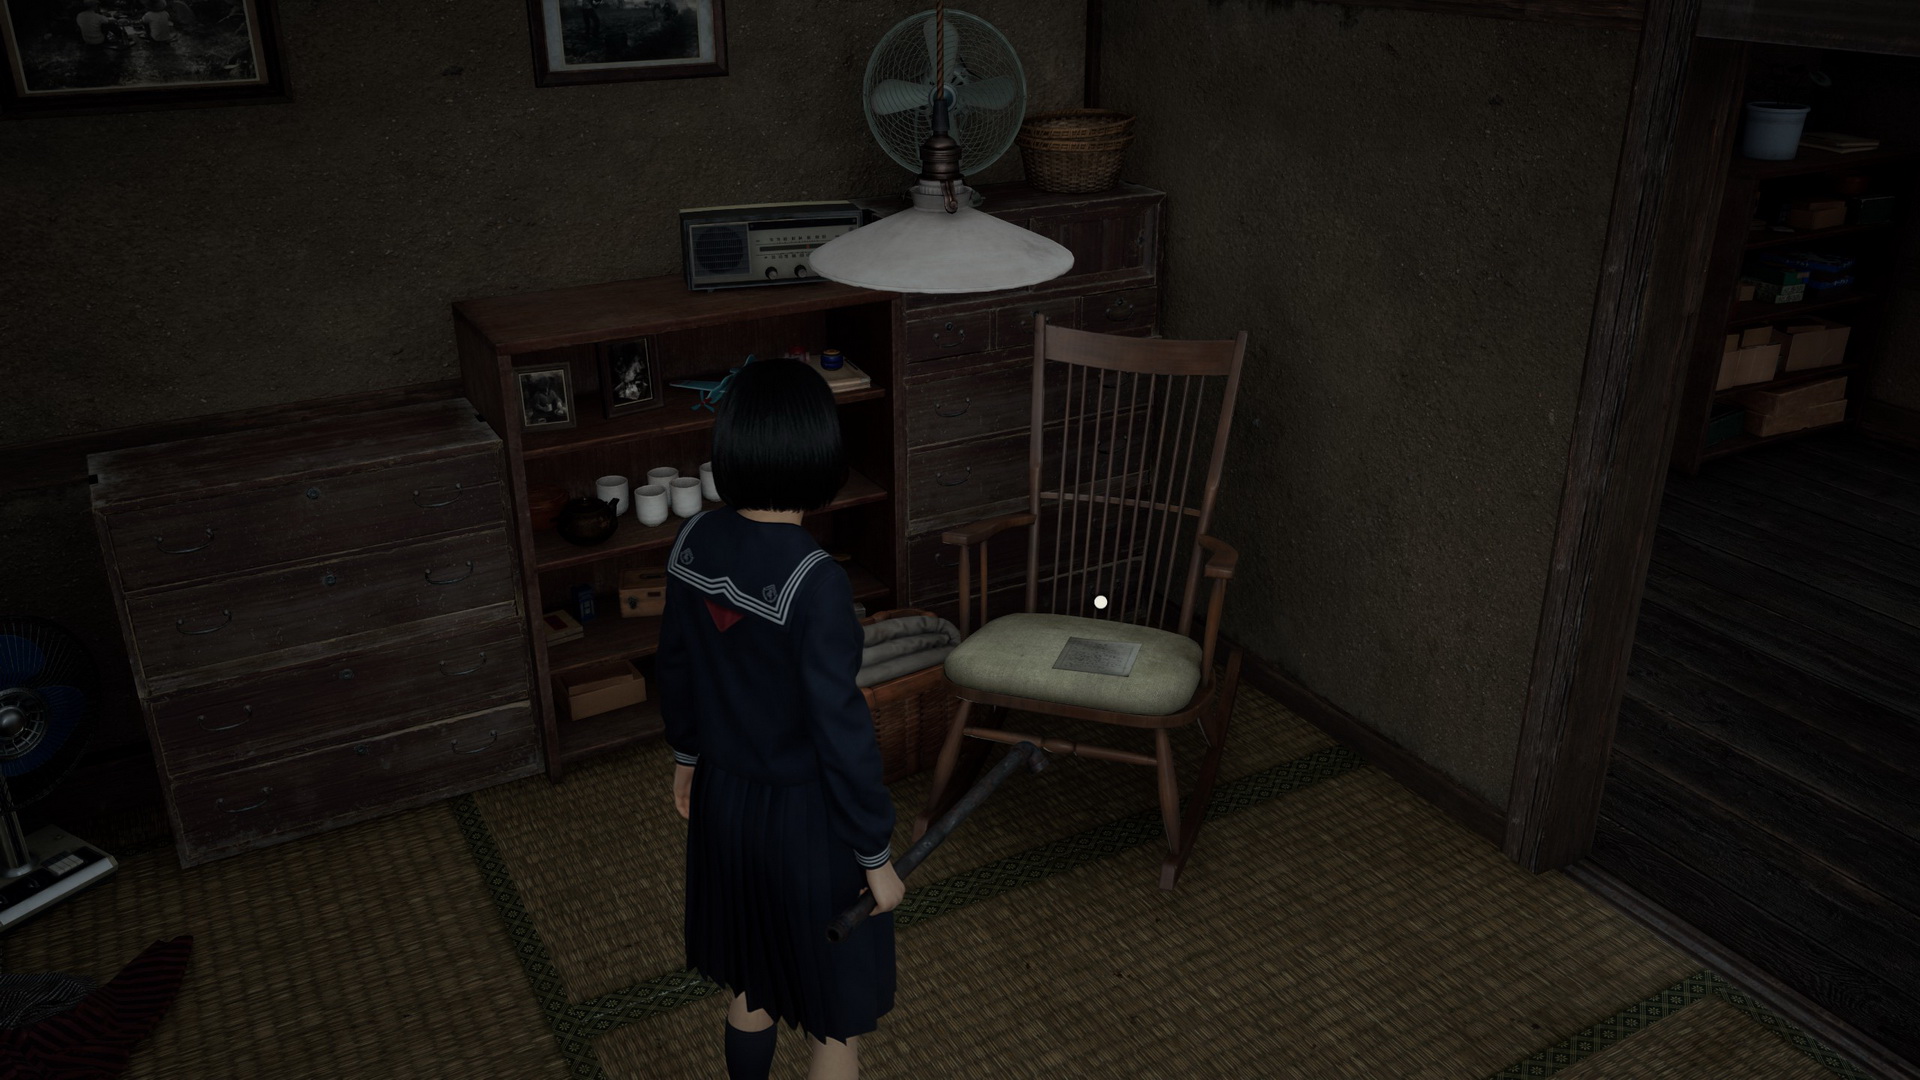
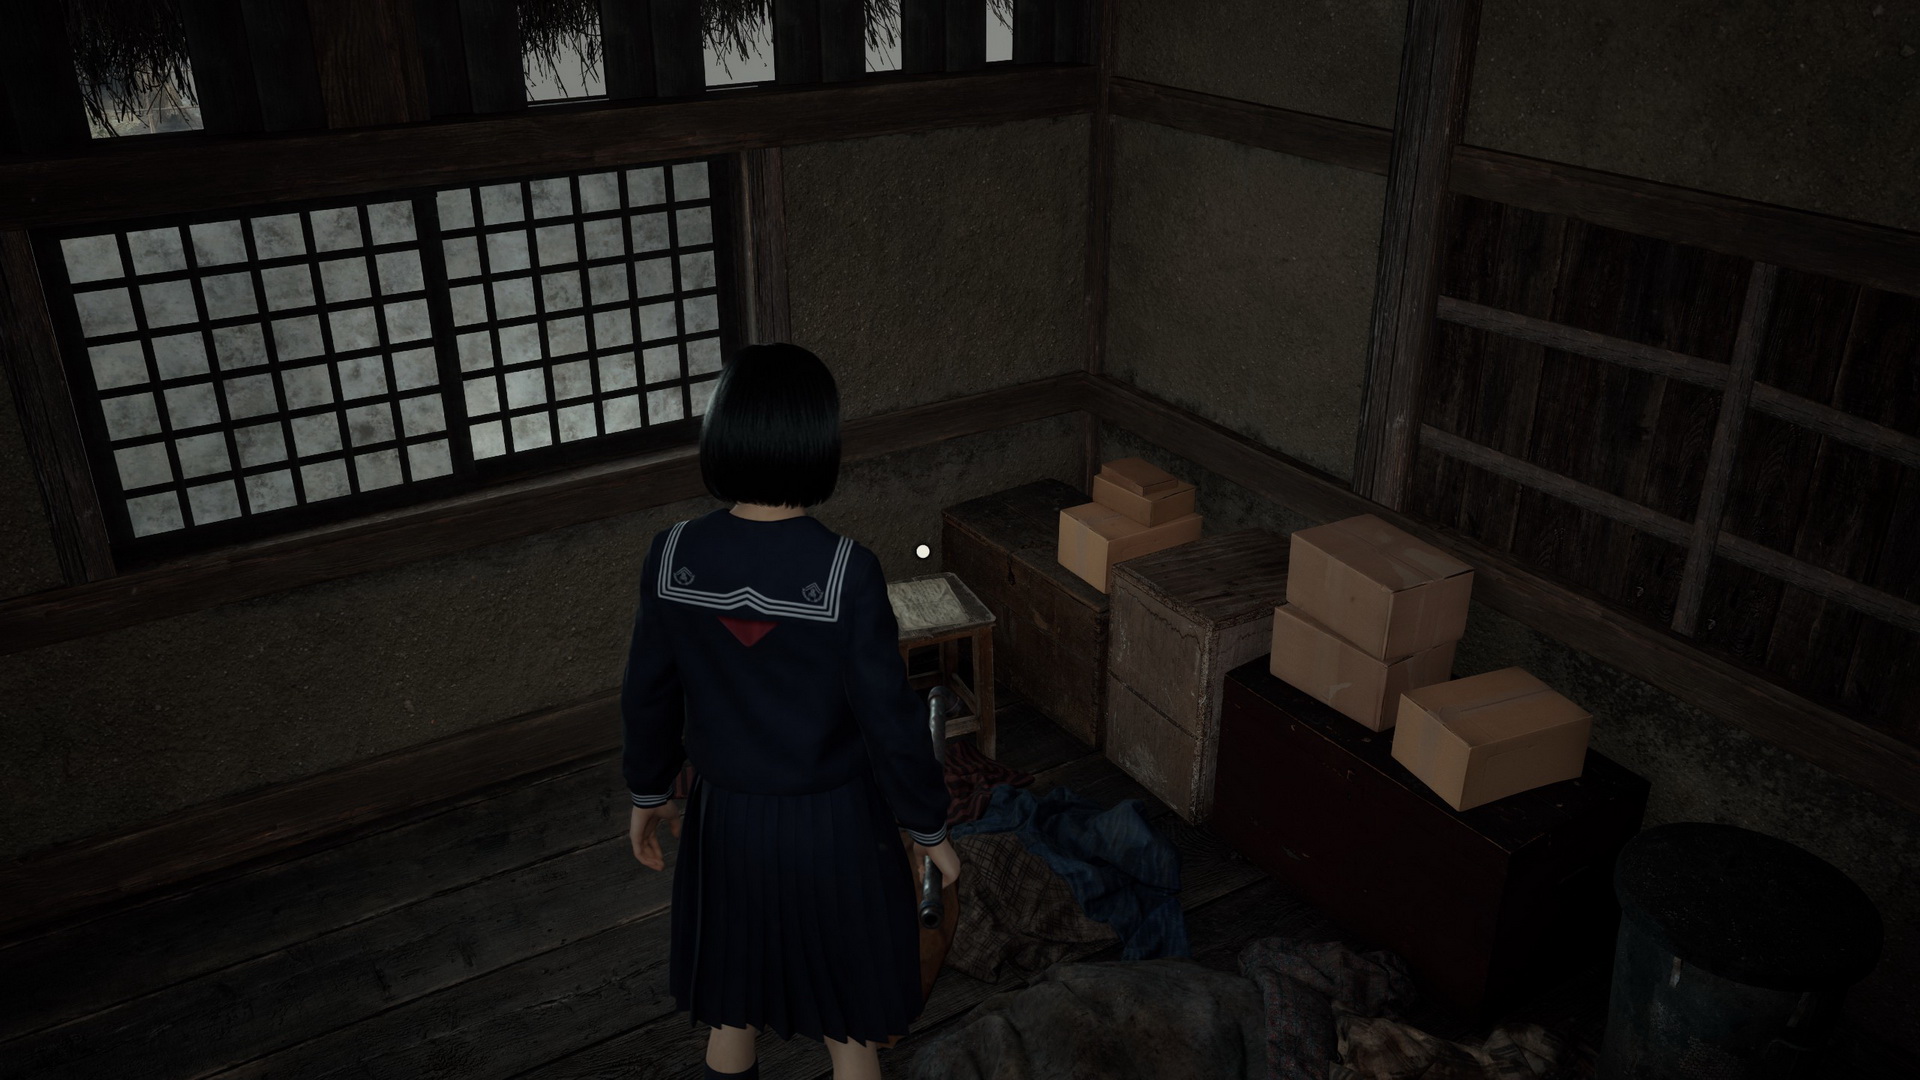
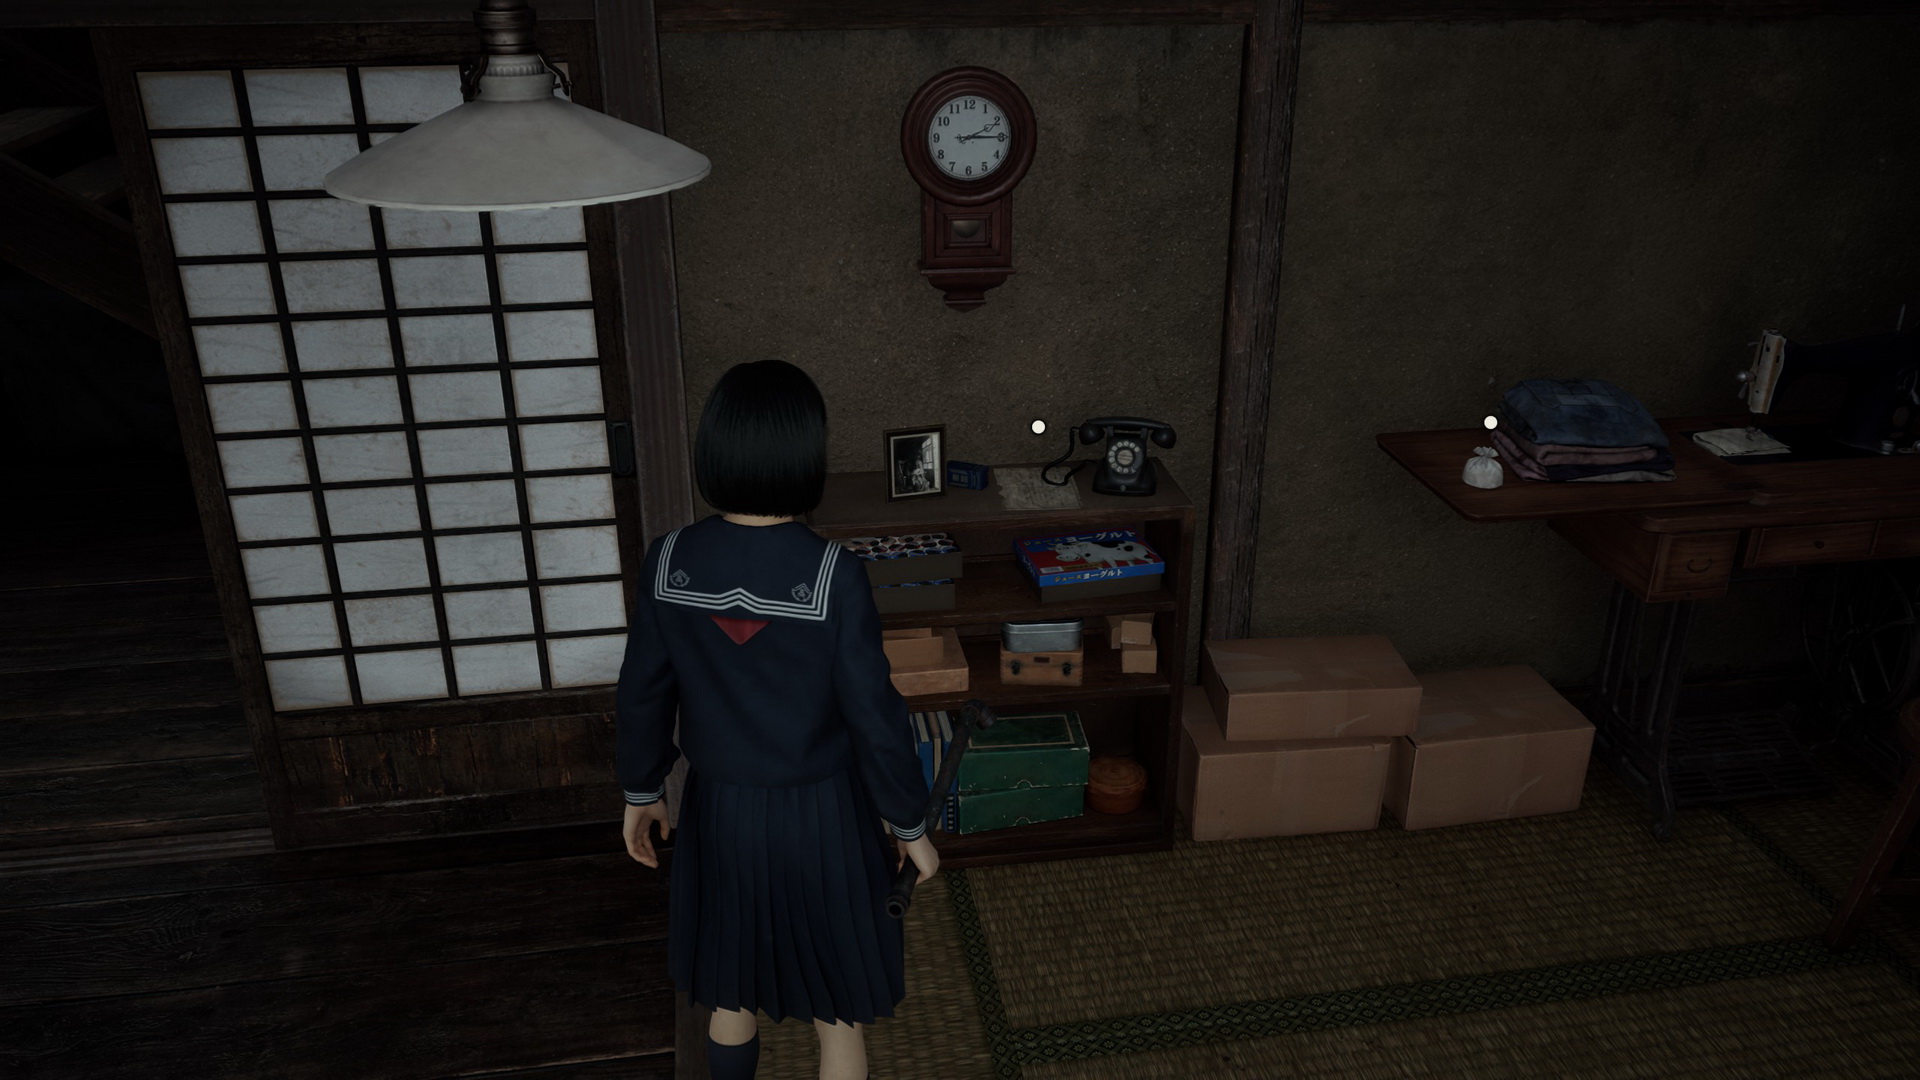
You can find an Arare (⛩10) on a table in the living area and a Kudzu Tea (⛩100) in the kitchen. Examine the box on the table in the living area, then open the top-left drawer to find the Drawer Key.
 |
 |
New Game+Local Doctor’s Note (3) is next to the telephone in the living room.
|
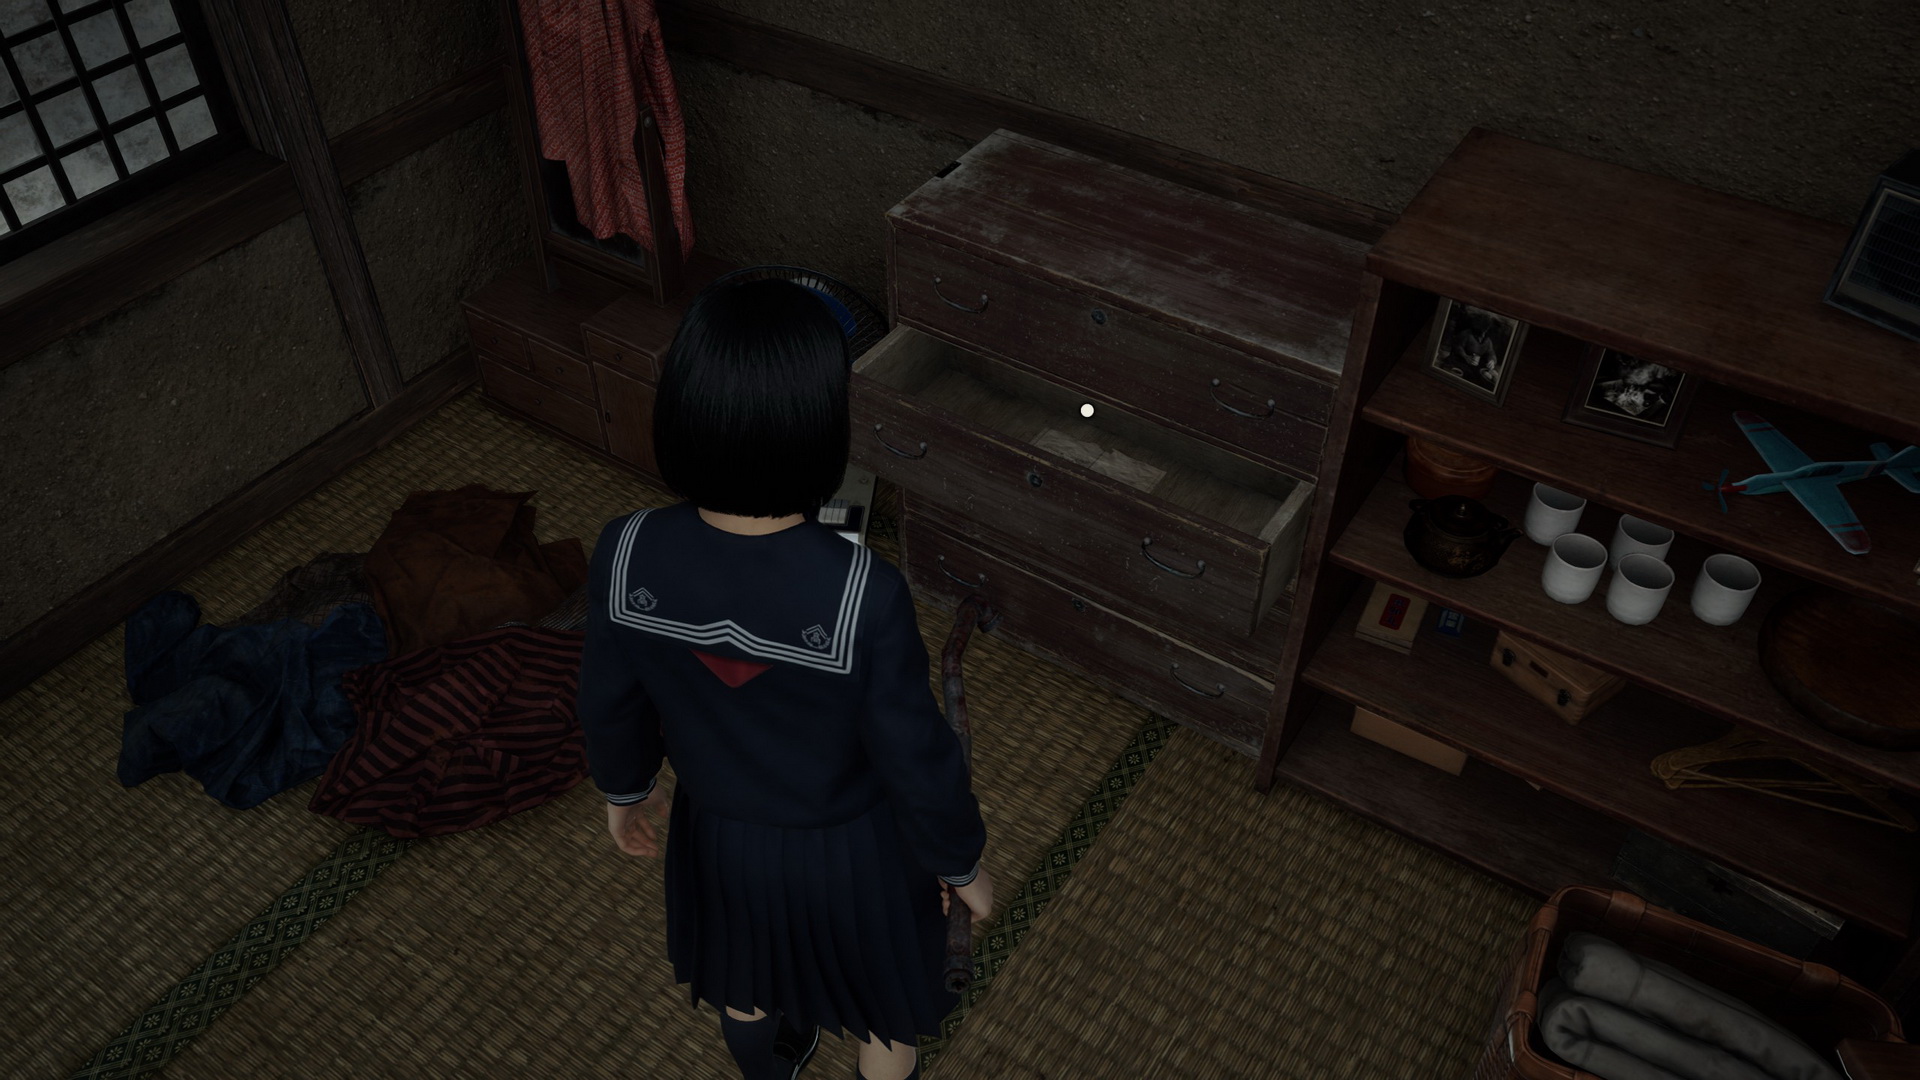
Go back to the bedroom upstairs to find that the dead monster is gone. Use the Drawer Key on the set of drawers in the room and pick up the Local Doctor’s Note (4).
 |
 |
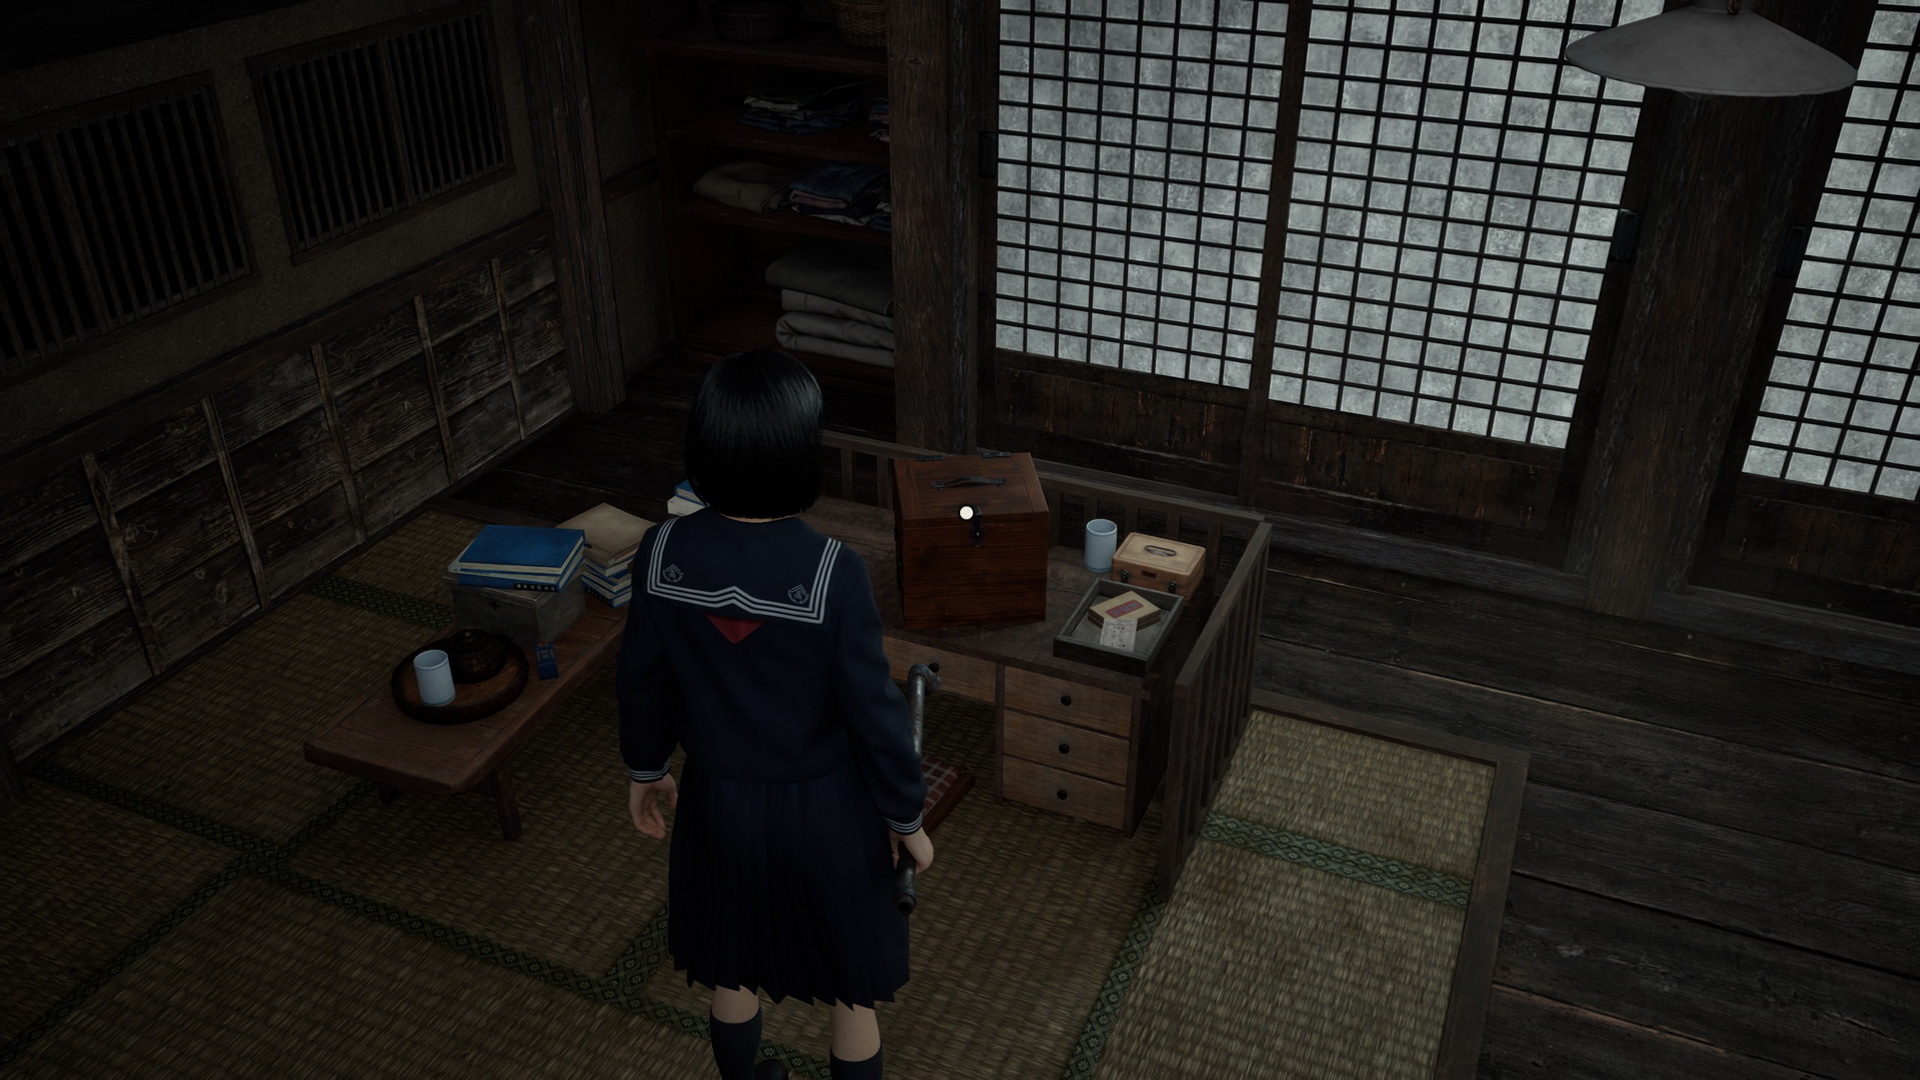
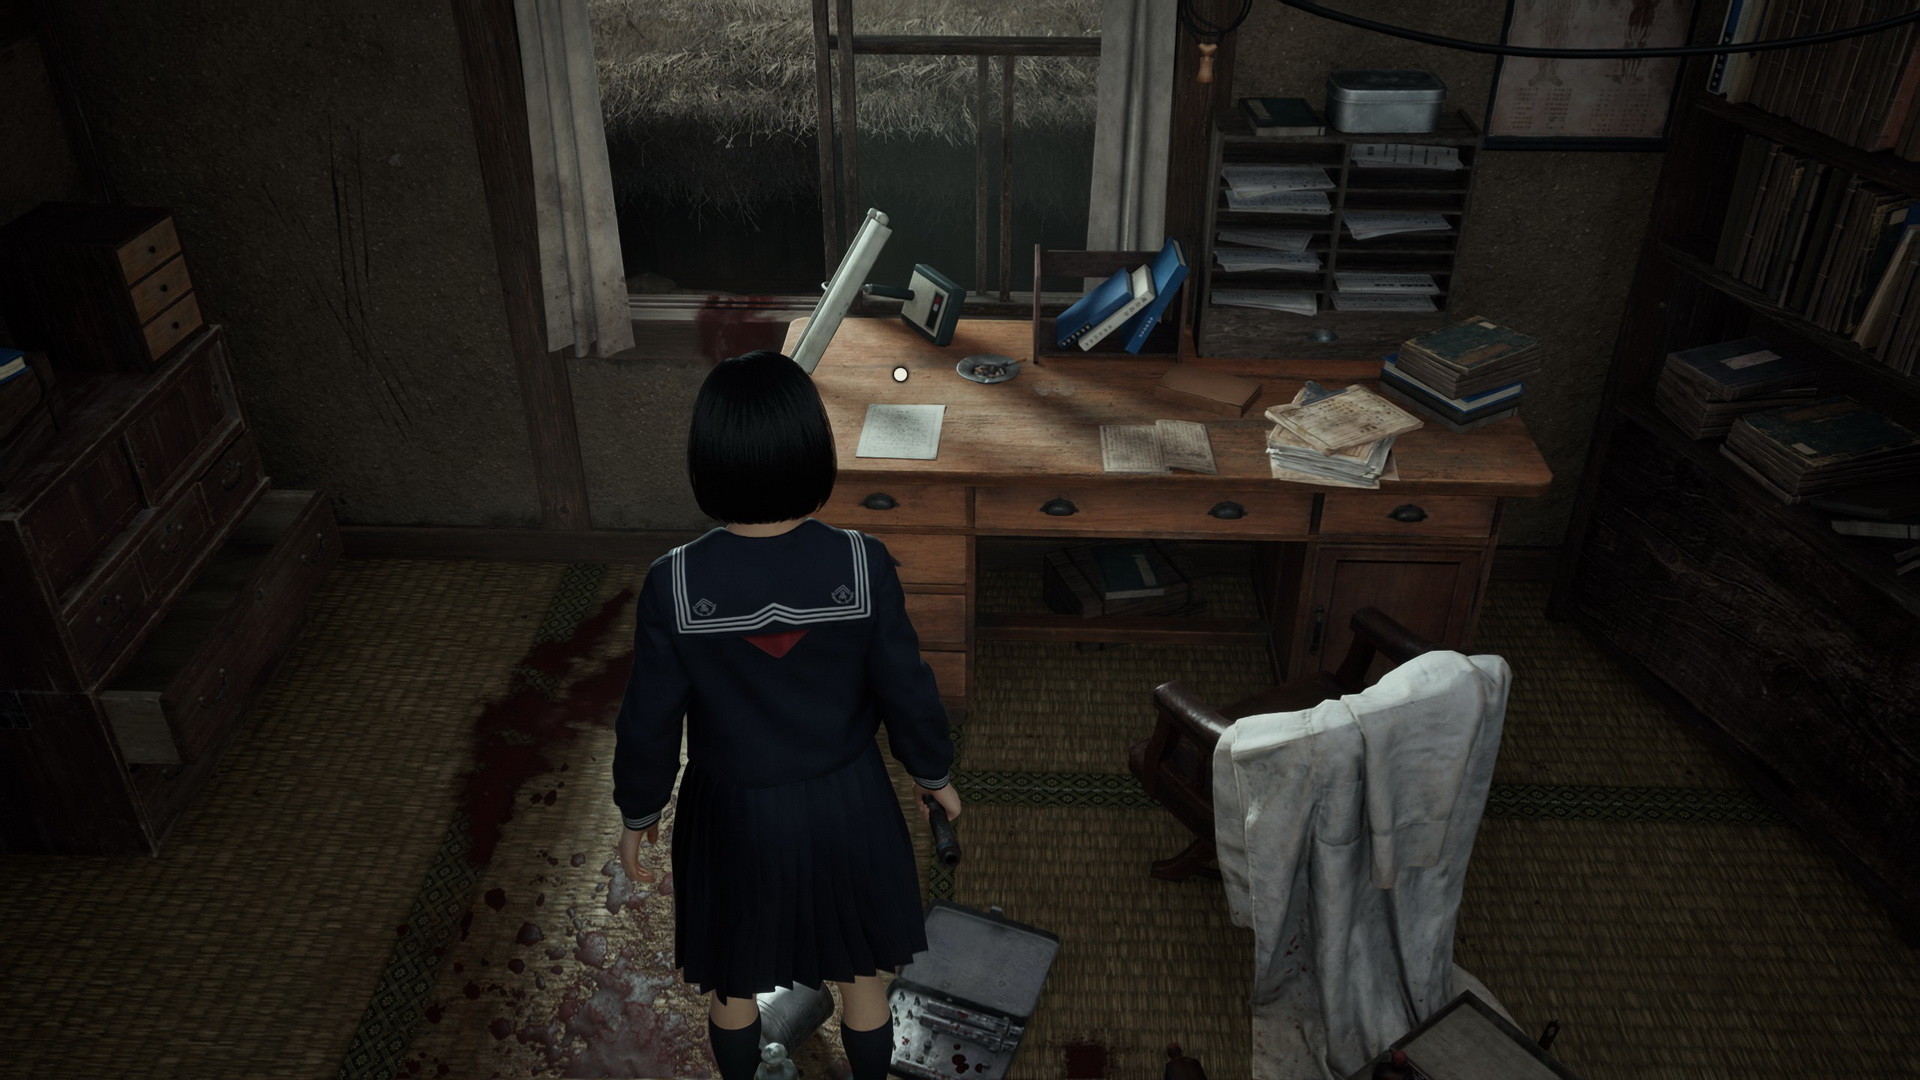
Leave the room to find that the door to the next room is now open. Enter the room that looks like the doctor's office. On the wall to the left, there are claw marks that you can inspect. Check the drawer next to find Omamori [Pine].
 |
 |
Finally, on the desk, you can pick up a document titled Autopsy Report: Undetermined Cause of Death.
 |
 |
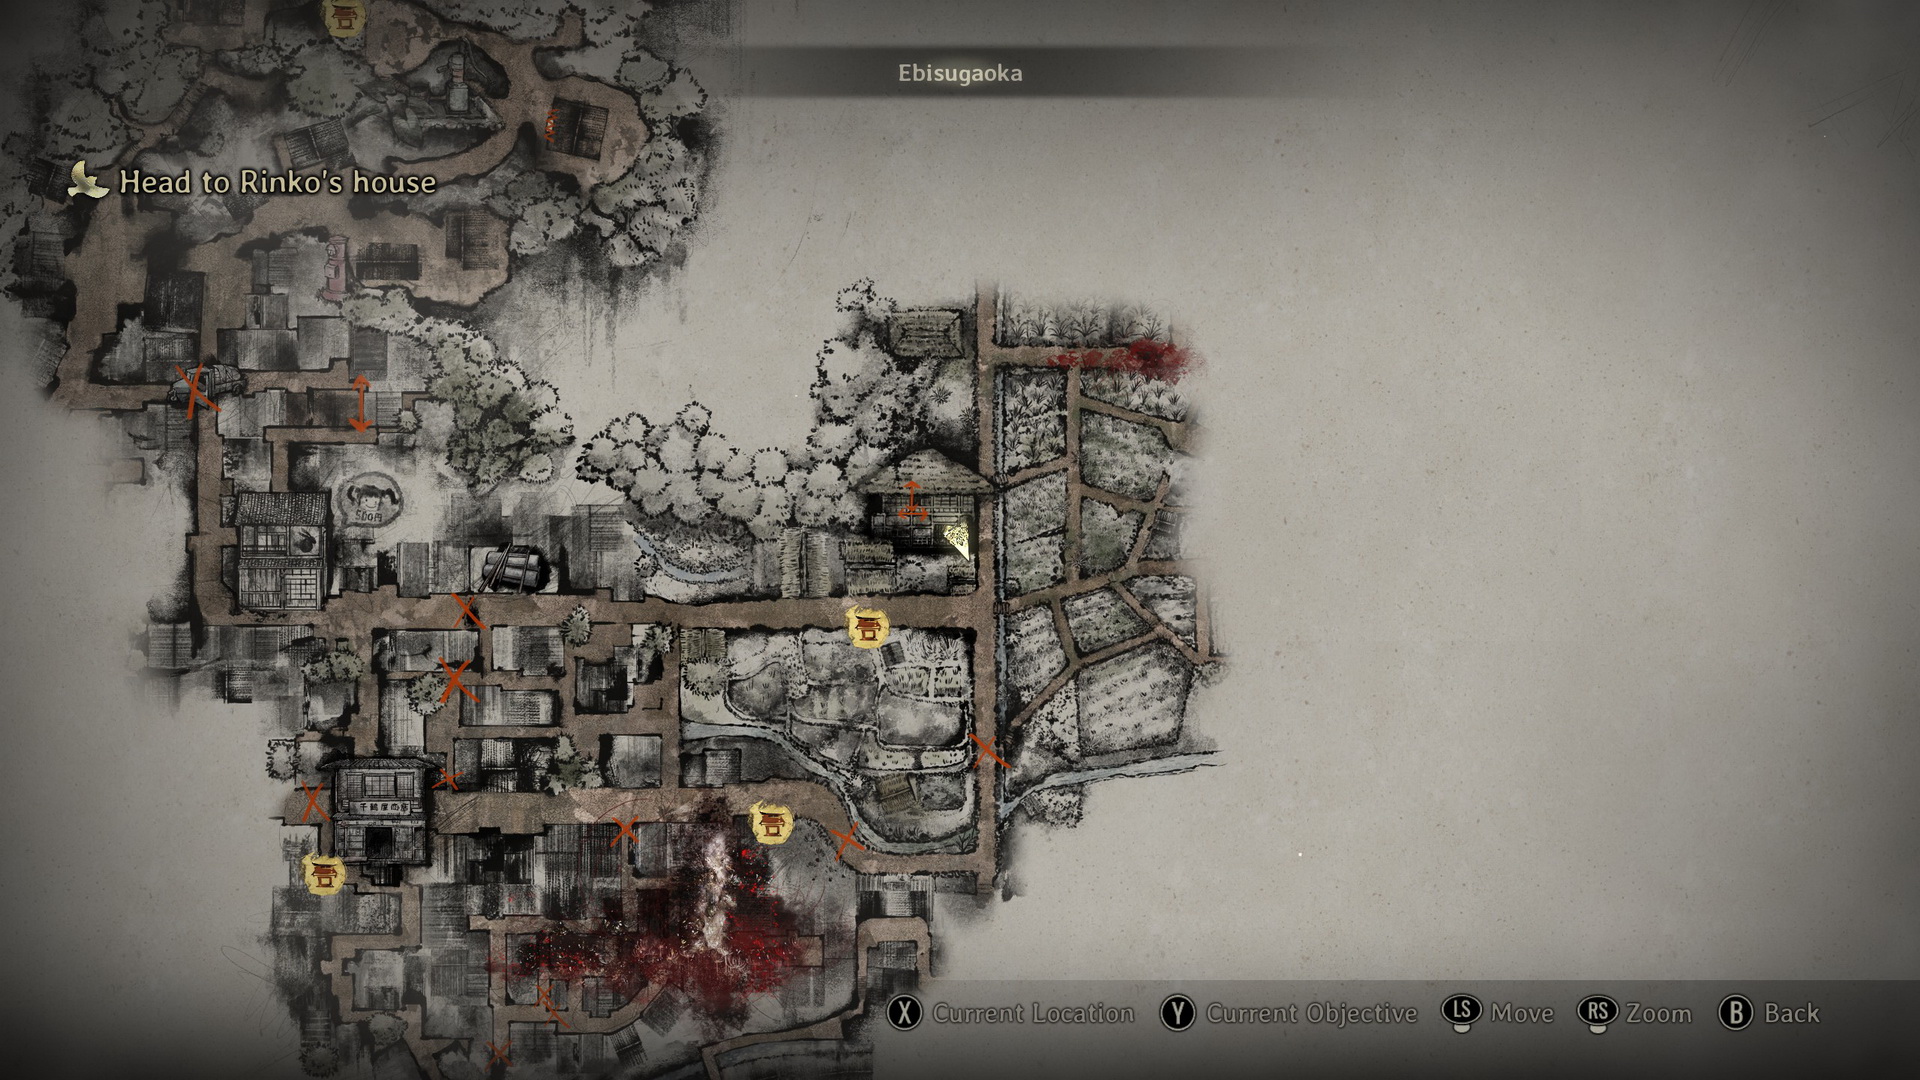
Nothing else to do here, so let's get out the way we came. On your way back to the open window, a monster will attack you coming from the bedroom. Climb back down and continue north via the main road. Check the next house's garden for a Bandage in a box on the porch to the left. Further north, go up the steps to the house, go around it and open a basket to find an Arare (⛩10).
Sennensugi Shrine
The path to the north will take you to the Sennensugi Shrine, but let's explore the northeast path first for some supplies. Grab a Steel Pipe on a barrel in a small area to the north. Continue going east, and as you pass the house, you will be ambushed by a lurking monster. You will find a Toolkit on a bench next to a house and Red Capsules in a basket at the dead end.
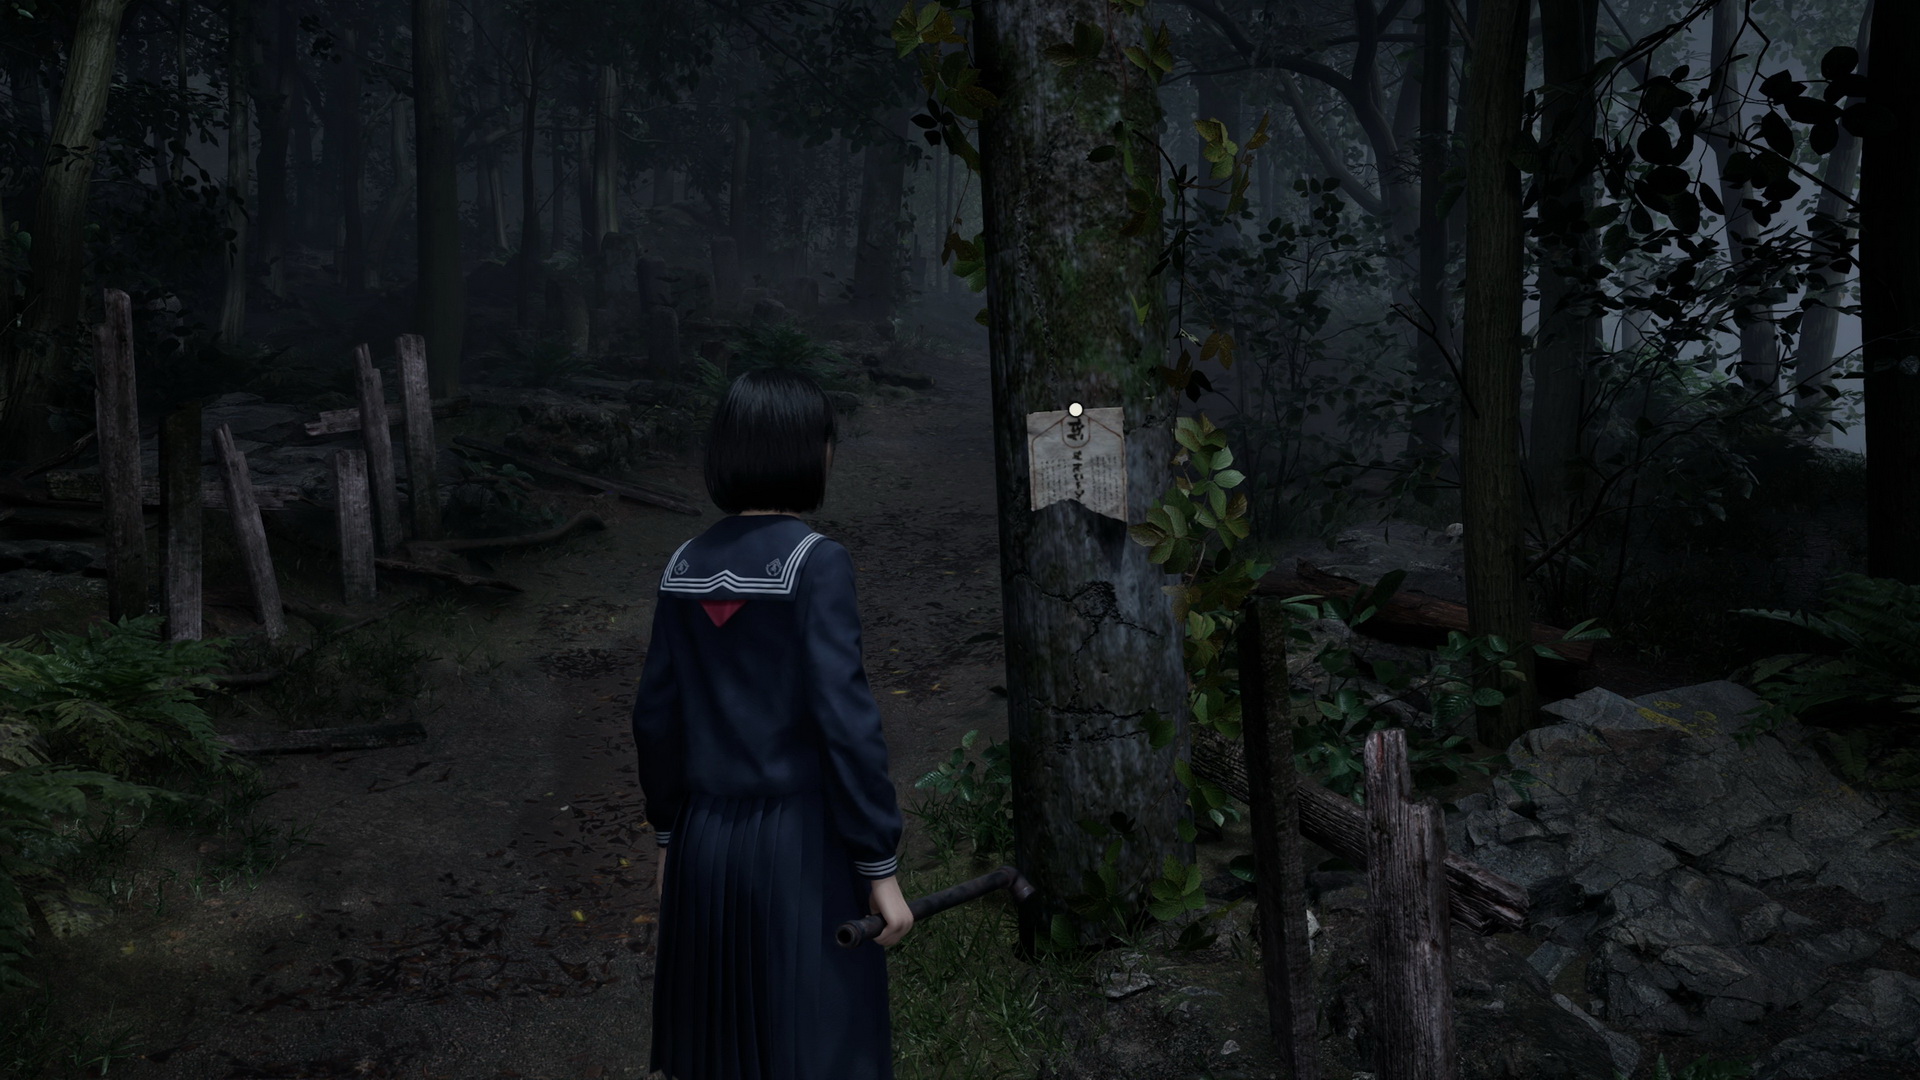
Return to the northern path and as you proceed, you will find the Sennensugi Shrine Flyer pinned to a tree.
 |
 |
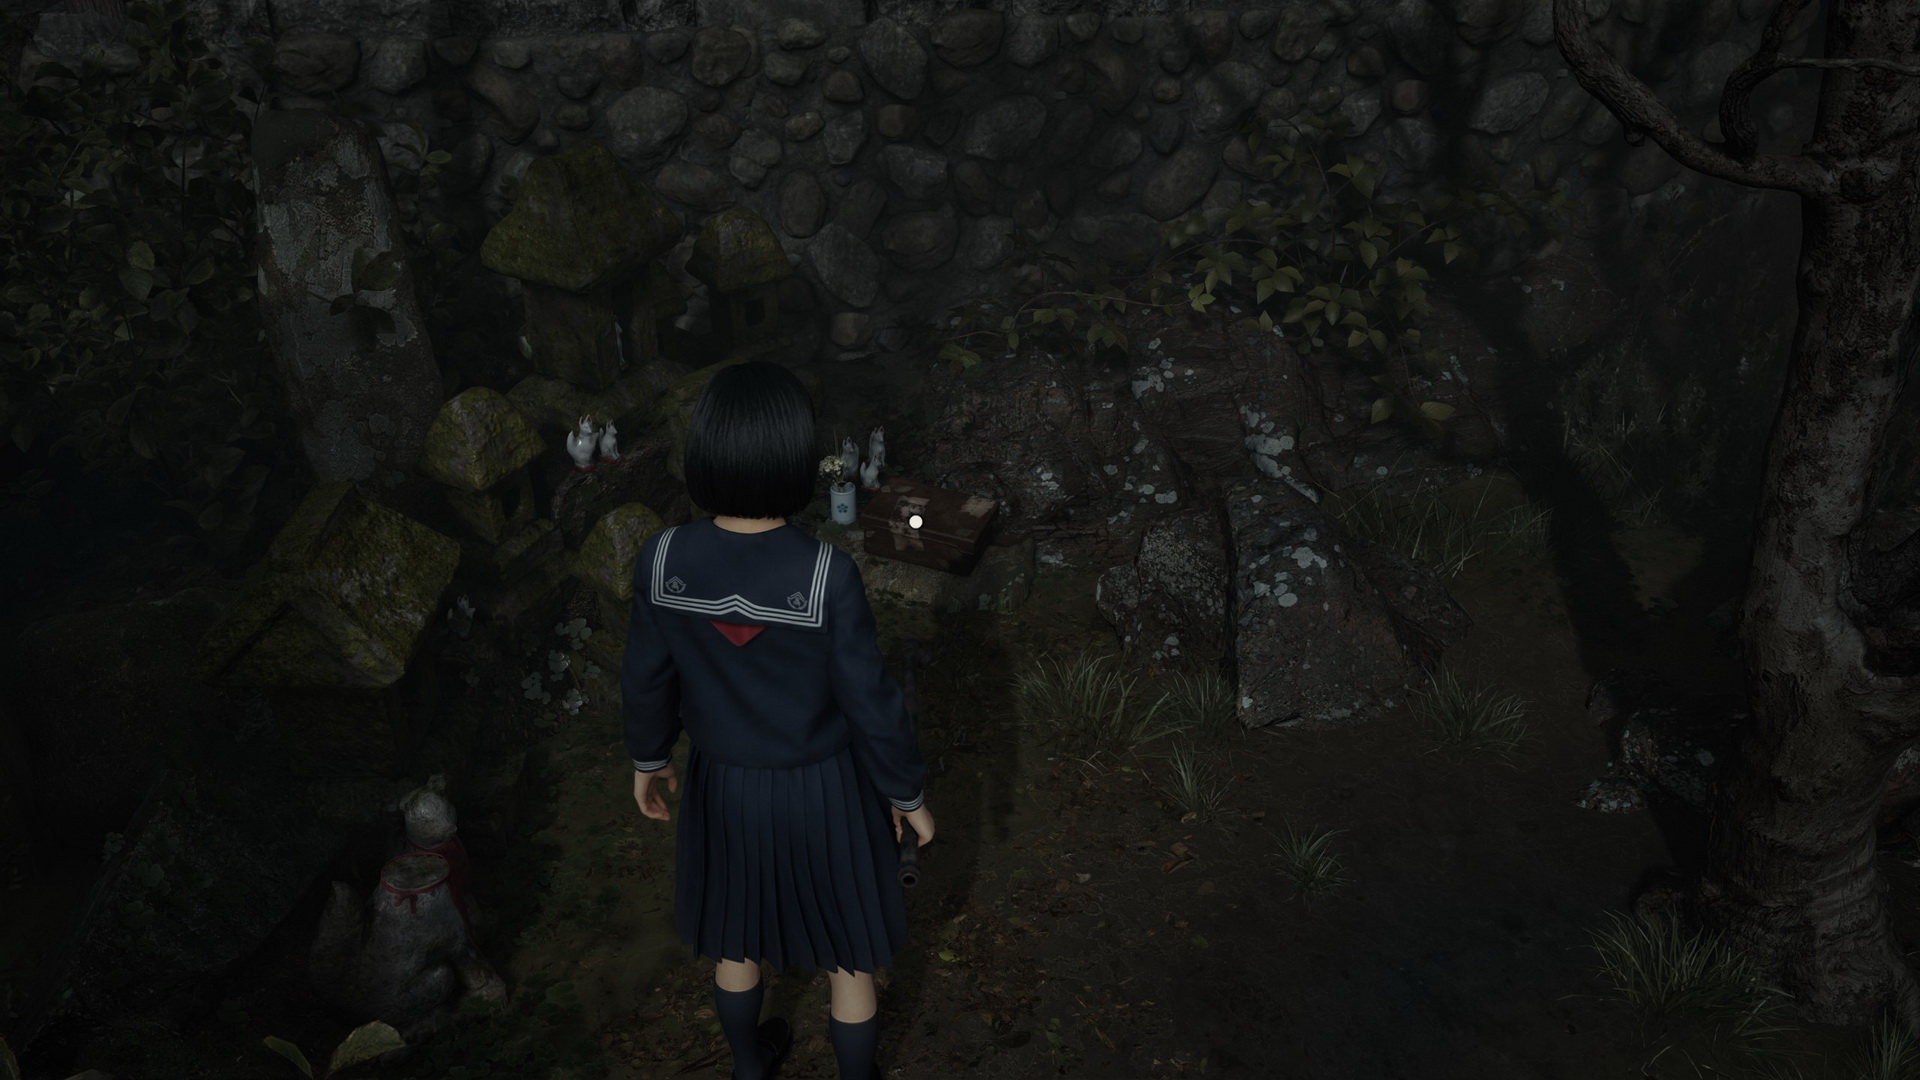
As you approach the shrine, to the left you will find the Key to Sakuko’s Mailbox and a Letter from Sakuko’s Mother in front of the stone shrines.
 |
 |
To the right of the entrance to the shrine, you can get a Divine Water (⛩50). On the right side, you will also find an Antique Comb (⛩300) at one of the shrines and an Arare (⛩10) in a wooden box.
New Game+: Sacred Sword PuzzleA Rusted Flask is at a small shrine next to the Antique Comb.
Go downhill to the crossroads and take the left turn. Enter the outdoor workshop area and find the second Jizo statue in its back. Interact with the statue to offer the Rusted Flask (2/5).
|


New Game++: Sacred SwordThe Sacred Sword will be in place of the Rusted Flask left at this Jizo statue previously. You will need the sword for Ending 4.
|


With the collected key, you can now get back to Sakuko's house to collect a valuable item as well as get a trophy/achievement, but that will require getting all the way back across the town. Note that you will also be able to collect it much later in the game if you choose to skip it now. Backtrack all the way to the Chizuruya General Store, then head north to Sakuko's house, where you first met her. Open the residence's mailbox with the Key to Sakuko’s Mailbox to receive the Omamori [Spider] and a Letter from the Hospital.
 |
 |
Trophy/Achievement: A Federal Offense |

Open the residence's mailbox with the key. |
To the north, you can also find a Bandage at the alleyway corner. And in the western street, you can grab a Chocolate (⛩80) on the back of the blue truck blocking the road and Red Capsules on a low wall to the east of the truck.
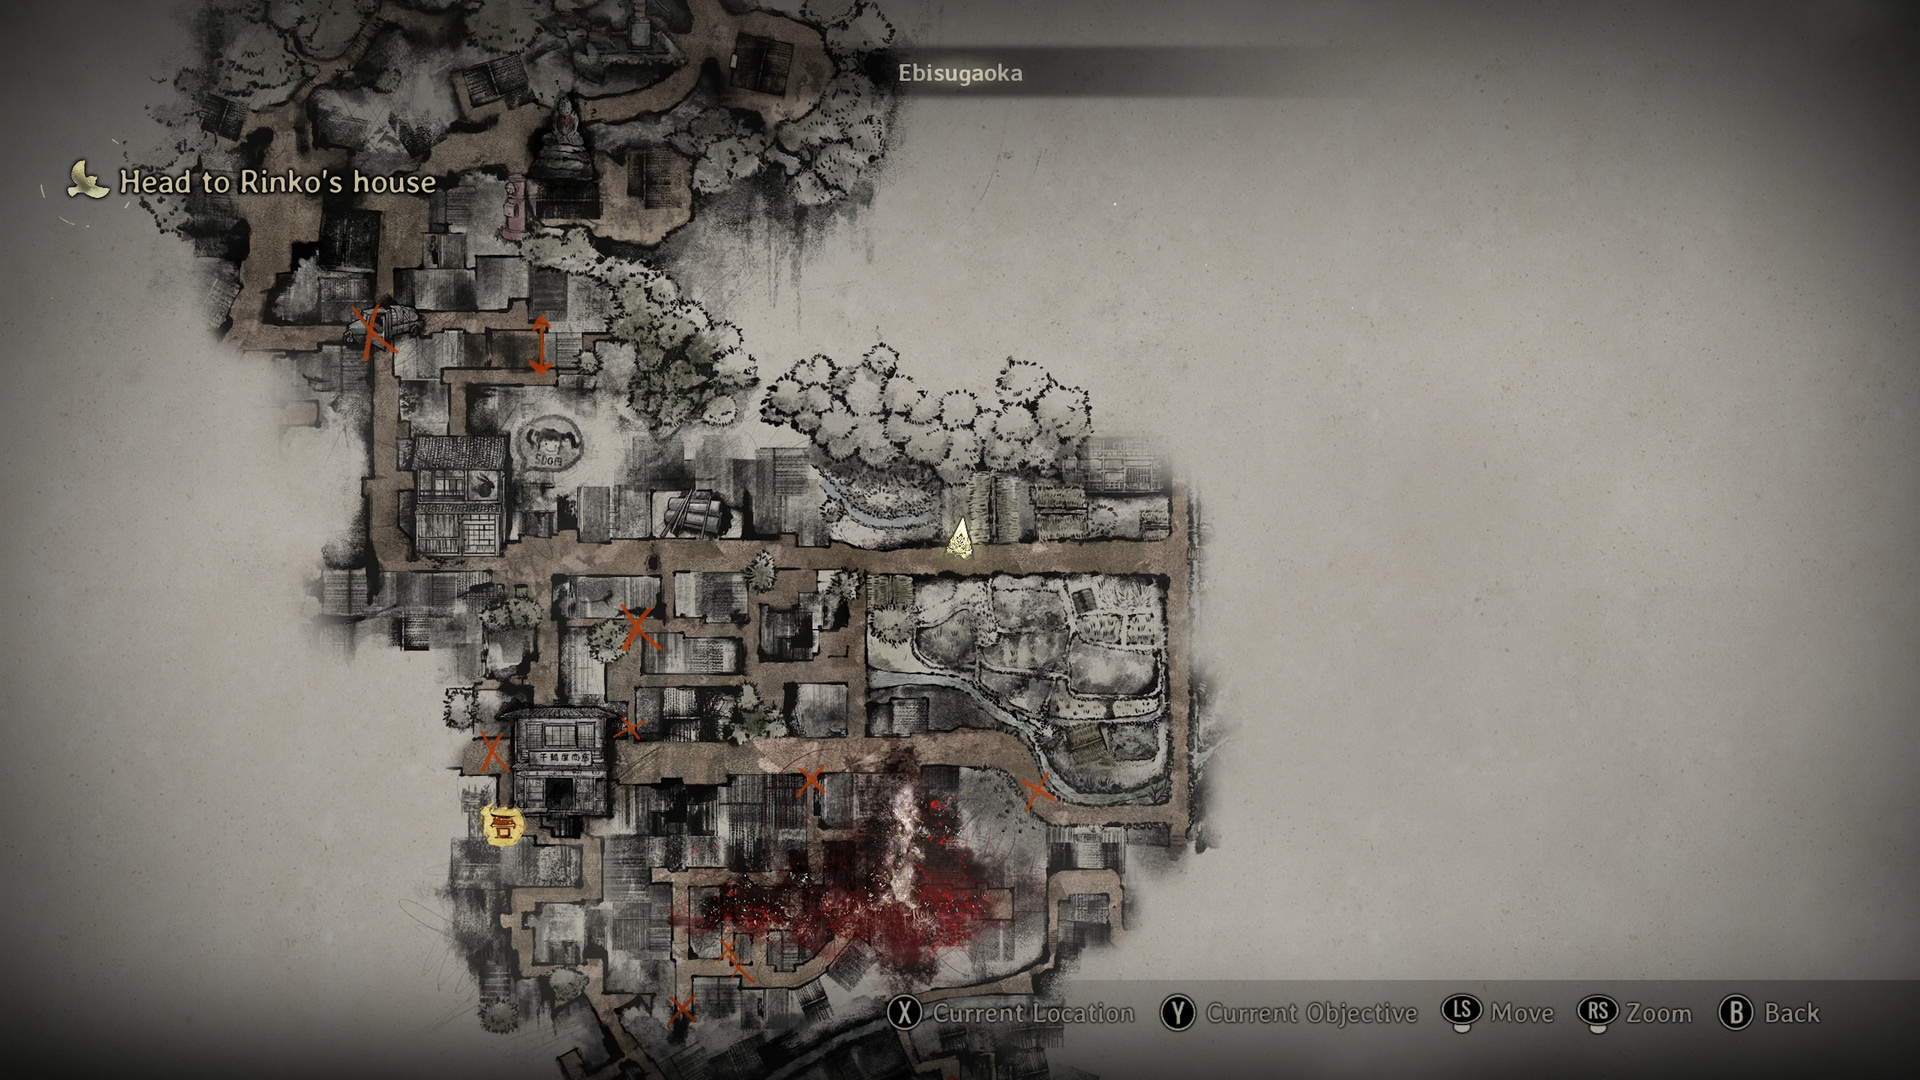
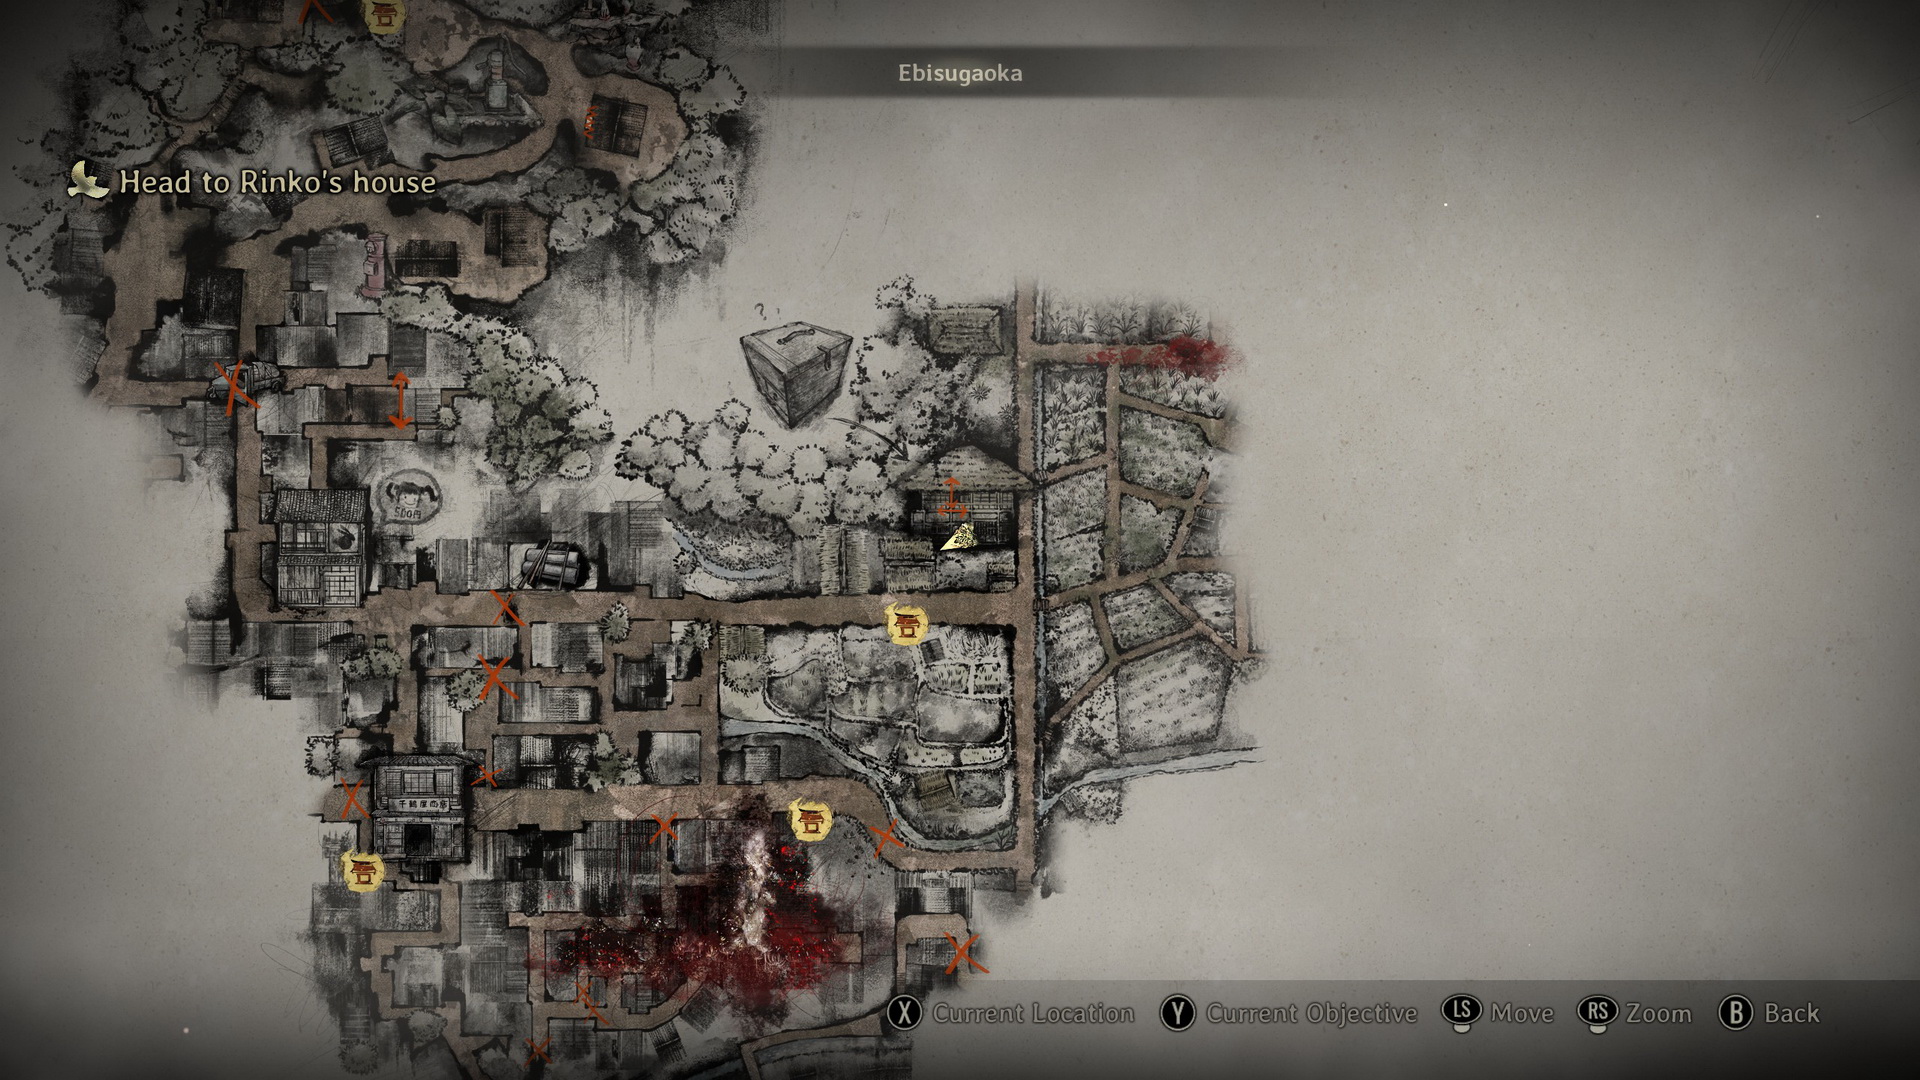
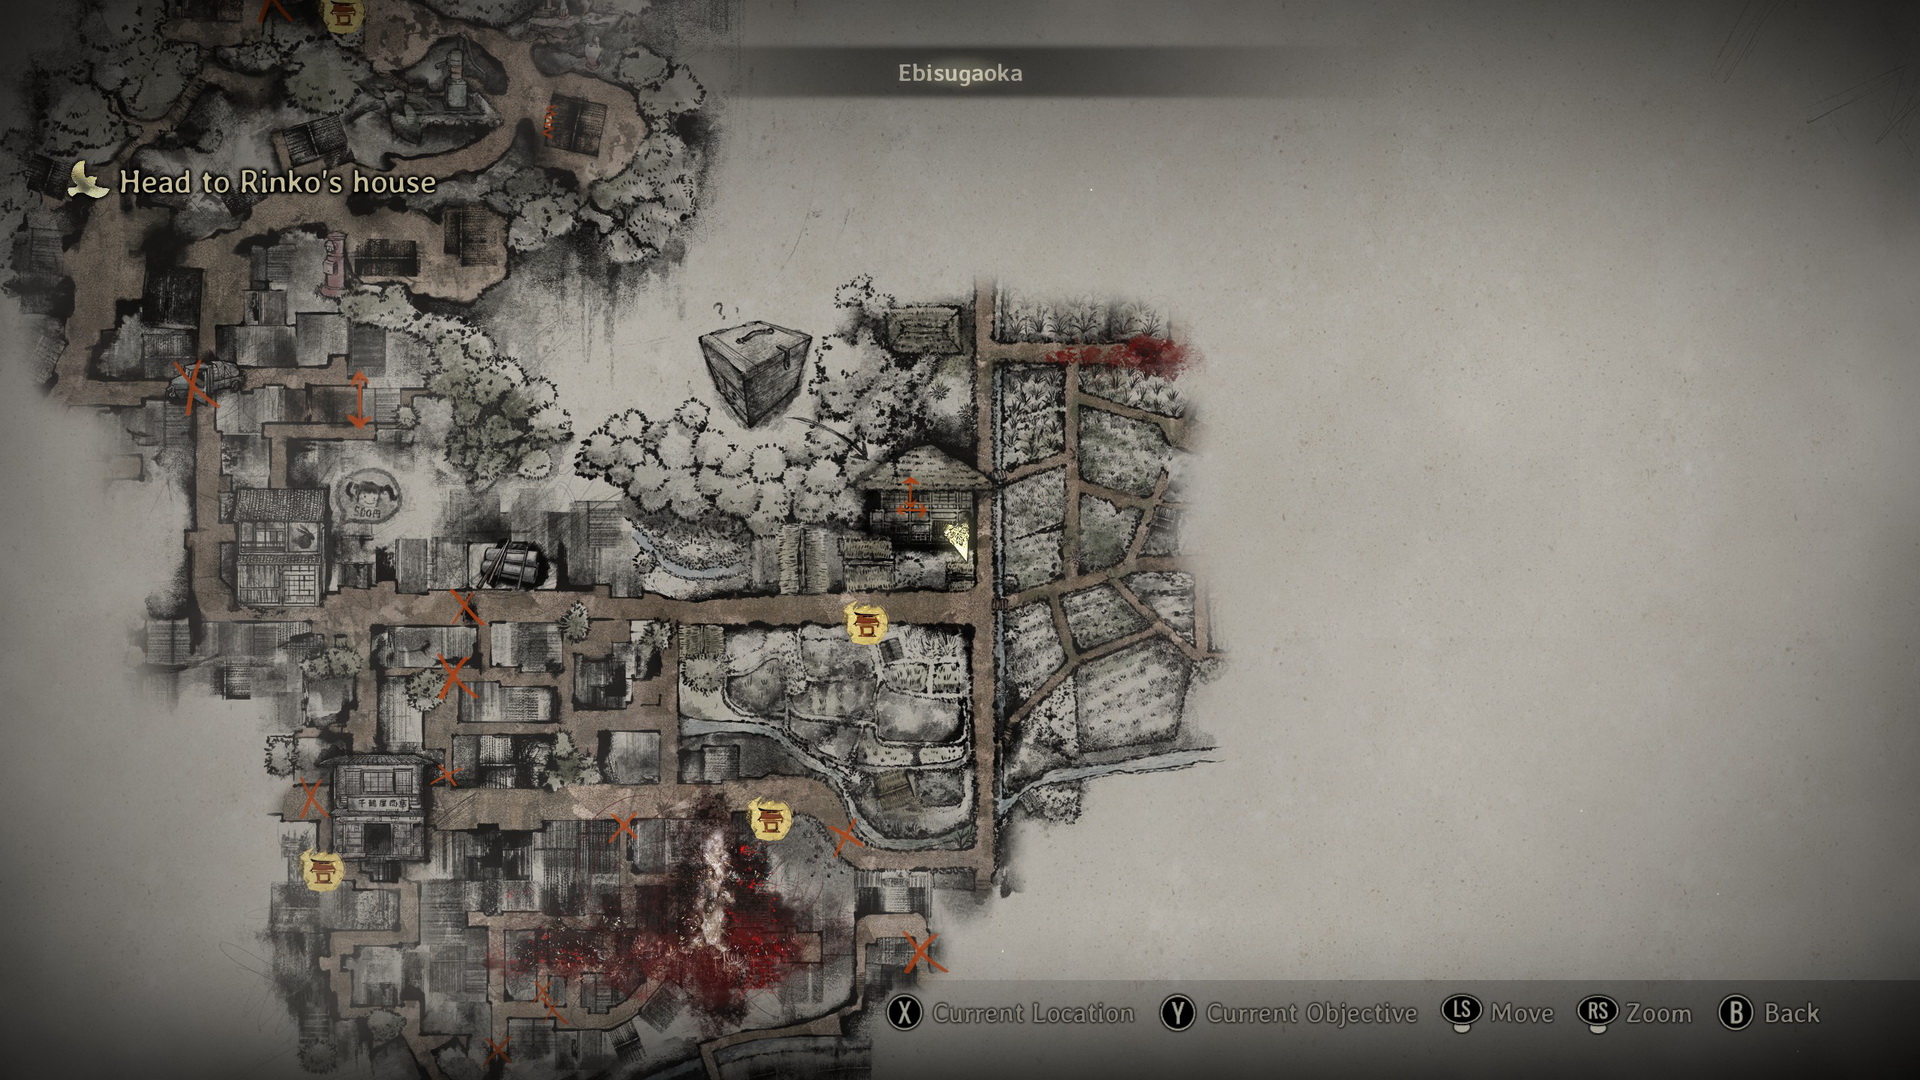
Rice fields south
At the T-junction next to the doctor's house, enter the fields to proceed. Beware of some monster walking here that will continue to appear here, so don't waste too much time. Take the first right, and then right again. This will bring you back around to the overtuned cart, but you can collect a Chocolate (⛩80) from the box at the dead end.
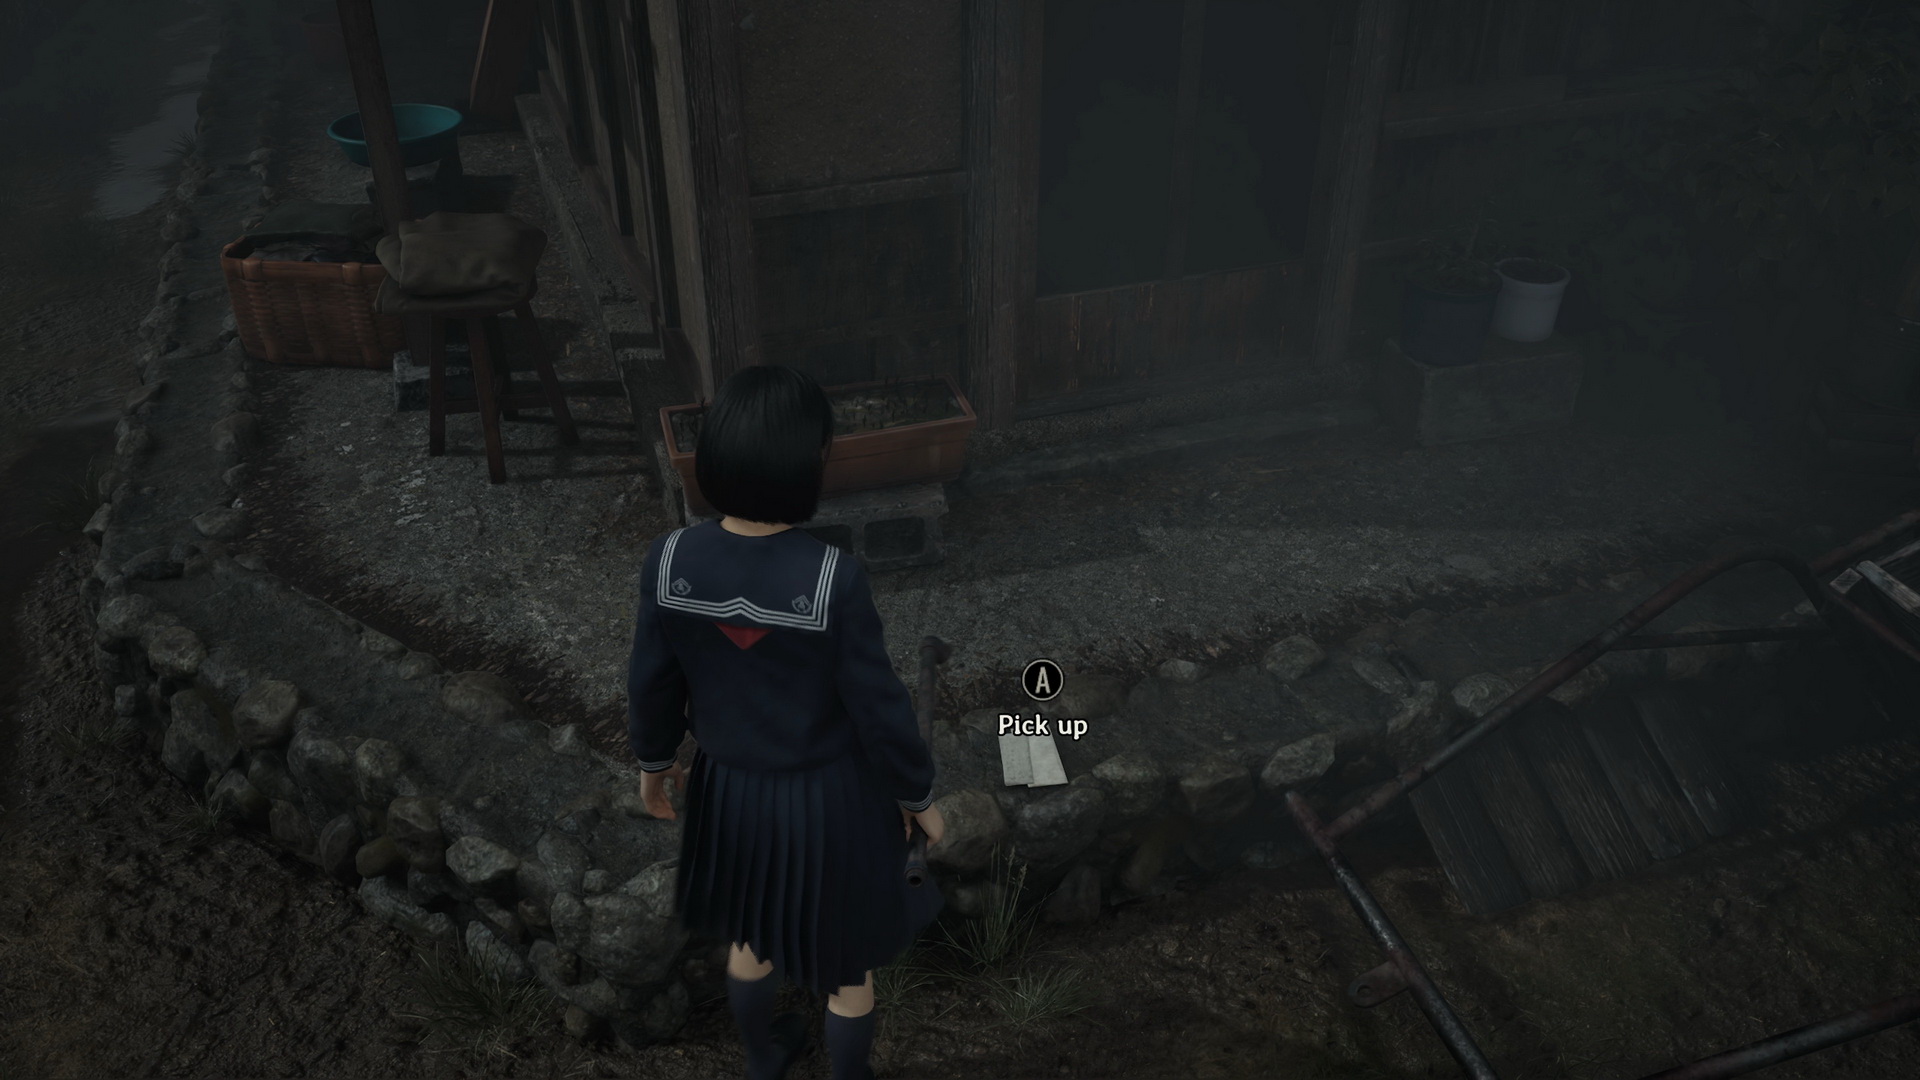
Turn around and follow the path all the way to the east until you find a house in the fields. Go around the house to find a Letter to Home.
 |
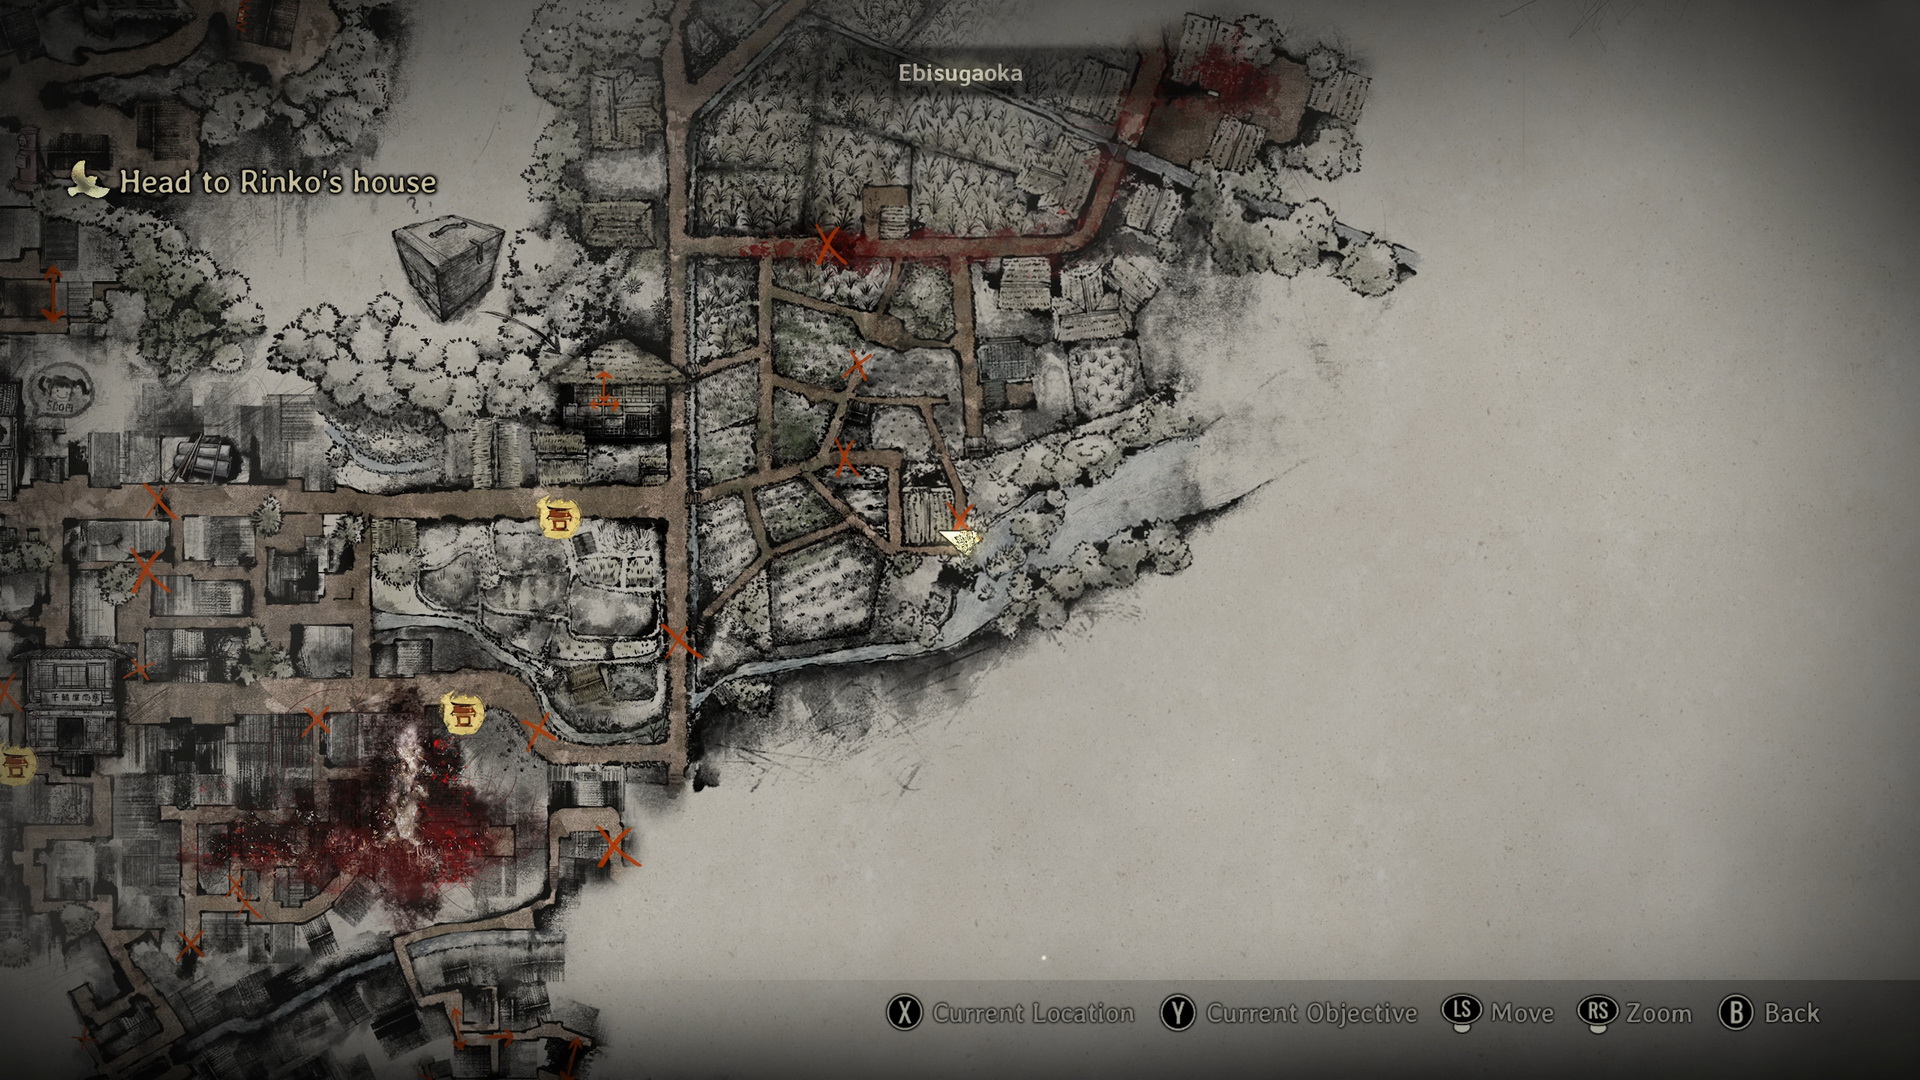 |
Go back, and another monster will already wait for you at the house's front. To the left of the entrance, there's a First Aid Kit. Take the path that runs northwest from the house, then continue going north and then east around another small building and then back to the house, where you can pick up a Dried Carcass (⛩200) at a dead end right behind it.
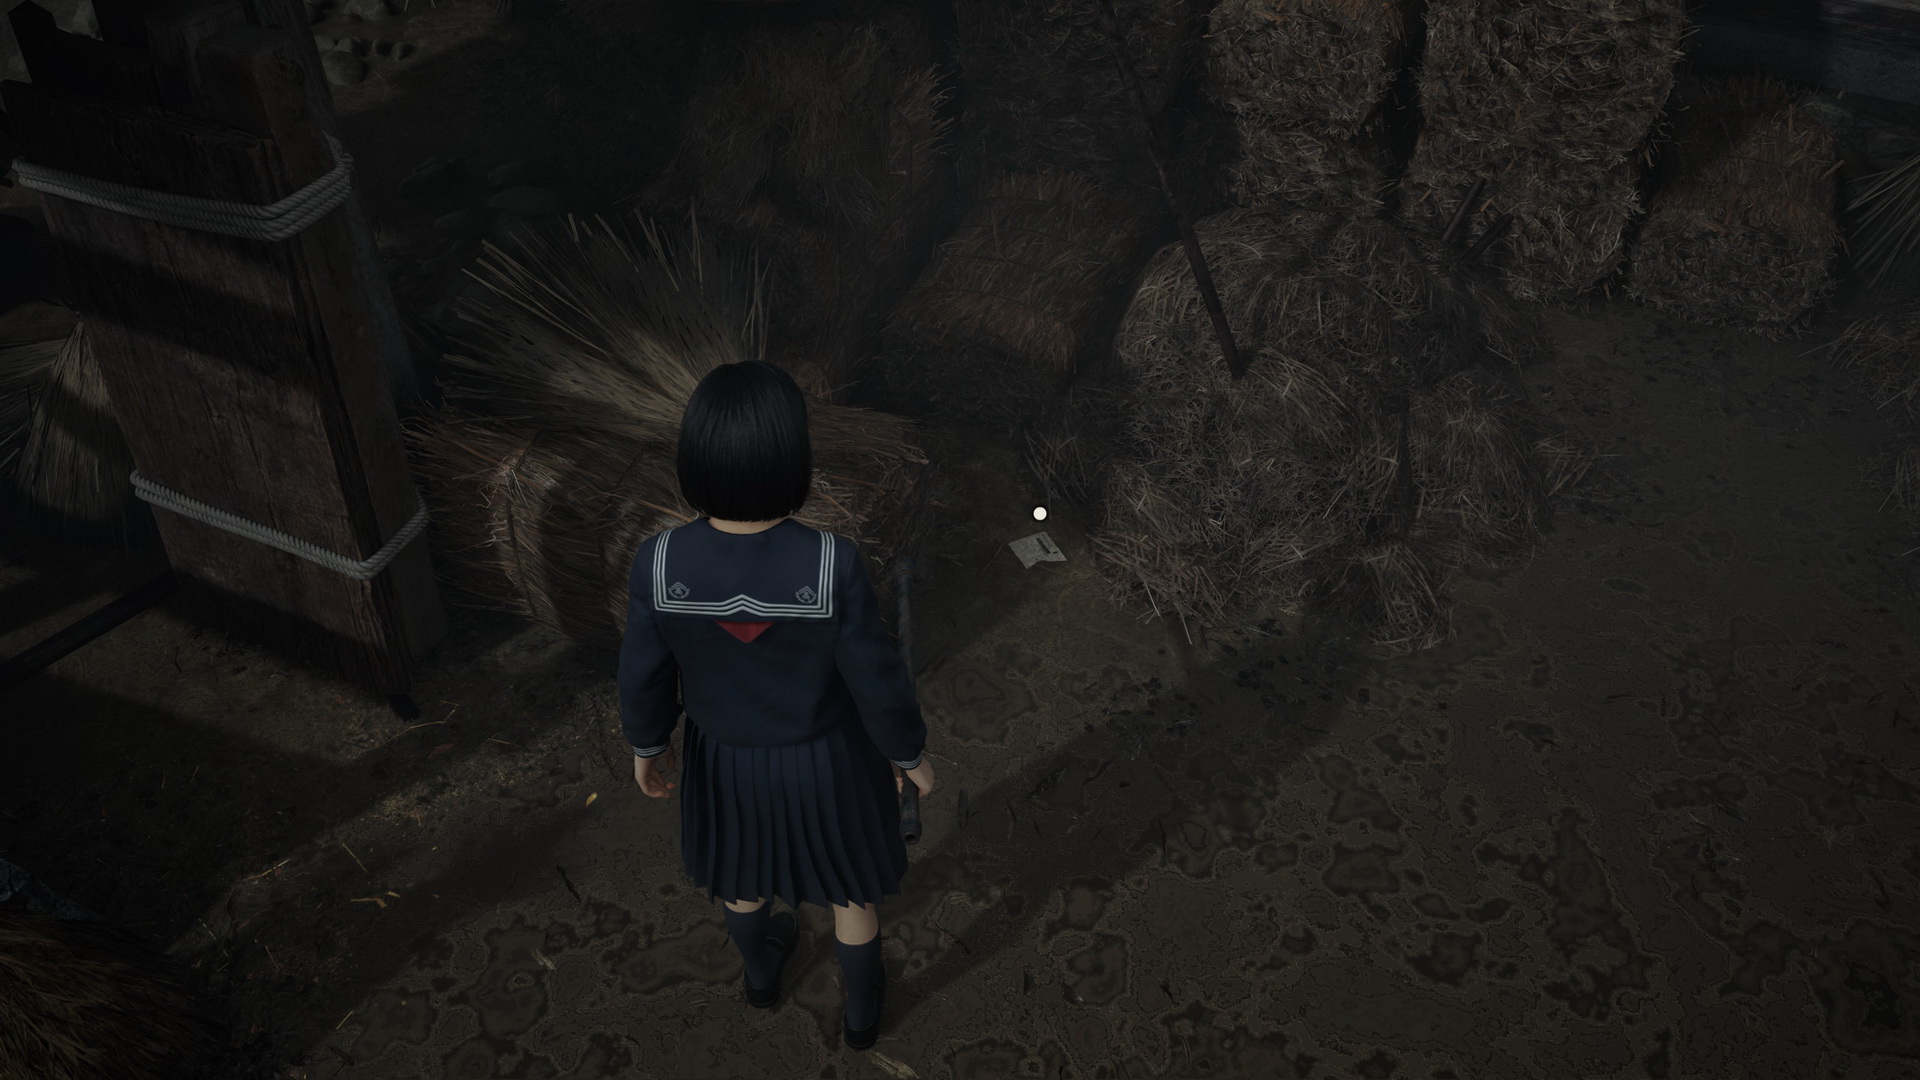
Turn around and go back north, west, north again and then east. You will be introduced to another combat tutorial. After the fight, approach another house, go right, move some wooden planks to get behind the house and collect a School Paper Cutout from the ground.
 |
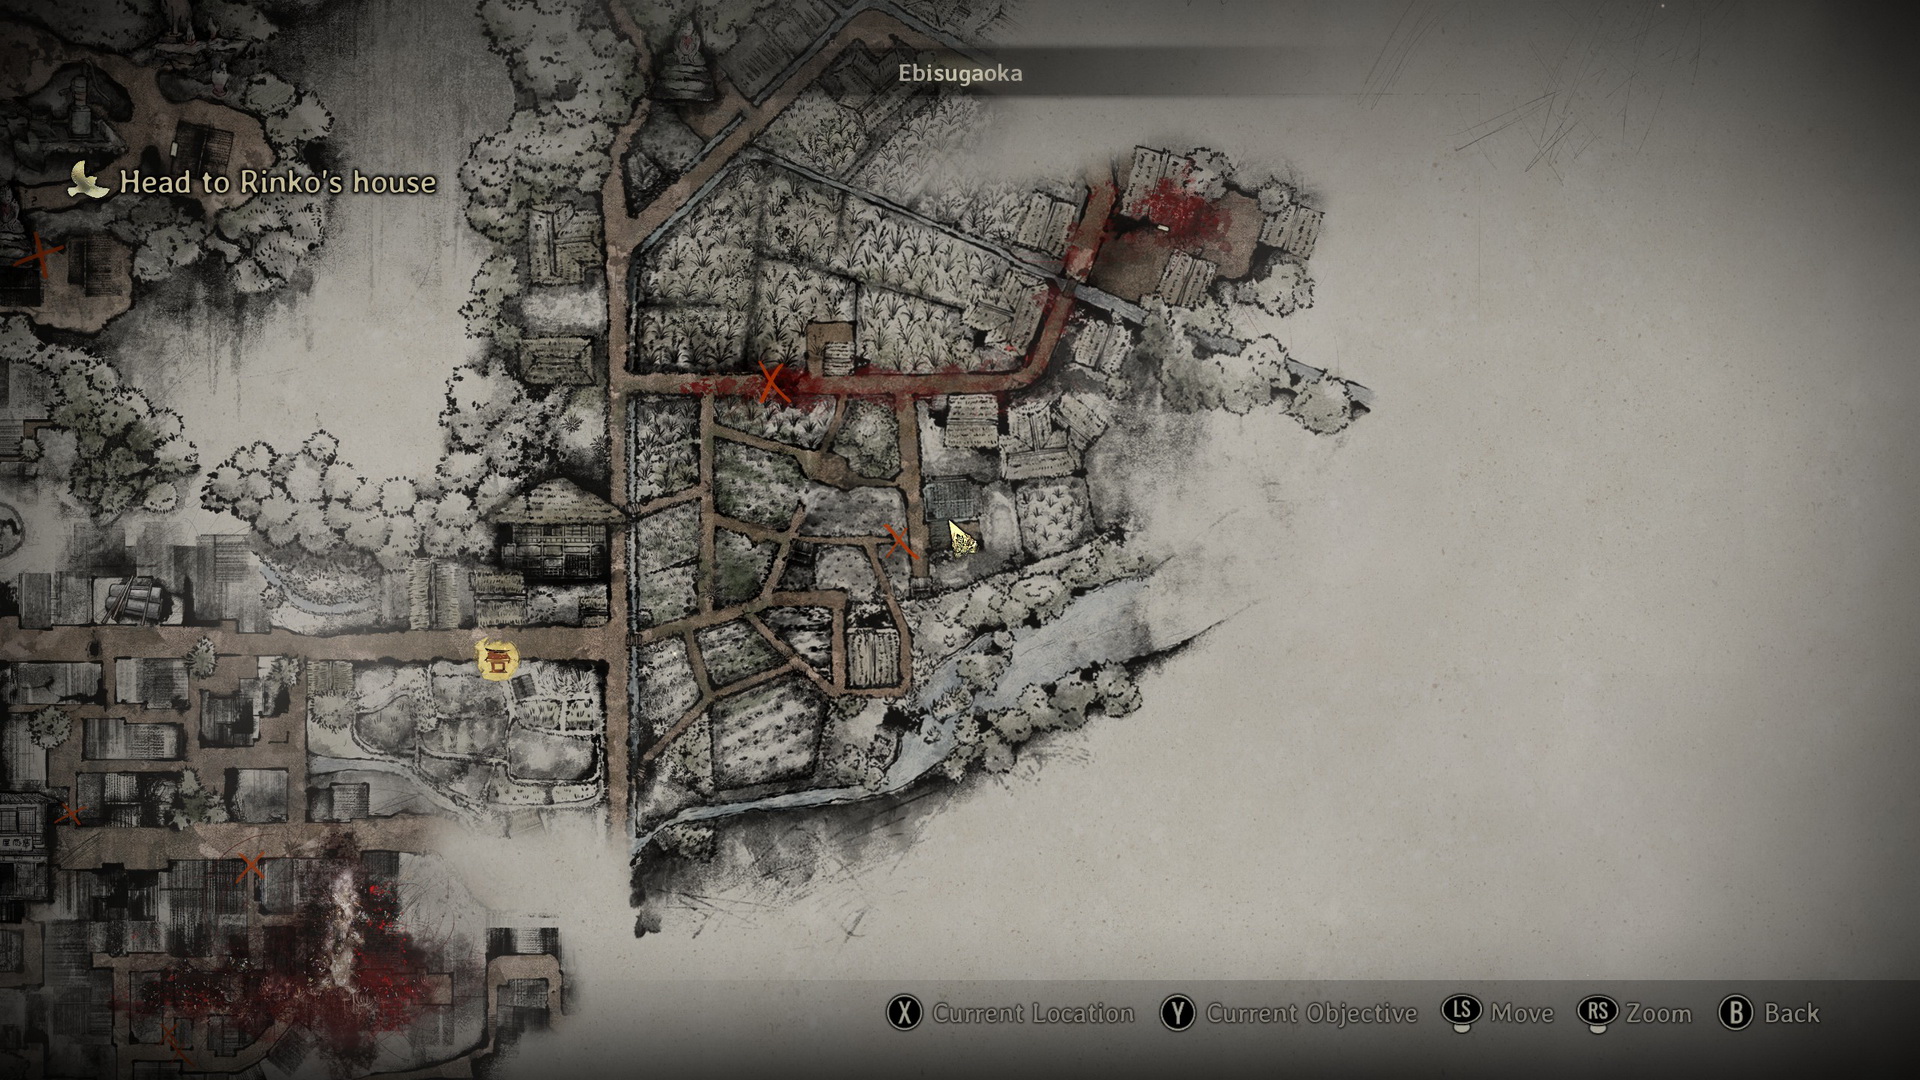 |
Go up to the north to get a major road between the fields.
Rice fields north
From the junction, go west and around a shed to collect a Yokan (⛩30) next to a water pump station. Go back to the T-junction and be careful as you pass another shed on the right, as a monster will plunge at you from inside. Grab a Chocolate (⛩80) in the shed after you're done with it. Follow the main path until you hit a dead end with some gross red pulsing mass. Drop into the yard to the right.
To the right, you will find a First Aid Kit on a hay bale and Red Capsules in a basket. In the southeastern corner, there's a Steel Pipe. To the north, you will find a locked door and a Toolkit to the left of it. Check the northern section of the yard to find a Ramune (⛩20) on a barrel and a Bandage in a box to the east. Now, locate a well in the yard. Hinako will find the key in a box placed on top of it, but a monster will rush into the yard, and the key will drop into the well.
 |
 |
Obtain the key
You will have to deal with this huge mini-boss to continue obtaining the key safely. Watch for its heavy swing attacks and retaliate then. Once the monster is down, run back to the well and press the button to pull the basket with the key inside. You need to do it three times to get the Storehouse Key.
Note that the monster cannot be killed, and it will be back on its feet after a short while, so be quick about it. Alternatively, instead of fighting, you can lure the monster into a far corner of the yard to give you enough time to turn the well's handle.
Escape through the storehouse
Go to the locked door and proceed inside using the key. Move the planks and run quickly for the open window to escape and reunite with Shu, as more monsters will be inside the storehouse.
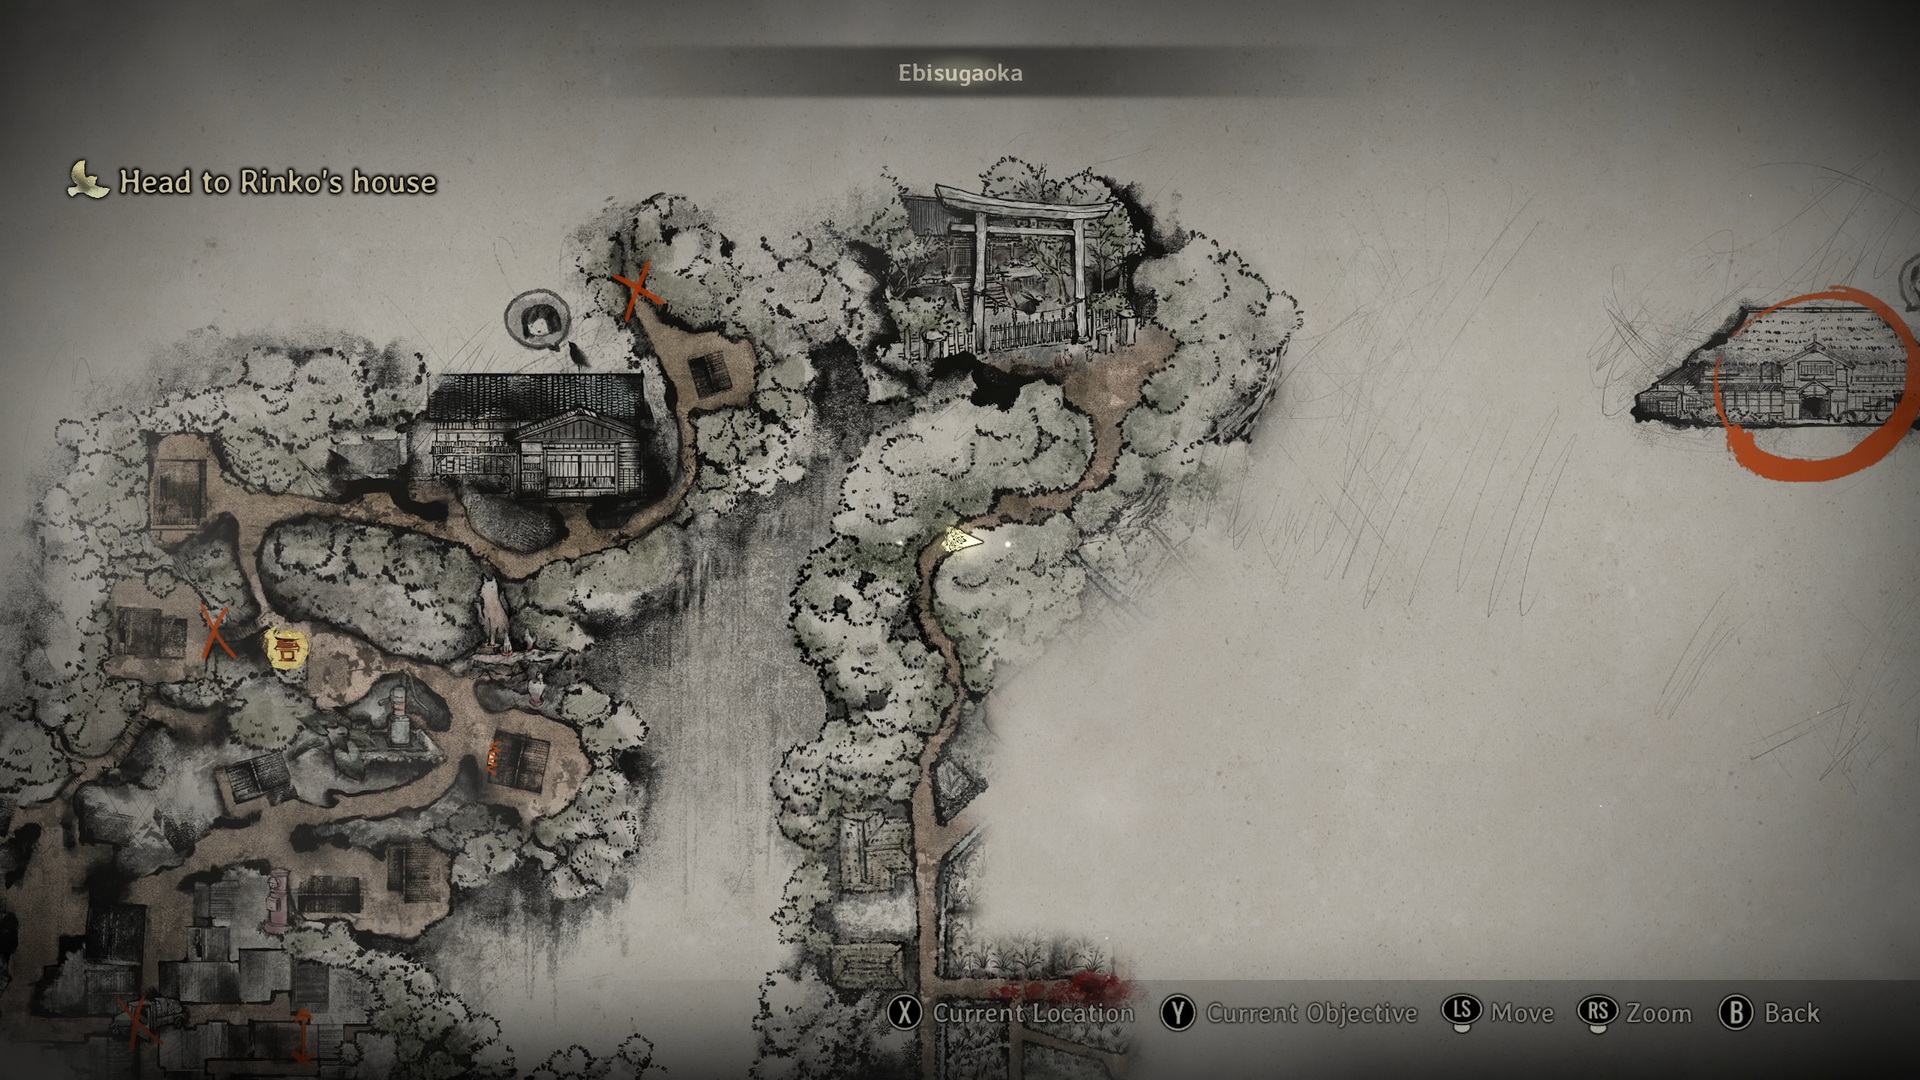
Head to Rinko’s house with Shu
Turn around to collect Red Capsules and then go north up the slope onto the main path. At the western dead end, you will find an Inari Sushi (⛩150) inside a box. Go east to find a Hokora shrine and save your game. Check an area to the southeast to find a Bandage at the dead end, then cross a small canal into a yard to collect a Higashi (⛩80) in a red box and an Upgrade: Ema on a wooden trough (replaced with a Chocolate (⛩80) in New Game+ once picked).
 |
 |
Take the path leading north, and after a cutscene, you will be teleported to an unknown area.
Escape
To escape this new area, you will need to solve a puzzle.
Field Puzzle
At the start, you will find a Mysterious Note that hints at what to do.
 |
 |
You can also grab a Sickle from the scarecrow at the front if needed. According to the note, you need to find the right scarecrow in each group and remove the thorn (inspect the body closely all around for it). The scarecrow at the front of each group will give you a clue to help you find the one (although they can be pretty vague). In return, it will point you to the next group, five in total. If you pick the wrong scarecrow, though or hesitate for too long, you will be attacked by these new kinds of enemies called Ayakakashi.
Trophy/Achievement: Acupuncture Specialist |

Do not make a single mistake on the scarecrow puzzle. |
Story Mode Solution
 Clue 1: Who are you? Why do you always have to be different than everyone else? Freak. |
 Clue 2: Who are you? Honestly. You're helpless without me. |
 Clue 3: Who are you? I'll be your friend. Otherwise, you'd be so miserably alone. |
 Clue 4: Who are you? Tell me, truly. You two aren't anything more than friends, right? I've always been watching you when you weren't looking, you know. |
 Clue 5: Who are you? Yes, you. |
Hard Mode Solution
 Clue 1: Can you even imagine how I feel? I'll put on my polite smile for now. |
 Clue 2: Can you even imagine how I feel? What it's like to have been deceived by you for so long? |
 Clue 3: Can you even imagine how I feel? He never once looked at me the way he looked at you. Not once. |
 Clue 4: Can you even imagine how I feel? You've always been such an eyesore. |
 Clue 5: Can you even imagine how I feel? You hurt me, and even hurt him, too. Do you know how it feels to force a smile when I'm staring at that disgusting face of yours?! |
Lost in the Fog Mode Solution
 Clue 1: It's your funeral today. I think I'll give you a standing ovation. |
 Clue 2: It's your funeral today. Good riddance. It feels as though I finally got this painful burden off my chest. |
 Clue 3: It's your funeral today. You hurt him, and now you're leaving him behind. I hope you suffer for what you've done. |
 Clue 4: It's your funeral today. You were such a thorn in my side. Always getting between me and him. |
 Clue 5: It's your funeral today. Goodbye, and don't ever show your face again. Go do your own thing, just like you always have. |
Meet up with Shu
With the puzzle finished, go to Shu outside of Rinko’s house. After the cutscene, you will be transferred to the Dark Shrine world again.
| 02. Dark Shrine Path | 04. Dark Shrine Corridors |