
Dark Shrine Main Hall
- Ebisugaoka Part 1
- Dark Shrine Path
- Ebisugaoka Part 2: Rice Fields
- Dark Shrine Corridors
- Ebisugaoka Part 3: To School
- Ebisugaoka Middle School
- Dark Shrine Worship Hall
- Ebisugaoka Part 4: Sugisato Forest
- Dark Shrine Main Hall
- Ebisugaoka Part 5: To Shimizu Residence
- Shimizu Residence
- Dark Shrine Treasure Hall
- Ebisugaoka Part 6: Tainted Town
- Dark Shrine Final Path
Welcome to the ninth chapter of the complete walkthrough guide for Silent Hill f, covering the Dark Shrine Main Hall. Use the key summary below for essential, spoiler-free directions, including all missable trophy-related items and actions (items in italics are optional). For in-depth guidelines with extra explanations, refer to the complete walkthrough section. This guide also includes all New Game+ items and actions for your subsequent playthroughs.
Legend
- Hokora – shrines
- Capsule Case – key items
- Steel Pipe – weapons
- Omamori [Whale] – omamori
- Upgrade: Ema – character upgrades
- Local Doctor's Note – documents
- Housemaid’s Note – trophy-related documents
- Red Capsules – consumables
- Antique Comb (⛩300) – offerings
Collectibles
Counts of available trophy-related collectibles:
| Category | NG | NG+ | NG++ |
| Omamori | 1 | - | - |
| Ema | 1 | 1 | - |
| Inventory upgrades | 1 | - | - |
| Inari-sama's seals | - | 1 | - |
| Documents | 3 | - | - |
Key Summary
- Proceed through the corridor to the right and then north through the doors.
- Family Physician’s Log (3) is immediately on your left after entering the large main hall.
- Antique Comb (⛩300) can be found on top of a box in the western part of the main hall.
- New Game+: You no longer need to complete the rituals so that you can skip directly to the passage up ahead, but with the fox mask abilities, you will be able to enter a new secret area to fulfill requirements for the new ending:
- Go through the metal door in the southeast corner of the main hall.
- Proceed through the door to your immediate left and up the stairs. After fighting the monsters, pass through the wall with the Inari-sama seals, using your focus ability.
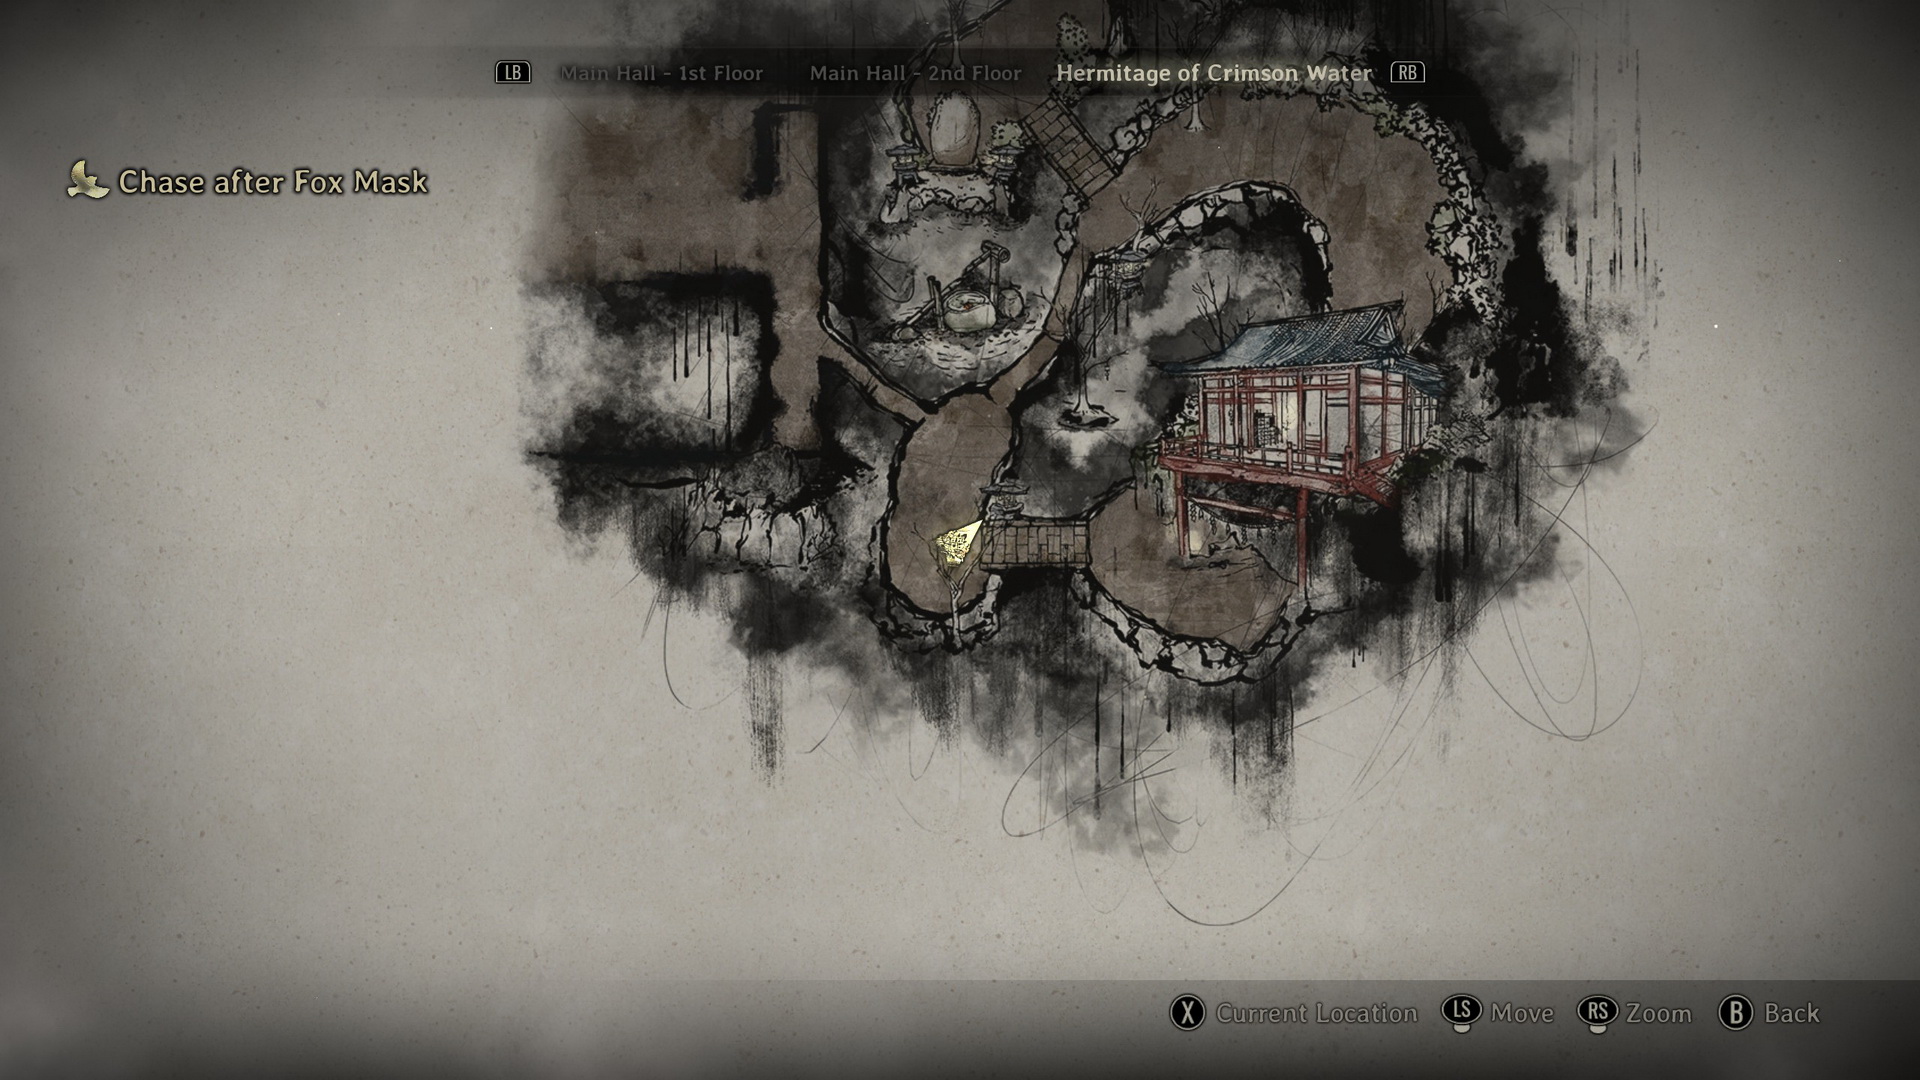
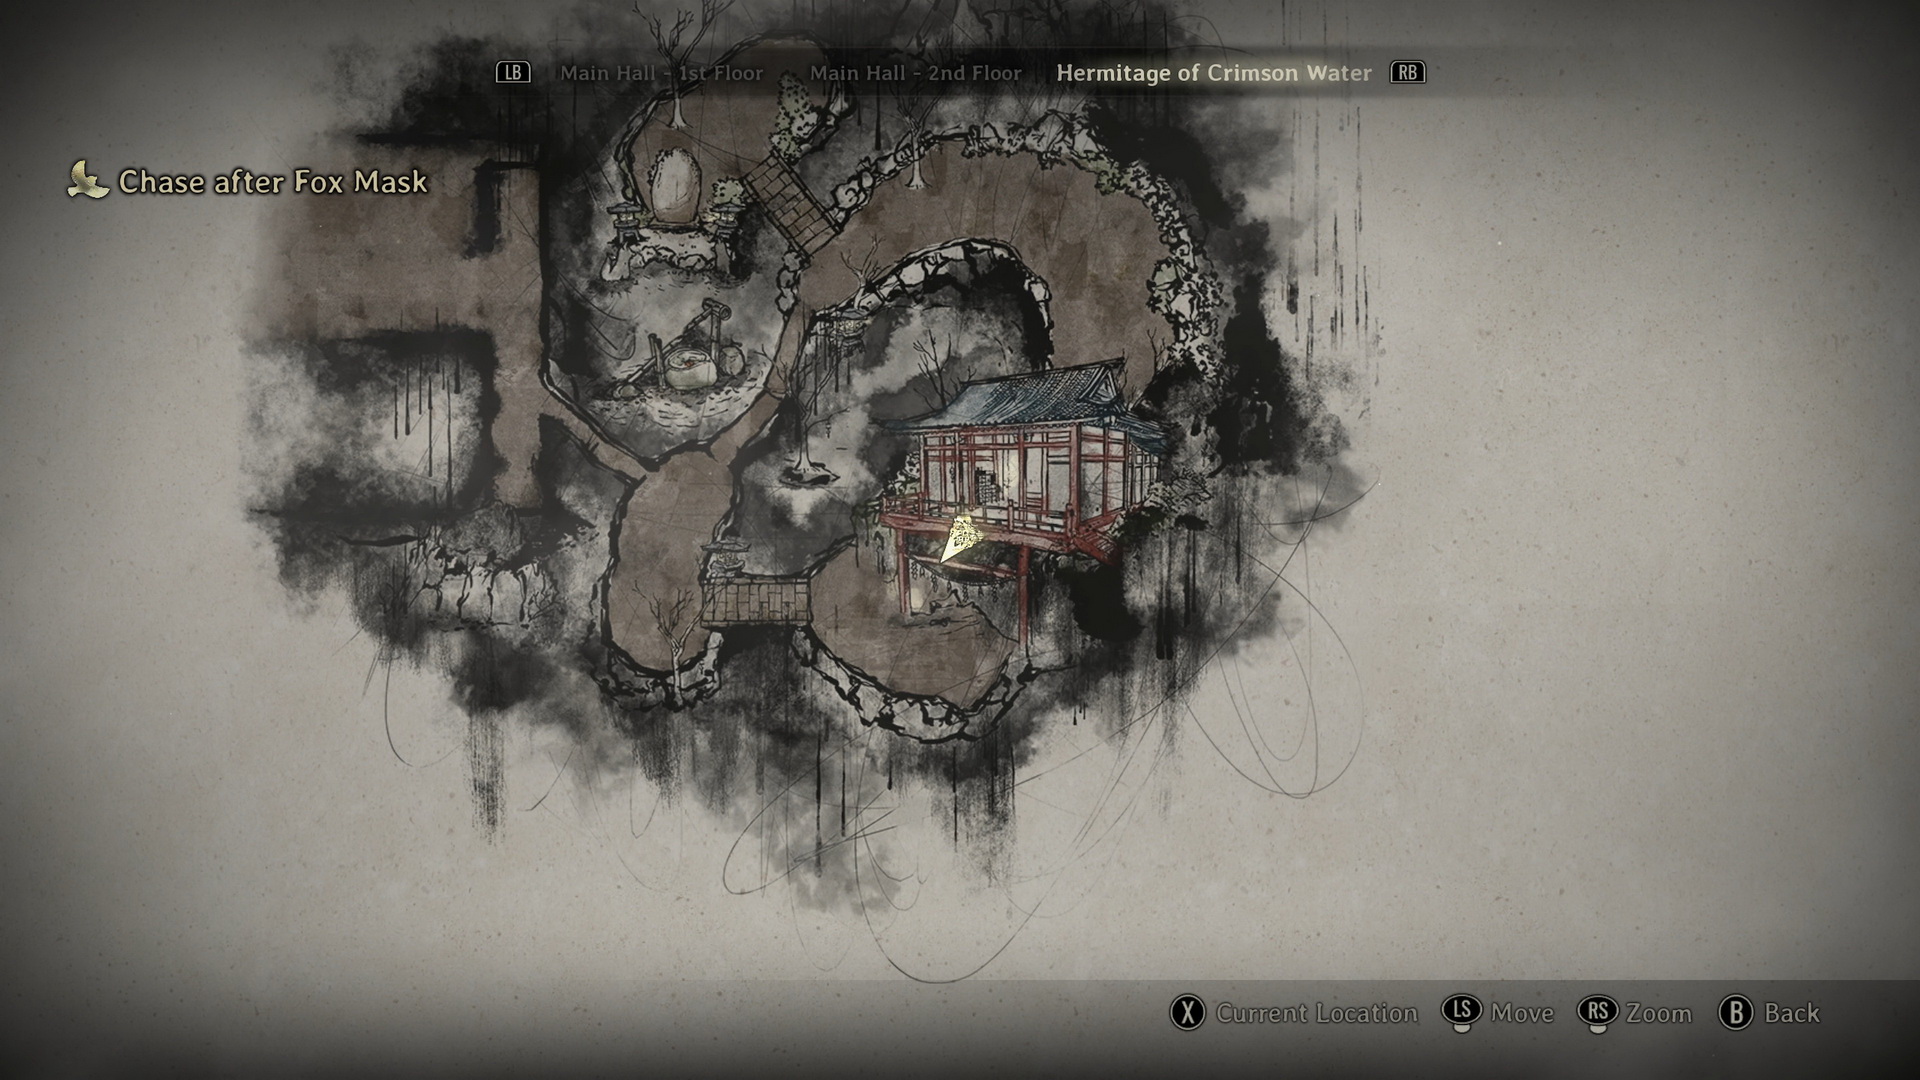
- Continue through the Inari-sama door, and you will arrive at the garden with ponds and islands – the Hermitage of Crimson Water. Step inside the building in the center and collect the Hotei-sama sitting Cross-Legged bottle.
You will receive the Trophy/Achievement: Treasured Belonging.
- Upgrade: Ema is at the back of the building.
- Finally, solve the Crimson Water Puzzle to fulfill one of the requirements for Ending 2 by ringing the three bells in the garden in the correct order – the great stone on the northern island will provide you with the hints:
- Stone symbol – the bell on the balcony of the building overlooking the garden.
- Water symbol – the bell on the island with the great stone to the east.
- Tree symbol – the bell across the stone bridge from the previous bell.
- The puzzle will be complete after the final bell rings, and your journal will be updated. Nothing more to do here, so leave the area and proceed with the game's walkthrough.
- New Game++: You don't need to complete the puzzle for Ending 4 if you already completed it in one of the previous runs.
- Go east and follow the Fox Mask via the stairs to the north.
- Dried Carcass (⛩200) is on a chest of drawers in the second room on the second floor.
- Follow the corridor and proceed through the double doors for the first ritual.
- Shriveled Abura-age (⛩500) is on the altar in the center of the ritual chamber.
- Exit the ritual chamber and follow the path until you are back in the main hall.
- Omamori [Crow] and Housemaid’s Note (3) are inside the room to the west of the main hall, behind the metal door that you will be able to open now with the fox arm.
- Go through the metal door in the southeast corner of the main hall. Follow the Fox Mask to the end of the corridor and into the room to the left, where you will need to defeat the monsters. After the fight, proceed through the double doors for the second ritual.
- Dried Carcass (⛩200) is on the altar after the second ritual.
- Exit the ritual chamber and follow the path.
- Antique Comb (⛩300). Once you arrive at the set of stairs, go up and around the broken floor to find this item on a chest of drawers.
- Upgrade: Dirty Drawstring Bag is on another chest of drawers to the right.
- Go downstairs to return to the main hall through a sealed door.
- Go east, take the stairs to the south and proceed through the door with a seal. Defeat the monster in the room and proceed through the double doors at the southwestern end.
- Antique Comb (⛩300) can be found on a bench next to the altar after the third ritual.
- Follow the Fox Mask to return to the main hall.
- Upgrade: Ema, Family Physician’s Log (5) and Shriveled Abura-age (⛩500). With the fox mask, go north through a door and enter a secret room in the southwest by revealing a passage in the wall to find all these items inside.
- Dried Carcass (⛩200). You can return to the second floor via the southeastern stairs to pass through another wall in the area where you got the inventory upgrade previously. The offering will be on a bench before the Inari-sama door.
- Pass through the wall in the north of the main hall, using the focus ability, and proceed further for a cutscene and a boss fight.
- Trophy/Achievement: Echoes of Jealousy. Defeat the boss without being hit by her puppets.
Complete Walkthrough
Reach the first Ritual Chamber
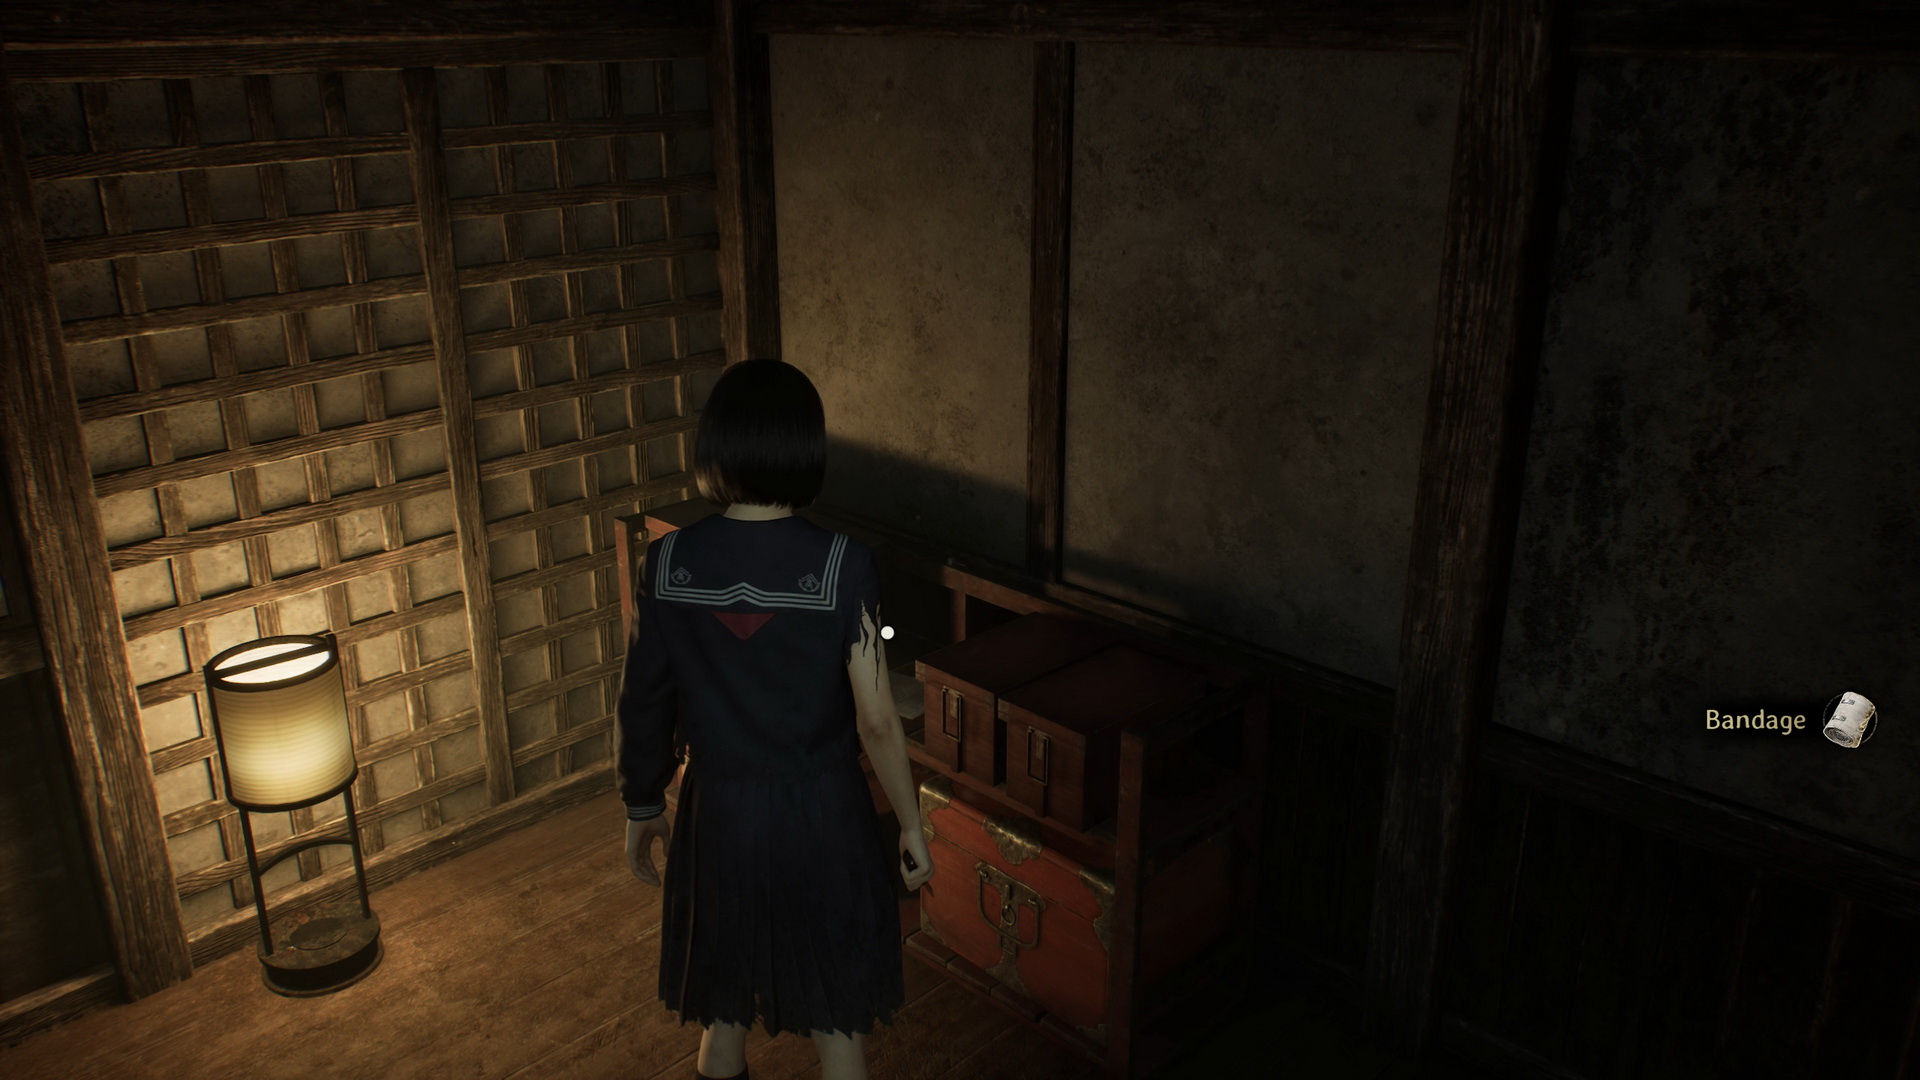
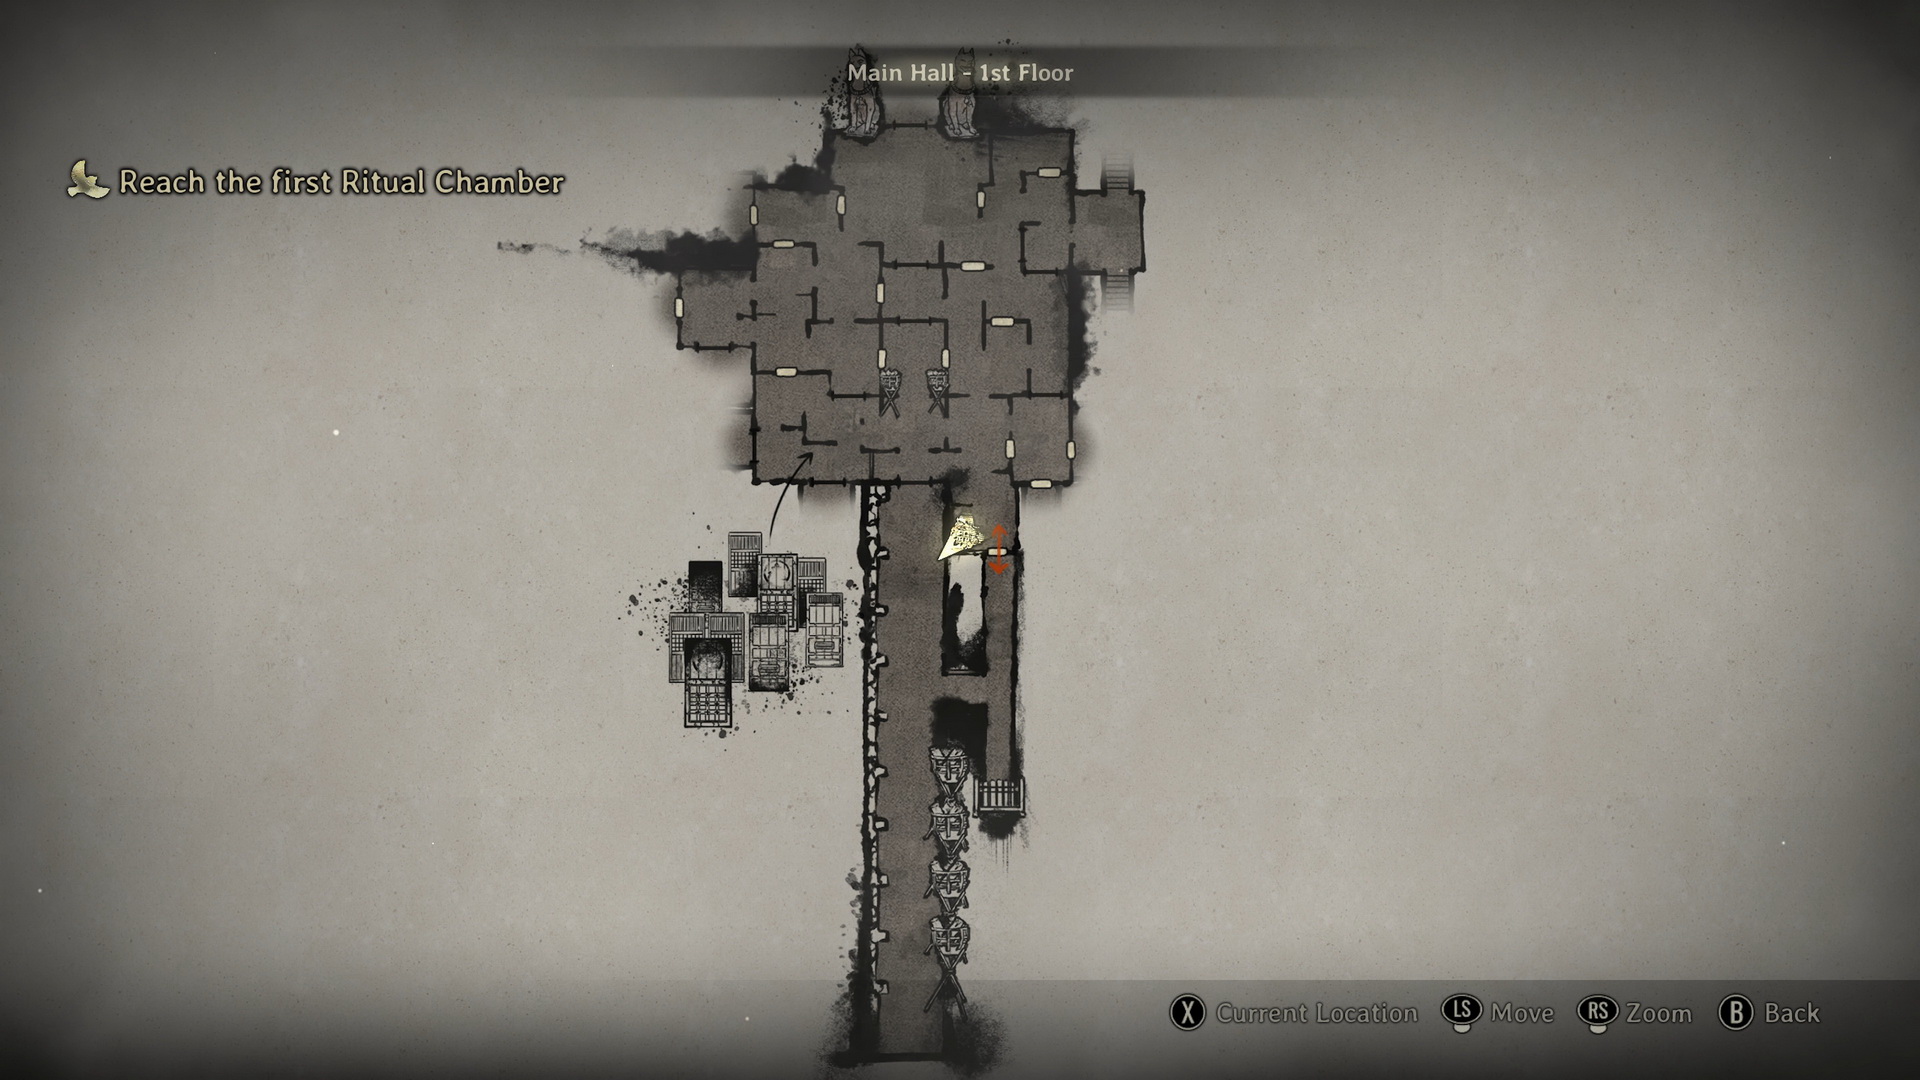
Follow Fox Mask through the corridor to the right and then proceed north through the doors. Immediately on your left, you can find a Family Physician’s Log (3) and a Bandage on a cabinet.
 |
 |
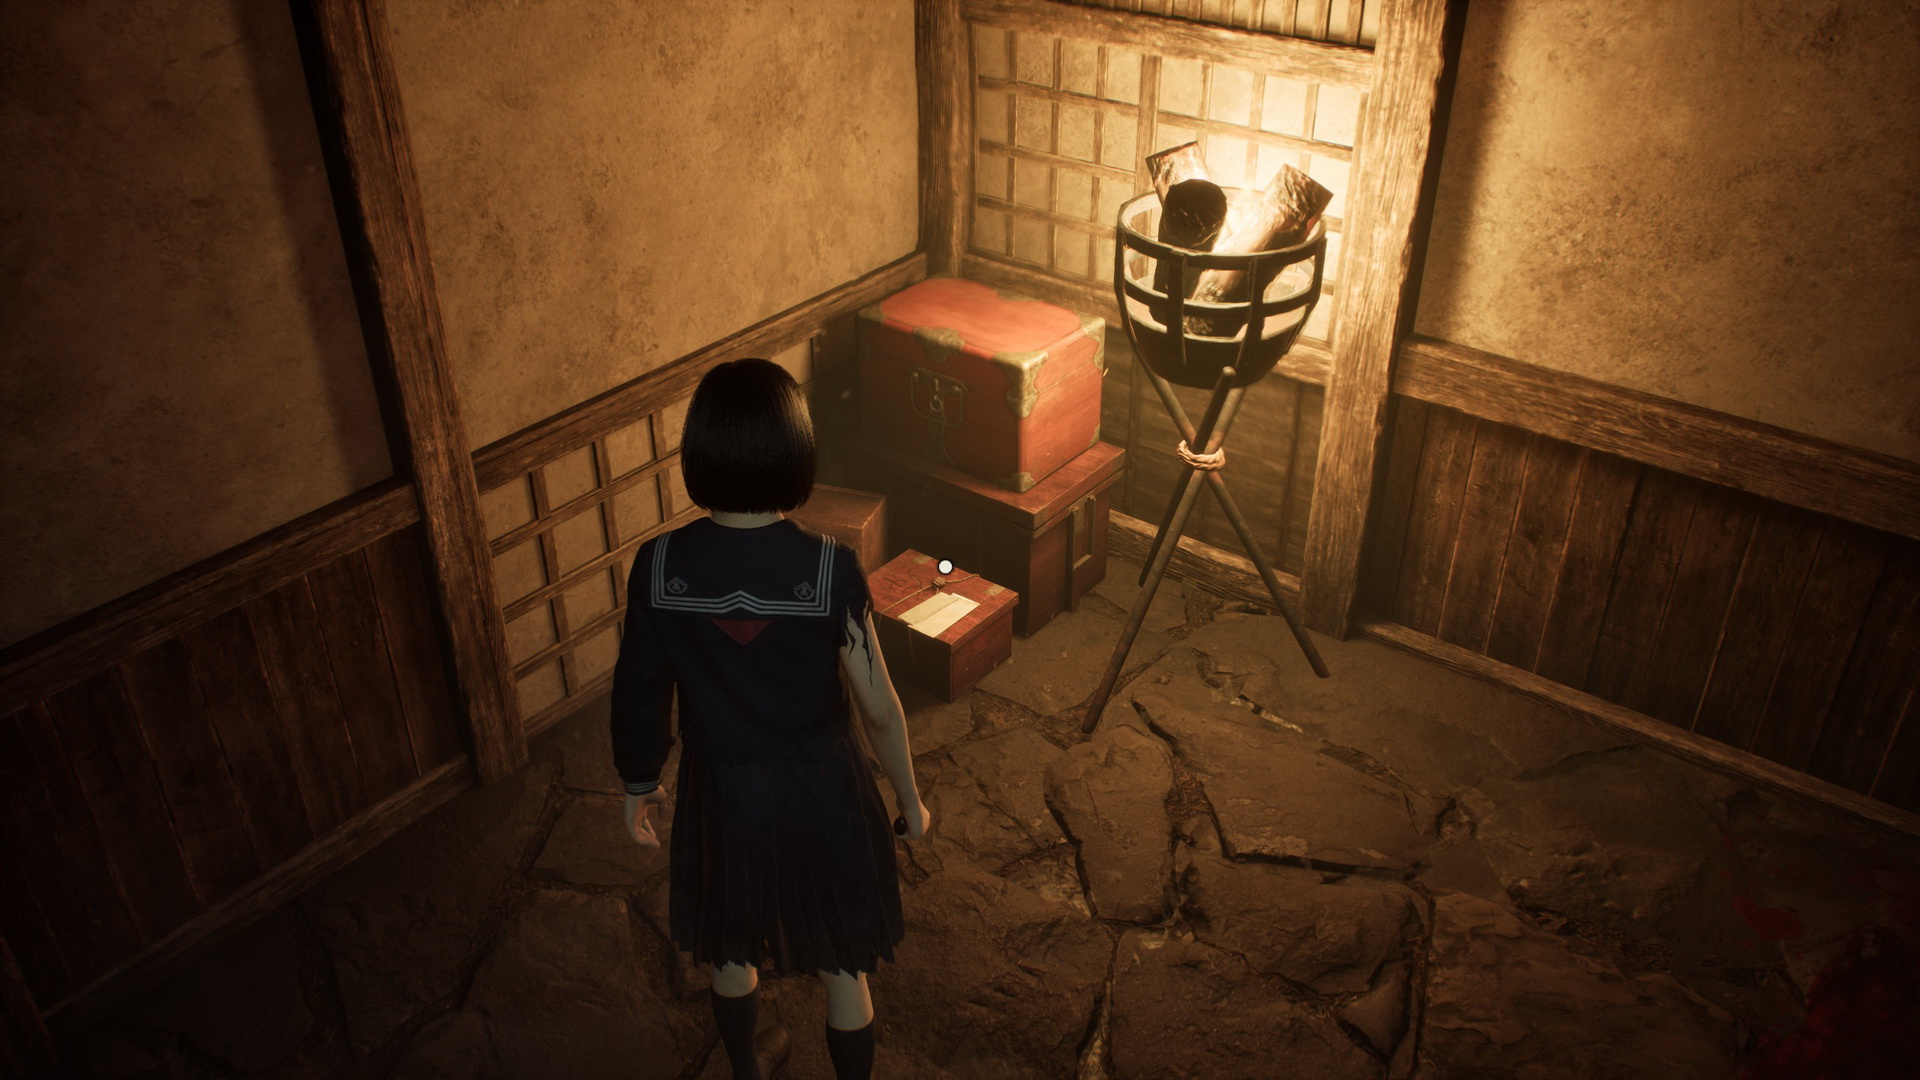
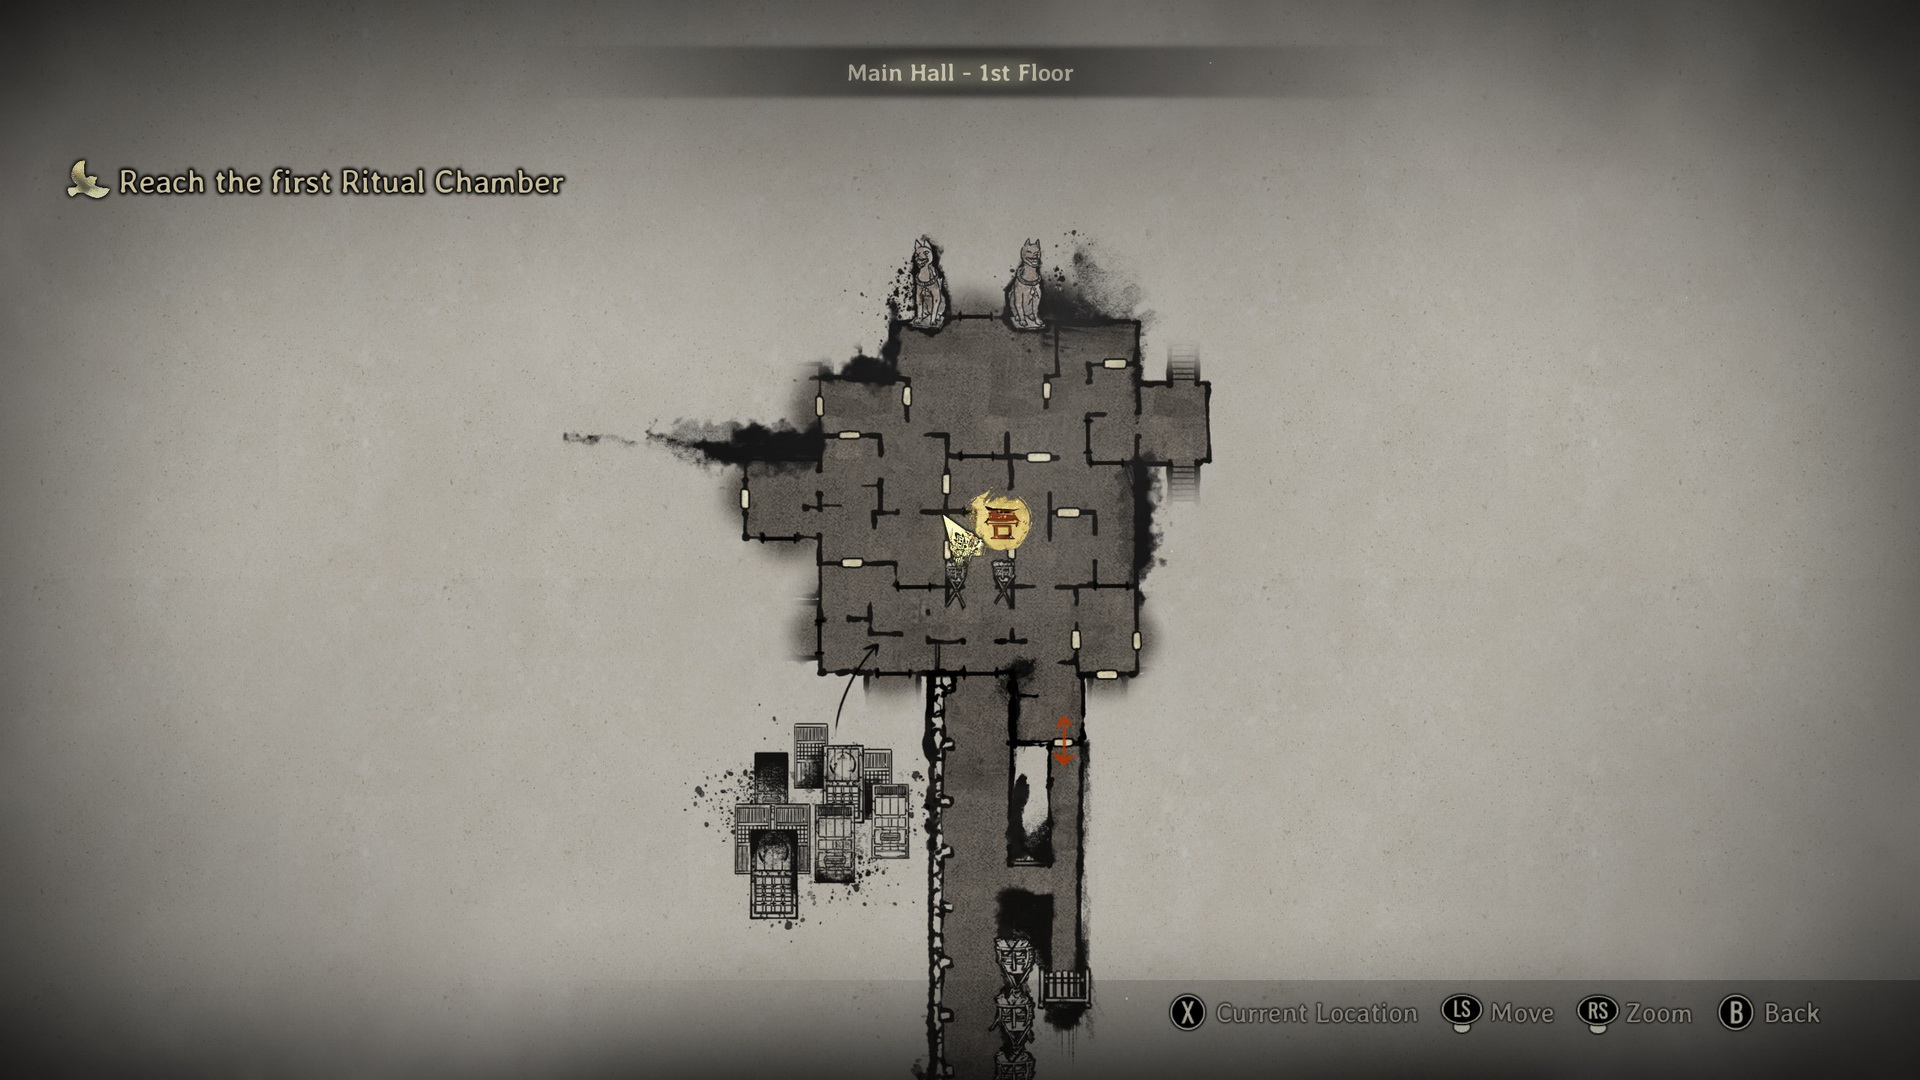
Continue north into the main hall, which feels like a maze of multiple rooms that look the same. Some walls have strange symbols, and the doors cannot be opened yet. Go left and then north again to find a Hokora shrine. In the southeastern corner of the room, you will find a Higashi (⛩80) and in the northwest corner – a Solemn Letter (1).
 |
 |
More items to collect in this area, but beware of the monsters roaming here:
- Arare (⛩10) in the room to the south of the Hokora shrine
- Kudzu Tea (⛩100) in the room to the east of the shrine
- Yokan (⛩30) in the room to the northeast of the shrine, in the southwestern corner
- Arare (⛩10) in the room to the northeast of the shrine, in the southeastern corner next to the stairs
- Higashi (⛩80) in the room to the northeast of the shrine, northwestern corner
- Yokan (⛩30) and Antique Comb (⛩300) in the room to the west of the shrine, in the northwestern corner
When ready, go to the east stairs and follow Fox Mask up the northern stairs.
New Game+: Crimson Water PuzzleYou no longer need to complete the rituals so that you can skip directly to the passage in the north, but with the Fox Mask abilities, you will be able to enter a new secret area to fulfill requirements for the new ending. New Game++ Note: You don't need to complete the puzzle for Ending 4 if you already completed it in one of the previous runs. Go through the metal door at the start of the area in the southeast corner.
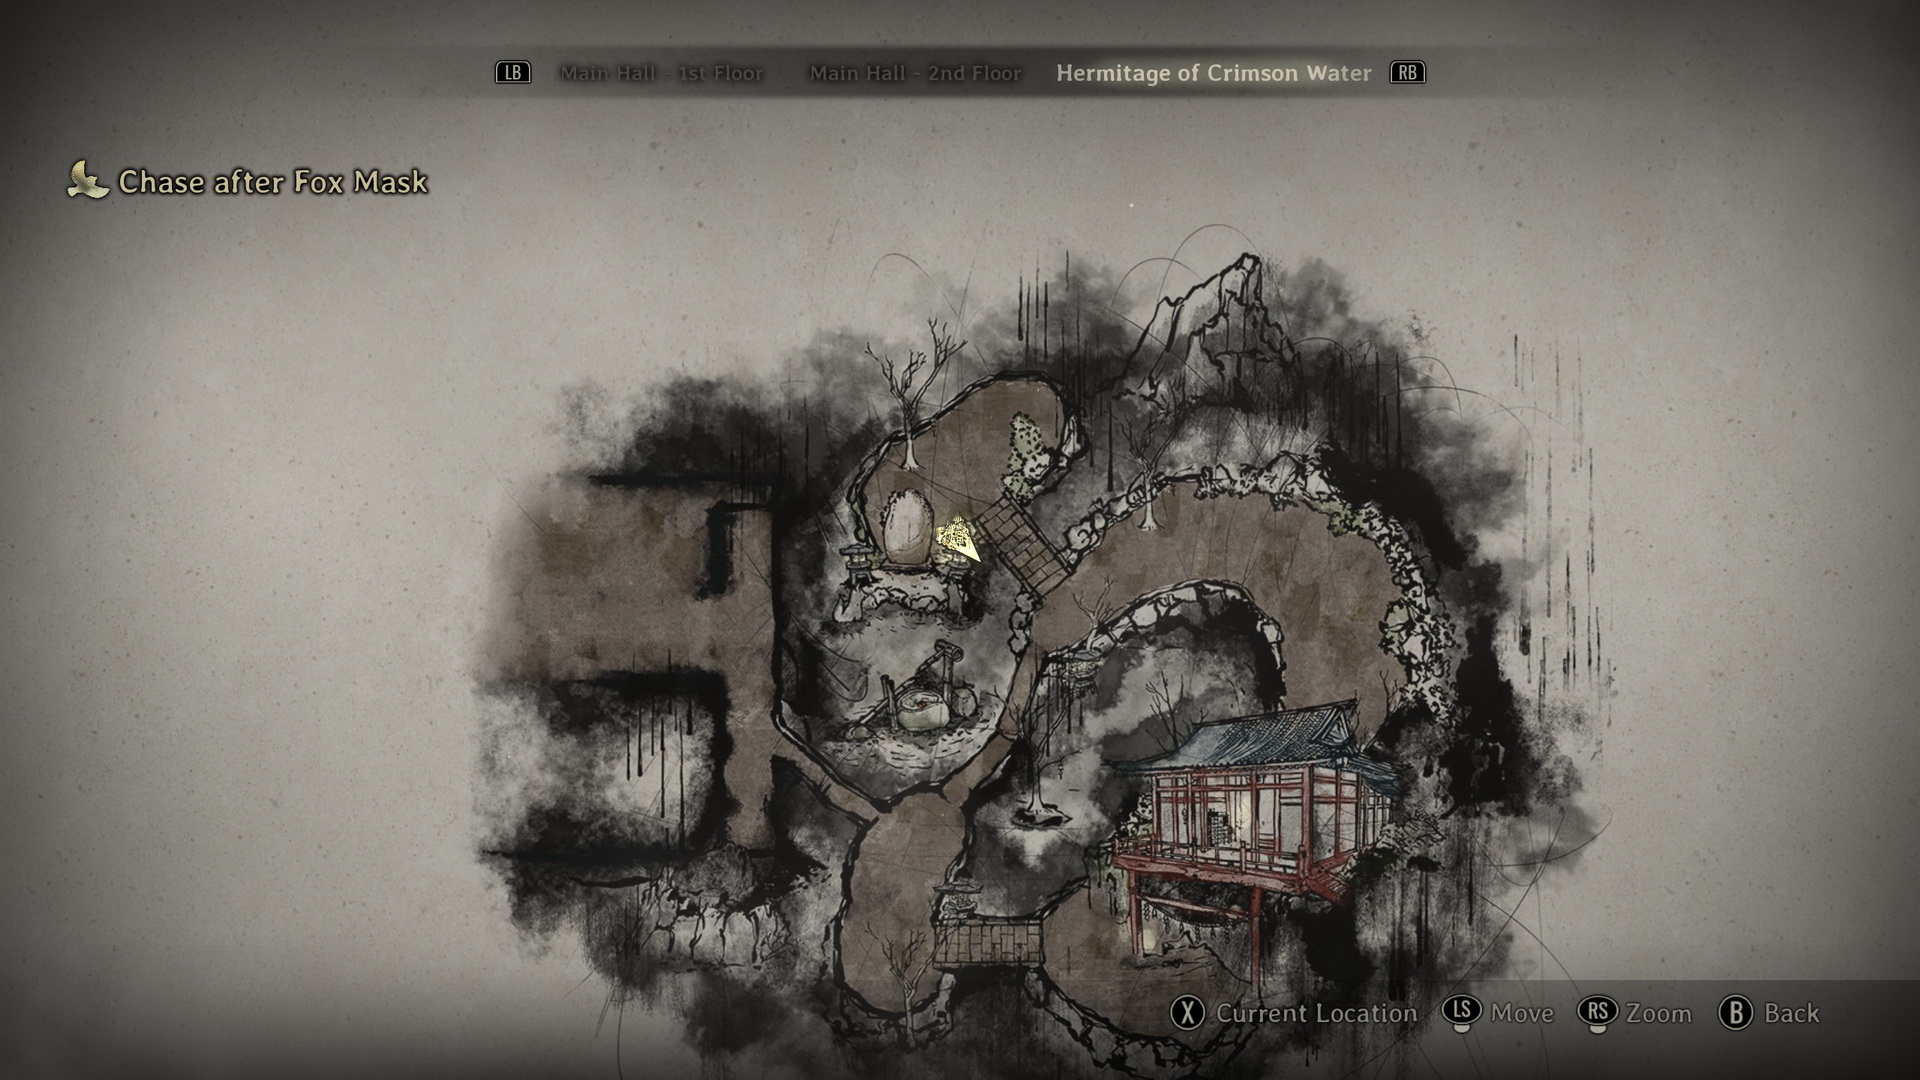
Go through the door to your immediate left and up the stairs. After fighting the monsters, go through the wall with the Inari-sama seal, using your focus ability.
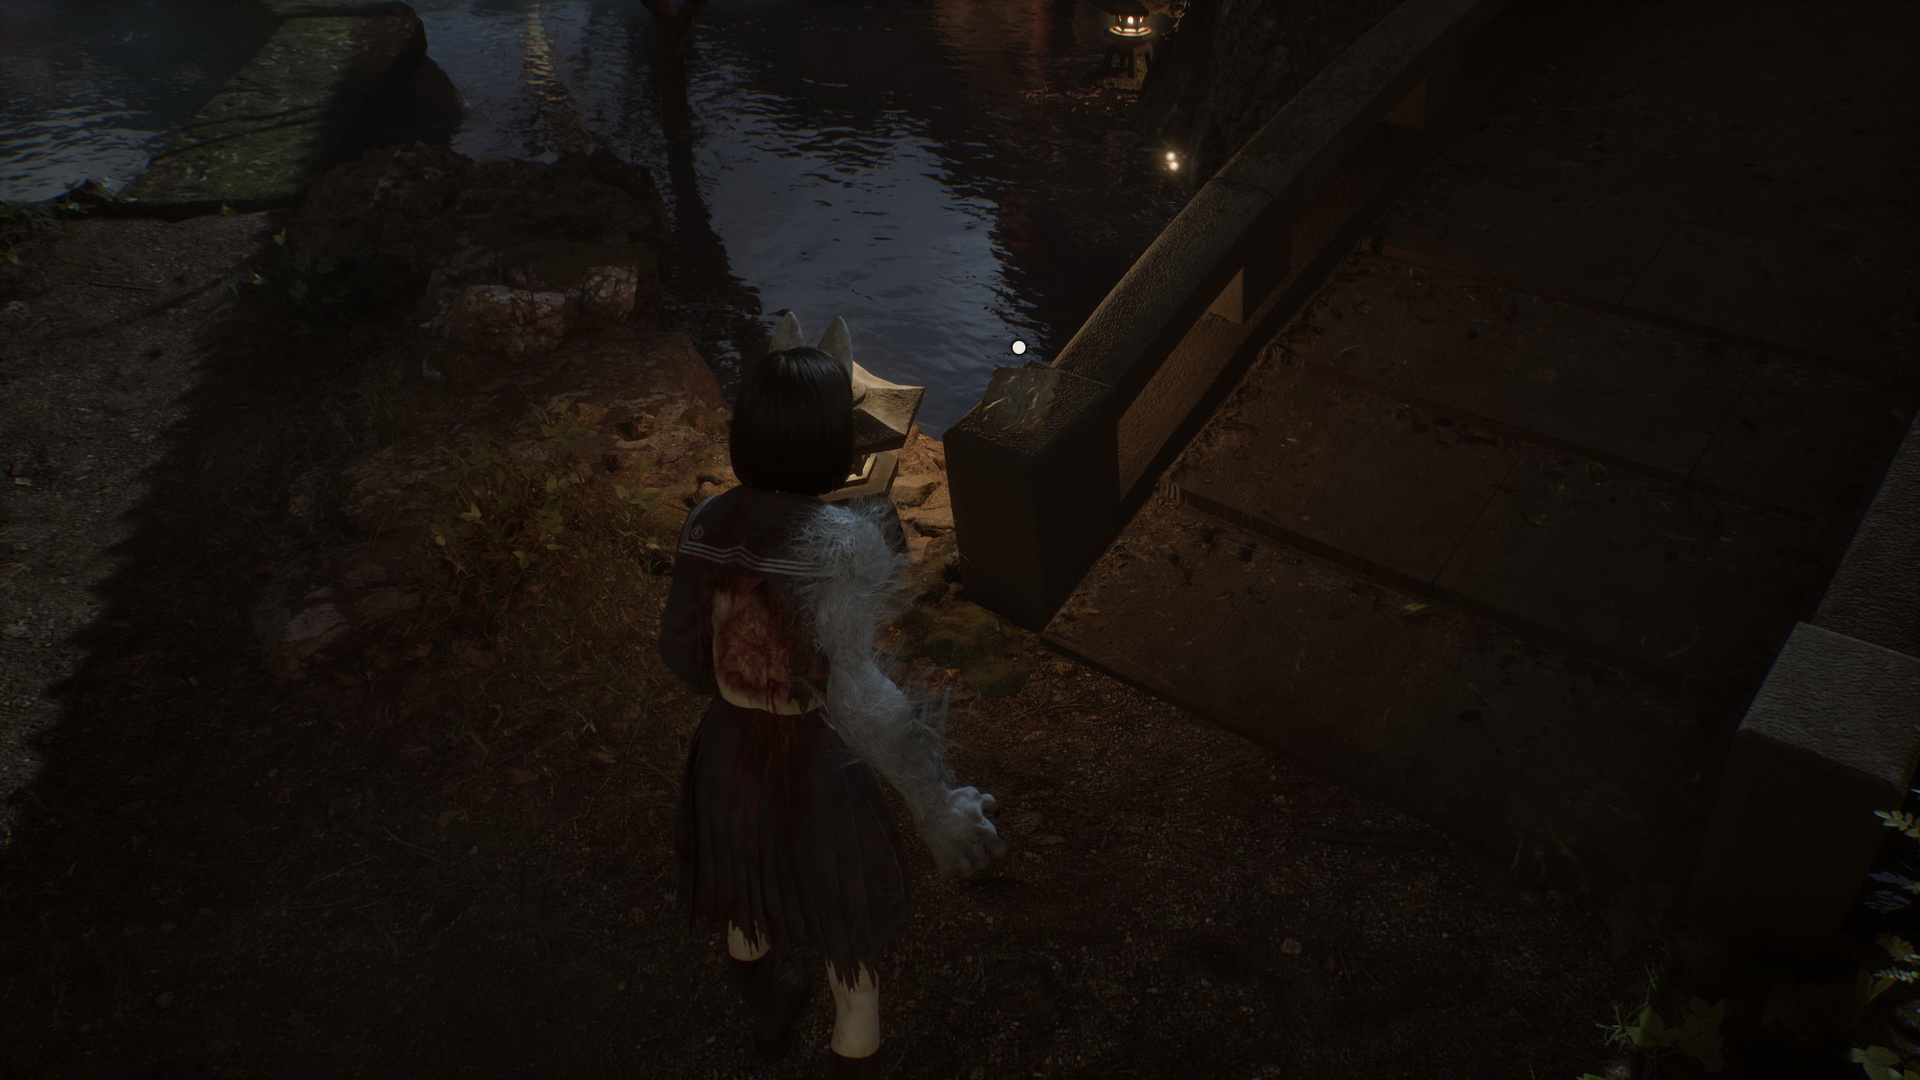
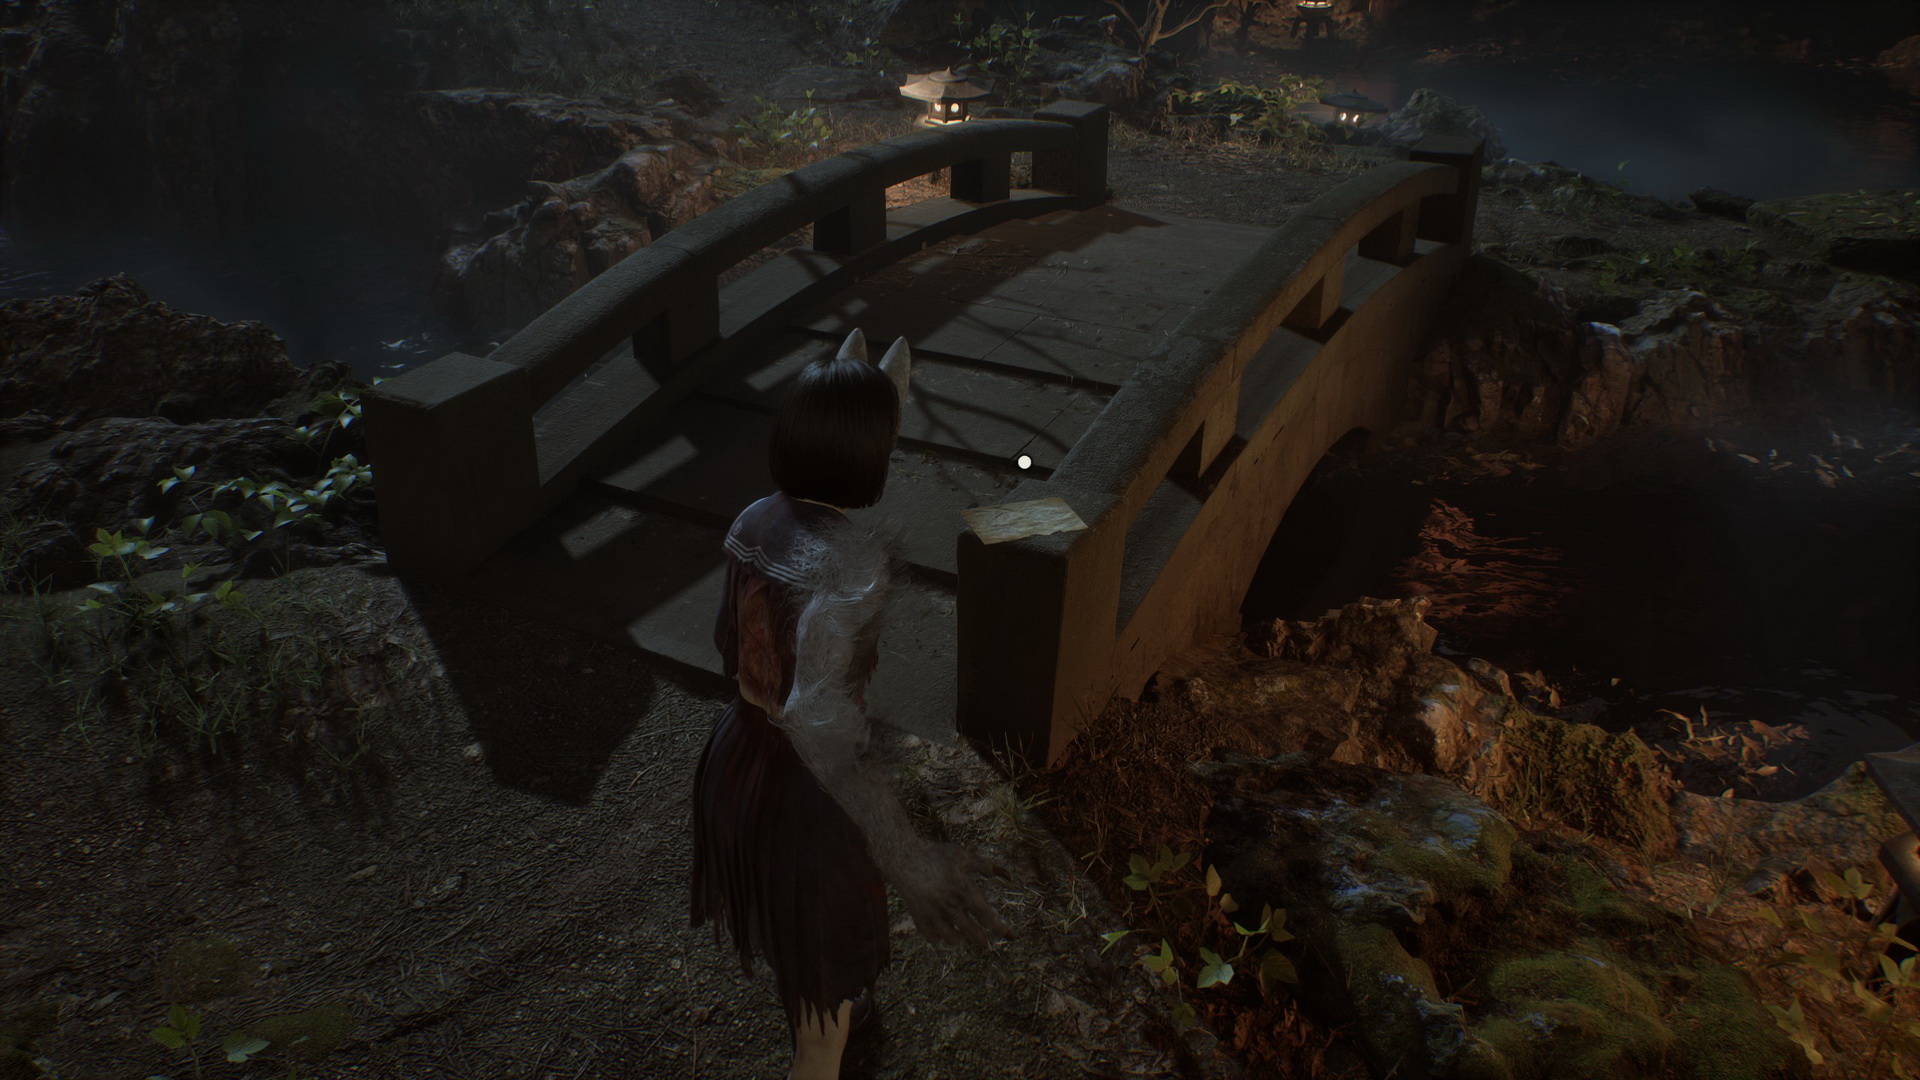
Continue the path, and you will arrive at the garden with ponds and islands – the Hermitage of Crimson Water. On a bridge post in the southern part of the area, you will find a Mandate of the Clan (3).
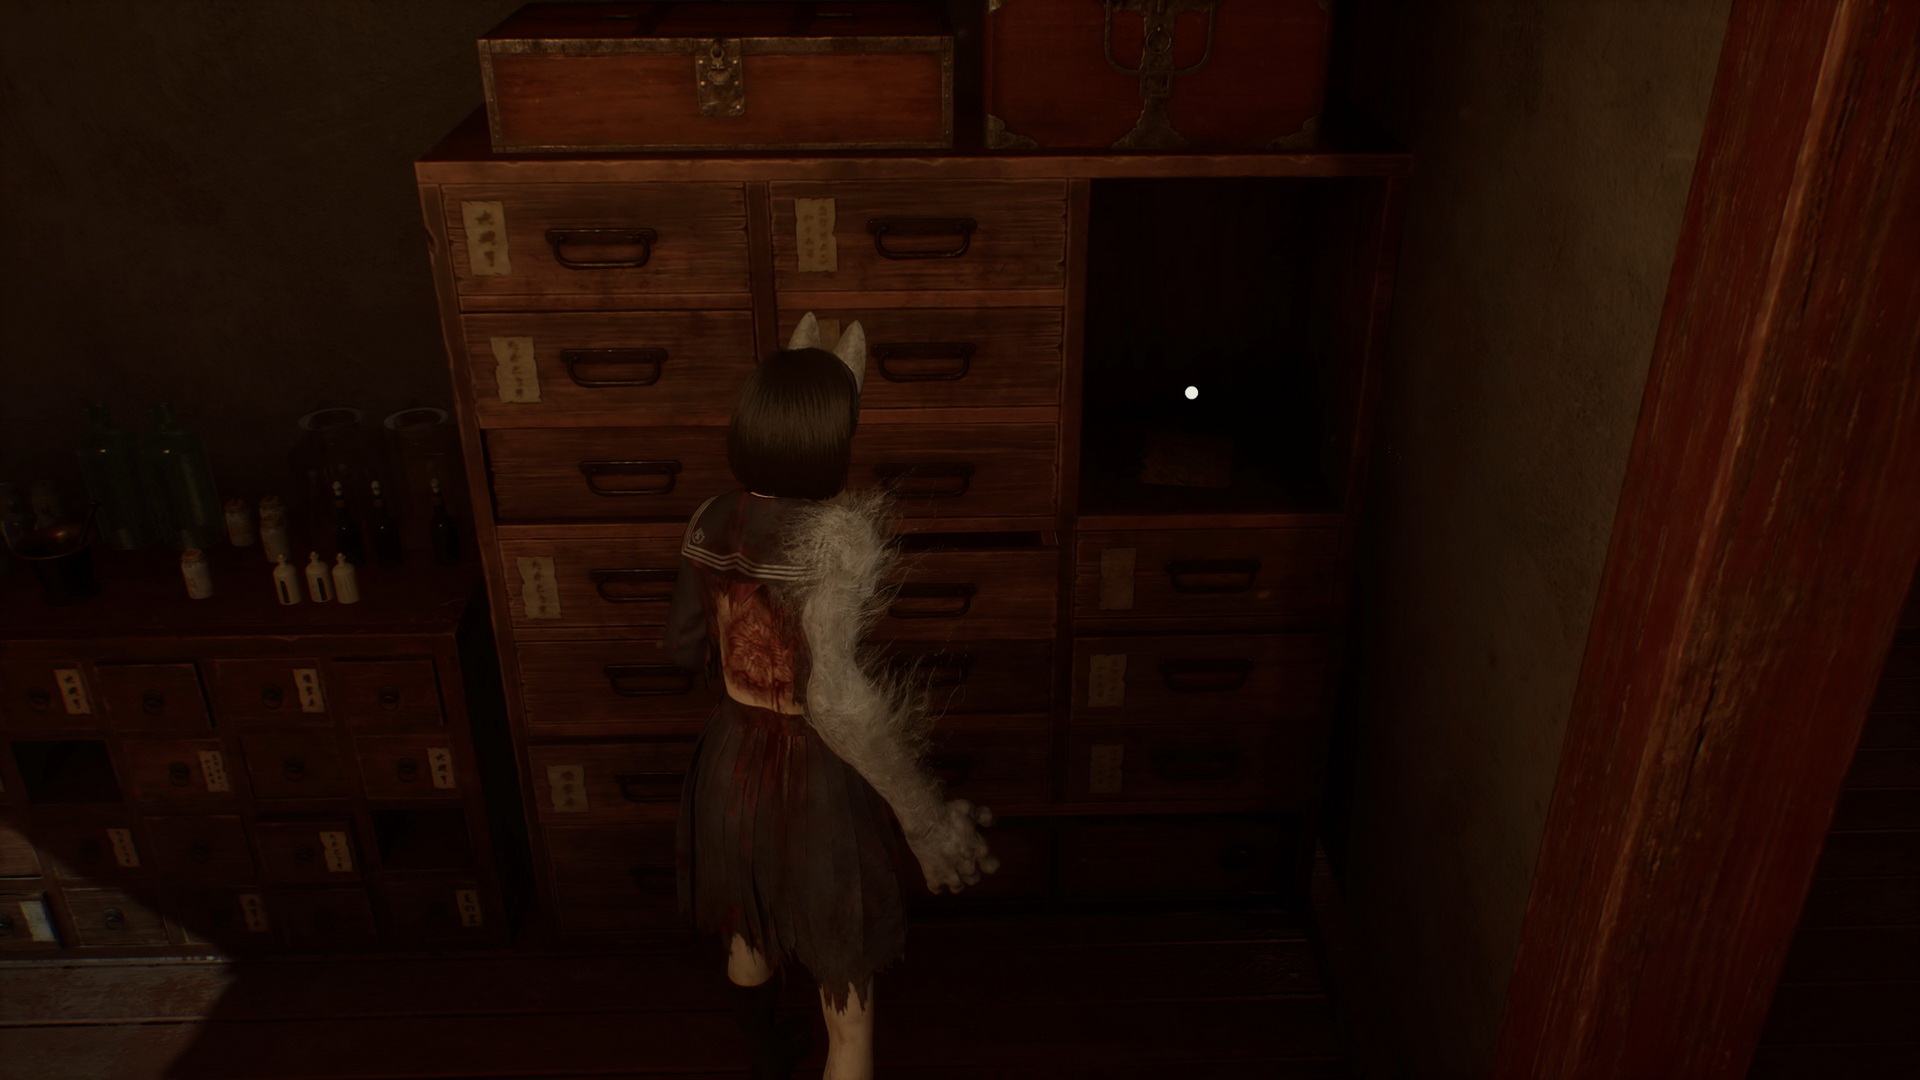
Step inside the building in the center and collect the Hotei-sama sitting Cross-Legged bottle from a desk.
Also in the building, you will find the Upgrade: Ema.
And there's a Note of Caution in a cubby on the other side.
Now go to an island in the northwest of the garden to find a Mandate of the Clan (4) on a bridge post.
Inspect the stone plinth on the island to begin the puzzle. The writing reads:
So, we are looking for three things:
You may have already noticed bells hanging in the garden. Each bell has a symbol of some element. You need to find and ring the bells in the following order:
The puzzle will be complete after the final bell rings, and your journal will be updated. Nothing more to do here, so leave the area and proceed with the game's walkthrough. |






Grab a Divine Water (⛩50) on a shelf at the first landing and continue going up. At the top of the stairs, you can collect a Bandage guarded by a single enemy to the right. Another Bandage is in the southeastern corner of the first room, and one more Bandage is in the southwestern corner. Continue west and grab a Dried Carcass (⛩200) from the corner of the next room. A Yokan (⛩30) is in the western room guarded by another monster. Go through the huge double doors at the end of the corridor and watch as the first ritual is performed.
Find the second Ritual Chamber
After the ritual, you can grab a Shriveled Abura-age (⛩500) from the altar and a Divine Water (⛩50) to the right. Go upstairs to the northwest, follow the long hallway, then go downstairs. You will face monsters here and can test your Fox Arm in combat. With the arm, you can now siphon enemies' souls, preventing them from reanimating. Grab a Divine Water (⛩50) in the northwestern corner of the room. Head downstairs and grab an Arare (⛩10) in the northwestern corner of the room and a Bandage on the southern side.
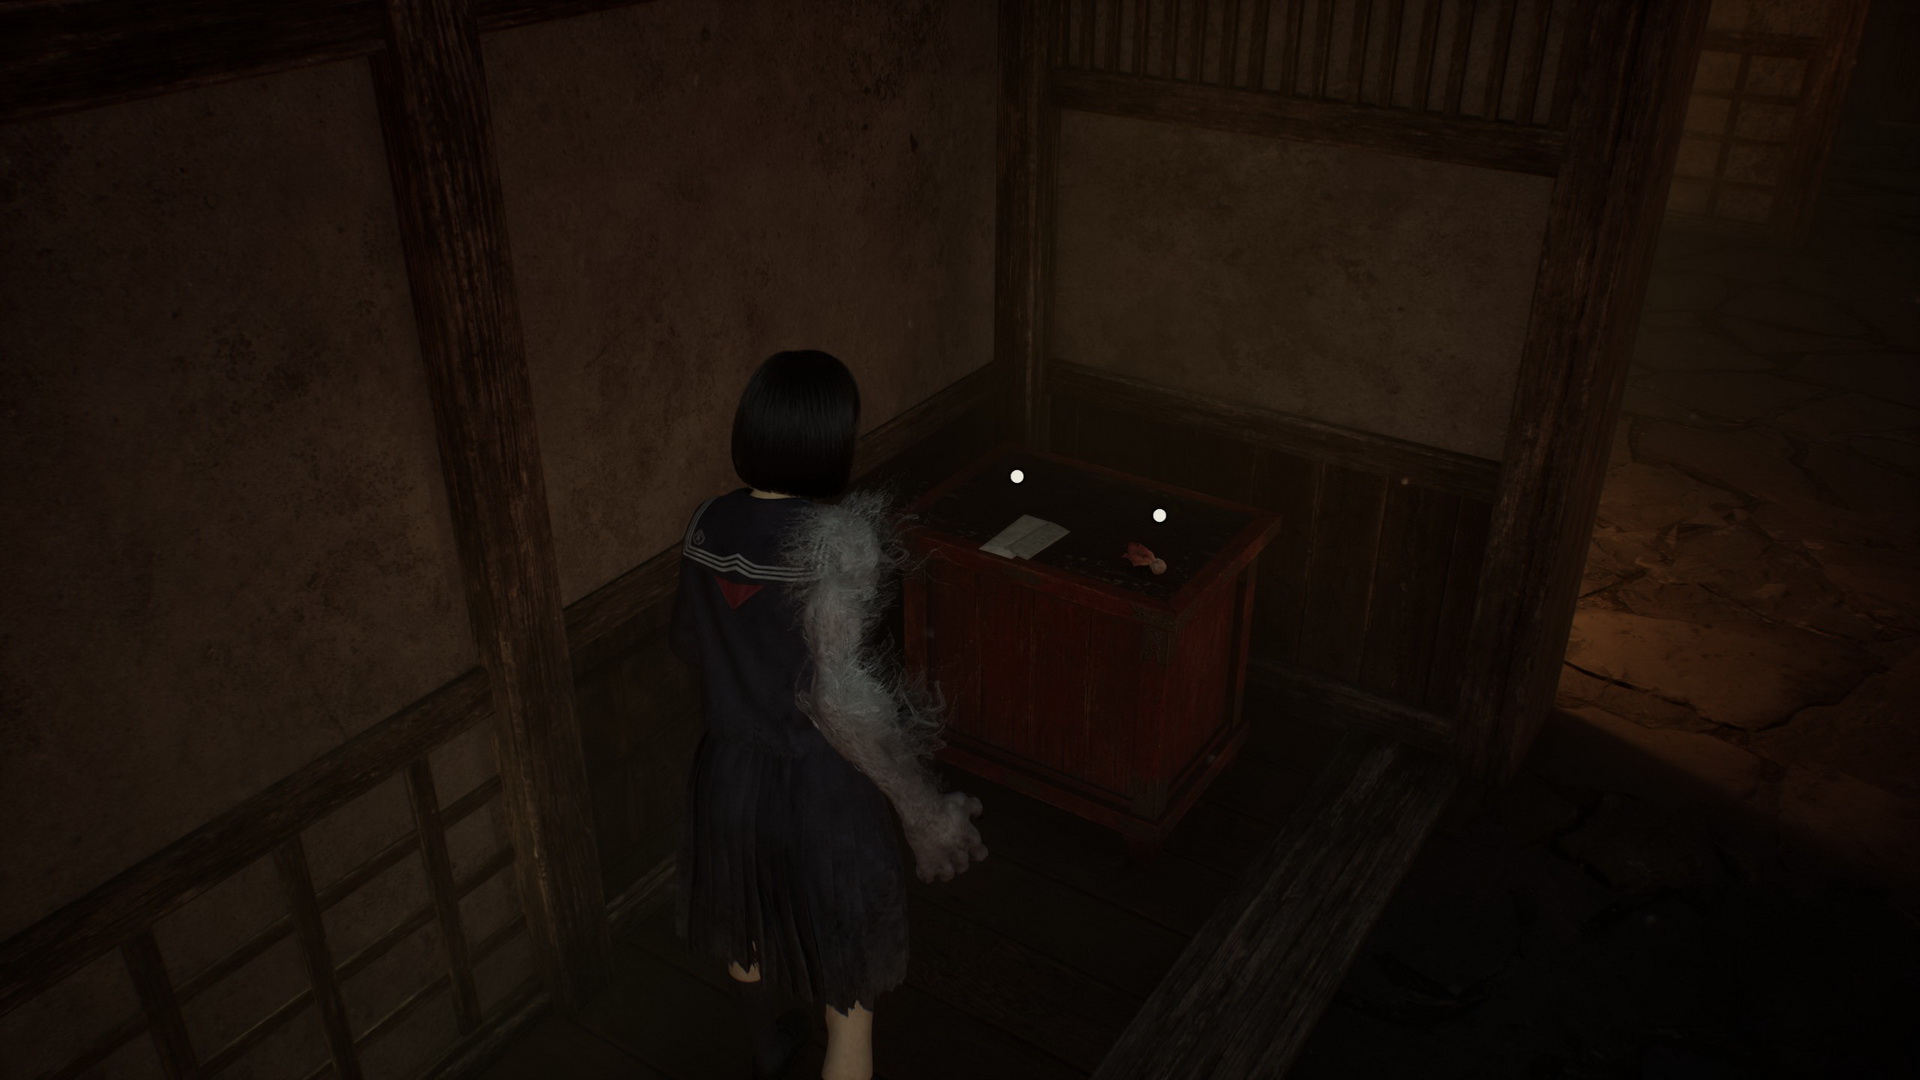
With the Fox Arm, you can lift the doors with the slat openings. Proceed into the main hall. Use your arm to go south, then open a door in the west to access a new room. Inside, there are the Omamori [Crow] (replaced with a Shriveled Abura-age (⛩500) if picked up in previous games) and a Housemaid’s Note (3).
 |
 |
Find your way to the Hokora shrine and pick up a Solemn Letter (2) in the southeastern corner of the room.
 |
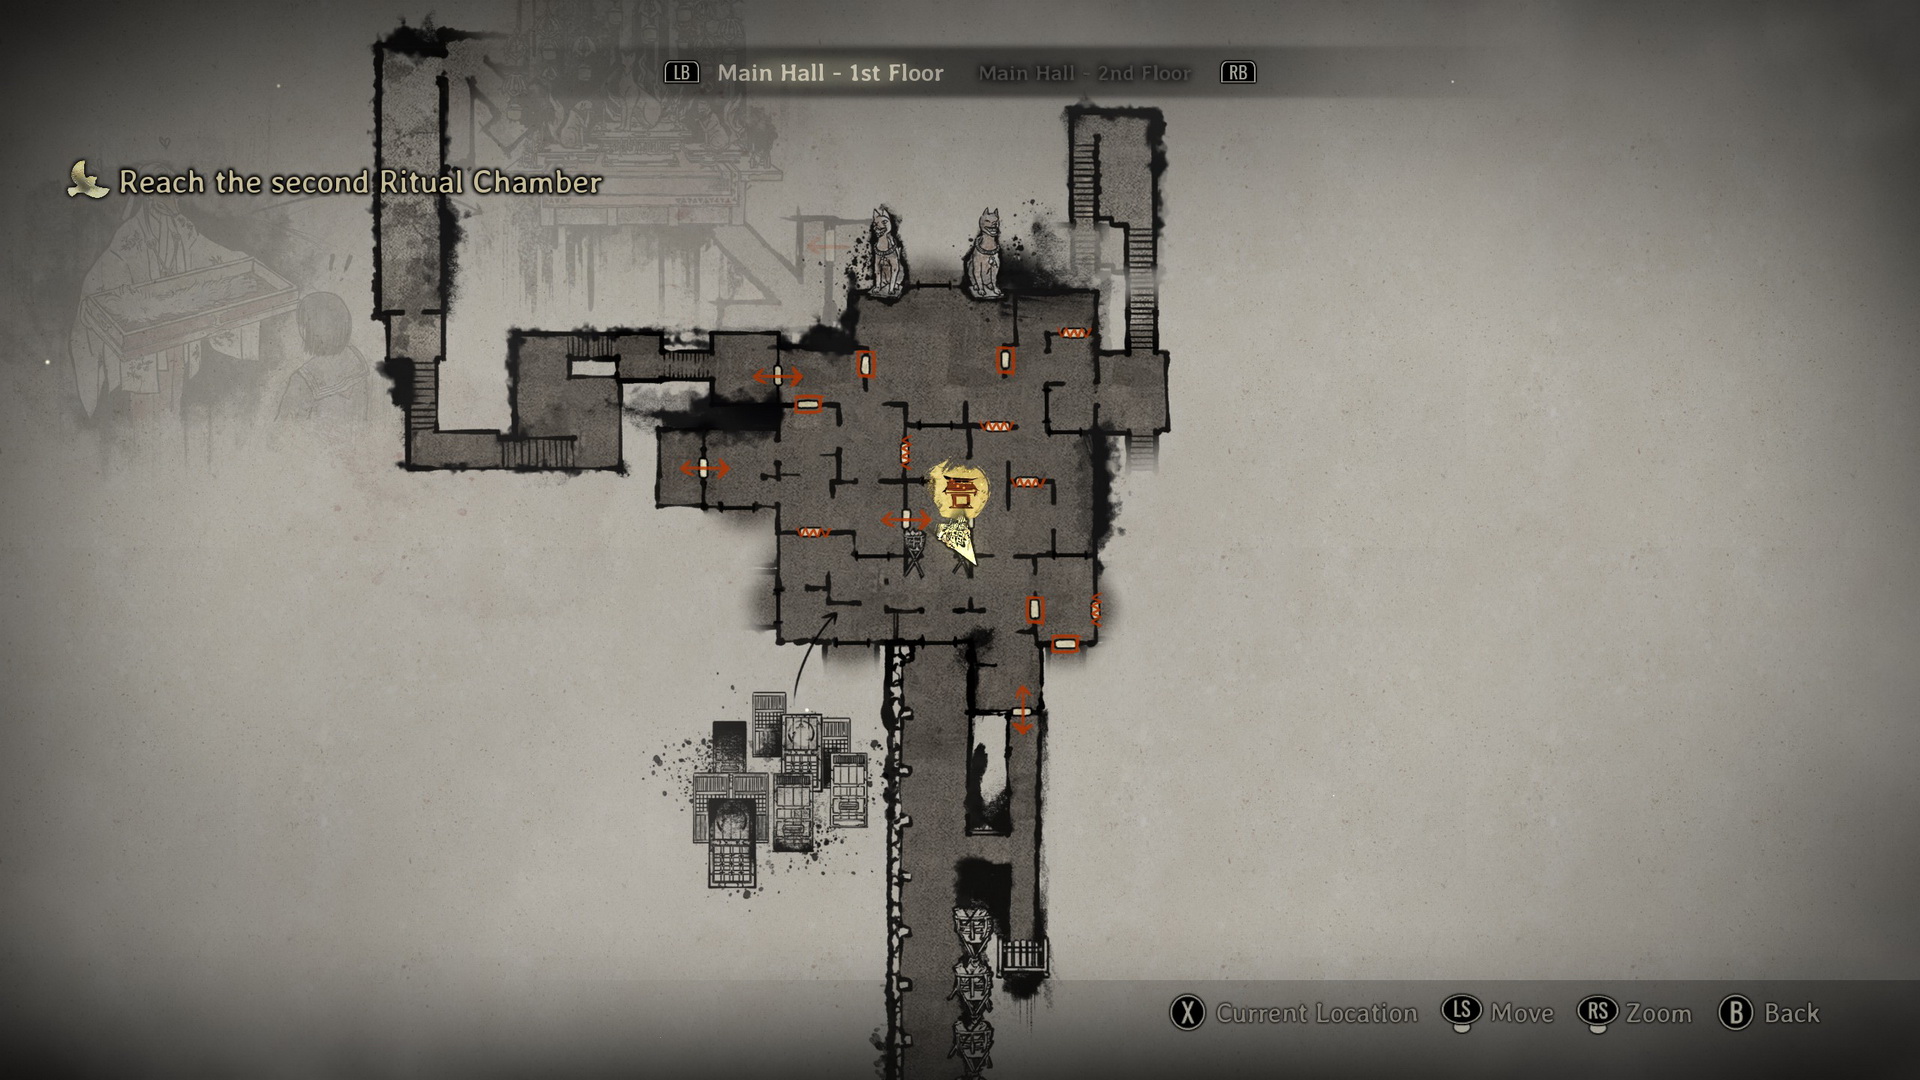 |
Proceed to the southeastern corner of the main hall, lift another door after fighting a monster, and go south, following Fox Mask. Find a Hokora shrine with Red Capsules to the right at the end of the corridor. Enter the room to the east, and the door will shut behind you, leaving you with the monsters.
Defeat the monsters
Deal with the huge monster-spawning creature and collect a First Aid Kit from the alcove in the north.
Enter the Ritual Chamber
Proceed east for the second ritual, where Hinako will be granted the Kudzu Seal.
Find the final Ritual Chamber
After the ritual, take a Dried Carcass (⛩200) from the altar. Exit the chamber, following Fox Mask. Eventually, you will encounter three enemies and be introduced to the Bestial Form that uses the seal. In the southeastern corner of the room, you can find an Arare (⛩10). Proceed to the west through the door.
Take the left stairs and go upstairs. Deal with the couple of enemies in the room and collect the items: a Bandage in the southeastern corner, an Antique Comb (⛩300) and the Upgrade: Dirty Drawstring Bag on the northern side after you navigate around the gap in the floor.
 |
 |
Go downstairs, deal with another enemy, grab a Yokan (⛩30) from a box and return to the main hall through a sealed door that you can open now.
Enter the room immediately to the right to find a Letter from a Woman at the center, a First Aid Kit to the right and a Higashi (⛩80) to the left.
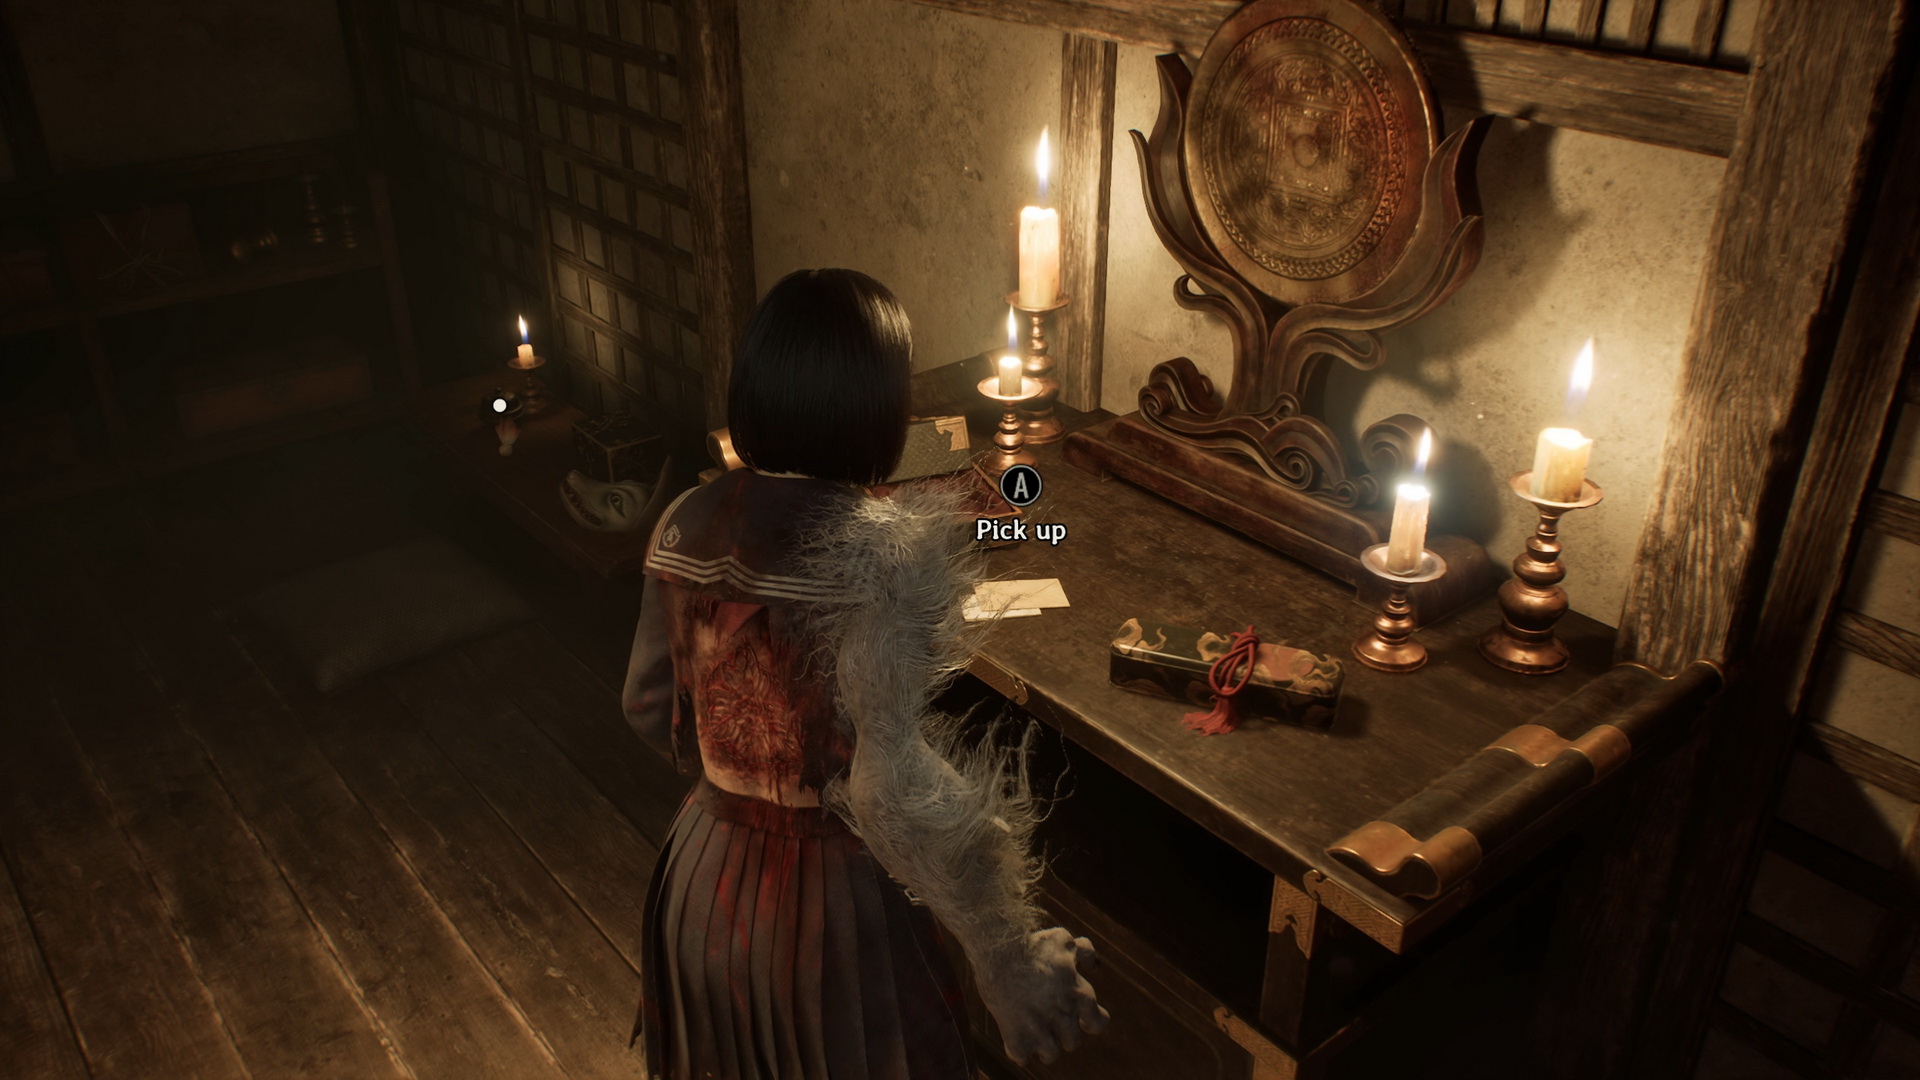 |
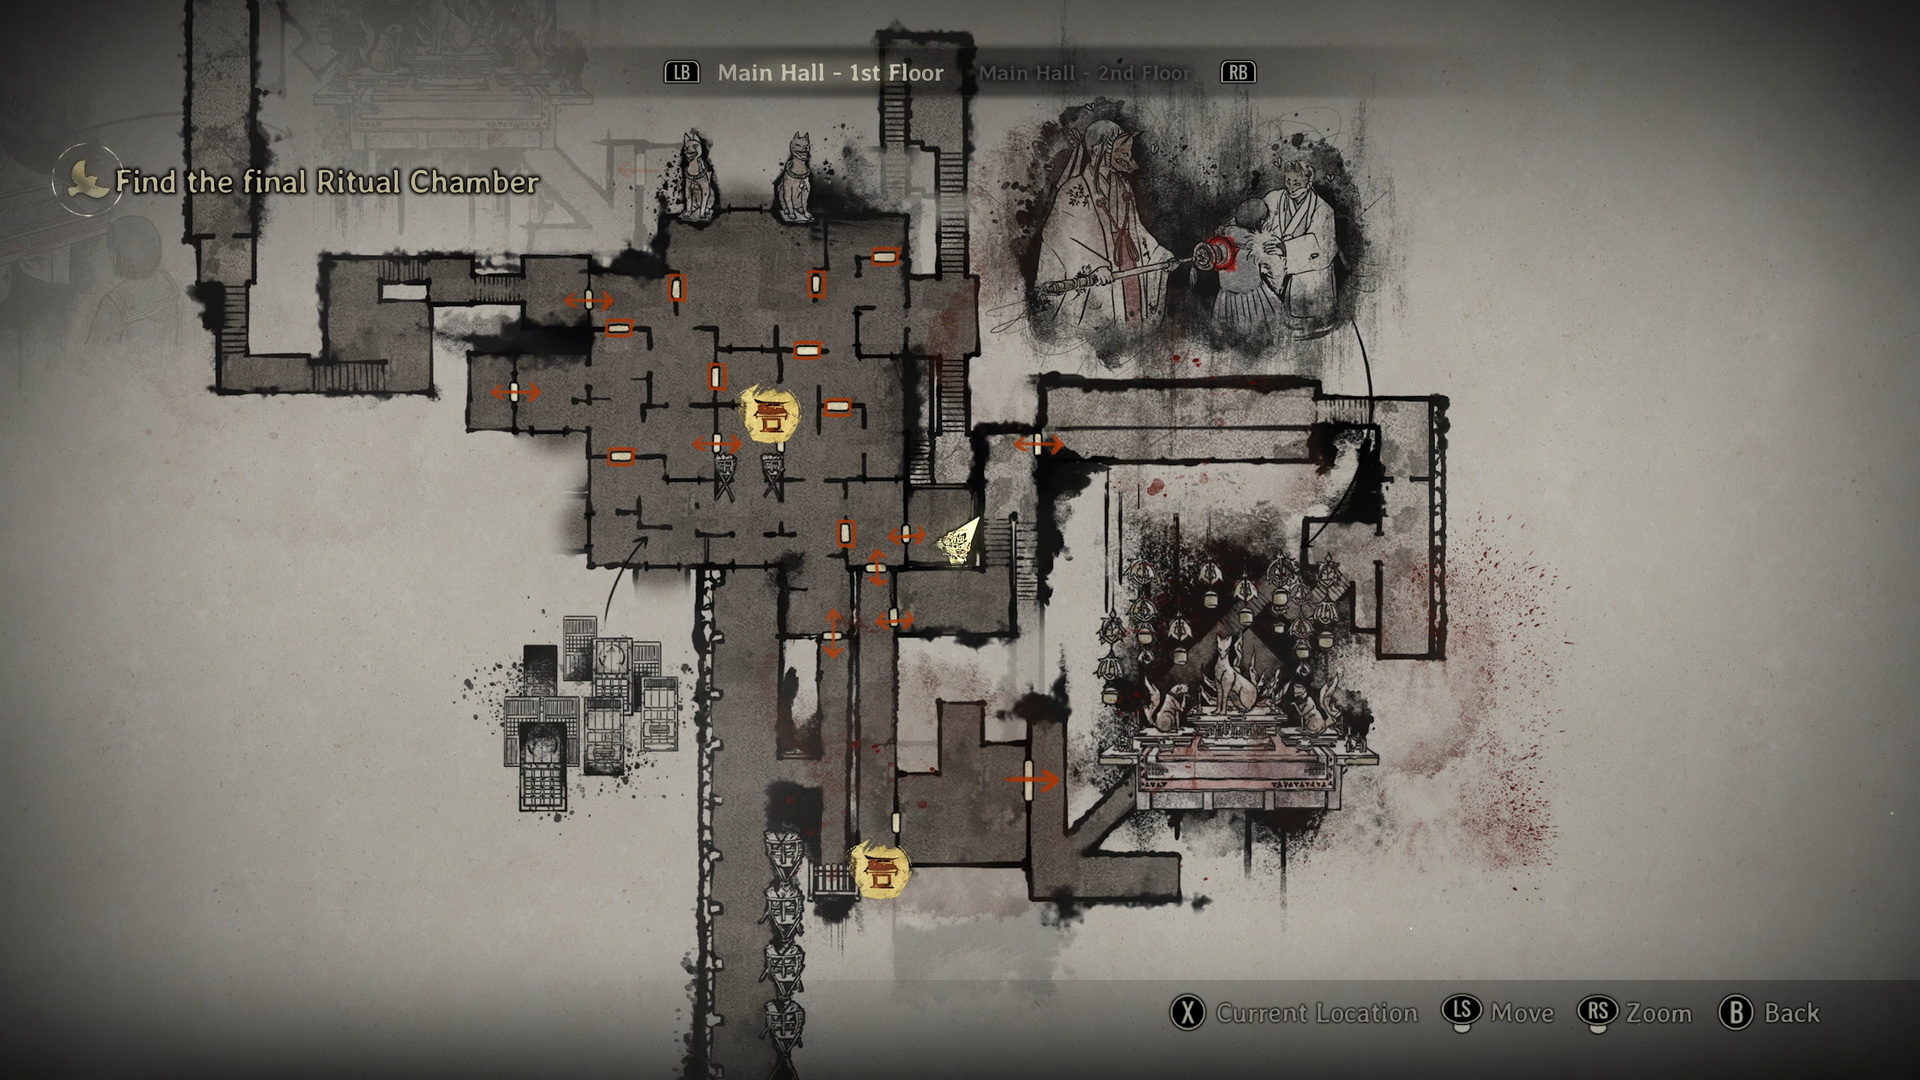 |
Make your way to the room with the Hokora shrine to collect a Solemn Letter (3) in the southwestern corner.
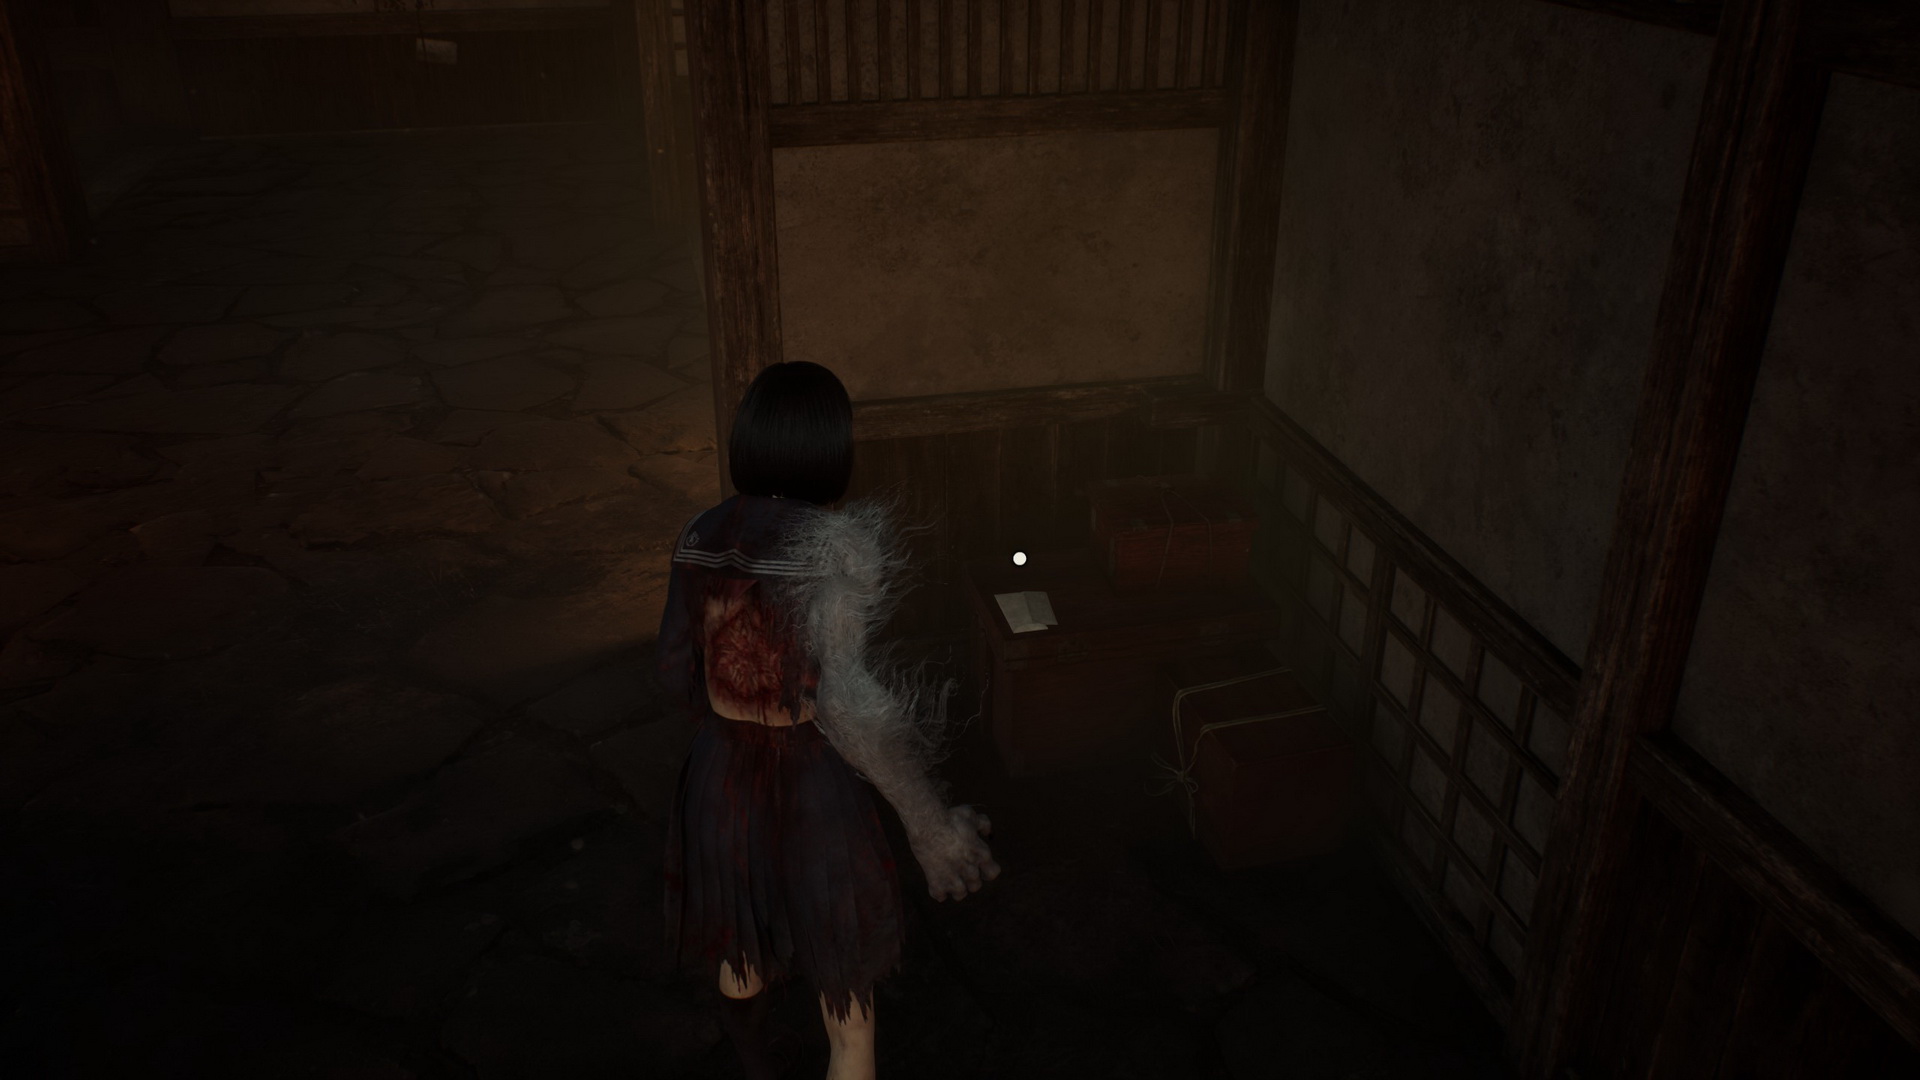 |
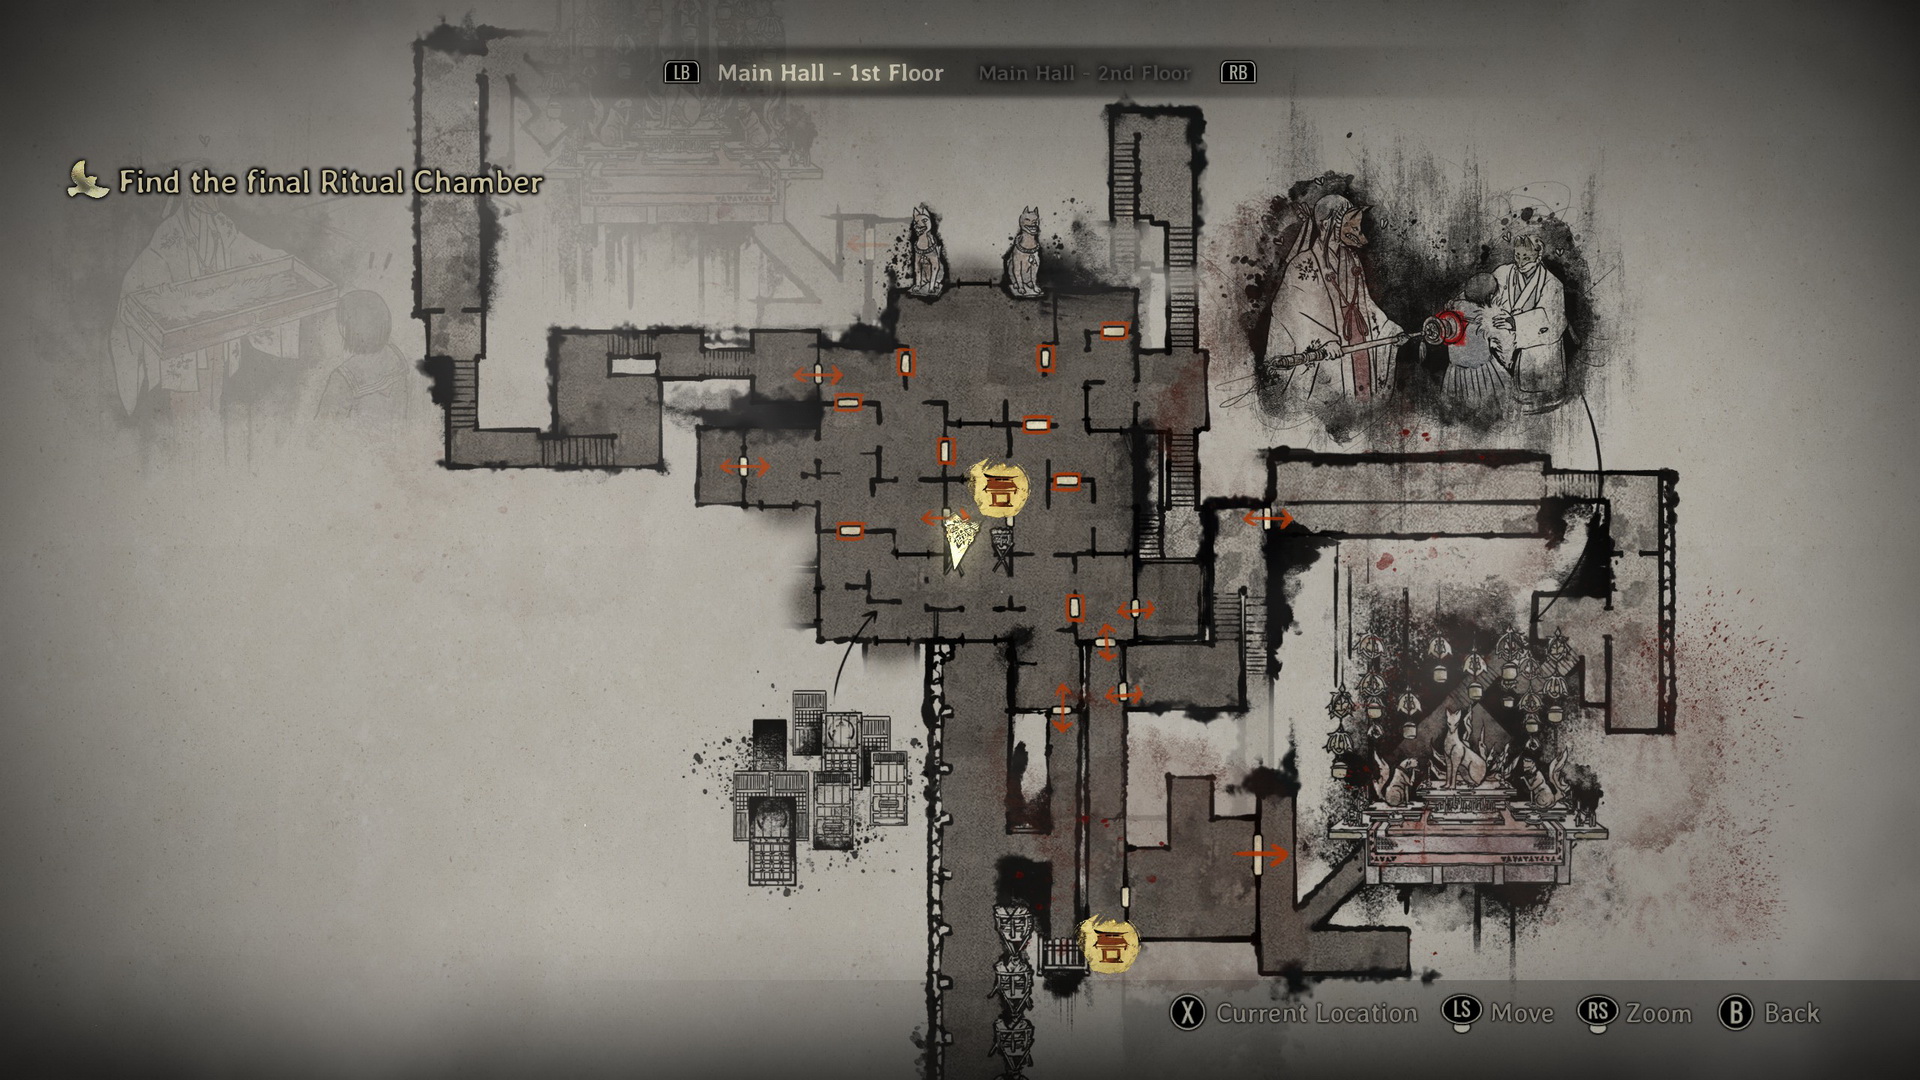 |
Go east and take the southern stairs. At the end of the stairs, you will find a Hokora shrine and a sealed door. Proceed through the door.
Defeat the monsters
Kill all the enemies in the room, using your new abilities so that you can proceed.
Enter the Ritual Chamber
Collect a Higashi (⛩80) in the northeastern corner of the room and a Bandage in the southwestern corner. Enter the double doors in the south for the final ritual.
Chase after Fox Mask
Grab an Antique Comb (⛩300) on a bench to the left and proceed after Fox Mask until you reach the main hall. Grab a Divine Water (⛩50) from a box on the left and use your new focus ability to reveal a passage in the wall.
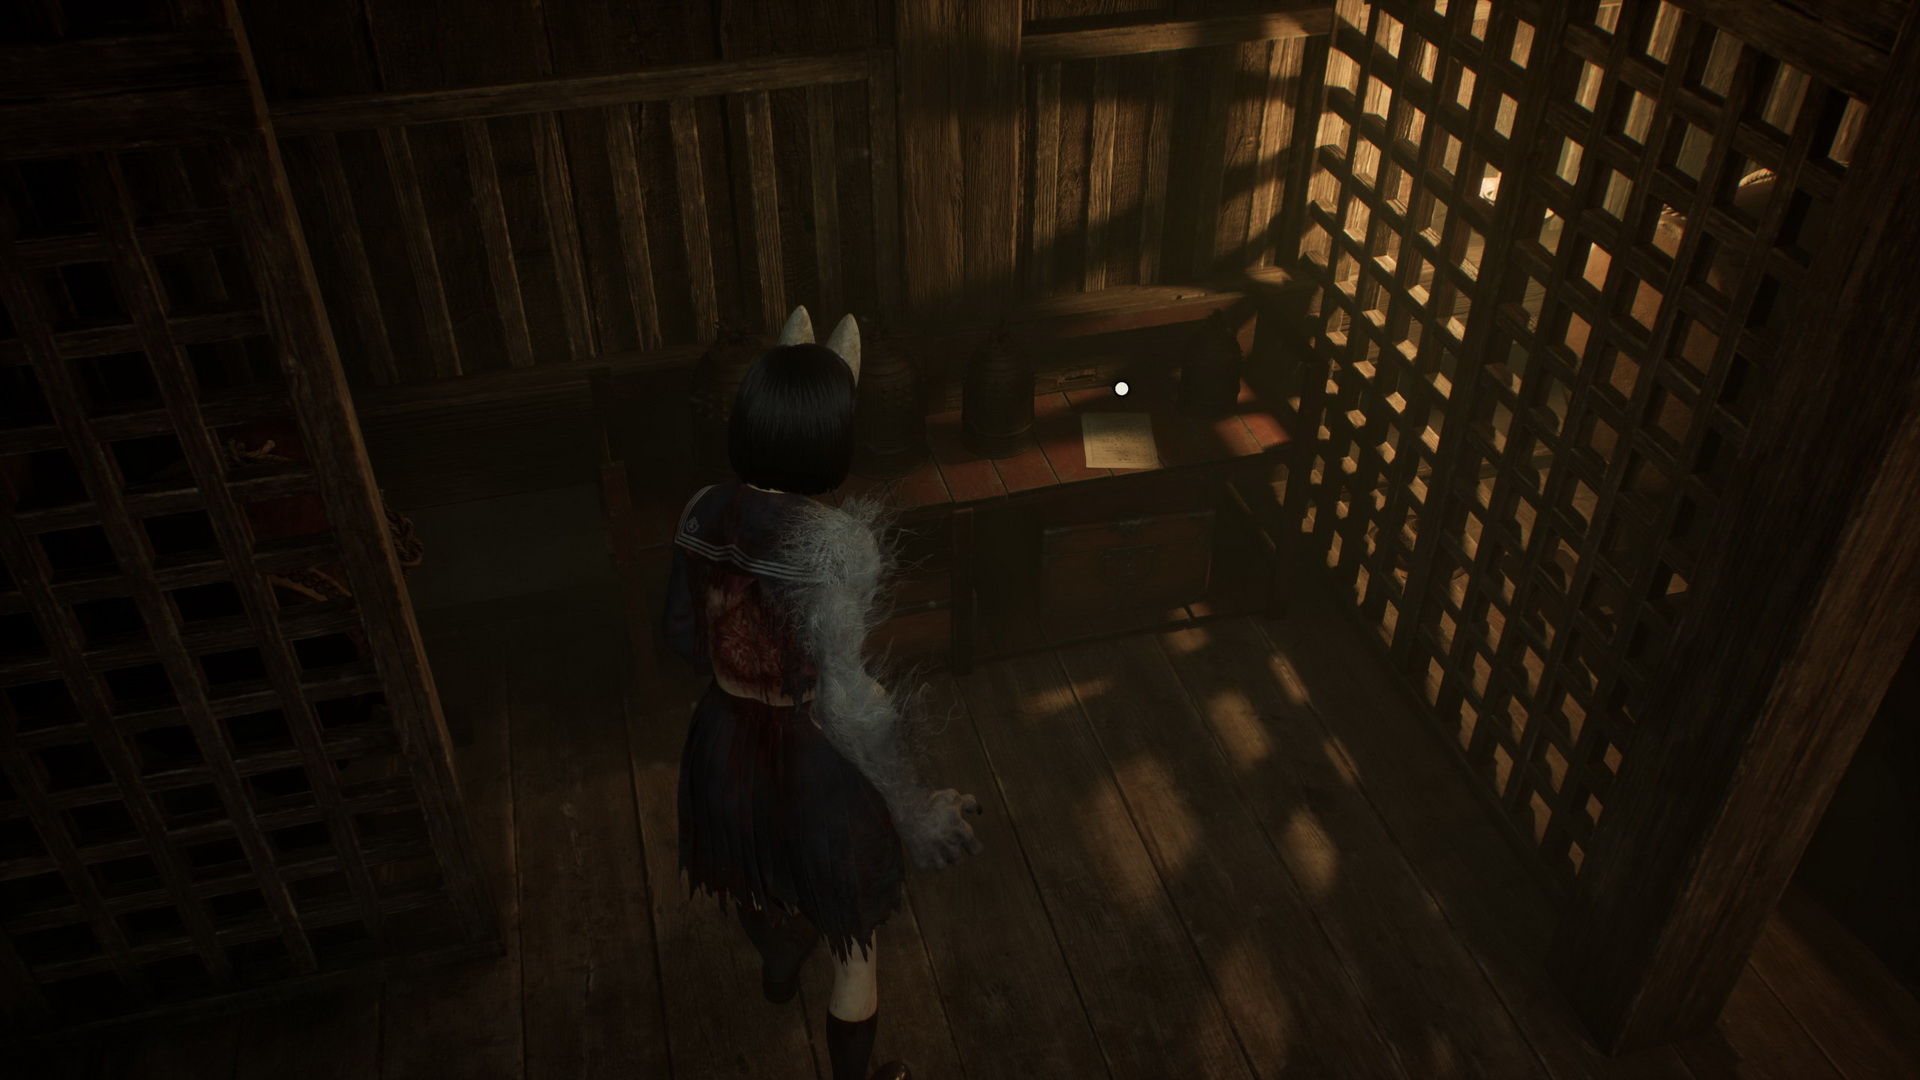
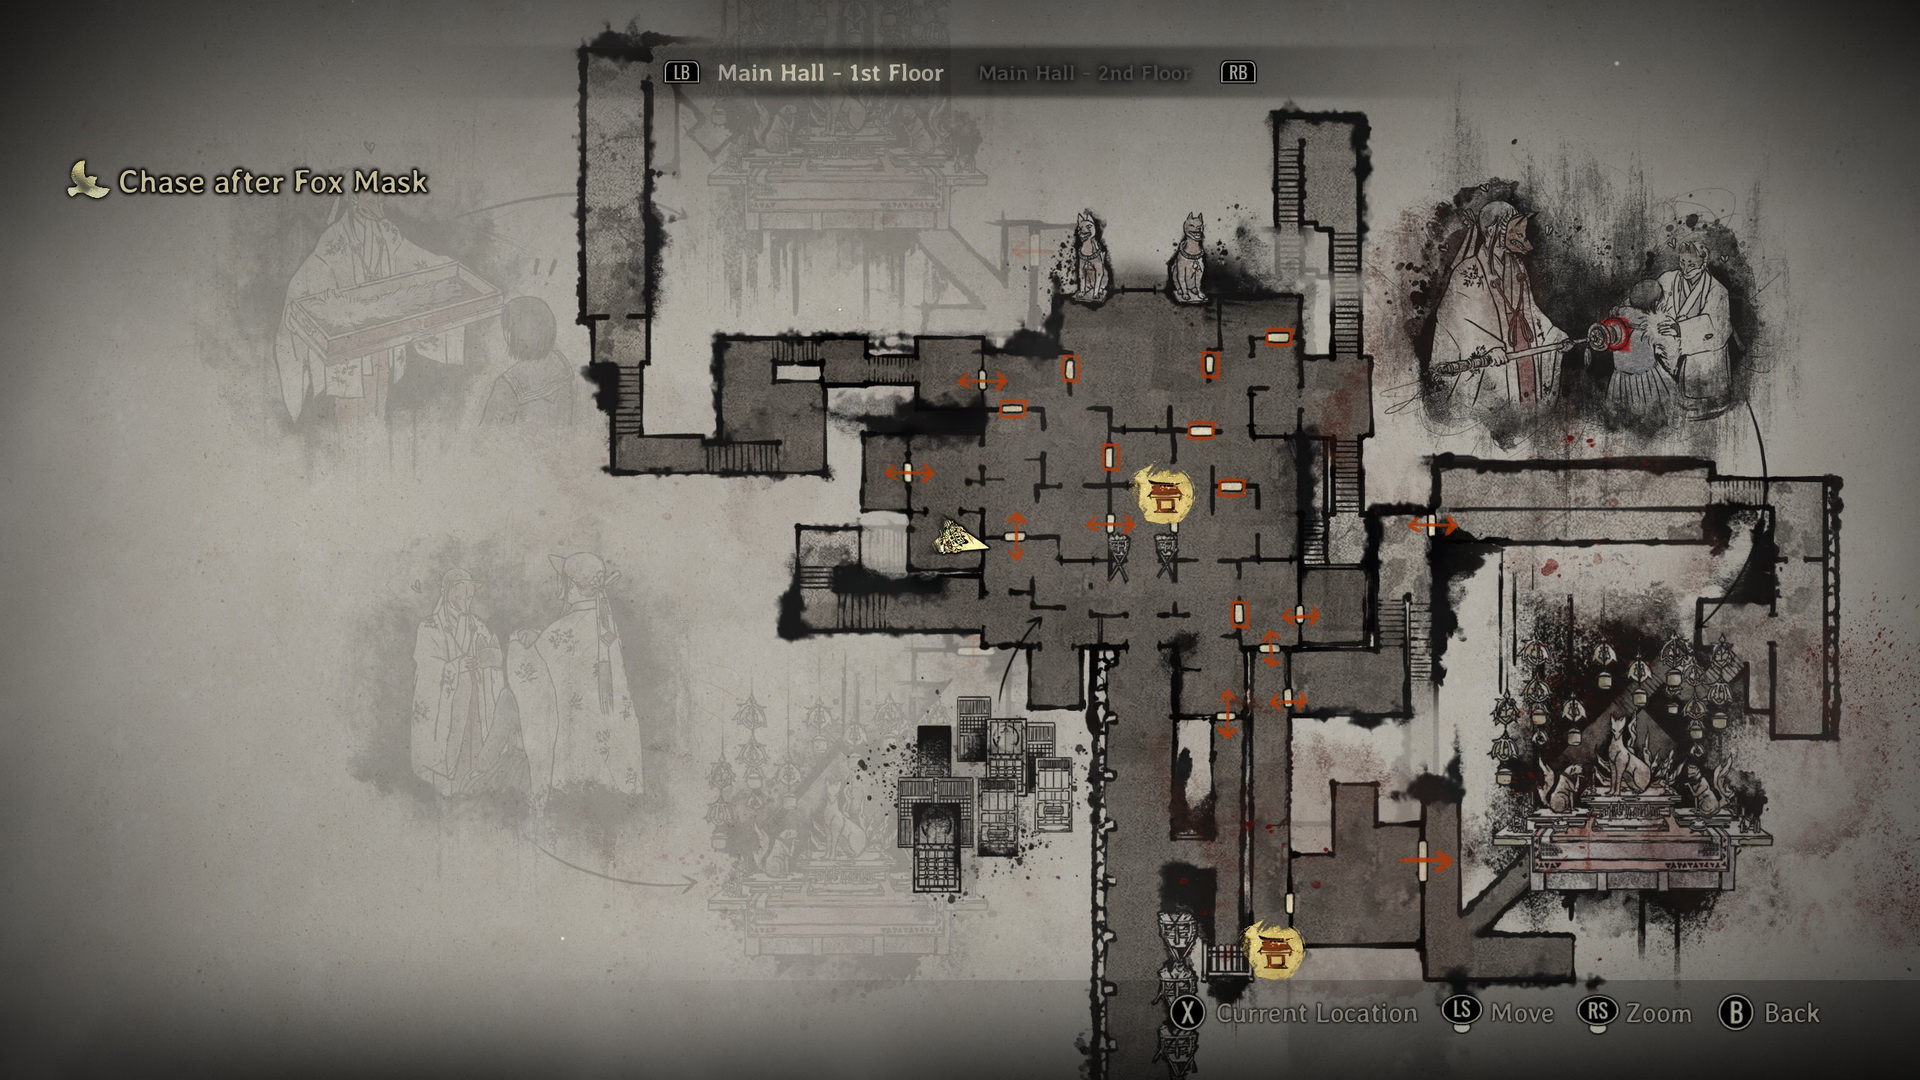
You can now use the Mask of the Fox Clan to open up walls with the seals. Back at the main hall, use this ability to reveal a secret room immediately to the right. Inside, collect a Divine Water (⛩50) from a box in the corner. Go north and then east to reveal another room here and collect the Upgrade: Ema to the right, a Family Physician’s Log (5) to the left and a Shriveled Abura-age (⛩500) in the back.
 |
 |
 |
 |
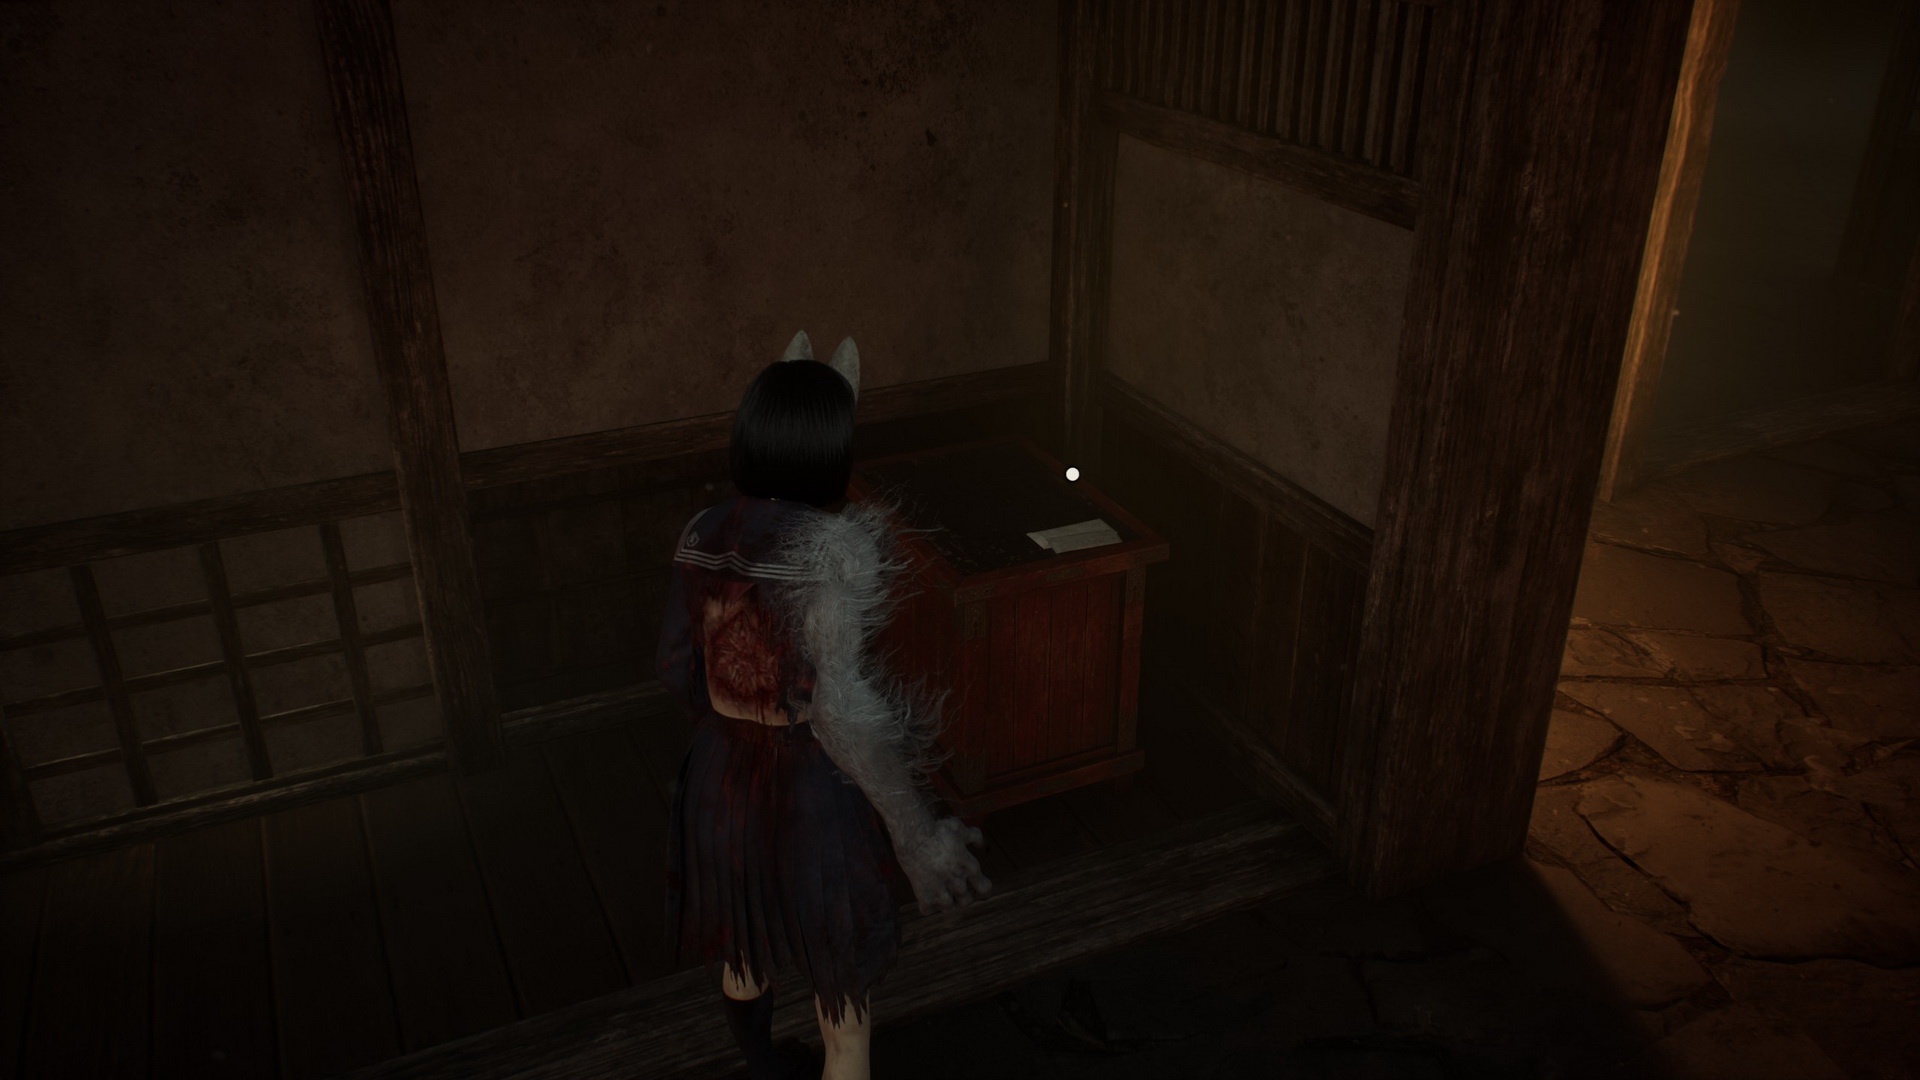
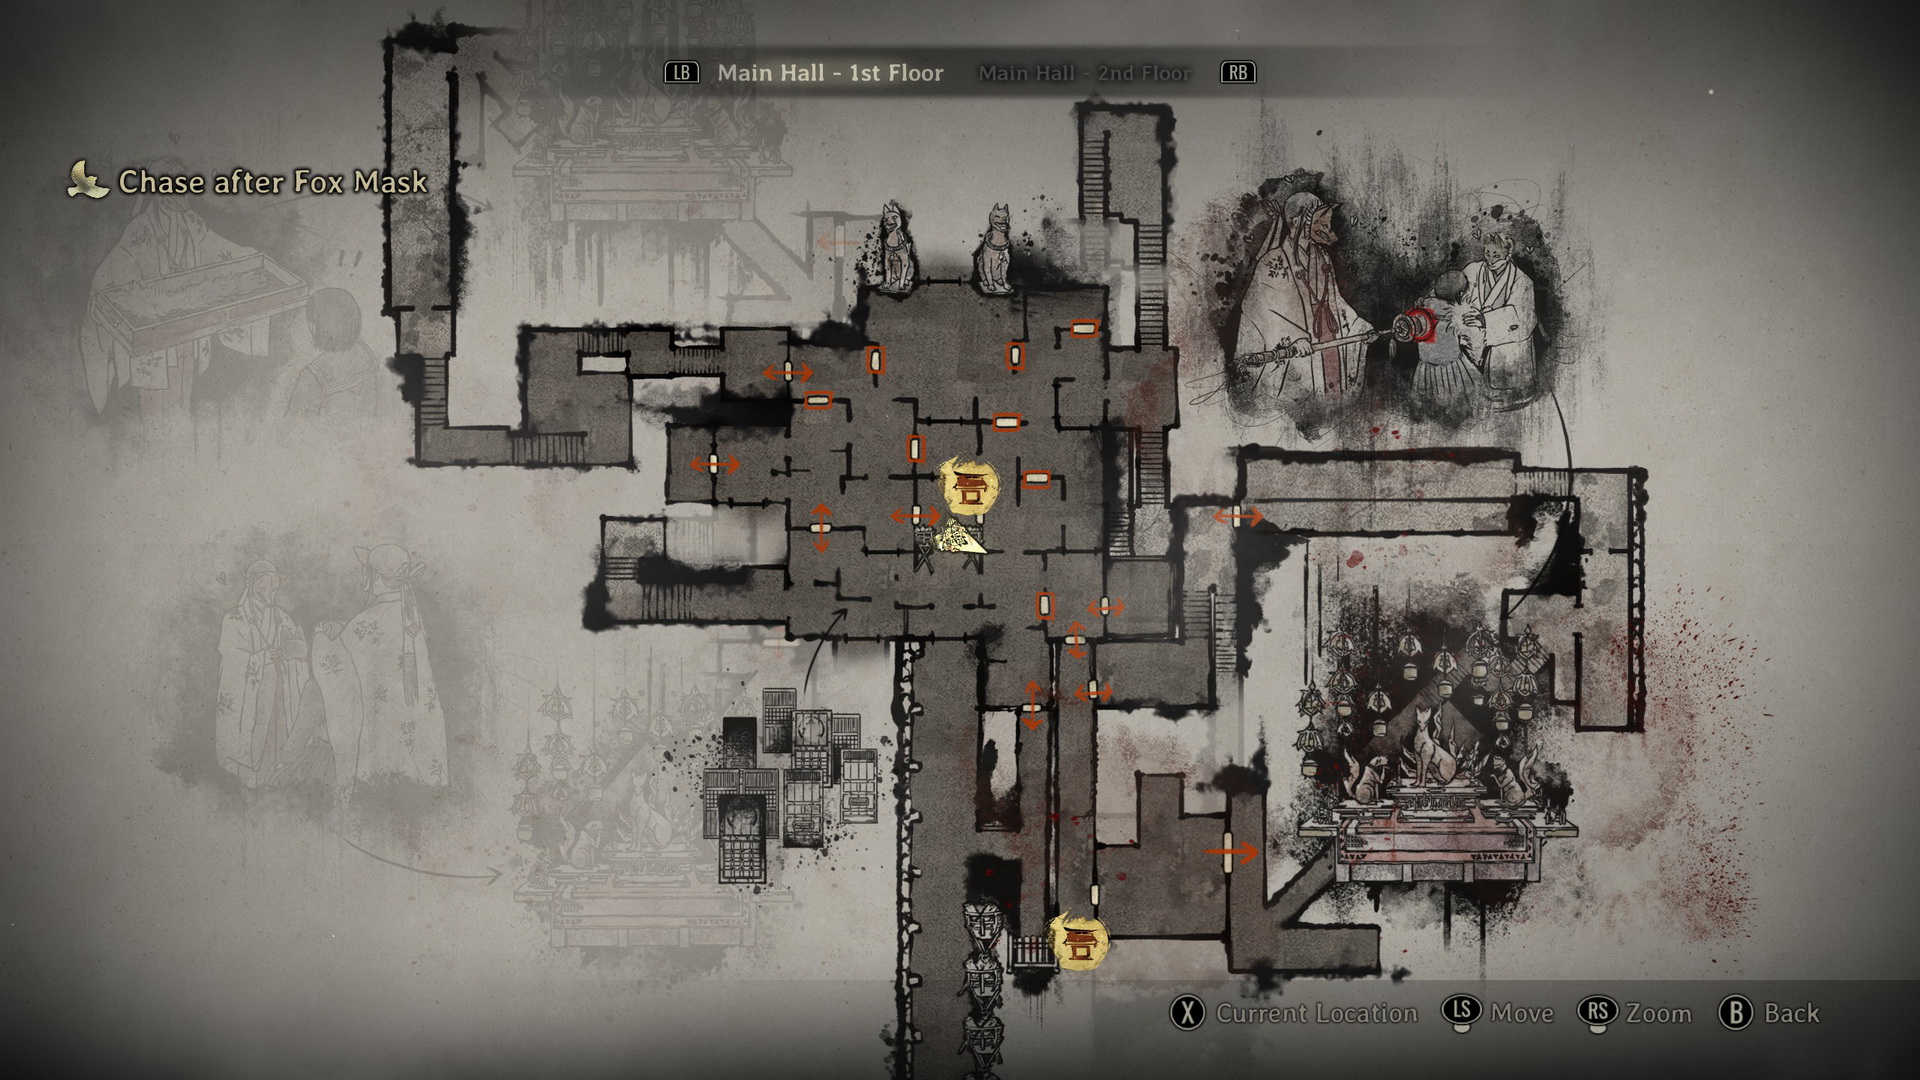
Return to the Hokora shrine in the main hall to collect the last Solemn Letter (4).
 |
 |
Before you proceed further, you can find another offering on the second floor. Use the southeastern stairs to reach the room where you previously collected the inventory upgrade. To the west, there will be another wall with the seal. At the end of the secret corridor, you will find a Dried Carcass (⛩200) on a bench before the Inari-sama door.
Once all done with the area, pass through the wall in the north between two Inari-sama statues. Use a Hokora shrine on the right to save your game and collect items: a First Aid Kit, a Bandage and a Divine Water (⛩50) next to the shrine, Red Capsules and a First Aid Kit on the other side. Approach Fox Mask for a scene.
Walk with Fox Mask
Fox Mask will lead you through a hall of the fox clan members, and the scene will end with a boss fight.
Defeat the Rinko-like entity
It's time to face Hinako's jealous friend.
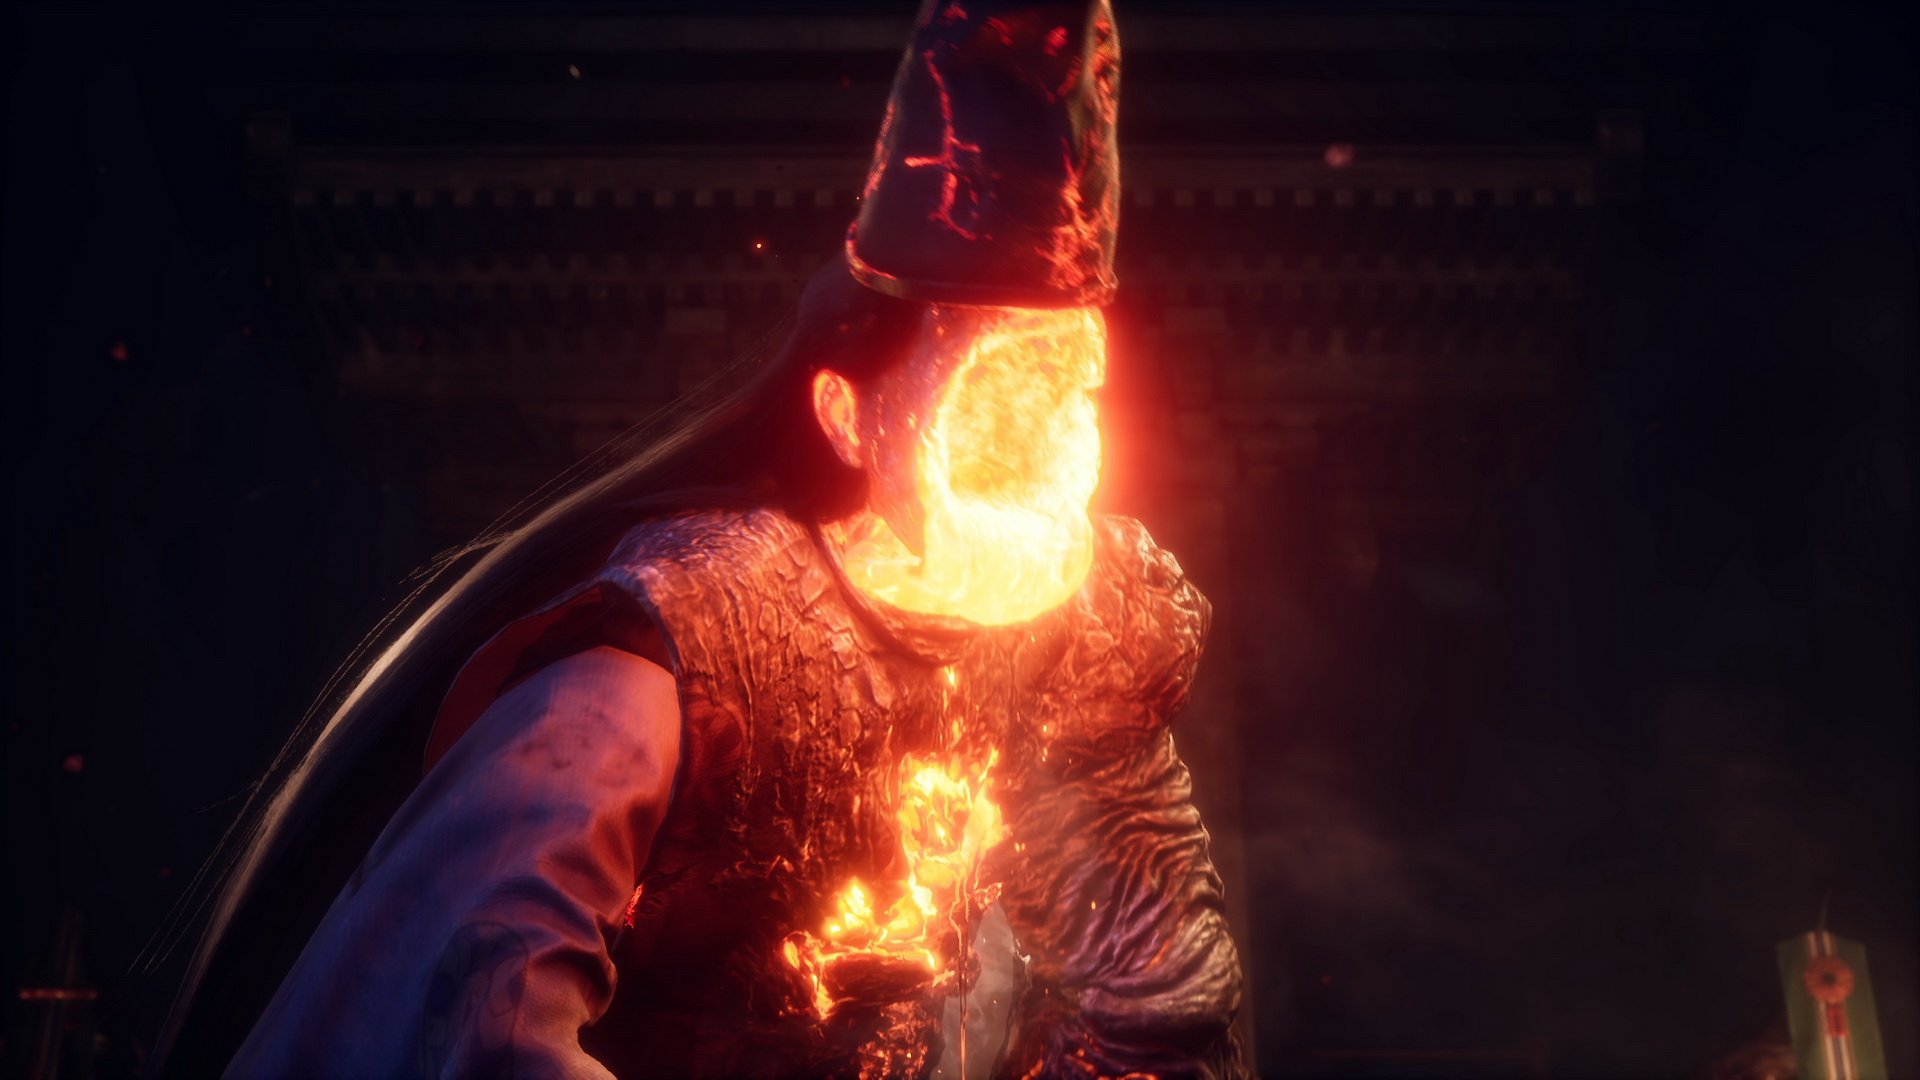
Phase 1
Hinako will immediately trigger her Beast Form automatically. Right away, the Rinko-like entity will clutch her chest to wind up a massive AoE blast. Since you are completely invulnerable while transformed, do not back off. Rush straight in and wail on her with heavy attacks to burn through her health while she is locked in the animation.
Once the explosion clears, Hinako drops back into human form, and the real fight begins. The boss uses a long, thorned whip woven from spider lilies and vines. Her go-to melee pattern is a quick step toward you followed by a 5-hit max combo.
Don't bother blocking the early swings; the whip has a massive horizontal reach that will chew right through your stamina bar. Instead, space yourself out and dodge backward or to the side.
Watch her arms closely. A distinct red distortion effect telegraphs the final swing of her combo. If you are right in her face when this happens, throw out a heavy attack to counter her. If your timing is right, she will stagger, giving you a clean window to unload a full combo.
Phase 2
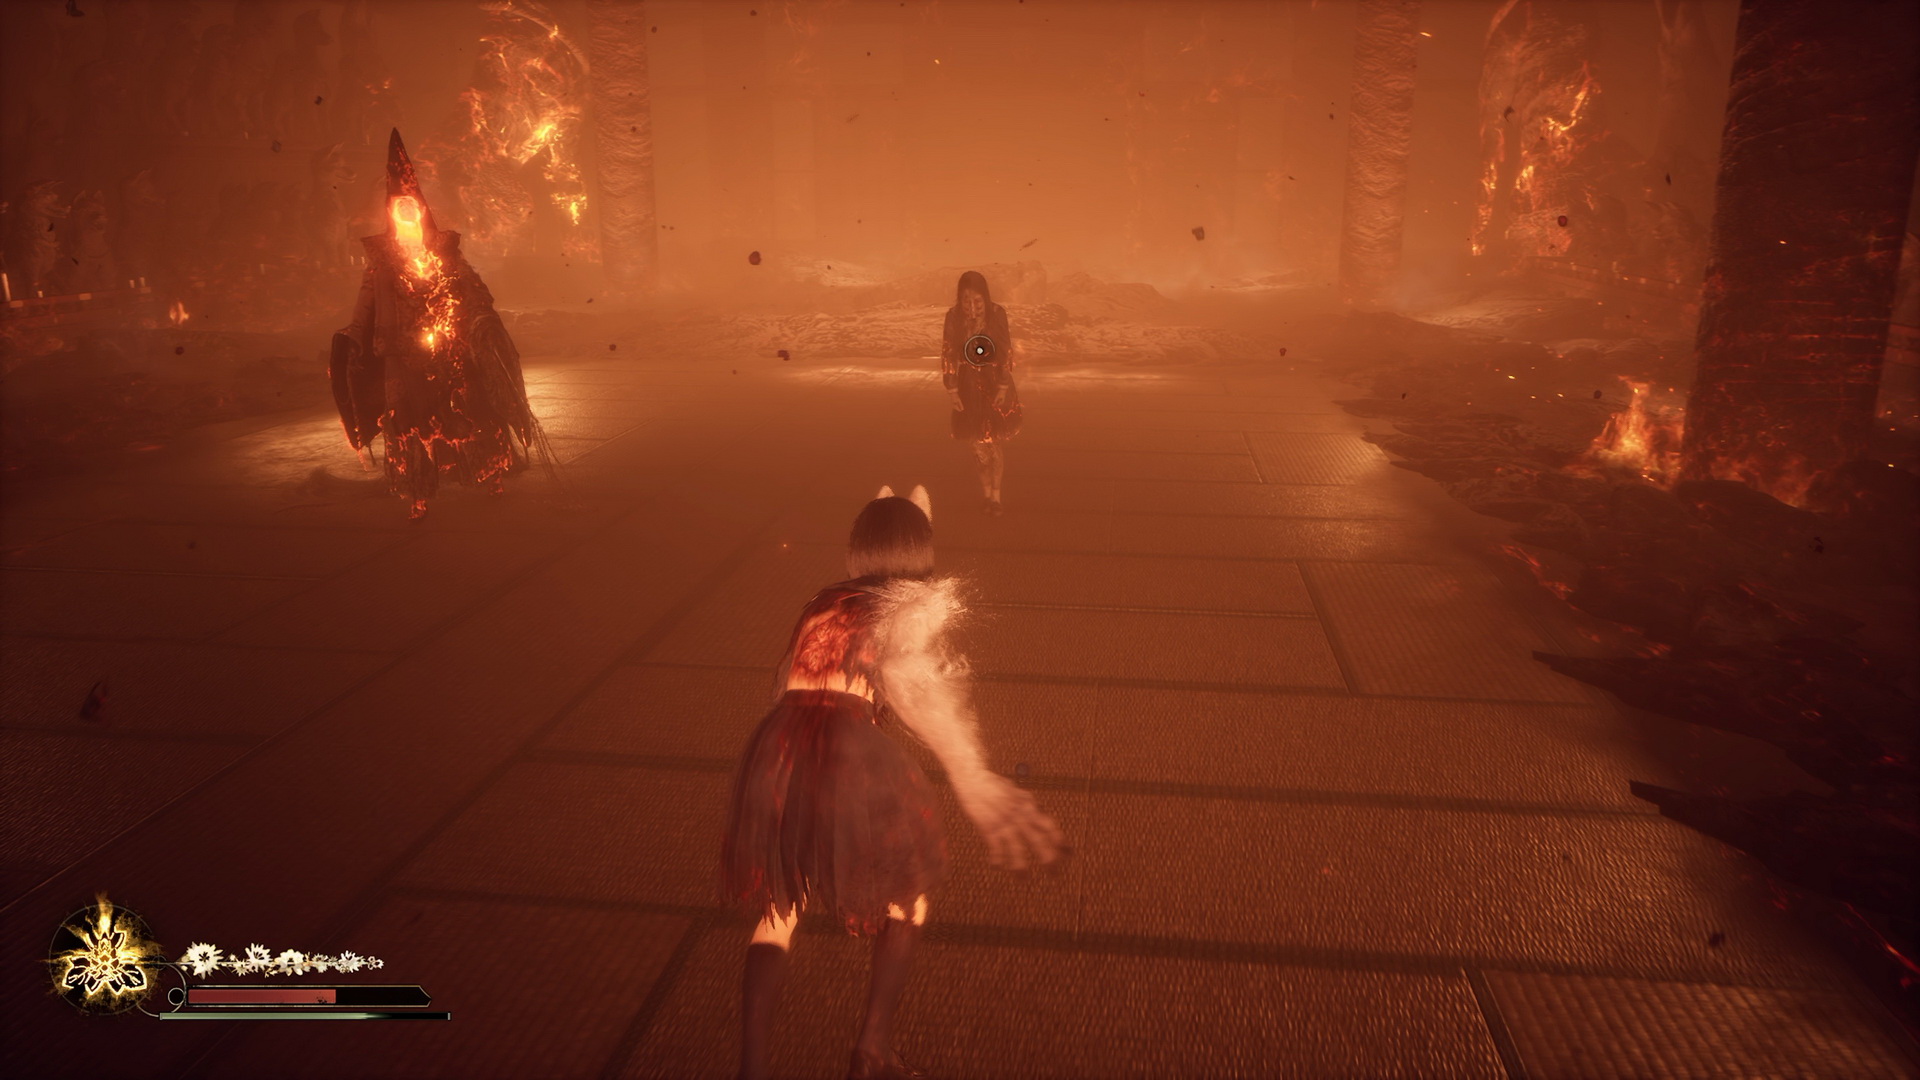
When her health drops below 70%, faceless puppets resembling Rinko will start spawning around the edges of the room. On their own, these minions are slow and easy to loop around. However, the boss will start mixing in ranged fire attacks that change the entire dynamic of the arena:
- Fireball Toss: She will reach into her chest cavity and hurl flaming clumps at you. These hurt on impact and leave burning patches on the ground.
- Fire Pillars: A trail of black smoke will snake across the floor directly toward your feet. Get out of the way immediately, as a massive pillar of fire will erupt from the trail a second later.
- Combusting Minions: If any of the Rinko puppets wander into the leftover fire patches or get hit by a fire pillar, they will ignite. Once on fire, they stop shuffling and will sprint straight at Hinako to detonate themselves for massive damage.
To keep the room from getting completely chaotic, clear out the puppets before they catch fire. Once you knock a minion down, you have to siphon their soul or pop Beast Form to finish them off. If you don't, they will keep getting back up.
Trophy/Achievement: Echoes of Jealousy |

Defeat the boss without being hit by her puppets. |
Phase 3
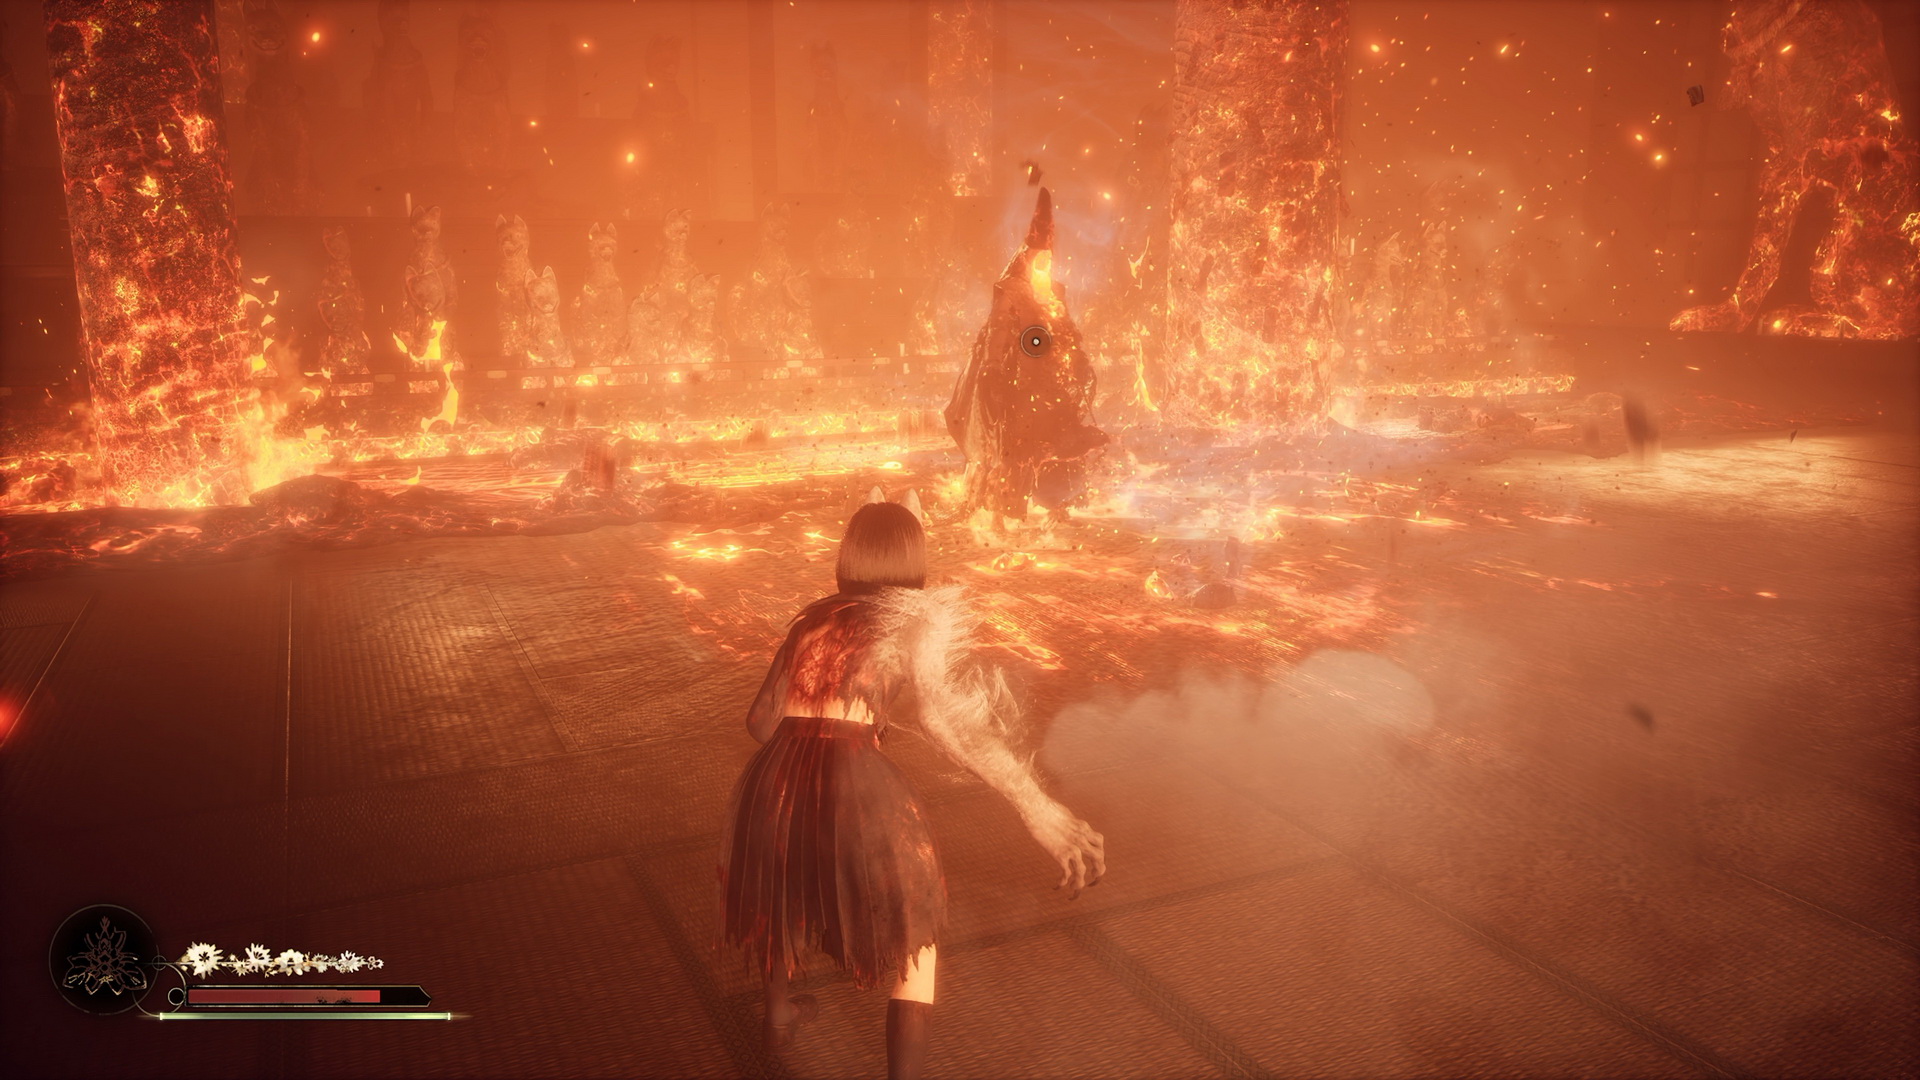
Once the boss is down to her last 30% health, she gets significantly more aggressive and adds two dangerous explosive attacks to her kit:
- Crouch Blast: She will drop into a sudden crouch as if in pain, then thrust her hand upward. The ground right around her will smoke for a split second before exploding. There is almost no startup warning for this, so if you see her drop low, back off instantly.
- Grid Explosion: The arena will go completely dark, and bright orange geometric grids will light up the floor around the boss. This attack covers a massive area but has a long charge time. Watch the floor, stand in a safe zone outside the orange lines, and run back in to finish her off as soon as the blast clears.
Beating the Rinko-like entity wraps up this chapter.
| 08. Ebisugaoka Part 4: Sugisato Forest | 10. Ebisugaoka Part 5: To Shimizu Residence |