
Shimizu Residence
- Ebisugaoka Part 1
- Dark Shrine Path
- Ebisugaoka Part 2: Rice Fields
- Dark Shrine Corridors
- Ebisugaoka Part 3: To School
- Ebisugaoka Middle School
- Dark Shrine Worship Hall
- Ebisugaoka Part 4: Sugisato Forest
- Dark Shrine Main Hall
- Ebisugaoka Part 5: To Shimizu Residence
- Shimizu Residence
- Dark Shrine Treasure Hall
- Ebisugaoka Part 6: Tainted Town
- Dark Shrine Final Path
Welcome to the eleventh chapter of the complete walkthrough guide for Silent Hill f, covering the Shimizu Residence. Use the key summary below for essential, spoiler-free directions, including all missable trophy-related items and actions (items in italics are optional). For in-depth guidelines with extra explanations, refer to the complete walkthrough section. This guide also includes all New Game+ items and actions for your subsequent playthroughs.
Legend
- Hokora – shrines
- Capsule Case – key items
- Steel Pipe – weapons
- Omamori [Whale] – omamori
- Upgrade: Ema – character upgrades
- Local Doctor's Note – documents
- Housemaid’s Note – trophy-related documents
- Red Capsules – consumables
- Antique Comb (⛩300) – offerings
Collectibles
Counts of available trophy-related collectibles:
| Category | NG | NG+ | NG++ |
| Omamori | 1 | - | - |
| Ema | 2 | 1 | - |
| Inventory upgrades | 1 | - | - |
| Inari-sama's seals | - | 1 | - |
| Documents | - | 1 | - |
Key Summary
Shimizu Residence I
- Go to the right corridor to find a locked door and a Calendar next to it.
- Back in the starting corridor, investigate a door with the mechanism and a scroll next to it – this is Hinako's room. You will need to find three crests to solve this puzzle.
- Antique Comb (⛩300) can be found on a shelf in the southern corridor.
- Dried Carcass (⛩200) is on a pillow in the northeastern room, next to the end door.
- A northern room in the middle of the residence contains the Ominous Photo Puzzle. You will need to find a missing photo first to solve this puzzle.
- New Game+: Diary of Revenge (6) and Upgrade: Ema are inside the Inari-sama box in the room to the south of the room with the Ominous Photo Puzzle.
- Place the Calendar next to the door at the end of the starting corridor and proceed through the door to the next version of the residence.
Shimizu Residence II
- Go to the right corridor and reach a storage room in the southeast to find a Picture Frame inside.
- Shriveled Abura-age (⛩500) is on a box across the storage room.
- Return to the starting corridor and go through the first door to the left.
- Dried Carcass (⛩200) is on a crate in the first room.
- Go through two rooms to reach the southern corridor.
- Upgrade: Ema. Enter the southeastern room across the corridor to find this item on a podium.
- Enter the dining room to the north to pick up a Yellowed Calendar on a table after a flashback scene. Return to the starting corridor.
- New Game+: The Yellowed Calendar will be beneath the window in Hinako's room in the starting corridor to the right if you are on the path to Ending 2 or 4.
- New Game+: The Yellowed Calendar will be on a table in the parents' room in the northwest if you are on the path to Ending 3.
- Proceed to the northern corridor and enter the last room to the left to find the Scales Puzzle. Balance the scales by placing all five dolls to solve the puzzle:
- Ending 1: Place the headless doll on one side and the other four on the other side.

- New Game+. Ending 2: Place the headless and the half-mask dolls on one side and the other three on the other side.

- New Game+. Ending 3: Place the schoolgirl and the half-mask dolls on one side and the other three on the other side.

- New Game++. Ending 4: Place the schoolgirl doll on one side and the other four on the other side.

- Ending 1: Place the headless doll on one side and the other four on the other side.
- Take the Scales Plate after solving the puzzle.
- Place the Yellowed Calendar by the door at the end of the starting corridor and proceed to the next version of the residence.
Shimizu Residence III
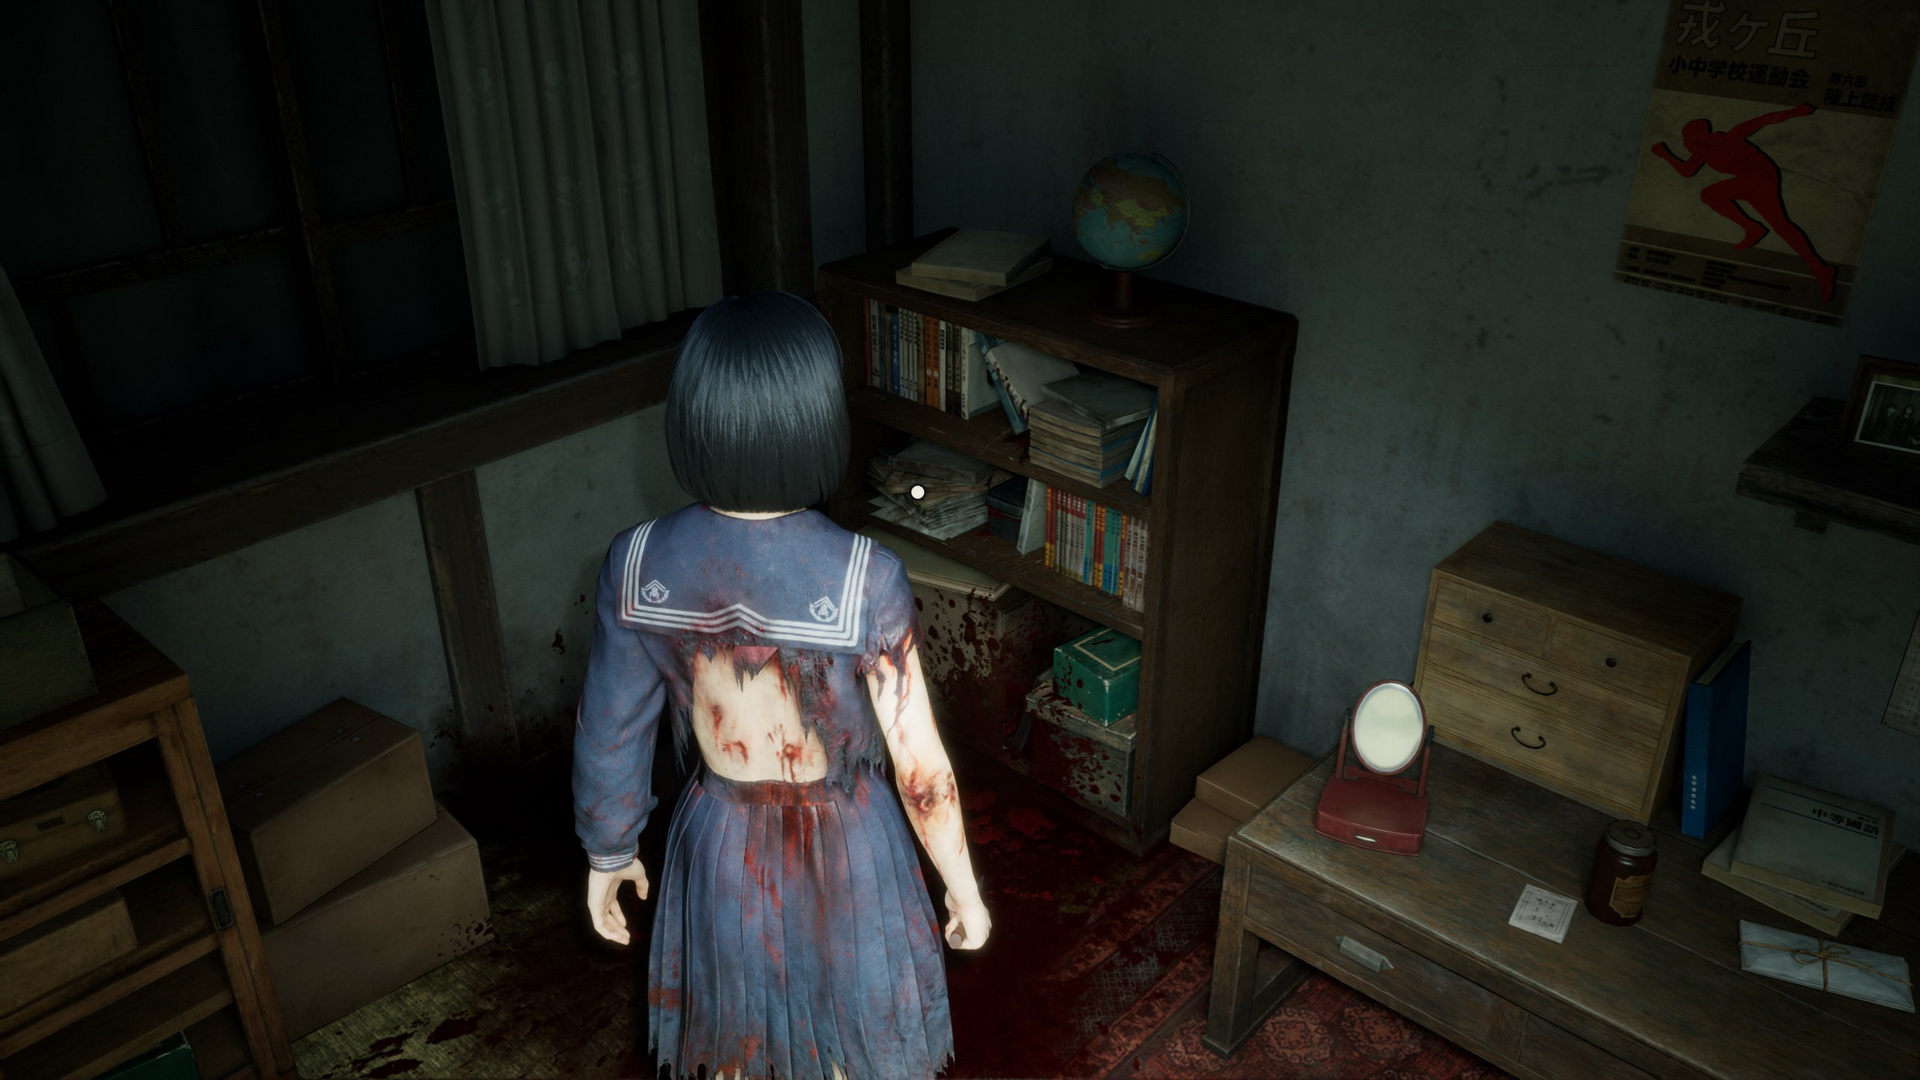
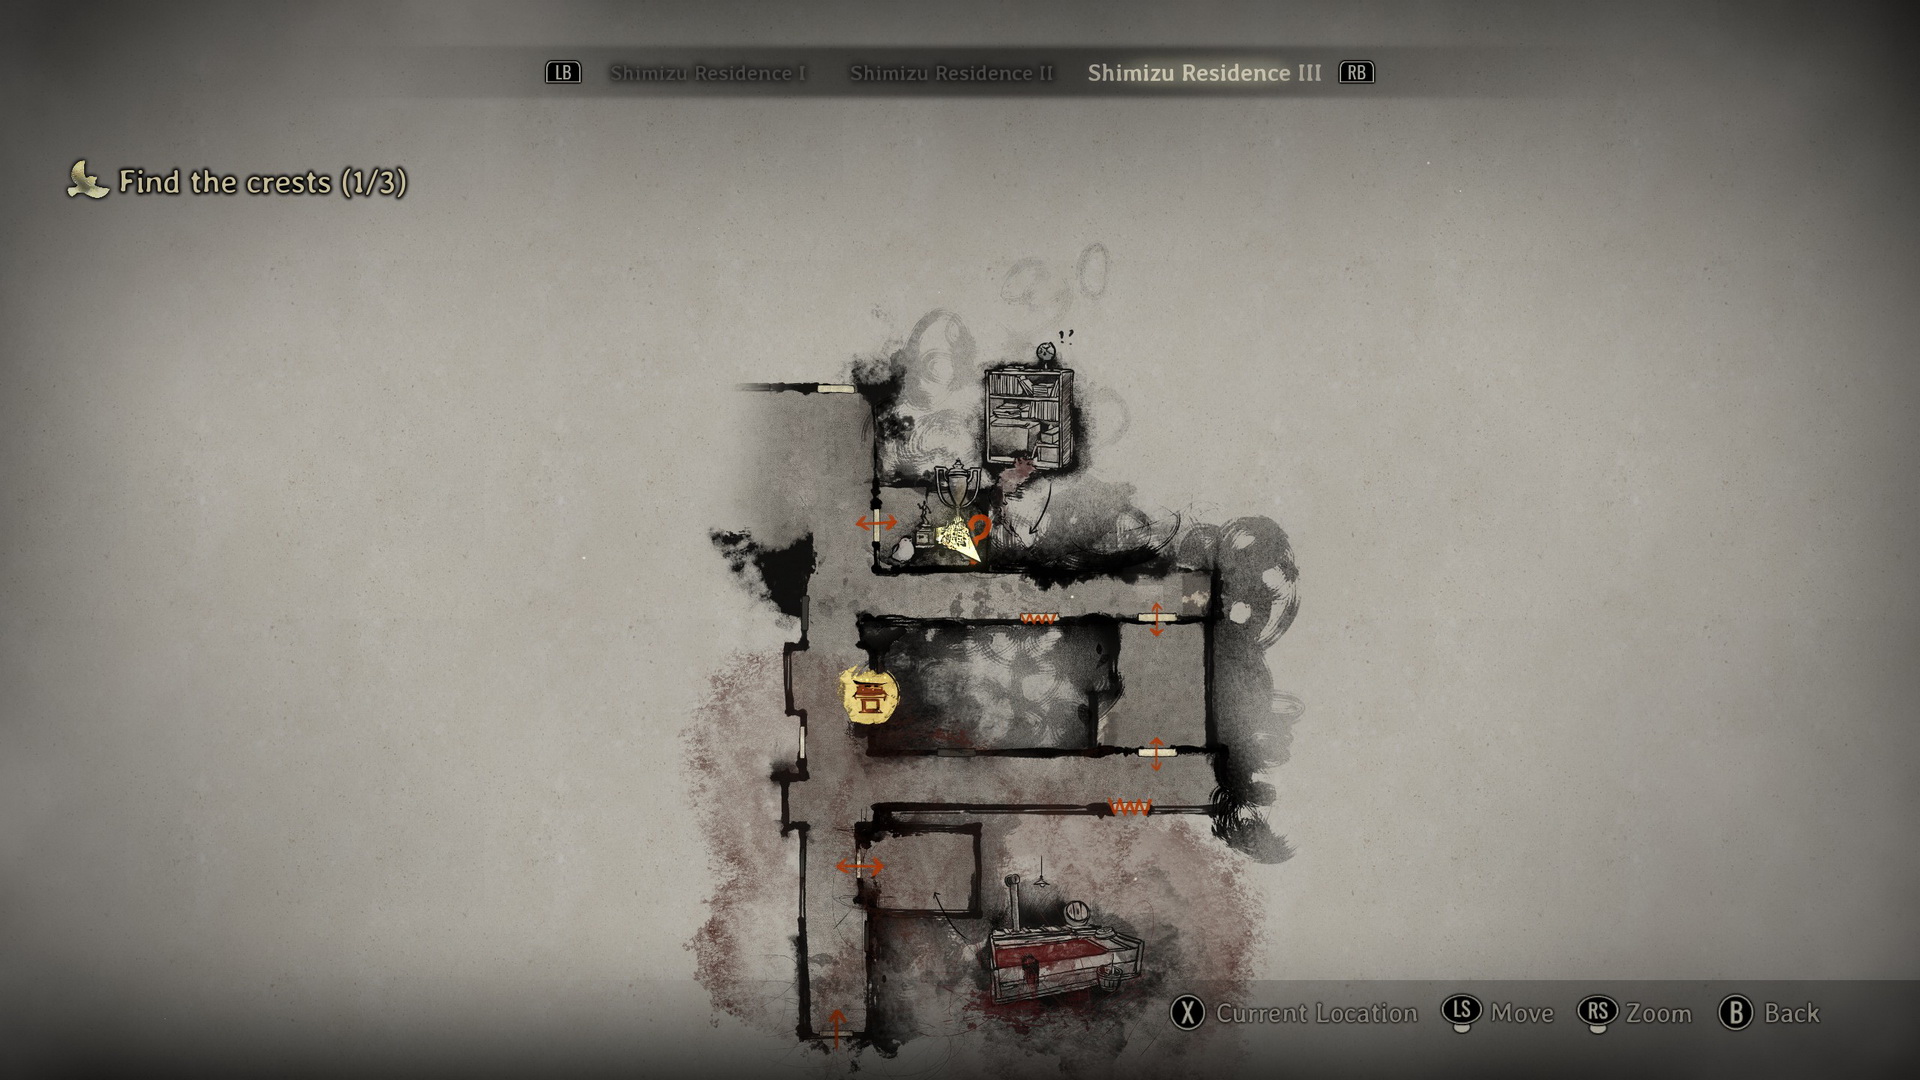
- Proceed down the corridor and enter Hinako's room to the right. Examine a bookshelf in the corner to find a Block of Wax inside a diary on the bottom shelf.
- Shriveled Abura-age (⛩500) is on a corner shelf in the room at the end of the eastern corridor.
- Dried Carcass (⛩200) is in a chest of drawers in the last northern room.
- Go all the way around to the west and south.
- Upgrade: Ema is in the northwestern corner at the end of the corridor past the parents' room, by a watering can.
- Enter the kitchen from the southern corridor and pick up a Propane Tube from the counter.
- Upgrade: Furoshiki is on a bench in the corner of the kitchen.
- Proceed through the door at the end of the starting corridor to return to the first version of the residence.
Shimizu Residence I
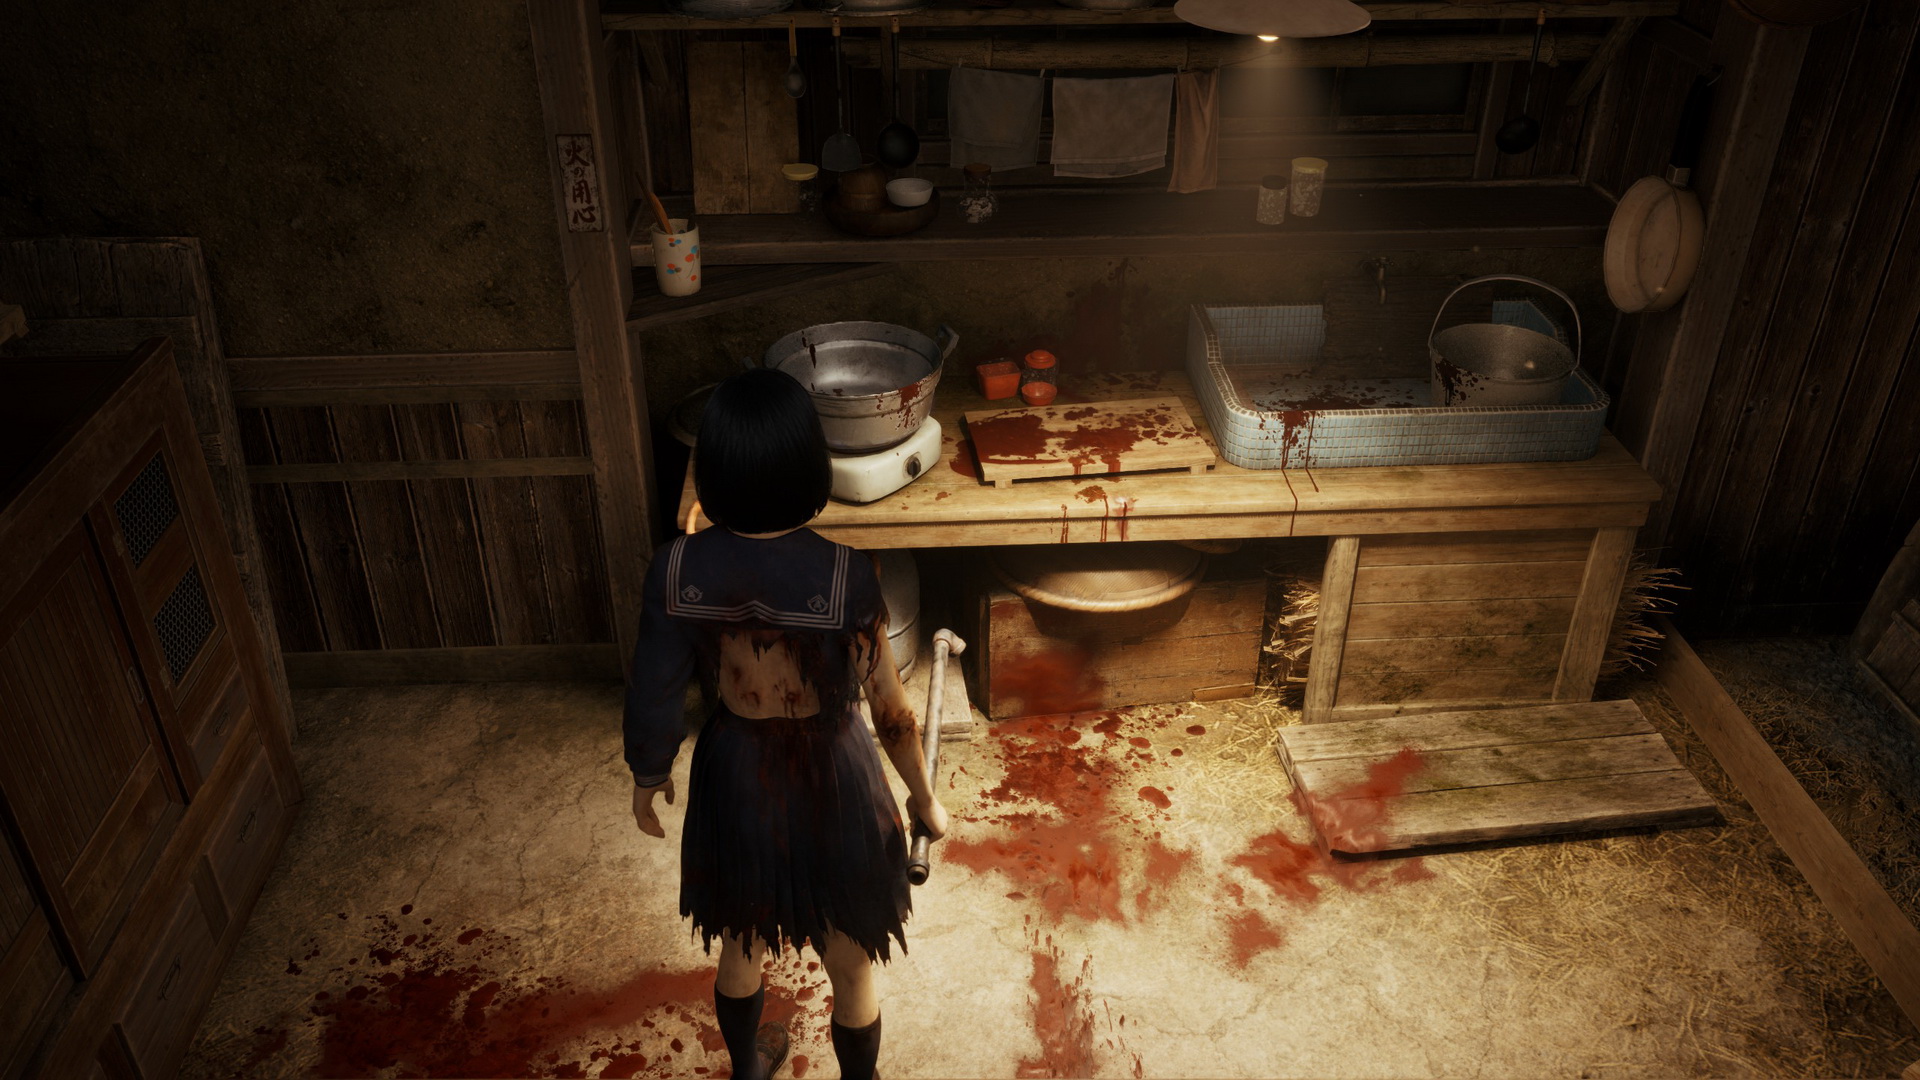
- Go to the kitchen in the southern corridor and connect the Propane Tube to the stove. Put the Block of Wax inside the bowl to melt it and receive the Fletching Key.
- Proceed to the room with the photos to place the missing Picture Frame on the wall and solve the Ominous Photo Puzzle. Check the collective photo to find some faces crossed out and flip their portraits upside-down:
- Ending 1: Rotate Hinako's portrait upside-down.

- New Game+. Ending 2: Rotate the portraits of Hinako's friends upside-down.

- New Game+. Ending 3: Rotate the portraits of Hinako's parents and Sakuko upside-down.

- New Game++. Ending 4: Rotate everyone's portraits except Hinako's upside-down.

- Ending 1: Rotate Hinako's portrait upside-down.
- Pick up the White Bird and Fox Plate after solving the puzzle.
- Proceed to the third version of the residence.
Shimizu Residence III
- Return to the door with the bird pattern in the southern corridor and use the Fletching Key to enter. Pick up the Black Bird and Sword Plate after the flashback scene.
- Omamori [Cuckoo] will be found on the bloody desk in a secret room in the northeast that becomes accessible after finding any two crests.
- Return to the first version of the residence.
Shimizu Residence I
- Approach the door with the mechanism to solve Hinako's Room Puzzle:
- Ending 1:
- Left – Sword
- Top – Heavens
- Bottom – Blank
- Right – Fox

- New Game+. Ending 2:
- Left – Scales
- Top – Fox
- Bottom – Blank
- Right – Black Bird

- New Game+. Ending 3:
- Left – White Bird
- Top – Sword
- Bottom – Blank
- Right – Scales

- New Game++. Ending 4:
- Left – White Bird
- Top – Blank
- Bottom – Heavens
- Right – Black Bird

- Ending 1:
- Enter the room and pick up the Pine Tree Emblem.
- Go to the eastern corridor and use the emblem to proceed through the locked door.
- Antique Comb (⛩300) is on a chest of drawers to the right of the Hokora shrine.
- Enter the next door for a boss fight.
- Trophy/Achievement: Just Shut Up for Once, Dad! Defeat Hinako's father before her mother.
Complete Walkthrough
Find Shu and Rinko
Shimizu Residence I
Answer the phone for a strange monologue and explore what appears to be the Shimizu residence, though not quite the same as Hinako mentions.
New Game+A Crushed Note is on a shelf in the corridor (on the path to Ending 2).
|


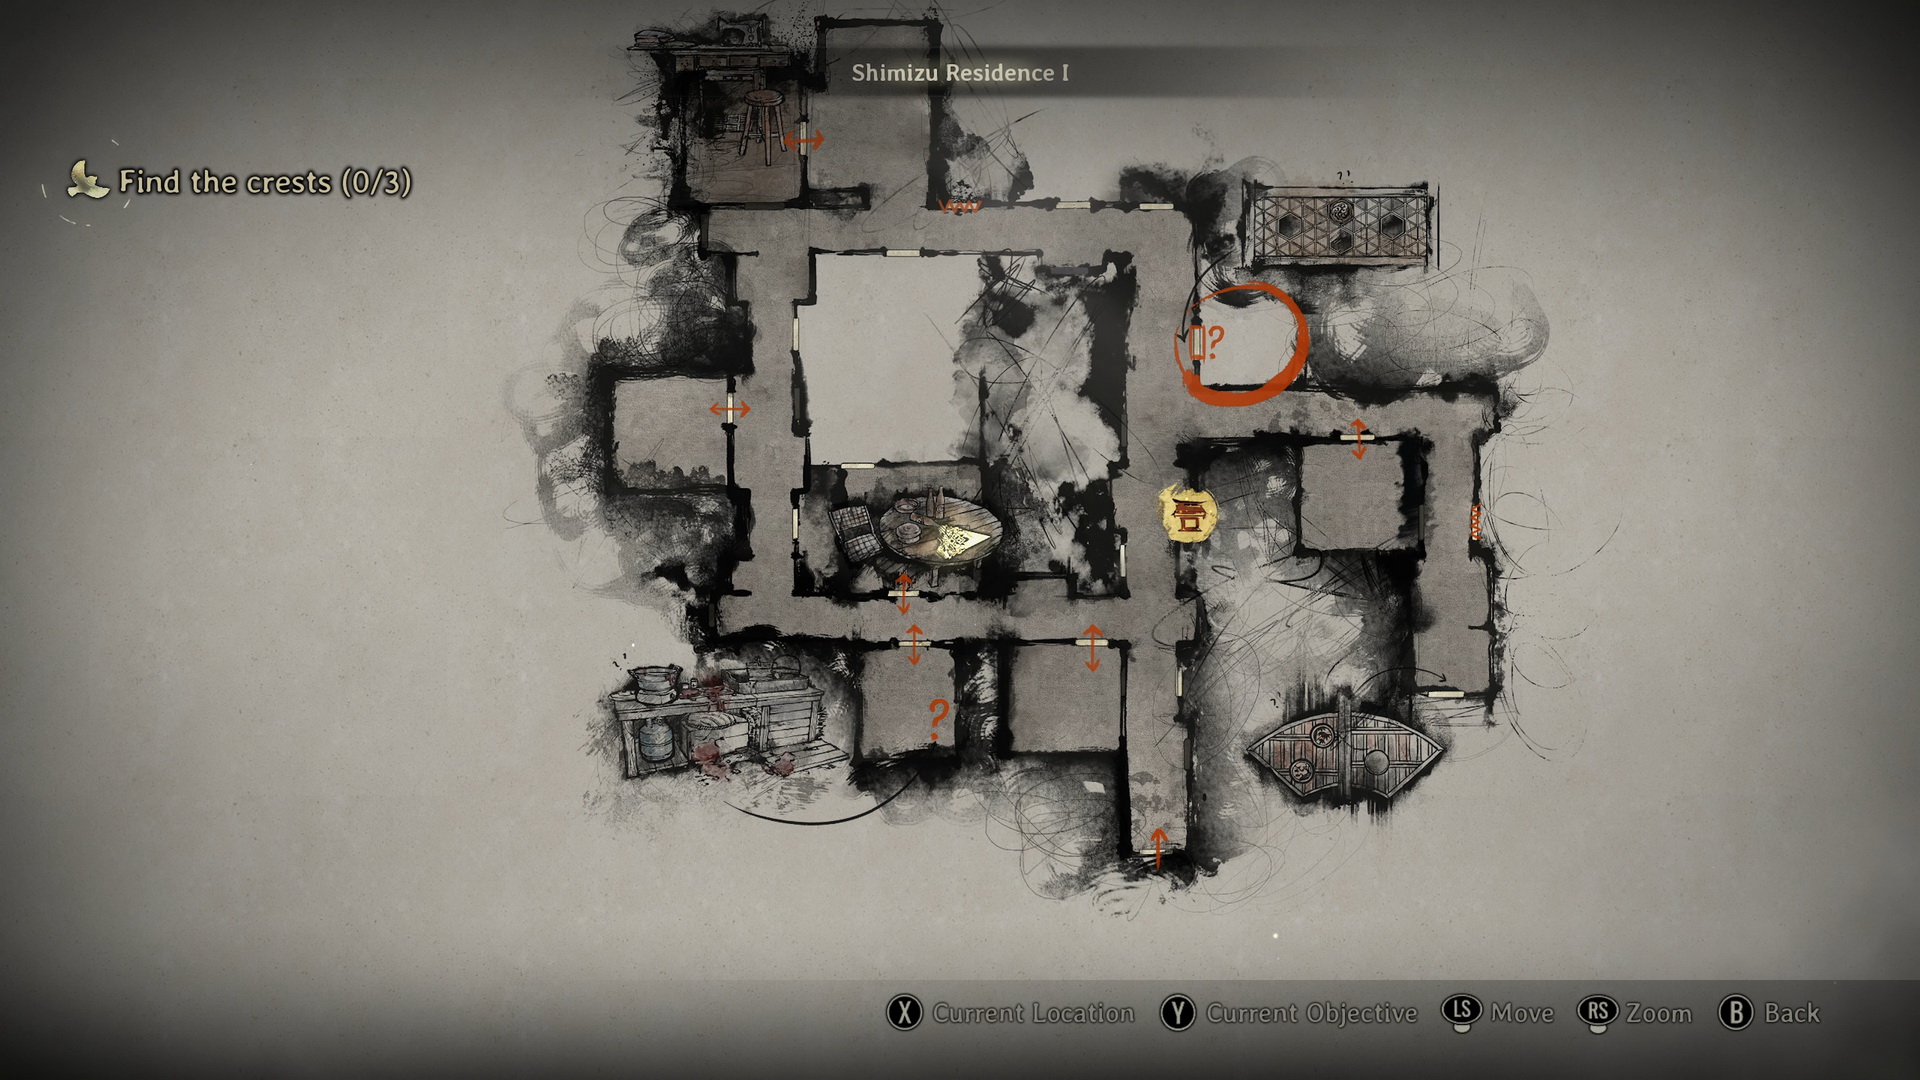
Go ahead and find a Hokora shrine to the right. Go into the corridor to the right and enter the first room to collect a Higashi (⛩80) in the corner. Continue following the corridor, and you will find a strange door at the end.
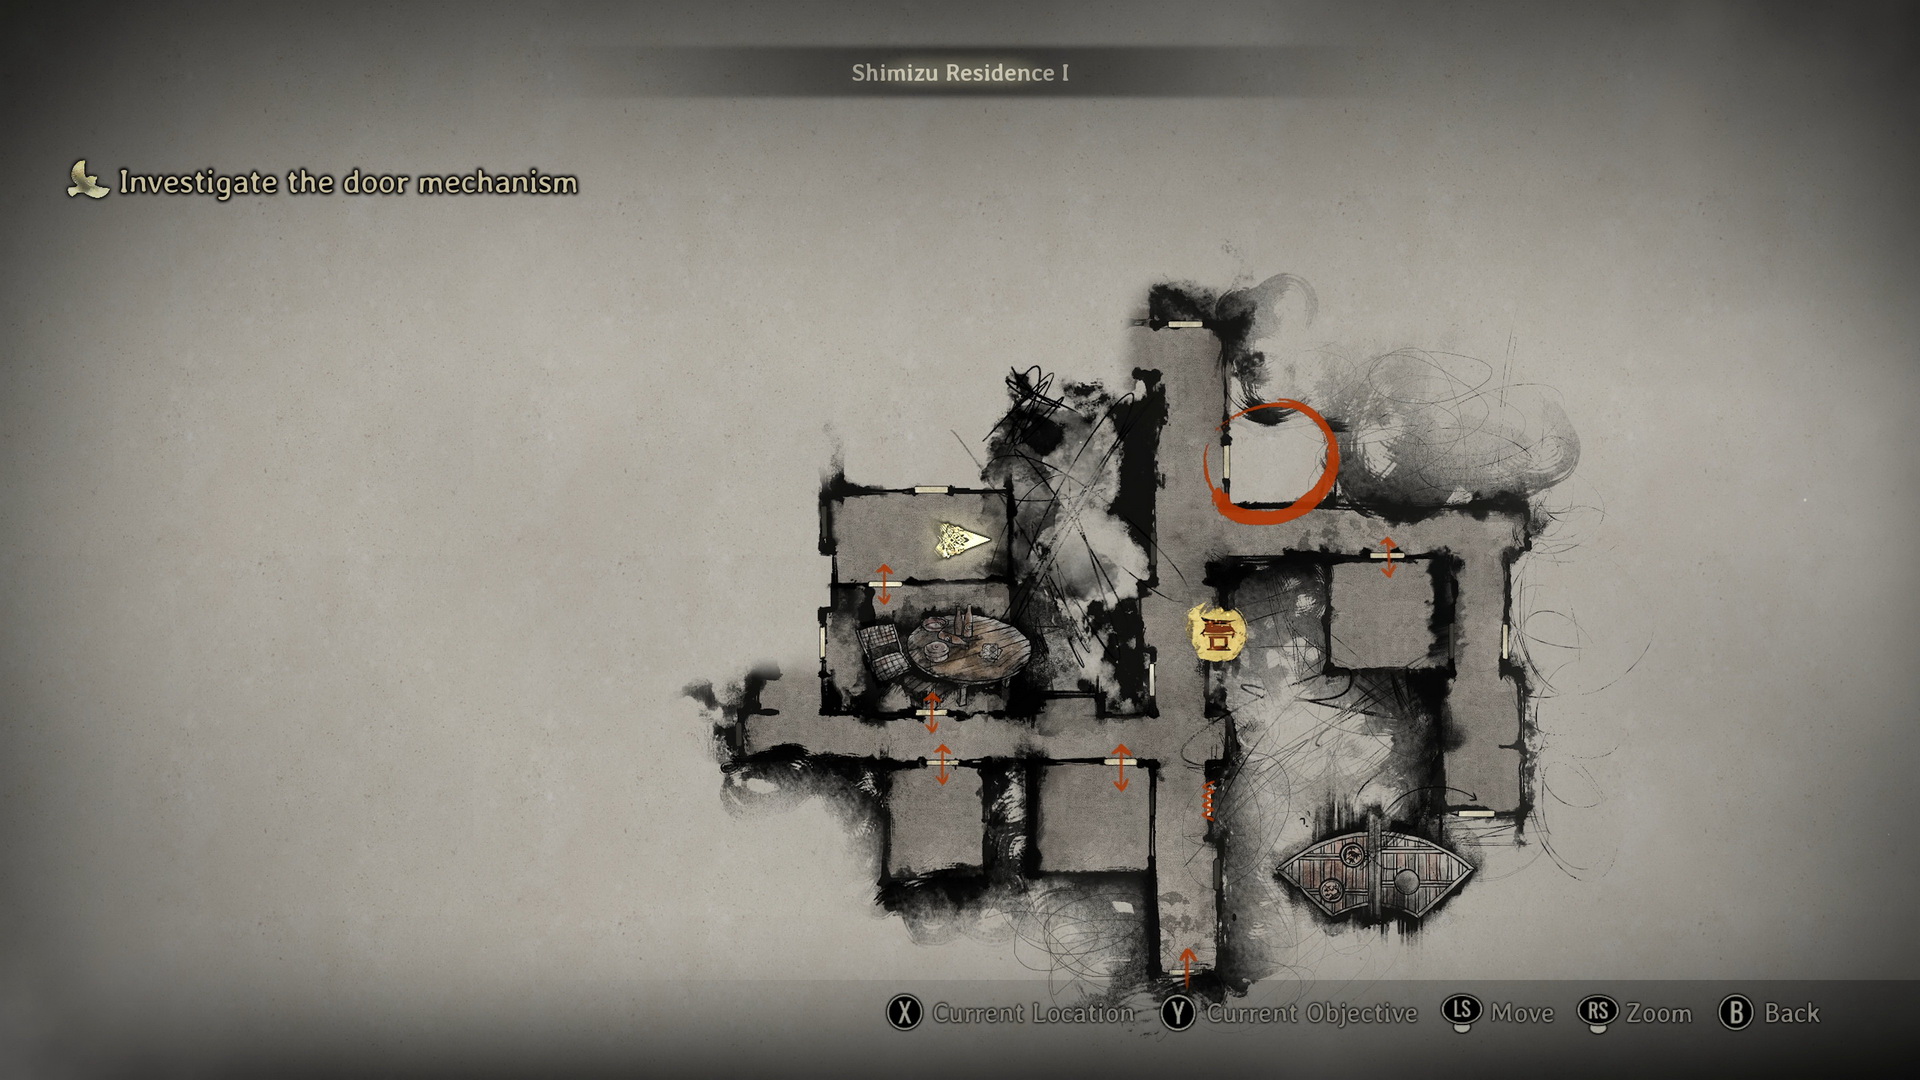
Investigate the door mechanism
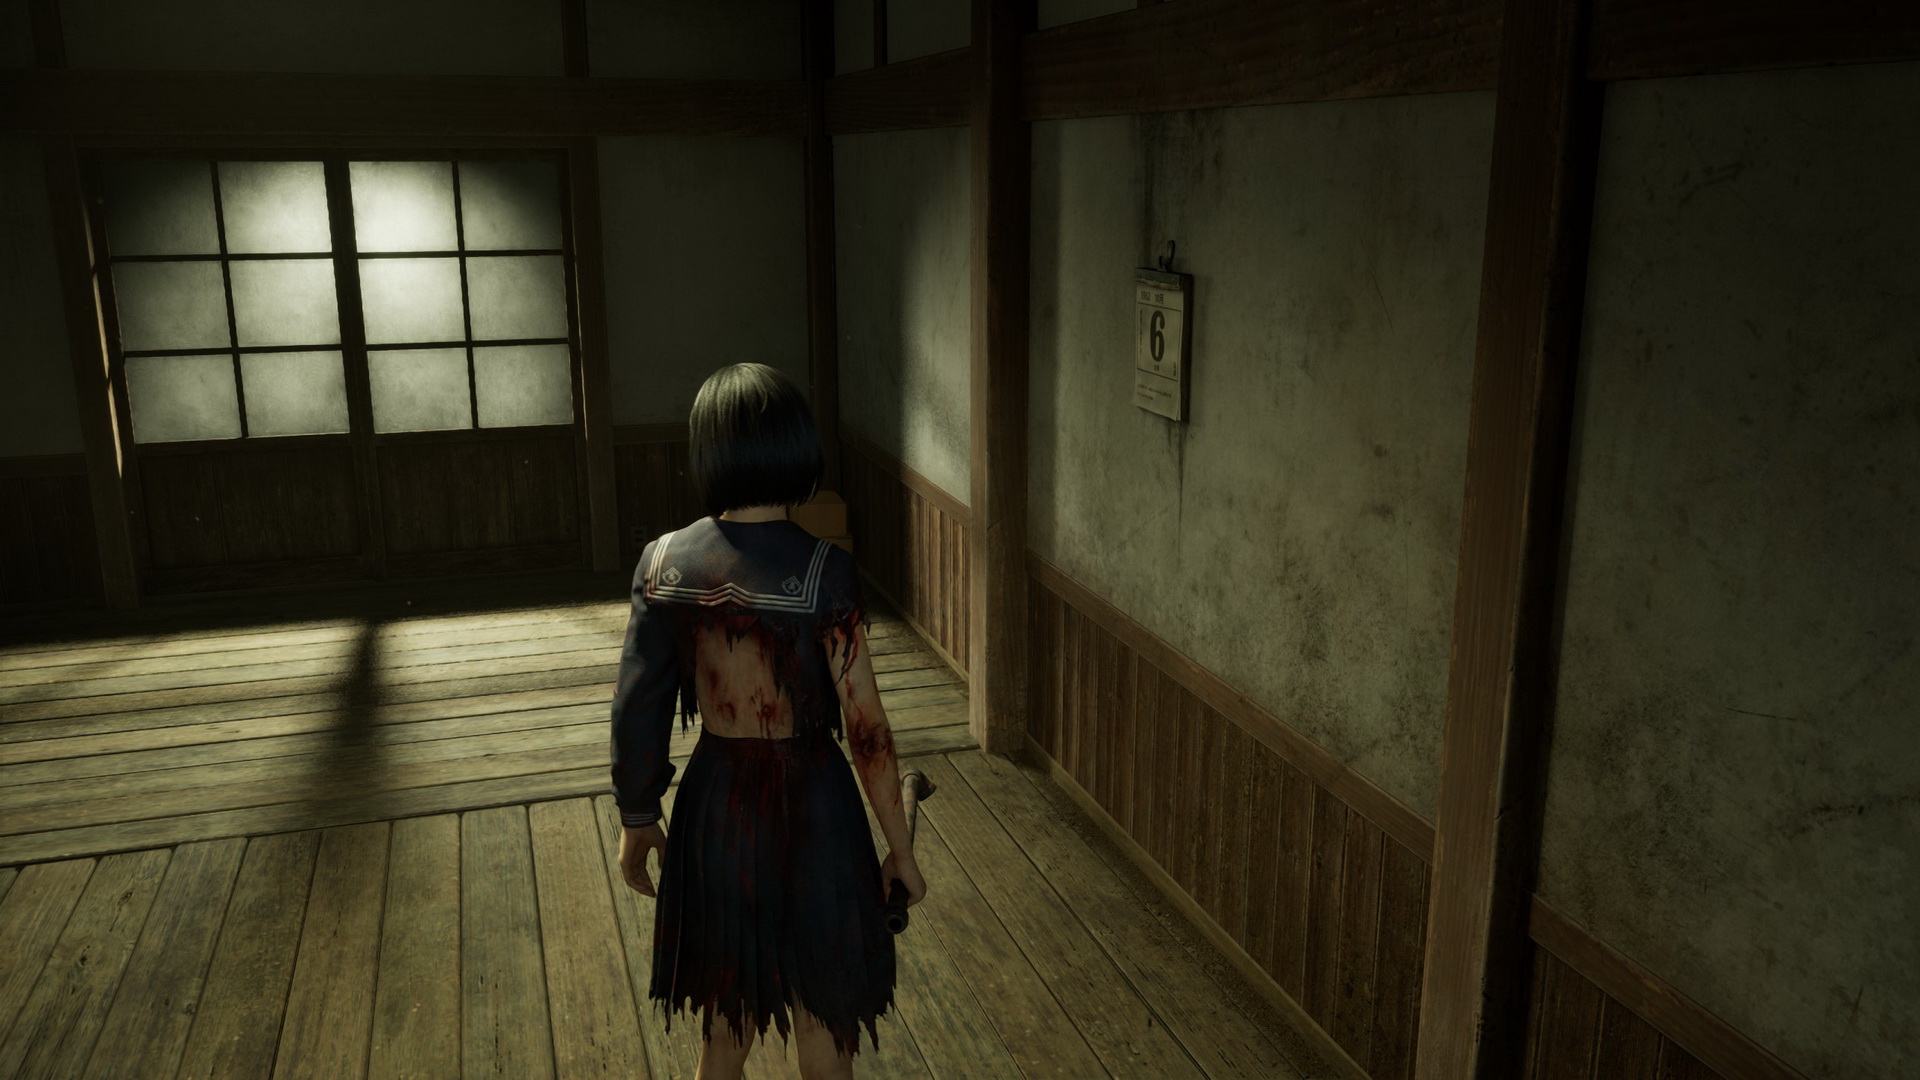
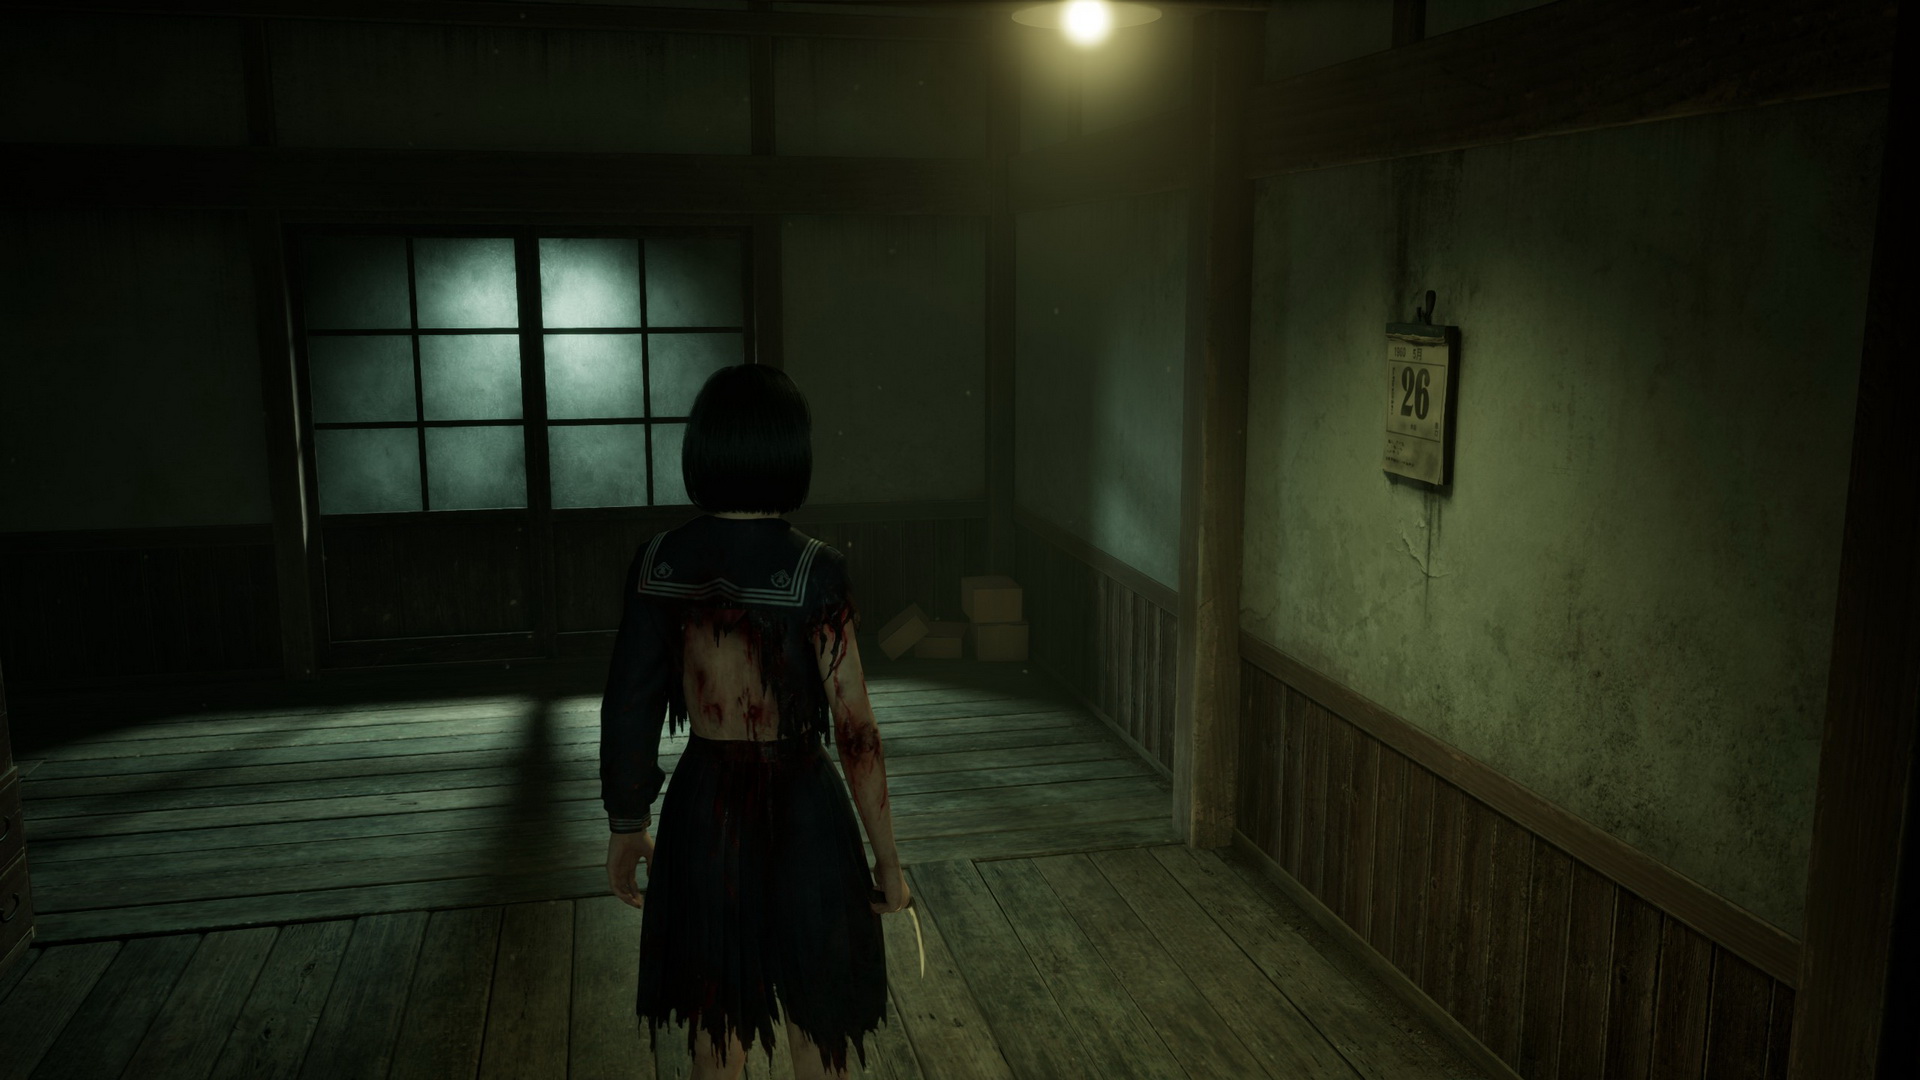
To the left, you can grab Red Capsules. Inspect the locked door at the end – there seems to be one of the crests needed. Pick up a Calendar next to the door.
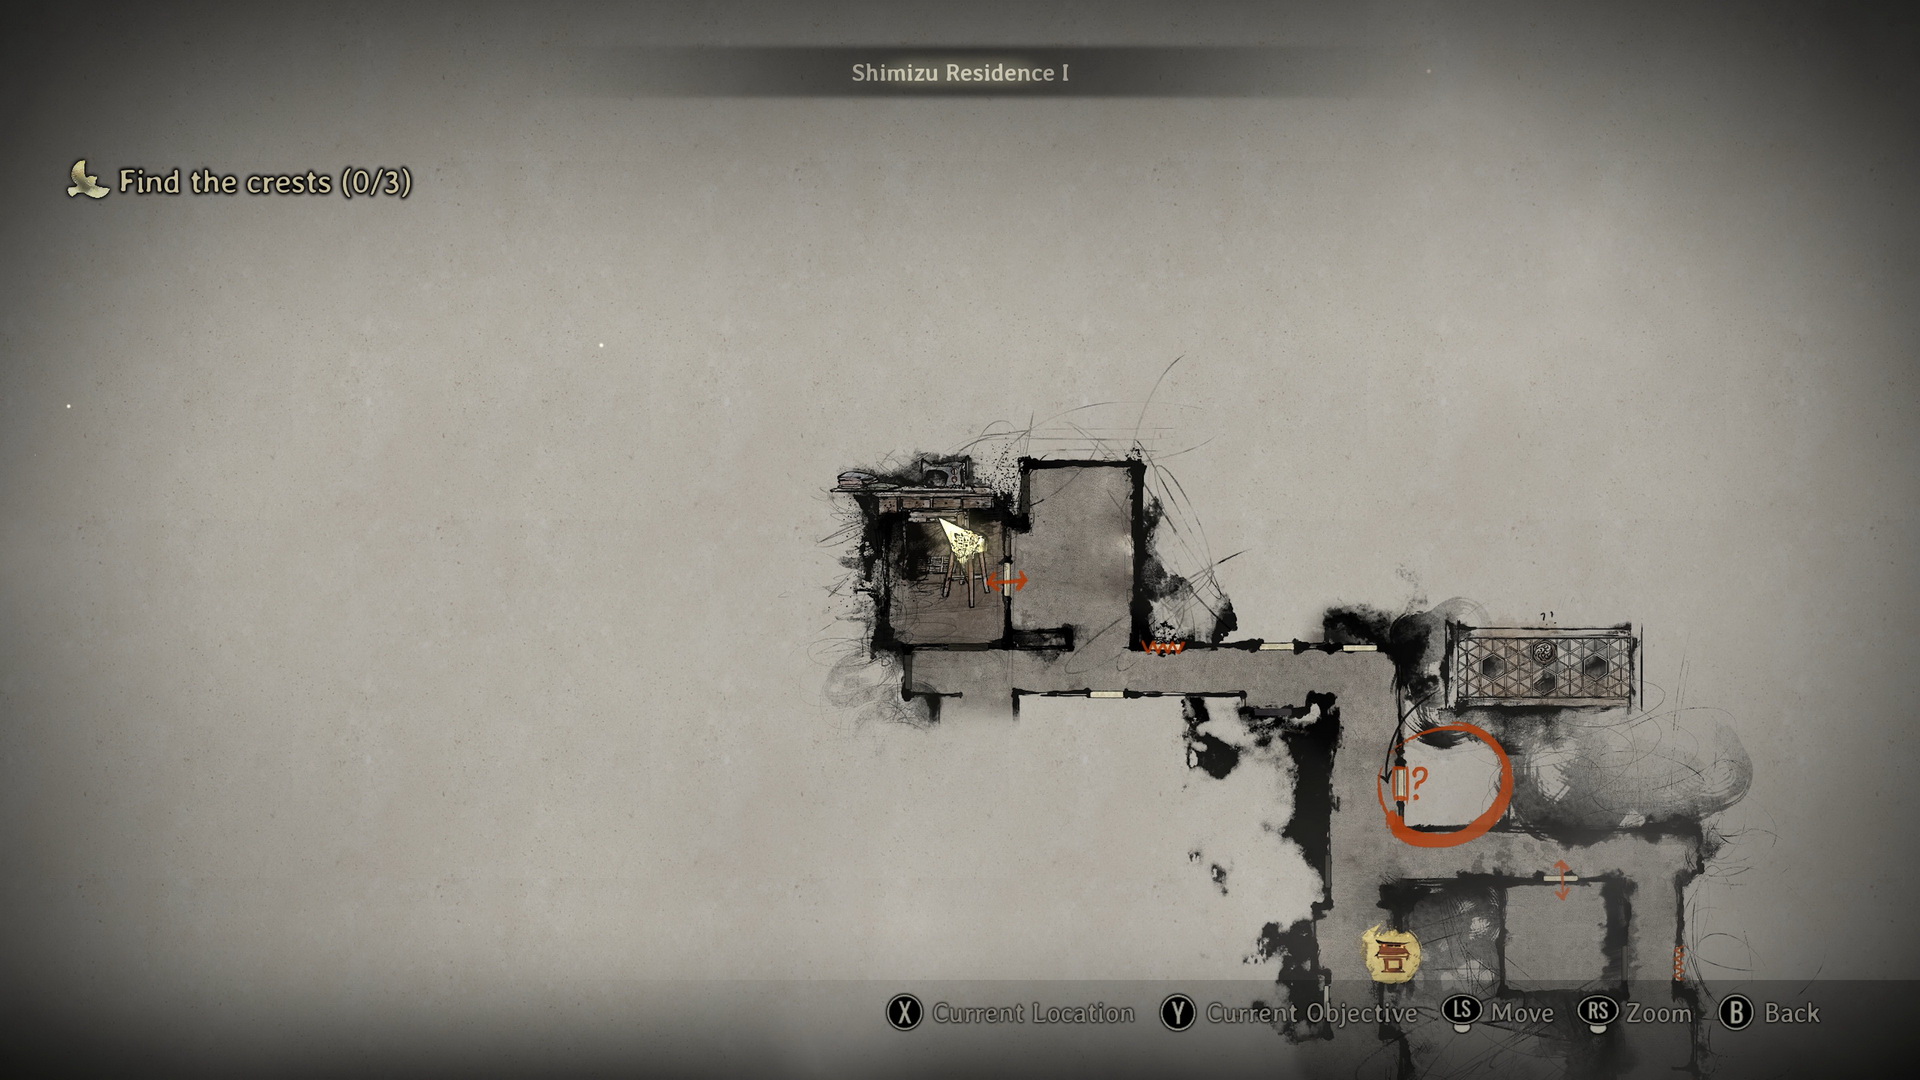
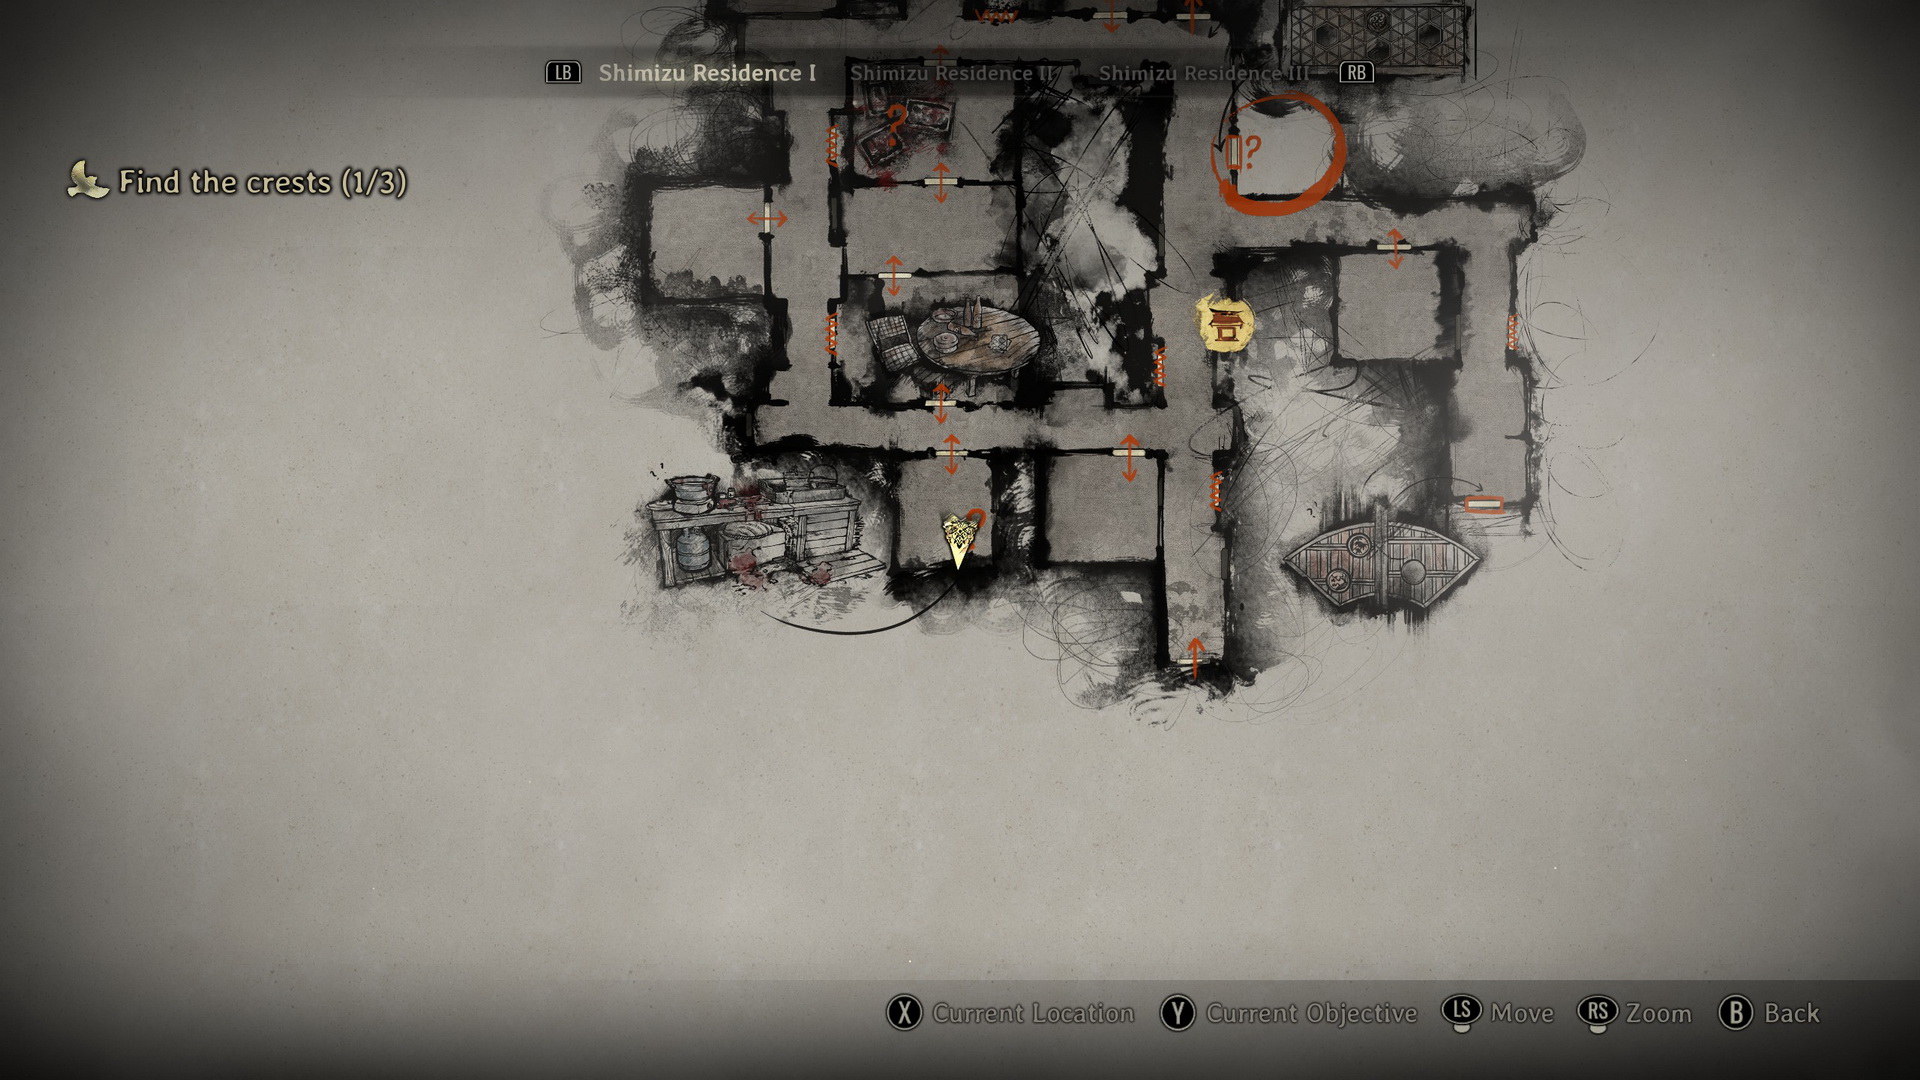
Return to the starting corridor and inspect the door with the crest indentations and the writing next to it. This will start My Room Puzzle.
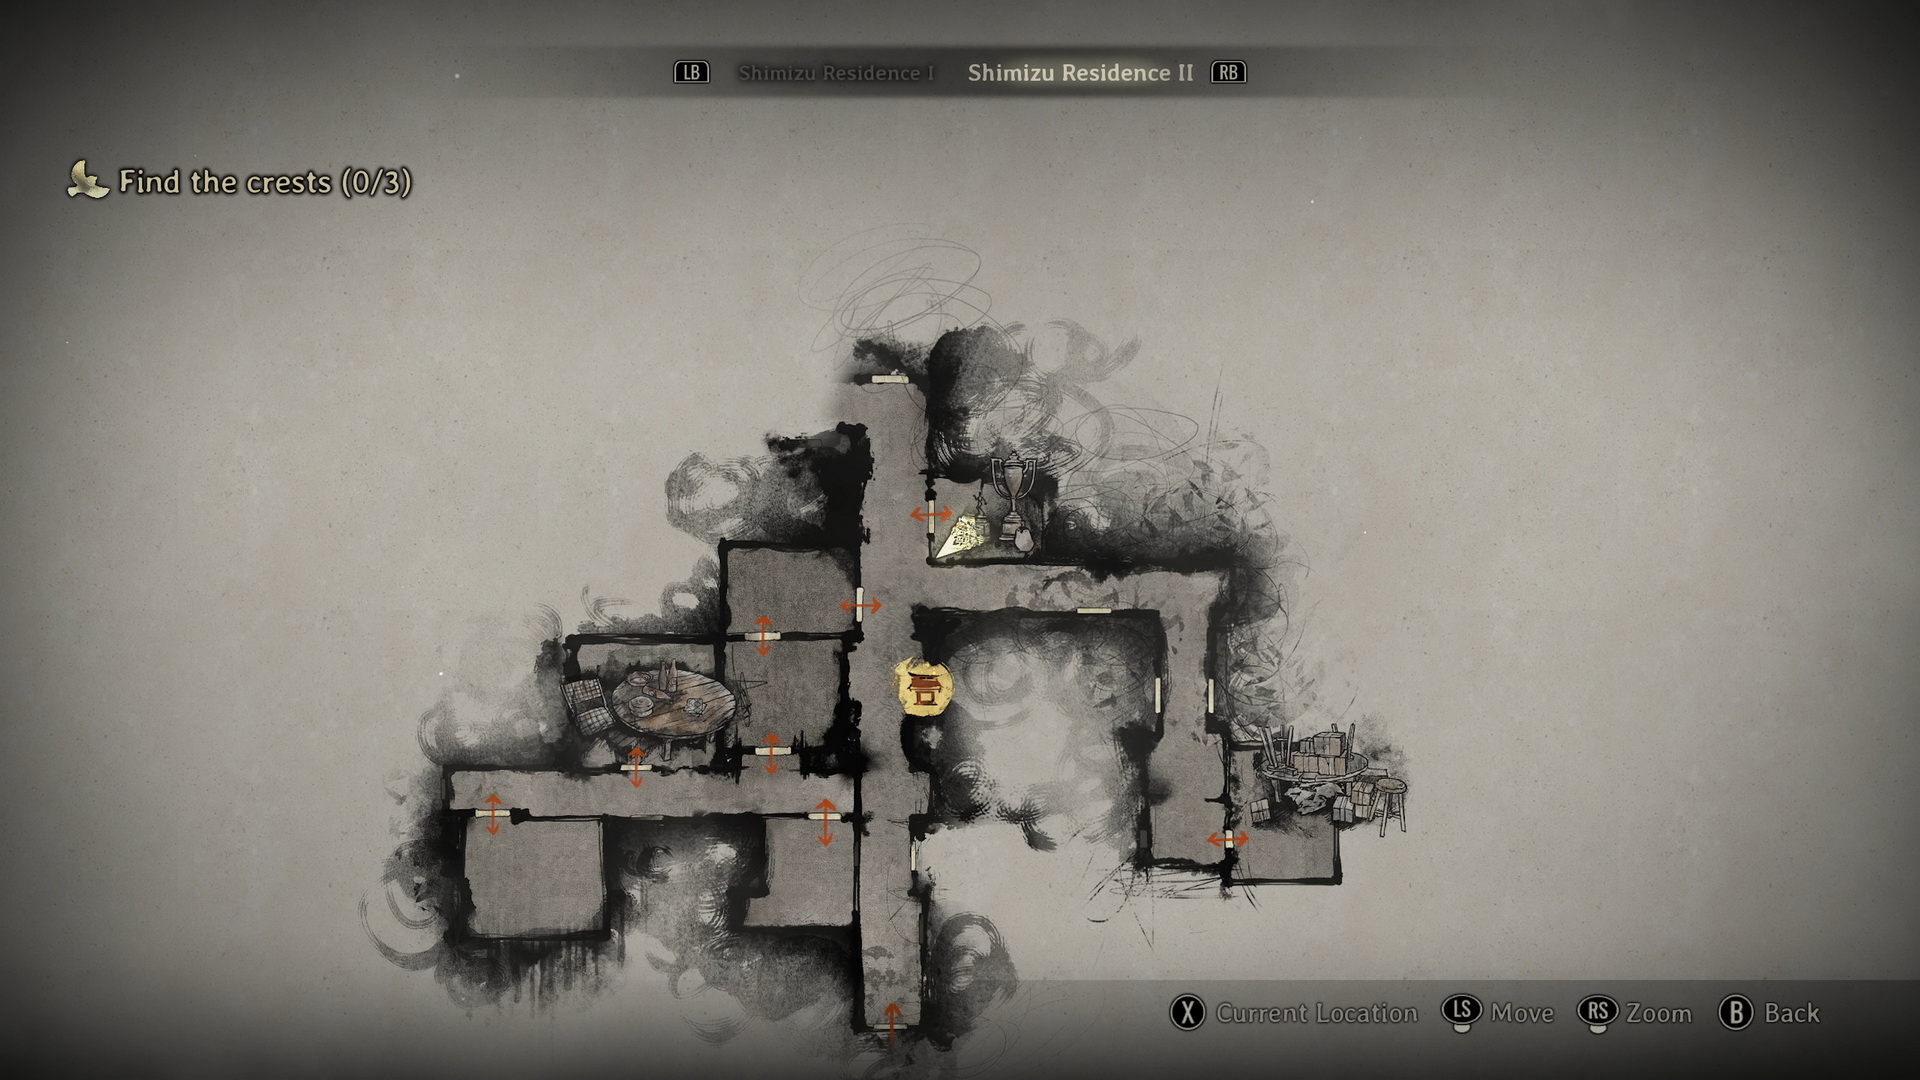
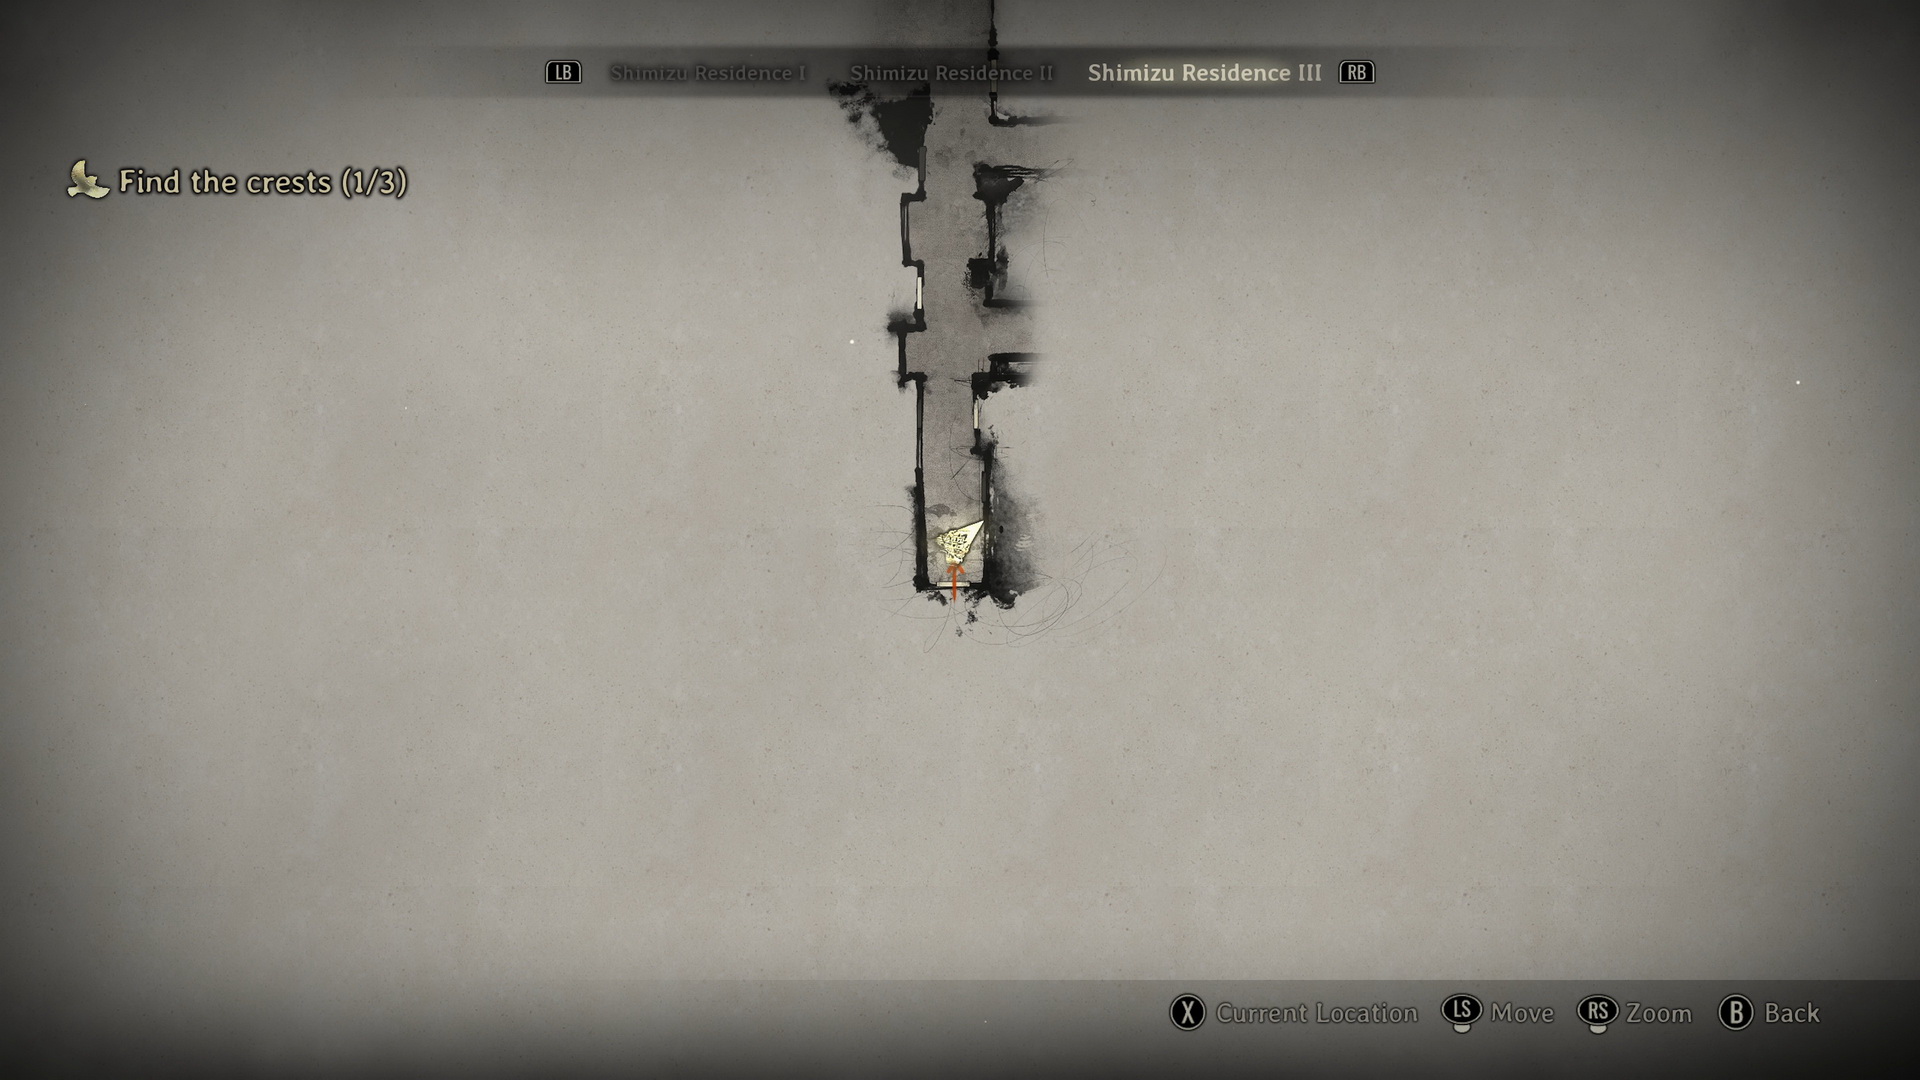
Find the crests (0/3)
Head north – to the left, you will find a Steel Pipe leaning on the drawers. At the end, you will find a door that won't budge, but let's leave it for now and explore the rest of the area. Check the next room to the north to find a Dried Carcass (⛩200) on a pillow. Head west and enter the room to the north, which will be Hinako's parents' room.
New Game++A Married Couple's Letter is on a box in front of the parents' room (on the path to Ending 4).
|


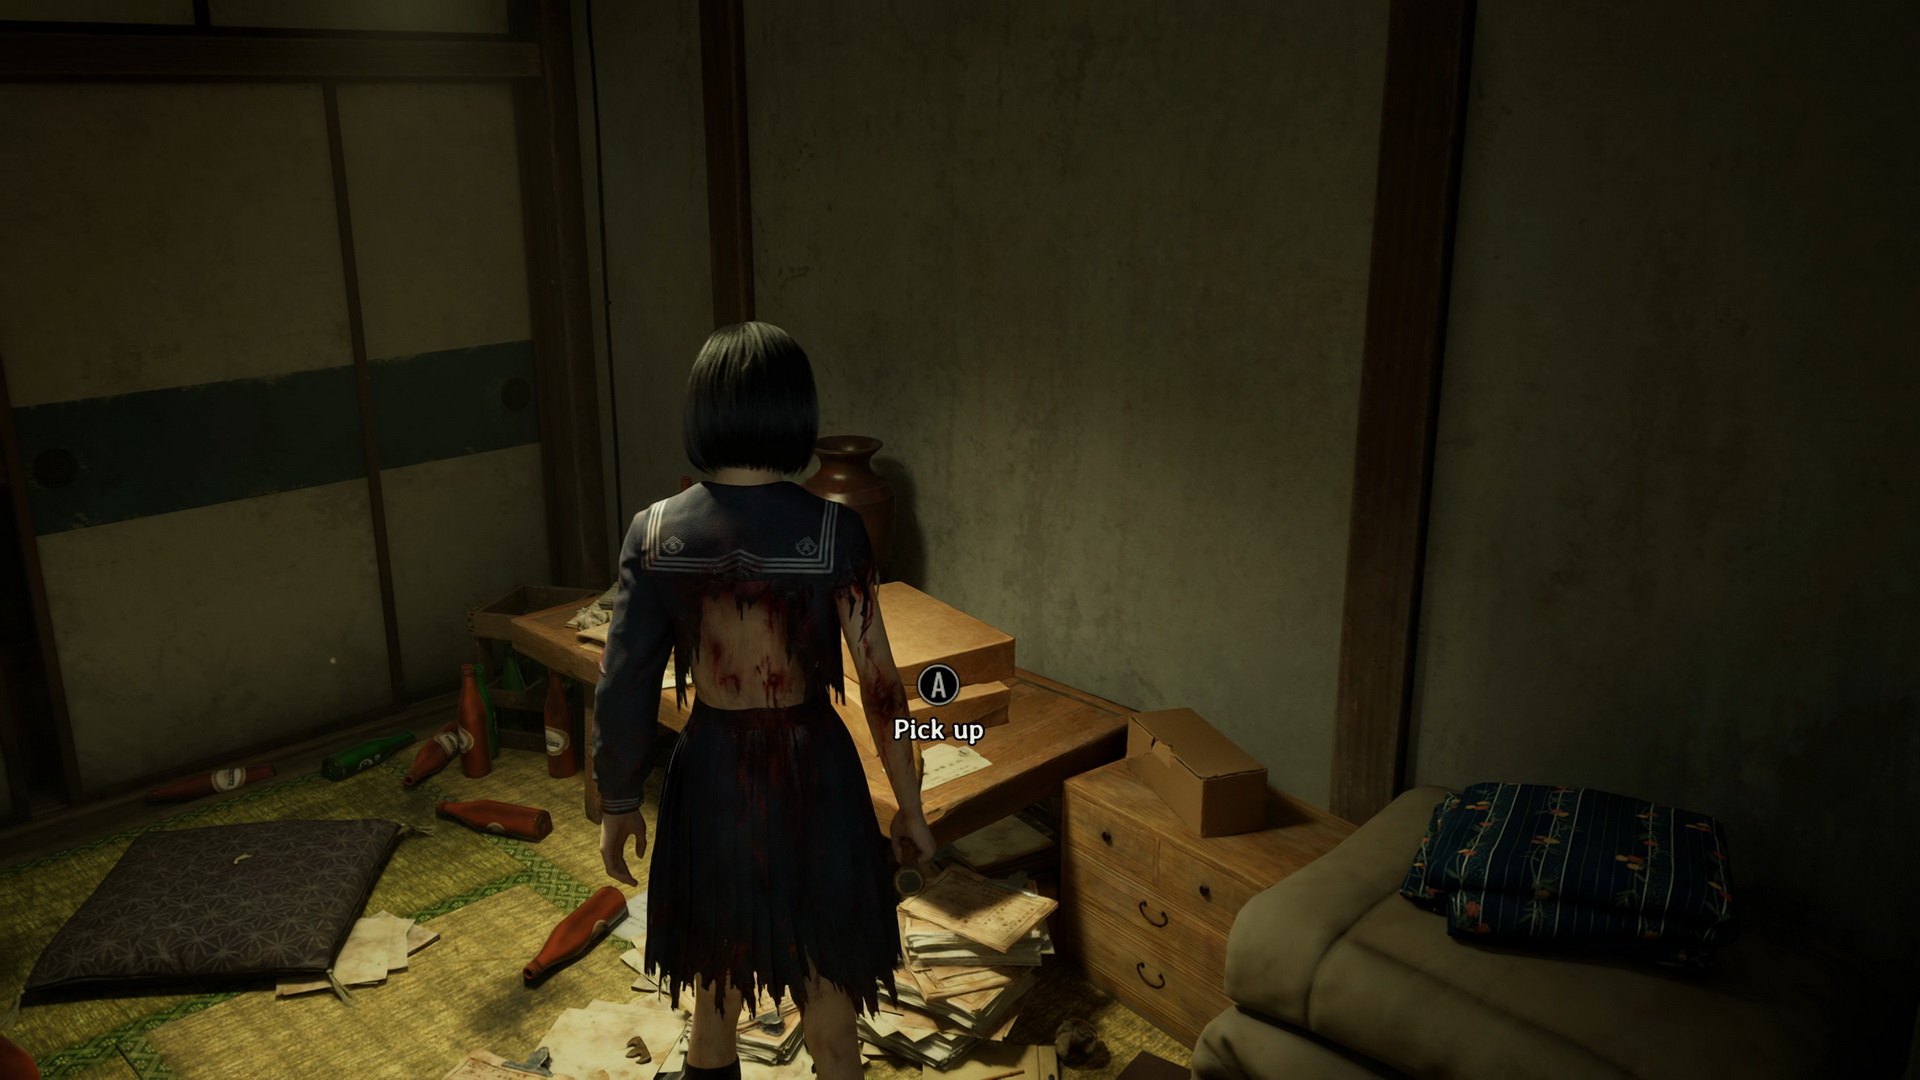
On a bench to the right, you will find a Certificate of Full Payment.
 |
 |
Grab a Divine Water (⛩50) on the table with the sewing machine. Exit to the corridor, then continue west and then south. Enter a room to the west to find a Bandage inside the box on a bench and an Axe leaning on the desk. Exit and follow the corridor to the south and then east. Enter the first room to the south to find a kitchen. Nothing to do here for now, but remember the place for later.
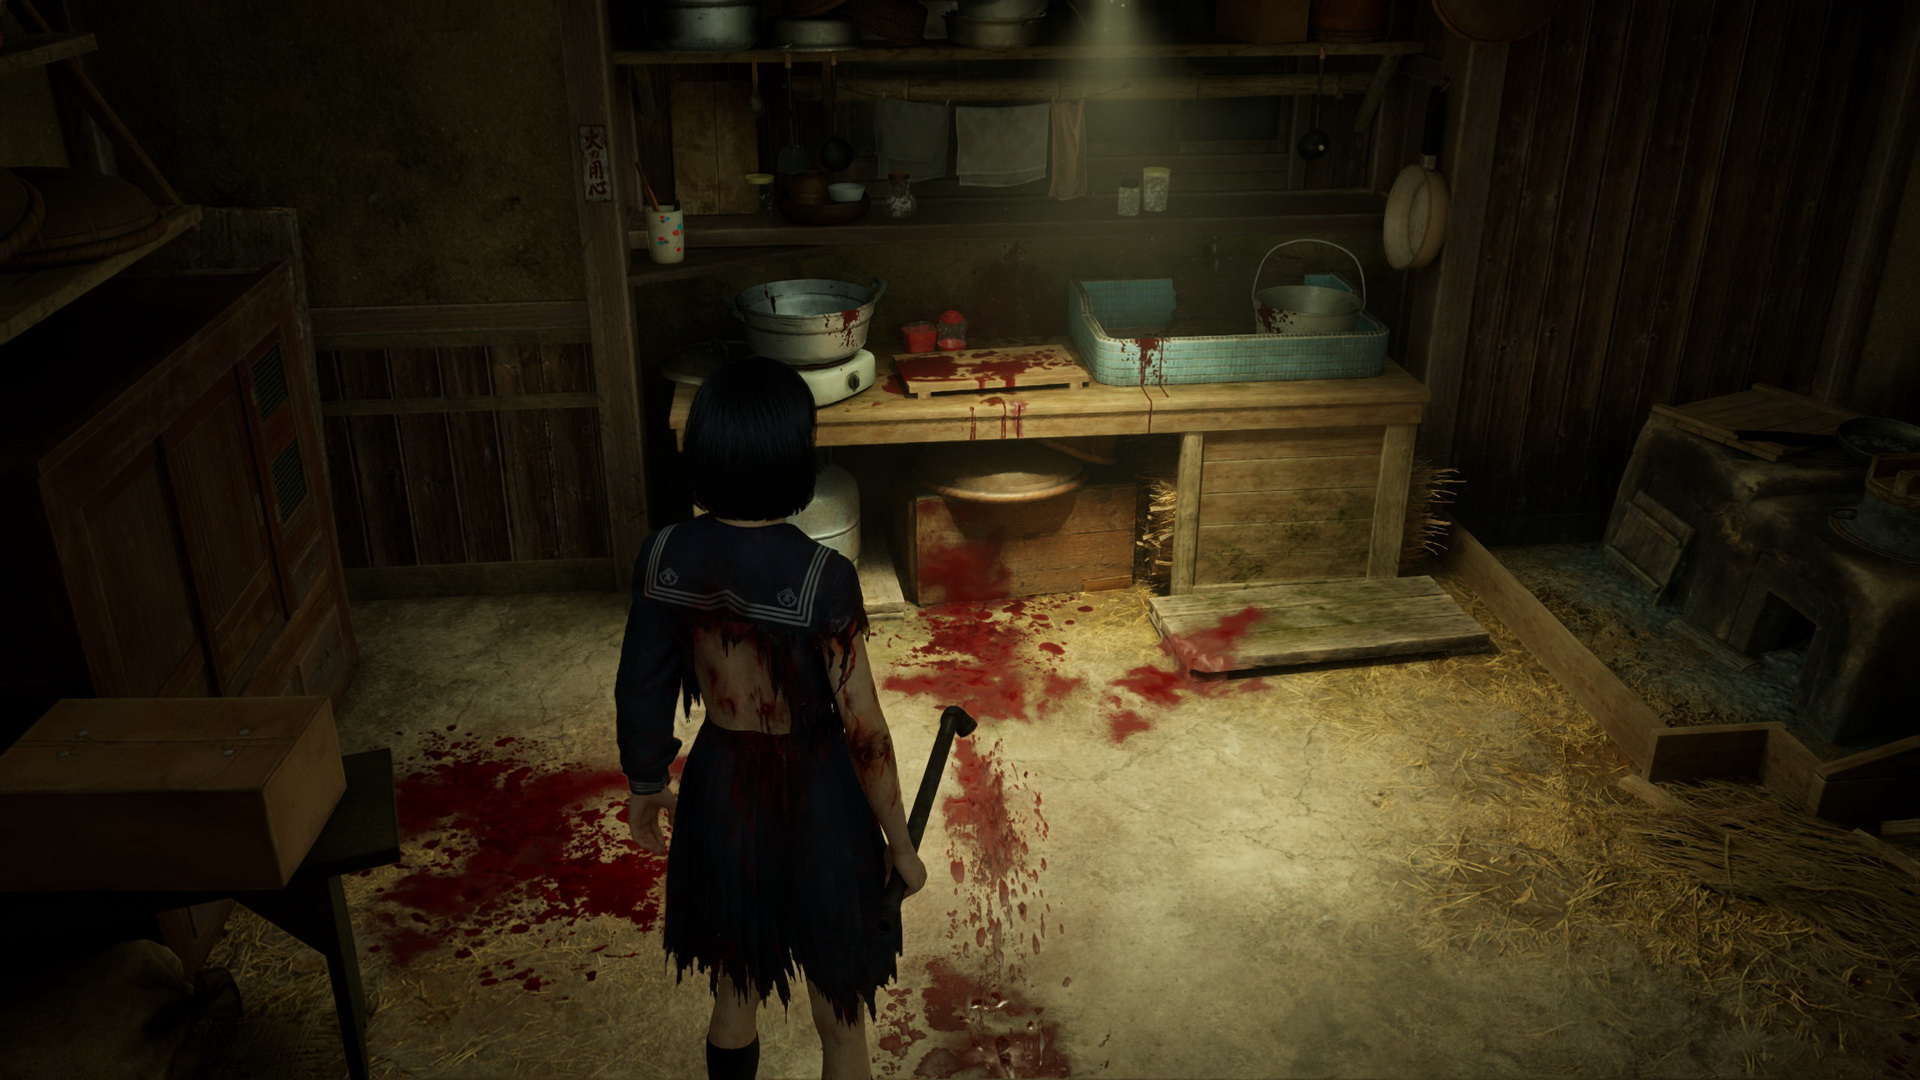
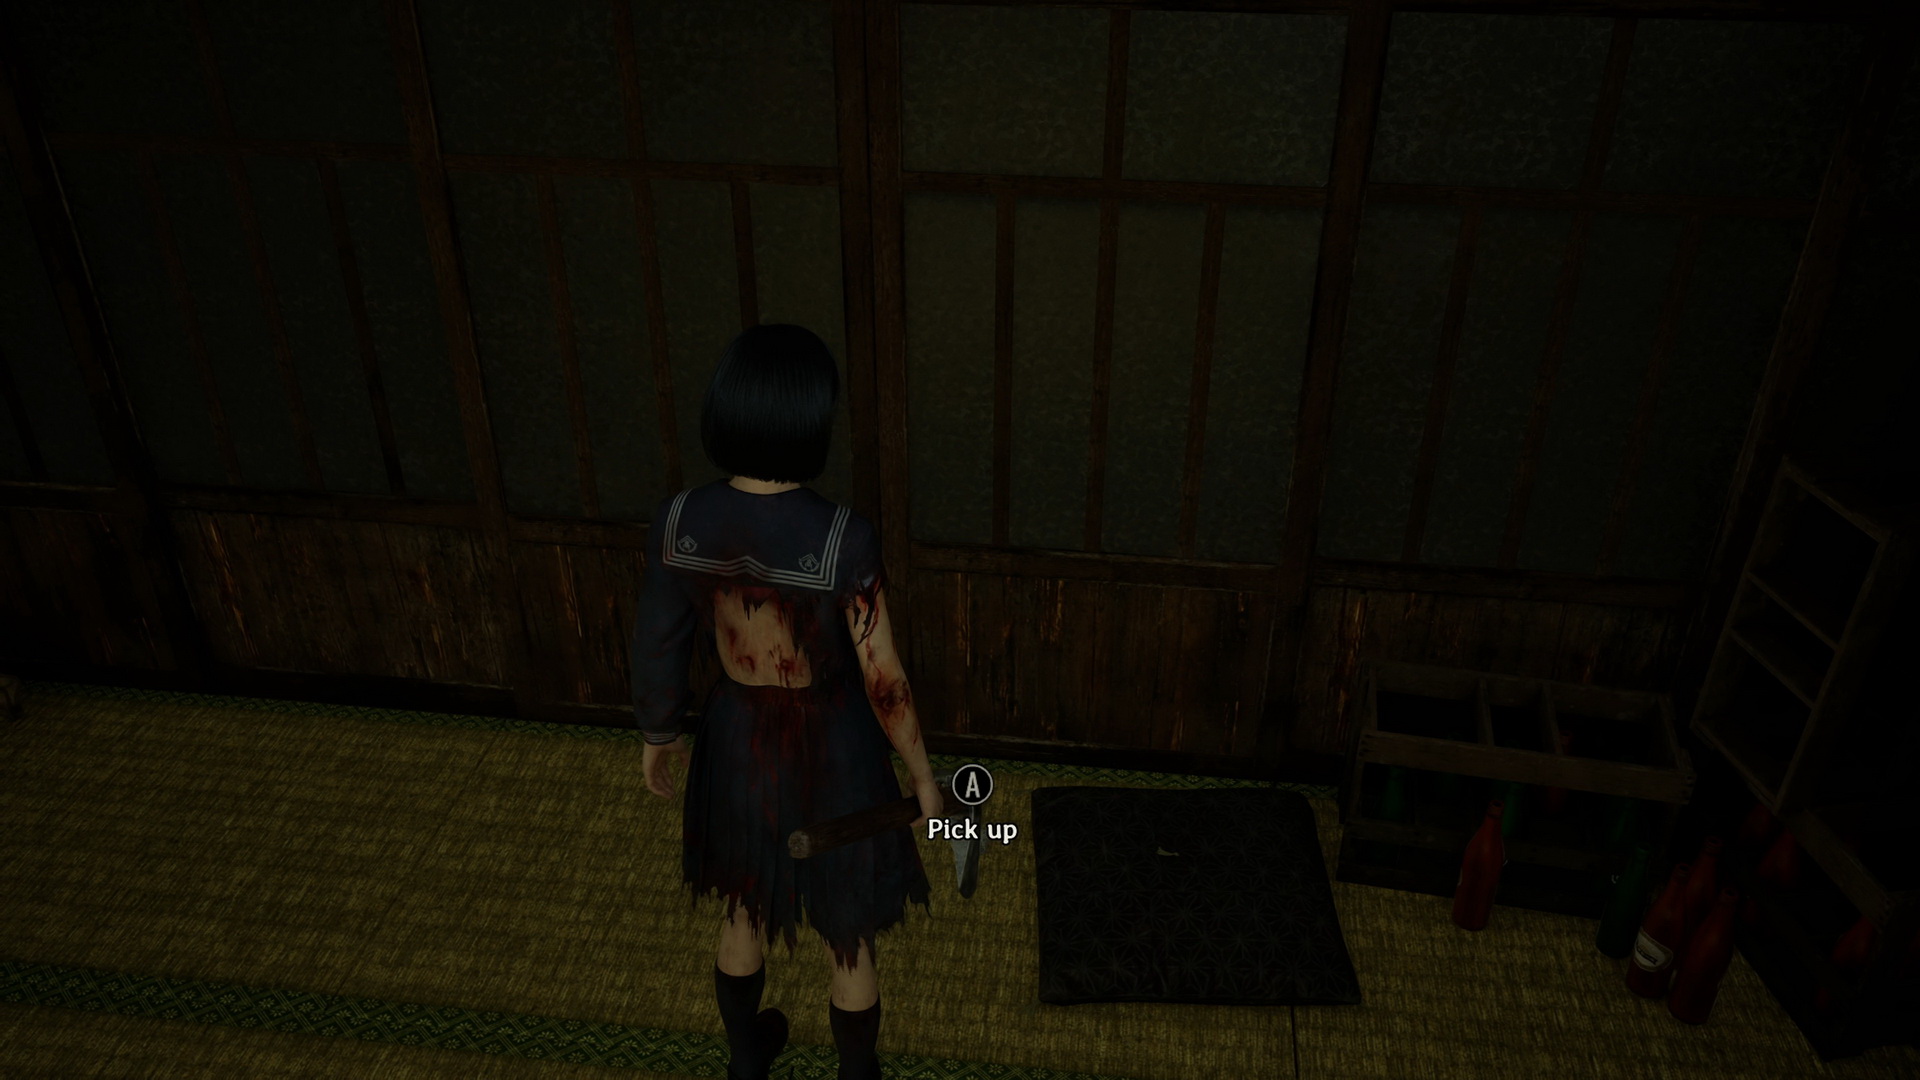
Follow the corridor to the east and grab an Antique Comb (⛩300) from a shelf on the northern side. Check another room to the south to find an Inari Sushi (⛩150) left on a podium. Backtrack west and enter the room in the center. Grab an Arare (⛩10) from the dining table, a Ramune (⛩20) from the cabinet next to the open door and a Note from Hinako from the ground.
 |
 |
Proceed north.
New Game+A Diary of Revenge (6) and the Upgrade: Ema are inside the Inari-sama box in the room to the south of the room with the Ominous Photo Puzzle.
|
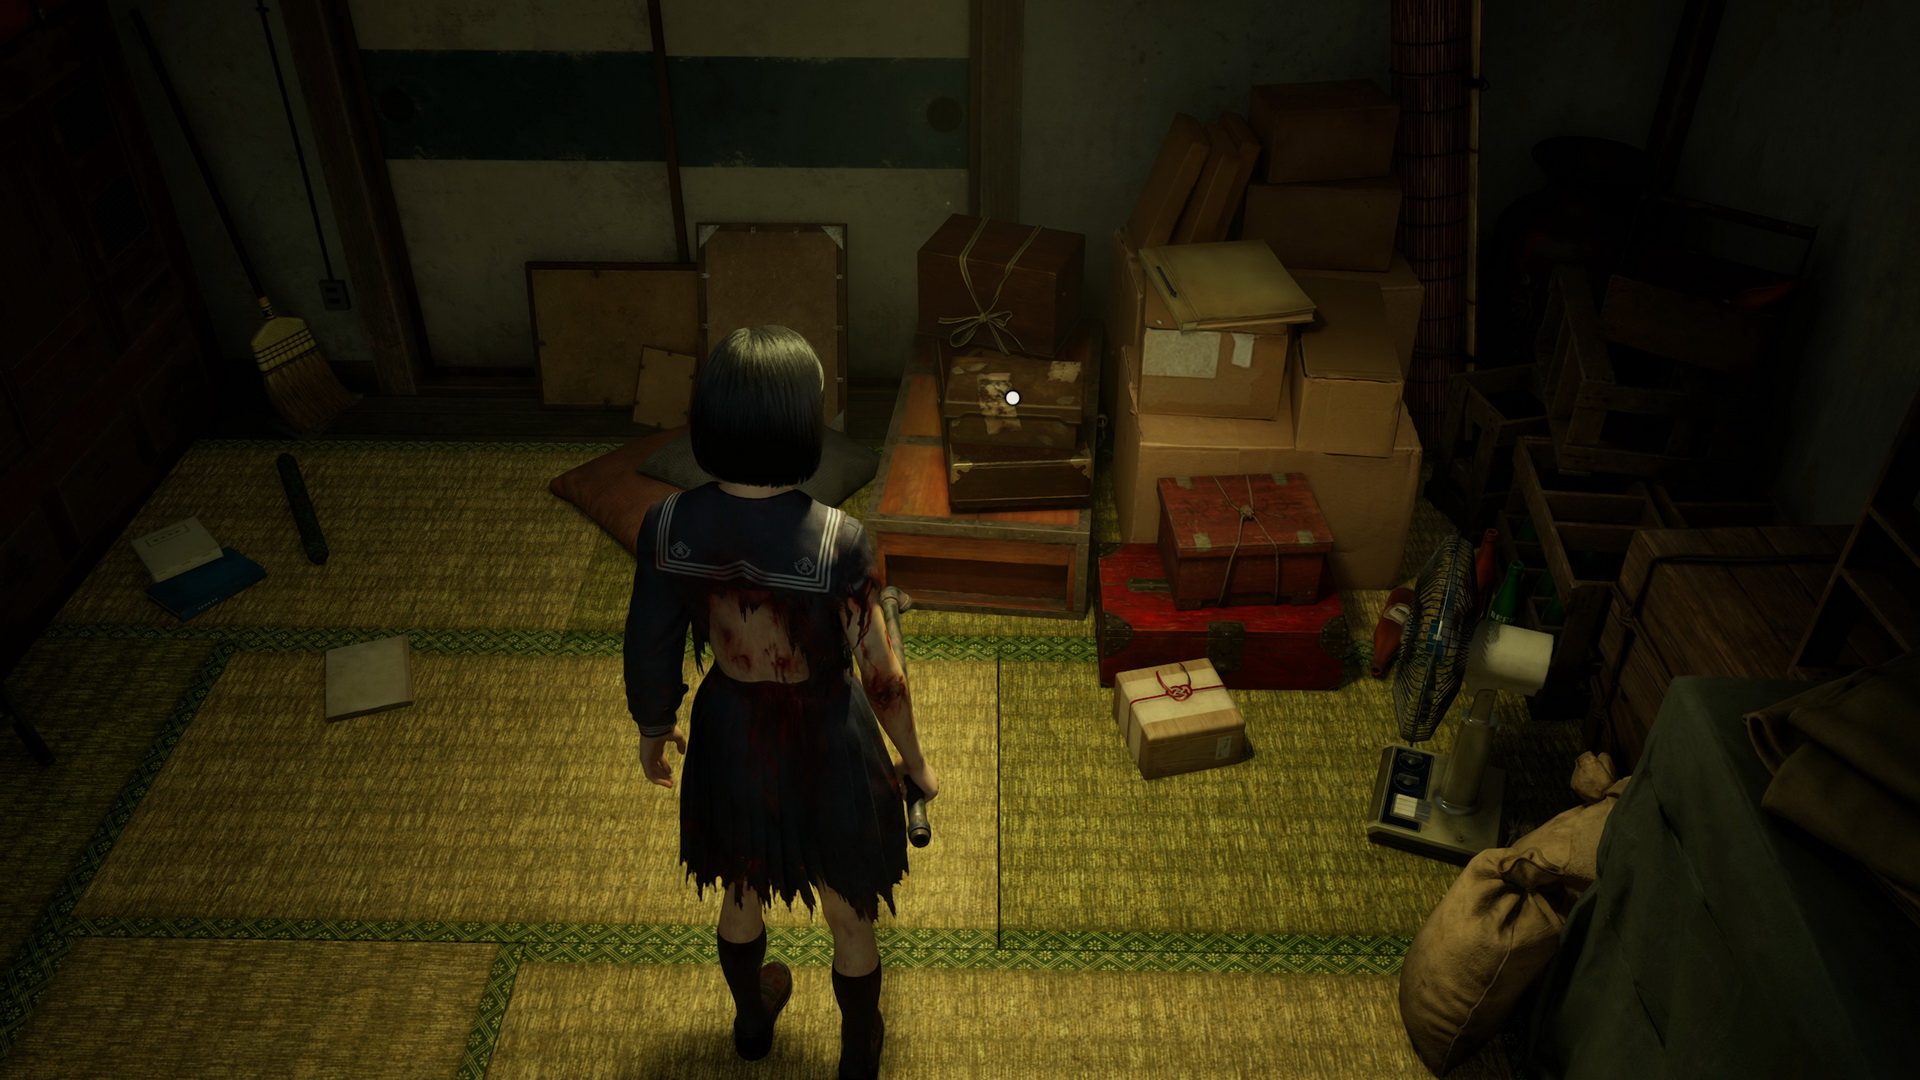
In the northernmost room, you will find photos on the wall. Grab Red Capsules in the west and inspect a group photo of Hinako and her friends to start the Ominous Photo Puzzle. You cannot solve that yet.
New Game+Hinako's Diary is at the back of the room (on the path to Ending 3).
|


Let's proceed by going to the locked door in the northeastern corner of this version of the house. Hang the Calendar on the wall, and the door will be unlocked. Go to the next version of the house.
Shimizu Residence II
This version of the house won't be as safe as the previous one, so be prepared. Enter the bathroom to the right to grab a Bandage from a bench. Continue north to find the next Hokora shrine. Explore the corridor to the right. At the southern end, you will run into a monster and a Shriveled Abura-age (⛩500) on a box to the right. Enter the storage room to the east to find Red Capsules and a Toolkit to the left and a Picture Frame in the back.
Return to the starting corridor (watch out for another monster) and enter the room to the west (another enemy is waiting for you at the door). Grab a Dried Carcass (⛩200) in the room. In the next room, you can find a Sickle next to a chest of drawers. Proceed into the southern corridor.
In the southeastern room, you will find an Upgrade: Ema on a podium.
 |
 |
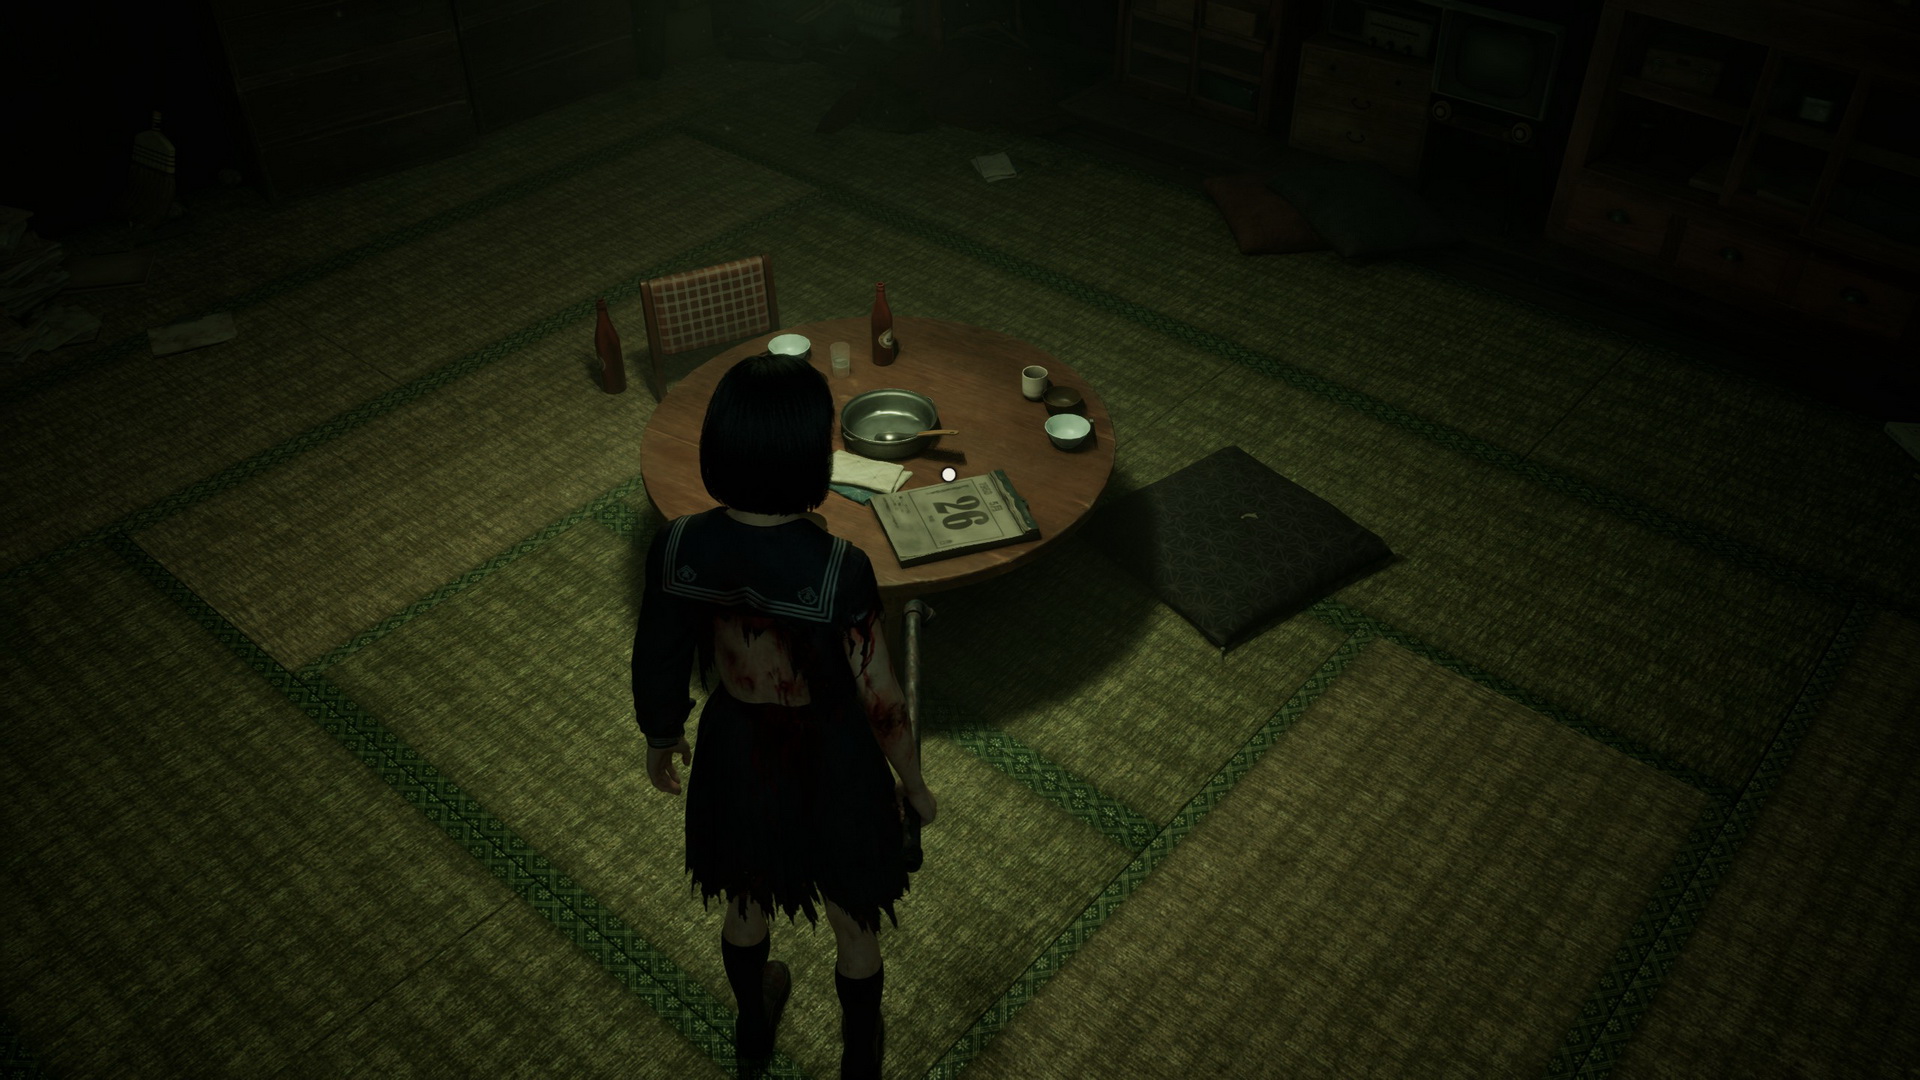
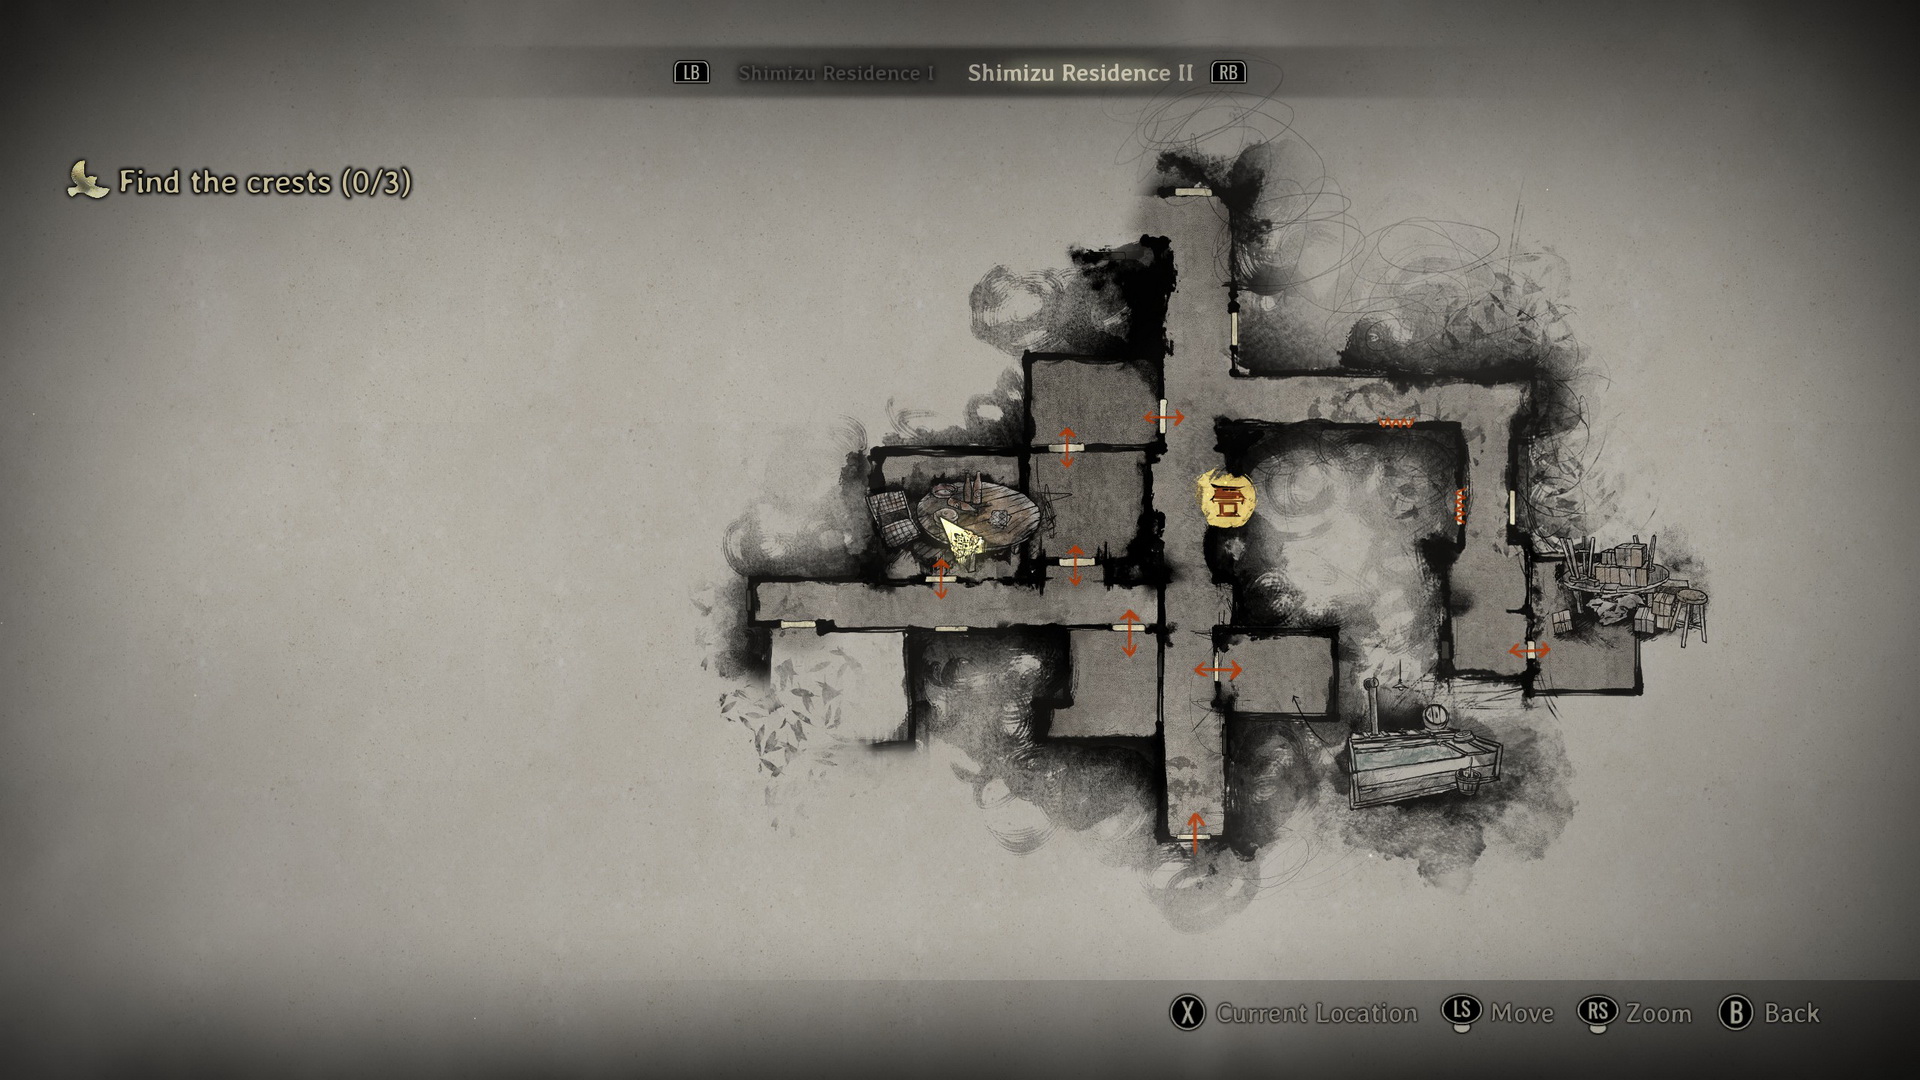
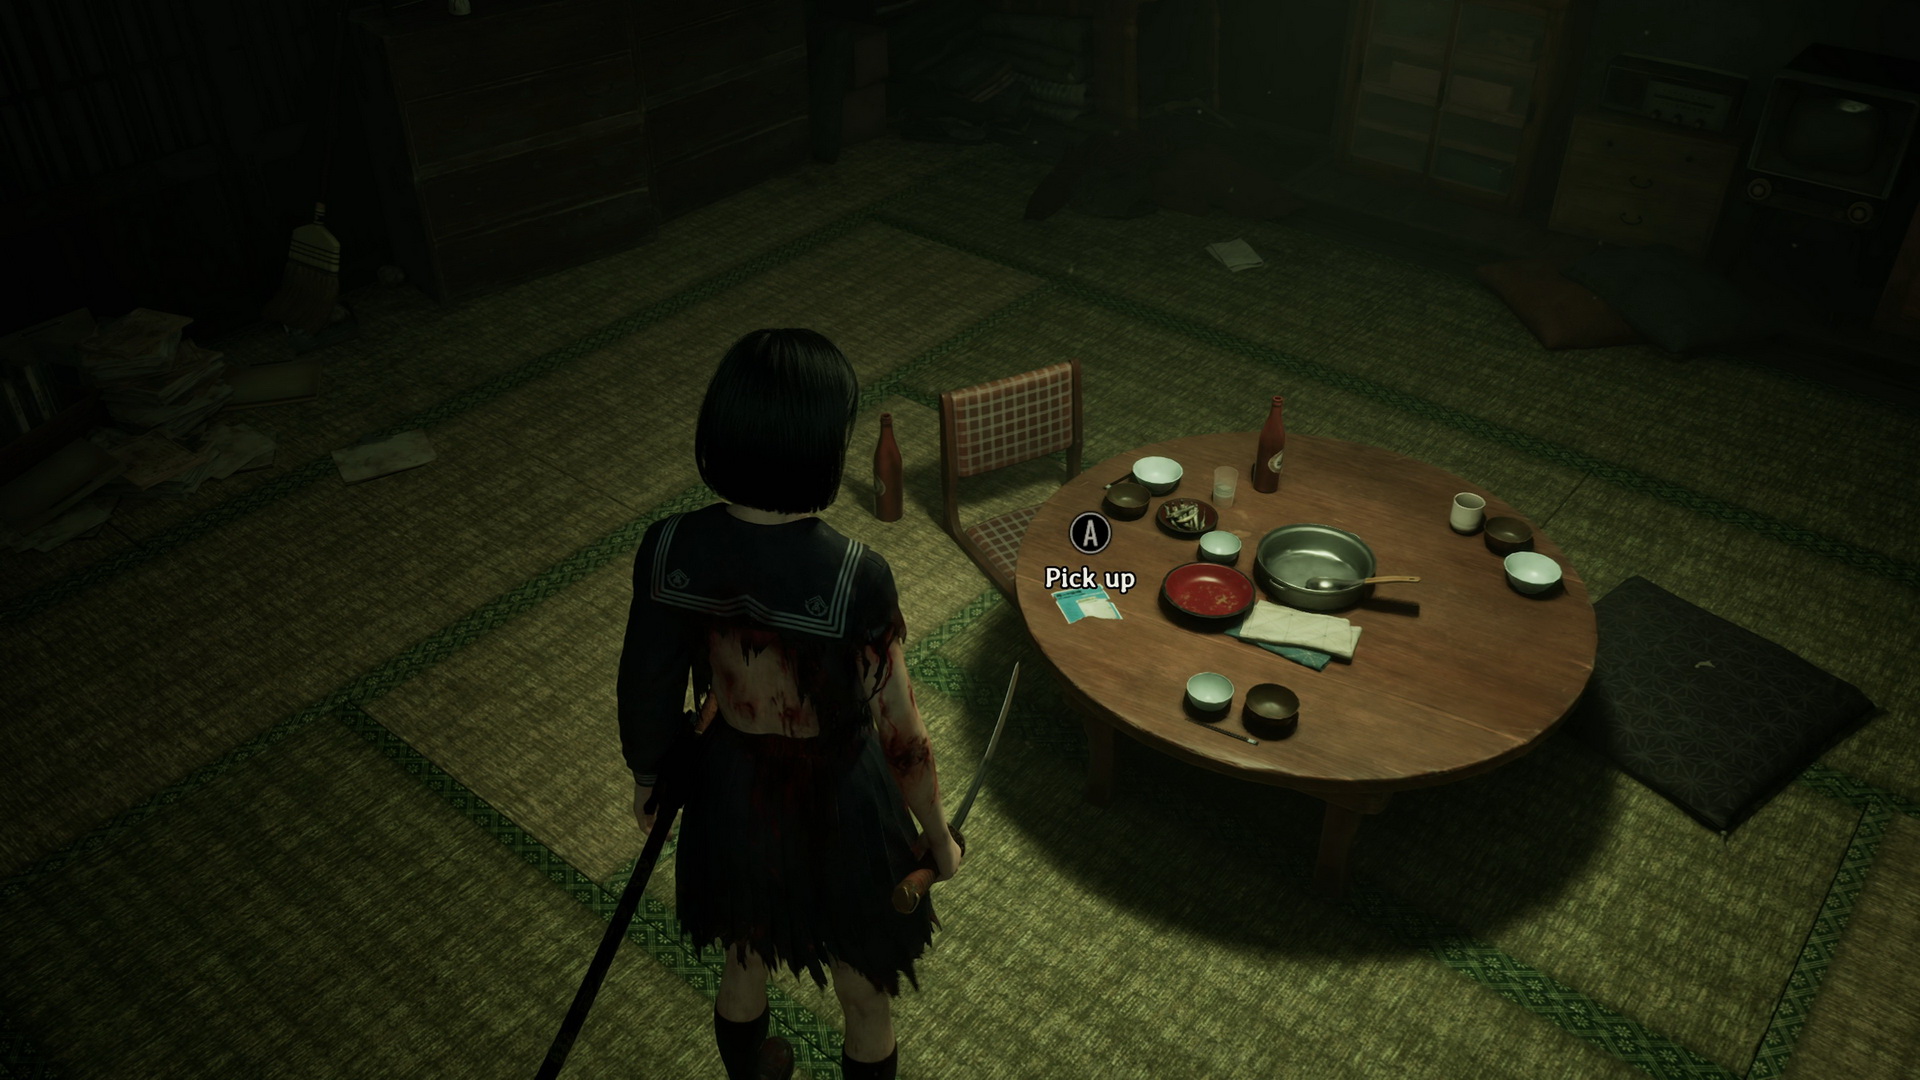
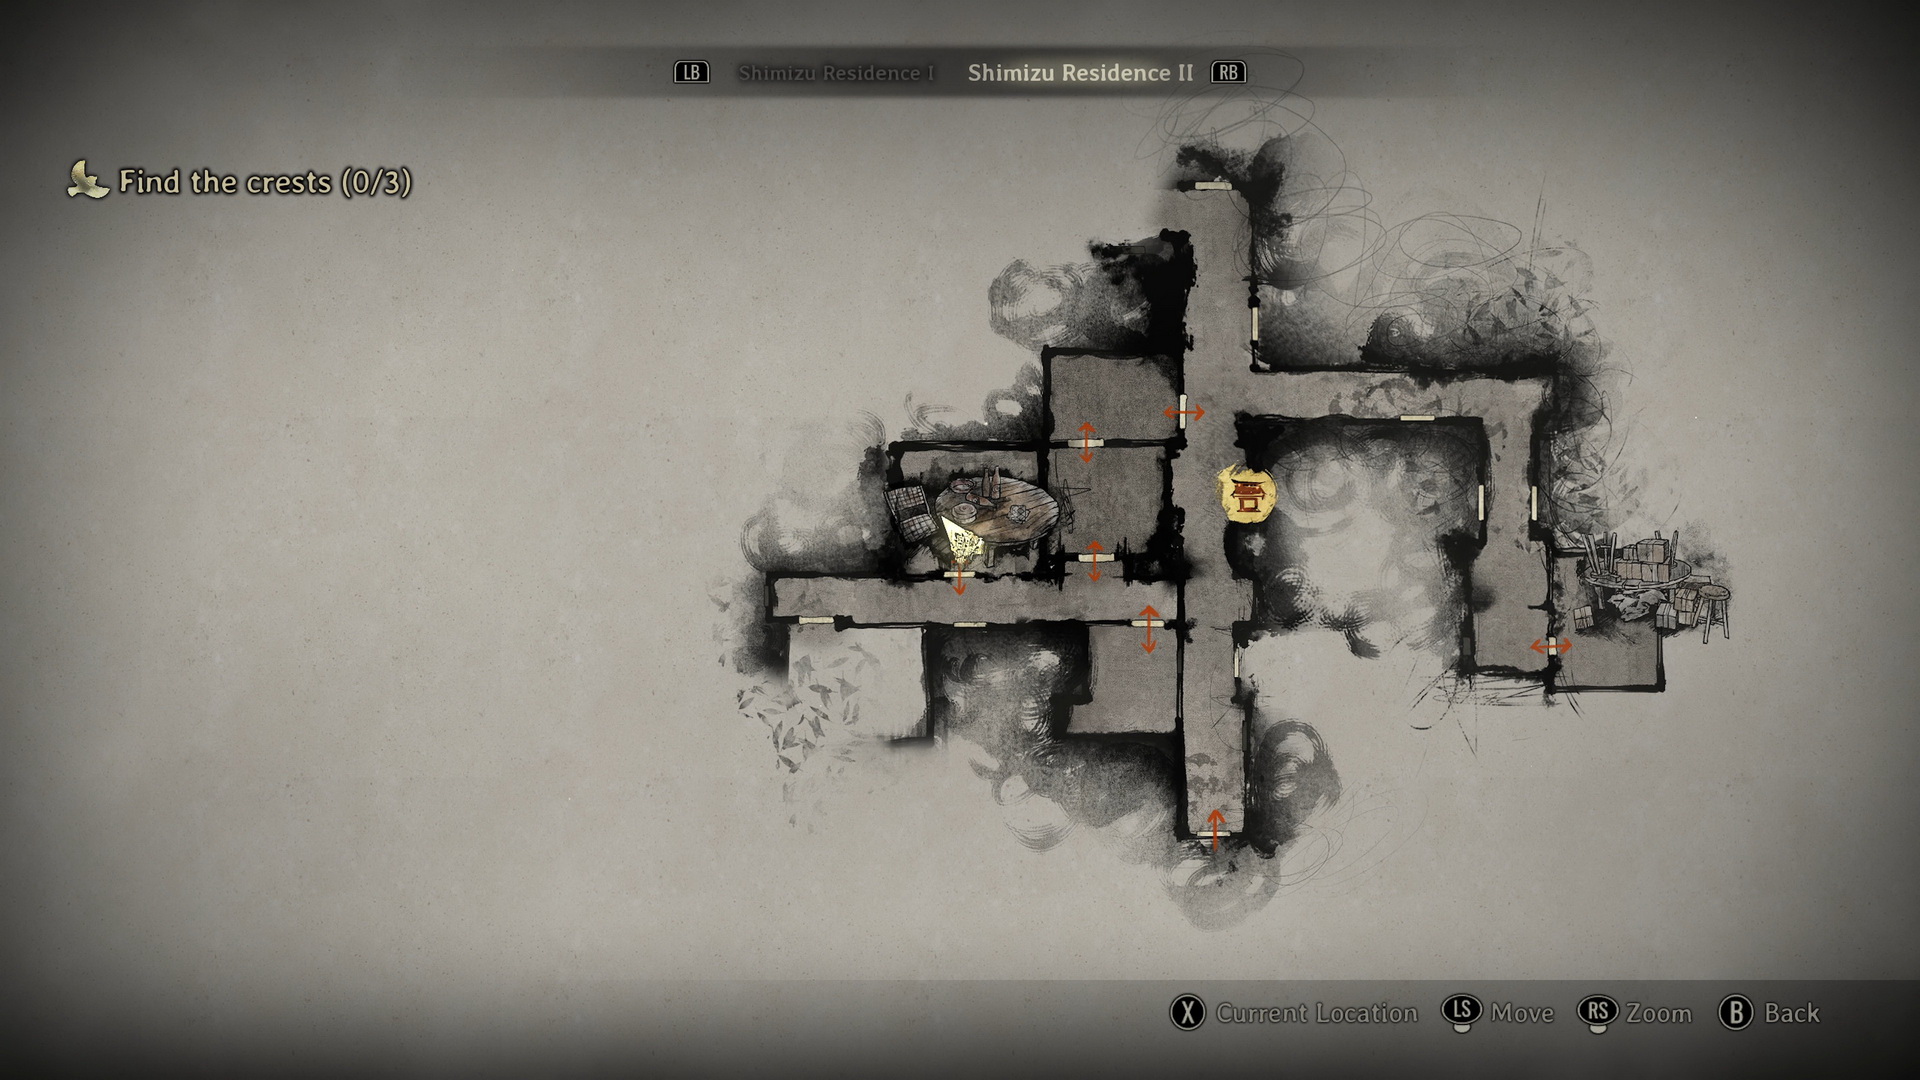
Enter the dining room to the north to watch a flashback scene. Pick up a Yellowed Calendar on a table afterward (on the path to Ending 1).
 |
 |
There's also an Arare (⛩10) on a cabinet to the left.
New Game+A Washing Machine Flyer is on the dining table (on the path to Ending 3).
|
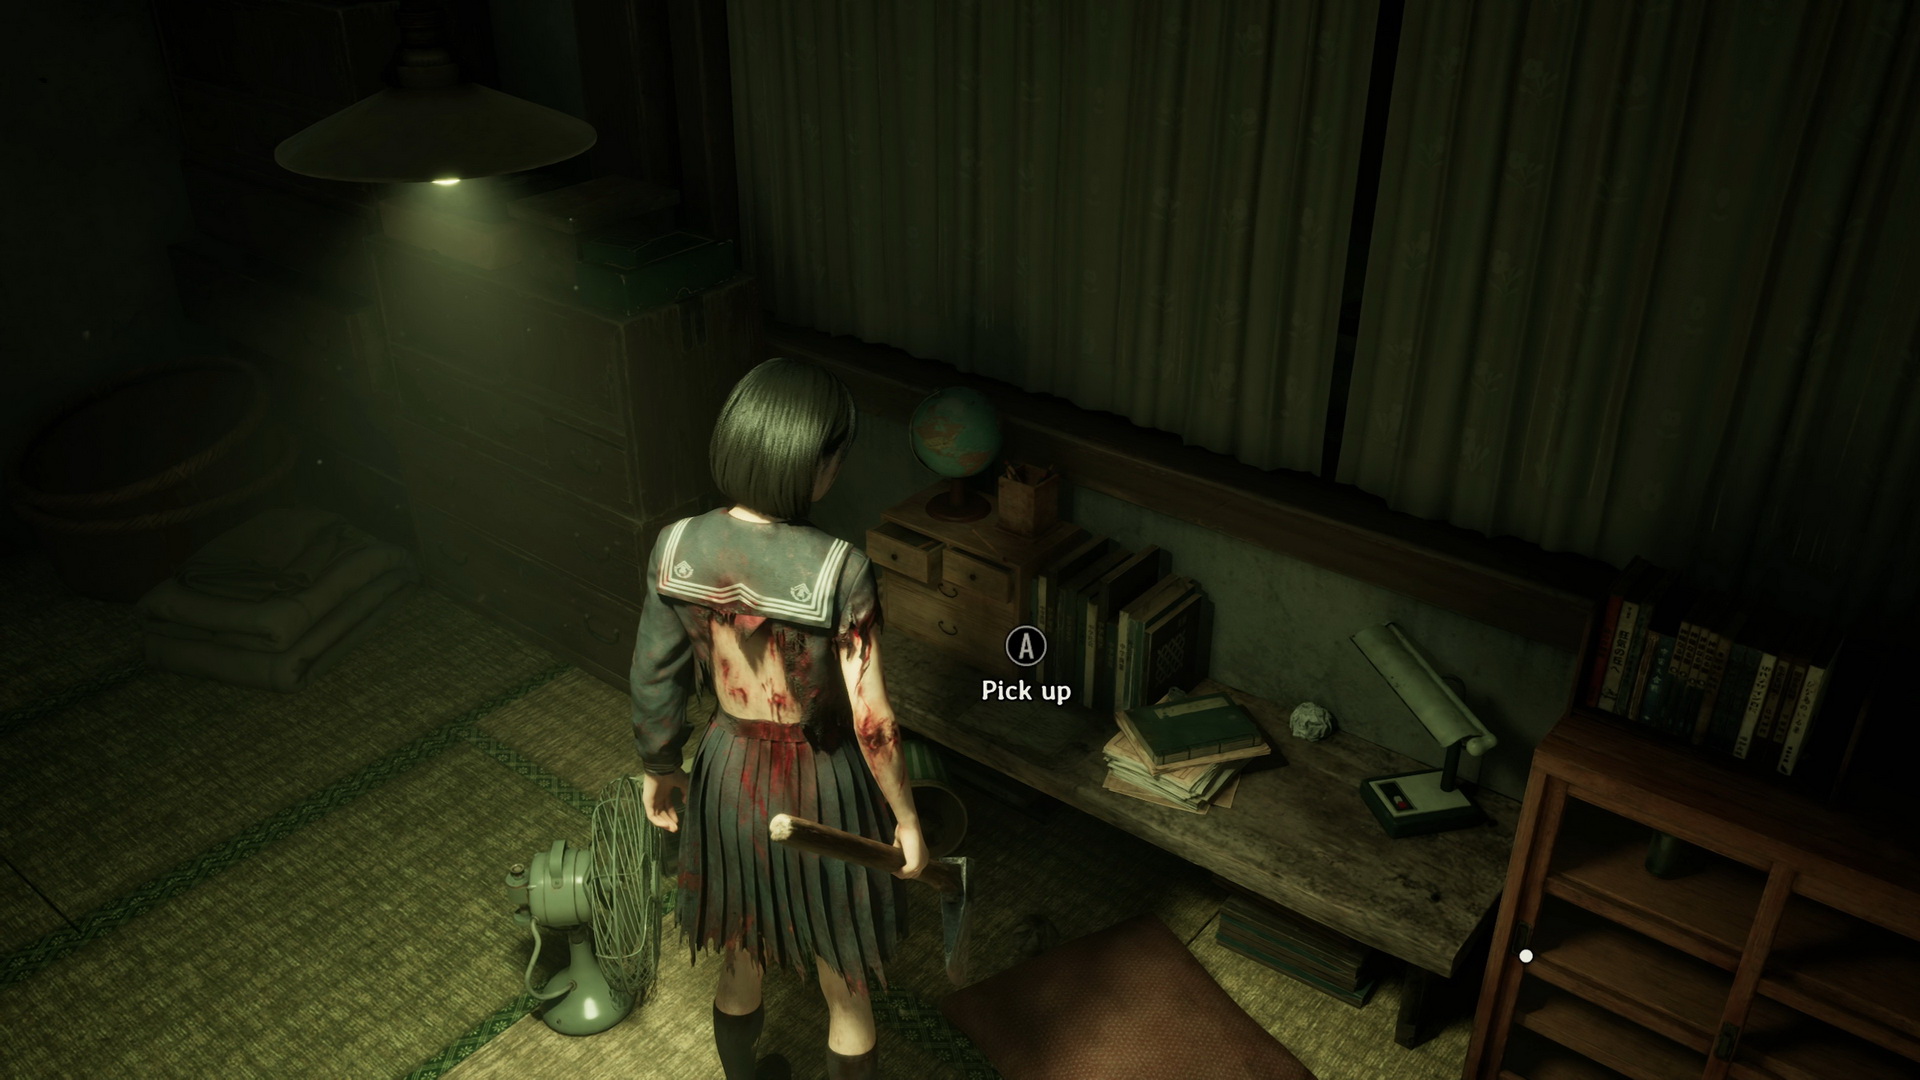
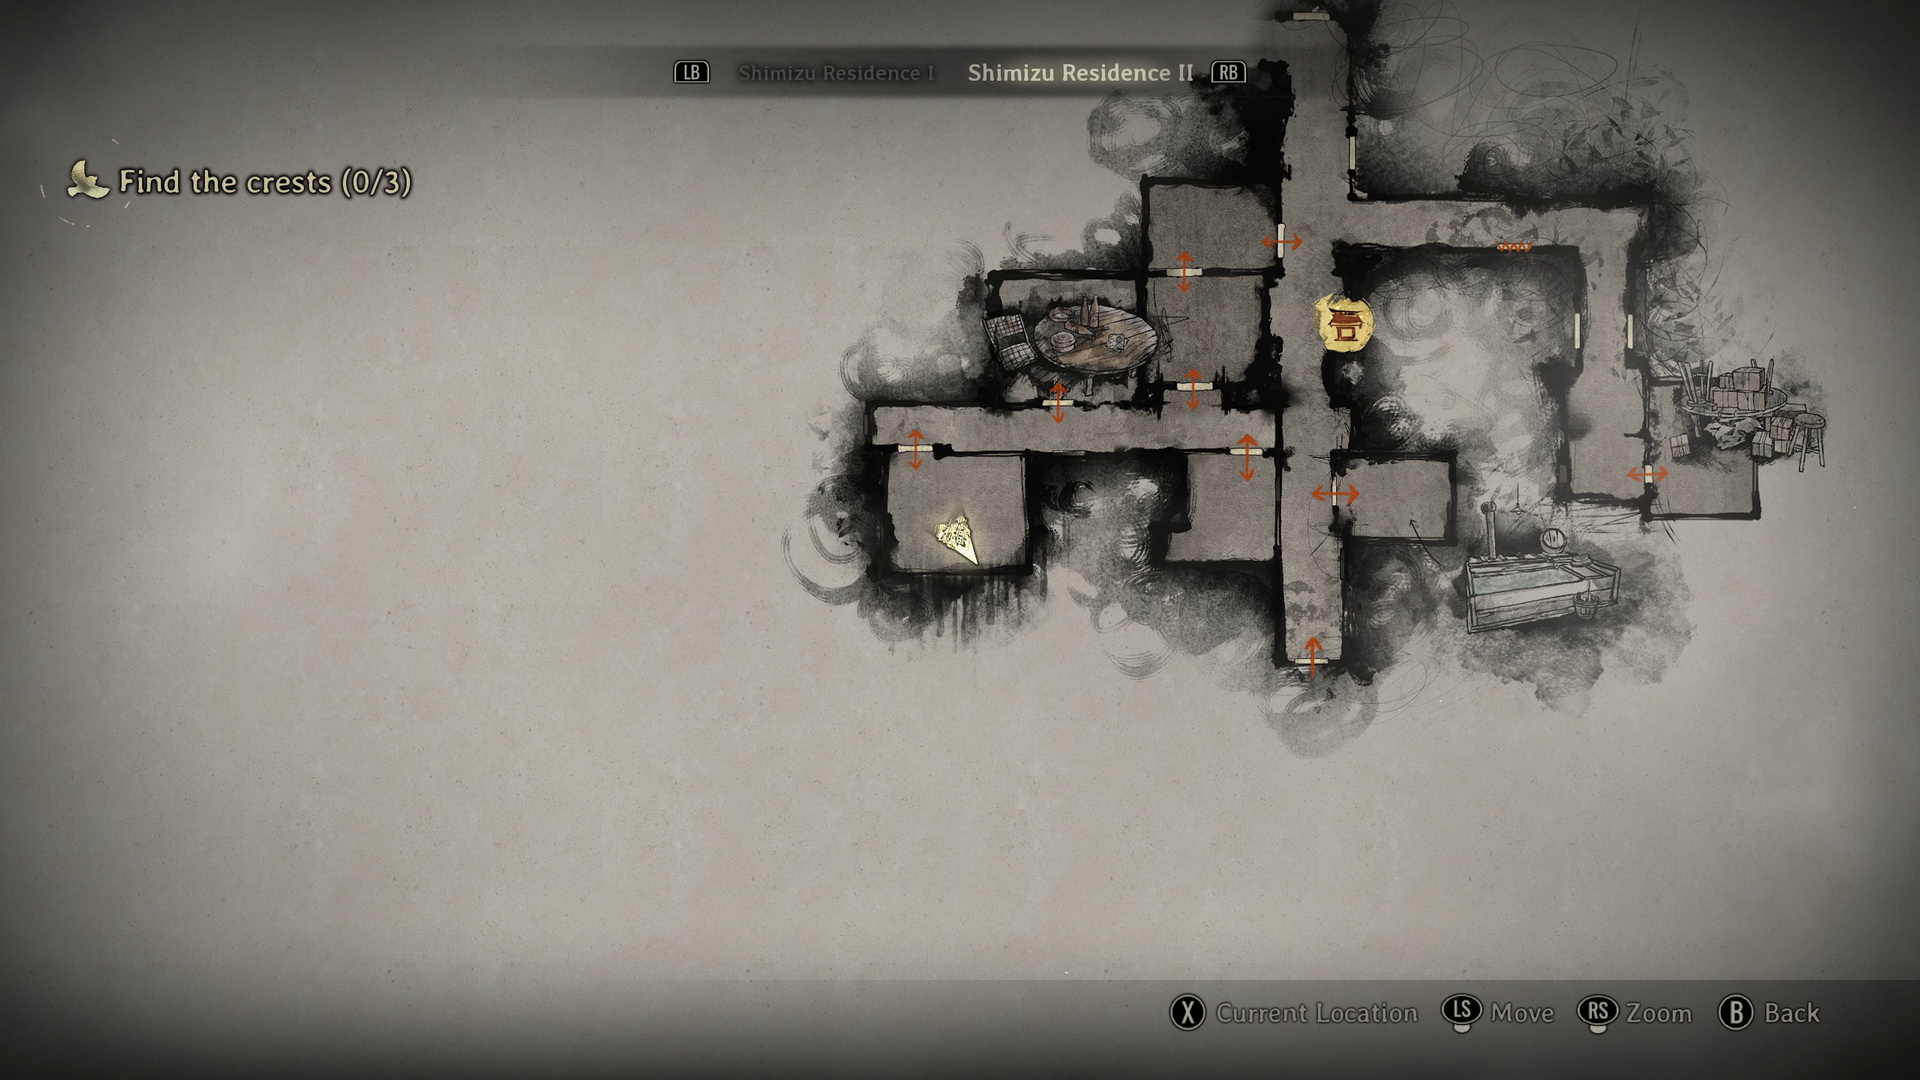
Enter the southwestern room in this corridor to find a Ramune (⛩20) in a cabinet and Hinako's Diary (1) on the desk in front of the books.
 |
 |
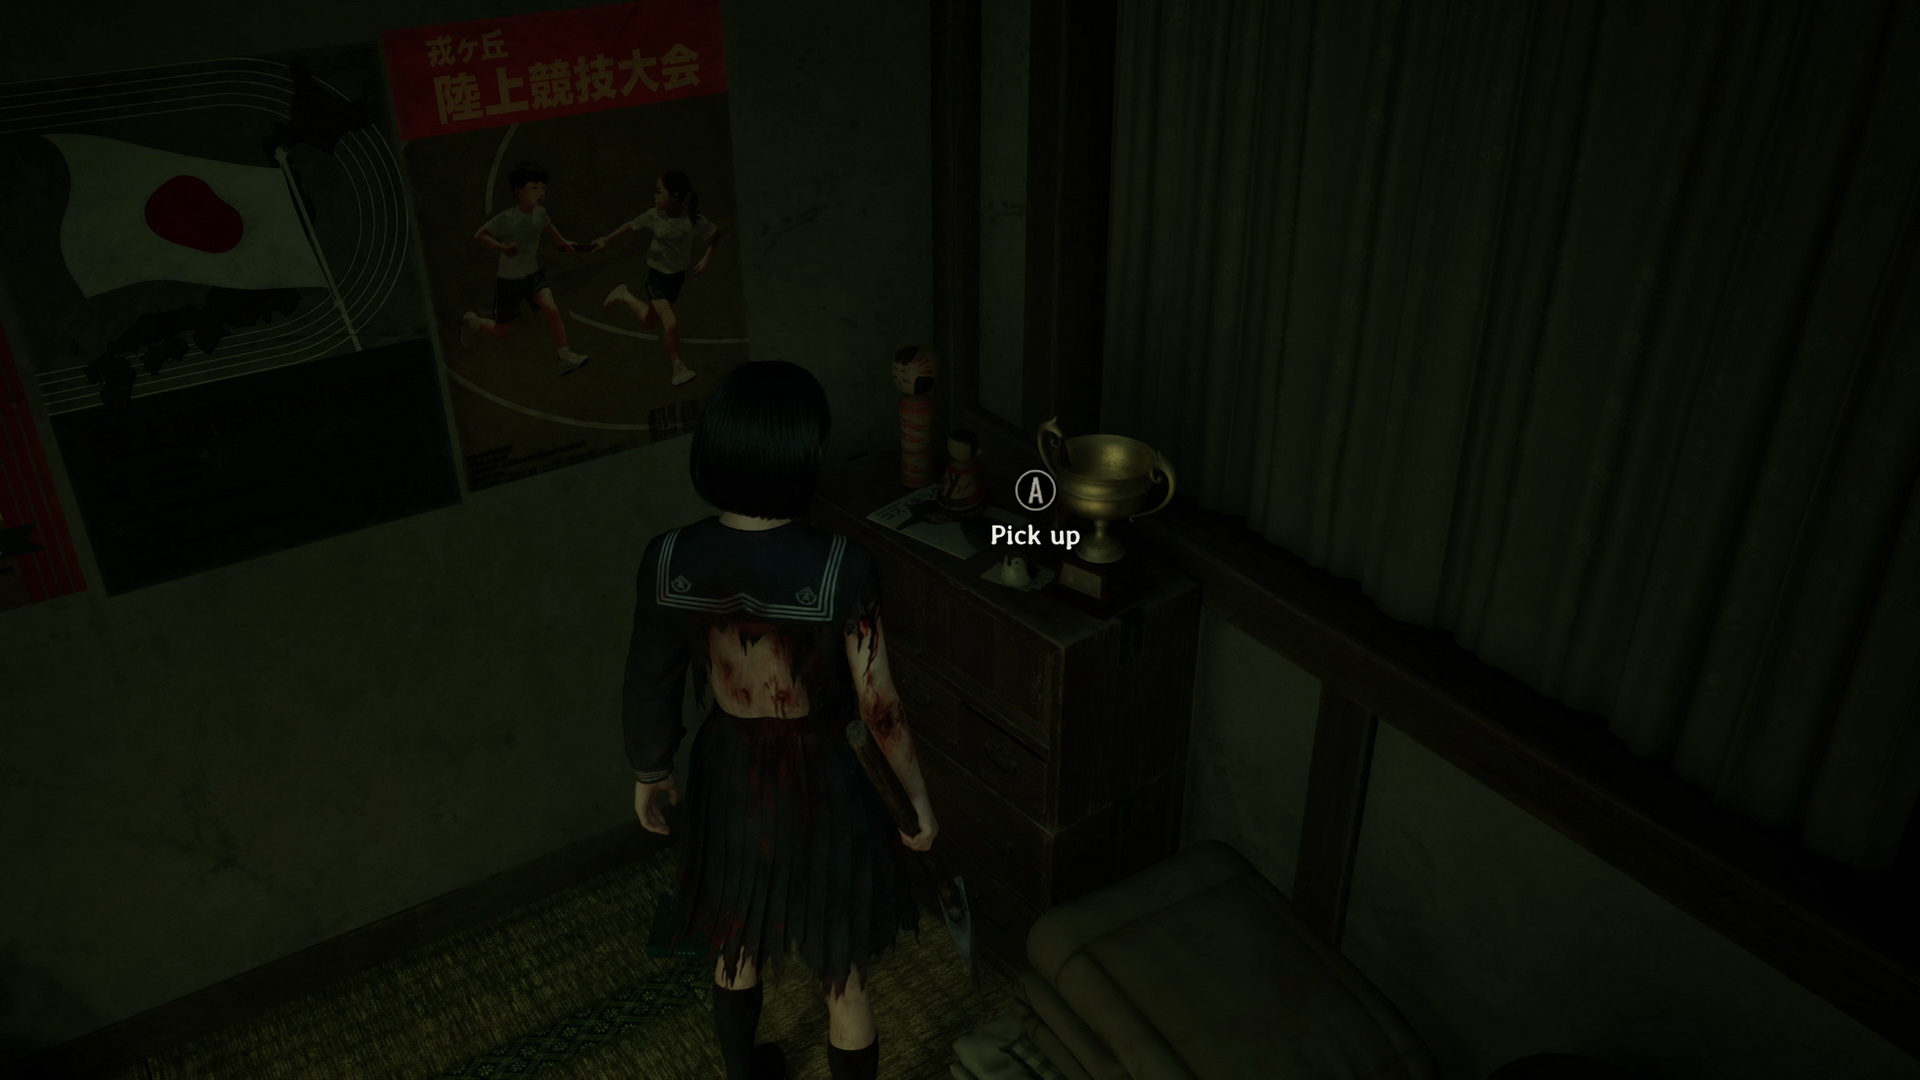
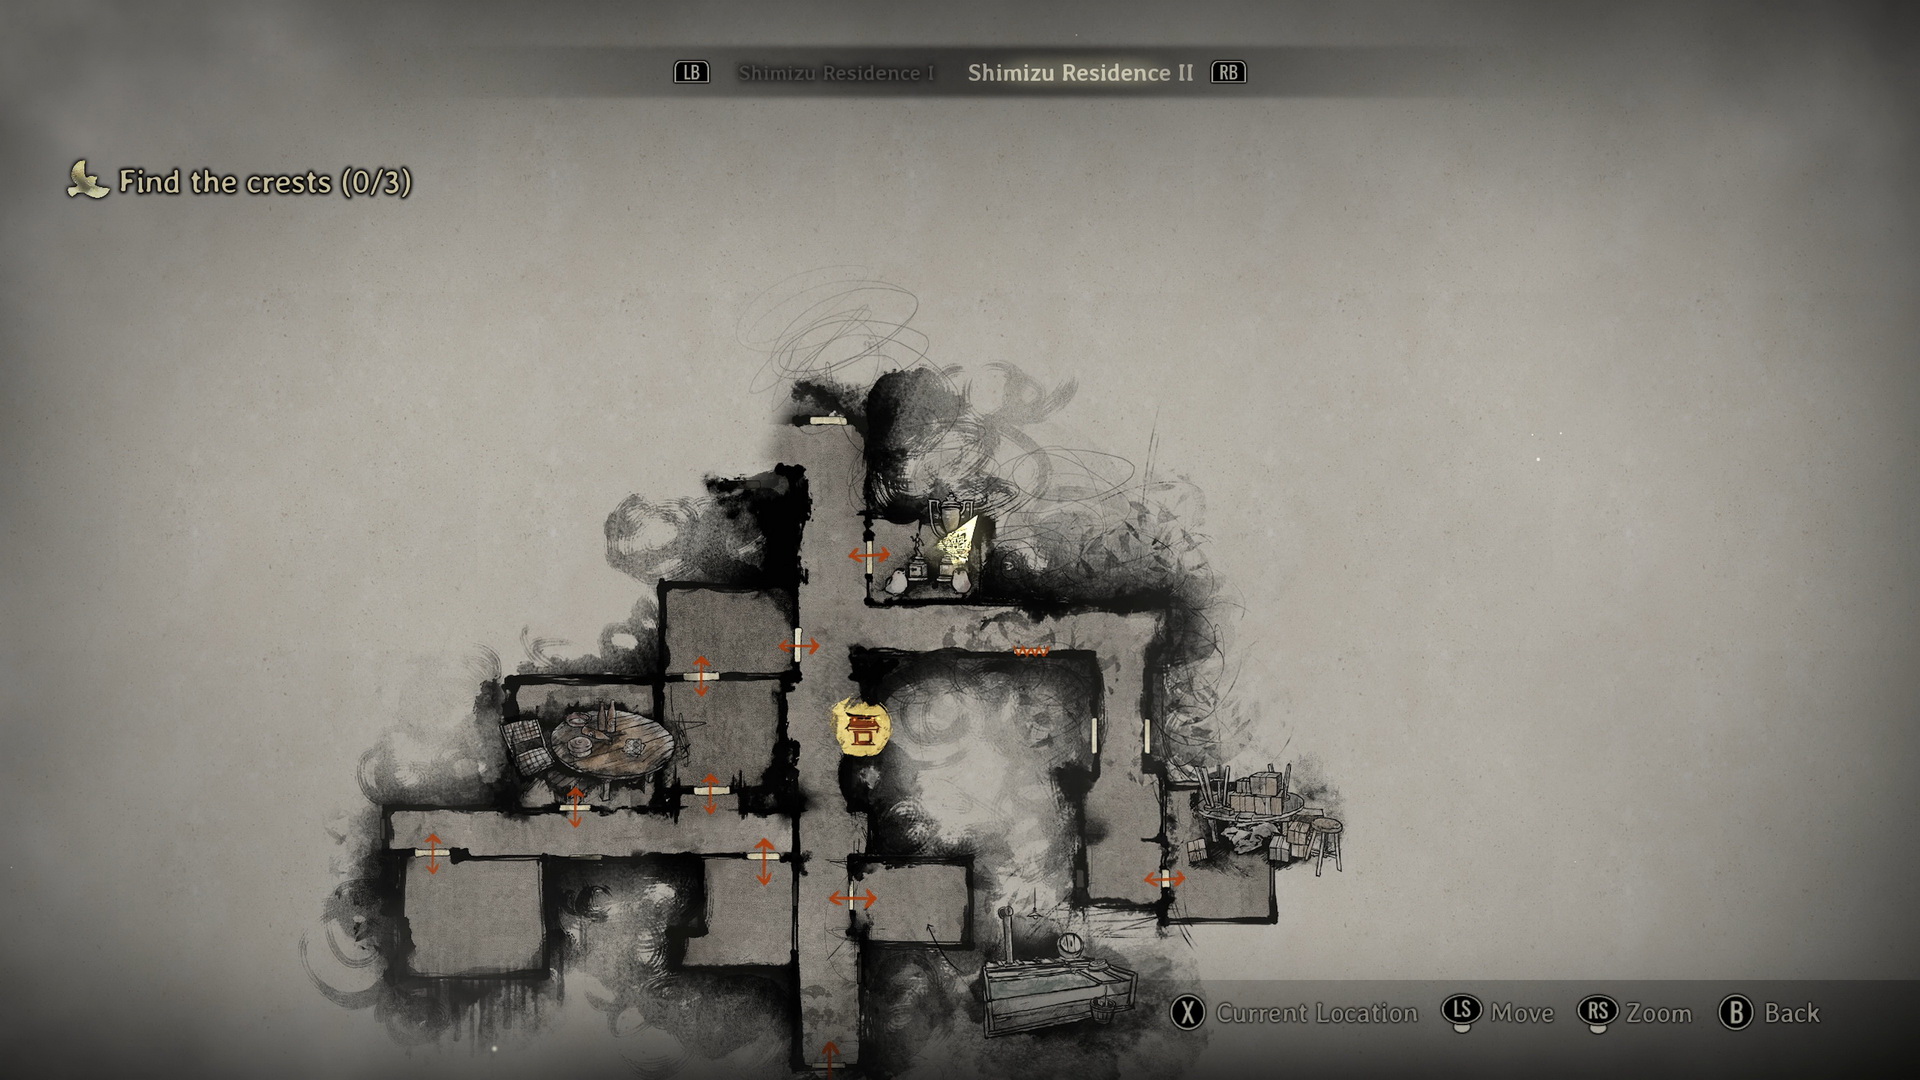
Return to the starting corridor. Proceed north and enter Hinako's room to the right. Pick up a Letter from a Man on a cabinet in the corner.
 |
 |
New Game+The Yellowed Calendar will be beneath the window in Hinako's room if you are on the path to Ending 2 or 4. A Letter to Santa is on top of a cabinet in Hinako's room (on the path to Ending 3).
|
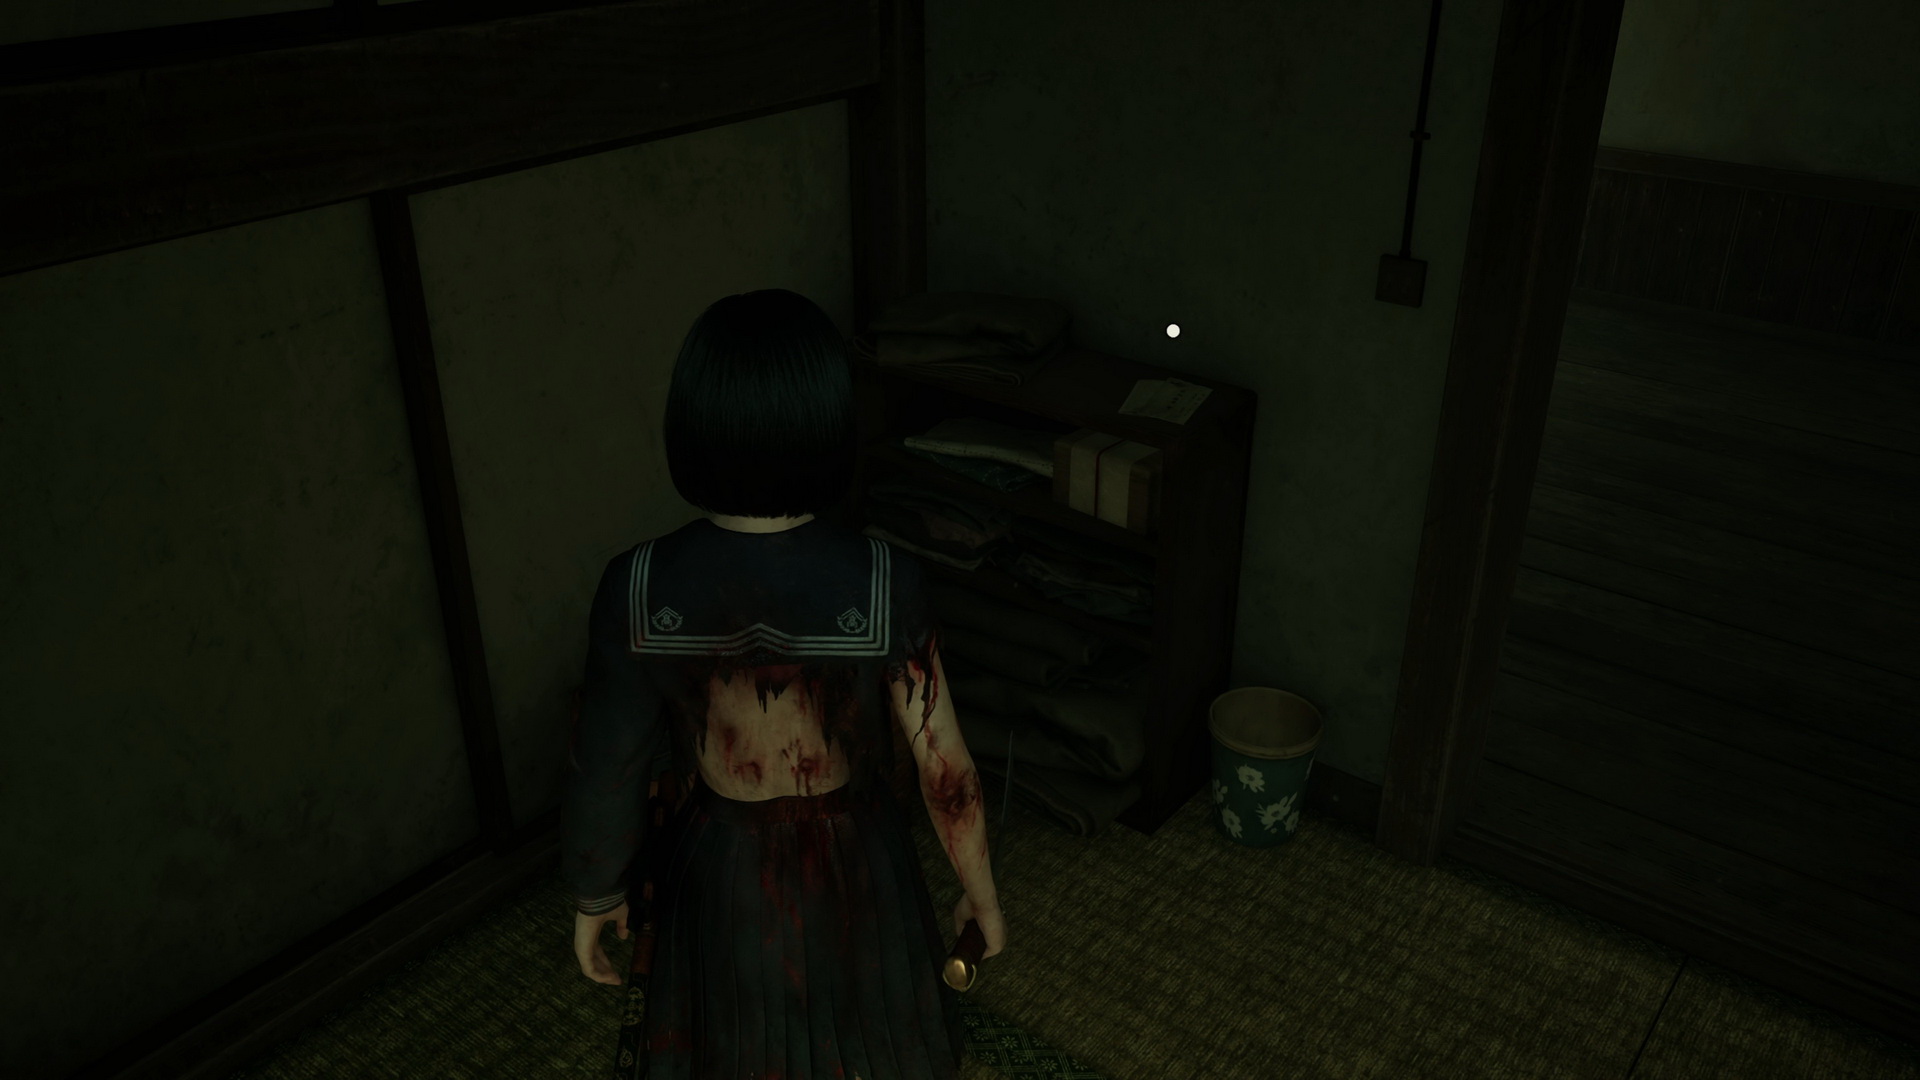
New Game++A Project from Art Class is on the wall of Hinako's room (on the path to Ending 4).
|


Exit the room and follow the corridor to the west. Check the area to the north to find a Chocolate (⛩80) on top of a box. Enter the parents' room to grab a Kudzu Tea (⛩100) from a sewing machine table.
New Game+The Yellowed Calendar will be on a table in the parents' room if you are on the path to Ending 3. |
In a corridor dead end to the south, you may find a Blessed Hand Mirror if you don't own one yet. Enter the last room to the west. Inside, you will find Red Capsules to the left and a puzzle.
Scales Puzzle
A message on the back wall reads the following:
I'm always alone, so I'm OK with playing by myself. That means I have the right dish and the left dish aaall to myself.
I like to play with kokeshi dolls a lot. I'm extra careful to share them with left Hinako and right Hinako so it's fair to both of them.
The goal here is to balance out the scales by placing the five available dolls on each dish.
The puzzle's solution depends on what ending you are locked in.
Ending 1 Solution
Place the headless doll on one side and the other four on the other side.

New Game+: Ending 2 Solution
Place the headless and half-mask dolls on one side, and the other three on the other.

New Game+: Ending 3 Solution
Place the schoolgirl and the half-mask dolls on one side, and the other three on the other.

New Game++: Ending 4 Solution
Place the schoolgirl doll on one side and the other four on the other side.

Grab the Scales Plate after solving the puzzle.
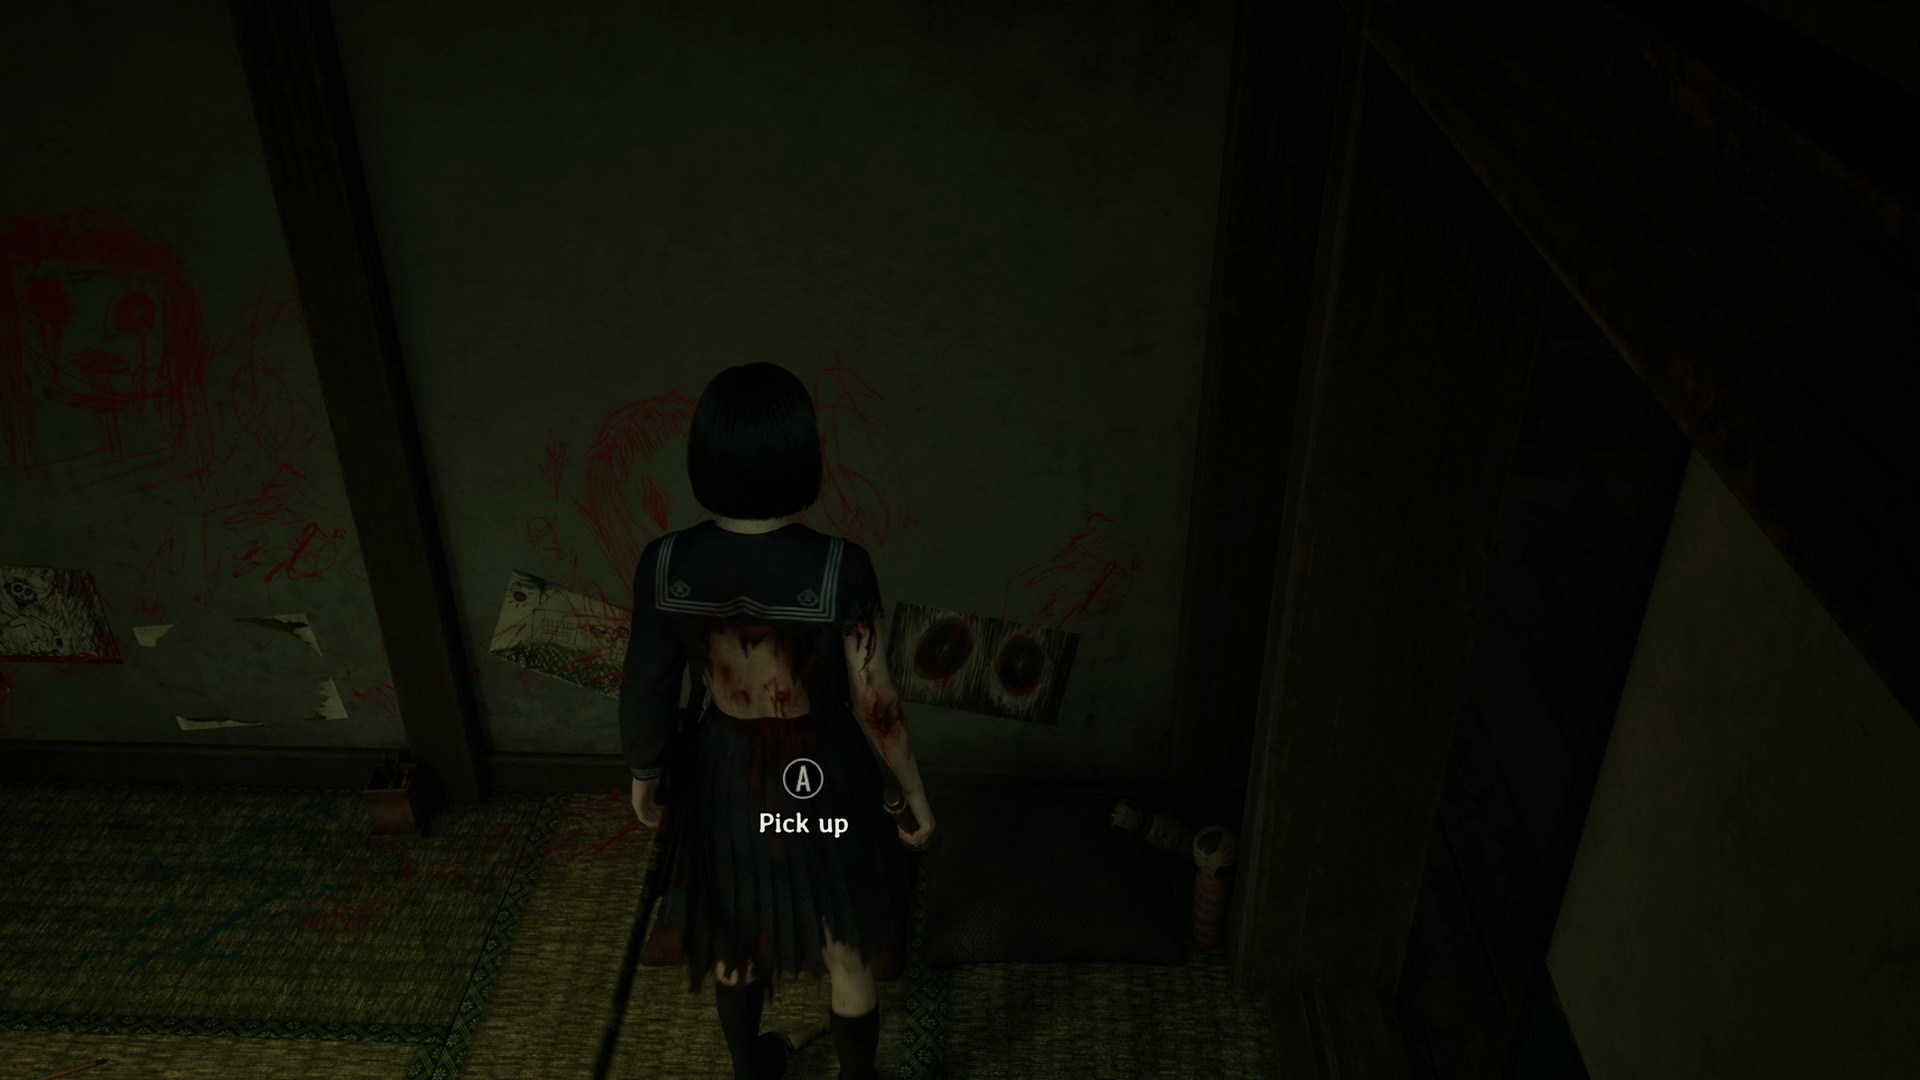
New Game+An Excerpt from "The Encyclopedia of Occult Phenomena" is on a cushion next to the door in the room with the Scales Puzzle (on the path to Ending 2).
|
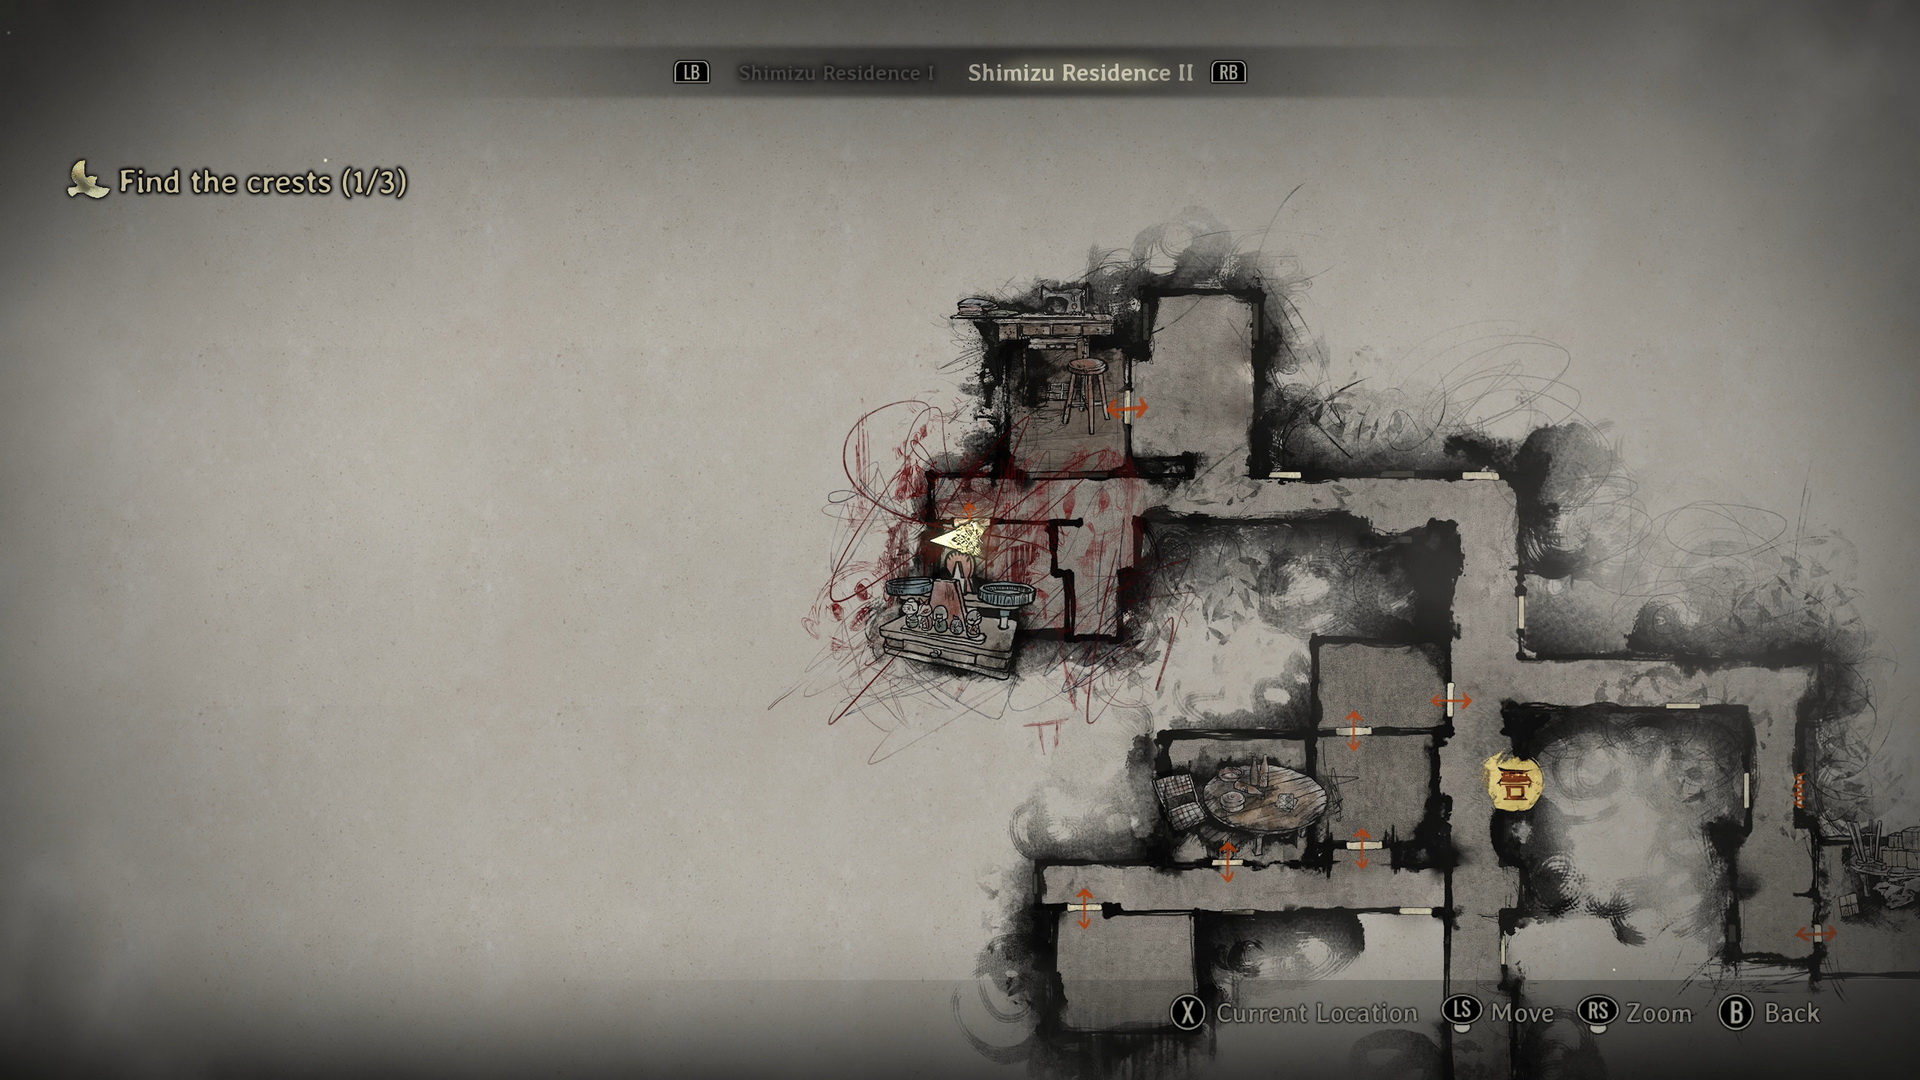
Find the crests (1/3)
Nothing else to do in this area, so proceed to the door in the northeast, place the Yellowed Calendar on the wall and proceed to the next version of the house.
Shimizu Residence III
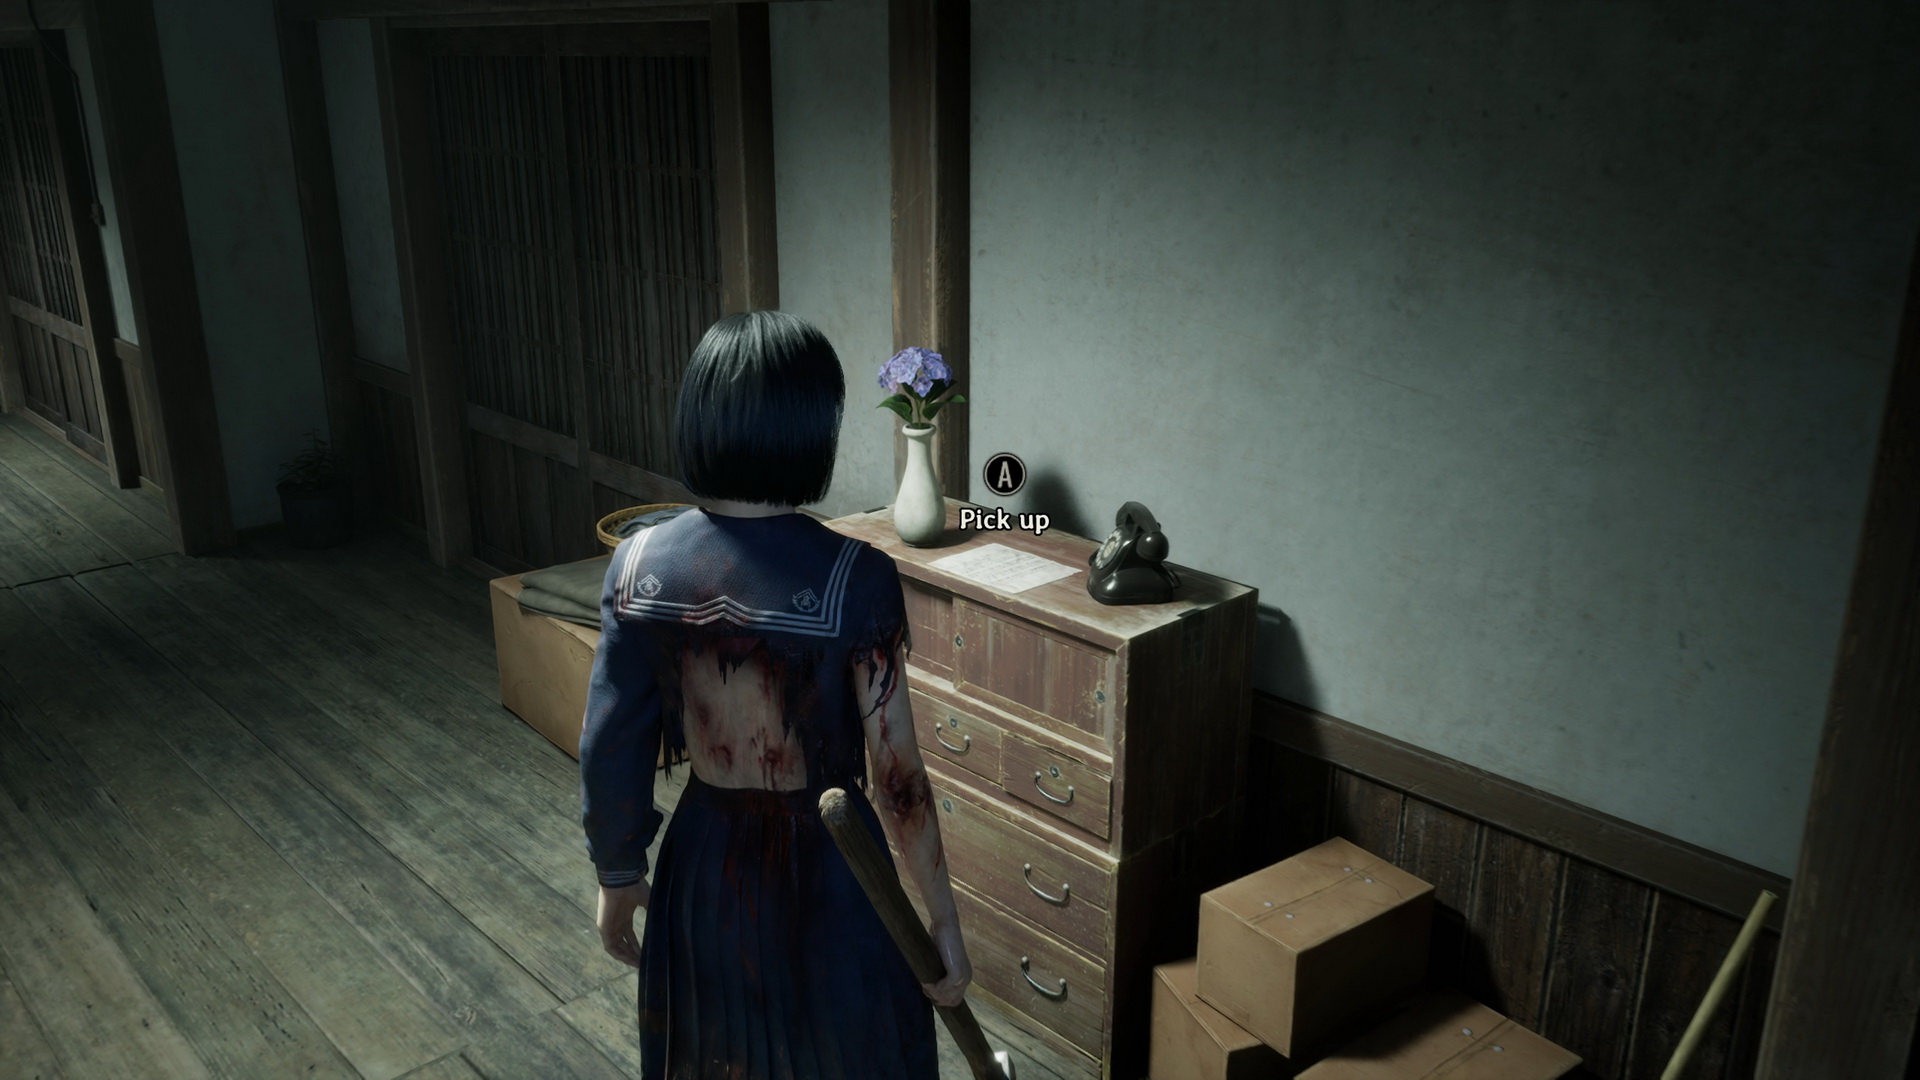
At the start, grab a Ramune (⛩20) from a bench to the left and an Errand Request on top of the drawers to the right.
 |
 |
In a room to the right, you will find a lurking monster, a blood bath, a Kitchen Knife and Red Capsules.
Up ahead, you will find a Hokora shrine to the right. The room at the end of the corridor to the east has a single monster and a Shriveled Abura-age (⛩500) in the northeastern corner.
New Game+Hinako's Diary (3) is on a wooden podium in front of the painting in the rightmost room (on the path to Ending 3).
|
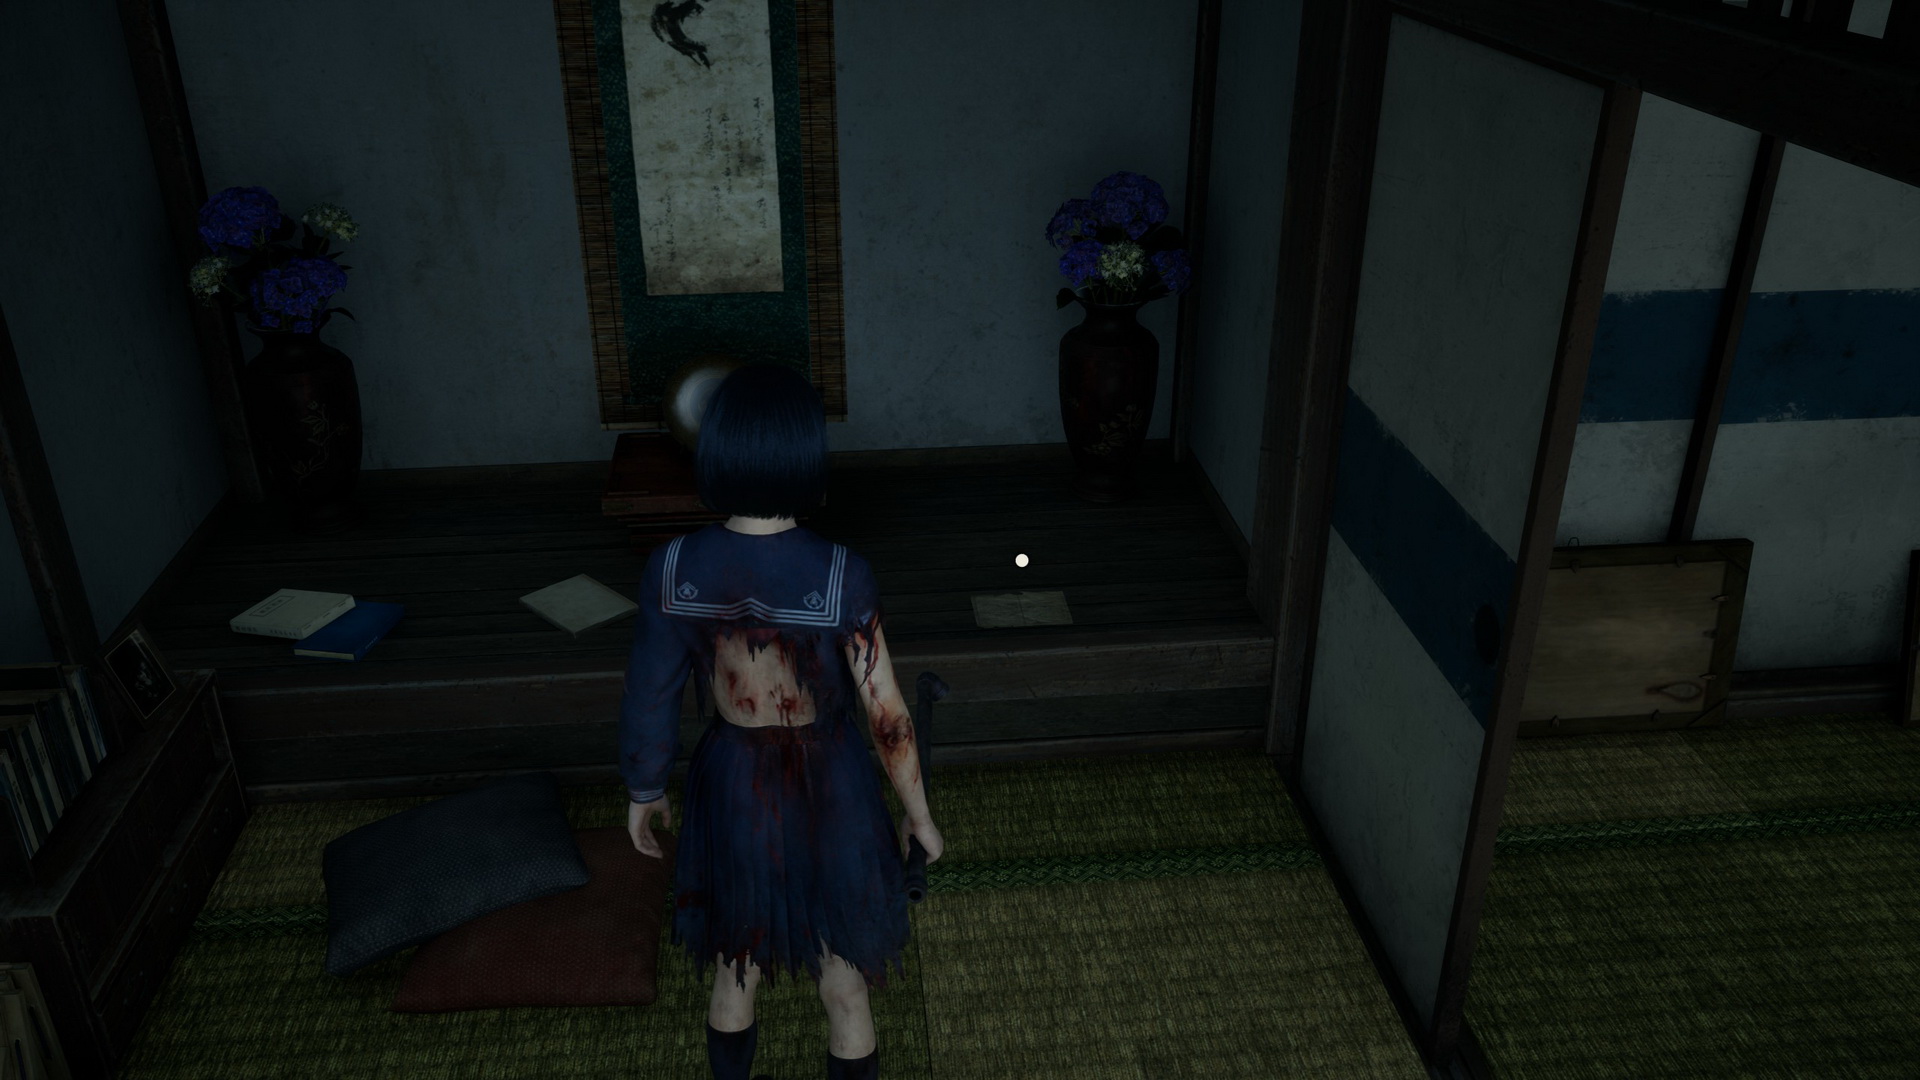
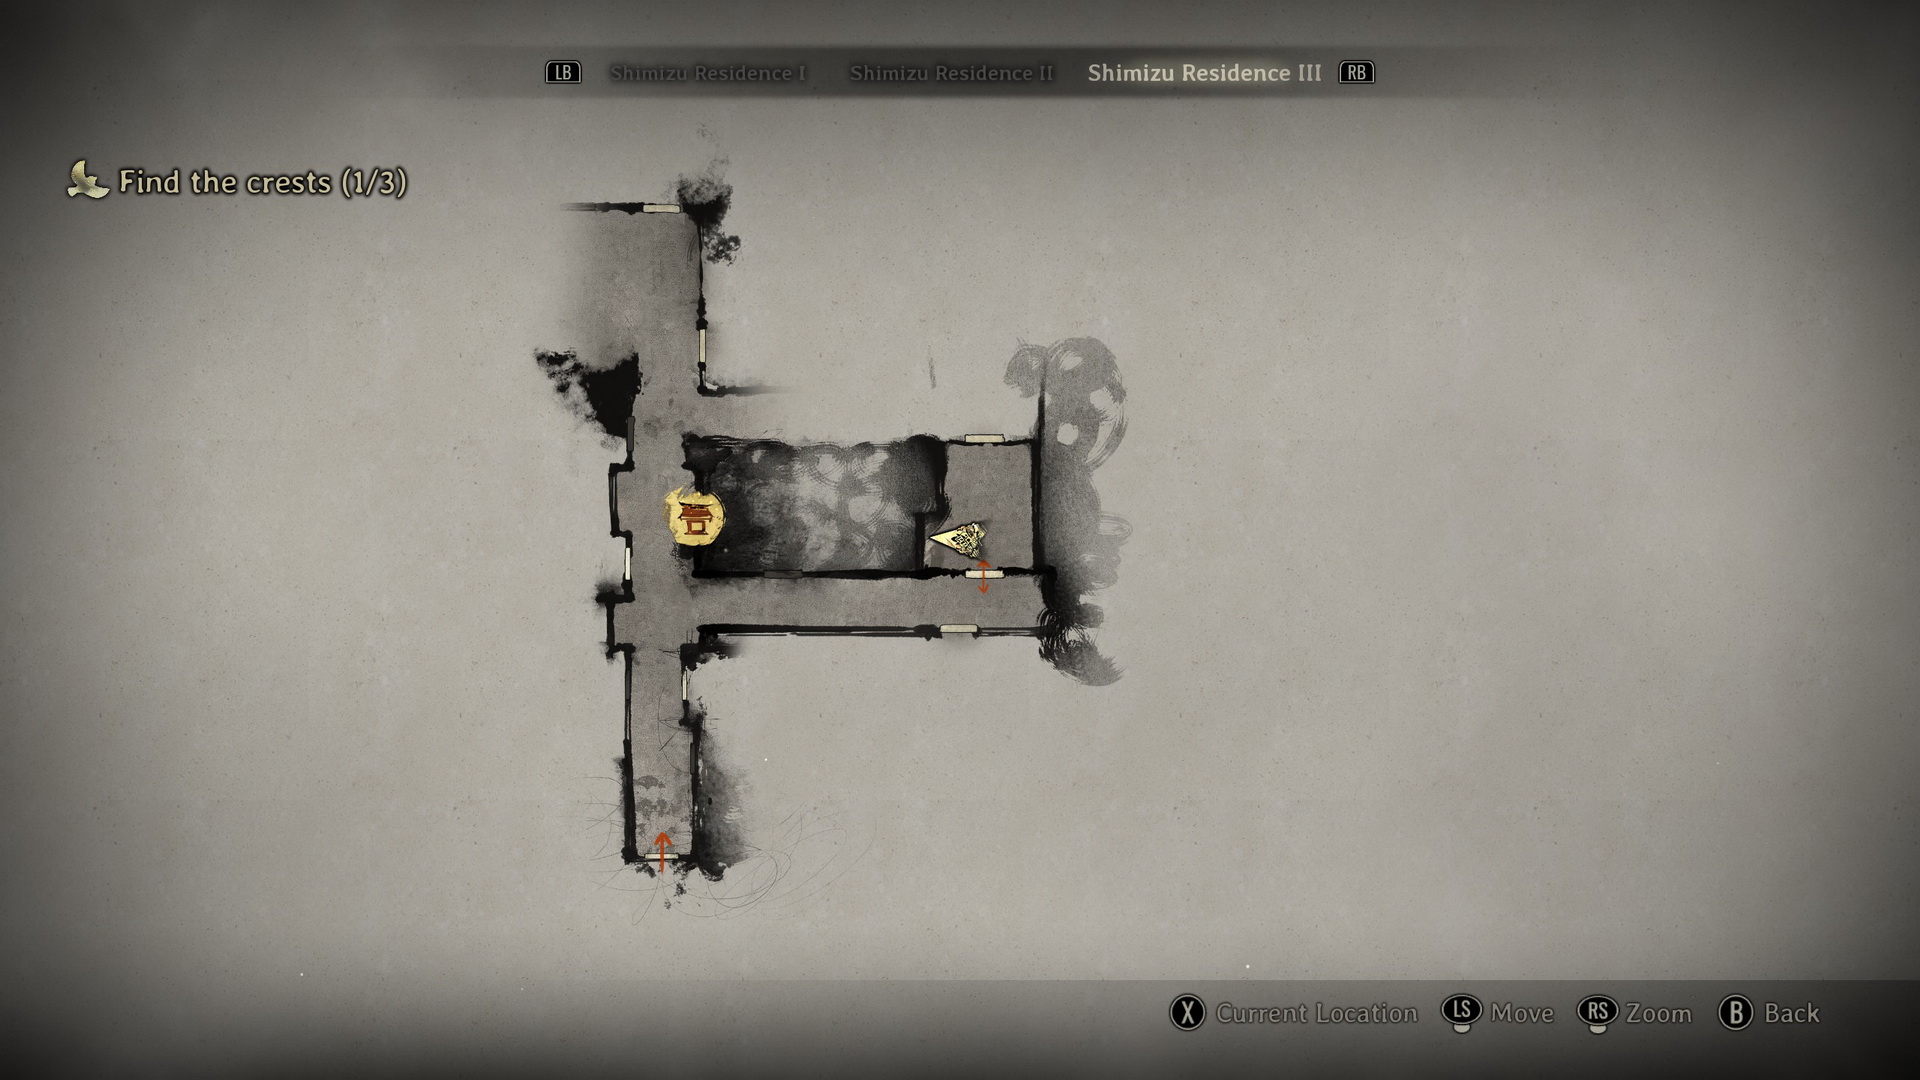
At the end of the northeastern corridor, you can find a Toolkit. Enter Hinako's room to the right in the starting corridor. Check a drawer to the left to find a Fragrant Letter.
 |
 |
Then examine the bloody mess in the corner, pan to the bottom shelf and examine a diary to find a Block of Wax.
 |
 |
New Game+Hinako's Diary (2) is on a desk in Hinako's room (on the path to Ending 2).
|


Exit the room and head west. In the large area, you can find a Divine Water (⛩50) on the southern edge and an Arare (⛩10) in a drawer to the west. Enter a series of rooms to the north. In the second one, you will find a Yokan (⛩30) in a drawer to the right and in the last one, a monster and a Dried Carcass (⛩200) in a drawer to the right.
Return to the corridor and proceed west. Check the parent's room to find a Bandage to the right.
New Game+A Mom's Bag of Prescriptions is on Hinako's mother's table in the parents' room (on the path to Ending 2).
|


New Game++A Letter from my Uncle is on top of the drawers in the parents' room (on the path to Ending 4).
|


Continue west and grab a Steel Pipe leaning to the right and an Upgrade: Ema behind a watering can in the corner at the end.
 |
 |
In the corridor to the south, there are two spewing monsters. In a cabinet to the left, you can find a Chocolate (⛩80). Enter the kitchen in the south to pick up a Propane Tube from the counter.
Also in the room, there is a Toolkit on the left and the Upgrade: Furoshiki on a bench to the right.
 |
 |
To the north, there's a room with a door with the bird pattern that cannot be opened yet. Follow the corridor to the south past another monster, grab Red Capsules in the drawer and enter a room at the end for a very weird view and a Page from Mom's Diary on the ground to the left.
 |
 |
Turn around and proceed through the door at the end of the starting corridor to return to the first version of the residence.
Shimizu Residence I
This version of the house will no longer be safe. Turn left to go to the kitchen in the southern corridor. Connect the Propane Tube to the stove, then place the Block of Wax in the bowl to melt it and receive the Fletching Key. Defend yourself against the monster and get out of the room.
 |
 |
Proceed north to the room with the photos to place the missing Picture Frame on the wall and solve the Ominous Photo Puzzle.
Ominous Photo Puzzle
This puzzle is quite simple – you must rotate over every photo of someone who's been crossed off the group photo. The rest of the photos should be placed normally, so rotate each picture accordingly.
The puzzle's solution depends on what ending you are locked in.
Ending 1 Solution
Rotate Hinako's portrait upside-down.

New Game+: Ending 2 Solution
Rotate the portraits of Hinako's friends upside-down.

New Game+: Ending 3 Solution
Rotate the portraits of Hinako's parents and Sakuko upside-down.

New Game++: Ending 4 Solution
Rotate everyone's portraits except Hinako's upside-down.

After solving the puzzle, the group photo will fall, allowing you to pick up the White Bird and Fox Plate from the wall.
Find the crests (2/3)
Proceed directly to the third version of the residence.
Shimizu Residence III
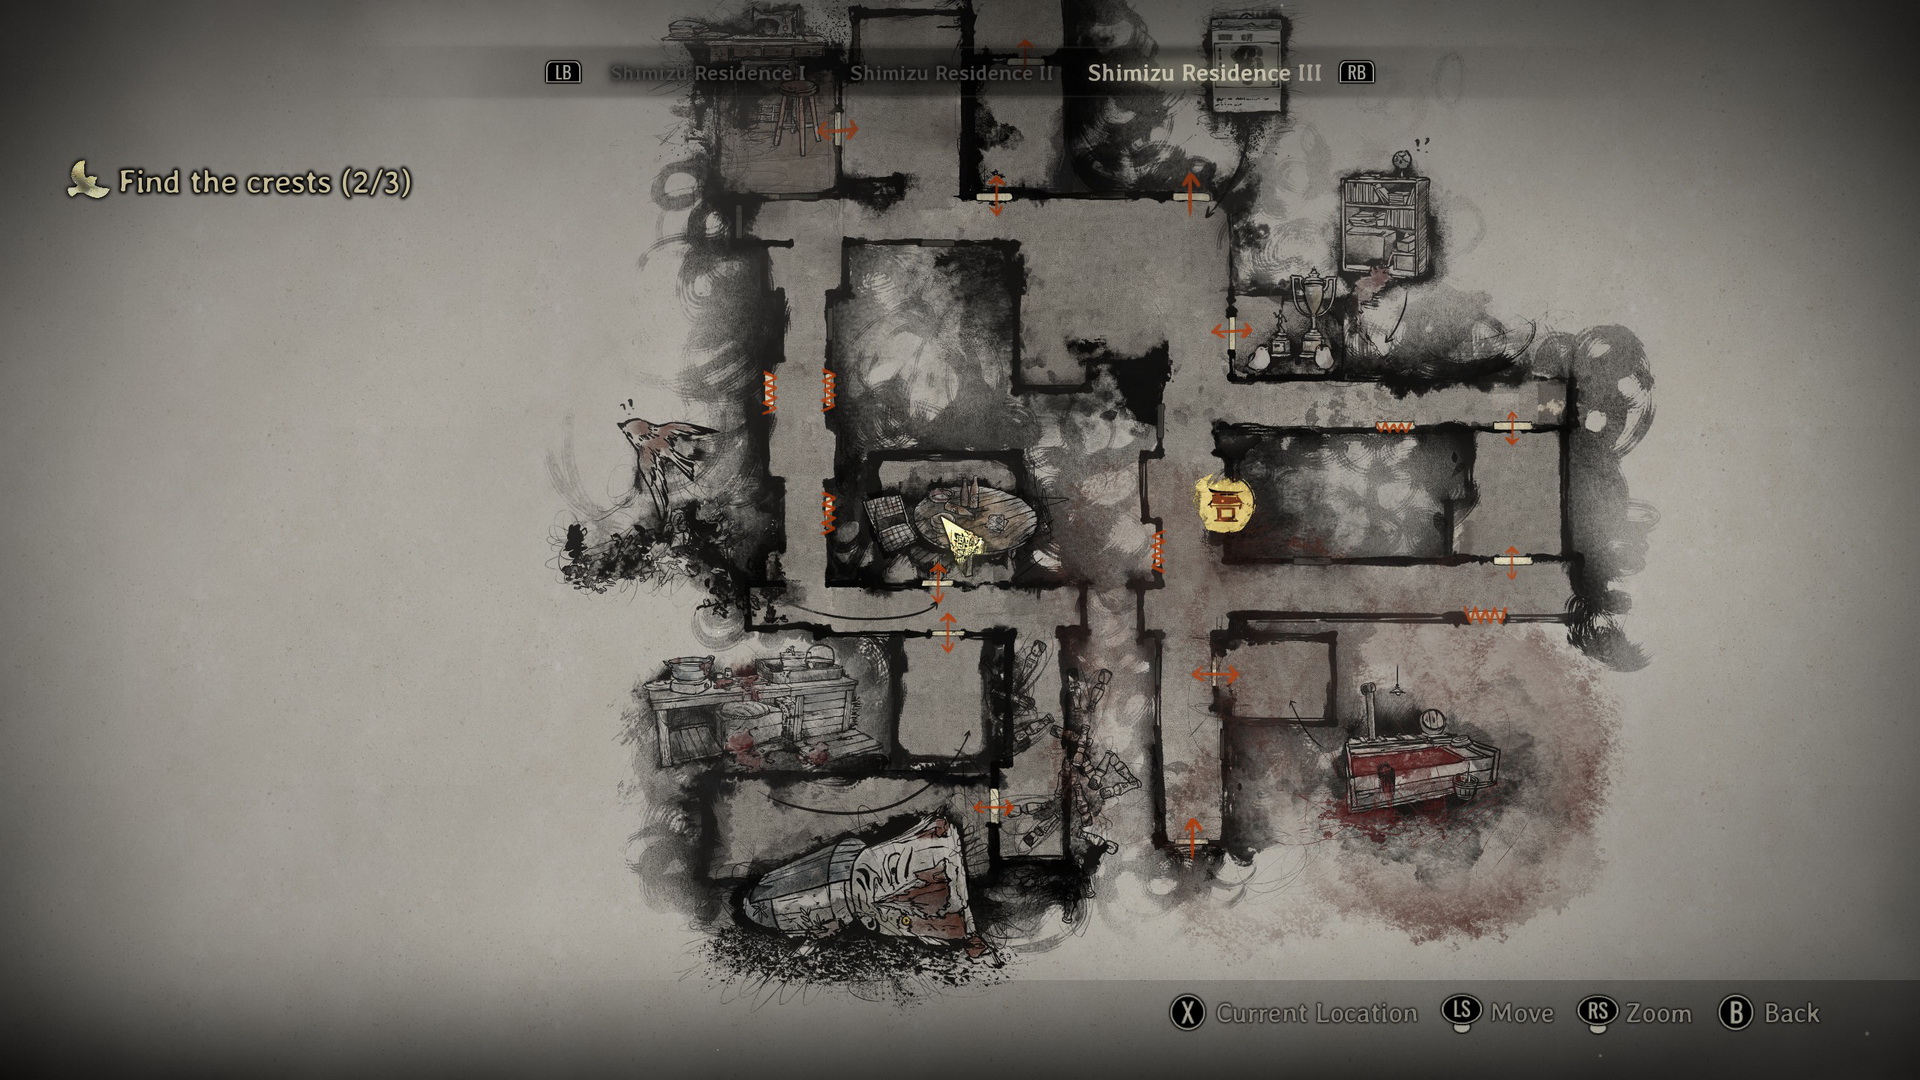
You will need to navigate to the room with the bird-pattern door in the south, but before you go there, you can now access a newly revealed secret room in the northeast. Run to the room to find three Red Capsules in various spots and the Omamori [Cuckoo] on a bloody desk.
 |
 |
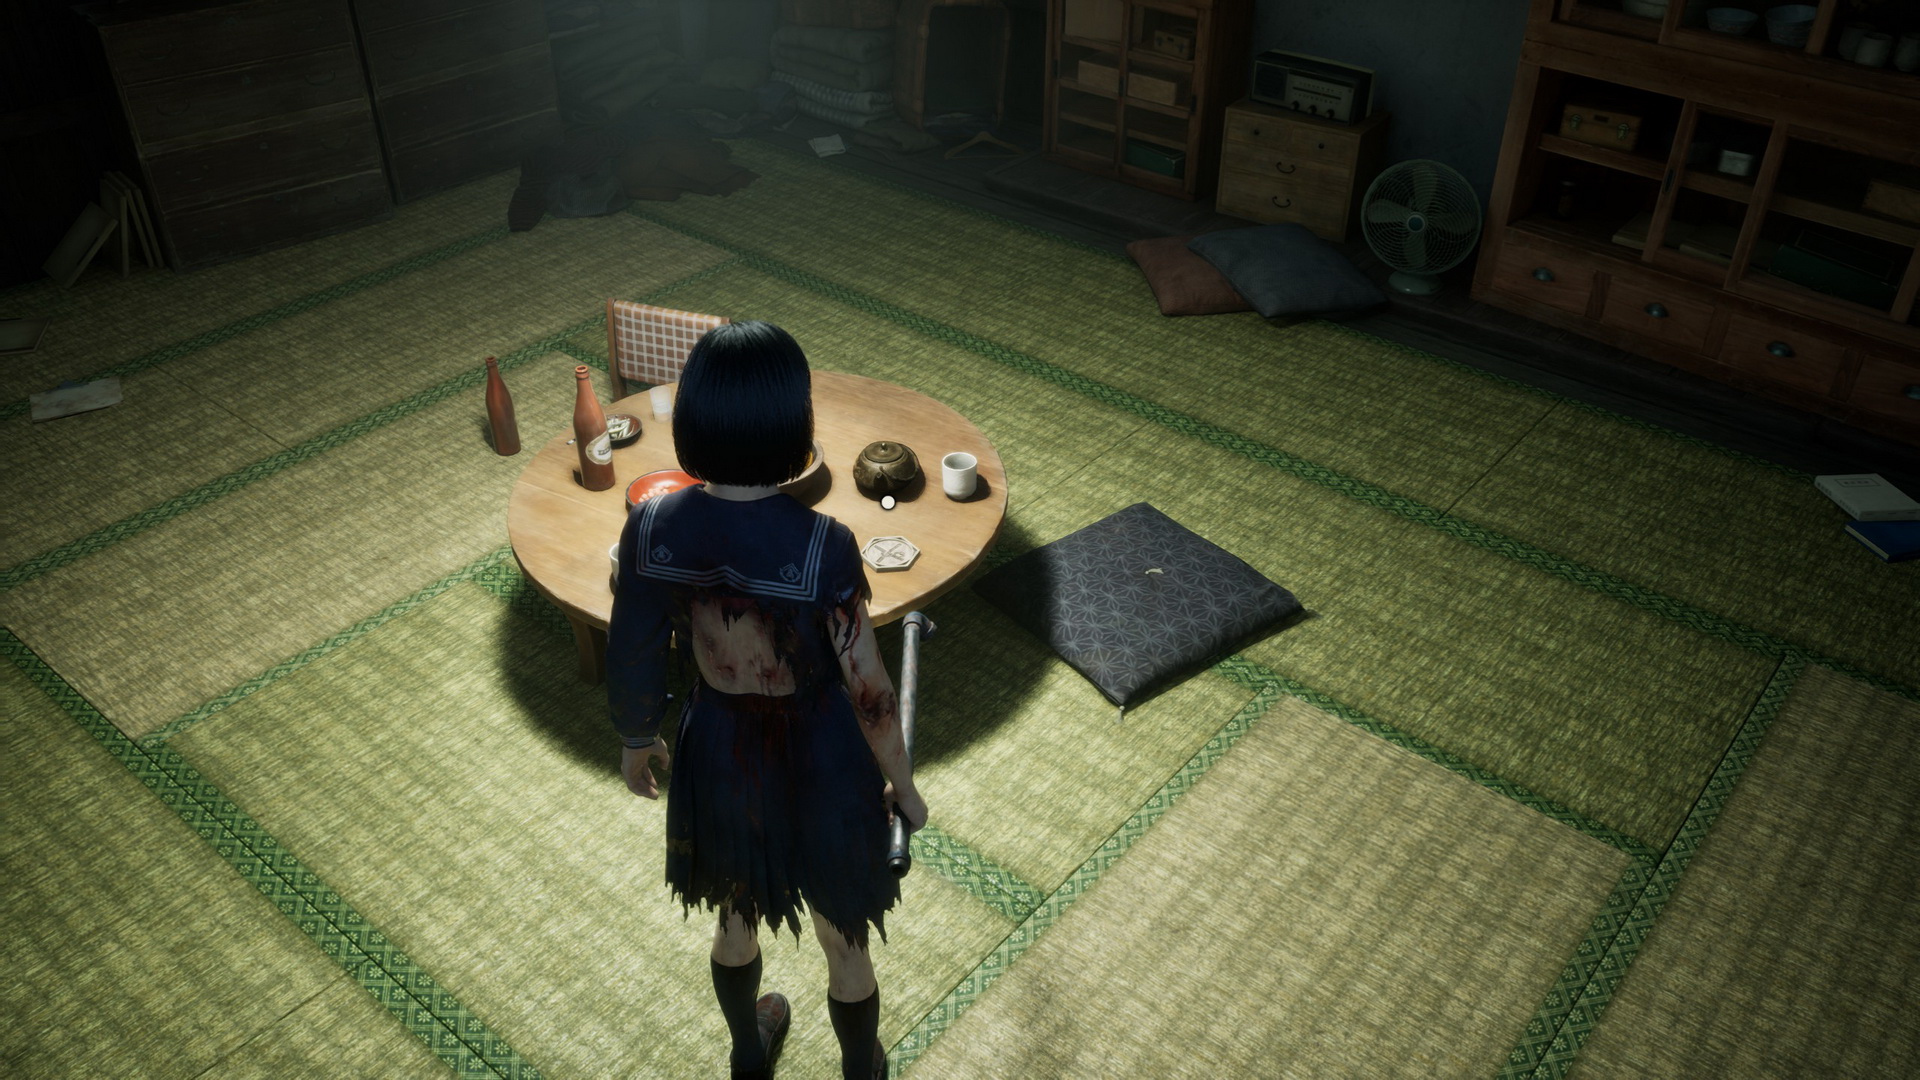
Proceed to the room with the bird pattern, ignoring the monsters on your way, and enter the room using the Fletching Key. Watch a flashback scene and pick up a Yokan (⛩30) and the Black Bird and Sword Plate from the dining table.
 |
 |
Enter the Room
Return to the first version of the residence.
Shimizu Residence I
Approach the door with the mechanism to solve the puzzle.
My Room Puzzle
To enter the room, you must place four plates, as in the poem, next to the door. There are four plates with symbols on both sides (some plates have blank sides):
- Scales / Blank
- White Bird / Fox
- Black Bird / Sword
- Heavens / Blank
The puzzle's solution depends on what ending you are locked in.
Ending 1 Solution
The poem reads:
The Sword and the Fox fought, battling upon a set of scales.
The heavens themselves shuddered at the ferocity of their struggle.
Day after day, the sun rose behind the Fox's back and set behind the Sword's; yet their fight knew no end.
The scales upon which they fought, however, were no more, having been destroyed long ago.
The heavens stay at the top as they are. The sun rises in the east and sets in the west, meaning the Sword is to the left and the Fox is to the right. The Scales have been destroyed, so rotate the plate to the blank side.
|

New Game+: Ending 2 Solution
The poem reads:
The Sword and the Fox fought, battling upon a set of scales.
After a long and vicious fight, the Sword was defeated, and the Fox reigned supreme.
Taking the Black Bird's right hand, the Fox showed her the scales in his other hand.
"Now, you must choose, Black Bird. Have you made a decision?"
Upon one side of the scales was the Fox, and on the other, nothing.
The Fox reigned supreme, meaning it is at the top. He took the Black Bird in his right hand and the scales in the left. At the bottom is nothing, so rotate the heavens plate on the other side.
|

New Game+: Ending 3 Solution
The poem reads:
The Sword and the Fox fought, battling upon a set of scales.
After a long and vicious fight, the Fox fell to the Sword. In the aftermath, their seal upon the land vanished without a trace.
The Sword raises itself heavenward, the scales now dedicated to the rising sun.
"Now go, White Bird. Fly away and never come back!"
The White Bird took to the air and flew towards the horizon, becoming a silhouette against the setting sun. Now, nothing remained upon the land.
The Sword rises to the top. The sun rises in the east, meaning the scales are on the right. The sun sets in the west, so the White Bird is on the left. Finally, nothing remains at the bottom, so rotate the heavens plate upside down.
|

New Game++: Ending 4 Solution
The poem reads:
White and Black fought, battling upon a set of scales.
Yet neither wanted for the scales, for what they desired was simply a quiet, gray place where they could belong together.
"Whether we flee or spread our wings and fly is our decision alone—one to make only once we are ready."
They had no use for those who towered from the heavens, imposing their will on others.
The White and Black Birds should be placed on both sides of the scales, yet the scales themselves are no more, turned into a quiet, gray place – the blank side. The heavens are below the birds at the bottom.
|

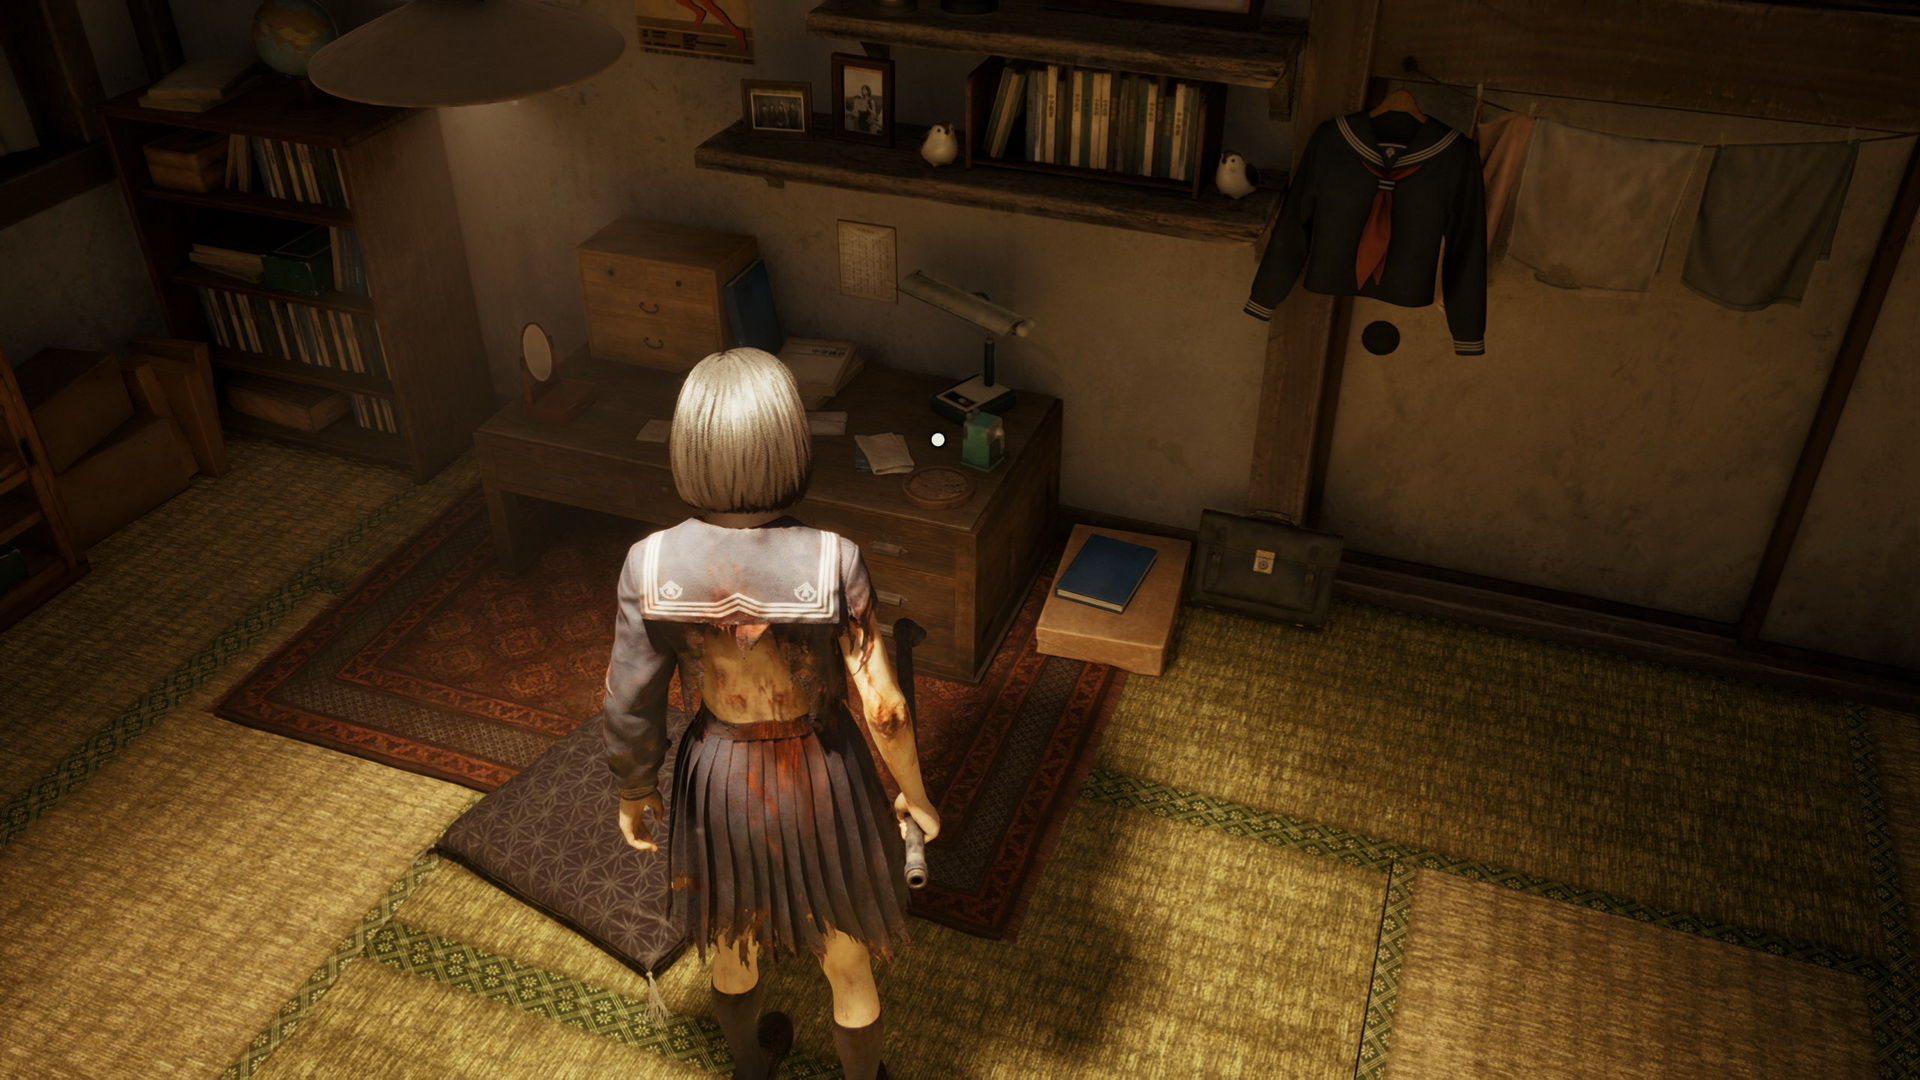
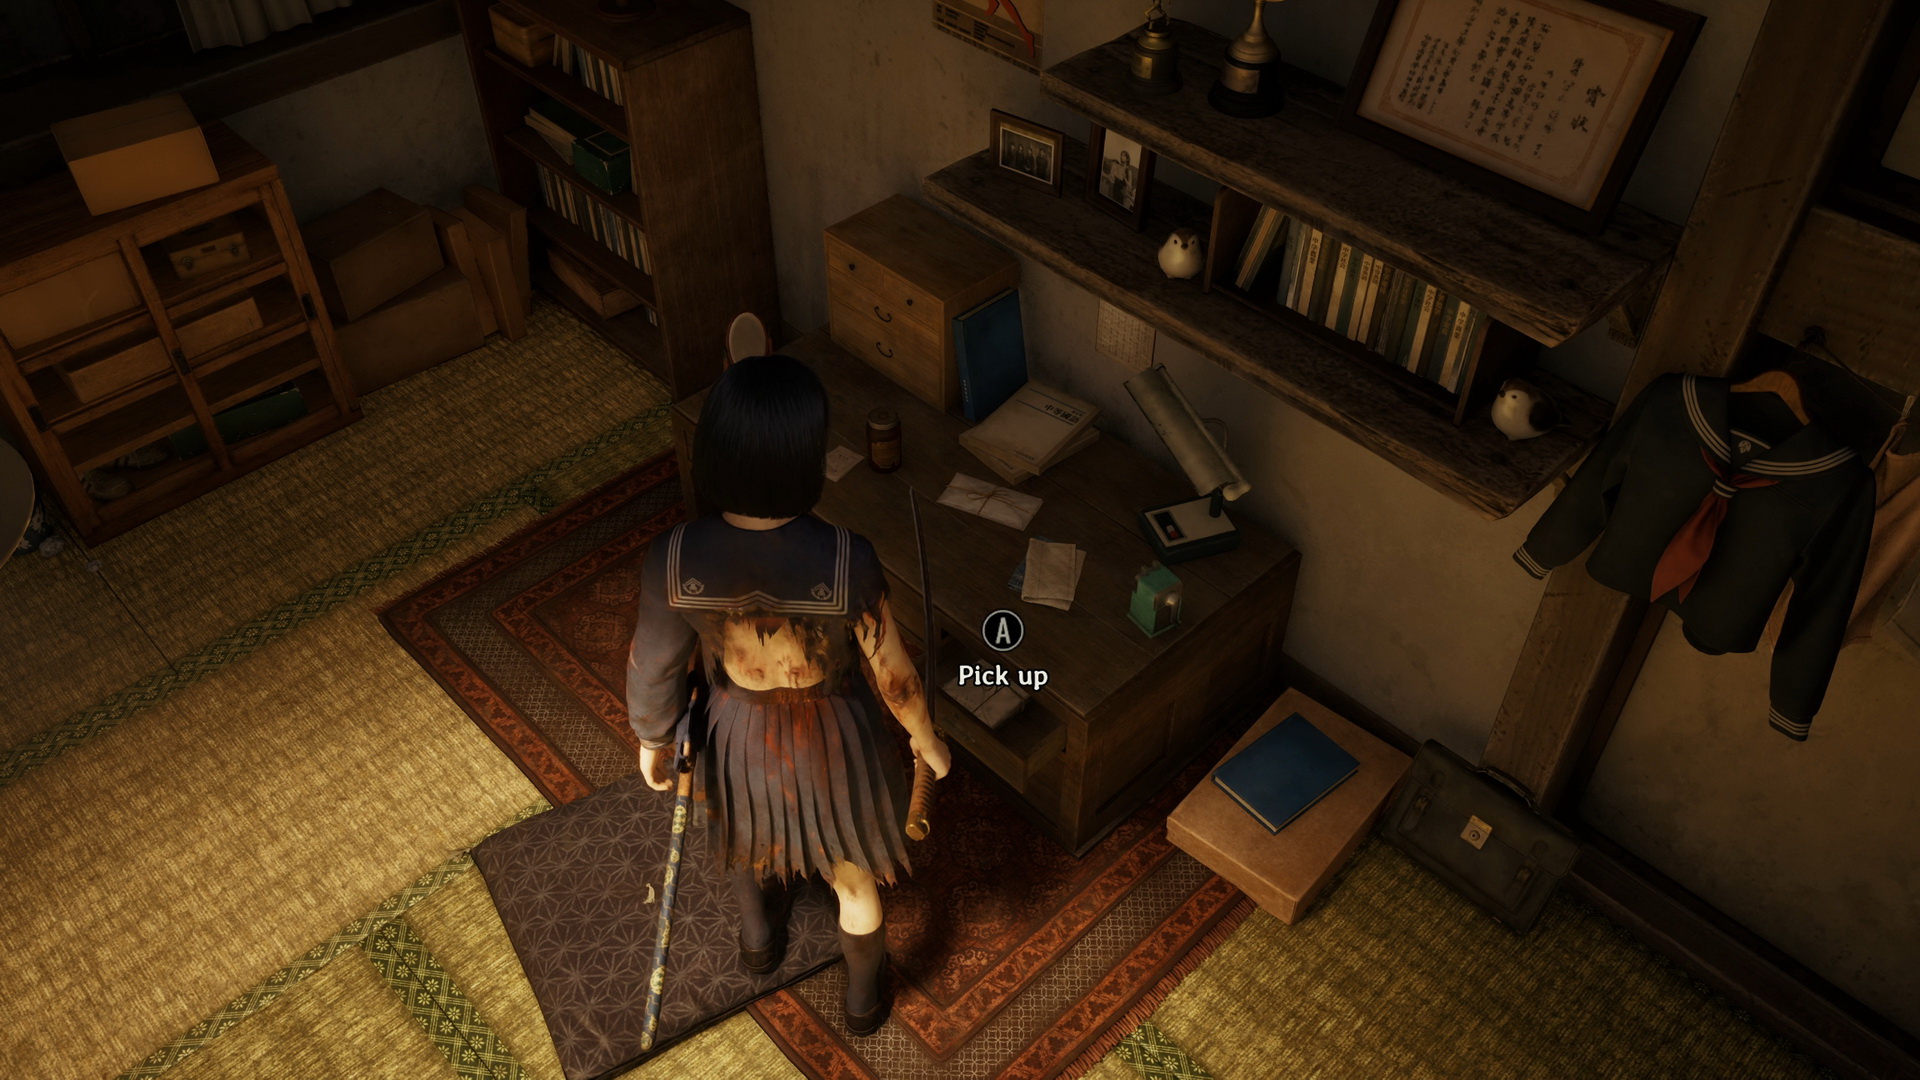
Enter Hinako's room to find more Red Capsules on a cabinet to the left and pick up the Pine Tree Emblem from a desk.
 |
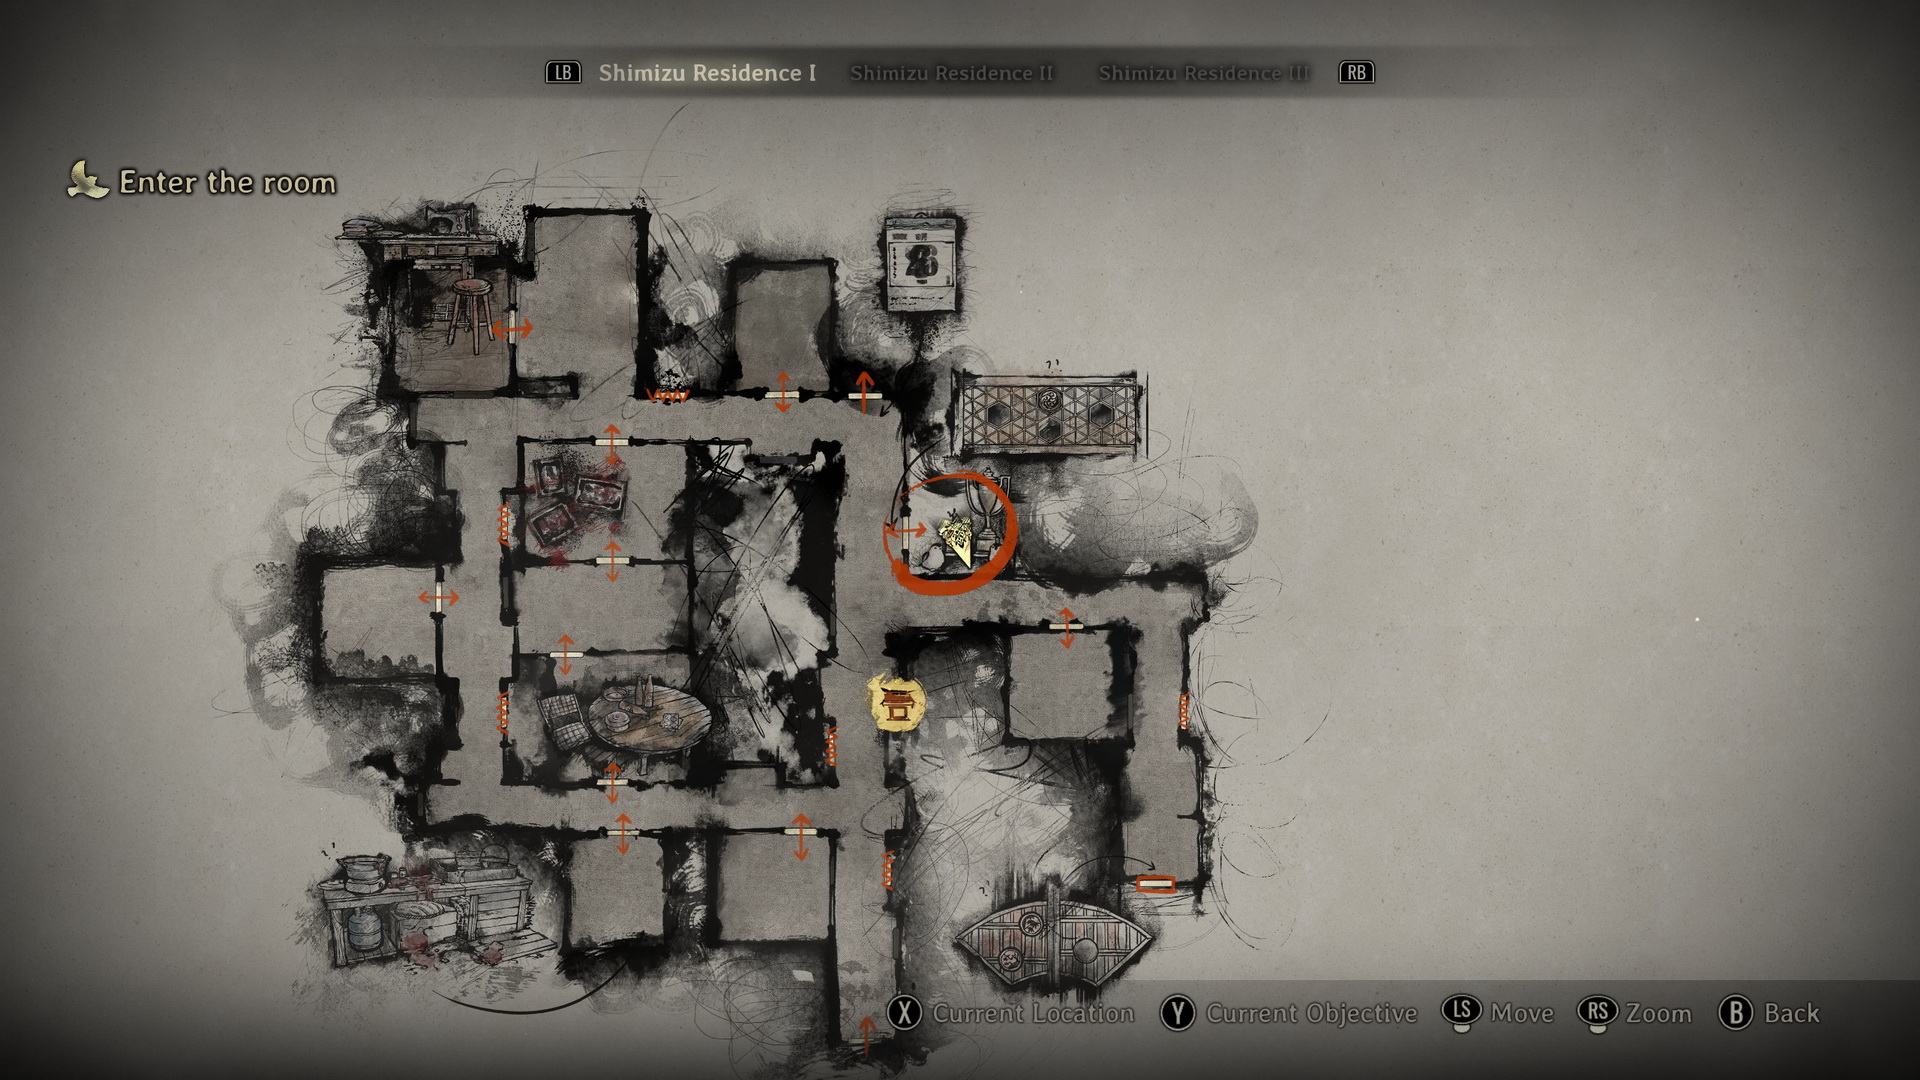 |
Open the door to the room Shu's voice came from
Try leaving the room, which will trigger a long cutscene.
New Game+You will also get a Desk Drawer Key after the cutscene if you are on a path to Ending 2. With that, you can unlock the desk's drawer in the room and collect a Bundle of Letters from the Drawer.
|
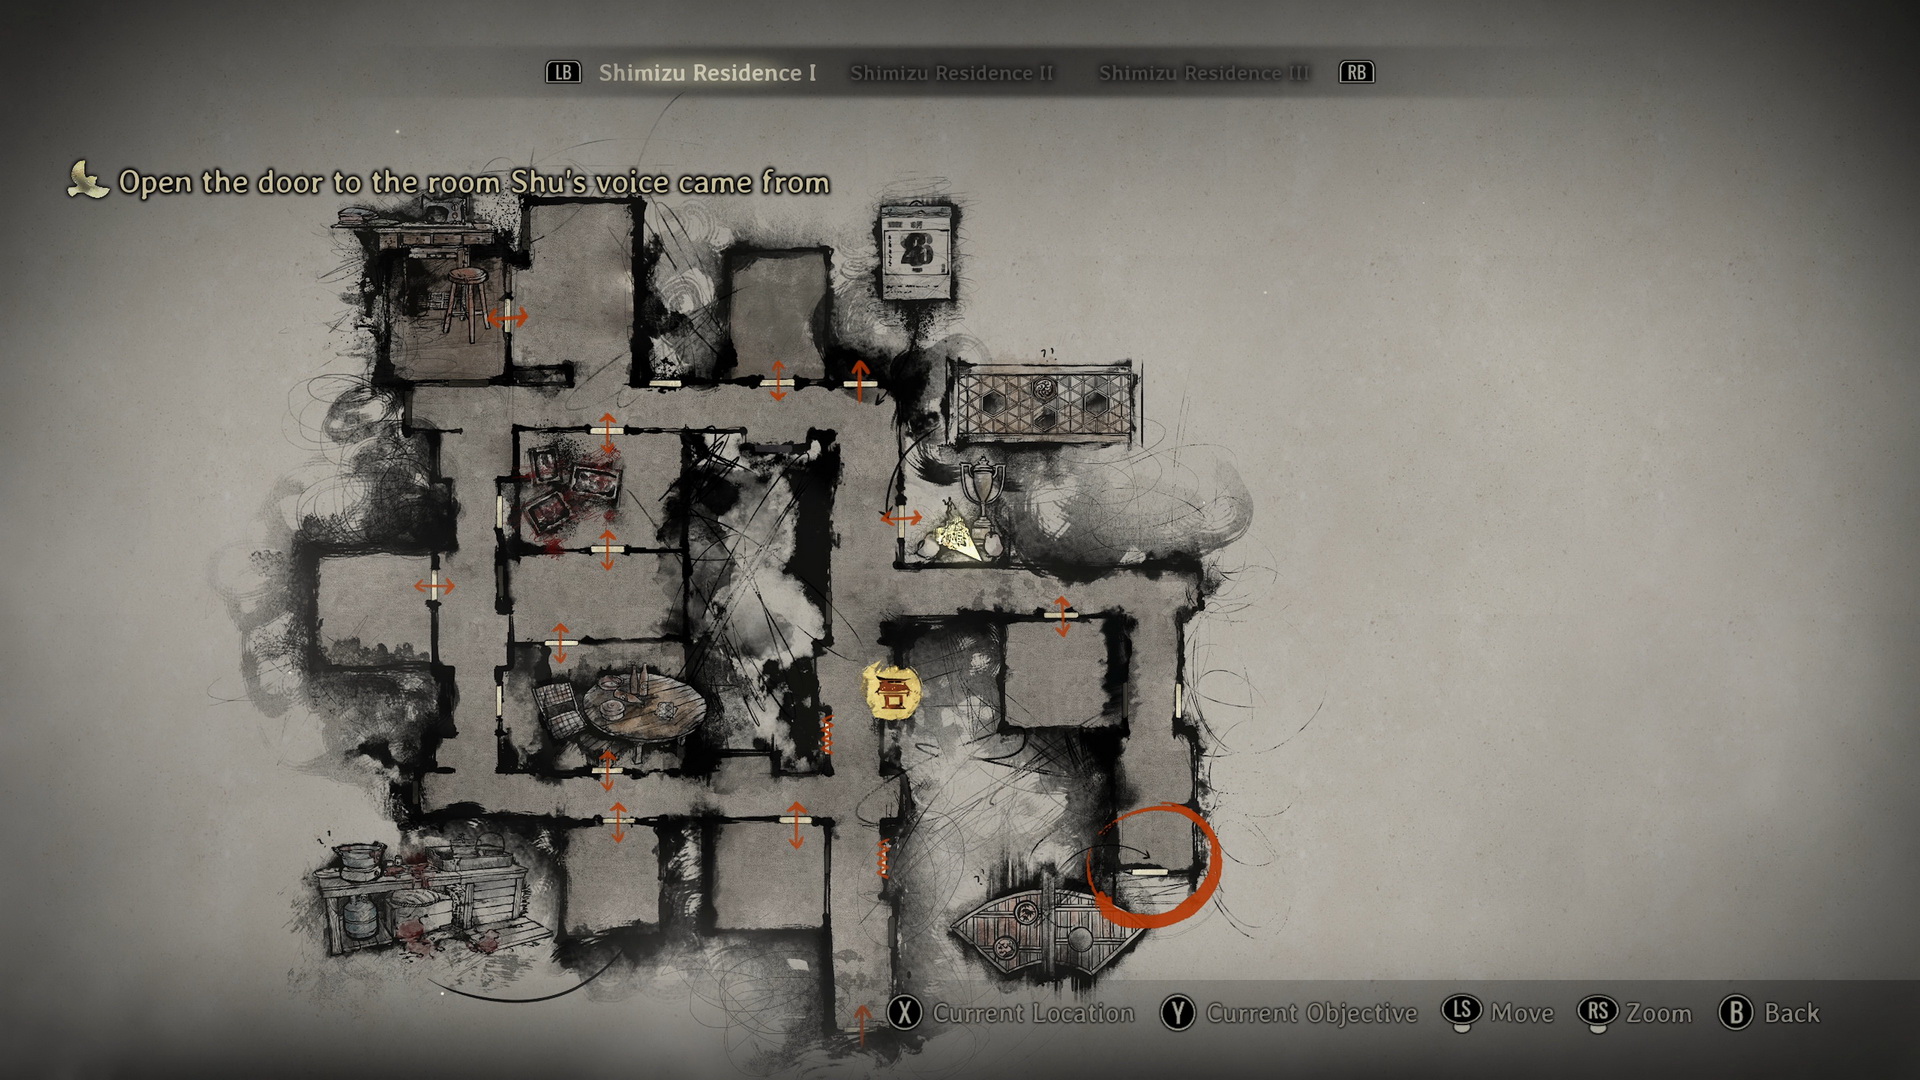
Go to the southeastern corridor and use the emblem to unlock the door. In the next corridor, you can find a First Aid Kit in a drawer to the left, another First Aid Kit on a shelf and an Antique Comb (⛩300) to the right next to the Hokora shrine. To the left of the shrine, there's a Toolkit in a cabinet and Red Capsules on the opposite side. Finally, in front of the door at the end, you can find a Baseball Bat and a Higashi (⛩80). Enter the door for a cutscene and a boss fight.
Defeat your parents
The fight against the Mother and Father at the Shimizu Residence is easily one of the most frustrating encounters in the game, mostly because they force you to manage two completely different threats at once.
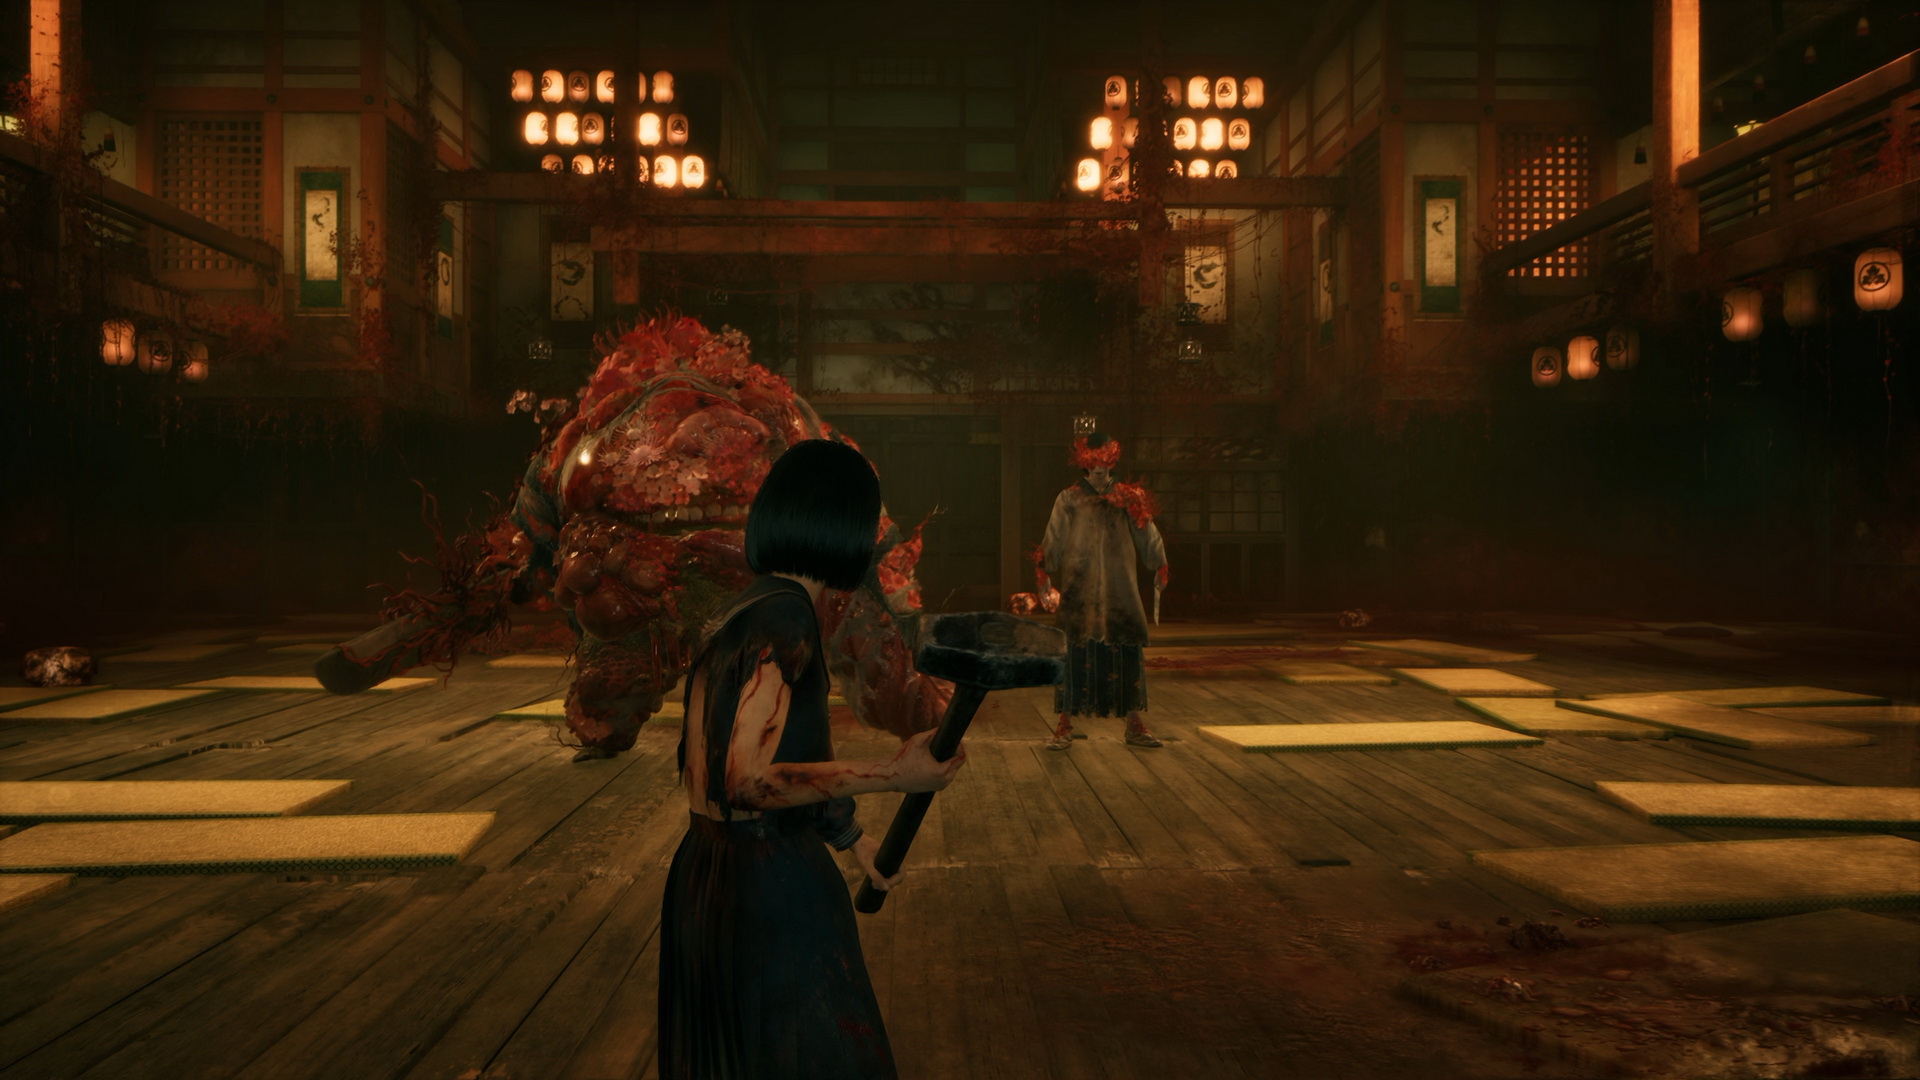
The big decision here is who to drop first. If you just want to clear the room, go for the Mother. She’s much faster, and her ability to stagger you with ranged attacks or grabs is what really ruins runs. Once she’s down, you can focus on the Father, though keep in mind he enters a permanent "enraged" state the second she dies, so don't get comfortable. If you’re going for that “Just Shut Up for Once, Dad!” achievement, you’ll have to prioritize him. It’s significantly harder since you’ll have to dodge the Mother’s constant interference, but that’s the trade-off.
Trophy/Achievement: Just Shut Up for Once, Dad! |

Defeat Hinako's father before her mother. |
The Father
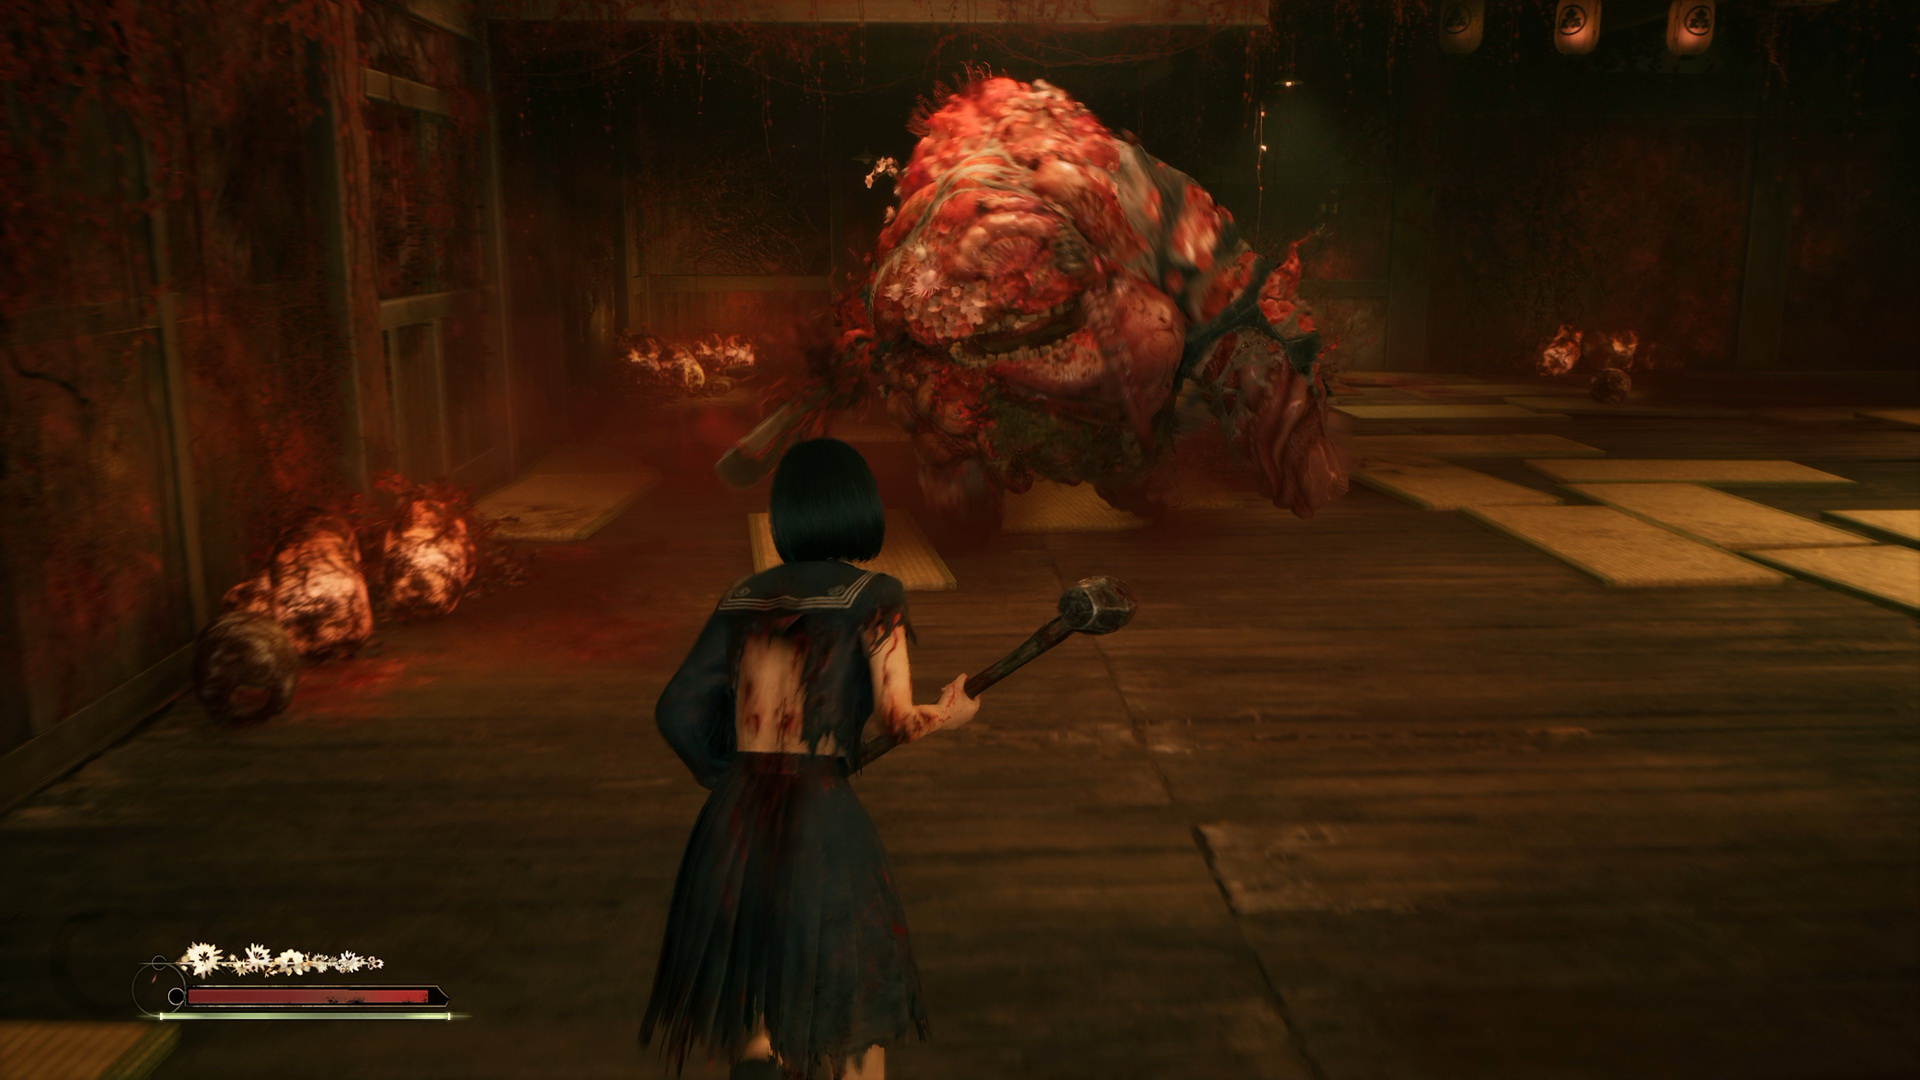
The Father is a massive, hulking variant of the standard Ara-abare monsters.
- The Bladed Right Arm (Shield): Avoid attacking his right side. Any melee strikes landed on his blade arm will deflect and bounce off, leaving Hinako completely exposed to a counterattack. Always try to flank him from his left.
- The Triple Roar: He will almost always open the fight by roaring three times. While it doesn't cause raw physical damage, getting caught in the soundwave will temporarily stun you and quickly drain your Sanity meter. Dodge laterally as soon as you see him start to inhale.
- Tentacle Grab: If he throws his left tentacle arm backward, he is preparing a deceptive, long-range grab. If it hooks you, he will drag you in for massive damage. Dodge sideways immediately.
- Charged Overhead Slash: He winds back his blade arm and sprints directly toward you. You can either time a precise side-dodge or use your Focus meter to counter the hit right as his arm begins to drop (indicated by a red distortion effect on screen).
The Mother
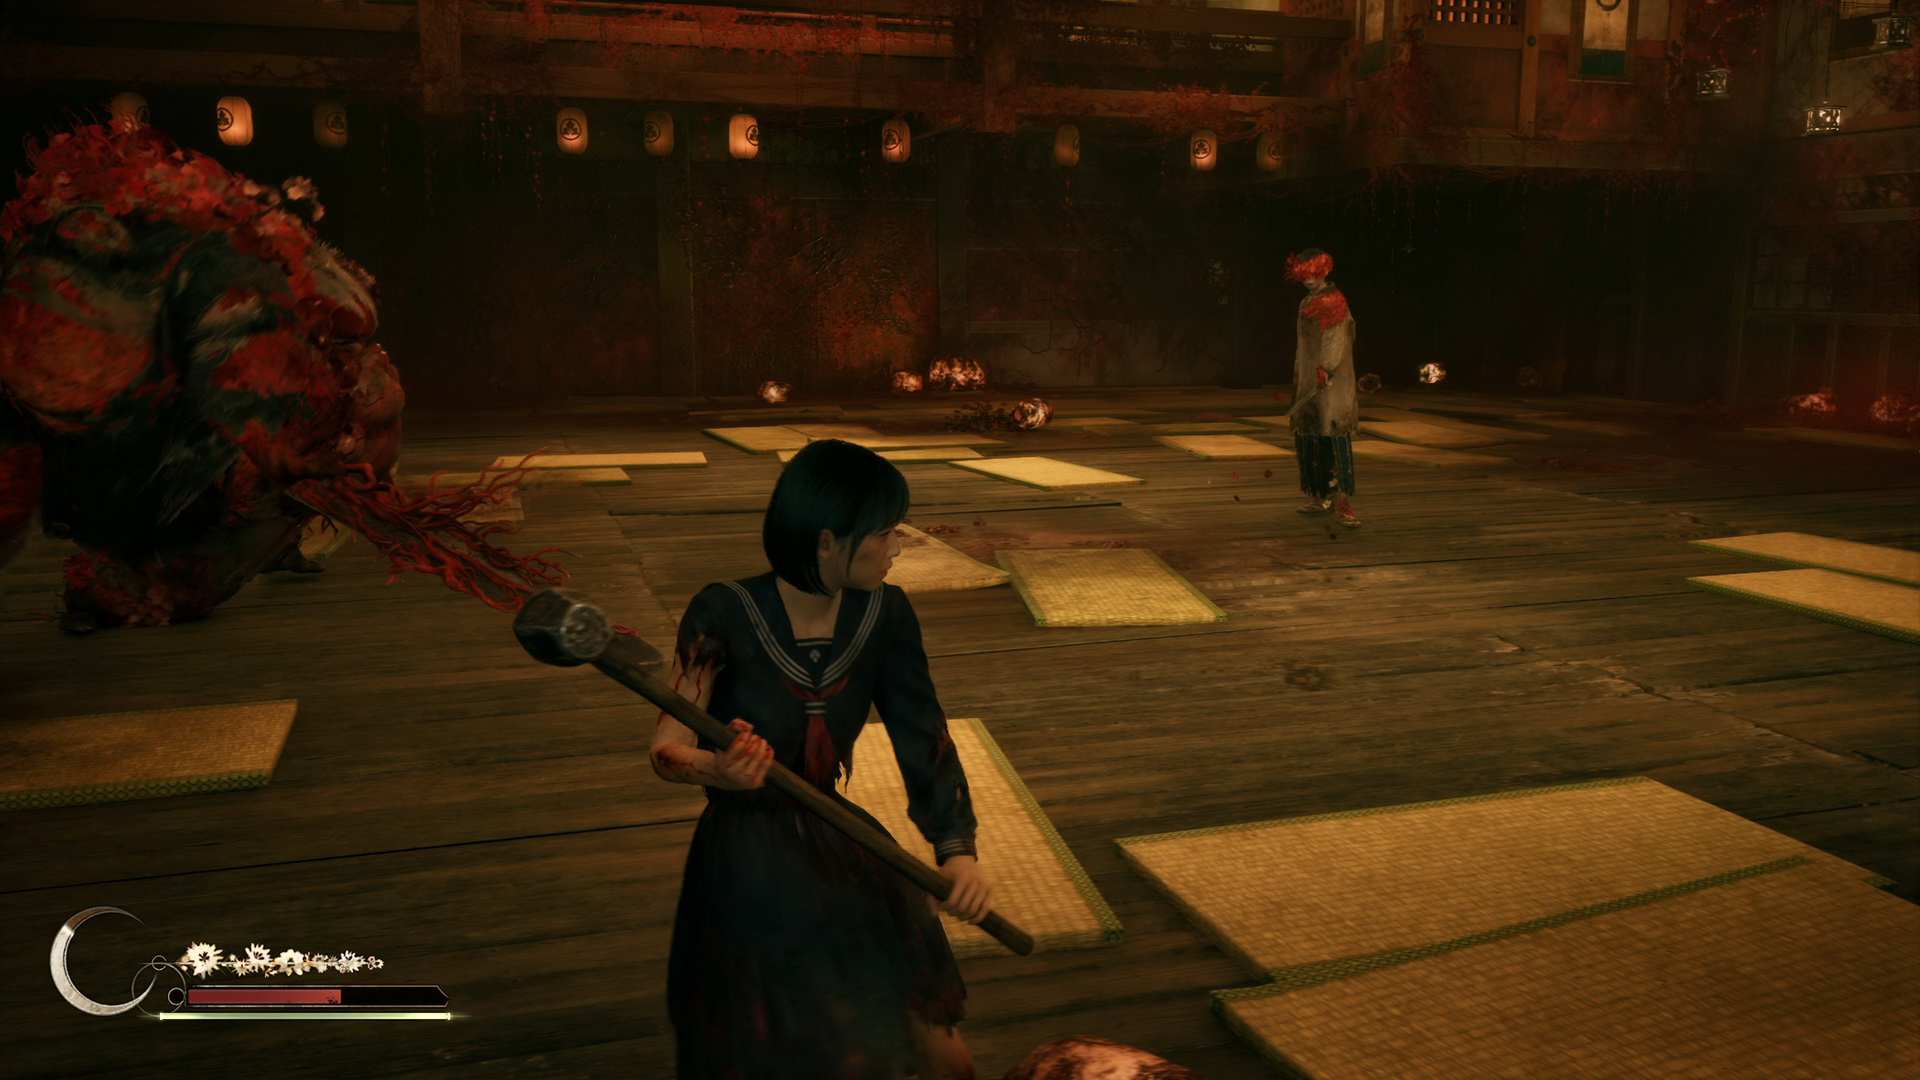
While the Father brings the heavy damage, the Mother is fast and focuses on staggering you so her partner can land devastating hits.
- Knife Throw: When she holds her kitchen knife over her head with one hand, she's about to throw it. Listen for the audio cue and dodge. Once the knife is spent, she'll be vulnerable for a moment.
- The Toss Grab: If she drops her knife and charges at you, she's going for a grab. If she catches you, she won’t deal massive damage herself – instead, she will physically hurl Hinako directly into the Father's path, setting you up for a brutal follow-up.
- Rapid Slashes: If she holds her knife with both hands, stay back. She is about to unleash a fast, multi-hit combo (up to seven consecutive slashes) that will shred your health if you are cornered.
General Combat Strategy
- Never lock onto one boss so tightly that you lose track of the other. The Mother will frequently loop around to throw a knife or grab you from your blind spot.
- Since you’re reliant on breakable weapons, don't waste your best durability on the Father’s guard. Save your heaviest hits for the brief seconds of vulnerability after his overhead slash.
- Run in wide, sweeping circles around the arena. This separates them just enough to give you a window to hit the Mother or sneak a flank in on the Father.
Good luck – it’s a chaotic fight, but once you get the rhythm of keeping both of them in your field of view, it becomes much more manageable.
| 10. Ebisugaoka Part 5: To Shimizu Residence | 12. Dark Shrine Treasure Hall |