
Dark Shrine Treasure Hall
- Ebisugaoka Part 1
- Dark Shrine Path
- Ebisugaoka Part 2: Rice Fields
- Dark Shrine Corridors
- Ebisugaoka Part 3: To School
- Ebisugaoka Middle School
- Dark Shrine Worship Hall
- Ebisugaoka Part 4: Sugisato Forest
- Dark Shrine Main Hall
- Ebisugaoka Part 5: To Shimizu Residence
- Shimizu Residence
- Dark Shrine Treasure Hall
- Ebisugaoka Part 6: Tainted Town
- Dark Shrine Final Path
Welcome to the twelfth chapter of the complete walkthrough guide for Silent Hill f, covering the Dark Shrine Treasure Hall. Use the key summary below for essential, spoiler-free directions, including all missable trophy-related items and actions (items in italics are optional). For in-depth guidelines with extra explanations, refer to the complete walkthrough section. This guide also includes all New Game+ items and actions for your subsequent playthroughs.
Legend
- Hokora – shrines
- Capsule Case – key items
- Steel Pipe – weapons
- Omamori [Whale] – omamori
- Upgrade: Ema – character upgrades
- Local Doctor's Note – documents
- Housemaid’s Note – trophy-related documents
- Red Capsules – consumables
- Antique Comb (⛩300) – offerings
Collectibles
Counts of available trophy-related collectibles:
| Category | NG | NG+ | NG++ |
| Omamori | 1 | - | - |
| Ema | 1 | - | - |
| Inventory upgrades | - | - | - |
| Inari-sama's seals | 1 | - | - |
| Documents | 5 | - | - |
Key Summary
- Note: This area doesn't have a map.
- Proceed forward and investigate the mural and banners ahead. To solve the puzzle, you need to find three crests first.
- Take the door to the left.
First Section
- In the rooms with the statues, there are multiple doors that you can enter, but only one is correct. You will need to locate the right statue, remove an arrowhead from its body, and it will rotate to the proper door and point to it with its glowing blue eyes. If you enter the wrong door, you will have to defeat some monsters and return to the previous room for another try.
- Trophy/Achievement: Sly Like the Fox. Obtain all the crests without making a single mistake on the Inari statue puzzle.
- In the first room, interact with the last statue to the left to reveal the correct door.
- Family Physician’s Log (4) is on a podium in front of the altar at the back of the first room.
- Proceed through the door and defeat all monsters.
- Omamori [Hound] is on a shrine in the first room to your right.
- Shriveled Abura-age (⛩500) is on a table in the first room to the left.
- Housemaid's Note (2) is on a cabinet in the room to the left of the altar.
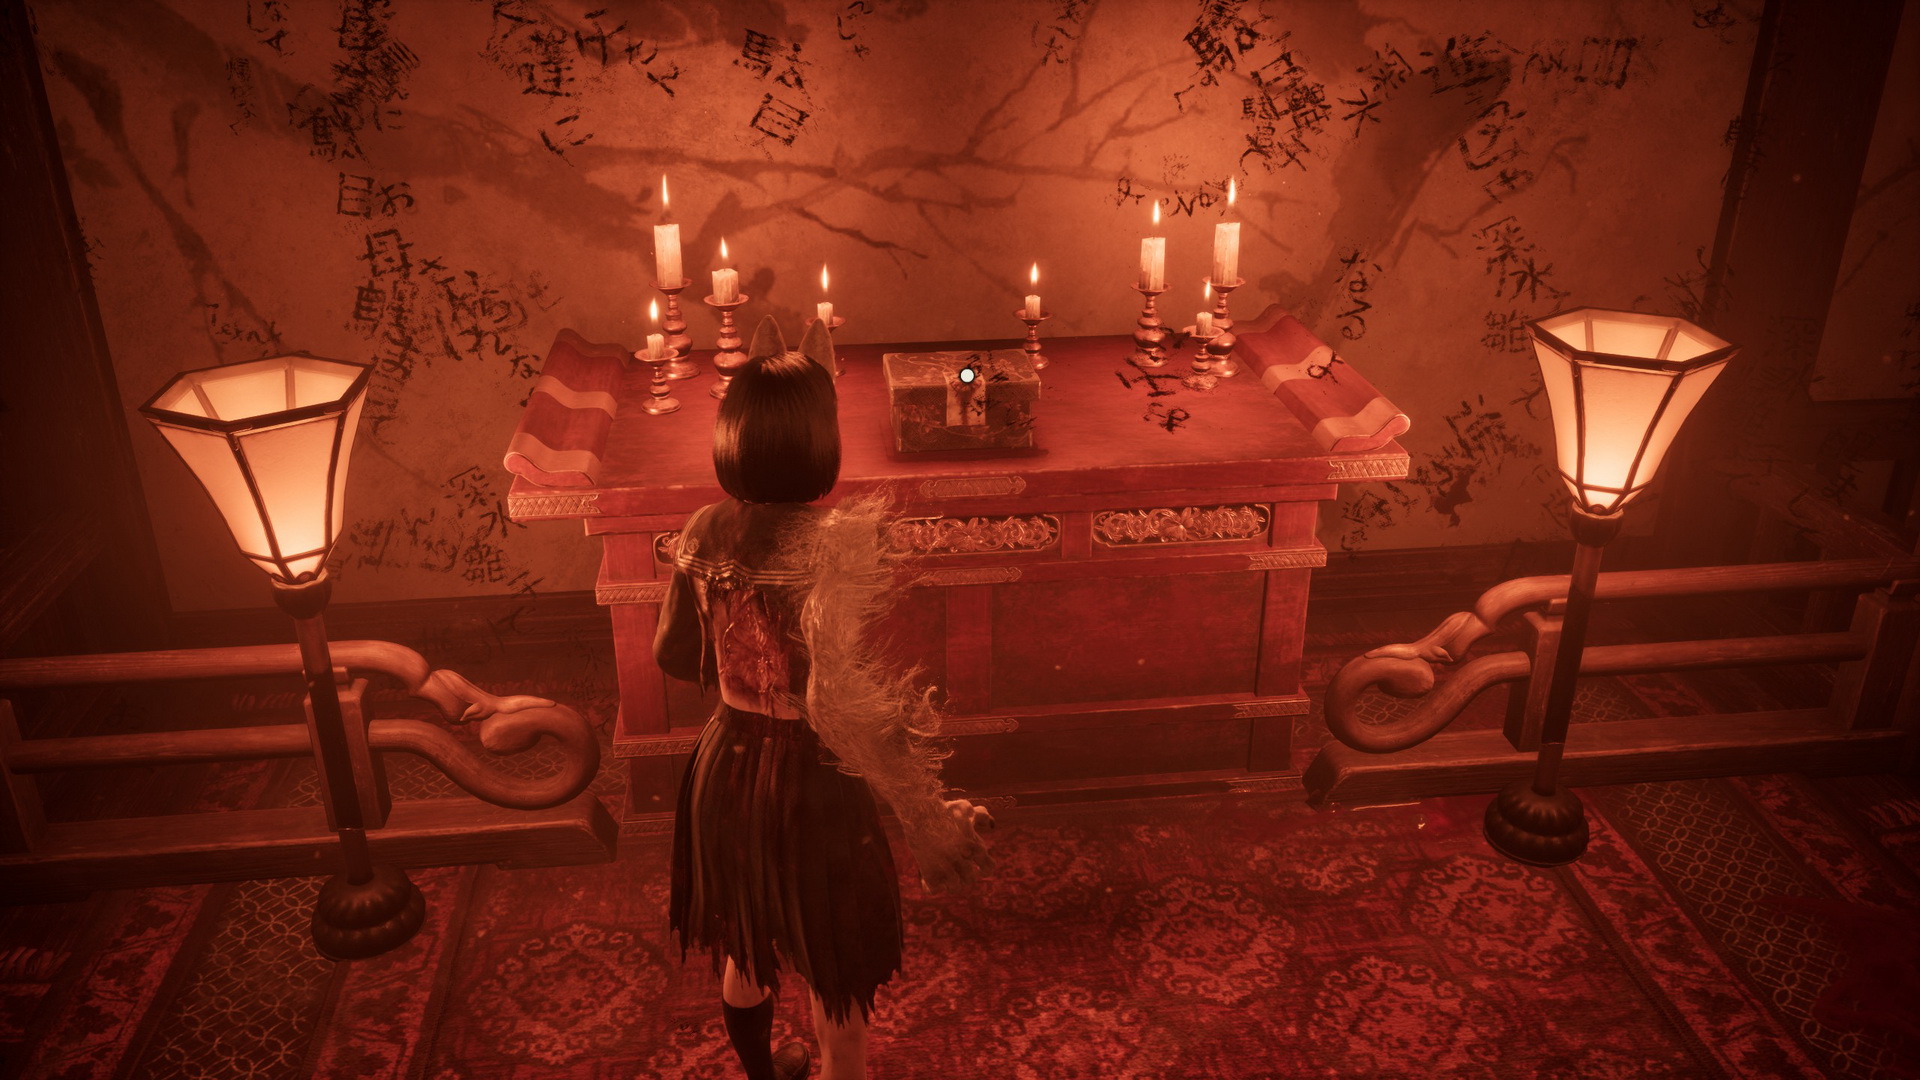
- Collect the Black Sparrow Crest from a box at the altar and pass through the wall to the right of the altar, using your focus ability.
- In the main room, go through the door opposite the mural.
Second Section
- Some statues will be hidden here, and you will need to reveal them by using your focus ability. Search for the round empty spots on the bloodied floor.
- Housemaid's Note (1) is on a podium in front of the altar at the back of the first room.
- Locate a hidden statue to the right and interact with it to reveal the correct door.
- Strict Mother's Letter (3) is next to one of the columns in the center of the second room.
- Interact with the statue to the left to reveal the correct door, then proceed.
- Defeat all monsters in this area. One of the enemies will be in a secret room behind a wall to the left.
- Antique Comb (⛩300) is on a shelf in the corner of the secret room.
- Collect the White Sparrow Crest from a box at the altar and pass through the door to the left of the altar.
- In the main room, go through the door to the right of the mural (in front of you as you leave the previous section).
Third Section
- Interact with the last statue to the left to reveal the correct door.
- Strict Mother's Letter (4) is on top of the drawers next to the Inari-sama door on the right side of the first room.
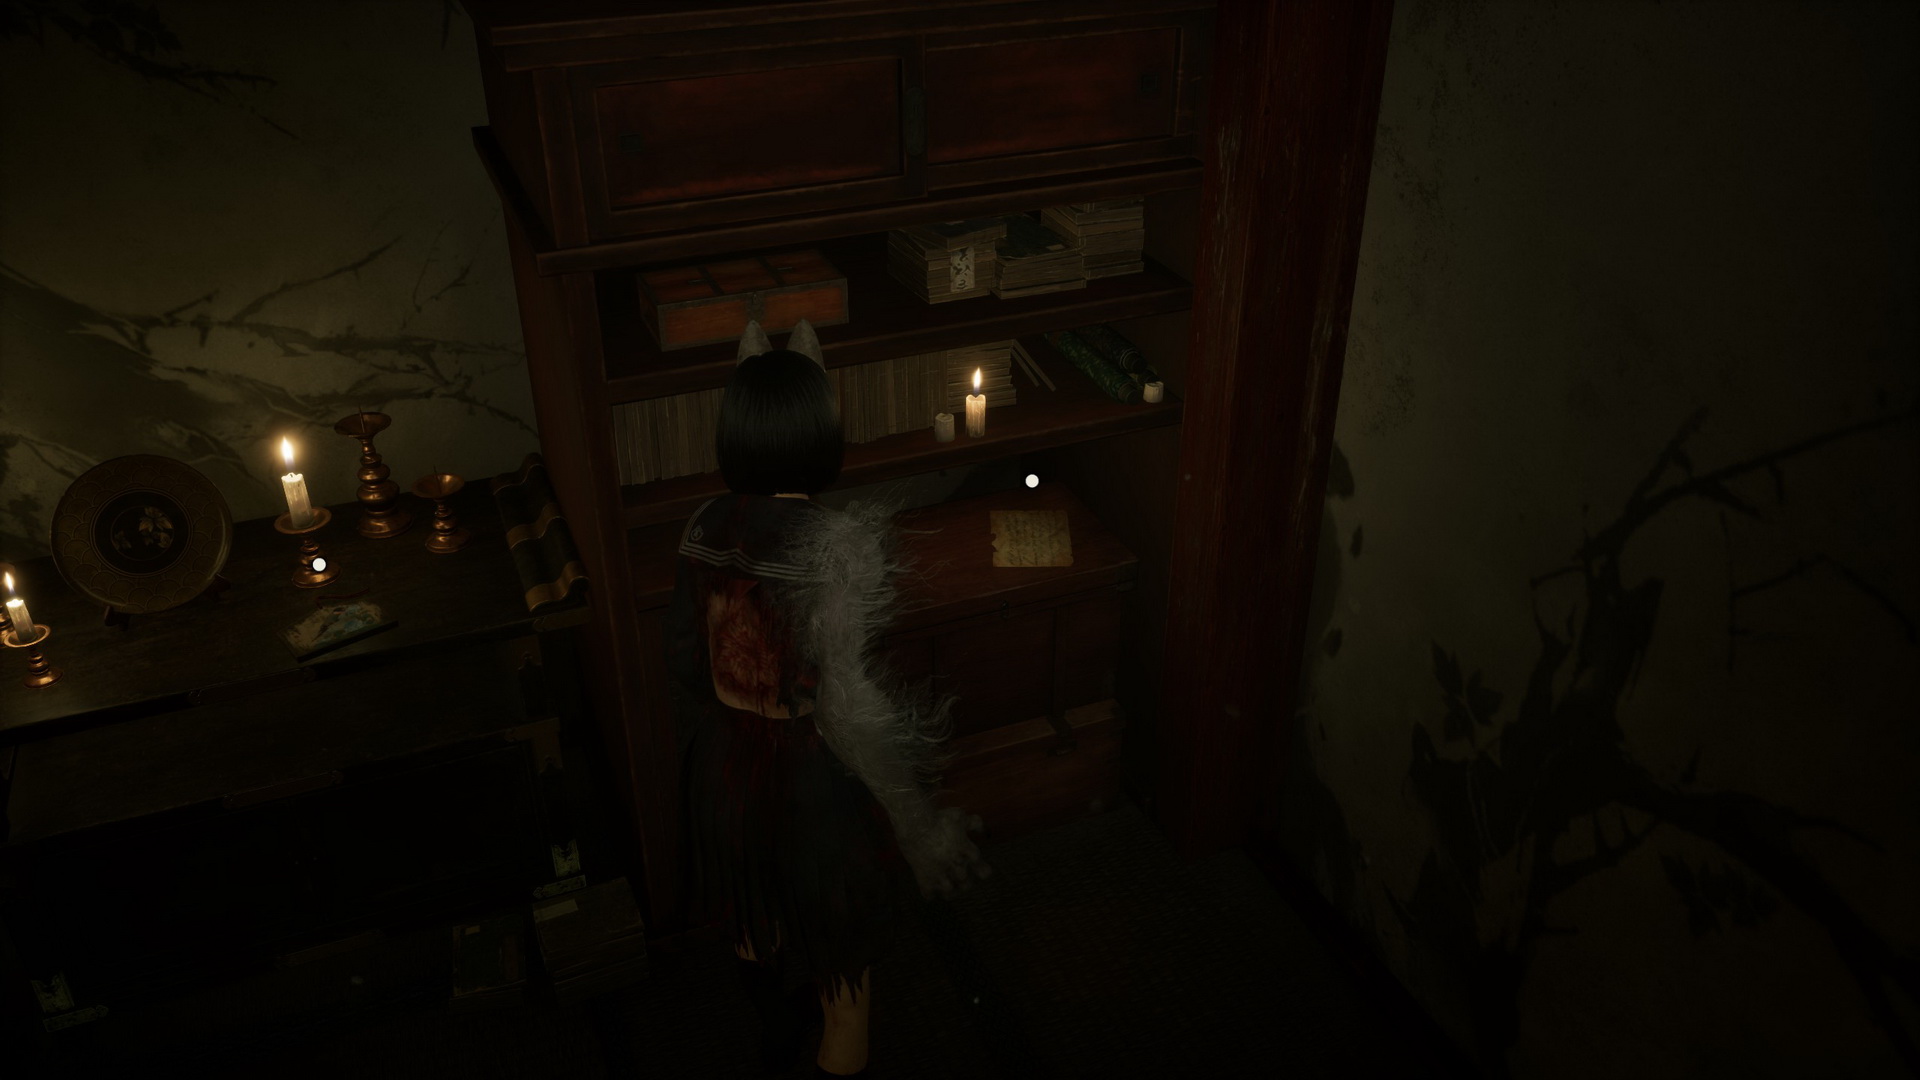
- Upgrade: Ema is on a shelf cabinet in the back of the room, behind the Inari-sama door.
- Proceed through the correct door. Defeat all monsters in this area, then collect the Fox Mask Crest from a box at the altar.
- Proceed through the door to the right of the altar.
Main Room
- Solve the Mural Puzzle by inserting the three crests in their correct locations:
- Ending 1:
- Fox Mask Crest – in the fan of the fox on the far left.
- White Sparrow Crest – in the lantern of the fox at the top middle.
- Black Sparrow Crest – in the chest of the fox to the right.


- New Game+. Ending 2:
- Fox Mask Crest – in the fan of the fox on the far left.
- Black Sparrow Crest – in the lantern of the fox sitting in the palanquin.
- White Sparrow Crest – in the lantern of the fox in the middle, above the fox sitting on the ground.


- New Game+. Ending 3:
- Fox Mask Crest – in the lantern of the fox at the top left, above the palanquin.
- Black Sparrow Crest – in the lantern of the fleeting fox at the far right (the left one of the two).
- White Sparrow Crest – in the lantern of the fleeting fox at the far right (the right one of the two).


- New Game++. Ending 4:
- Fox Mask Crest – in the lantern of the fox at the top left, above the palanquin.
- Black Sparrow Crest – on a pedestal inside the palanquin.
- White Sparrow Crest – in the lantern of the fox sitting in the palanquin.


- Ending 1:
- Proceed through the revealed passage.
Complete Walkthrough
Note: This area doesn't have a map.
Head to the next room
Walk through the long hallway and enter the room at the end.
Investigate the area
In the room, you will find a Hokora shrine by the entrance and a big mural on the wall. Examine the banners on both sides of the mural to get your next task.
Heed revelations and find the crests (0/3)
Go through the door to the left. In the first area, you will find a Divine Water (⛩50) in a drawer beneath the nearest statue and a First Aid Kit on a shelf to the left. Walk to the altar in the back of the room to find a Family Physician's Log (4).
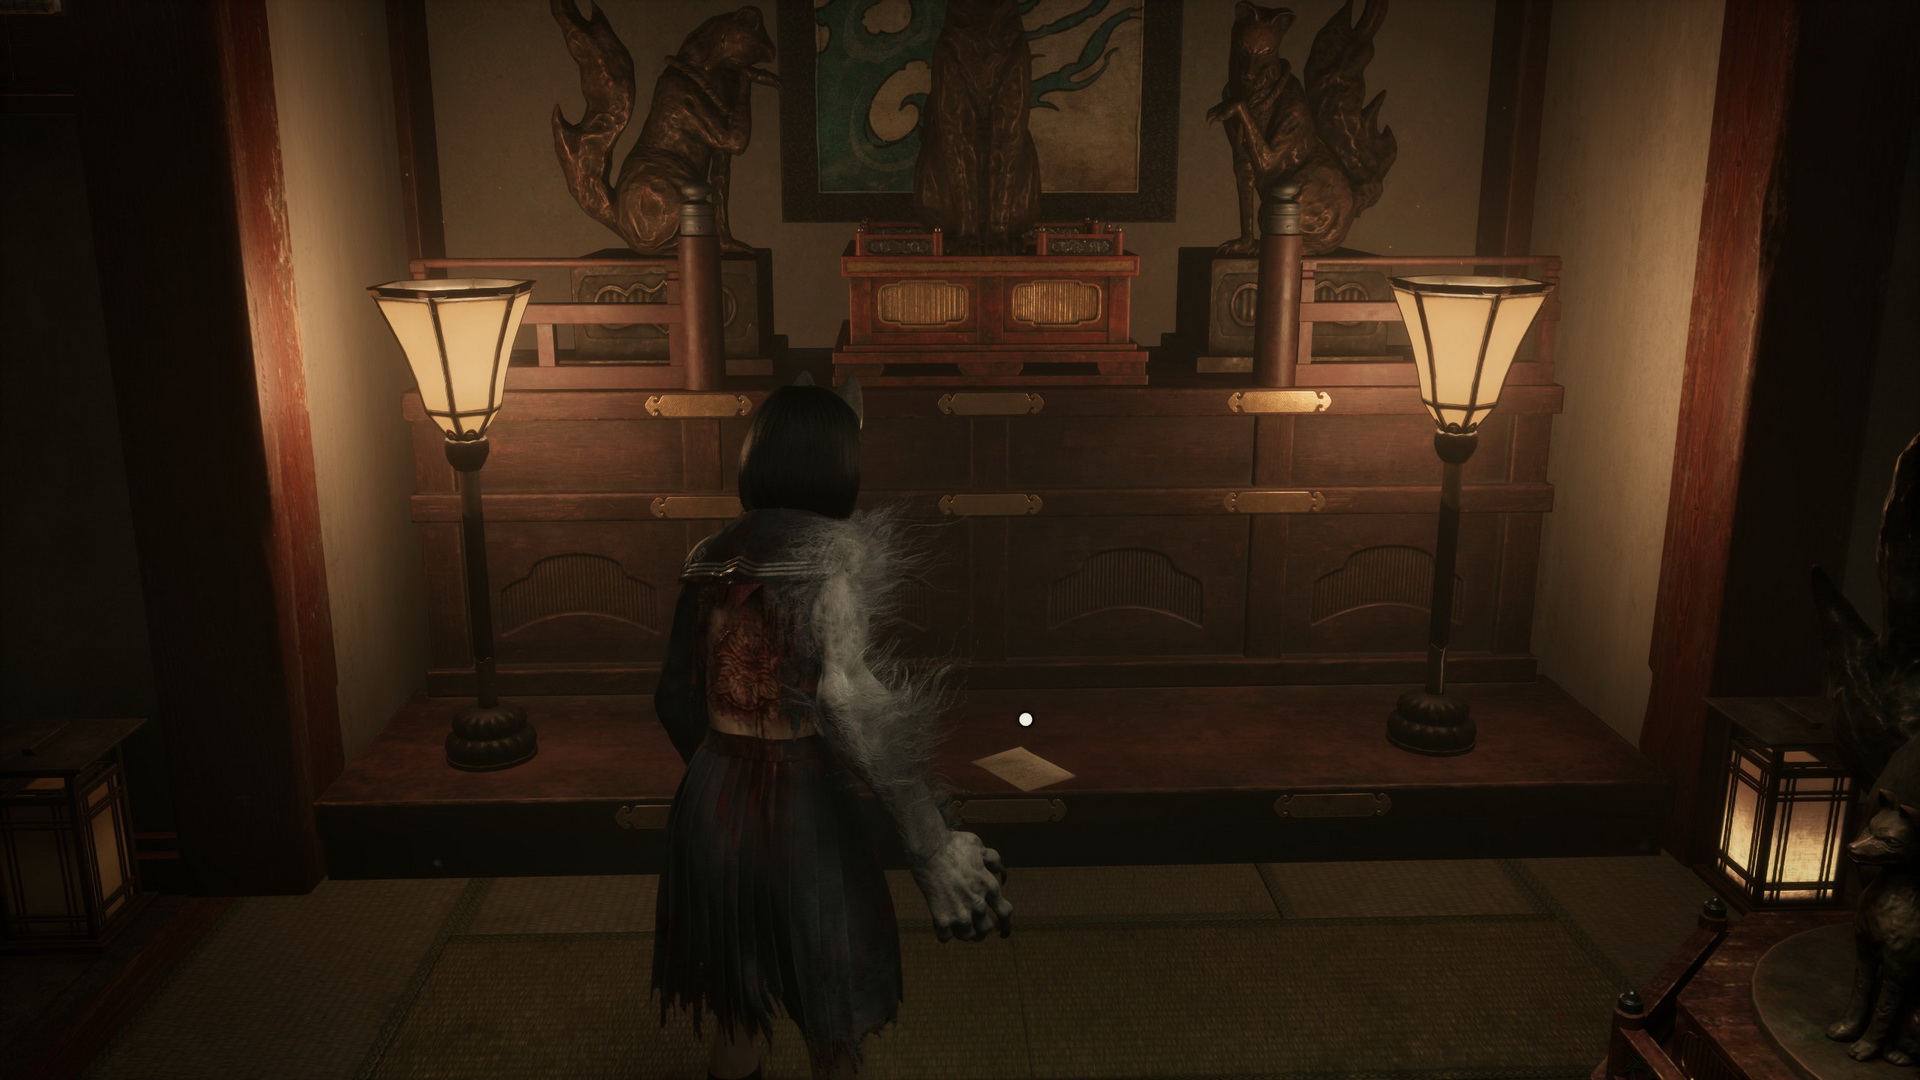 |
Now, examine the last statue to the left, find an arrowhead stuck in its body and remove it. The statue will rotate and point you to the right exit door with its glowing blue eyes. If you enter the wrong door, however, you will be forced to fight a pack of monsters until you are allowed to leave the area and try again.
Trophy/Achievement: Sly Like the Fox |

Obtain all the crests without making a single mistake on the Inari statue puzzle. |
Pick up an Ornate Scroll (1) from the drawer beneath the statue and follow through the door shown by the statue.
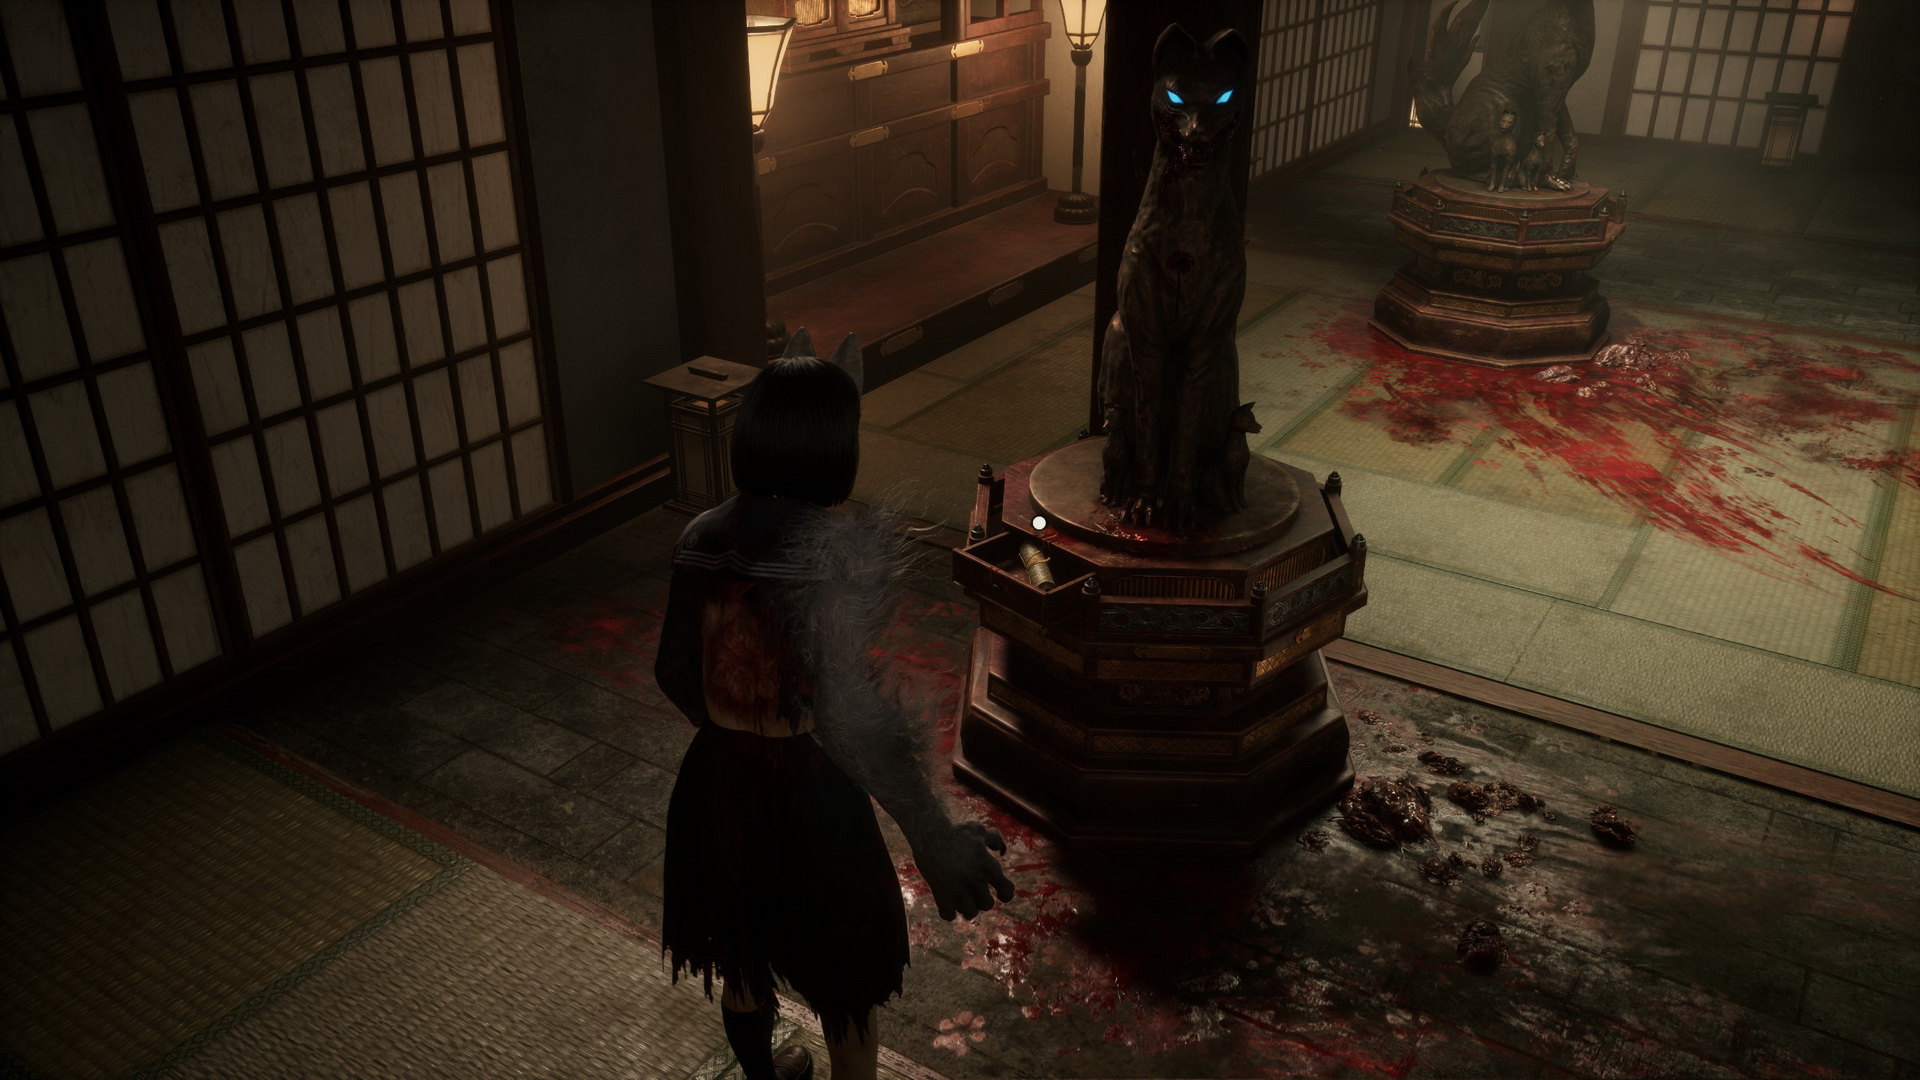 |
Note: In New Game+, instead of the Ornate Scrolls, you will collect other scrolls:
- Scrolls of Welcome (on the path to Ending 2)
- Scrolls of Pity (on the path to Ending 3)
- Scrolls of Discipline (on the path to Ending 4)
In the second area, you will meet several monsters that you will have to defeat. In the first room to the left, you can find a Shriveled Abura-age (⛩500) on a shelf in the corner and a Higashi (⛩80) on a desk in the opposite corner. In the first room to the right, you will find the Omamori [Hound] on a shrine (replaced with a Higashi (⛩80) in later NG+ games if picked up).
 |
In the next room to the right, there's a Yokan (⛩30) on the table in the middle. Go to the back of the area and check the room to the left of the altar to find a Housemaid's Note (2) on a cabinet.
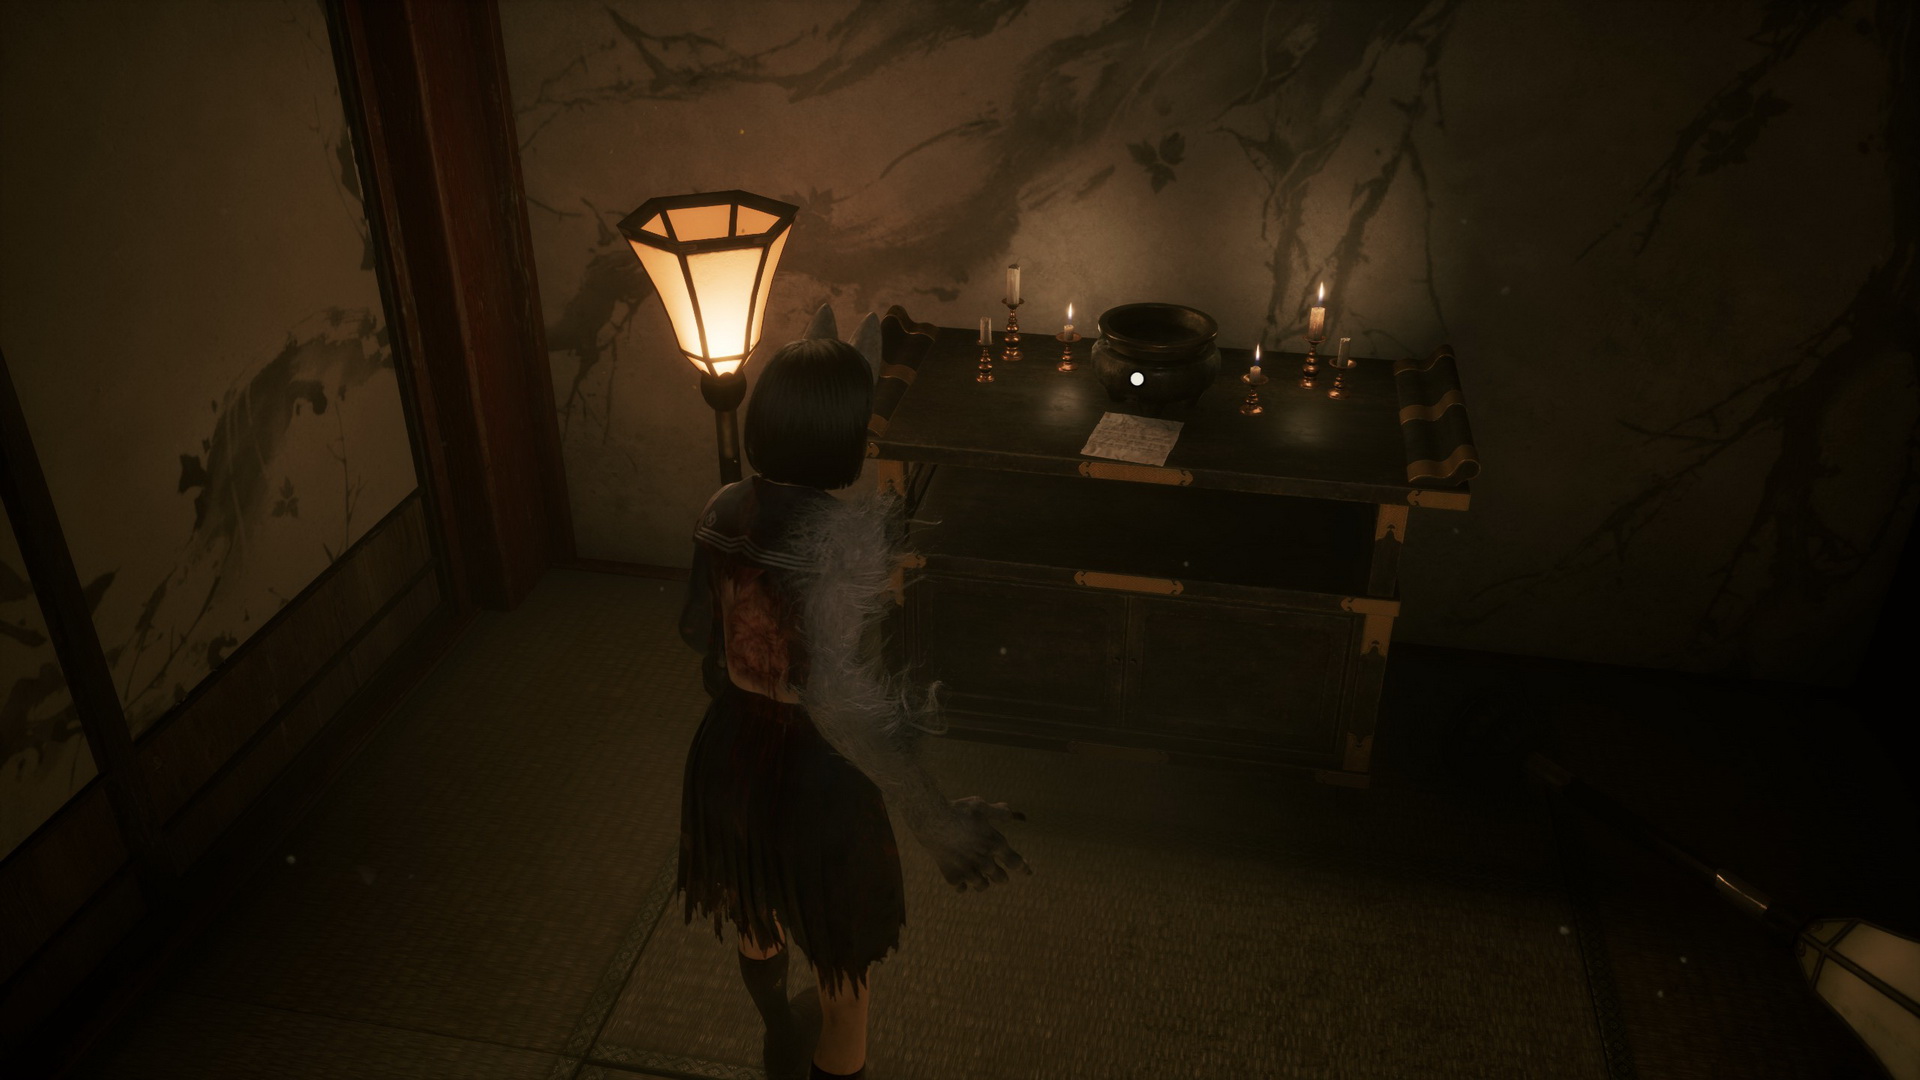 |
Approach the altar and collect the Black Sparrow Crest from a box.
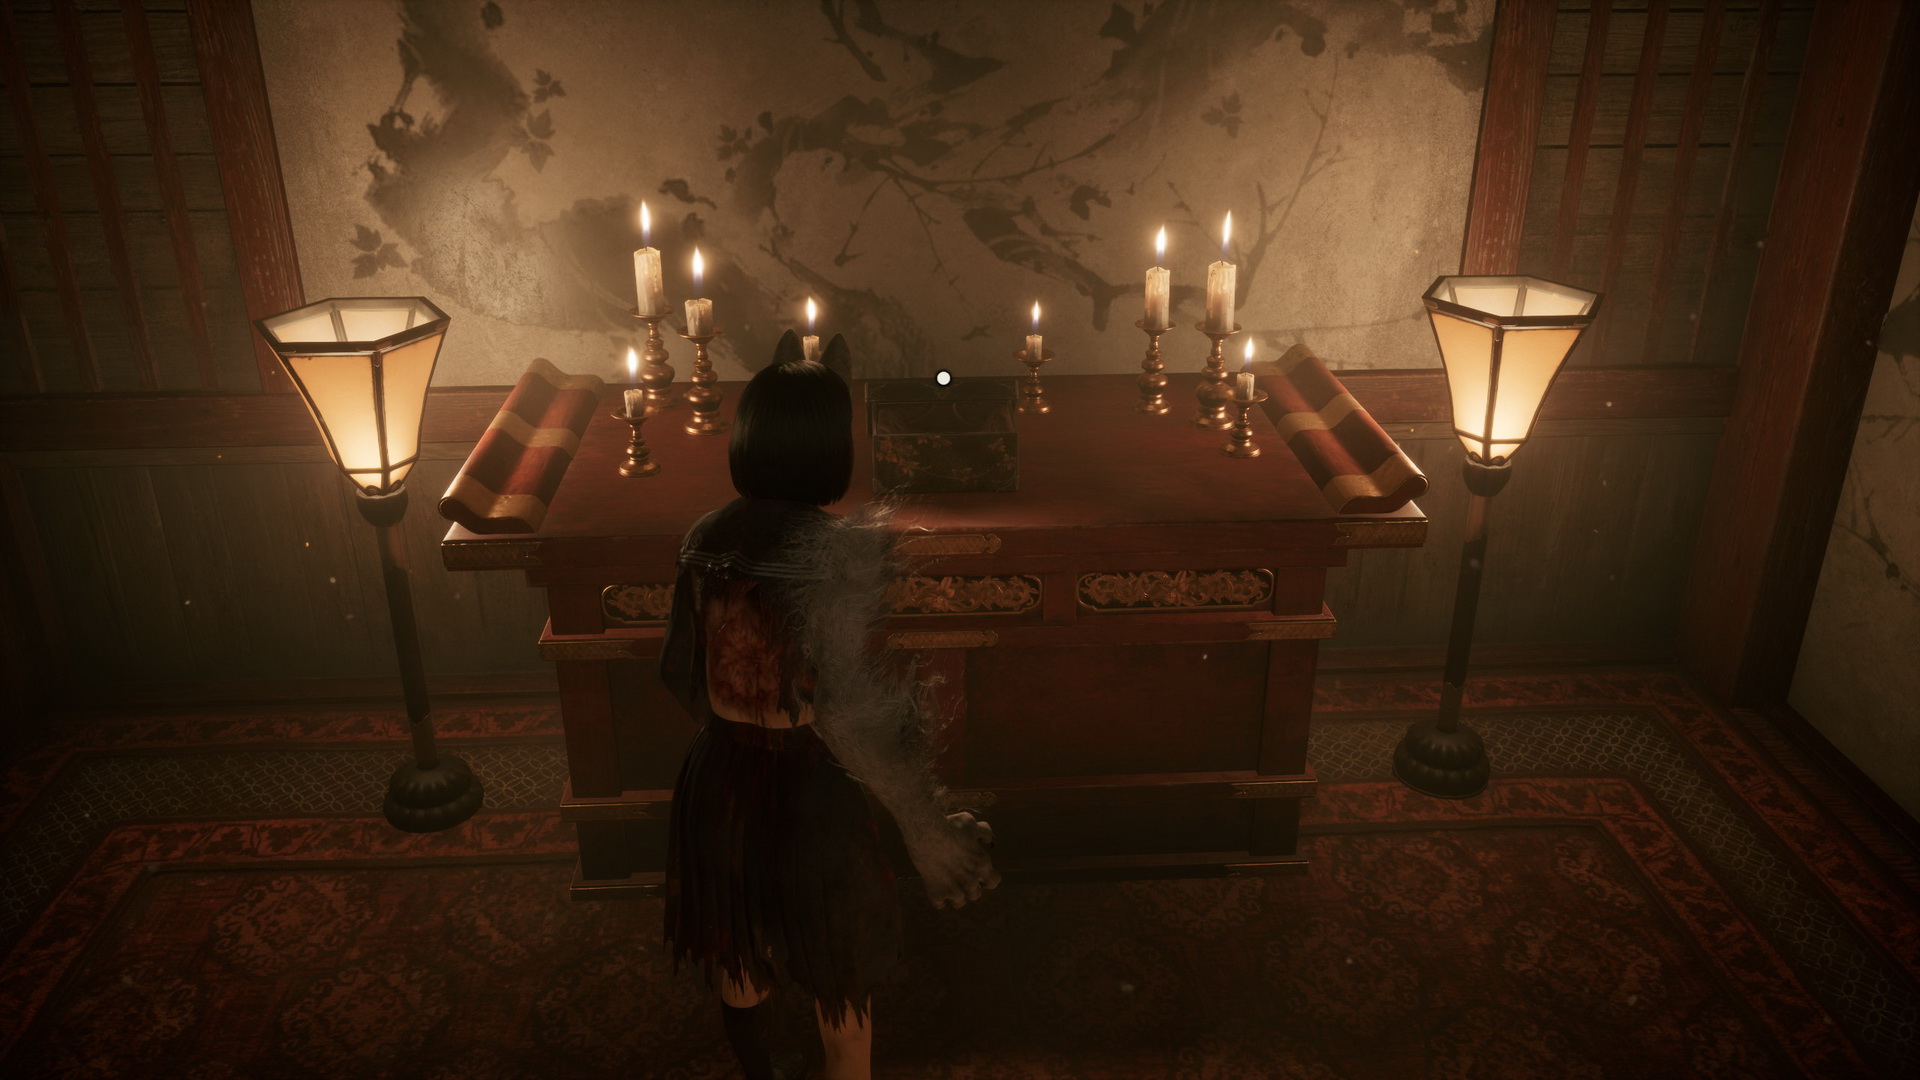
Heed revelations and find the crests (1/3)
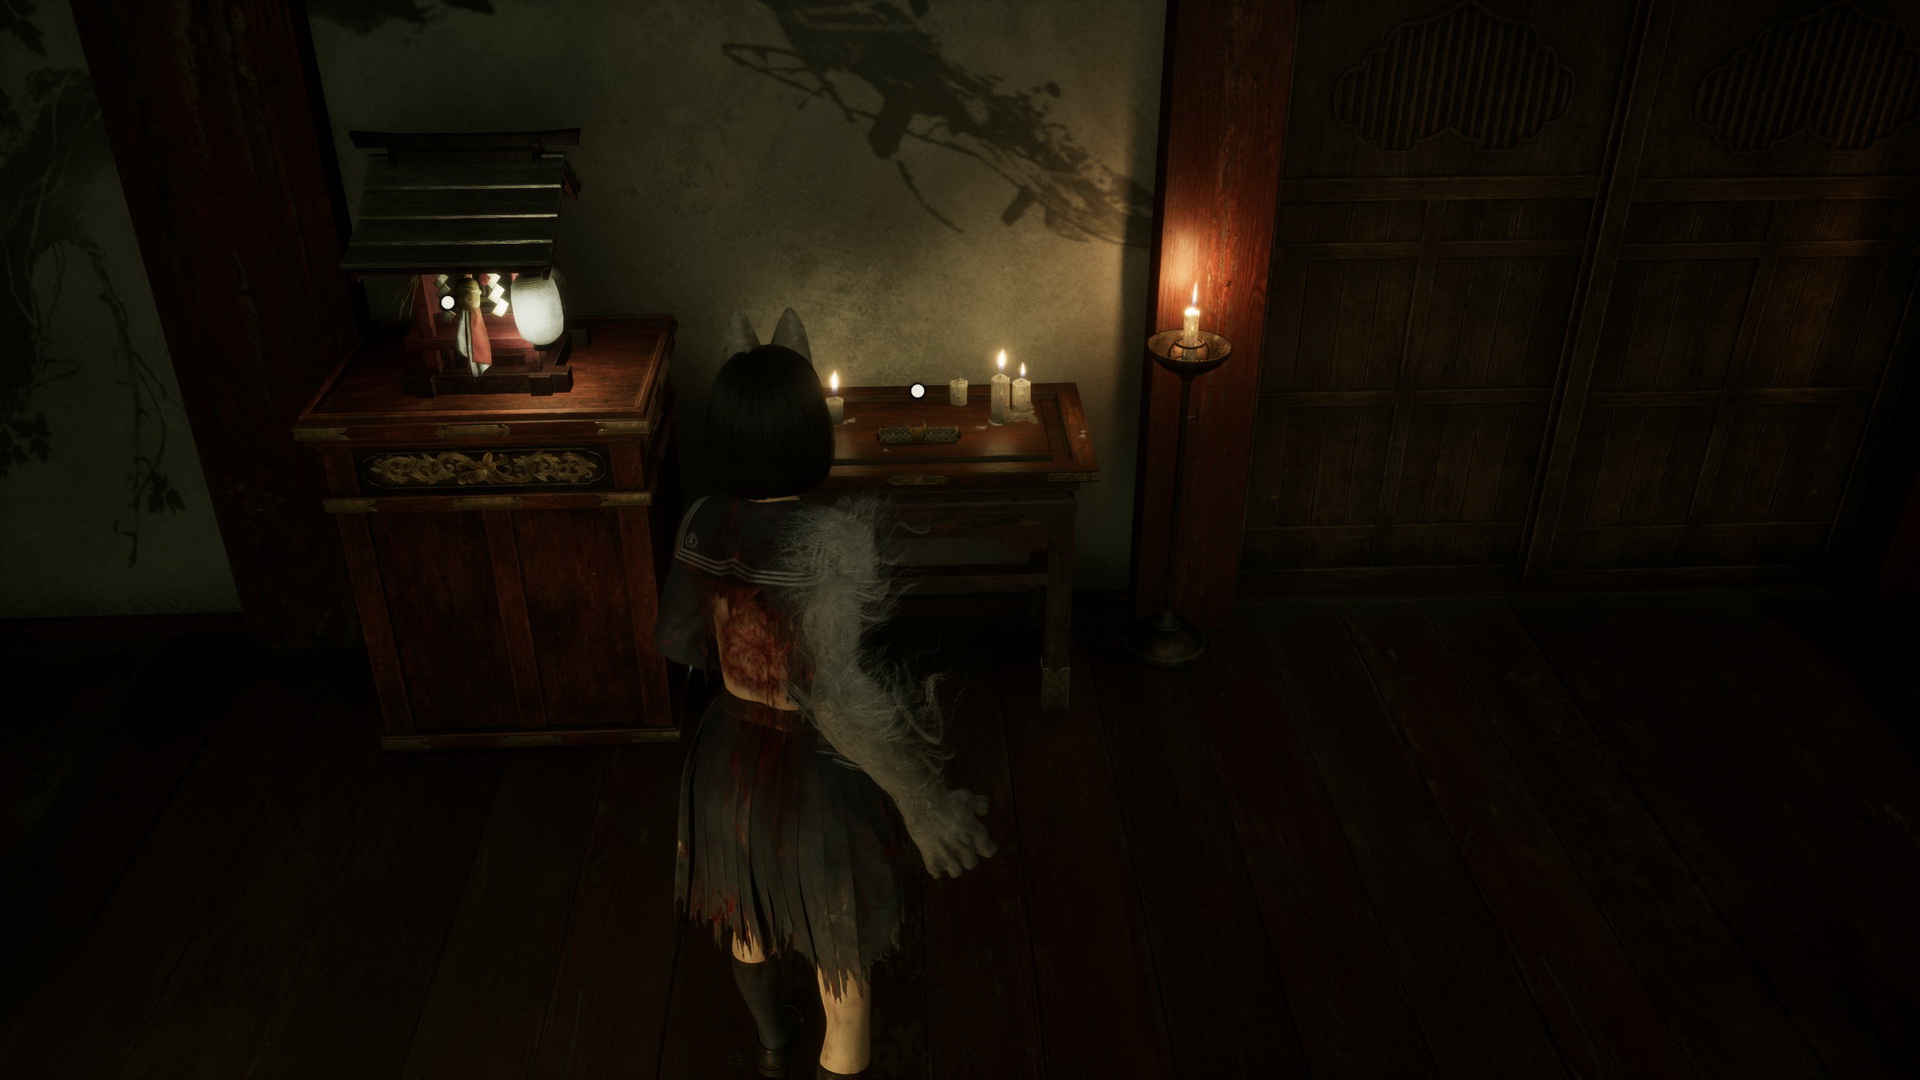
Go to the right, use your focus ability to pass through the wall with the seals, then proceed through the door to return to the starting location. To the right of the Hokora shrine, you will find an Ornate Scroll (2).
 |
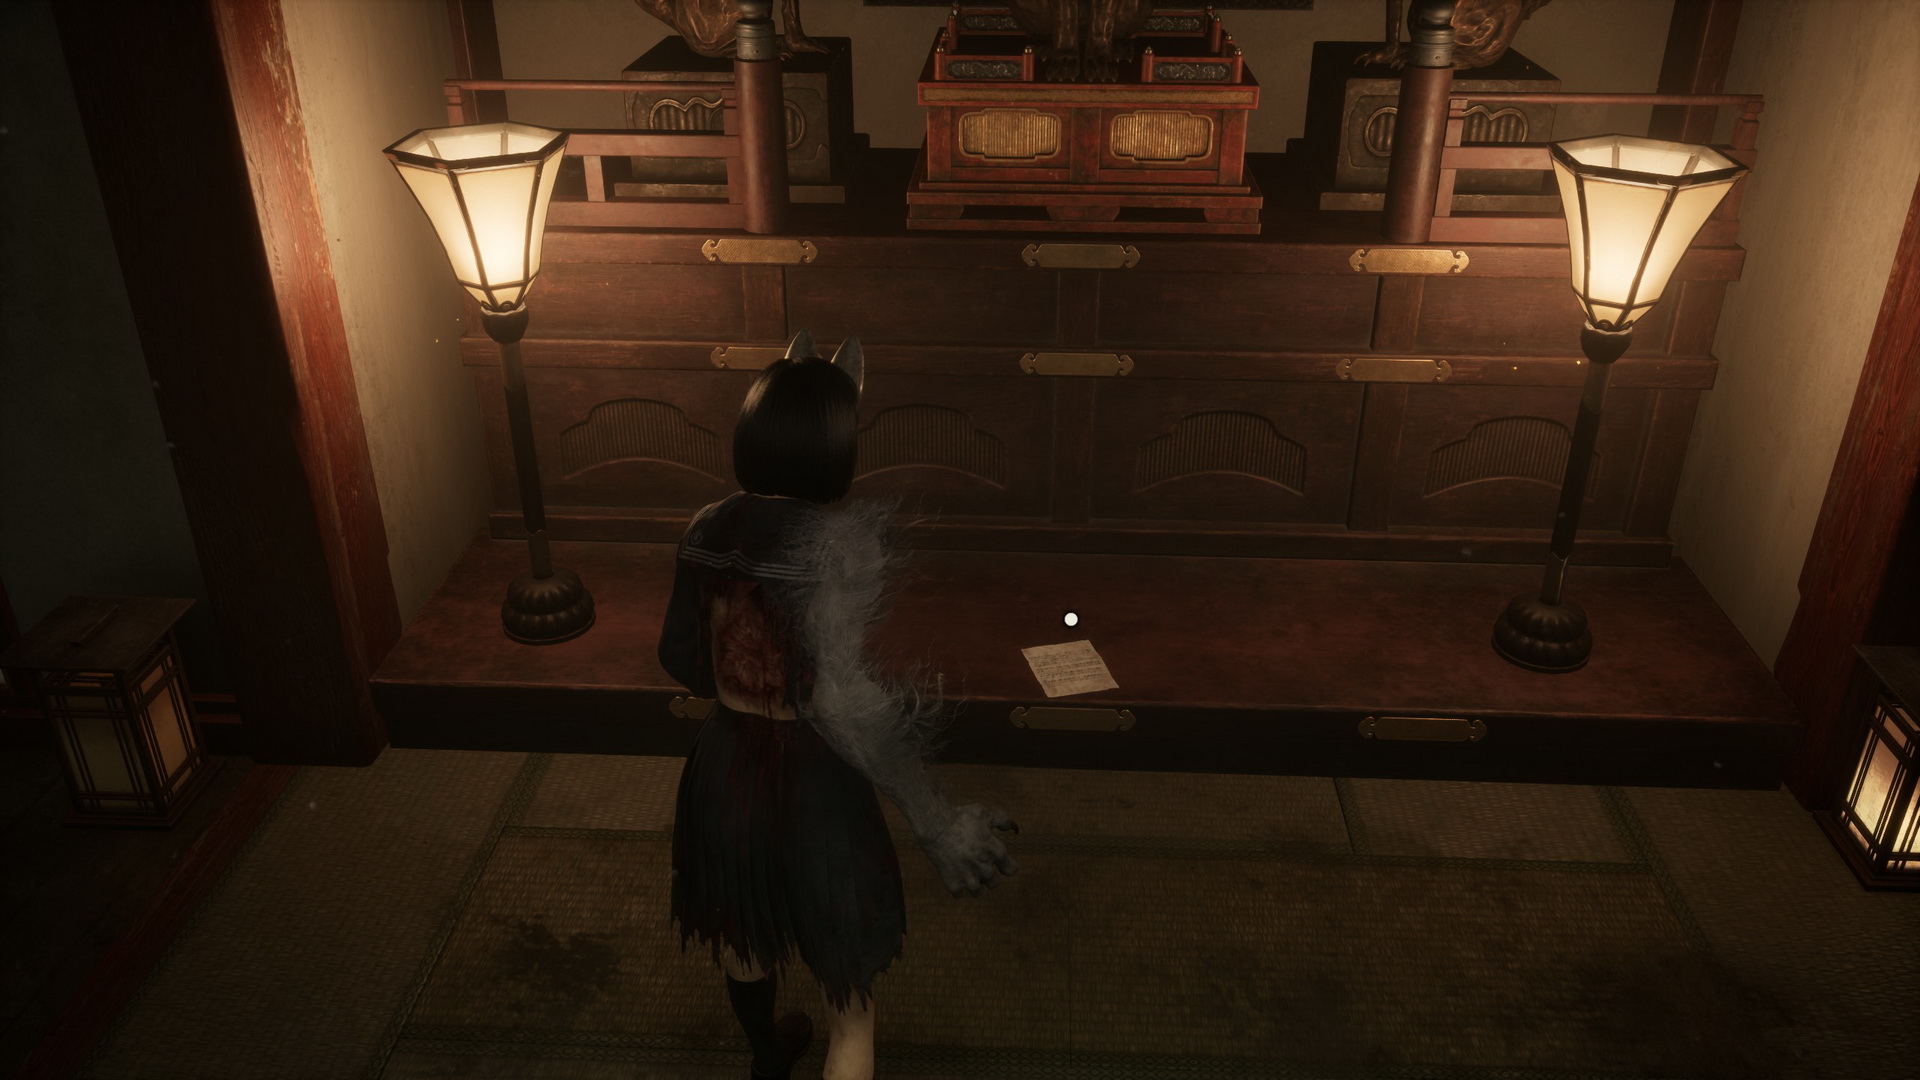
Continue through the door opposite the mural. To the left, you can find a Bandage on a shelf in the corner and on another shelf to the right, there's a Divine Water (⛩50). On a podium in the back of the room, there's a Housemaid's Note (1).
 |
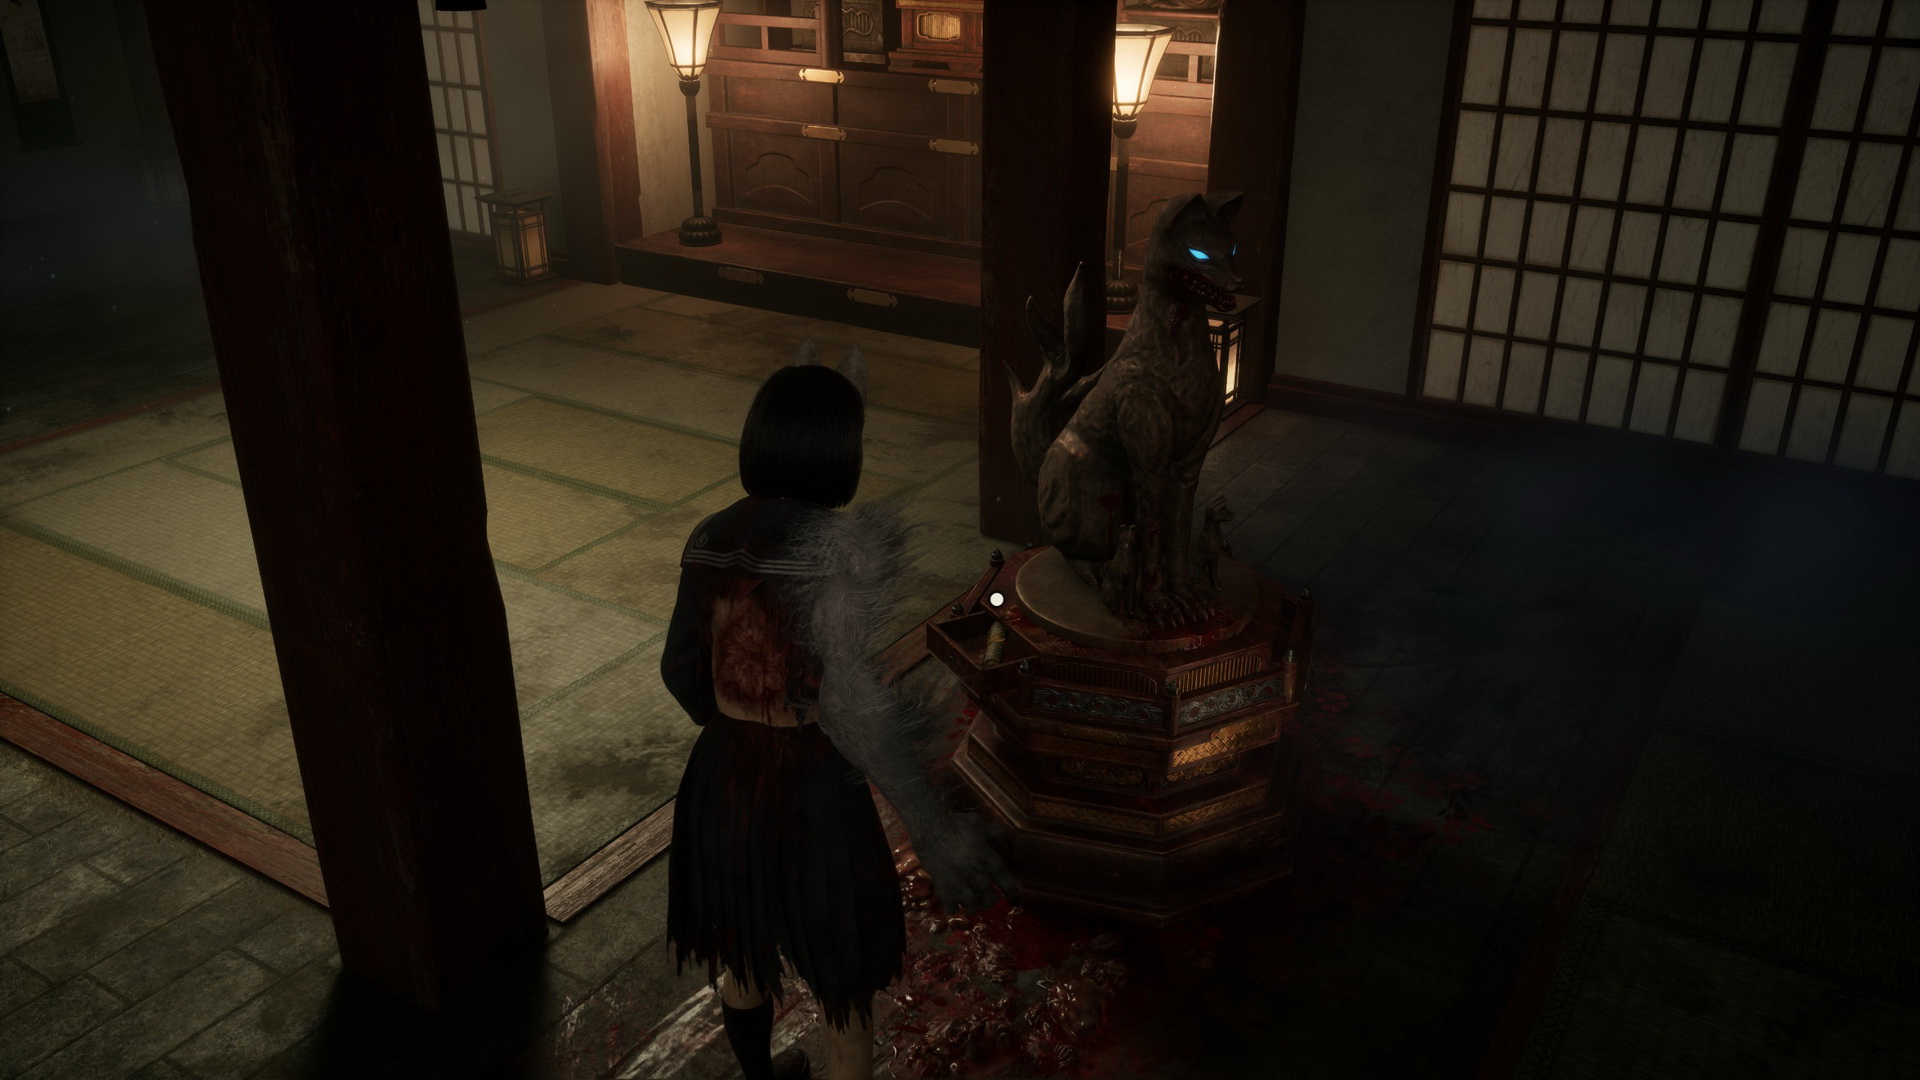
You won't see any statues in this room, but you will have to reveal them by using your focus ability. Look for the round empty spots on the bloodied floor for the exact locations. Examine the statue to the right to pull out the arrowhead and collect an Ornate Scroll (3).
 |
Proceed through the door that the statue points to.
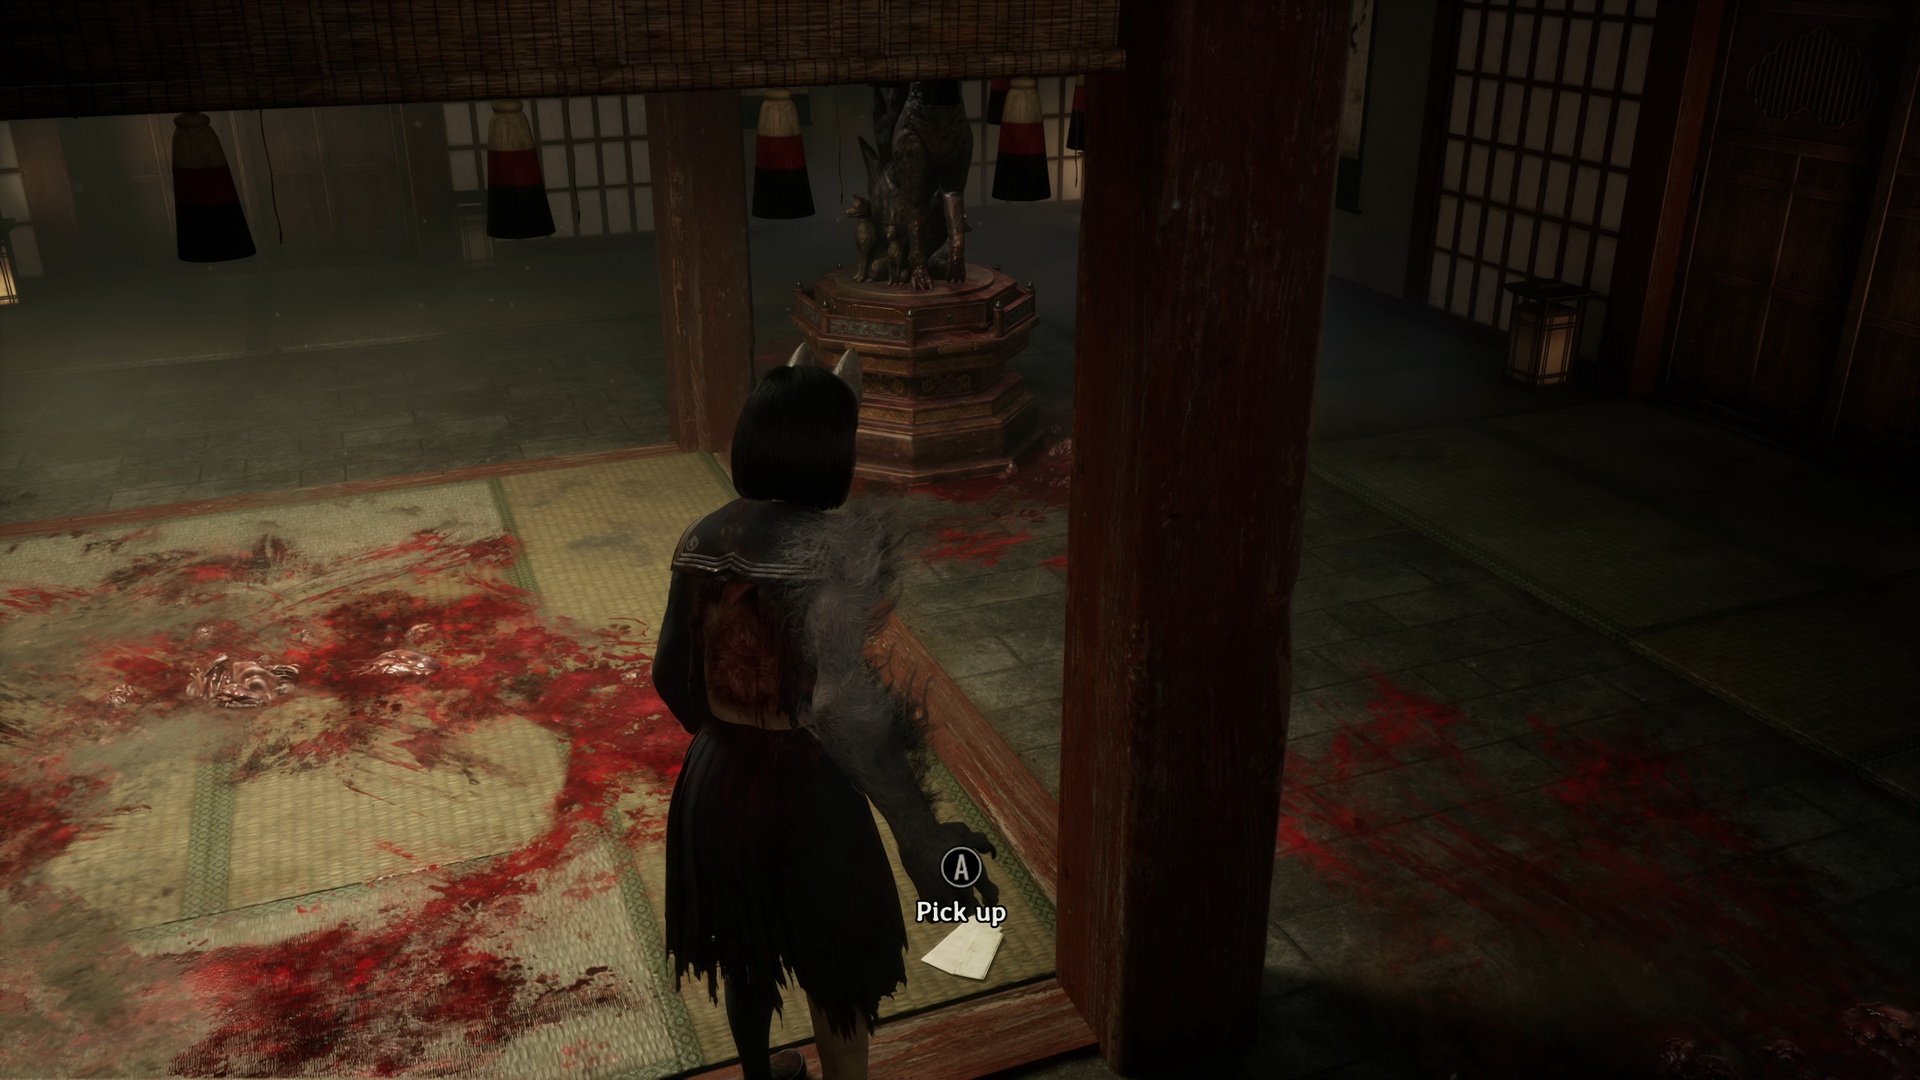
In the next room, collect Strict Mother's Letter (3) by the column to the right.
 |
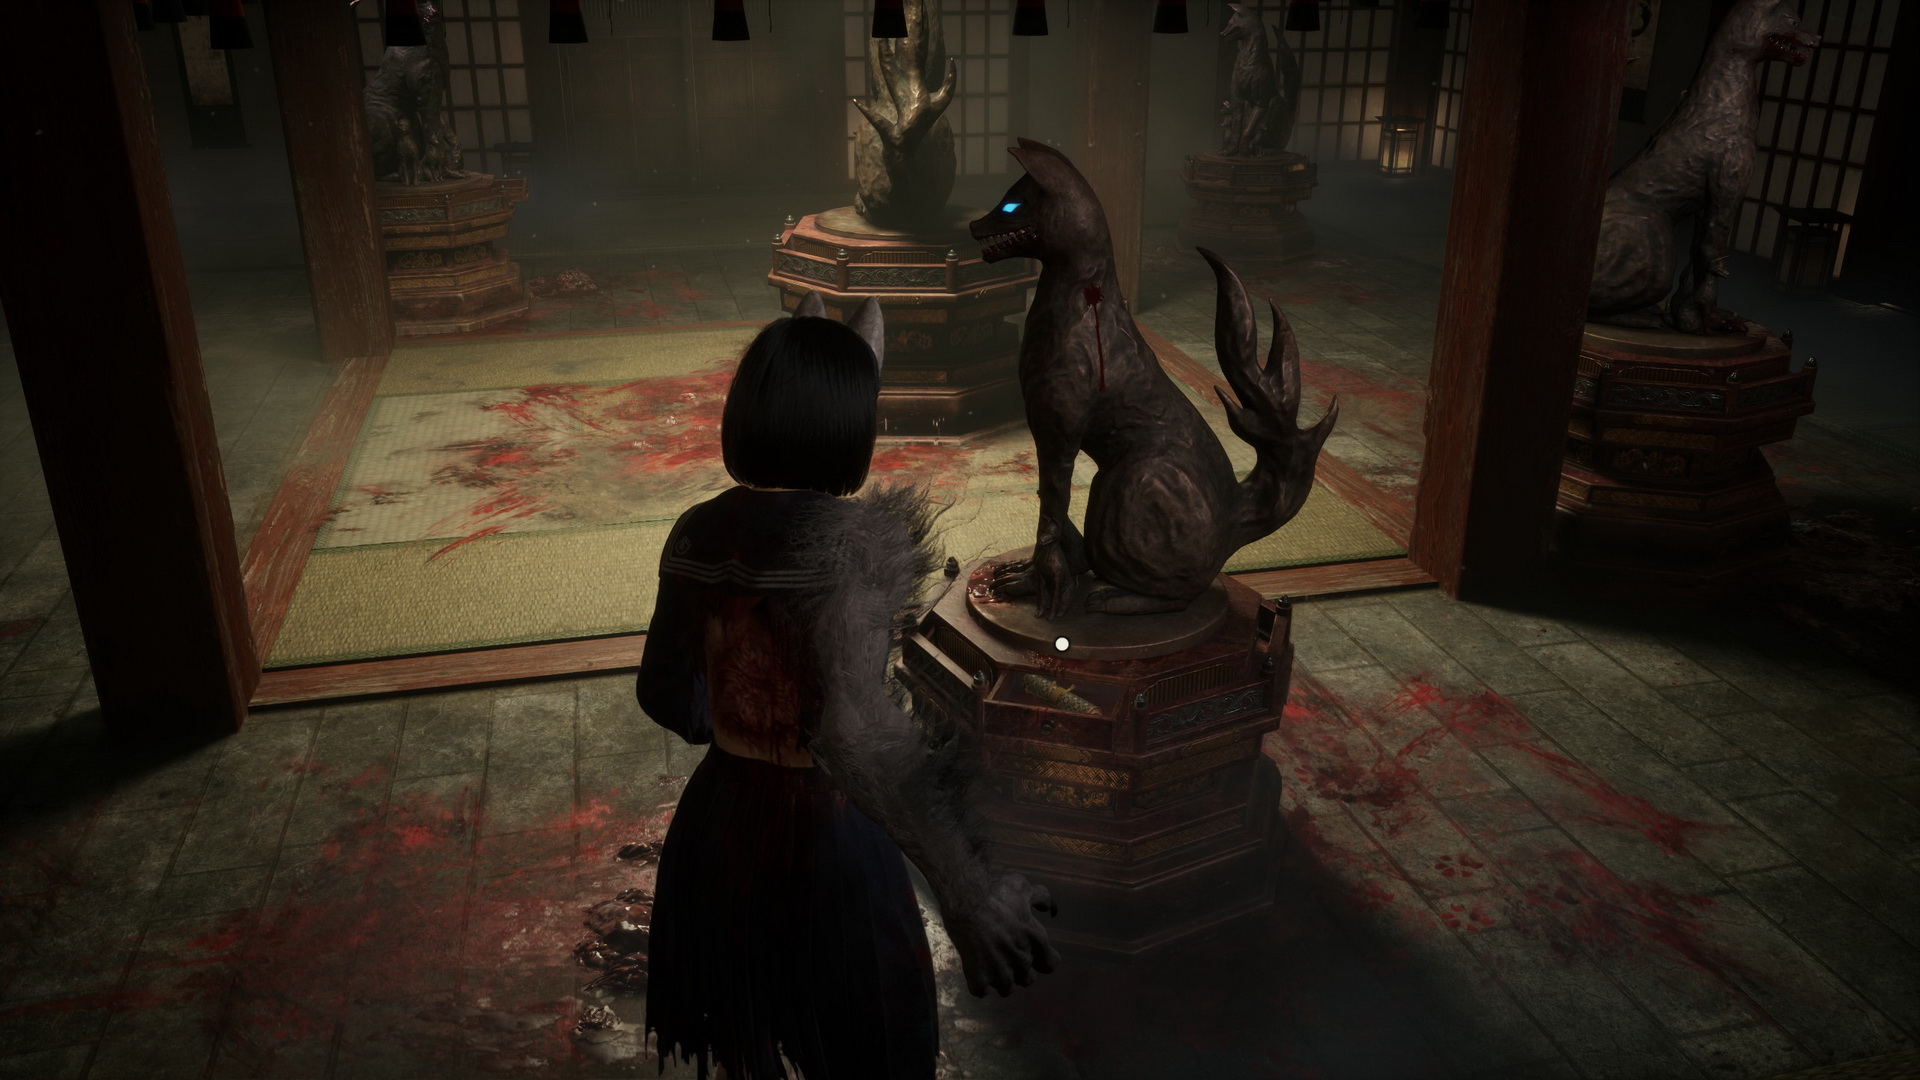
In the statue's drawer to the left, you can find a Kudzu Tea (⛩100), and in the second statue's drawer to the right, there's an Arare (⛩10). There are two hidden statues here. The one you need is closer to a door. Reveal the statue with the focus ability, pull out the arrowhead from the statue's neck and collect an Ornate Scroll (4).
 |
Proceed through the door that the statue points to.
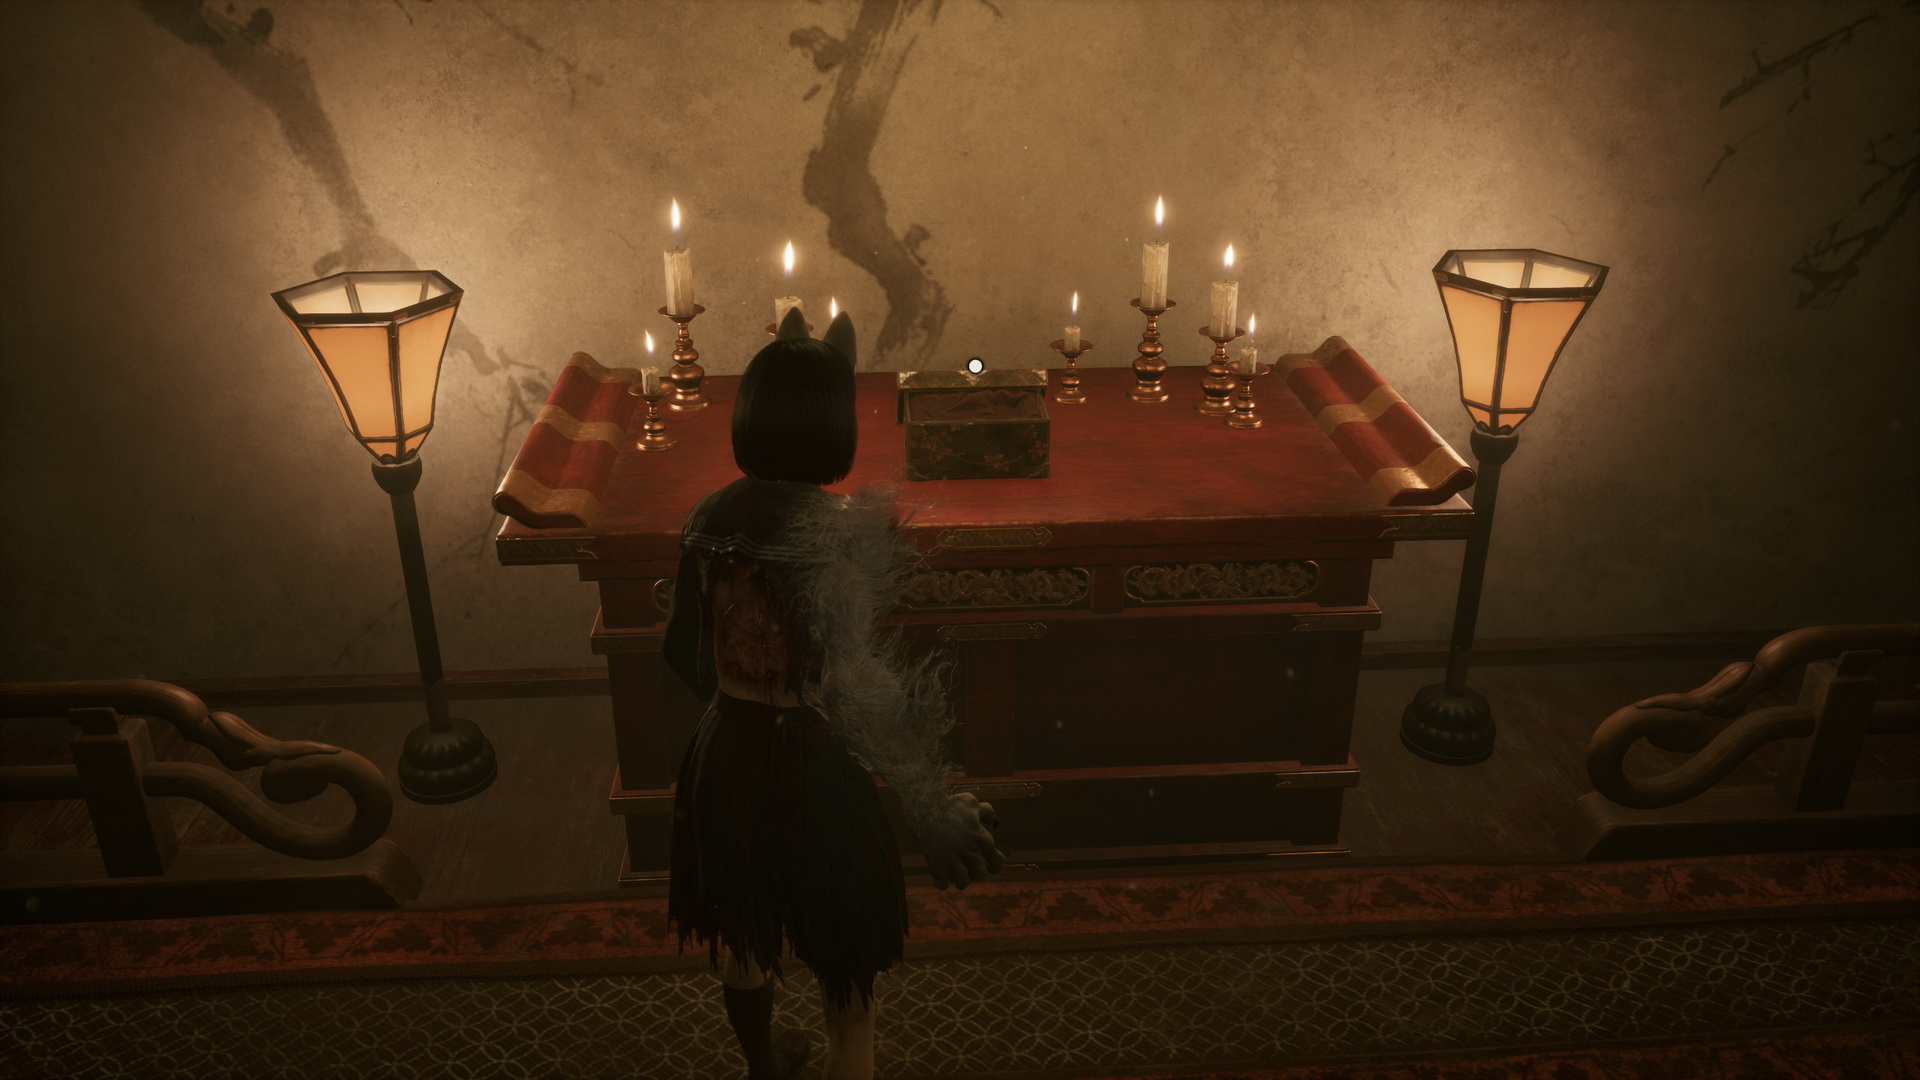
Fight the monsters in this area before you can explore further. There's a hidden room behind the wall to the left containing another monster, a Bandage on the table and an Antique Comb (⛩300) on the shelf in the corner. To the right of the altar in the back, you will find a Higashi (⛩80) on the shelf in the corner. Collect the White Sparrow Crest from a box at the altar.
Heed revelations and find the crests (2/3)
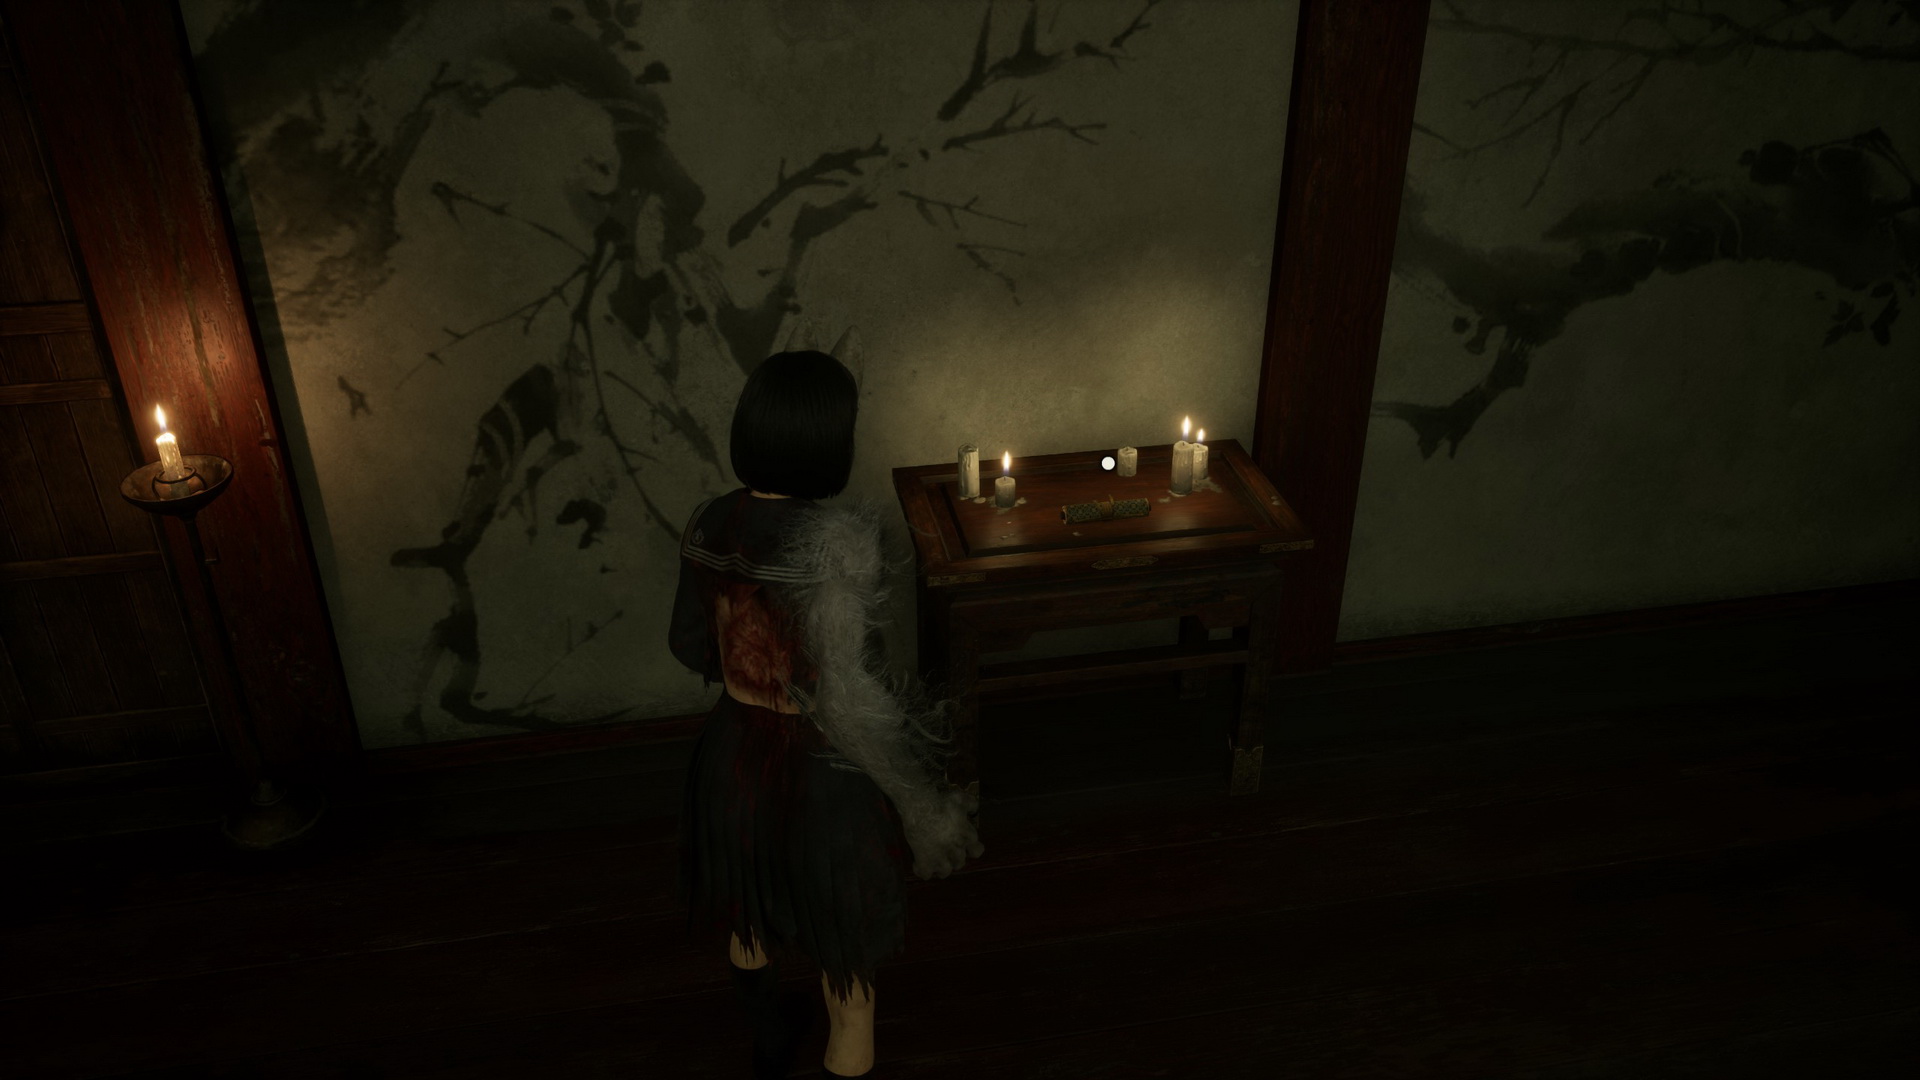
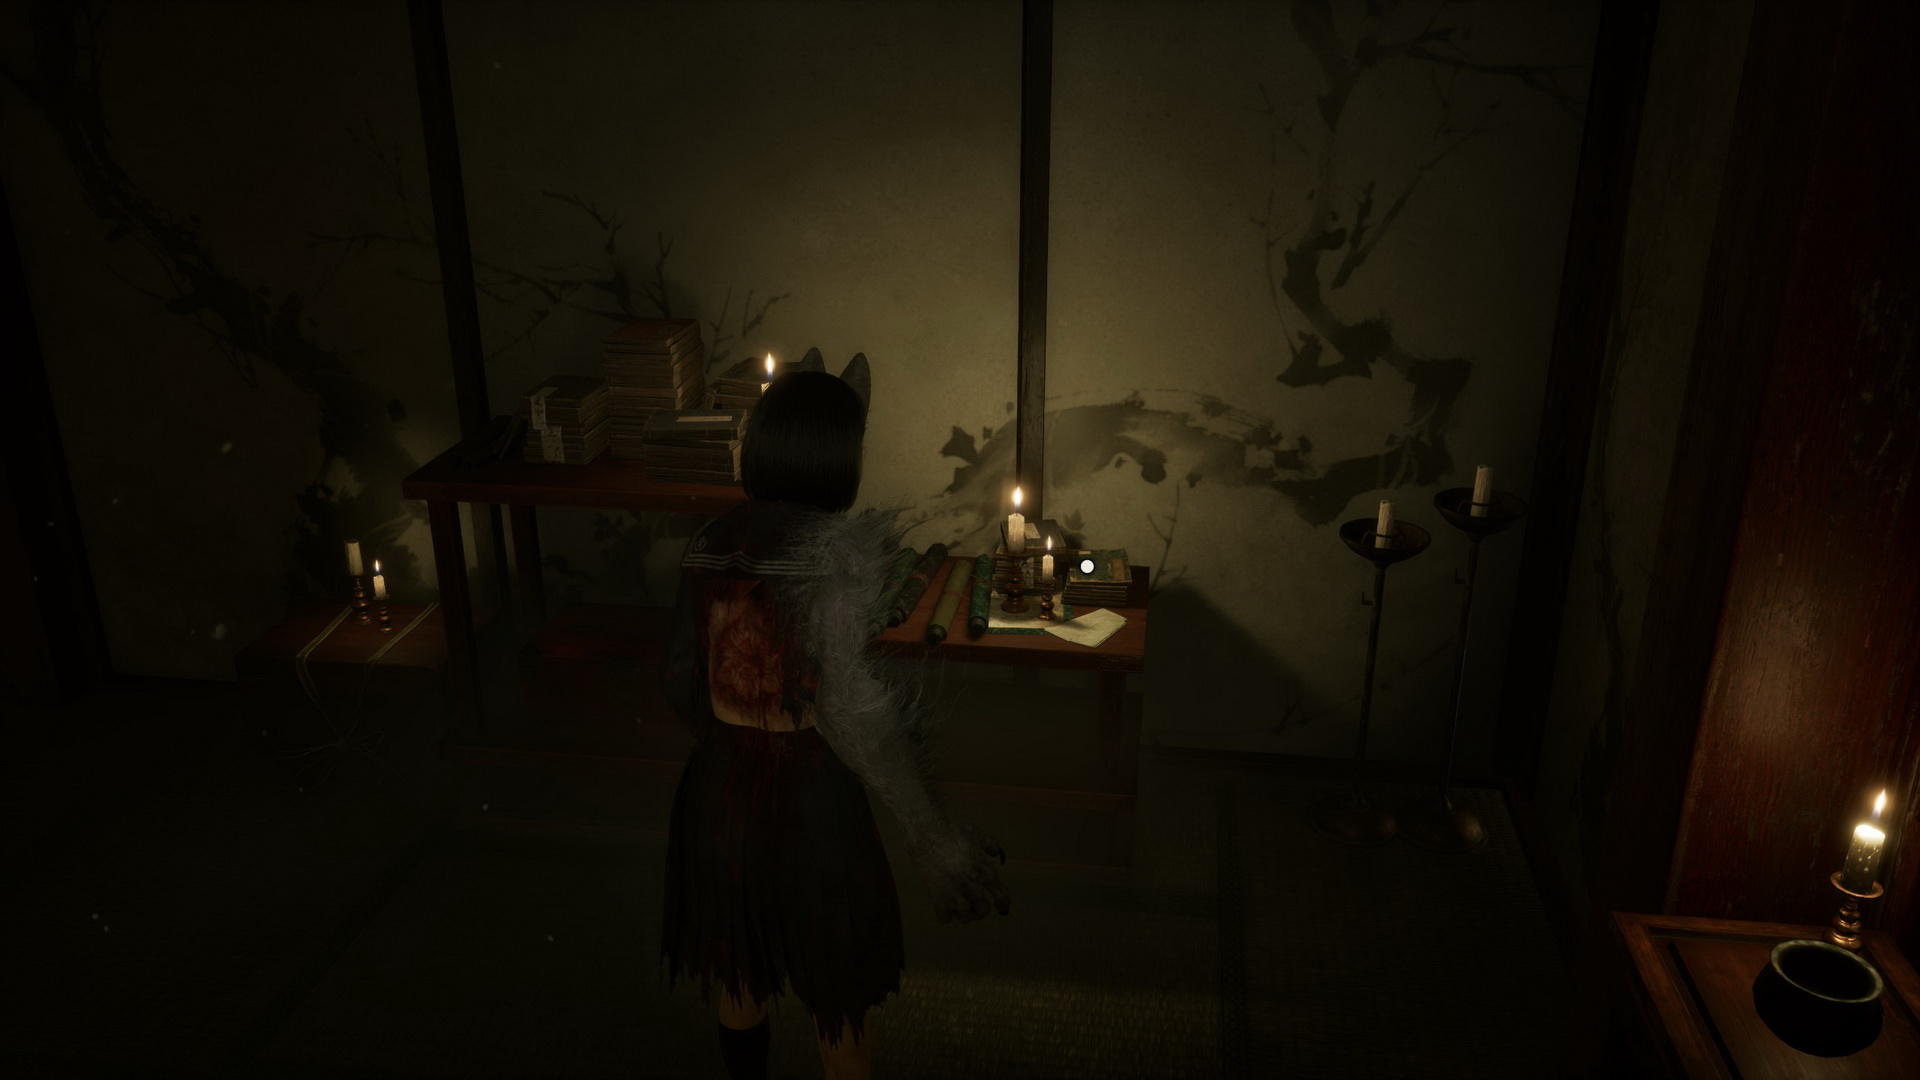
Continue through the door to the left of the altar. Back at the starting room, another Ornate Scroll (5) is on a table next to a door.
 |
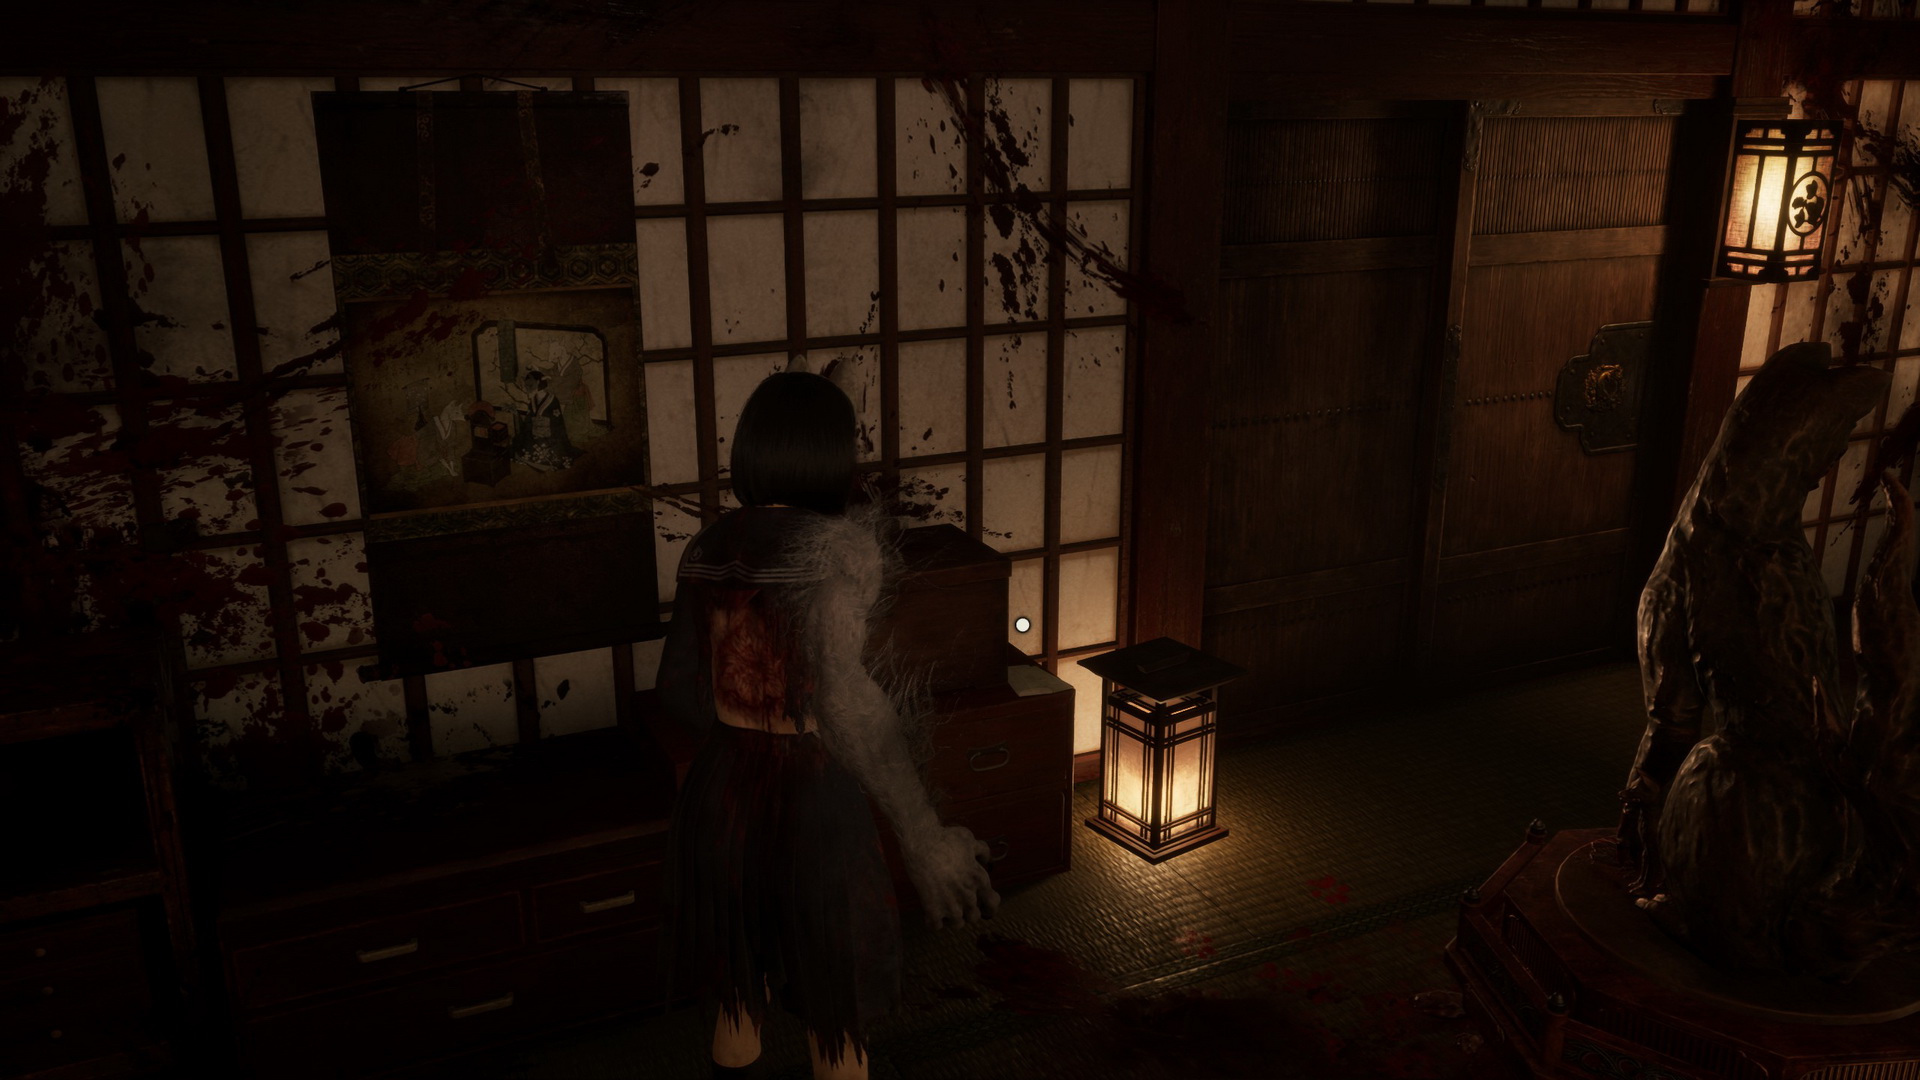
Proceed through the door to the right of the mural. Check the statues to find a Divine Water (⛩50) in one of the statues on the left and an Inari Sushi (⛩150) in another on the right. Approach the door with the Inari-sama seal to the right and collect a Strict Mother's Letter (4) on a chest of drawers next to the door.
 |
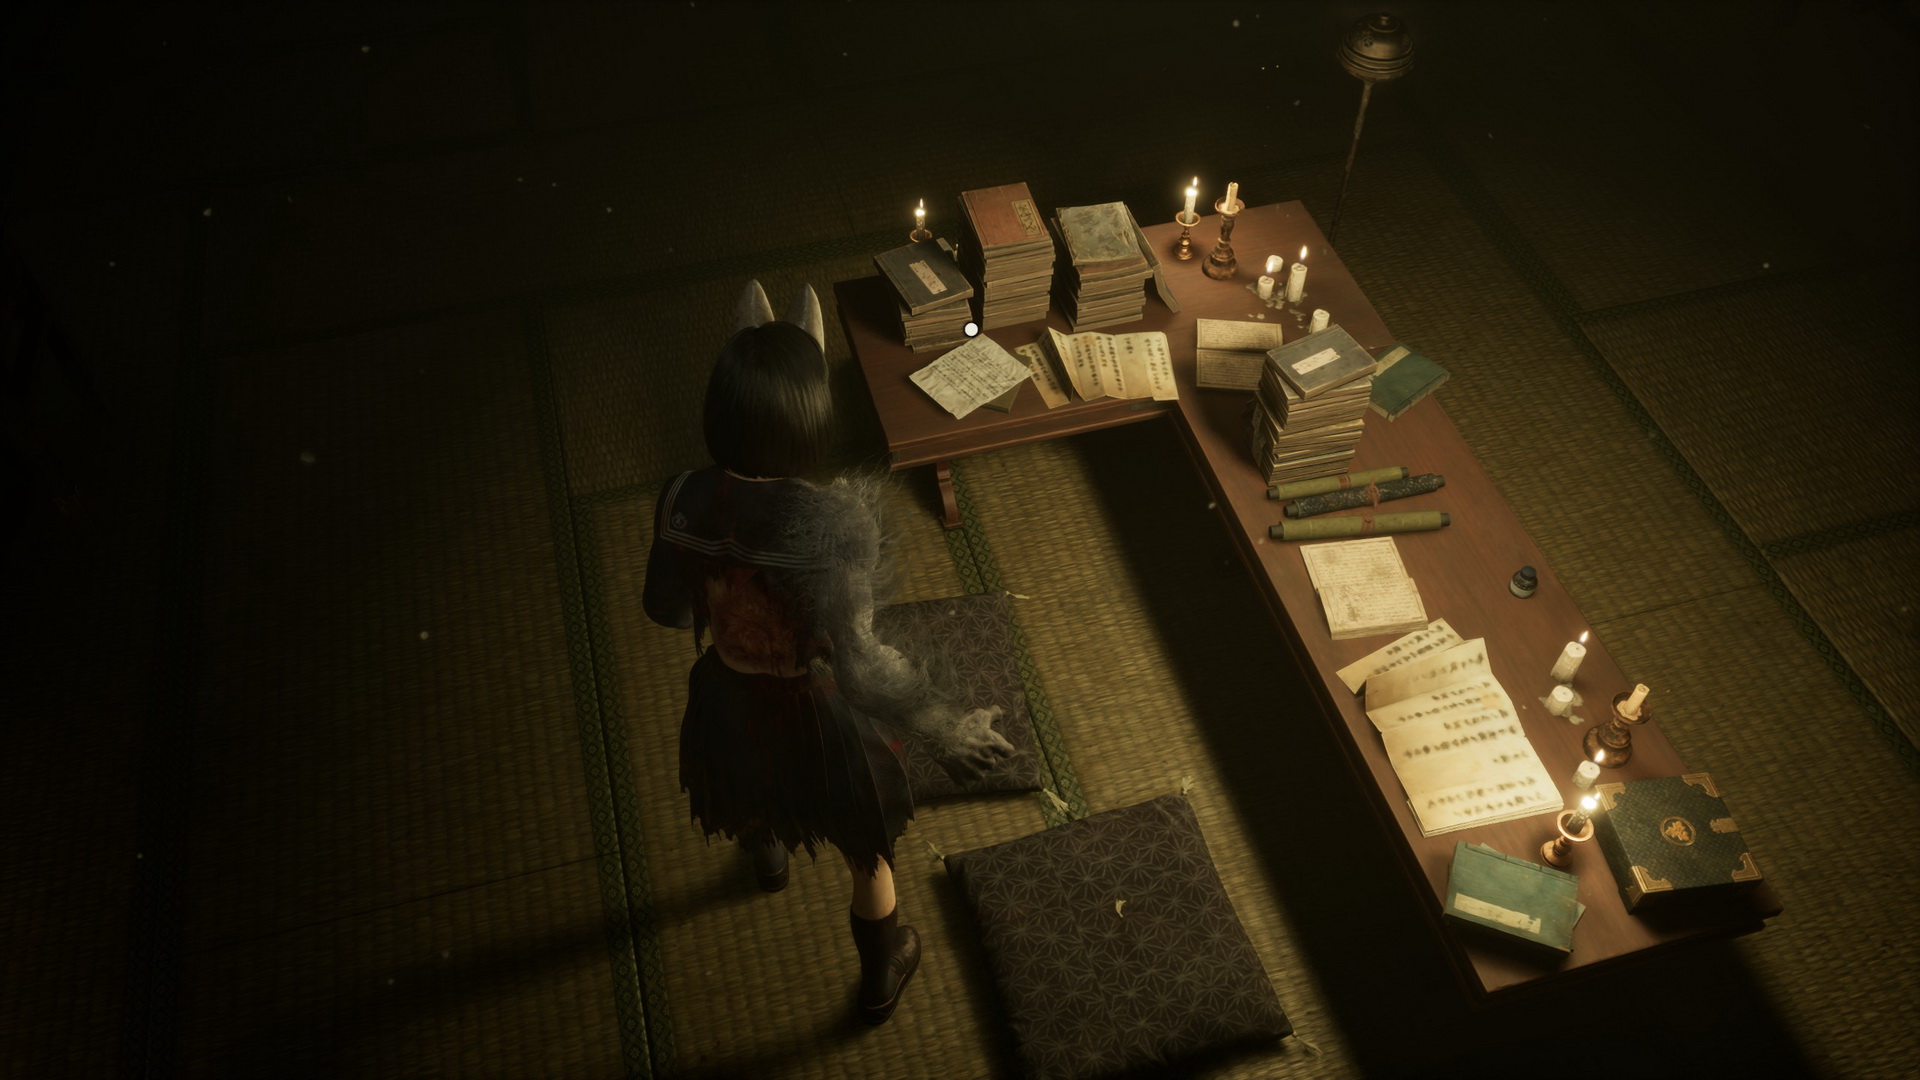
Enter the door with a brooch. Inside, you will find a Letter with a Pressed Flower on a desk.
 |
In the back of the room, you will find a Mandate of the Clan (1) on a box in the corner and an Upgrade: Ema on a shelf cabinet next to it.
 |
New Game+A Diary of a Determined Boy (on the path to Ending 2) or a Diary of an Infatuated Boy (on the path to Ending 3) is in another spot on the desk.
A Letter from a Determined Youth (on the path to Ending 2) or a Letter from an Infatuated Youth (on the path to Ending 3) is on a cabinet to the right.
|
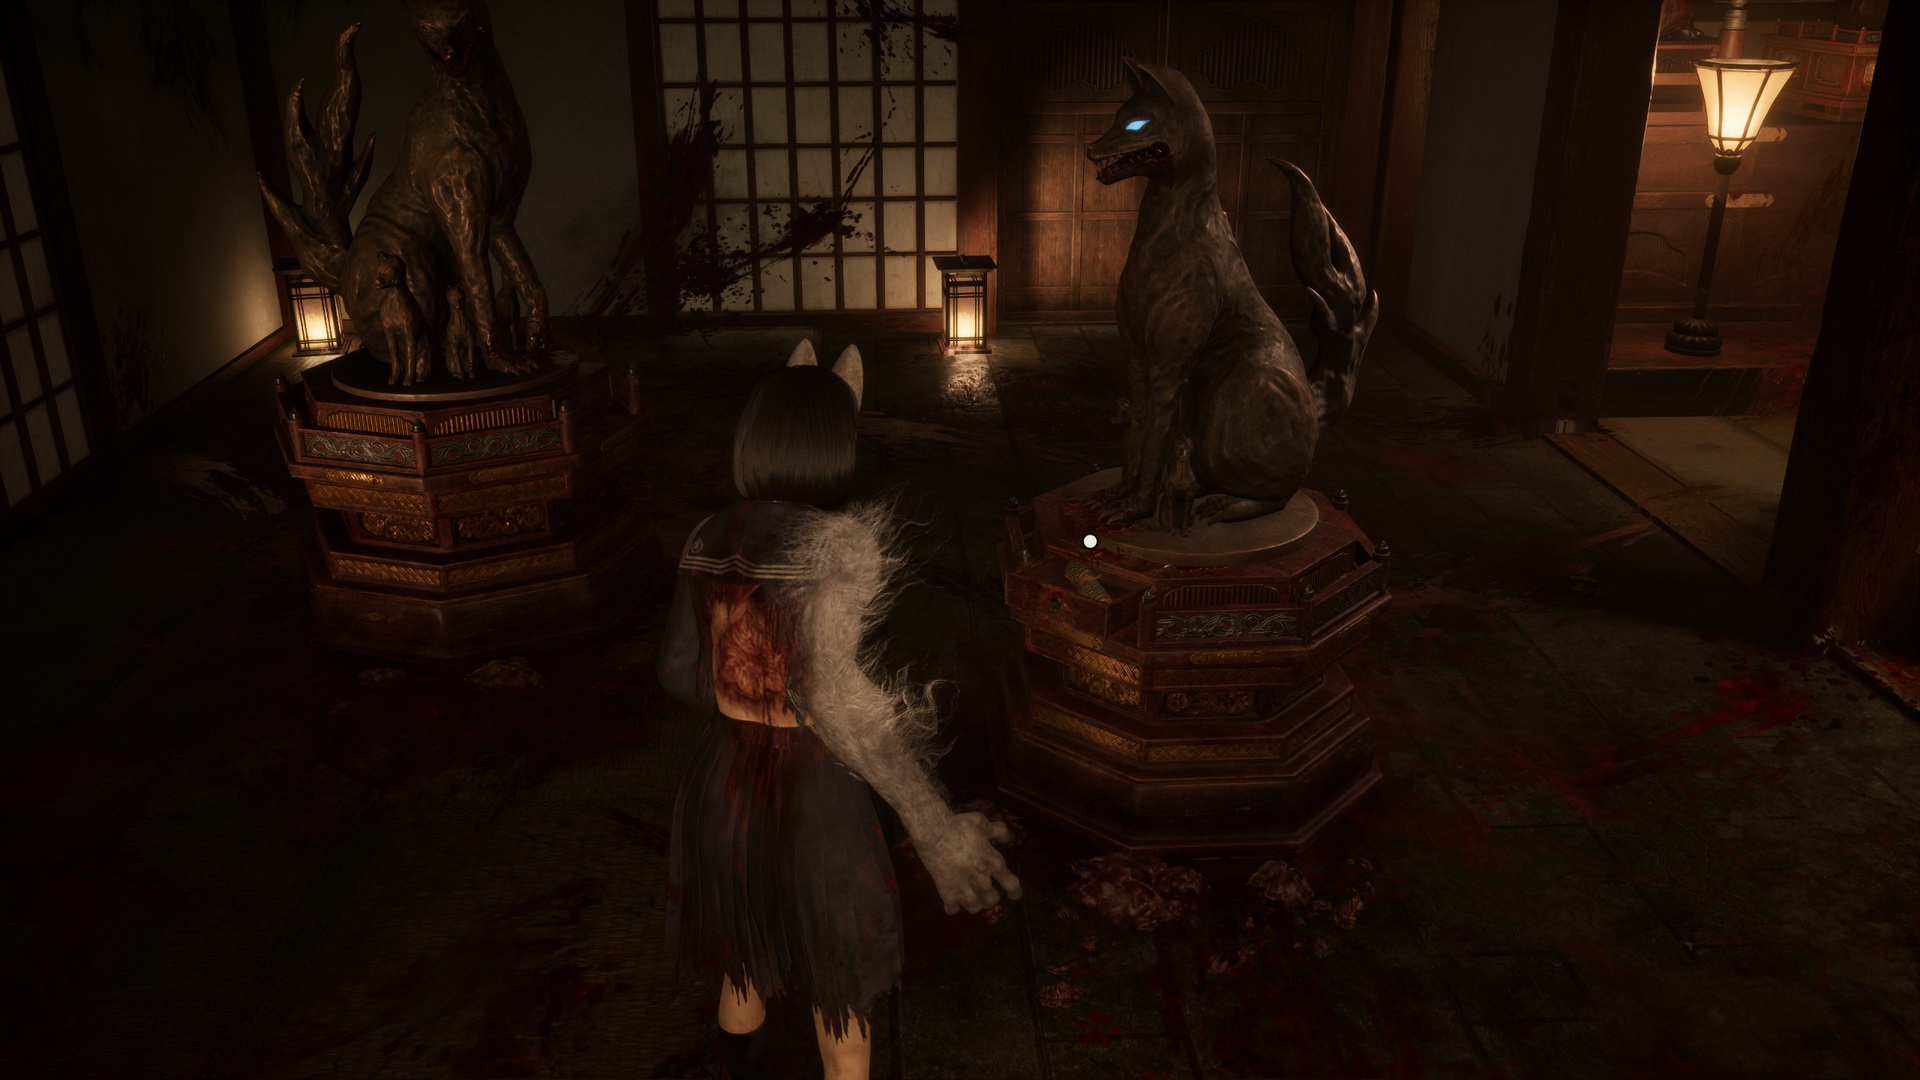
Return to the big room and find a statue in the back to the left that you can interact with. Remove the arrowhead from its left side and collect the last Ornate Scroll (6) from the drawer.
 |
Continue through the door the statue points to. You will have to defeat all monsters in the next area. If you need, you can collect a First Aid Kit from a cabinet on the left side of the room and a Kudzu Tea (⛩100) from a cabinet on the right side. After all monsters are gone, you can collect the Fox Mask Crest from a box at the altar.
Leave the room
After the cutscene, continue through the door on the left to be back at the starting location.
Solve the Mural puzzle
With all three crests in your possession, you can now proceed to solving the puzzle.
Mural Puzzle
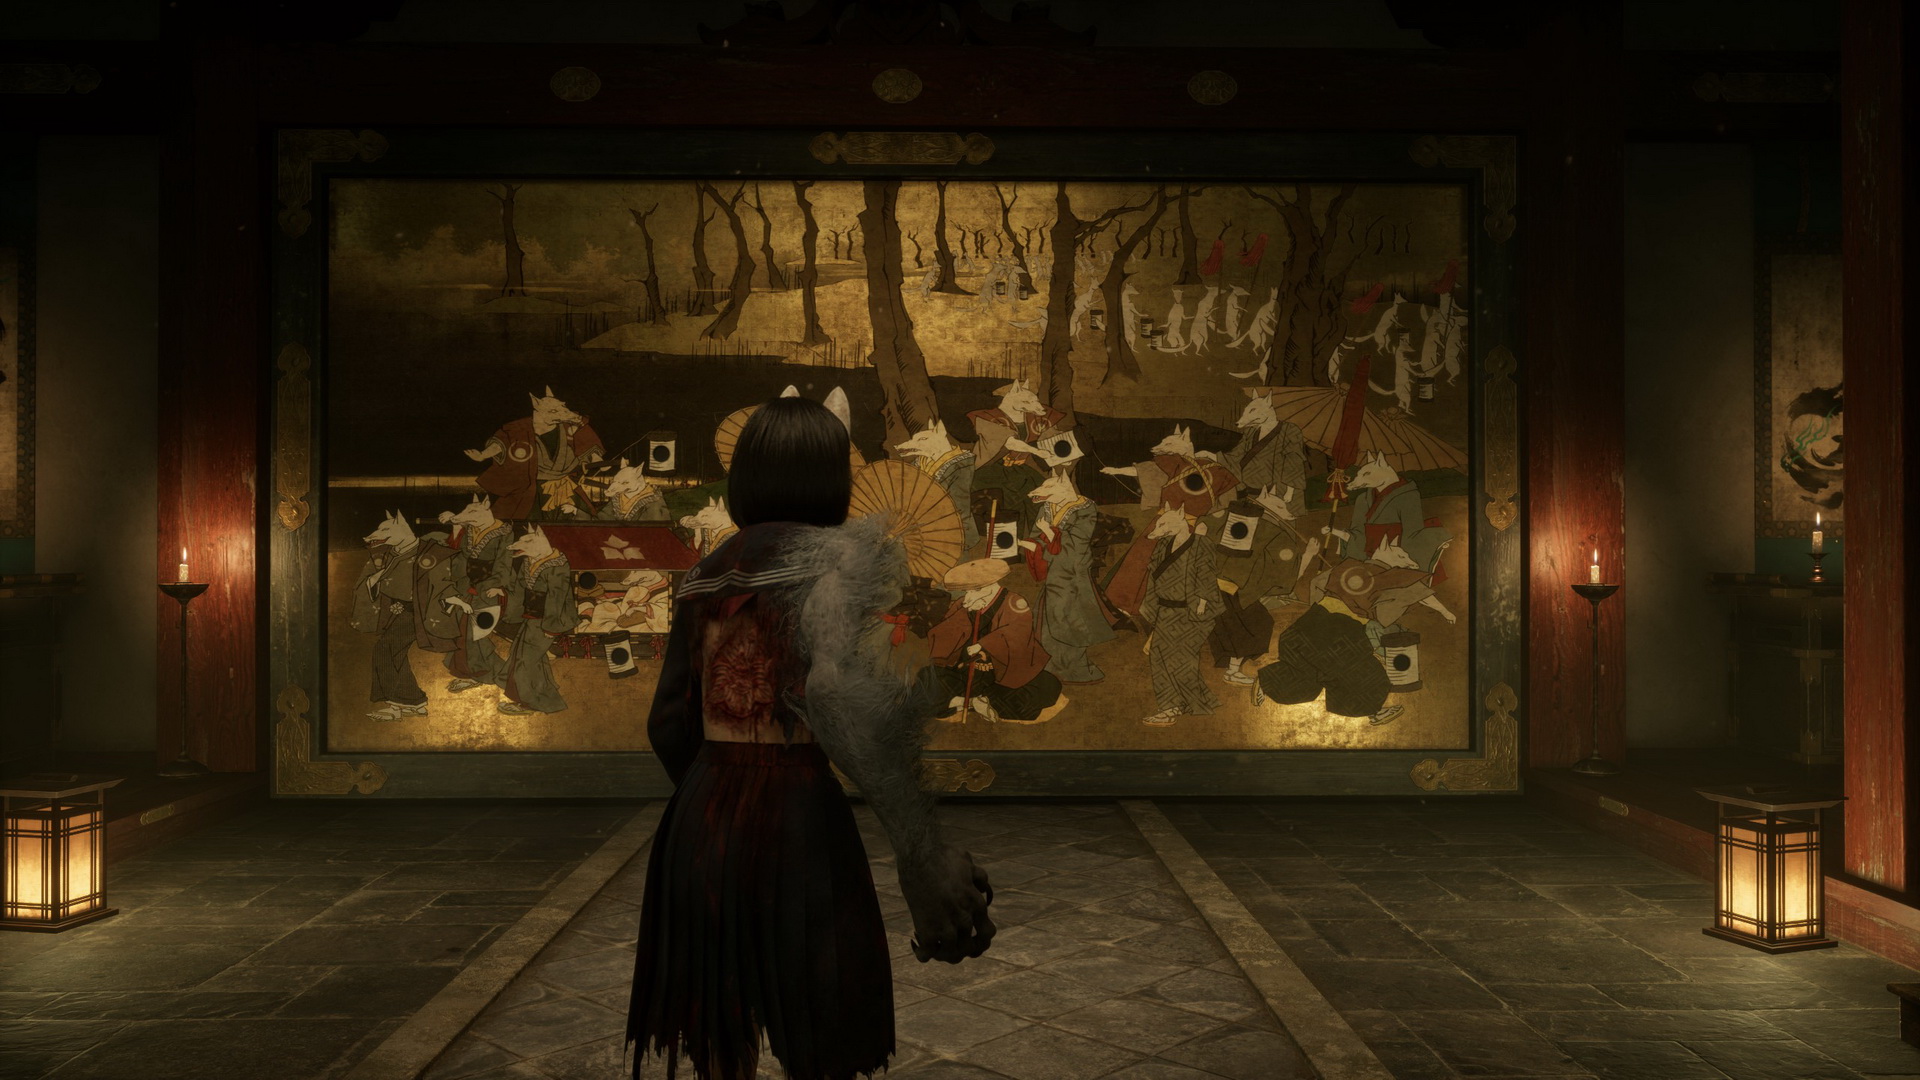
The poem to the right reads:
Prove your intent with the crests three.
Show what lies deep within your heart.Let the line of foxes guide you.
Offer the crests and lay bare your soul.
The three crests that you have collected – Black Bird Crest, White Sparrow Crests and Fox Mask Crest – must be inserted in the correct spots based on the poem to the left. The difficulty of this puzzle is that you will receive no hints whether you inserted each crest correctly, and there are nine empty slots in the mural, so you need to read the poems very carefully to find the right spots.
The puzzle's solution depends on what ending you are locked in.
Ending 1 Solution
The poem on the left reads:
The Black Bird wishes to take the White Bird.
The White Bird wishes to resist.The Fox brings along his followers in triumph.
He notices not the two birds in conflict.
The Fox Mask leads his followers and doesn't notice the birds that are behind him, so he's at the front of the group on the far left. Now, notice a group of two foxes in red kimonos in the center, confronting each other: the one on the right (Black Bird) is pulling the rope attached to the other fox's lantern (White Sparrow). Put the crests in the following spots:
- Fox Mask Crest – in the fan of the fox on the far left.
- White Sparrow Crest – in the lantern of the fox at the top middle.
- Black Sparrow Crest – in the chest of the fox to the right.


|
New Game+: Ending 2 Solution
The poem on the left reads:
The Black Bird is in the cage at last.
The satisfied Fox spreads his fan.The White Bird remains in a daze.
All had been swept away as she slept.
The Fox Mask belongs in a spot in the fan, and there's only one such spot, which is at the far left. The fox sitting on the ground in the middle is dozing – this is where the White Bird belongs. Finally, the cage is a reference to the palanquin on the left, so that's the spot of the Black Bird. Put the crests in the following spots:
- Fox Mask Crest – in the fan of the fox on the far left.
- Black Sparrow Crest – in the lantern of the fox sitting in the palanquin.
- White Sparrow Crest – in the lantern of the fox in the middle, above the fox sitting on the ground.


|
New Game+: Ending 3 Solution
The poem on the left reads:
The White Bird flies free from her cage.
Her shadow follows close behind her.The Fox raises a lantern as he watches them fly away.
There is nothing he can do now.
The White Bird and her shadow are escaping. There are two foxes at the far right that run in an opposite direction to the rest of the group. The White Bird belongs to the right fox of these two, and the Black Bird (shadow) is in the left one. There's another fox that is looking in the same direction at the top left. That is the spot of the Fox Mask. Put the crests in the following spots:
- Fox Mask Crest – in the lantern of the fox at the top left, above the palanquin.
- Black Sparrow Crest – in the lantern of the fleeting fox at the far right (the left one of the two).
- White Sparrow Crest – in the lantern of the fleeting fox at the far right (the right one of the two).


|
New Game++: Ending 4 Solution
The poem on the left reads:
Two chicks confide in one another in their shells.
A Fox watches over them in the light of his lantern.Nobody knows when, or even if, the eggs will hatch. Not even the chicks themselves.
This is the most obscure poem. The two birds seem to be together, with the fox watching over them from above. Two slots are close to each other in the palanquin: one on a pedestal inside the palanquin and another one in the lantern held by the fox that is in the palanquin. So these two spots belong to the two birds. The Fox Mask goes into the lantern of the fox that is standing above the palanquin. Put the crests in the following spots:
- Fox Mask Crest – in the lantern of the fox at the top left, above the palanquin.
- Black Sparrow Crest – on a pedestal inside the palanquin.
- White Sparrow Crest – in the lantern of the fox sitting in the palanquin.


|
Go through the door
Go ahead and enjoy the cutscene.
| 11. Shimizu Residence | 13. Ebisugaoka Part 6: Tainted Town |