Hospital World
Welcome to the seventh chapter of the complete walkthrough guide for Silent Hill 4: The Room (2004, PS2, Xbox, PC), covering Hospital World. This guide provides a comprehensive walkthrough with all item locations, detailed puzzle solutions, and boss strategies. It also includes complete maps with all items and monsters marked for easy reference.
Color legend
Chocolate Milk – items
Wine Bottle – weapons
Pistol Bullets – supplies
First Letter – memos
Portal – Portals connecting Room 302 and various Worlds
Contents
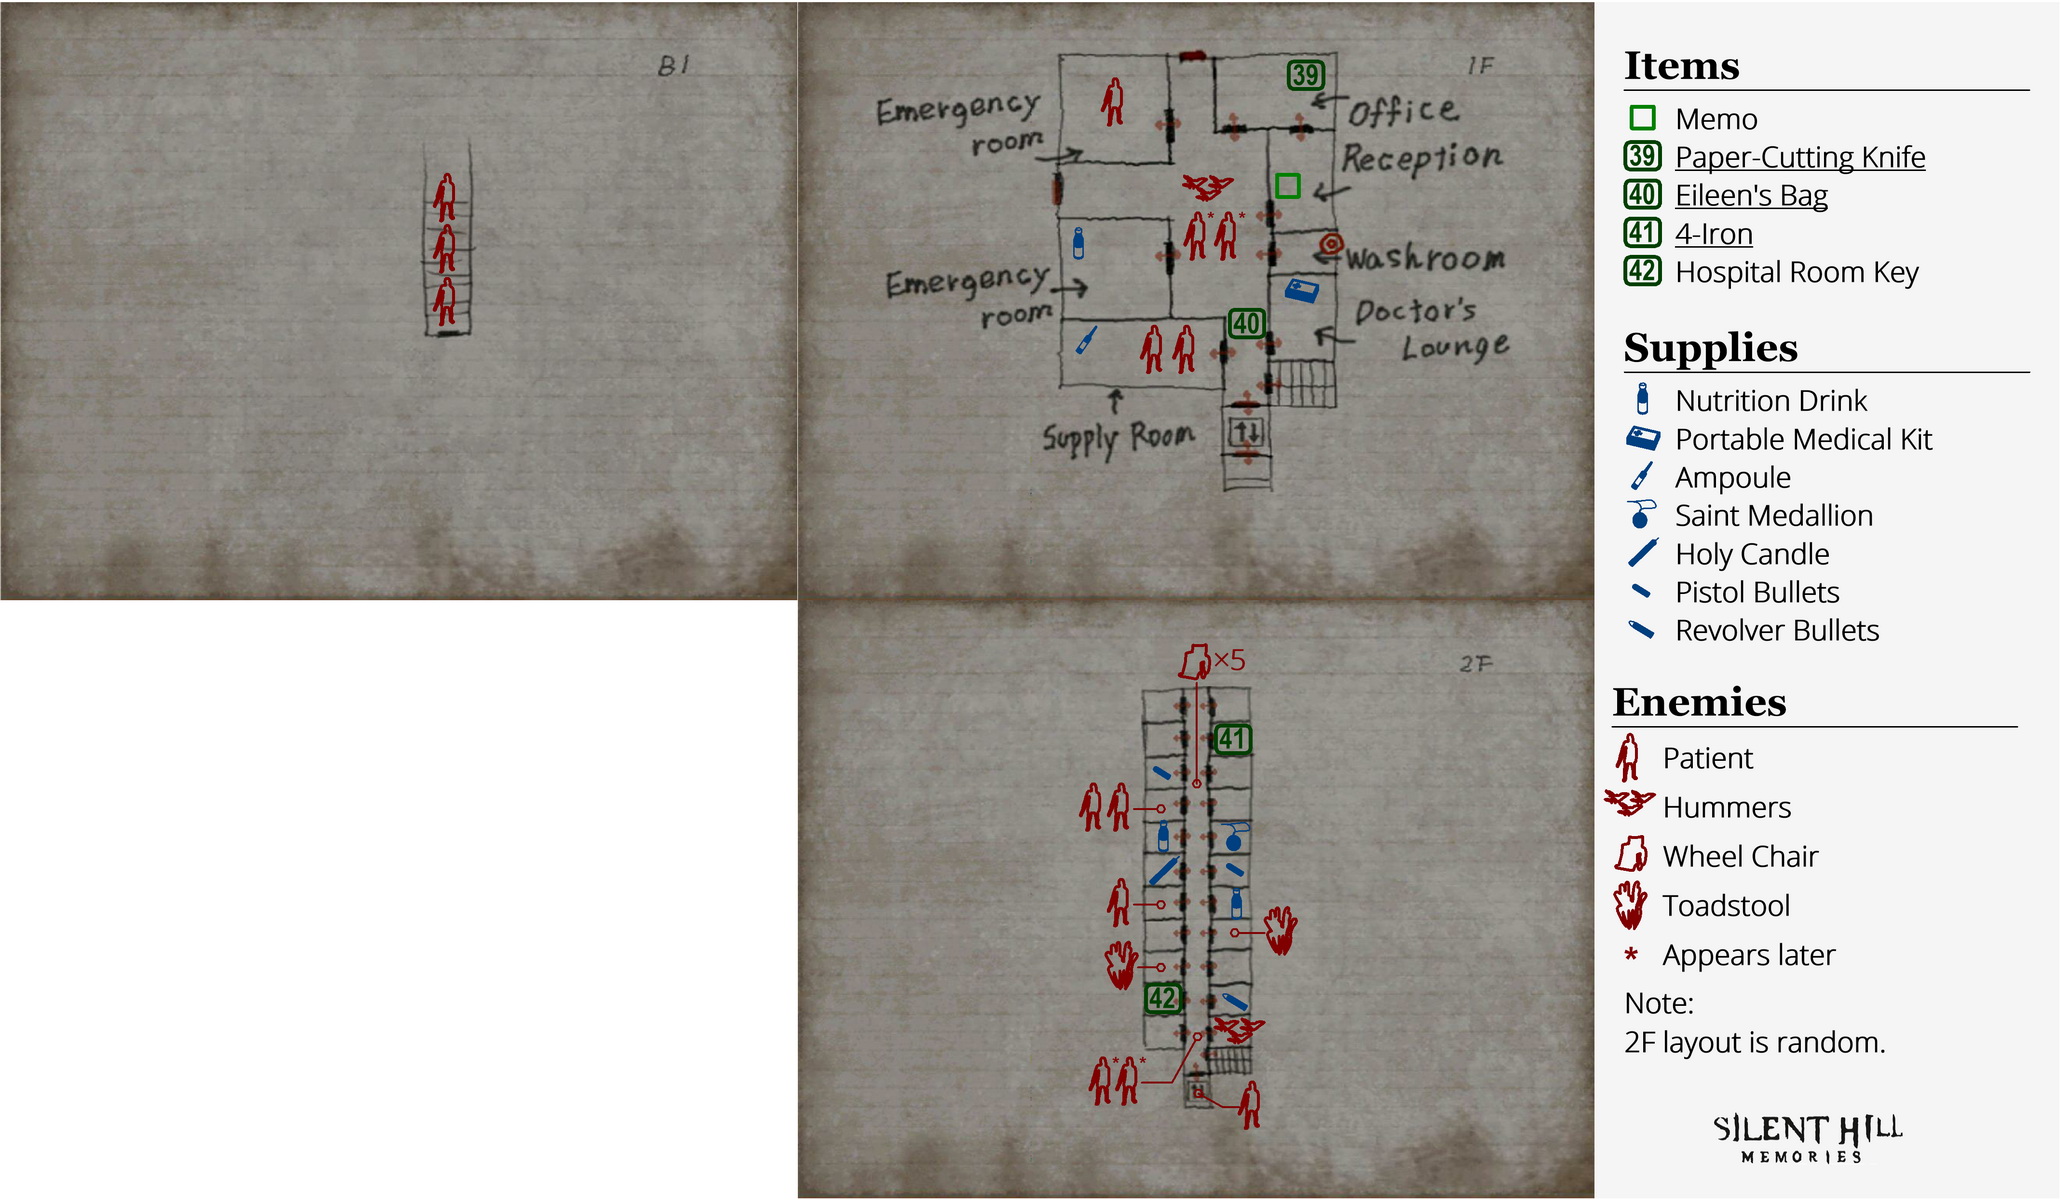
Complete maps |
|
Walkthrough
"He told me to go down... down into the deepest part of him..."
First Floor
 After the freaky cutscene, you'll want to murder all the Hummers in the outside hall. Stomp them while you can and then bat the rest down as well. If you re-enter the room Henry left, the man is gone but there will be a new enemy there called a Patient which makes some silly noises when hit.
Inside the northeast office on the far table is a 39 Paper-Cutting Knife, a new weapon that's weak but very quick. Head through the other door in the room to the reception where you can examine the whiteboard for a brief cutscene, then find the Nurse's Memo (27/52) on the right table.
The next room to the south is a washroom that contains a Portal. Nothing new awaits in your apartment, so enter the second emergency room directly across the hall and grab the Nutrition Drink on the small shelf while taking in the room's scenery.
Moving on south, a cutscene will play near the object on the floor. It's 40 Eileen's Bag, which is actually a weapon for Eileen rather than an item. The east room there is the doctor's lounge which contains a Portable Medical Kit on the low table. There's also a baby's medical chart on the desk that Henry stares at but won't investigate further.
On the other side of the hall, enter the supply room and beat down the two Patients, then find the supremely rare Ampoule on the right shelf midway down. It's one of two in the game, so use it wisely.
The south elevator isn't working, but if you look closely you may notice the shaft's doors are missing and it's the elevator itself you're looking at, so maybe it can be moved somehow... Anyway, there's a stairwell beside it to take you up to 2F. Before doing so, I highly suggest dumping everything except for a single weapon since you'll be collecting a ton of items up there. Make your way up the stairs and through the other door when ready.
Second Floor: The Randomly-Arranged Corridor
You'll be greeted by Wheelchairs up here, which are new enemies that can't be killed and will damage you by being near them, just like Ghosts, so watch out. First you'll only see three but they'll potentially grow up to six as you visit certain rooms. Oh, and you may also see them briefly enter and exit rooms, but only when you're in the hallway.
Note on this floor's arrangement:
While this hallway looks the same every time, which rooms appear through each door will always be randomized per run. Your ultimate goal is to find Eileen's room which is locked, so you'll first need to find the key that opens that room in another room. You'll also run into a bunch of items and supplies between the rooms so stock up while you're there. I suggest picking one side and entering every room, then doing the same on the other side on the way back.
Between all the rooms here you can find a Holy Candle, Saint Medallion, two Nutrition Drinks, two packs of Pistol Bullets, one pack of Revolver Bullets, and a 41 4-Iron golf club. If you come up here with only one weapon then you can do it all in one trip. You'll also find some odd rooms with nothing important inside, plus one special erotic room that pulls the reversal on the whole spying on Eileen thing.... Enjoy.
Note on Holy Candles:
Potentially finding your first Holy Candle in the hospital, these are anti-spirit items that can be used to clear hauntings in your apartment, which you're shortly going to be introduced to. Approach the haunting and use the Holy Candle to place it and clear it (read more in the Hauntings note down below). They can also be used to fight Ghosts inside a small radius in the outside world, capable of sometimes downing them if kept within their range (may take multiple candles with some Ghosts).
Finding Eileen's Hospital Key and Room
One of the rooms in this hallway is locked and contains Eileen. In another room you'll find a snake statue with the 42 Hospital Room Key in its mouth. Take it and a large circular cage will fall over you... Great. You did just get a key though, so face the gate by the door try the Hospital Room Key to escape, then leave the room itself.
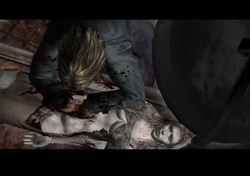
 Refer to your map to re-locate Eileen's room, or keep searching for the locked room, and enter it with the Hospital Room Key. Once inside, examine the sleeping Eileen for a cutscene. Maybe grabbing her while she's scared isn't the best idea, Henry... But in any case, Henry's goal is to now get her back to Room 302 via a Portal.
Eileen will now accompany Henry for the next long stretch of the game, so make sure you protect her. Leave the room and make your way back to the beginning of the hall, handling the two incoming Patients. You'll notice Eileen runs fairly slowly so don't get too far ahead.
Back at the beginning of the hall is an elevator. It's not on this floor but it'll come right up if you call it with the side button. Inside you'll only find a Patient, so what was the point? Well, you may remember this elevator was blocking the shaft downstairs... So let's head back down there via the stairwell and check it out.
Note on escorting Eileen:
Eileen doesn't have "health" in the traditional sense and can't die while being escorted, but she will take damage if attacked or left alone, and blood flow over her body will gradually increase as she does. Why does this matter? Well, her condition at the end of the game will dictate a certain mechanic that will influence your ending, making it very difficult to achieve one of the better ones if she's in a bad state. As the blood flow increases, Eileen will get more scared, begin talking like a child, and even kneel down to take a break. If this happens multiple times or she doesn't look good, you may be out of luck for one of the better endings.
Eileen also moves slowly given she's all beaten up, making it very easy to leave her behind in areas if moving too quick for her. If you do lose her, return immediately to let her rejoin since her condition will worsen the longer she's spent alone. You will sometimes have to leave her as you tend to certain objectives, but just ensure you don't leave her in a room or hall with enemies, since that will worsen her condition more rapidly. To best take care of Eileen, guard her yourself, give her a weapon, and minimize leaving her alone, especially with enemies nearby.
Escaping the Hospital with Eileen
Back on the first floor while keeping a leash on Eileen, two more Patients will greet you in the hall. If you called the elevator shaft upstairs, you can now enter it but there's a locked gate on the other side...
Enter the nearby washroom and use the Portal to return to Room 302 and see if Eileen can join you.
Room 302Henry wakes up alone, but there's plenty of other bad news as well. You'll hear something shatter in the living room. Check it out to find the ceiling fan has broken. Henry also notices the air feels heavy on the way, and your health won't recharge anymore... Great. Get used to using health supplies only from now on. Check your front door for the Red Diary - July 20 (28/52) with a 43 Small Key in an envelope, which Joseph thinks may help you. If you turn around you'll now find three memos along the wall by the living room bookshelf: Red Diary - June 11 (29/52), Red Diary - ??/?? (30/52) and Red Diary - June 14 (31/52). Clear some inventory space but keep the key and return to the hospital through the laundry room hole. |
 Luckily Eileen is still here and a small cutscene plays out. She didn't see any hole, so it seems she can't return to Room 302. Note that she says she knows she'll be cursed if she's left alone, cause she's right. Don't leave her alone for too long or she'll progress to a bad state.
Leave the room and see if that key you just got will help. Head back into the elevator shaft and try the gate to use the Small Key and pass through. Perfect. If the elevator is still there, you must call it from 2F to clear the shaft.
Now in a long, descending stairway, you can see a Patient ahead and two more farther down. Act quickly and take out the first, and follow it as it burps down to the flat stair to finish it with a stomp, then turn to the next two. Charge up attacks work best, especially with the Rusty Axe.
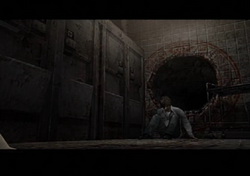
Note the "Ever Downward" caption beside the door at the bottom and pass through.
Below Hospital World
Once through the door you'll be on a descending, circular staircase that will grow familiar to you for the rest of the game. Either pace yourself or you'll have to wait for Eileen to catch up at some point.
A Portal awaits near the bottom, and there may be some new events occurring in your apartment worth checking out.
Room 302If you return home, you'll probably experience your first haunting. It will likely be the ticking clock, rattling windows, or wandering shoes in the kitchen. It's generally recommended that you clear a haunting whenever witnessed. Read below. Note on hauntings: To clear a haunting, simply place a Holy Candle near it either on a chair or on the floor, depending on the situation. If you get told you can't place one you just need to find the right spot to set it. The candle will quickly burn and the haunting will be cleared just as the candle reaches its end. Saint Medallions can also be used when near but it may be a waste given they work so well on Ghosts in the outside world, especially when one candle will work perfectly and you'll find enough of them over the game to clear them that way. Return through the laundry room hole when finished. |
Continue down the stairs to finally reach a door at the bottom. Pass through it once Eileen is near to continue on with her.
| 06. Apartment World | 08. Subway World 2nd Time |