Brookhaven Hospital
Letter from Silent Heaven
- East South Vale
- Wood Side Apartments
- Blue Creek Apartments
- West South Vale
- Brookhaven Hospital
- Nightmare Hospital
- Dark South Vale
- Silent Hill Historical Society
- Toluca Prison
- The Labyrinth
- Toluca Lake
- Lake View Hotel
- Nightmare Hotel
Born from a Wish
Welcome to the fifth chapter of the complete walkthrough guide for the original Silent Hill 2 (2001, PS2, Xbox, PC), covering Brookhaven Hospital. This guide provides a comprehensive walkthrough with all item locations, detailed puzzle solutions, and boss strategies. This walkthrough also includes complete maps with all items and monsters marked for easy reference.
This is a walkthrough guide for the original Silent Hill 2. For the walkthrough for the Silent Hill 2 Remake (2024), please go to this page.
Color legend
Letter from Mary – items
Wooden Plank – weapons
Health Drink – supplies
Map of Silent Hill – maps
Save Point – save points
Contents
- Complete Maps
- Walkthrough
- First Floor Lobby
- Second Floor Employee Wing
- First Floor Examination Room and Doctor's Lounge
- Second Floor Patient Wing
- Third Floor Employee Wing
- Third Floor Patient Wing: Nap Time in S3
- To the Rooftop
- Third Floor Special Treatment Room
- Third Floor Patient Wing: Making Sense of Codes and Keys
- First Floor Patient Wing
Complete Maps |
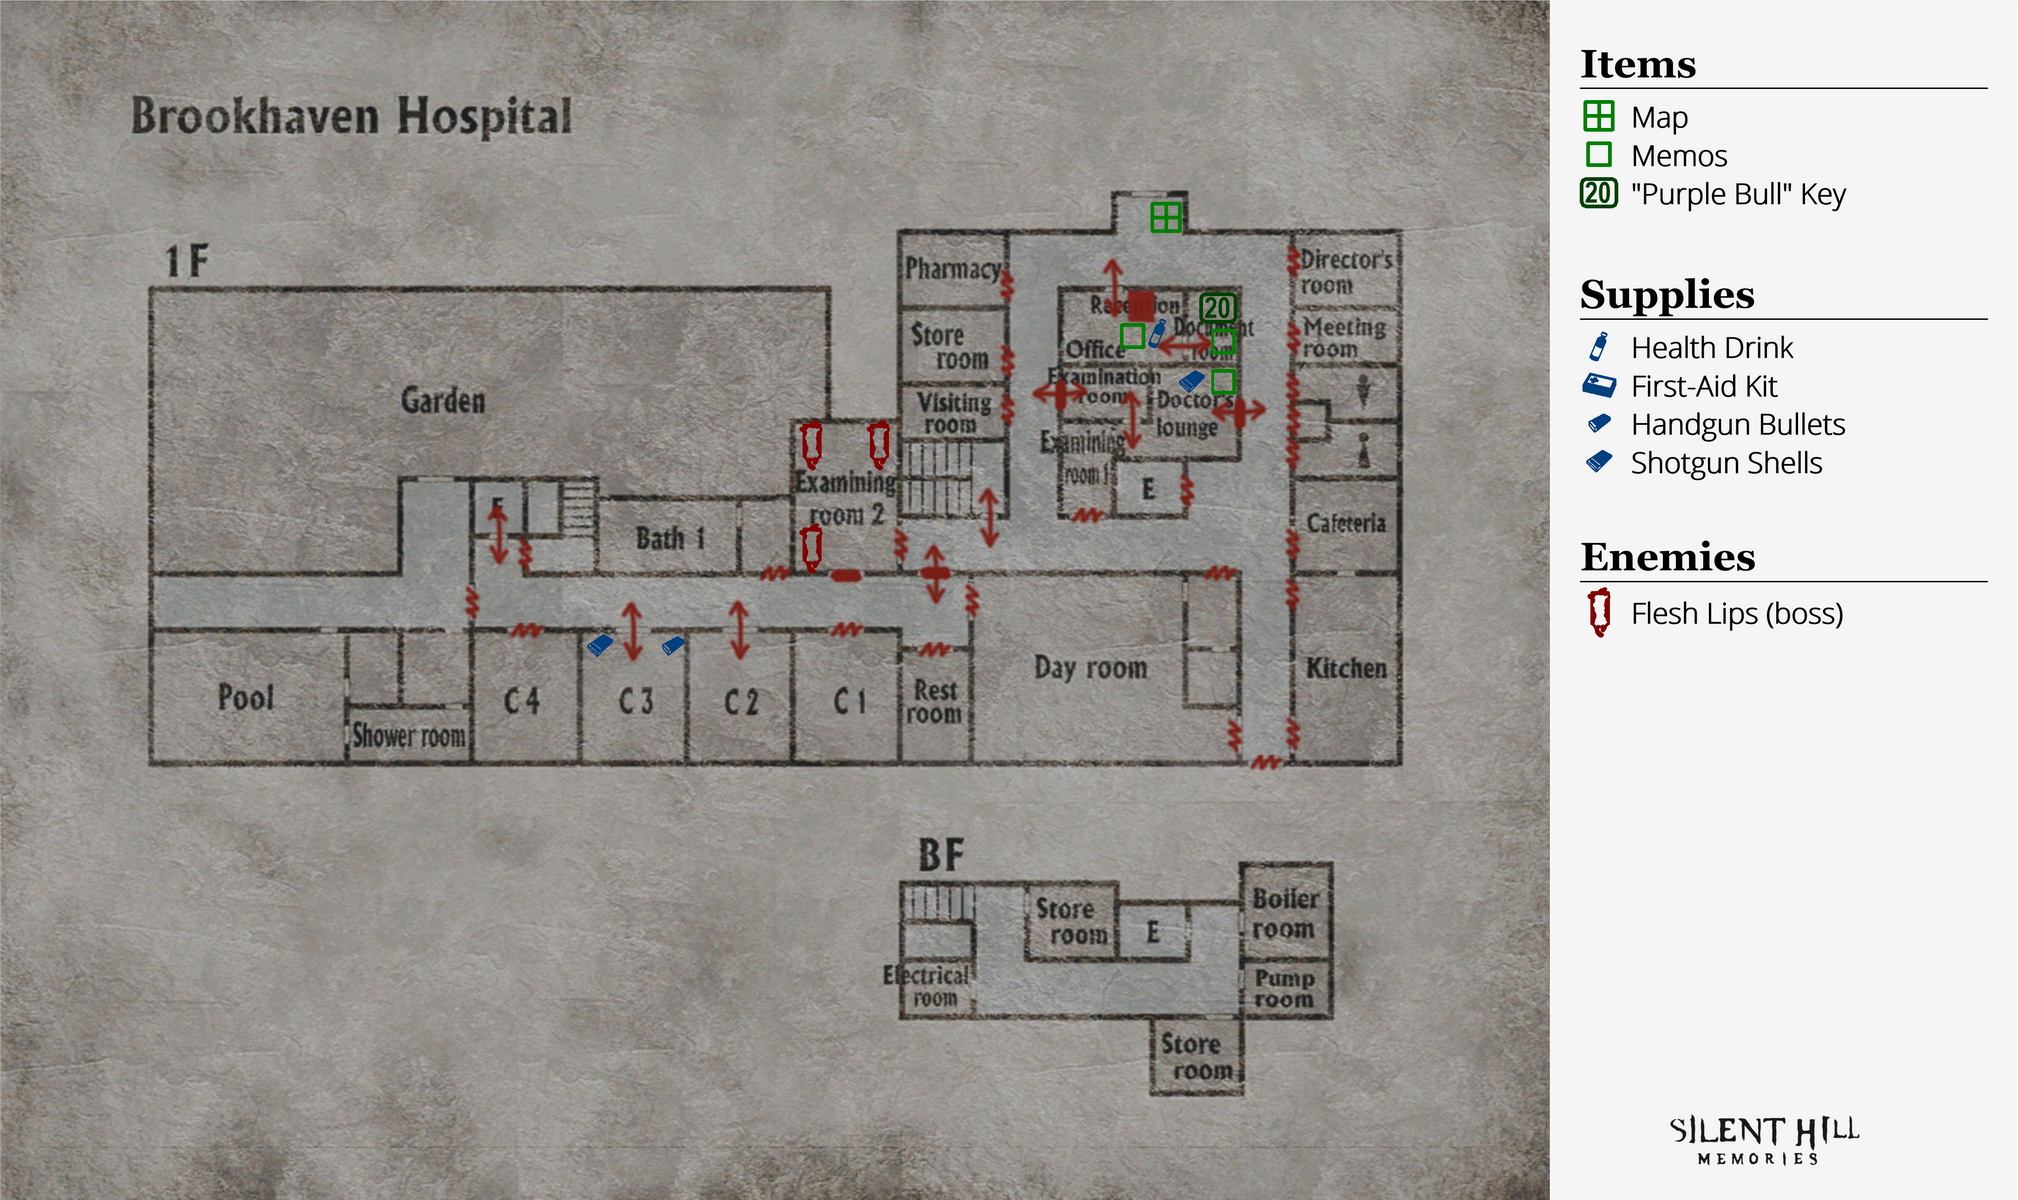
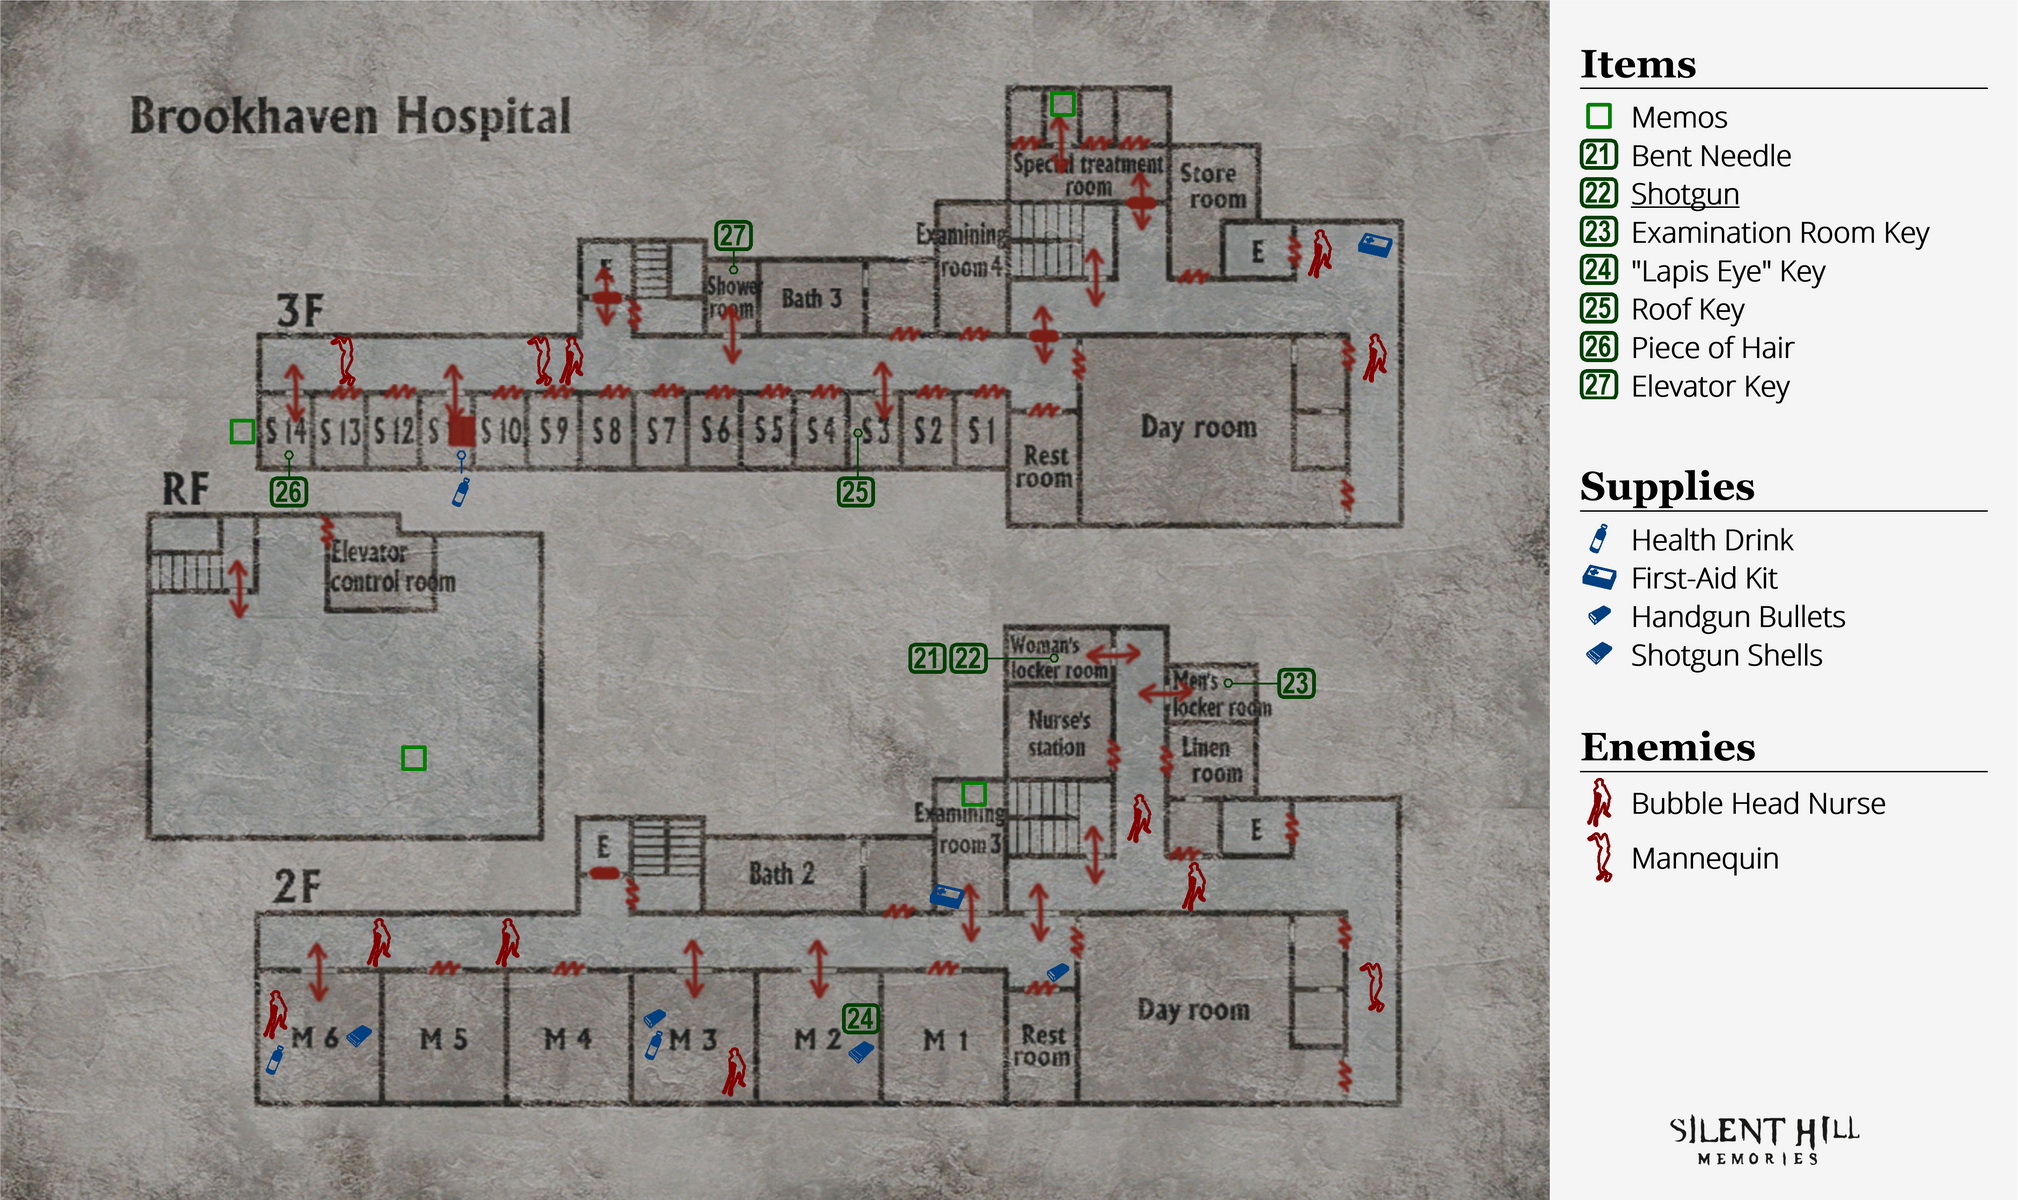
|
Walkthrough
"I was friends with Mary... We met at the hospital. It was last year..."
First Floor Lobby
Take the Map of the Hospital on the noticeboard to James' left and enter the nearby Reception Office to check in. On the desk you'll find a Save Point and a memo on three mental patients, as well as a Health Drink on the desk by Maria. Head through the door beside her to the Document Room to find a memo and the 20 "Purple Bull" Key on the desk. Exit both rooms to the main hall.

Upon further investigation, you'll find that the Examination Room and Doctor's Lounge are locked – expect to come back here later. Find the unlocked stairwell by the locked double doors and head up to 2F, arriving in the employee wing.
Second Floor Employee Wing
Up on 2F, you'll encounter new enemies called Bubble Head Nurses, fully-dressed in provocative uniforms and quite curvy. Although they may be sexy, don't let that drive you to your death. Nurses are very effective killing machines and inflict quite a bit of damage with their steel pipes, not to mention their aggression levels. If you've been using mostly melee weapons so far, switching to the Handgun is a must for these seductresses.
Take out the Nurses if they come near you, and enter the Women's Locker Room around the corner, a natural primary destination for a man such as James. Inside, examine the teddy James stares at to find a 21 Bent Needle inside it. In the open locker beside it is a 22 Shotgun. Work here must've been pretty rough for these nurses... While it's a very powerful weapon, it isn't yet necessary to start using it, so keep the Handgun equipped and build up some Shotgun ammo for now. Exit the room and enter the Men's Locker Room on the other side of the hall.
The only item of interest in here is the bloody white lab coat hanging from the top of the last locker on James' right, which contains the 23 Examination Room Key inside the pocket. Remember the locked room downstairs? Return to 1F and use the Examination Room Key to unlock and enter the Examination Room.
First Floor Examination Room and Doctor's Lounge
You won't find anything in the small Examination Room, but you can pass through the other door to the Doctor's Lounge, which you couldn't access earlier either.
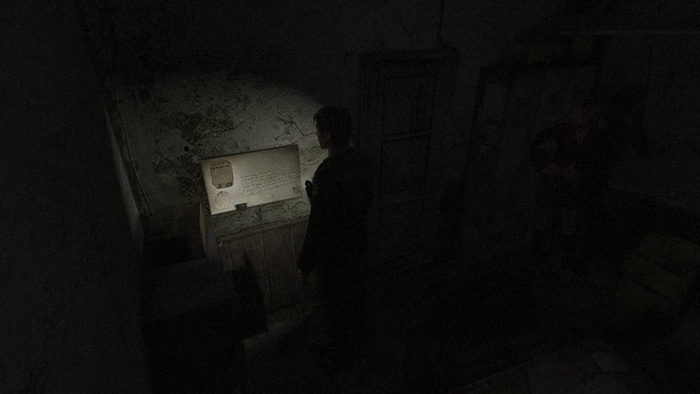
In the Doctor's Lounge, take the Shotgun Shells in the sink and examine the whiteboard by the far door in the room. There's a memo written on the whiteboard telling you the code for the 3rd floor patient wing. On Easy and Normal Riddle Level, the memo simply tells you that the code is 7335, but on Hard and Extra it will explain that the code is a "T", referring to the position of the numbers on the keypad which you'll soon see. You're done here, so exit the room through the door beside the whiteboard, unlocking it first, and head back up to 2F.
Second Floor Patient Wing
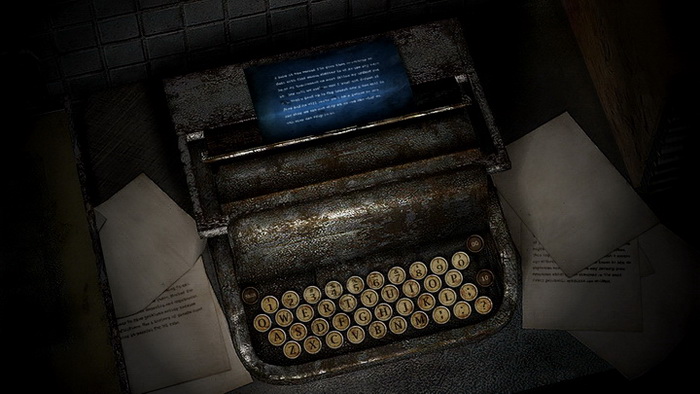
Head through the double doors near the stairwell and get the Handgun Bullets on one of the stools in front of you. Start down the hall with Maria, entering Examining Room 3 on the right. Take the First-Aid Kit on the bed and find the typewriter on the back desk. There's no paper in it, but James can read the imprint in the carbon paper, which contains an important code. It's random every time, so take note and remember it for later. Exit the room.

Enter room M2 farther down the hall to find the 24 "Lapis Eye" Key in the small nightstand drawer and some Shotgun Bullets on top. Exit the room and enter the neighbouring room M3. Inside, you'll find a Health Drink and Handgun Bullets, as well as a Bubble Head Nurse. Back out in the hall, if you move past the two Nurses and enter room M6, you'll find Shotgun Bullets by Maria and a Health Drink by the Bubble Head in the room. That covers 2F, so exit back to the employee wing and head up to 3F via the stairwell.
Third Floor Employee Wing
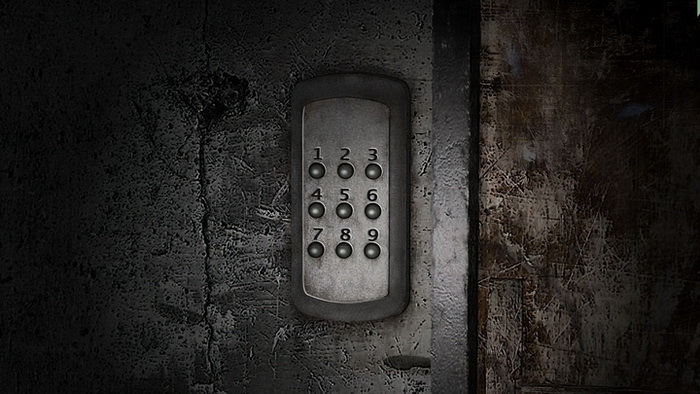
There is a First-Aid Kit by the inoperable elevator here, but you'll have to get past two Nurses if interested. The Special Treatment Room is locked, as are the double doors by the stairwell, but you'll find a keypad beside the doors. On Easy/Normal Riddle Levels, this really isn't a puzzle as you likely found the code already, but it's a bit trickier on Hard/Extra.
Puzzle: Third Floor Patient Wing Keypad
The solution to this puzzle is always on the whiteboard in the first floor Doctor's Lounge. On Easy/Normal you're simply told the code but on Hard/Extra you'll have to solve a little riddle to decipher the code.
Easy/Normal
3rd floor patient wing hall - 7335
There you go, just enter the code to unlock the doors.
Hard/Extra
"The pin number this month is
'T'. Last month it was 'X'
and before that it was 'Z.'
But what are they going to
do next month? That's all they
can express with 4 numbers.Anyway does the door to the
Patient Wing really need to have
its combination changed this
often?"
So the code was a Z, then an X, and now it's a T... How do you get a number from that? Well, simple. How do you draw a T? Naturally, you'd first draw the top from left to right, then the bottom from top to bottom. Some may do it differently, perhaps from top to bottom and then the left to right top, but the people who work at this hospital operate the first way, as we're about to find out.
Again, how does this relate to numbers? Well, look at the keypad and imagine how you'd draw a T on it. You would do so like this:
| 1 | 2 | 3 |
| 4 | 5 | 6 |
| 7 | 8 | 9 |
The keypad uses a 4-digit code, so following our drawing format described above, we would start at 1 and cross over to 3. Then we'd move to 2 and drop down to 8. 1328. That's the code.
If there's any confusion as to why it's not 1238, especially from that diagram, just think about it. When you draw the T, you move from 1 to 3, passing through the 2 without actually stopping there. Only then do you go to the 2 and continue down to the 8. This is also why 5 is not a part of the code since it's only passed through. Again, someone could also draw the T from 2 to 8 and then 1 to 3, but these folks at Brookhaven do it the first way.
Although it doesn't matter, if you're curious about the codes from the last months, they likely would've been 1937 (X) and 1379 (Z), again using the same principle of drawing point to point.
Keep in mind that this code is always the same for the corresponding Riddle Levels. It will always be 7335 on Easy/Normal and always 1328 on Hard/Extra. So once you know the code you can even skip the Examination Room Key since there's no need to go read the whiteboard, although you can decide if the Shotgun Shells in the Doctor's Lounge are worth the trip.
Third Floor Patient Wing: Nap Time in S3
Now enter the patient wing after inputting the code and head inside room S3. In there, Maria looks a little tired and James suggests she gets some rest on the comfy bed. Once this happens, Maria will not be able to accompany James for the next part of the game, but she is not needed and this way she won't take any damage from enemies.
Feel free to investigate her lying on the bed for brief bits of dialogue. Take the 25 Roof Key from the nightstand and leave Maria to rest. Note that you can continue down the hall but you'll find a mystery box in the final room that you're not quite ready for. We'll be back here soon anyway.
Note on Maria in Room S3:
How often you check up on Maria in this room, talk with her and generally how much time you spend with her in there may affect the outcome of the ending you receive at the end of the game. I suggest you play as you normally would, but more information is available in the Endings section. I'd recommend beating the game at least once before checking that section to avoid any spoilers.
To the Rooftop
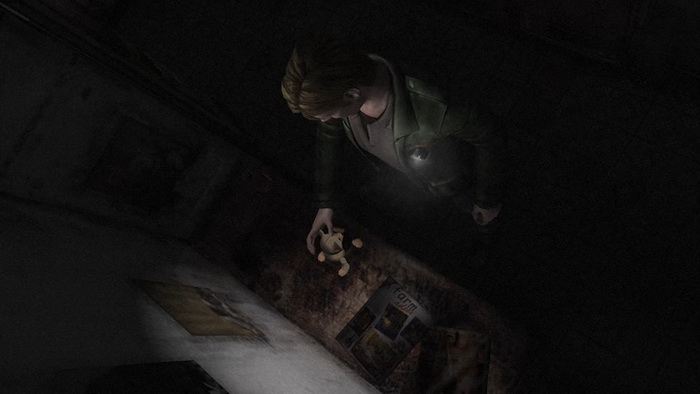
To access the roof, return to the employee wing and take the stairwell up one more floor. Through the RF door to outside, it's now dark and a tad eerie up here. If you take a gander at the ground you may notice a turquoise notebook cover and scattered papers in the corner, which make up a suicidal diary likely left by a patient here.
Note on suicidal diary:
Whether you do or do not read this diary may slightly influence the outcome of the ending you receive at the end of the game. It's likely of minimal influence and I suggest you read it your first time anyway, but feel free to read more about this in the Endings section after completing the game at least once.
After checking the diary or at least that general area, you may notice that the roof door won't open anymore... Head over near the fence between the door and the Elevator Control Room and you'll hear metal scraping concrete... The fence sounds like it's about to break too if you check it... Uh oh. Brace yourself and enjoy the ride because there's no escape here.
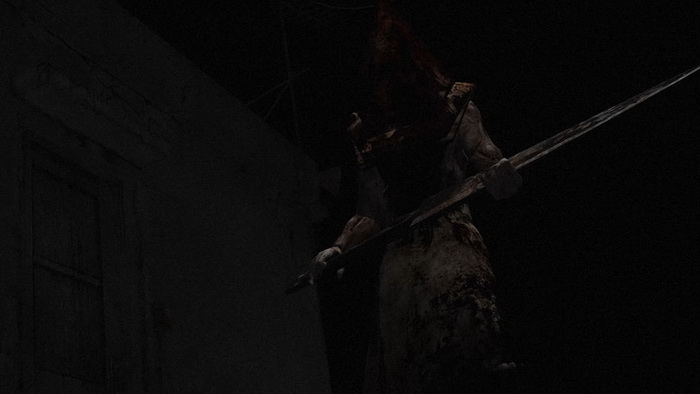
Third Floor Special Treatment Room
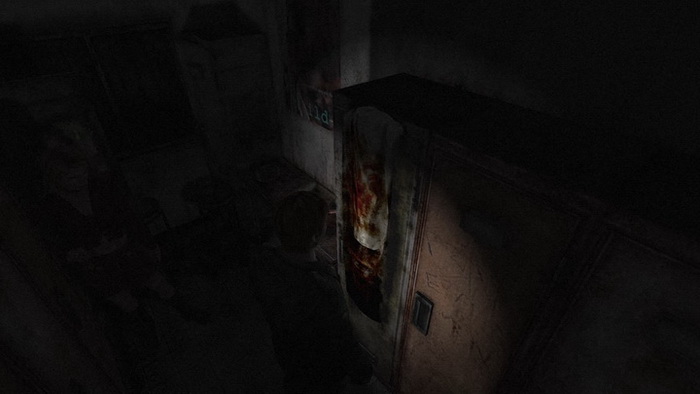
James awakens in the wreckage of the third floor Special Treatment Room, which was locked from the outside earlier. So the big old pyramid actually did us a favour, thanks dude! Your health will be critical though so be sure to use some health items.
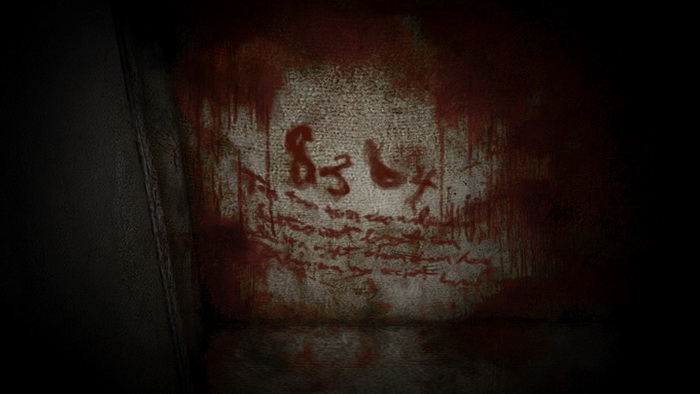
Enter the patient cell with the wheel trail leading to it, which is the only one that opens. In the claustrophobic padded cell, examine the bloody wall to view a sloppily-written note and four-digit code. It may be hard to decipher, but examining it will add it to your Memo menu for quick reference, and we'll get to it later. Leave the cell and the main room itself, unlocking the door on the way out.
Third Floor Patient Wing: Making Sense of Codes and Keys
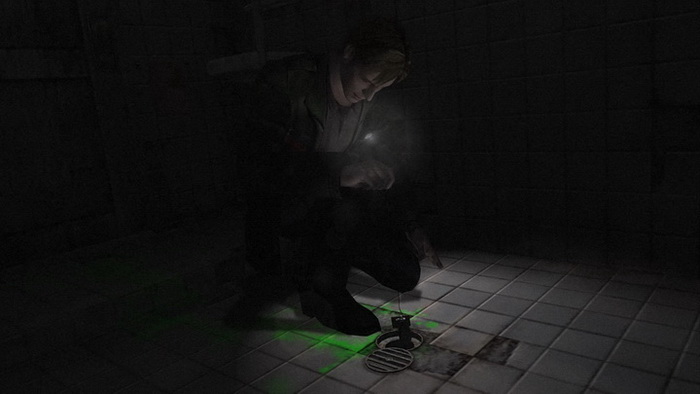
Avoid the Nurse if you didn't kill it earlier and re-enter the patient wing to continue checking there. Inside the Shower Room is a suspicious green liquid leading into the shower drain where an item hides, but the Bent Needle isn't long enough so we can't reach in there yet.
Continuing down the hall, you'll find a Save Point on the wall inside S11 and a Health Drink on the tipped-over nightstand. Consider saving since a boss fight is coming up quite soon.
At the very end of the hall past two Mannequins, room S14 holds a mysterious box, but we'll need to find a way to release all its locks to see what's inside.
Puzzle: "Louise" Box (Room S14)
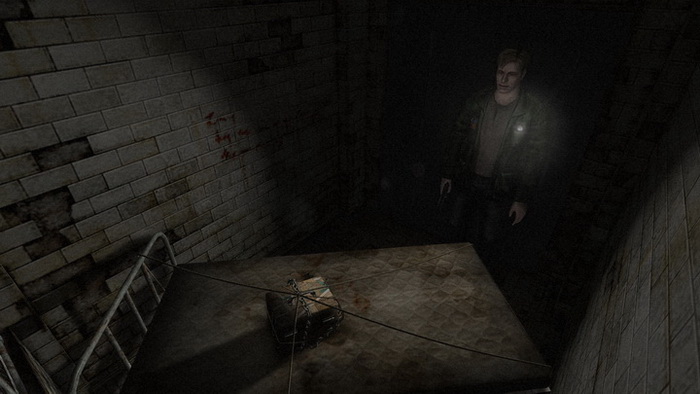
Examining the box, it has two key locks and two combination locks keeping it closed. When you acquired the "Purple Bull" Key in the Document Room, there was a note that said it was probably for "that box". Additionally, the "Lapis Eye" Key has a blue center described by James as being "lapis lazuli", which is a deep-blue rock known for its unique colour. On the box you may notice some blue tape, matching the two together.
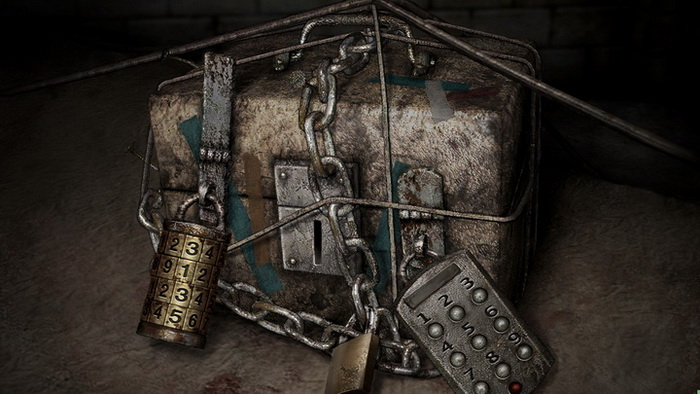
So there we go. To speed things up, combine and use the "Purple Bull" Key and "Lapis Eye" Key from your inventory (or use them separately, doesn't matter). That takes care of the two key locks, with two combination locks remaining.
If you remember, the bloody wall code had a message written under it that began with "Tern tern tern the numbers", implying it's for a turning lock. So input that code into the turning lock on the left, referring to the memo with the same title in the Memo section of your inventory to see it again.
You also found another code in the "Imprint on carbon paper" memo in Examining Room 3, also now found in that Memo section. On Easy/Normal Riddle Levels, this memo mentions "the button key doesnt scare me", so go ahead and input the code into the button lock on the right. On Hard/Extra Riddle Levels it doesn't specify, but it's obvious enough through the process of elimination. Once all four locks have been released, the box will open.
Deciphering the Bloody Wall Code
Now, the bloody wall code is extremely notorious for being difficult to read due to how messy it is. Unfortunately the code is random every time so this is going to be up to you to solve exactly what the numbers are, but I can give you some tips to do that.
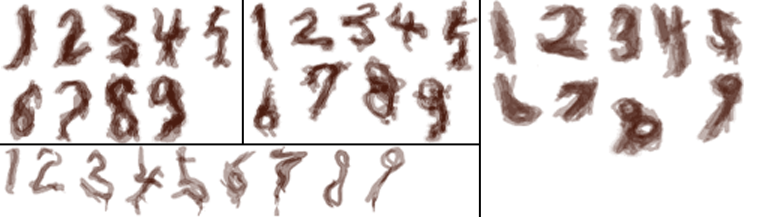
My first word of advice would be to look at the code and write down all the possibilities that each number could be to give you some solutions to try. Fives can look like sixes or even just random lines, sevens can look like twos, threes or nines, and ones can look like bent lines. But really, fives and sevens are the most troublesome so consider trying those out if your numbers are in the ballpark of looking like them – remember, the code was written by a psychotic mental patient at the end of the day.
Note that although the code is randomly selected, there is only one way a number in each specific column can look. So a five as the third number will always look the same in that column, but it will look different than the fives that can appear in the other columns. Therefore this code should become easier to decipher the more you play, and you may see troubling codes like 5757 appear more than once.
One last note for the lost souls who are trying to decipher the code from the third person view without examining the wall, press X for the close-up view. Yes, I've interacted with people who didn't know this before, so just putting it out there.
Again, my best advice is to just write down the code as it appears and keep guessing possible numbers for each digit. Some will appear obvious so you can more or less lock them in, but keep experimenting with the hard to read ones and try a bunch of potential combinations. With enough effort or trial and error, you will decipher the code correctly. Just hang in there.
In case you lost all hope to decipher the code yourself, here's the texture image from the game's files where you can easily locate each digit's depiction for all four positions of the code.
Inside the box is a 26 Piece of Hair. Really? That's our reward for unlocking four locks and deciphering a messy code written in someone's blood? It could help us in the Shower Room though... Head over there and combine and use the Bent Needle and Piece of Hair (they must be combined for this to work) while standing over the drain. James will pull out the 27 Elevator Key.
If you examine the key in your inventory, it says "Patient wing elevator" on the tag, so this should work on the elevator in this very hallway rather than the other one. Exit the room and enter the elevator down the hall, using the newly-acquired Elevator Key. There's no need to go to the second floor since we've already explored there, but you may remember the 1F patient wing was locked earlier. So examine the panel and head down to the first floor.
First Floor Patient Wing
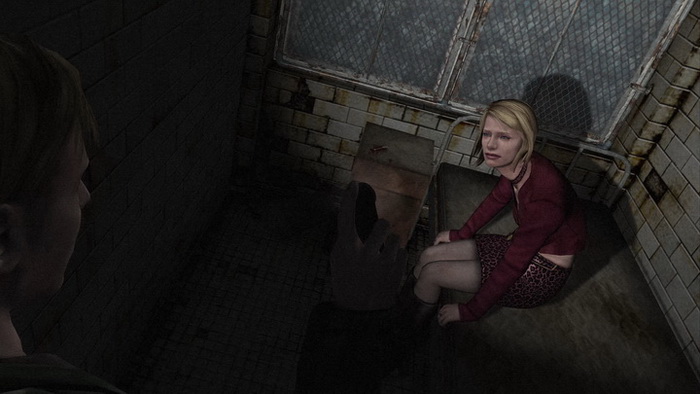
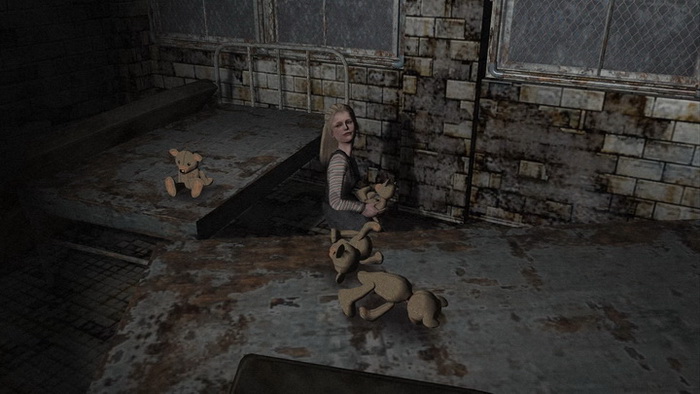
Down here, enter room C3 to get Shotgun Shells on the left nightstand and Handgun Bullets on the floor to the right. Leave the room and enter C2, where you'll find Laura playing with some teddy bears in the back. James is finally able to get some information from her this time, but she tricks the fartfaced James and locks him in Examining Room 2, where another threat appears. Perhaps as a note to James, maybe "snotty little brat" wasn't the appropriate phrase to use in that moment.
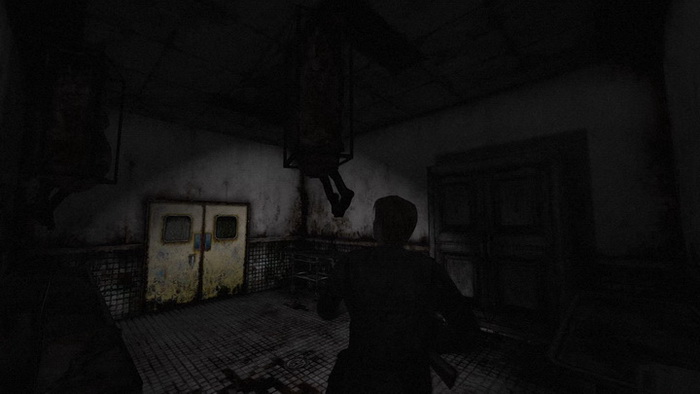
Boss 2: Flesh Lips (Examining Room 2)
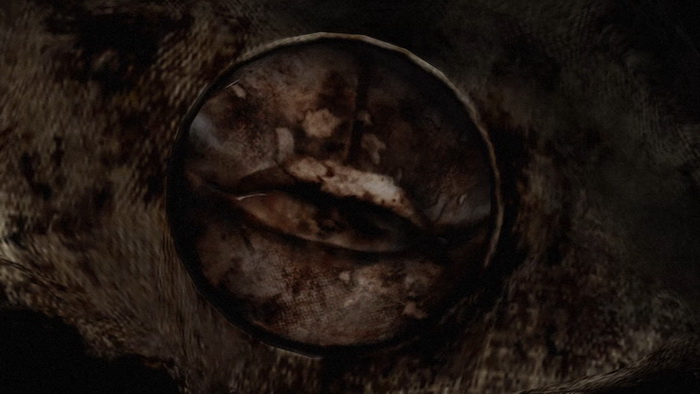
The tricky thing about this boss fight is not only fighting one Flesh Lip, but two at the same time and a total of three by the end. At the start, equip the mighty Shotgun, which you hopefully haven't been using yet and have enough ammo for, and fire once or twice while both Flesh Lips are a distance away. When they come close, run to the other side of the small room and repeat. There's really not much room here to get very far away, so it's important to use the space wisely and always be moving any time one of them is near you.
If you're too slow, accounting for recovery time after shooting, you'll be grabbed by one of the hanging monsters and strangled, but fortunately not to death unless you're very low on health. Additionally, strafing to the side with L1/R1 can be helpful to get away in a pinch rather than running towards the Flesh Lips.
Note that when using the Shotgun, James needs to aim the gun up at the creatures first in order to hit them, which takes a moment. If you quickly ready and fire right away, you won't hit anything. You must account for this after every shot as James lowers the Shotgun to pump it as well. Just wait for him to raise it up and then fire the next shot.
As the battle goes on and you continue to hit the creatures with your Shotgun Shells, one creature will die and it will become easier to kill the other on its own. Once the second Flesh Lip is killed however, a third one will drop from the roof and join the party. If you're low on Shotgun Shells, or even if you want to try something else, switch to the Handgun for the last one. It will take more ammo but it's easy enough to kill a solo Flesh Lip, plus you can sidestep while firing so you don't remain in one place.
Be aware that if you take too long to kill even one Flesh Lip, the third may possibly join in and make things even crazier. So try to take care of business efficiently to avoid this conundrum.
Flesh Lips' Attacks:
The Flesh Lip monsters have two attacks. One is the strangulation attack, whereby one of the creatures will grab and lift you with its feet to do so. Wiggle the shoulder and movement buttons to escape this attack more quickly and prevent further damage.
The other attack is a forward thrusting kick, which is not nearly as dangerous. You may be surprised at the range of this attack, but as long as you're shooting them you should be fine. You will be at risk of a kicking if you perform an in-game reload as you're approached, so be sure to reload in the inventory instead. Sometimes the Flesh Lips can even kick each other, buying you more time to get away and get in a clean shot or two.
Once the third Flesh Lip is killed, the screen will blur and the battle will be over.
A strange cutscene will play as James appears to be wheeled outside on a gurney to the sound of familiar whispers.
| 04. West South Vale | 06. Nightmare Hospital |