Silent Hill Historical Society
Letter from Silent Heaven
- East South Vale
- Wood Side Apartments
- Blue Creek Apartments
- West South Vale
- Brookhaven Hospital
- Nightmare Hospital
- Dark South Vale
- Silent Hill Historical Society
- Toluca Prison
- The Labyrinth
- Toluca Lake
- Lake View Hotel
- Nightmare Hotel
Born from a Wish
Welcome to the eighth chapter of the complete walkthrough guide for the original Silent Hill 2 (2001, PS2, Xbox, PC), covering Silent Hill Historical Society. This guide provides a comprehensive walkthrough with all item locations, detailed puzzle solutions, and boss strategies. This walkthrough also includes complete maps with all items and monsters marked for easy reference.
This is a walkthrough guide for the original Silent Hill 2. For the walkthrough for the Silent Hill 2 Remake (2024), please go to this page.
Color legend
Letter from Mary – items
Wooden Plank – weapons
Health Drink – supplies
Map of Silent Hill – maps
Save Point – save points
Contents
Complete Maps |
|
Walkthrough
"'Misty day, remains of the Judgment' It's him...."
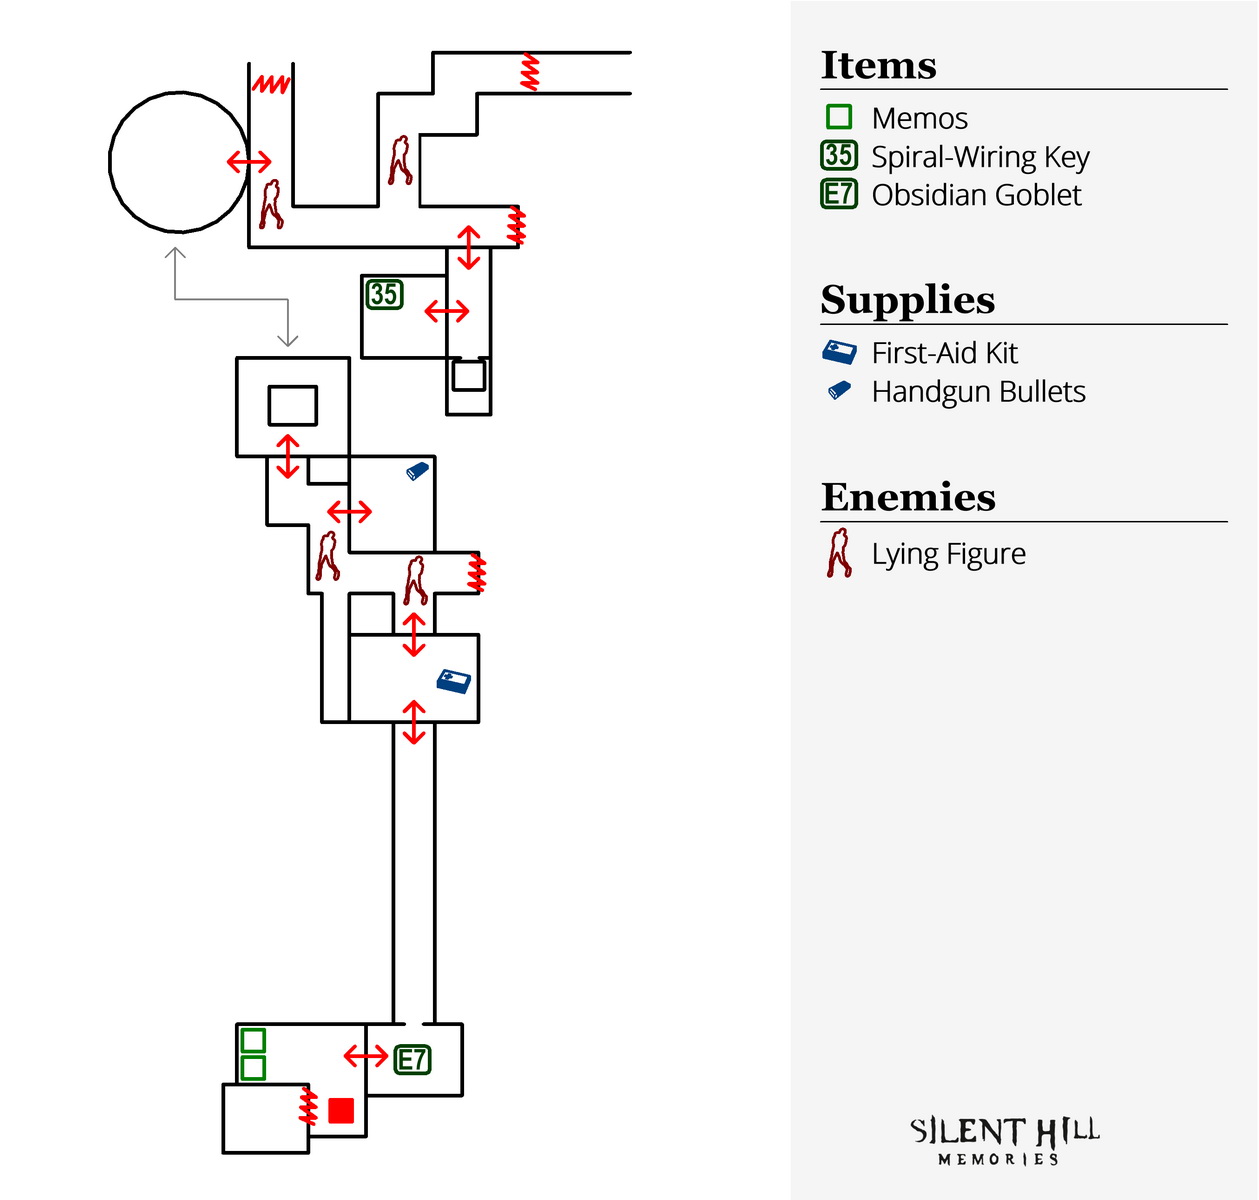
The Museum
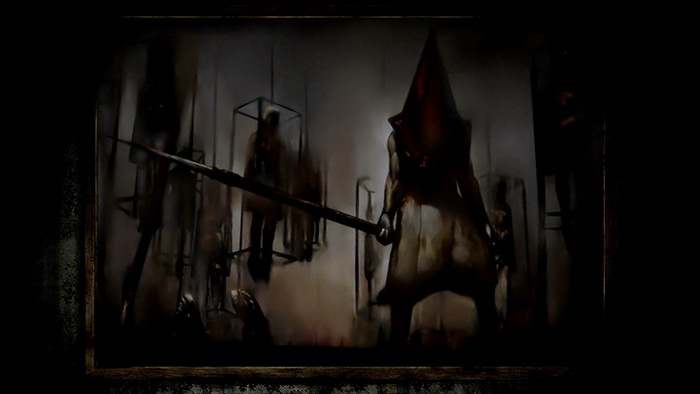
Once inside the museum, you can find a Save Point on the left counter. Deeper in the room are some paintings, one in particular of our good friend Pyramid Head. After admiring the artwork in the first room, move through the double doors by the paintings. You'll find more paintings in the second room – one about Brookhaven Hospital, the director of the old hospital, and one with a strange deep hole.
New Game Plus Item: Obsidian Goblet
|
A strange moaning sound is heard in the distance from this second room, almost like a loud fog horn, which seems to be coming from the large hole in the wall here.
Underneath the Historical Society
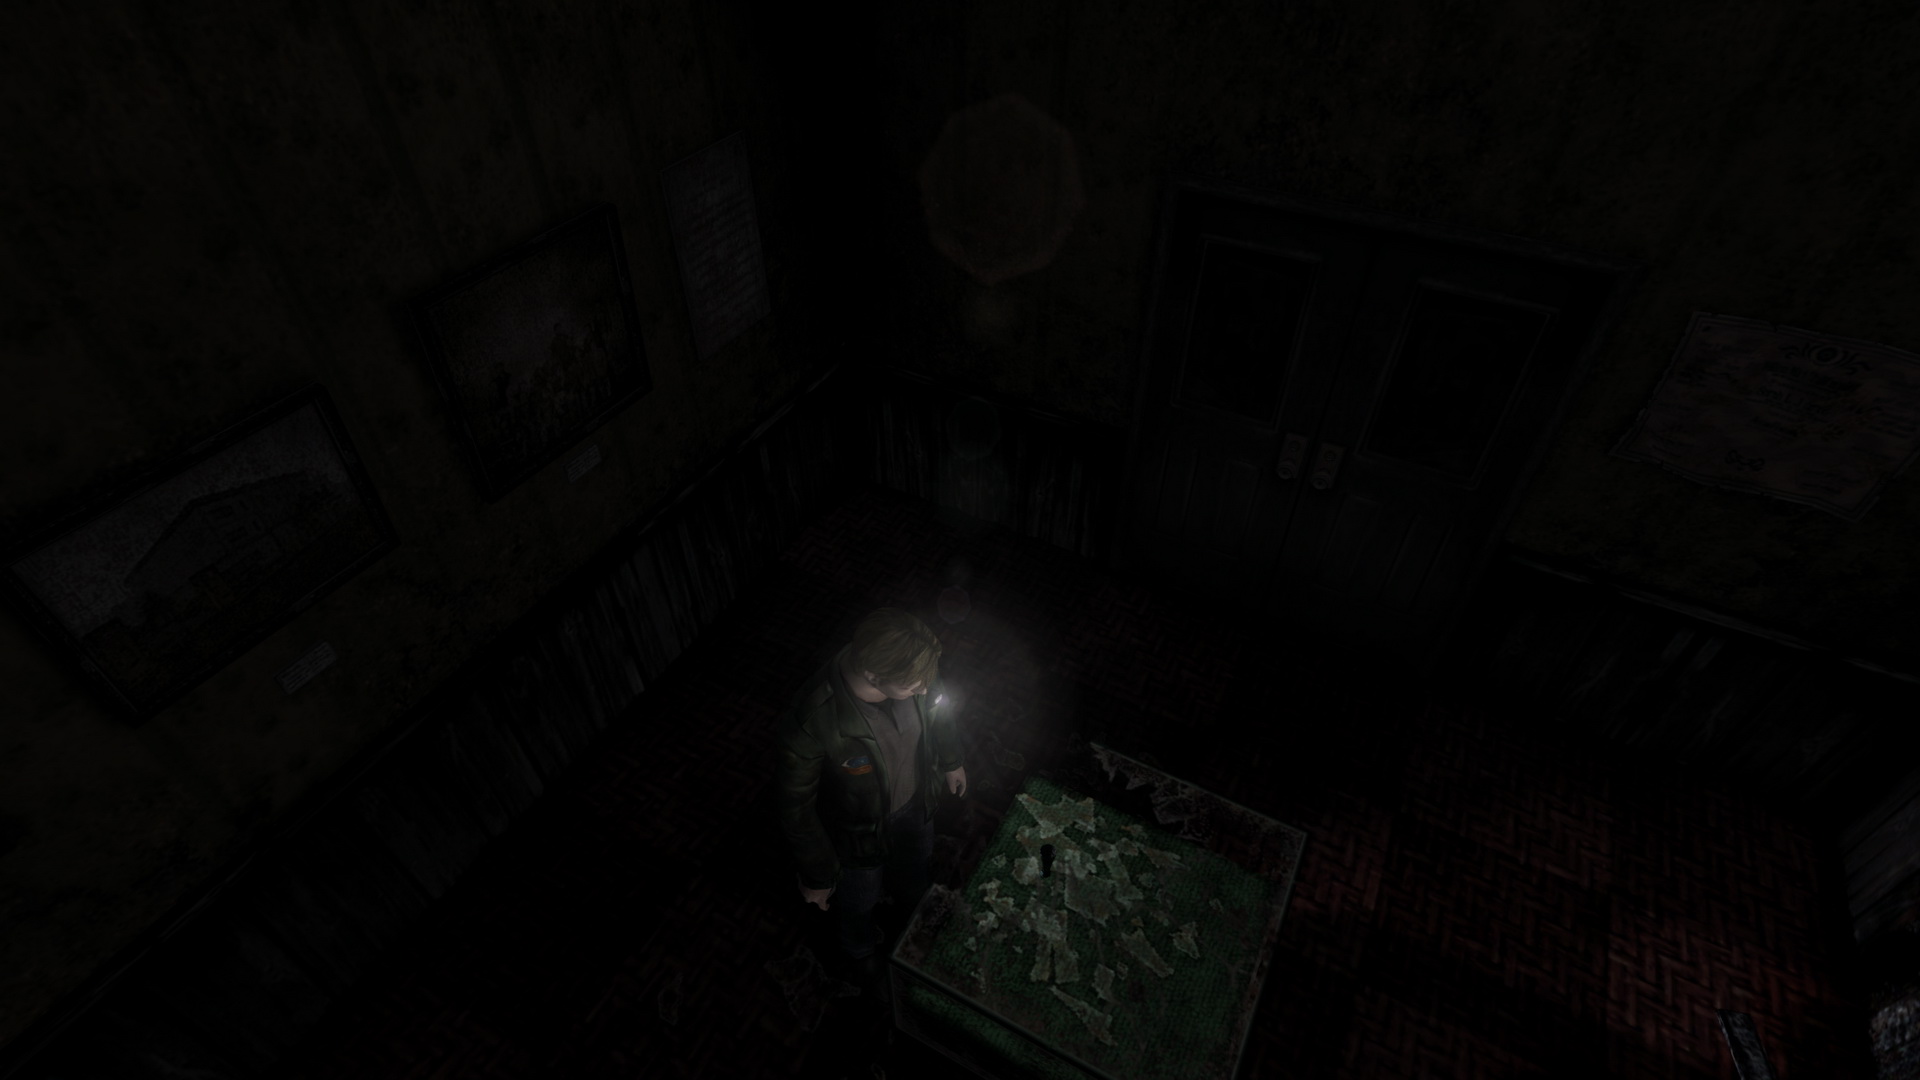
Investigate the hole to find that it has a descending pathway inside, leading to an unknown area. Follow the path – it's a long one. Through the end door, you'll find a memo dated from 1820 on the desk! Move around the pillar to get the First-Aid Kit sitting there, then leave through the other door.
Ignore the Lying Figure and take a left down the hallway. Take a right to meet another Lying Figure, and if interested in some ammo and more historical paintings, go through the door on the right side of the wall. Grab the Handgun Bullets on the table and take a look at the three ominous paintings and their captions. Leave the room and exit the hallway through the right end door, past the Lying Figure.
You are now in a room with a deep hole. It appears to be identical to the painting you saw earlier... Examine the hole and decide to jump down. Why wouldn't you?
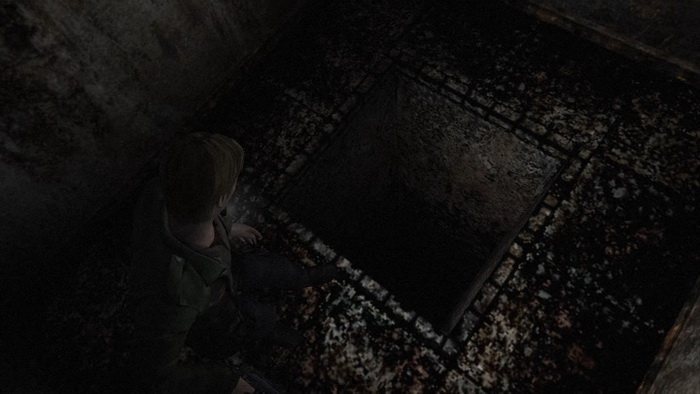
Stuck in a Well
After diving down the hole, you'll find yourself trapped at the bottom of a well. Don't piss your pants just yet, or maybe just a little bit. Search every foot of brickwork until you find an area that James comments is different and he may be able to break it. The "different" area is approximately 135 degrees to the left from where you start. For those unfamiliar with degrees, that's a quarter turn to the left, plus another half-quarter turn (an eighth turn). If you do it right, it's not too difficult to find on your first try, but just search the nearby area if you missed it.
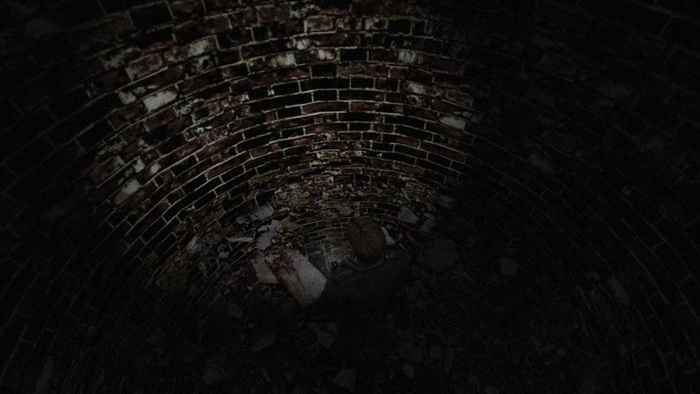
Take out your Steel Pipe or Wooden Plank, preferably the stronger pipe, and whack the different area until it breaks. Bricks will fall and a door will be revealed. Exit the well.
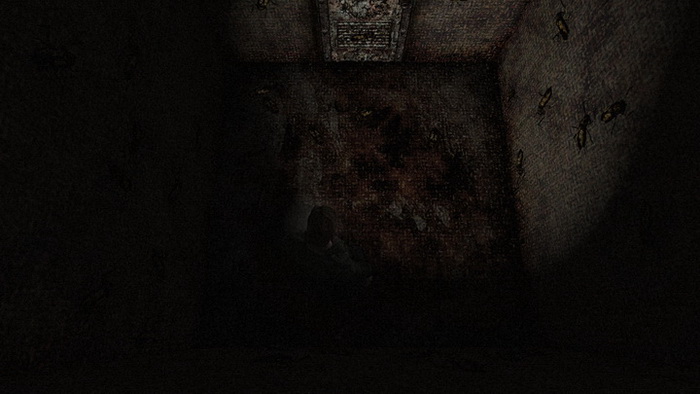
Sewer
Now in a sewer, follow the path past a Lying Figure until you reach two doors on concrete floor and go through the right one. Just ahead you'll find a locked floor gate, so pass through the right door. Take the 35 Spiral-Wiring Key on the ground of the small room, and then all of a sudden your Flashlight will fade out.
If you remember from the hospital, you did actually find a battery there. Enter your inventory and use the Dry Cell Battery to give life back to your Flashlight.
After replacing the battery, you'll notice that the room is filled with Creepers! Trying to leave the room, the door is locked! Quickly examine the keypad by the door.
Puzzle: Trap Room Keypad (Under Historical Society)
The entire keypad is slightly illuminated, but if you look closely you will see that two or three numbers are brighter than the others. This must be because they were pressed more recently, clearing some of the dust and dirt away, and thus making them the numbers of the code.
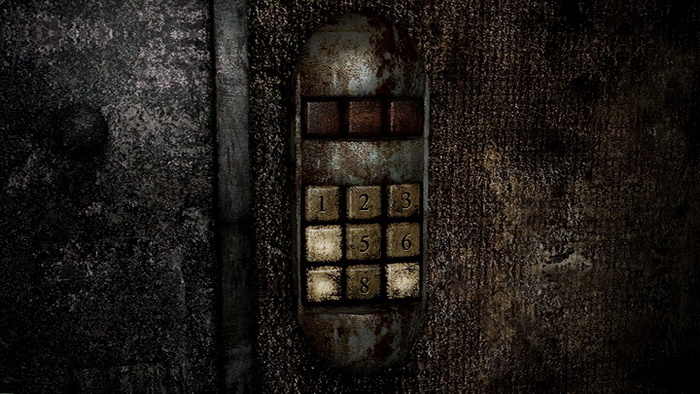
To find the correct code, you'll need to try different combinations with the highlighted numbers until the door unlocks. If the inputted code is incorrect, you'll hear a buzzing sound. If it is correct, you'll hear a distinct beep and the door will unlock.
Before trying any codes, consider first writing down all possible combinations from the numbers you have, then cross them off as you try them (or just do it in your head if able). The maximum number of possible combinations will always be six; no more, no less. Refer to below for an example of illuminated numbers and their solutions:
| Sample Numbers | Possible Codes | |
| 3 6 8 | 368, 386, 638, 683, 836, 863 | |
| 5 9 | 559, 595, 599, 955, 959, 995 |
As you can see there's always only six combinations. Apply the same pattern to your illuminated numbers to uncover the potential codes.
Do be on top of your health here since the Creepers may attack you between guesses, and keep trying to check the panel as quickly as possible to minimize your vulnerability.
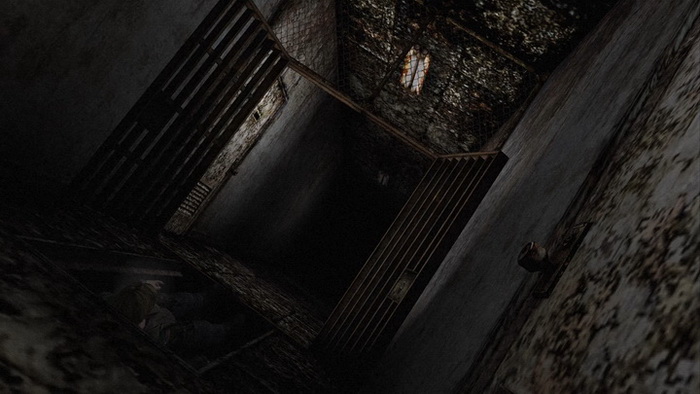
After unlocking the door, exit the room. Approach the locked floor gate and use the newly-acquired Spiral-Wiring Key to open it. Jump down the hole which, yes, is actually a vertical hallway. Don't even question it.
| 07. Dark South Vale | 09. Toluca Prison |