Toluca Prison
Letter from Silent Heaven
- East South Vale
- Wood Side Apartments
- Blue Creek Apartments
- West South Vale
- Brookhaven Hospital
- Nightmare Hospital
- Dark South Vale
- Silent Hill Historical Society
- Toluca Prison
- The Labyrinth
- Toluca Lake
- Lake View Hotel
- Nightmare Hotel
Born from a Wish
Welcome to the ninth chapter of the complete walkthrough guide for the original Silent Hill 2 (2001, PS2, Xbox, PC), covering Toluca Prison. This guide provides a comprehensive walkthrough with all item locations, detailed puzzle solutions, and boss strategies. This walkthrough also includes complete maps with all items and monsters marked for easy reference.
This is a walkthrough guide for the original Silent Hill 2. For the walkthrough for the Silent Hill 2 Remake (2024), please go to this page.
Color legend
Letter from Mary – items
Wooden Plank – weapons
Health Drink – supplies
Map of Silent Hill – maps
Save Point – save points
Contents
Complete Maps |
|
Walkthrough
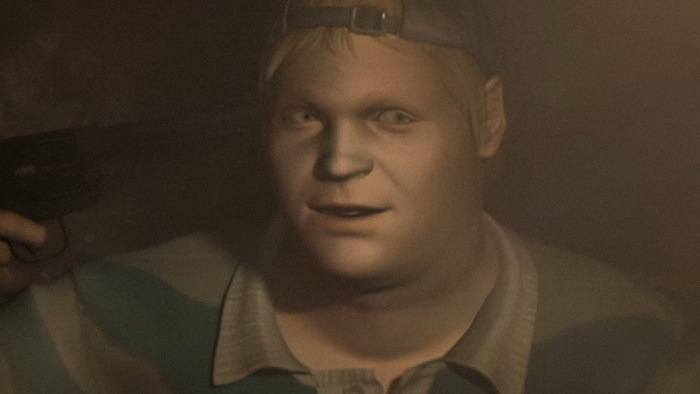
"Killin' a person ain't no big deal. Just put the gun to their head...pow!"
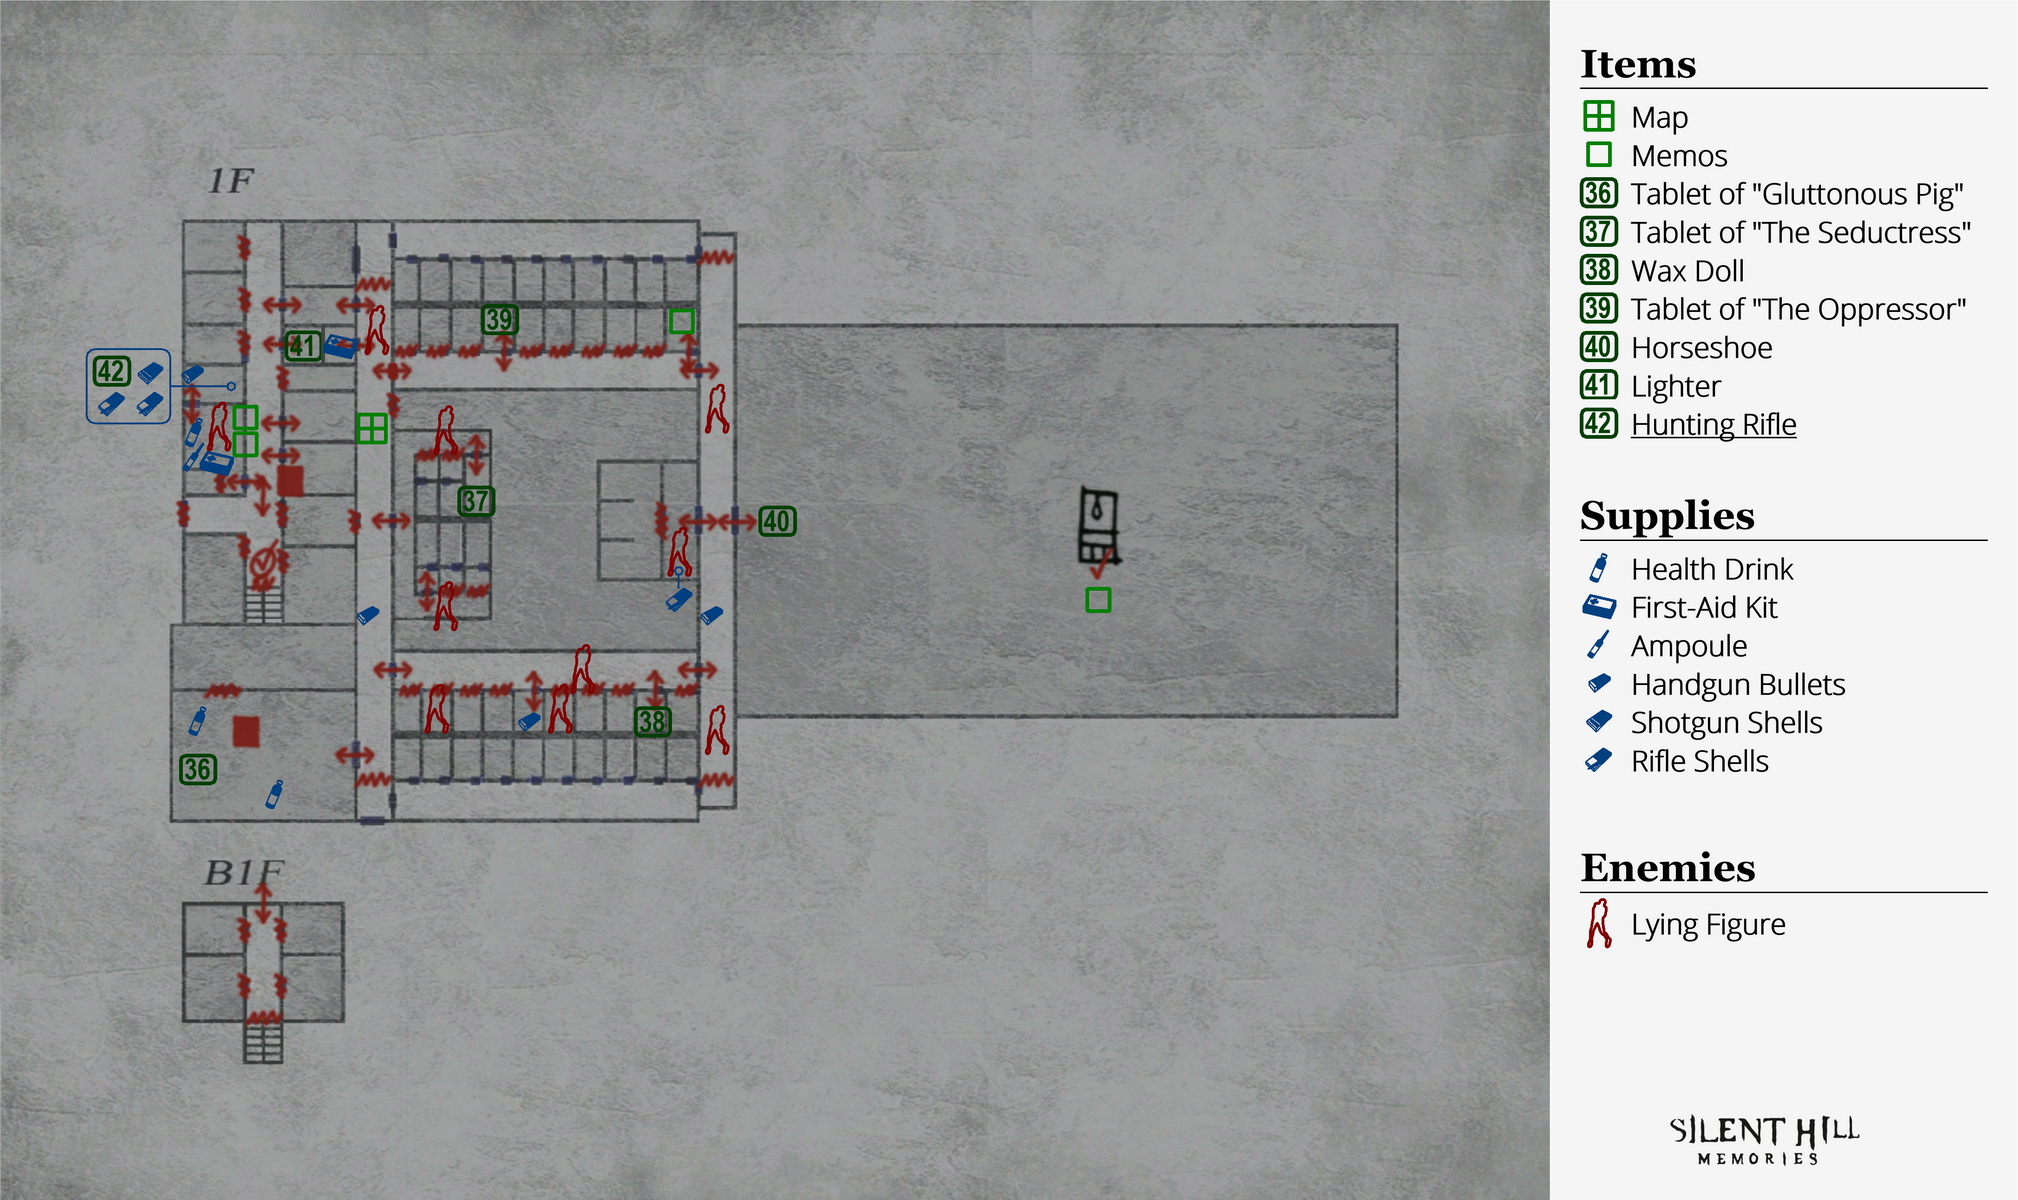
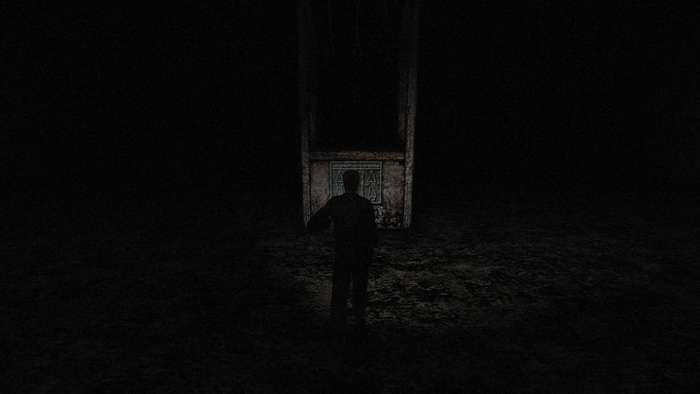
Cafeteria
James finds himself in an ancient-looking cafeteria after submerging down the hole. Surprisingly enough, Eddie is down here as well but he doesn't stick around very long.
There's a Health Drink on the table behind you to the right and another Health Drink farther back. On the pushcart at the back of the room is the 36 Tablet of "Gluttonous Pig". Lastly, there's a Save Point on a pillar near the back of the room. Exit the cafeteria through the double doors when you're done.
West Corridor
Since you currently don't have a map, turn left and run forward down the hall. Grab the Handgun Bullets on the first desk on the left side of the hall by the open gate and the Map of the Prison on the next desk down the hall. You may notice the halls feel a bit longer than the map portrays, so keep that in mind.
Head south from the map and go through the first door on James' left to the shower room, which is the area on your map with six smaller rooms. Inside, take the north path past a Lying Figure around the corner and enter the last doorway on the right into the open shower. Take the 37 Tablet of "The Seductress" on the floor and exit the shower room altogether. The other Lying Figure heard in the area will probably be near the door by the time you reach it, so watch out.
South Cellblock
Checking your map, you'll notice two cellblocks in the south. There's a gate blocking the southernmost one, so head down the hall and enter the upper south cellblock through the single door. A Lying Figure occupies the second cell from the west, as does another one in a cell farther down – just stay clear so they don't spray you.
None of the closed cell doors in here will open, however there are some that are already open. In the fifth cell down you'll find Handgun Bullets. Ignore the Lying Figure in the sixth cell and move inside the ninth cell near the end. Here you'll find scattered books on the bed and floor, but more importantly, grab the 38 Wax Doll on the bed which appears to be glowing. Exit through the east door to the eastern side of the prison.
East Corridor
Take the Handgun Bullets on the first desk to the north, then move through the double doors on the left side. Kill the Lying Figure just inside before it attacks, get the Rifle Shells on the shelf and exit the room.
Through the other double doors across the hall is what appears to be a large courtyard on your map. In the center, you'll find a scaffold with three square depressions in its base and three nooses up top. We only have two tablets so far so we'll need to find the last one before we can do anything here. From the eastern corridor, continue north and enter the lower north cellblock, past the Lying Figure if it's in your way.
North Cellblock
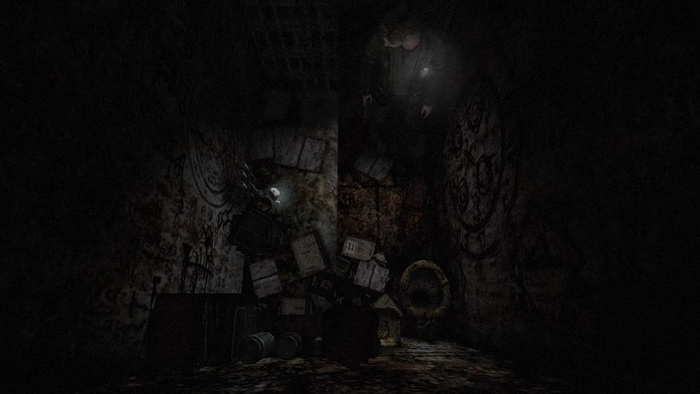
Unlike the last block, you can actually enter a few closed cells in this one. Just inside the first cell, you'll find three very peculiar paintings which will likely provide more questions than answers, but one of them might add some context to an event later in the game.
Enter the seventh cell down the block and take the 39 Tablet of "The Oppressor" on the bed. Now we have all three so we can head back to the courtyard. Try to exit the cell to find that it won't open! Keep your pants on and give it a few more tries before James pops it open. Perhaps it was a hidden message though?
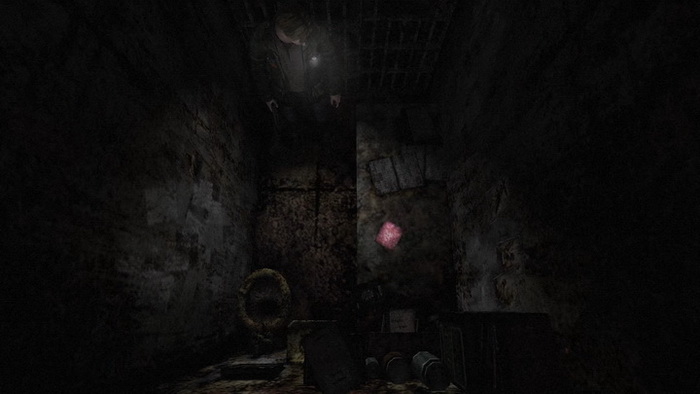
Courtyard
Remembering the scaffold now that you have all three tablets, return to the east corridor and enter the large courtyard. Try not to wet yourself from the creepy horse noises out here and step in front of the three square indentations on the front side of the scaffold in the center of the area. Combine and use the Tablet of "Gluttonous Pig", Tablet of "The Seductress", and the Tablet of "The Oppressor".
Afterwards, you'll hear a loud and brutal scream, signifying a hanging.
After all, this is a scaffold for executions. You may even have noticed two pyramid-headed figures etched on the front plate, and if you've been paying attention to the lore from the start of the Historical Society you may have realized this is costume of the town's executioners from the Civil War days. Interesting...
Anyway, so that's all you get, a scream? Well, thanks then? When you head back to the double doors to re-enter the prison, you'll now find a 40 Horseshoe has been placed on the left door. You know, that kind of explains all the horse noises out here, but did the horse put it here itself? Too many questions. Grab it and head back inside.
To the Northwest Corridor
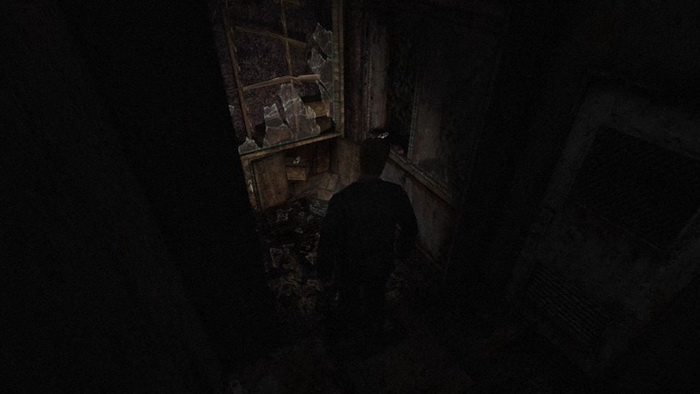
Continuing where we left off before, re-enter the lower cellblock in the north and pass through it to the west corridor after unlocking the end door. There, go through the door just in front of you to the right. Inside the glass-partitioned visiting room, get the First-Aid Kit on the counter. On the other side you can see a brass Zippo lighter, so we'll be sure to get that next.
Exit the room and enter the next visiting room to the north, which has been completely trashed. Pass through the other door to enter the northwest corridor, the civilian and visitor side of the prison. Remembering the lighter, enter the next visiting room now that you're on the other side and grab the 41 Lighter on the counter. Exit back to the hall.
Exit the room and enter the women's washroom with the pink sign on the door down the hall. Knock on the closed stall door to the right a few times and head towards the exit. If nothing happens, try it again since it's a cool but optional little event. Exit the room and enter the men's washroom to the left to find a Save Point above one of the urinals. Exit when done your restroom break.
Warden's Office
Back in the hall, head through the right end door by the gate, which appears to be the warden's office. Inside, kill the Lying Figure and collect the items around the room. There's a First-Aid Kit on the television, an Ampoule on the nearby sink and a Health Drink by the far door. Also be sure to read the very interesting gossip magazine on the desk and examine the left shelf for a hidden diary as well.
Finished in the first room, go through the far door where the Health Drink was. Take the Handgun Bullets in front of you in the stand and grab the Shotgun Shells and Rifle Shells in the cabinet to James' right. Then take the beautiful 42 Hunting Rifle off the gun rack and the Rifle Shells on the lower box. Although slow and not very practical for normal enemies anyway, the Rifle is very powerful and its shells should be saved for late in the game, particularly the final bosses. When you see Nine Red Squares, you'll know it's time to use it.
You can see another Hunting Rifle above, but its barrel is busted. Exit this room and the warden's office altogether, past the Lying Figure if it's there again. Outside, head through the right gate.
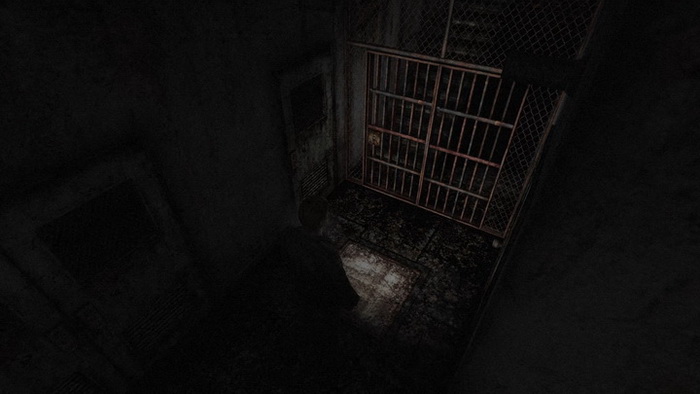
Escape from Prison
On the floor ahead is a rusty white escape hatch, but the handle is missing so it cannot be opened as is. There is no other escape from the prison, so this thing is your only chance. Check your inventory for any items you can use, and you might require quite the imagination here. Combine and use the Wax Doll, Horseshoe and Lighter. This time you must combine these items rather than use them separately.
James will place the horseshoe as the hatch handle, then melt the wax with the lighter and let it cool to lock the horseshoe in place in the little slot. Voila, new hatch handle. Open the hatch and jump down to see what's below.
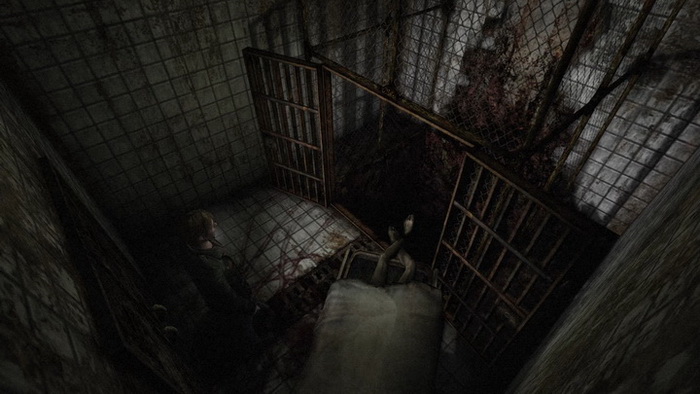
Deeper into the Abyss: Hole after Hole
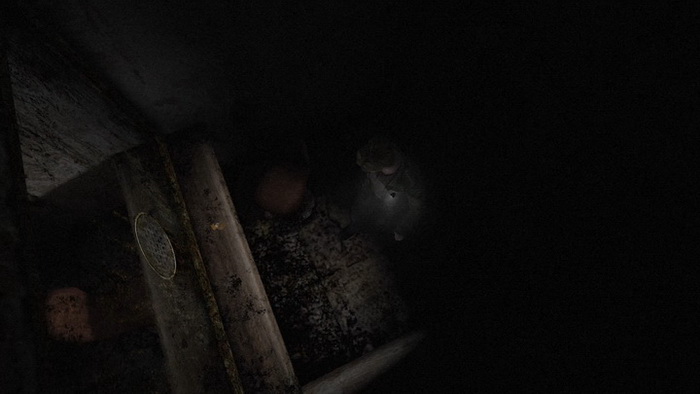
Now in the basement of the prison, turn around and go through the double doors at the end of the hall. Now in a foul-smelling morgue with "fresh" corpses lying around, James will make some funny comments if you examine certain holes and the stretcher corpse. Move through the double doors on the other side of the room and here we go, another hole. Jump!
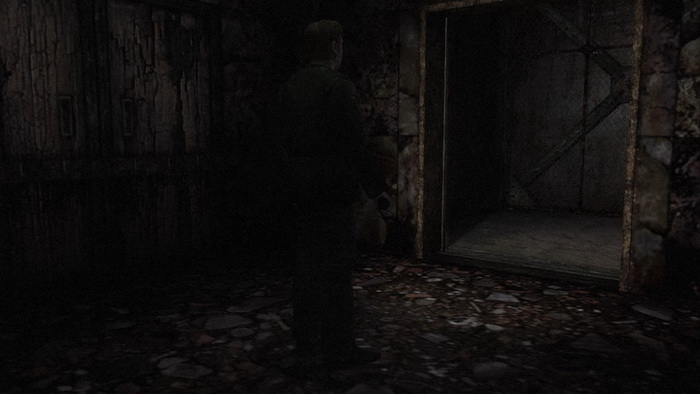
Down here, walk forward and open the door there to find yet another hole. This is escalating rather quickly. Since it's become standard just to jump, go ahead and do so.
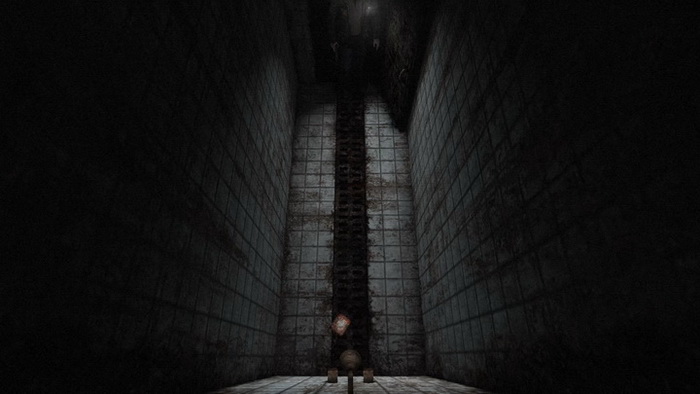
In the next area you'll find a large elevator. Move inside to one of the far end corners and it will automatically start its descent, which will be a very long one. While descending, grab the Handgun Bullets, Rifle Shells, First-Aid Kit and Shotgun Shells in the different corners of the elevator. It'll take a while but the elevator will eventually stop and its doors will open.
Do you realize how far down James is right now? He ran down one very long, descending hallway, jumped down five holes of unknown depths, and just now descended a full minute-long elevator ride. It certainly feels like a one-way trip to a hellish place.
Exit the elevator and use the Save Point along the wall if you wish. Then pass through the light brown down to enter the beginning of the Labyrinth.
| 08. Silent Hill Historical Society | 10. The Labyrinth |